Don’t Let Your Dream Bathroom Become a $12,000 Nightmare
I’ve been building and remodeling bathrooms for a long time. Long enough to see trends like vessel sinks and waterfall faucets come, go, and then come back again. And I get it. You’ve got a Pinterest board full of gorgeous pictures—sleek floating vanities, massive walk-in showers, the works. The look is what gets the project started.
In this article
But here’s the honest truth those glossy photos never show you: the guts of the bathroom. The stuff behind the pretty tile. Because a beautiful bathroom that starts leaking in two years isn’t a design success. It’s a catastrophic failure, and I’ve seen it happen way too often.
So, my goal here isn’t to talk you into a certain style. It’s to pull back the curtain on what makes a bathroom last for decades. We’re going to talk about the things that really matter—the unseen waterproofing that protects your home’s structure, the materials that can actually handle daily abuse, and the smart choices that make the room a joy to use. Think of this as the conversation you should have before you hire anyone or buy a single tile.
The Real Foundation: Waterproofing Is Everything
Before you fall in love with a tile, we have to talk about water. Water is patient, and it is relentless. It will find any microscopic pinhole, any weak seam, any unsealed gap. The most important work in any bathroom remodel happens long before anything pretty gets installed.
Heads up, because this is probably the single most important thing you need to know:
Your tile and grout are NOT waterproof.
Seriously. People assume that tile and the cement board behind it are what keep the water out. They aren’t. Cement board is just water-resistant, meaning it won’t rot like drywall, but water passes right through it to your wall studs. Grout is porous and acts like a tiny sponge. The secret to a lasting shower is creating a continuous, sealed waterproof barrier behind the tile.
The Two Ways to Keep Your Walls Dry
In the pro world, there are basically two main approaches to this. Understanding the difference is key.
One method is the topical waterproofing system, which is the modern standard for good reason. We install the backer board, then apply a waterproof membrane directly onto its surface, like a perfect shell. The tile then goes on top of this membrane. This means the backer board and the wall cavity behind it stay bone dry. Water hits the tile, might seep through the grout, but it hits that membrane and just drains away. It’s a clean and effective system.
The other way is the traditional water-in/water-out system. This is the old-school method involving a thick mud bed and a vinyl pan liner. It works, but the entire mortar bed under the tile is designed to get saturated with water and slowly drain. This can sometimes lead to a perpetually damp, musty smell if it’s not constructed absolutely perfectly. To be frank, for most homes today, I strongly recommend a topical system.
A Look at Pro-Level Waterproofing Techniques
Let’s get into the nitty-gritty. You can find two main types of topical membranes. The liquid-applied kind, which often comes in a bucket and is a distinct red or blue color, is something you can find at a big-box store like Home Depot. You literally paint it on with a roller.
- Thickness is non-negotiable. This is where DIY jobs fail. The manufacturer specifies a required thickness—about the thickness of a credit card when dry. You can’t just eyeball it. Pros use a little plastic tool called a wet film gauge to measure the thickness as we apply it. Applying it too thin is like installing a screen door and hoping it keeps the rain out.
- Don’t forget the fabric! Every corner and seam needs to be reinforced with a special fabric mesh embedded between the liquid coats. This prevents cracks if the house settles.
The other popular choice is a sheet membrane, which you’ll often see as a bright orange, dimpled fabric. This system usually comes as a complete kit and is more of a specialty item you’d find at a dedicated tile supply store.
- The details matter. Every seam must be overlapped by at least two inches and sealed with a specific, proprietary sealant. Using the wrong stuff here will 100% cause a leak. I’ve seen people try to use regular silicone, and it just doesn’t bond properly.
- Shower niches are tricky. A simple shampoo niche looks great, but it adds a dozen corners that all need to be perfectly folded and sealed. We use pre-formed corner pieces to make it foolproof. Trying to do it by hand is asking for a tiny, invisible leak.
Good to know: Expect the waterproofing stage to take 2-3 days. Between applying coats, letting things cure, and reinforcing seams, it can’t be rushed. Material costs can vary, too. For a standard 3×5 shower, you might spend around $100 on a good liquid membrane, while a full sheet membrane kit could run between $500 and $700. The sheet systems are more expensive but are often preferred by pros for their uniform thickness and integrated components.
The Flood Test: The Moment of Truth
I once had to tear out a three-year-old shower that was leaking into the dining room ceiling below. The original installer skipped one crucial step. The final bill to tear it all out, remediate the black mold that had crawled up the wall studs, and rebuild it correctly was over $12,000. The “deal” the homeowners got on the initial install ended up costing them a fortune.
This is why we do a flood test. It’s non-negotiable. Here’s how it works:
- Plug the drain. You can get a cheap, effective test plug for about $10 from any hardware store. Make sure it’s tight.
- Fill ‘er up. Add water until it’s just below the top of the shower curb. Then, take a marker and draw a line right at the water level.
- Wait. Now you leave it alone for a full 24 hours. No cheating. If the water level has dropped (more than a tiny bit from evaporation), you have a leak.
Finding a leak at this stage is a simple fix. Finding it after the tile is up is a complete disaster. A single misplaced screw that nicked the membrane is all it takes. The flood test will find it.
Choosing Surfaces That Actually Perform
Okay, with a bulletproof shell, now we can talk about the fun stuff! But your choice of tile and stone has a huge impact on cleaning and long-term maintenance.
The Deal with Large Format Tile
Everyone loves those big 12×24 or 24×48 inch tiles. Fewer grout lines means less scrubbing, right? True, but they are a massive challenge to install correctly.
For large tiles, the wall has to be incredibly flat—we’re talking a maximum deviation of 1/8 of an inch over 10 feet. Your house’s walls are not this flat. I promise. So, we have to “float the walls” with mortar (basically, we skim-coat them with a thin layer of concrete to make them perfectly plumb and straight). This prep work alone can add a full day and several hundred dollars to the job, but it’s the only way to prevent cracked tiles and uneven edges (lippage).
Porcelain vs. Ceramic (It’s Not Just Price)
These terms get thrown around a lot, but they’re different beasts. Porcelain is made from finer clays and fired hotter, making it much denser and less porous. To be officially called porcelain, a tile has to absorb less than 0.5% water. This makes it the only choice for a shower floor, in my opinion.
A standard ceramic tile is fine for walls, but it’s more porous. On the plus side, it’s generally a bit cheaper and easier to cut. You might save a dollar or two per square foot, but for a high-moisture area like a shower floor, porcelain is worth the small upcharge.
The Hard Truth About Natural Stone
Marble, travertine, slate… they are absolutely stunning. But they are divas. They are high-maintenance, and you need to know what you’re signing up for.
- They’re thirsty. All natural stone is porous and needs to be sealed. Not just once, but every year or two. If you don’t, it will soak up oils, soap, and hard water, leading to stains that are impossible to remove.
- They’re sensitive. You can’t use common bathroom cleaners on marble. The acid will literally dissolve the surface and leave dull, etched spots. You have to use special pH-neutral stone cleaners. I had a client completely ruin a brand new marble shower with a bottle of Scrubbing Bubbles. It was a painful lesson.
Let’s Talk About Grout for a Minute
Grout seems like a minor detail, but it’s huge. Your choice here will determine how much time you spend scrubbing mildew for years to come.
Your most basic option is standard cement grout. It’s cheap, maybe $15-20 a bag, but it’s porous and an absolute magnet for stains and mildew unless you’re diligent about sealing it every year.
A much better choice for a shower is a high-performance cement grout. It costs a bit more, maybe $30-50 a bag, but it’s packed with polymers that make it denser and far more resistant to stains and moisture. This is a great middle-ground for performance and price.
Then there’s the king of performance: epoxy grout. This stuff is essentially a plastic and is completely waterproof and stain-proof. It’s what’s used in restaurant kitchens. The downside? It’s expensive (upwards of $100 for a small kit) and incredibly difficult to work with. It sets up fast, and if you don’t get the haze off the tile surface in time, it’s permanent. Honestly, this is a pro-only product.
The Functional Heart of Your Bathroom
A curbless, walk-in shower is a fantastic feature, especially if you’re thinking about aging in place. But to make the shower floor flush with the main bathroom floor, it often requires cutting down the floor joists. This is a structural change, not a simple remodel. Expect a true curbless shower to add at least $1,500-$3,000 to the total cost compared to a standard shower with a curb.
Wall-hung toilets and vanities are also amazing for creating a spacious feel and making floor cleaning a breeze. But they require a heavy-duty steel carrier bolted directly to the wall studs inside the wall. This is not something you can decide on later; the entire bathroom has to be planned around it from the framing stage.
The Tech That Actually Makes a Difference
You can get a Wi-Fi-enabled toilet, but let’s talk about tech that provides real, tangible benefits.
Heated floors are one of the best upgrades you can make. It’s a wonderful, silent, radiant heat that makes cold winter mornings so much better. Expect to pay around $10-$15 per square foot for the materials, plus a few hundred for the electrician. All in, it’s often a $600-$1,200 upgrade that feels like pure luxury.
But the best piece of “smart” tech you can buy? A high-quality, quiet exhaust fan with a humidity sensor. Lingering moisture is the cause of almost all bathroom problems. A fan with a humidistat automatically turns on when it senses steam and runs until the room is dry. You can get a great one for about $150-$250, and it ensures the bathroom is protected every single time someone showers, no forgotten switches involved.
Quick challenge: Go look at your current bathroom fan. Is the cover caked with dust? A five-minute cleaning with a vacuum can dramatically improve its performance.
Final Word: Hire a Craftsman, Not Just a Salesperson
A great bathroom remodel lives or dies by the skill of the installer. Trends fade, but solid, waterproof construction lasts. When you’re interviewing pros, you need to ask the right questions to see if they’re a true craftsman or just someone who can tile over problems.
Here’s a quick list to get you started:
- What brand and type of waterproofing do you prefer to use in a shower, and why?
- Is a 24-hour flood test a standard part of every shower you build?
- What is your process for preparing a wall for large format tile?
- What kind of grout do you recommend for a family bathroom and why?
Their answers will tell you everything you need to know. Invest in quality materials, but more importantly, invest in a pro who takes immense pride in the work you’ll never see.
Inspirational Gallery
The average cost to move a toilet drain just a few feet can exceed $1,500.
This surprising figure isn’t about the toilet itself; it’s about what’s underneath. Moving a waste line often involves breaking up the concrete slab, re-trenching, re-plumbing the drain and vent lines, and then patching everything back up. If you can design your new layout around existing plumbing locations, you’ll save a significant chunk of your budget for things you’ll actually see and touch every day.
Think about your future cleaning routine before you finalize your material choices. A few smart decisions now can save you hours of scrubbing later.
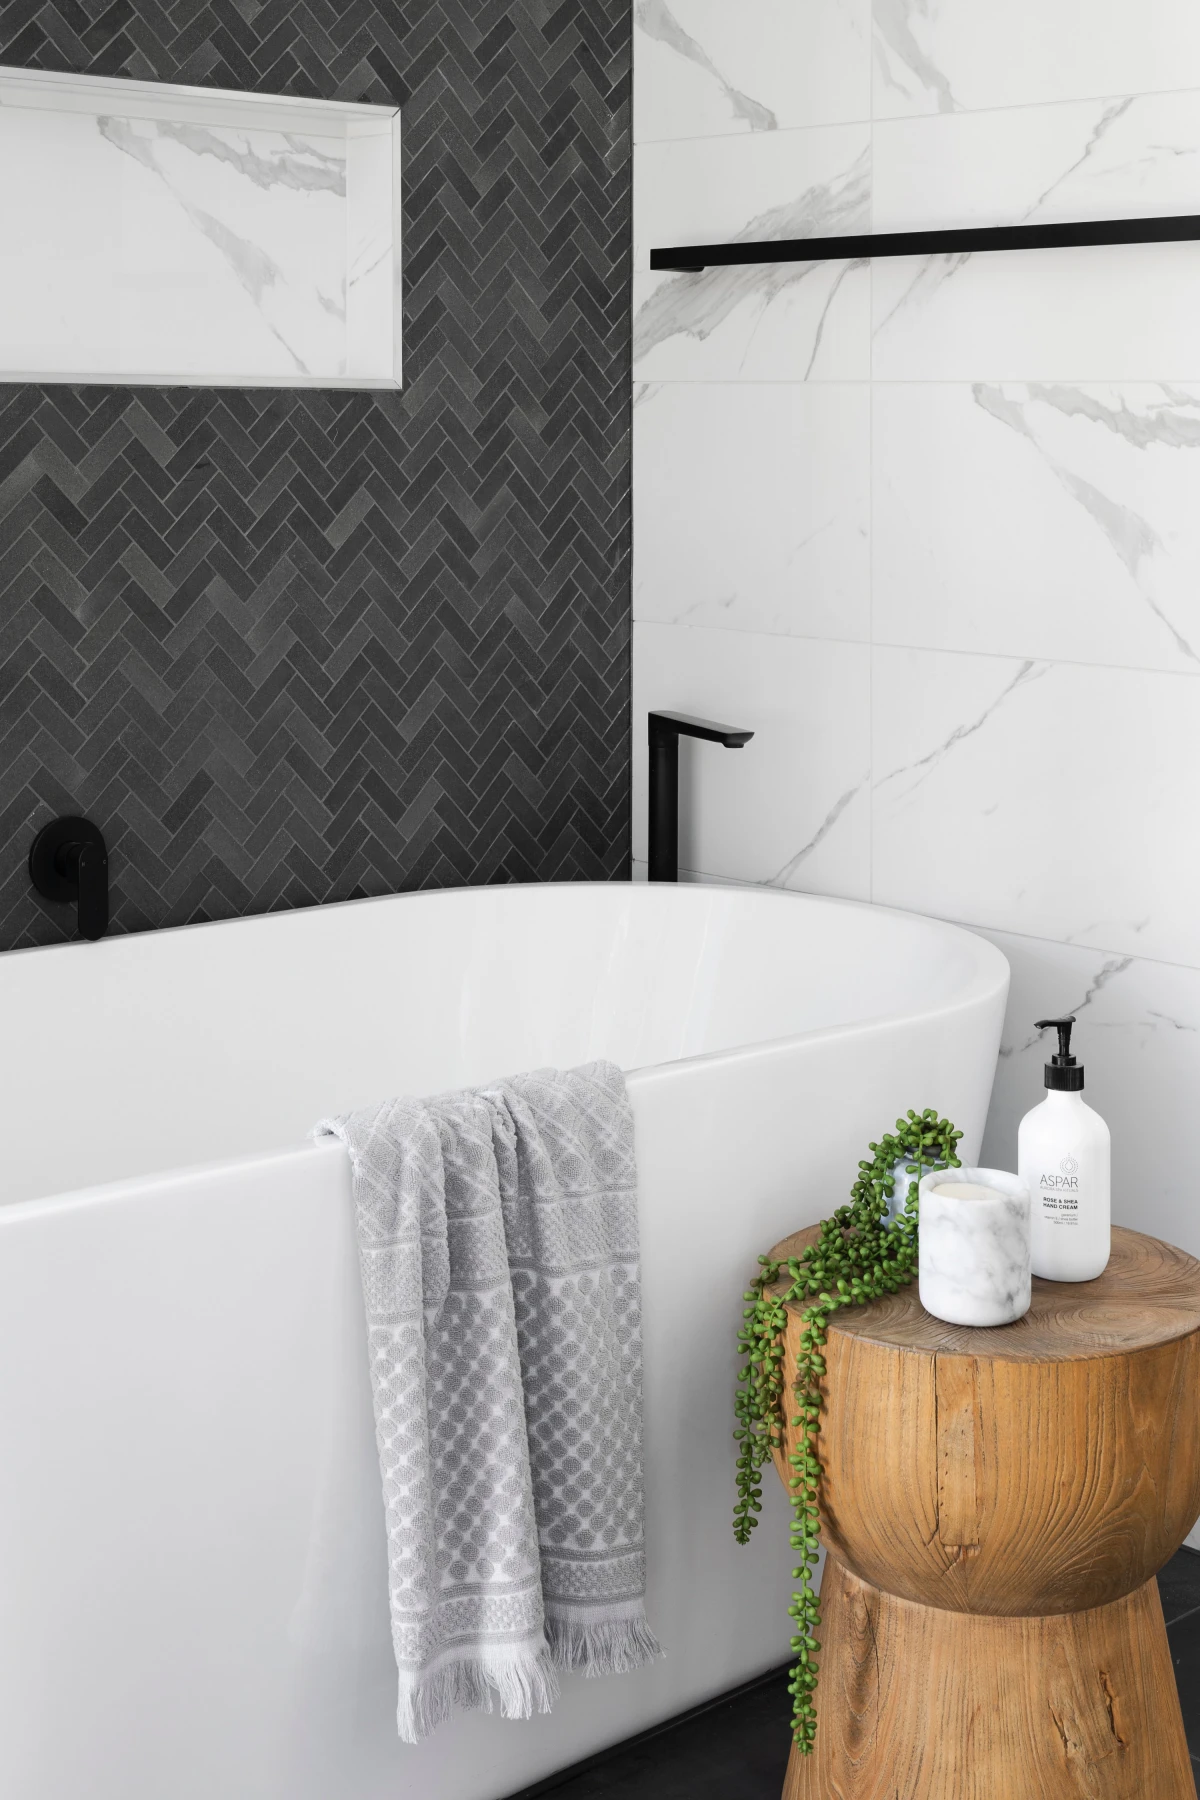
- Large Format Tiles: Fewer grout lines mean less space for mold and mildew to grow. A 24×48 inch porcelain tile is not only modern but incredibly practical in a shower.
- Wall-Mounted Toilet: With no base to clean around, mopping the floor becomes a simple, quick task. Brands like Toto and Duravit offer excellent, reliable in-wall carrier systems.
- Quartz Countertops: Unlike marble, quartz is non-porous. It resists staining from makeup or colored soaps and requires no periodic sealing.
Is a curbless, walk-in shower really worth the extra cost and complexity?
For many, the answer is a resounding yes. Aesthetically, it creates a seamless, open-plan feel that can make a small bathroom feel much larger. Practically, it’s a game-changer for accessibility, future-proofing your home for any mobility challenges. However, it requires an expert installer. The floor must be properly sloped towards a high-quality linear drain (like those from Schluter-Systems) and the waterproofing must be flawless to prevent water from migrating outside the shower area.
Standard Fan: The loud, 50 CFM (cubic feet per minute) fan that comes standard in many homes often fails to remove moisture effectively, leading to peeling paint and potential mold growth.
Modern Whisper Fan: A high-quality fan, like a Panasonic WhisperCeiling model rated at 110 CFM or more, is ultra-quiet and powerful. It effectively vents moisture out of the room, protecting your investment for years to come.
The upgrade is a small percentage of the total remodel cost but has a massive impact on the room’s longevity.
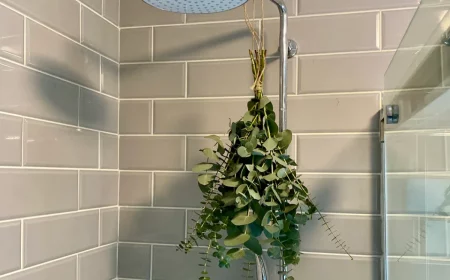
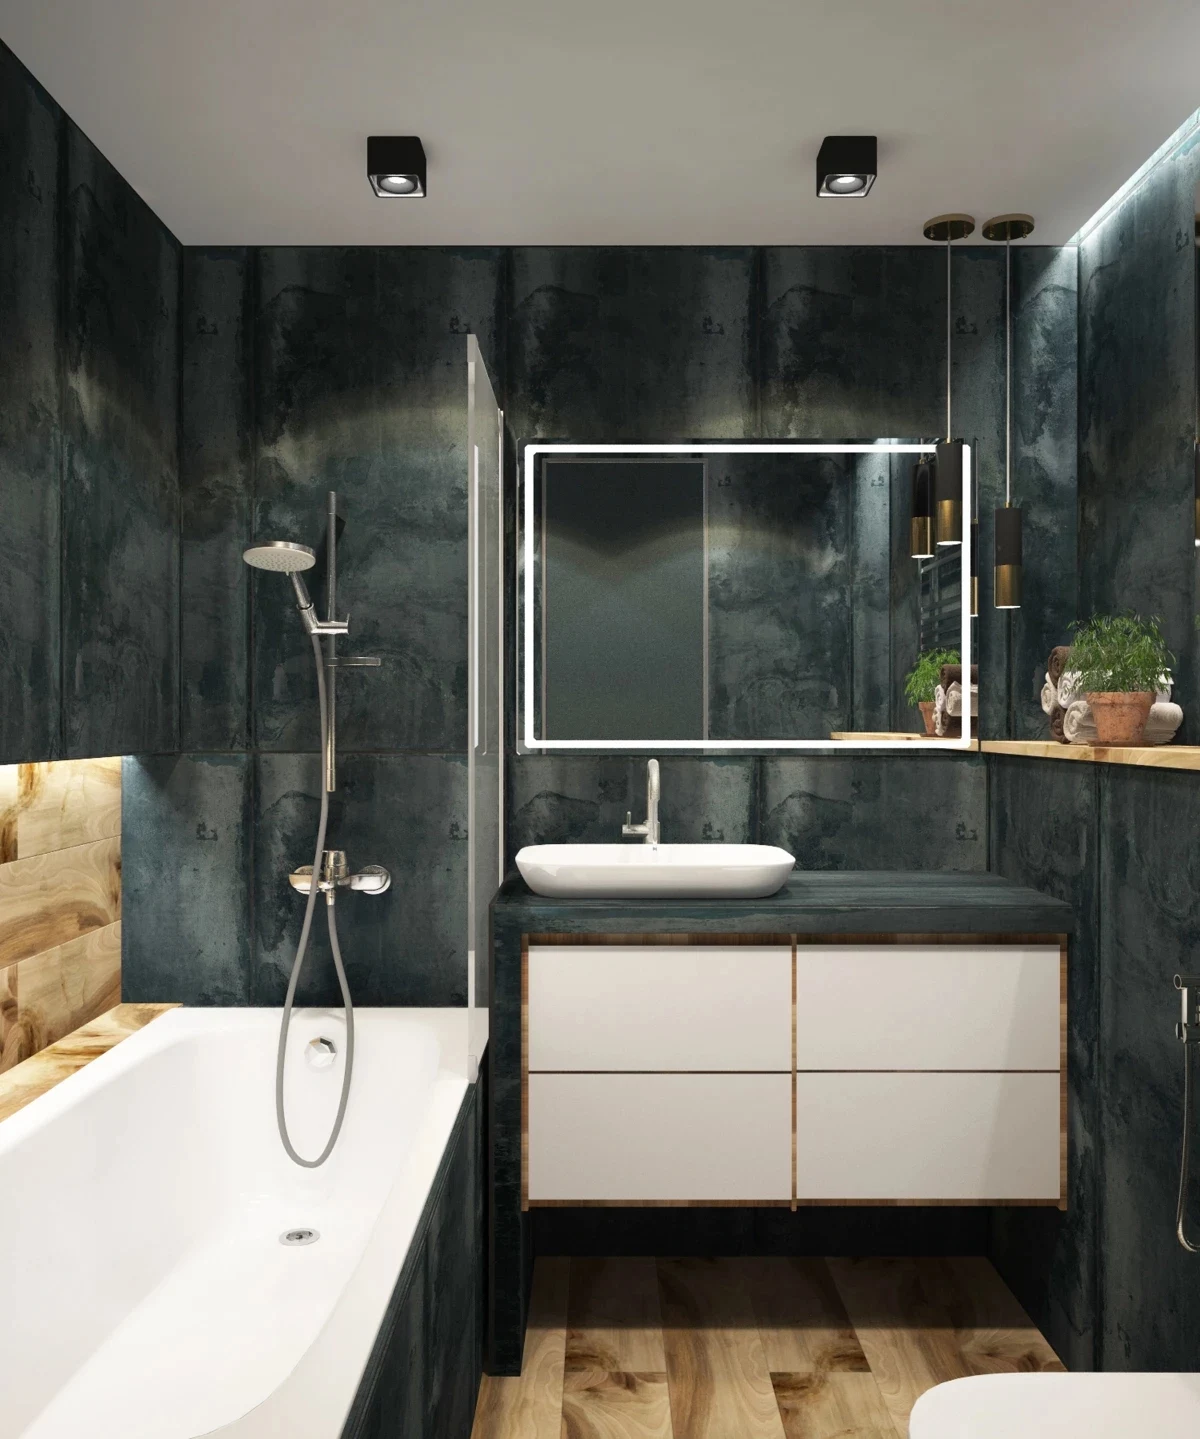
The unsung hero of a functional and atmospheric bathroom is layered lighting. Instead of a single, harsh overhead light, aim for three distinct sources. Use bright, clear task lighting around the vanity for grooming. Add a central fixture with a dimmer for general, ambient light. Finally, consider a small, waterproof accent light in a shower niche or under a floating vanity to create a relaxing, spa-like glow in the evening.
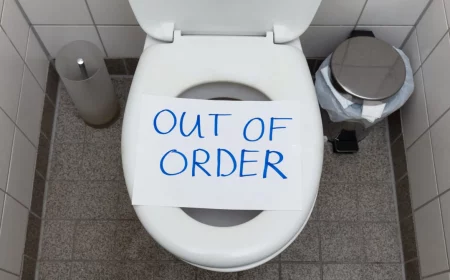
- It dramatically reduces water consumption per flush.
- The bowl stays cleaner for much longer.
- It virtually eliminates frustrating clogs.
The secret? It’s not magic, it’s modern toilet engineering. High-efficiency toilets from brands like TOTO, with features like the Tornado Flush system and CeFIONtect ceramic glaze, create a powerful, self-cleaning vortex that clears the bowl effectively with a single flush, using far less water than older models.
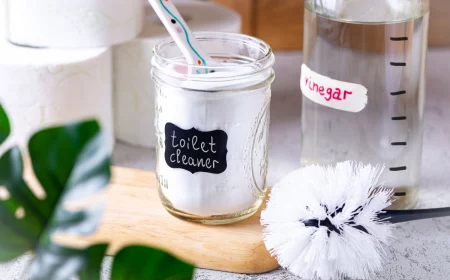
Important Grout Tip: Don’t let your contractor use basic cement grout in the shower. For a few hundred dollars more, insisting on an epoxy or high-performance urethane grout like Laticrete SpectraLOCK or Mapei Kerapoxy is one of the smartest upgrades you can make. It’s non-porous, meaning it won’t absorb water, resists stains, and is nearly impossible for mold to grow on. It’s the difference between clean grout lines for years and scrubbing with a toothbrush every few months.
“The old standard 32-inch bathroom vanity was designed for a shorter generation and for homes without master suites. Today’s 36-inch ‘comfort height’ vanity is the new standard because it matches kitchen counter height and eliminates the need to stoop.”
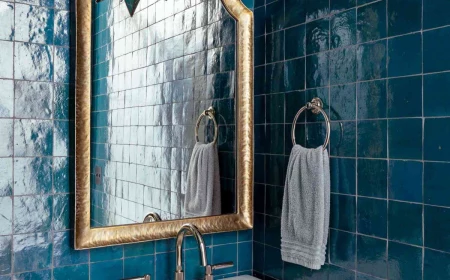
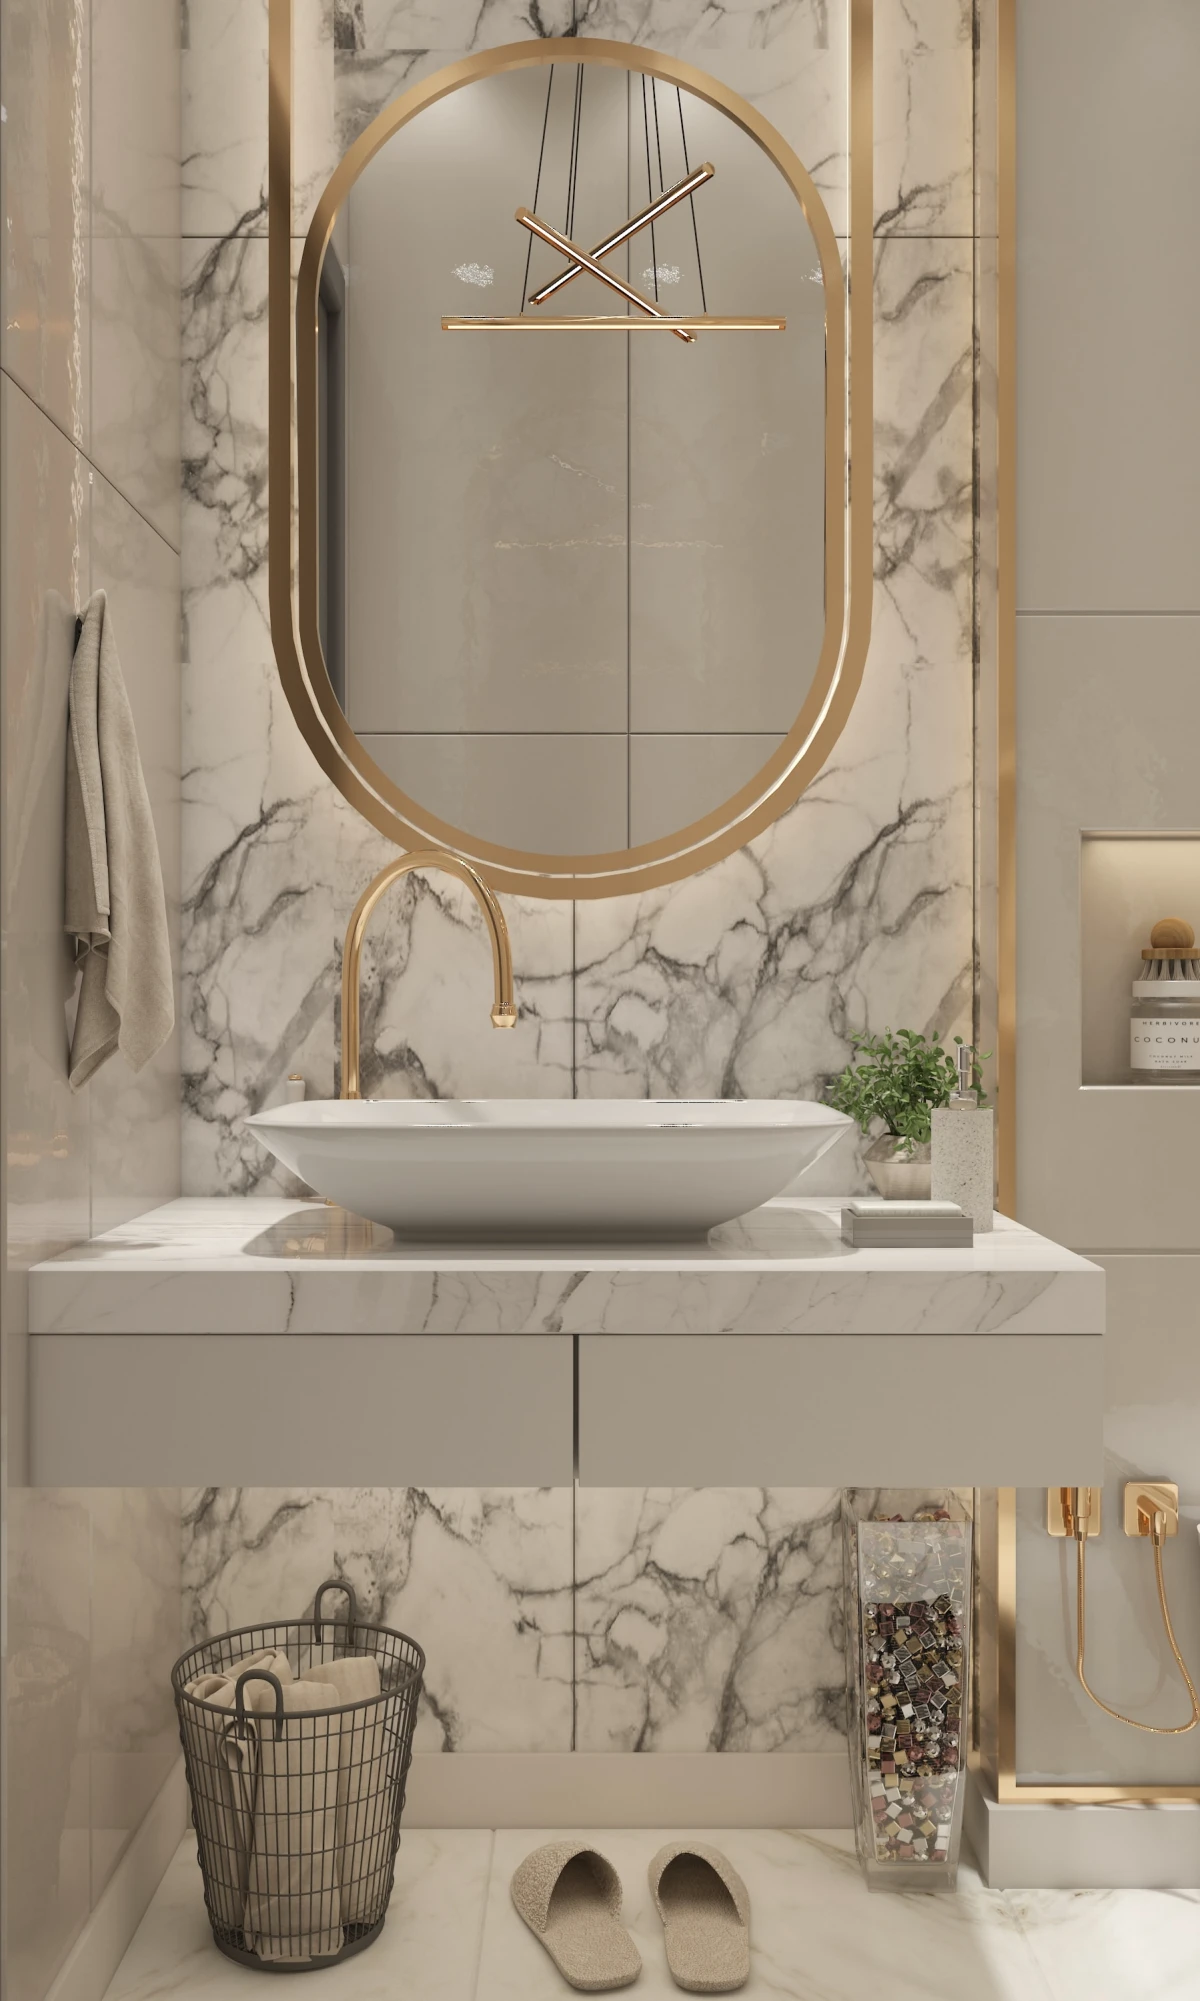
Mixing metal finishes is a key trend, but it needs a rulebook to look intentional, not chaotic. Start by choosing your primary metal—the one you’ll use for the most prominent fixture, like the faucet. Then, select a secondary, contrasting finish for accents like cabinet hardware and lighting. The key is to keep the undertones consistent; pair warm metals like brass and bronze, or cool metals like chrome and polished nickel. A matte black can often serve as a neutral that pairs with almost anything.
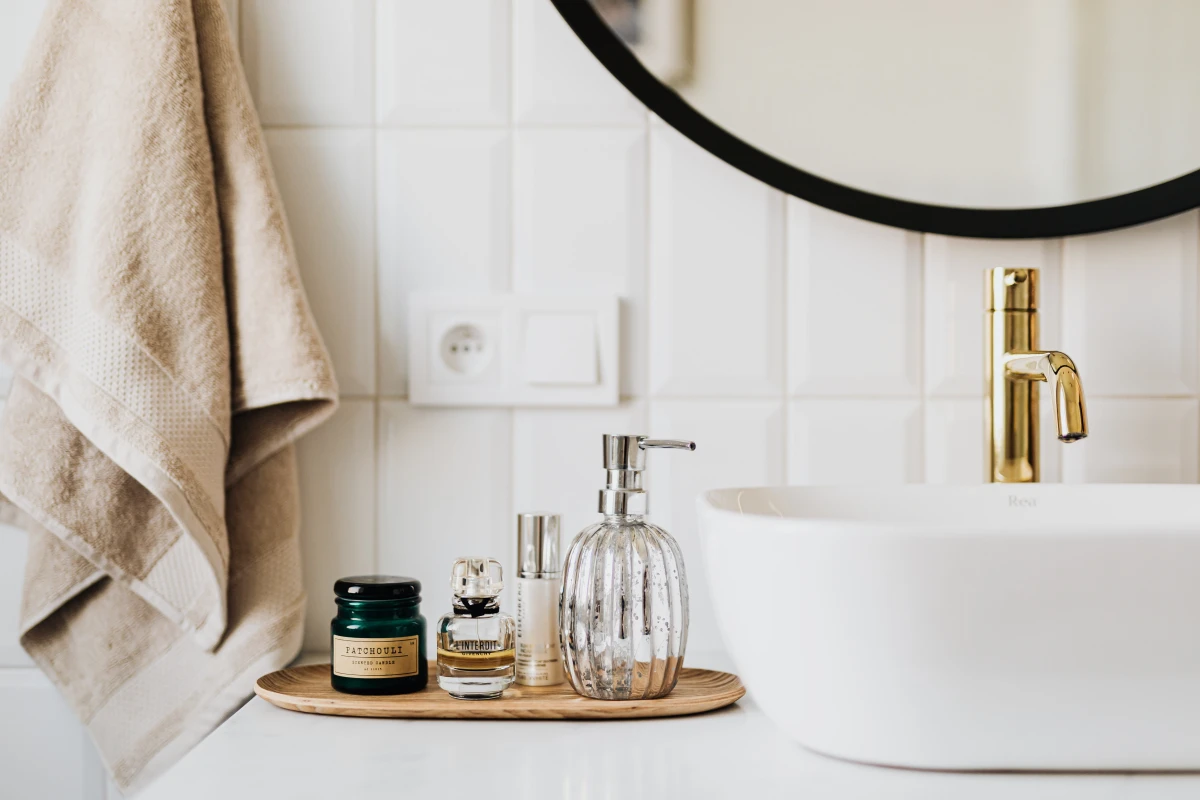
Not every dream bathroom requires a full demolition. If the core elements like the tile and tub are in good shape, a ‘cosmetic remodel’ can have a huge impact. Consider replacing just the vanity, swapping the old builder-grade mirror for a statement piece, and upgrading the light fixture and faucet. This can completely change the room’s personality in a single weekend for a fraction of the cost of a full renovation.