Don’t Lay a Single Bathroom Tile Until You Read This
I’ve been on my hands and knees setting tile for more years than I can count. And in that time, I’ve seen just about everything. I’m talking about five-figure shower stalls that failed because someone used the wrong material behind the wall, and brand-new natural stone floors completely wrecked by the wrong cleaning spray. But I’ve also had that amazing feeling of stepping back from a job, seeing every single line perfect, and knowing it’s built to last. A great tile job is a work of art, but it’s also a science that you have to respect.
In this article
Most people think tiling is just about picking a pretty pattern at a store. Honestly, that’s the fun part, but it’s the last thing you should be worried about. The real work—the stuff that makes sure your bathroom looks good for decades and not just a couple of years—happens way before a single tile gets set. It’s all about managing water, weight, and movement. It’s about building a rock-solid, waterproof foundation. Let me walk you through how a pro really thinks about a bathroom project, from the bare studs all the way out.
First Things First: The Foundation You Can’t See
Before we even talk tile, we have to talk about what’s behind it. The most expensive, gorgeous tile in the world will fall right off the wall if the surface underneath it isn’t right. And in a bathroom, water is always, ALWAYS trying to get in.
Why Your Walls Need Armor, Not Just Drywall
Water vapor is sneaky. It can move right through building materials, and if it gets into the wall behind your shower, you’re looking at a future full of mold, rot, and serious structural damage. This is exactly why we never, ever use standard drywall in a shower. Some people might use moisture-resistant drywall (the “green board”), but I flat-out refuse to tile over it in a wet area. It’s water-resistant, not waterproof. A professional job demands a completely waterproof system.
I can’t tell you how many calls I get to fix a “small leak,” only to pull off a few tiles and find the wall behind them has turned to complete mush. It’s a classic DIY mistake: someone thought they could save a few bucks by tiling directly onto the existing drywall. That shortcut ends up costing thousands to fix.
Picking the Right Backing
The surface your tile sticks to is called the substrate. For bathroom walls, especially in a shower, the go-to choice is a cement-based backer board. These boards are stable, they don’t fall apart when wet, and they give the mortar something solid to grip. A quick safety heads-up: cutting cement board creates silica dust, which is seriously bad for your lungs. Always wear a good respirator (an N95 at a minimum) and try to cut it outside or with a wet saw to keep the dust down.
For floors, the substrate has to be two things: flat and stiff. If the floor has any bounce, your grout will crack and tiles will pop loose. We often have to add another layer of plywood just to stiffen things up. Then we check for flatness with a long level. Industry standards say the floor shouldn’t have dips or humps of more than 1/4 inch over 10 feet. And for those popular large-format tiles? The rule is even stricter: no more than 1/8 inch over 10 feet. Fixing a floor that isn’t flat is non-negotiable.
So what do you do if your floor isn’t flat? Your best friend is a product called self-leveling underlayment. It’s a cement-like powder you mix with water and pour over the floor. It magically smooths everything out. A 50-pound bag costs around $40-$50 at a big box store and will cover about 50 square feet at 1/8-inch thick. It’s a game-changer, but you have to work fast once you mix it!
The Waterproofing Shield: Don’t Skip This!
Here’s a crucial fact: cement board itself is NOT waterproof. Water will pass right through it. You absolutely must apply a waterproofing membrane over it. I’ve seen so many beautiful showers fail because this step was skipped. There are two main ways the pros do it.
First, there’s the liquid-applied membrane. You’ve probably seen the bright red or blue stuff at the hardware store. You just paint or roll on a few thick coats. You want the final dry layer to be about the thickness of a credit card. One gallon usually costs about $60 and covers around 50-60 square feet. The key here is patience—you have to let it dry completely between coats, which can take several hours each.
The other option is a sheet membrane. This is a polyethylene fabric that you install over the backer board using mortar. It’s a fantastic, super-reliable system. It costs more upfront—maybe $100-$120 for the same 50-square-foot area—but the big advantage is that you can start tiling over it immediately. No waiting for it to dry. I once had an apprentice miss a tiny spot when sealing a corner with this system, and sure enough, we got a call a year later to fix a leak. It’s a lesson you learn once: every single inch has to be perfect.
Okay, NOW We Can Talk About Tile
Once your foundation is solid and sealed, you get to do the fun part. But the tile you pick affects more than just the look—it changes the installation and how you’ll have to care for it. I always ask people: Do you have kids? How much cleaning are you willing to do? The answers point us to the right material.
Here’s a quick rundown of the main players:
- Porcelain: The Workhorse. For most bathrooms, I push for porcelain. It’s fired at super high temperatures, which makes it incredibly dense and non-porous (less than 0.5% water absorption is the standard). It’s tough as nails and perfect for floors, walls, and even steam showers. It’s the closest thing to a “set it and forget it” material. Cost: Usually $3 to $10 per square foot. Maintenance: Super low.
- Ceramic: The Budget-Friendly Option. Standard ceramic tile is a bit softer and more porous than porcelain. I don’t love it for bathroom floors because it can chip more easily, but it’s a fantastic and affordable choice for walls. It’s also way easier to cut, which can save a bit on labor costs. Cost: Often a bargain at $1 to $7 per square foot. Maintenance: Low.
- Natural Stone (Marble, Travertine): The High-Maintenance Beauty. Nothing beats the look of real stone. It’s stunning. But you need to be honest with yourself about the upkeep. Stone is porous and stains easily. It HAS to be sealed before and after grouting, and then resealed every 6-12 months. And you can only clean it with special pH-neutral cleaners. One client spilled mouthwash on a new, unsealed marble floor… the stain is still there. Cost: All over the map, from $5 to $30+ per square foot. Maintenance: High.
A Quick Word on Popular Styles
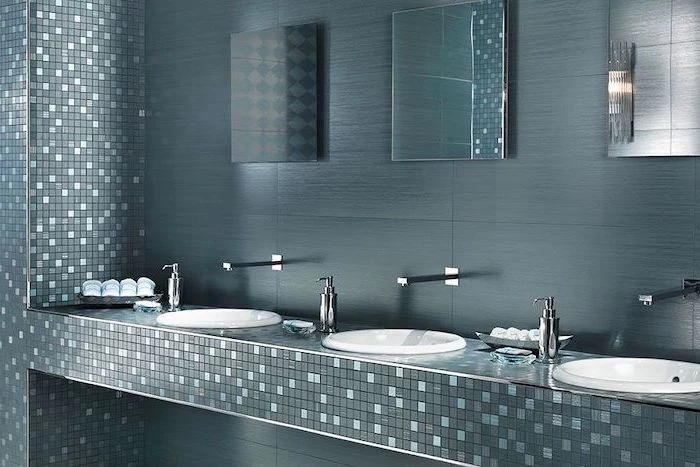
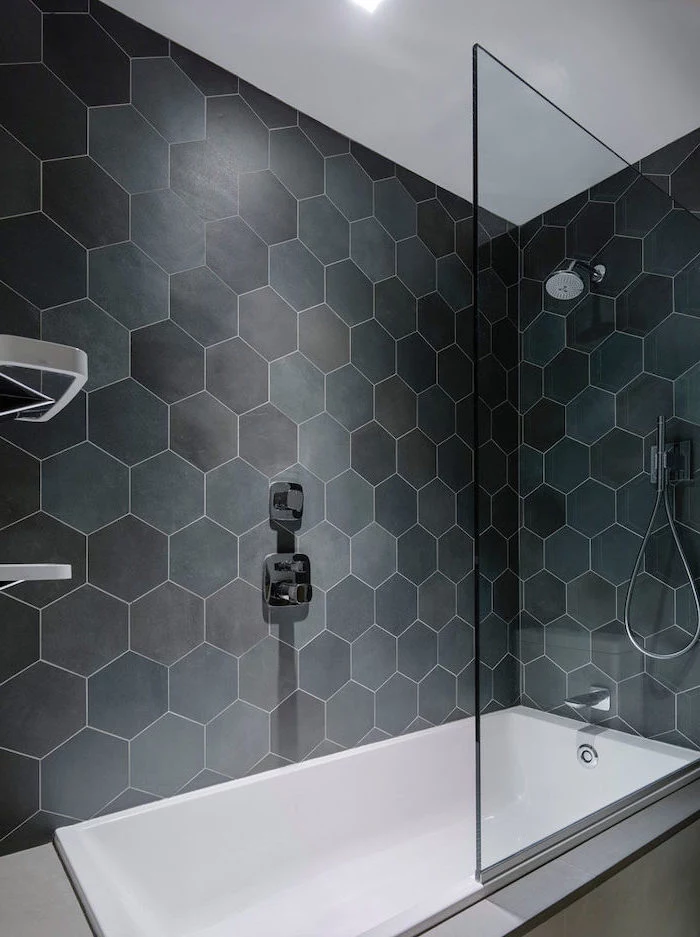
Glass tiles can look incredible, but they’re tricky. You can see the mortar right through them, so the application has to be flawless. We use a special white mortar to keep the color true.
And those wood-look porcelain planks are everywhere right now. They look great, but they’re long and narrow, making them prone to “lippage” (when one tile edge is higher than its neighbor). The key is a perfectly flat floor and using a tile leveling system—those little clips and wedges you see pros use. They’re worth every penny.
The Art of a Perfect Layout
A great layout is what separates a pro job from a DIY one. The goal is to avoid weird, skinny slivers of tile in obvious places, like at the door or along the tub.
We never just start tiling from a wall, because walls are almost never perfectly straight. Instead, we plan it all out first with a dry layout. It’s simple, and you should do it too:
- Find the center of the most important wall or the center of the floor.
- Snap a straight chalk line to guide your first row.
- Lay out a full row of tiles (with spacers!) without any mortar. See how it looks.
- Do you end with a tiny, awkward 1-inch piece at the end? If so, shift your starting line over by half a tile. Now you’ll have a larger, more balanced cut on both ends. This little bit of planning makes a world of difference.
Grout: More Than Just Filler
Grout seems like a small detail, but it completely changes the look. For grout joints wider than 1/8 inch, you need sanded grout for strength. For joints smaller than that, or for delicate tile like polished marble, you use unsanded grout so it doesn’t scratch the surface.
And then there’s epoxy grout. It’s a premium choice that’s waterproof and stain-proof, so it never needs sealing. It’s amazing for shower floors. The catch? It’s much harder to work with and costs more. It sets up fast, so you have to work in small batches and be a cleaning fanatic as you go.
Quick tip on color: I always nudge clients away from bright white grout on floors. It looks great for about a week. A medium gray or tan is far more practical. Look for popular pre-mixed colors like ‘Warm Gray’ or ‘Silver Shadow’ from the big grout brands; they look clean and do a fantastic job of hiding a little bit of future dirt.
The Tools and Tricks of the Trade
The real difference often comes down to technique. For example, when we spread mortar, we use a notched trowel. Here’s a good rule of thumb: for a standard 12×24 inch floor tile, I’ll grab my 1/2-inch square-notch trowel. For a tiny mosaic sheet, I’ll use a much smaller 3/16-inch V-notch trowel. We comb the mortar in straight lines, all in one direction. This lets air escape when we set the tile. Swirling the mortar traps air and creates weak spots.
And for any tile bigger than 12×12 inches, we always “back-butter” it—that just means we skim a thin, flat layer of mortar on the back of the tile itself before pressing it into place. It ensures a solid bond with no hollow spots underneath.
Costs, Safety, and When to Just Call a Pro
A bathroom remodel is a real construction project. Let’s talk about what you’re really in for.
The Beginner’s Shopping List (Besides the Tile!)
The tile itself is just one part of the budget. Before you start, make sure you have a plan for all the other stuff. Here’s a quick checklist:
- Cement backer board and the special screws for it
- Fiberglass mesh tape for the seams
- Your waterproofing membrane (liquid or sheet)
- The right thin-set mortar for your tile
- The right trowel for that mortar
- Grout and a grout float
- Tile spacers or a leveling system
- A good wet saw or tile cutter
- Caulk that matches your grout color
The Real Costs
Be prepared for surprises. Tearing out an old shower often reveals hidden water damage or old plumbing that needs updating. As for labor, hiring a qualified tiler can run anywhere from $10 to $25 per square foot just for the installation, depending on the complexity of the job and where you live. Yes, it’s a lot, but a leaking shower will cost you many times more to fix down the road.
I have a ton of respect for homeowners who want to tackle projects themselves, but some things are best left to the pros. If you’re planning a curbless walk-in shower, using very large or expensive tile, or if your floors and walls are a mess, I’d strongly advise you to hire someone. That peace of mind is the real value a professional brings to your home.
Inspirational Gallery
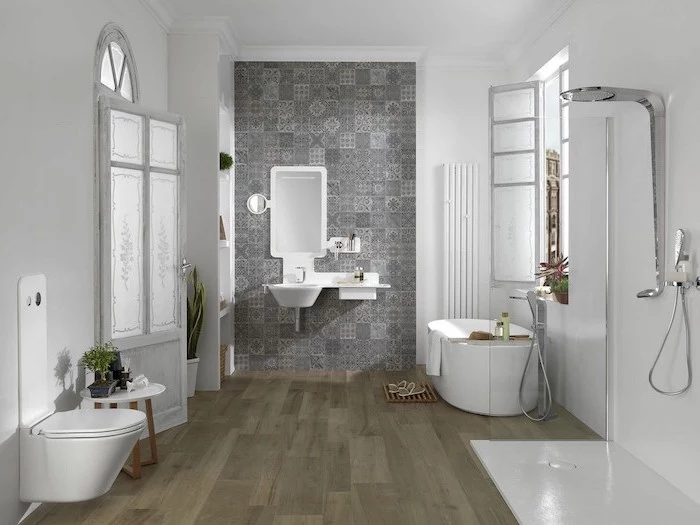
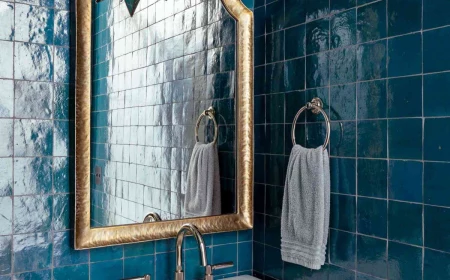
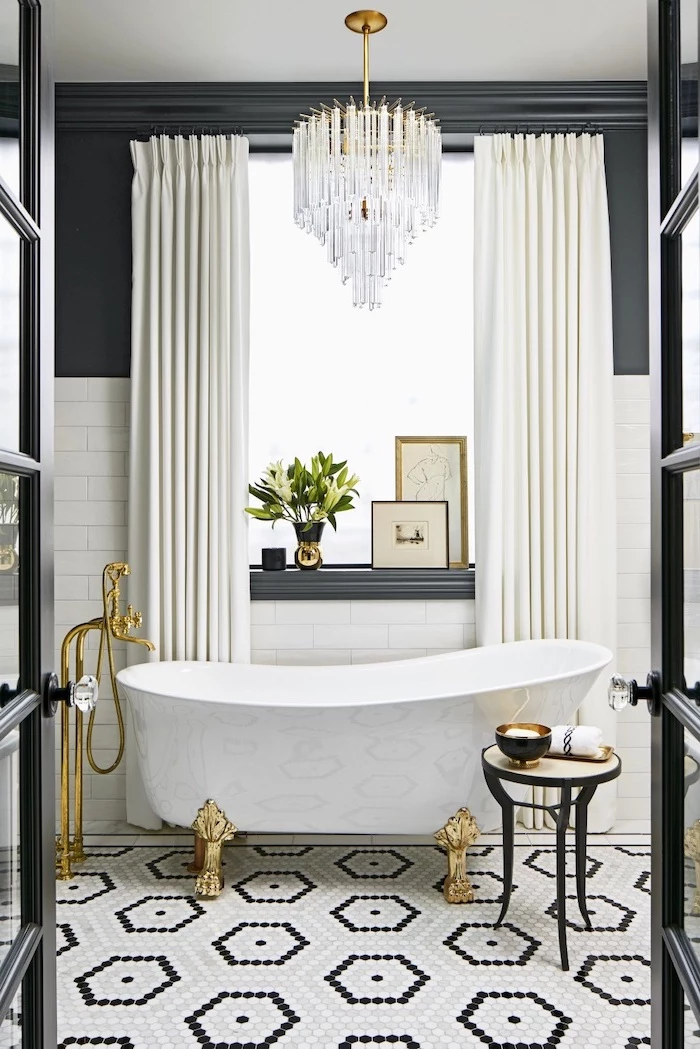
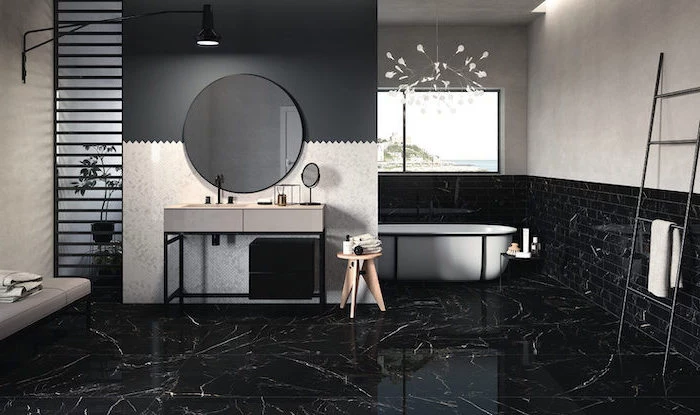
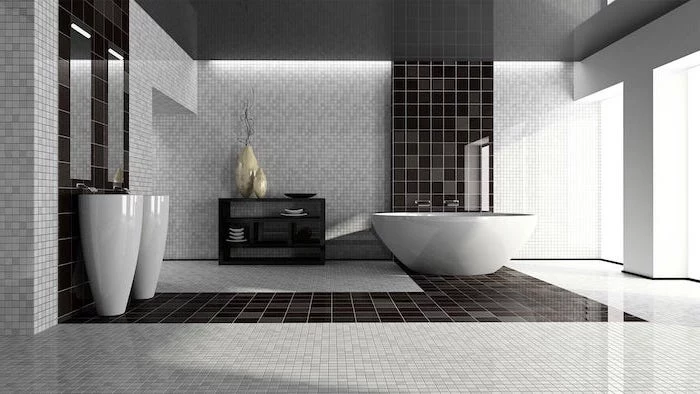
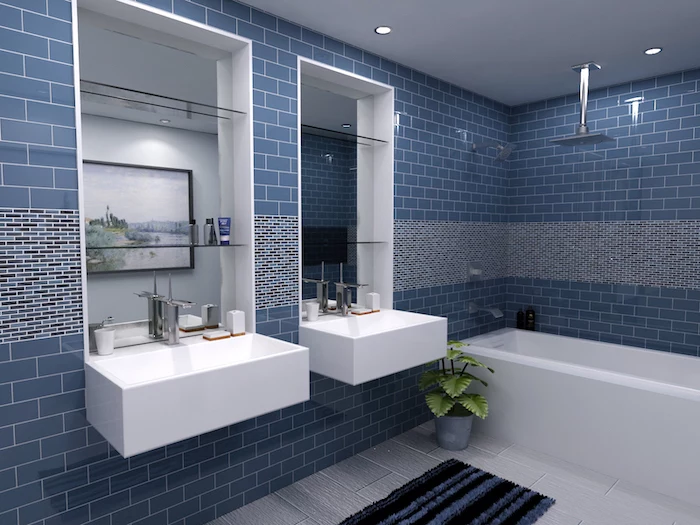
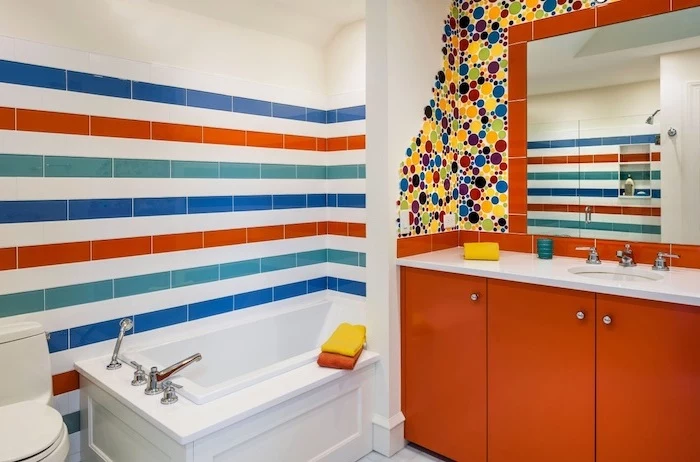
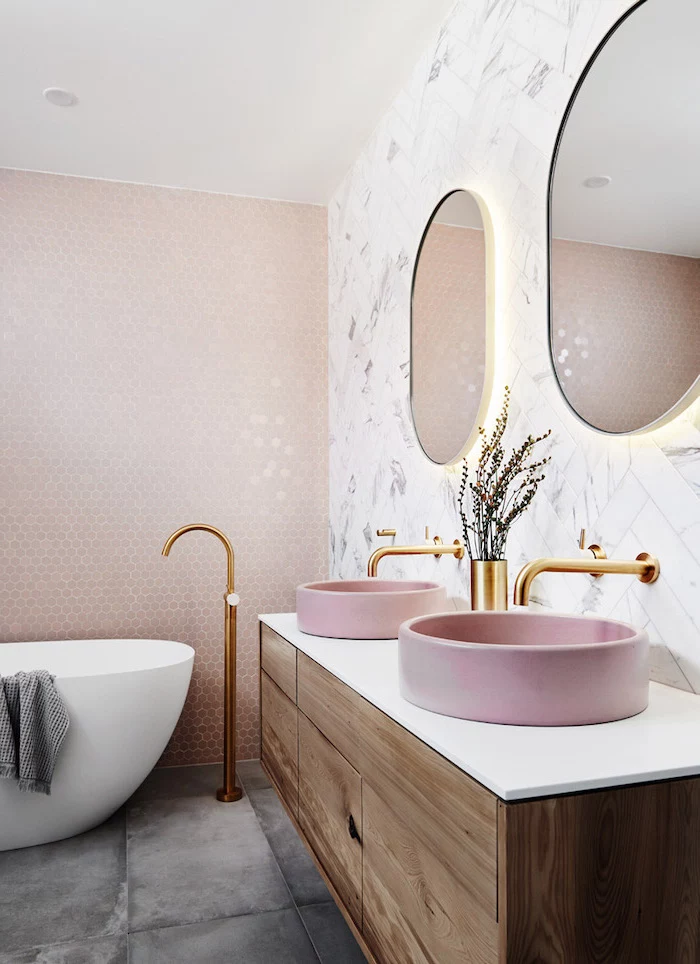
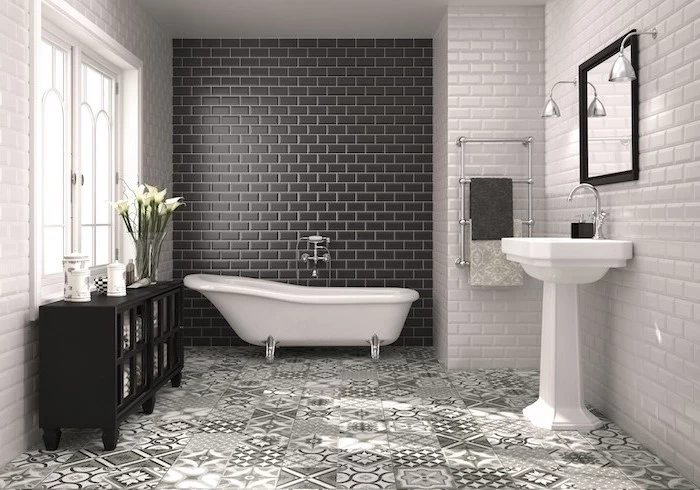
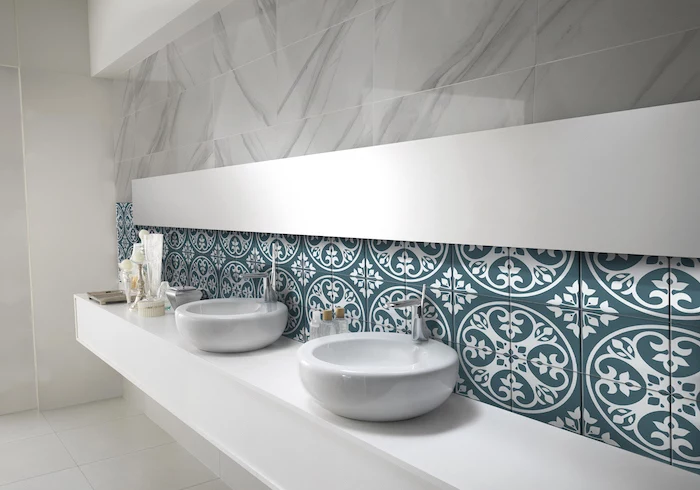
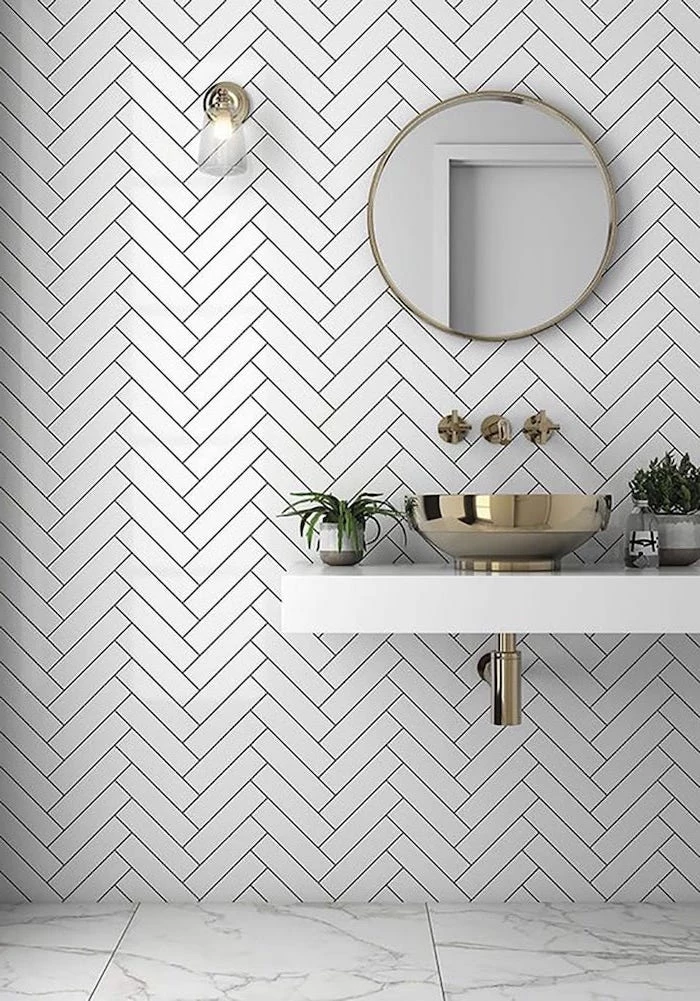
The Grout Color Secret: It’s not just filler; it’s a design choice. A contrasting grout color (like black with white subway tile) creates a bold, graphic pattern that makes each tile pop. A matching grout color blends the lines, resulting in a serene, monolithic surface. Brands like Mapei and LATICRETE offer dozens of shades, so don’t just default to standard gray.
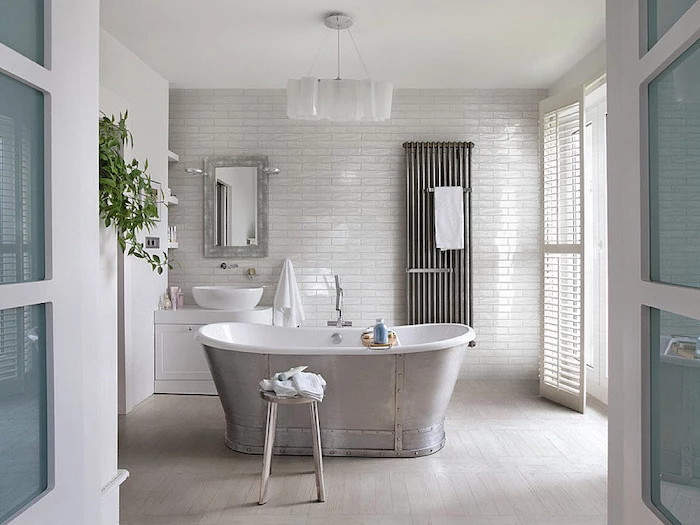
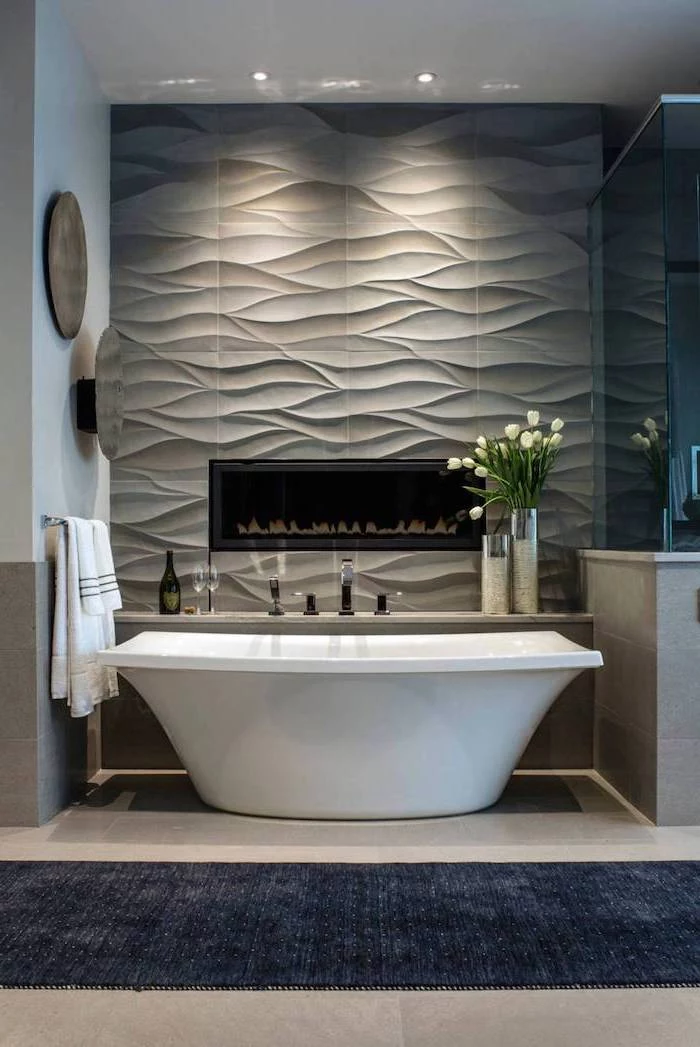
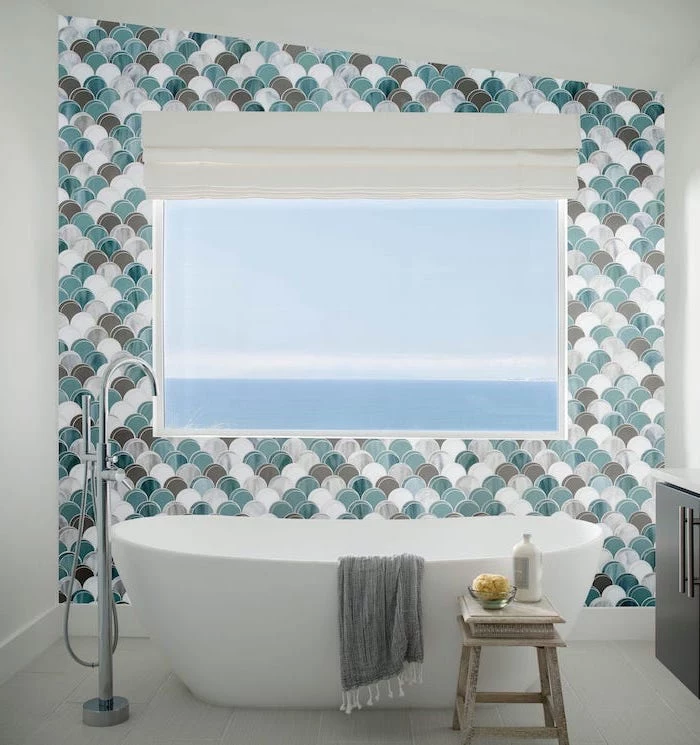
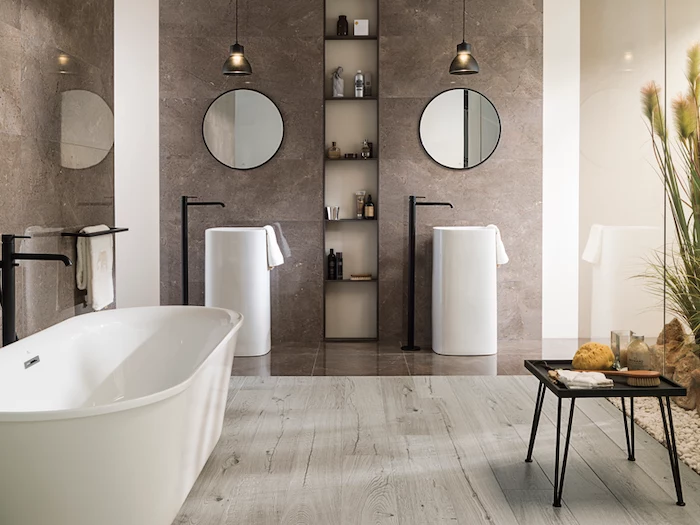
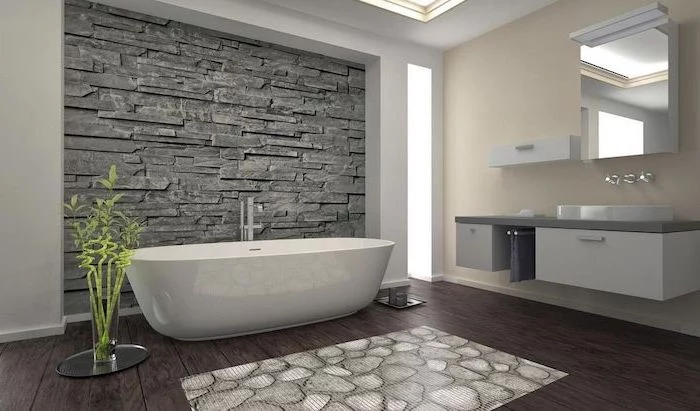
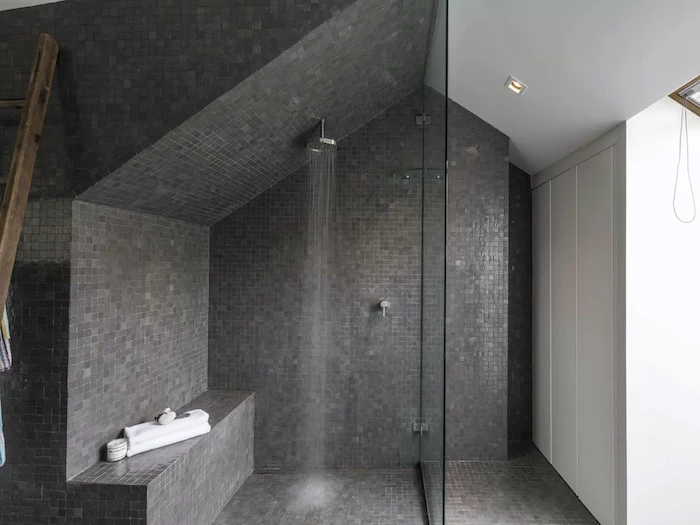
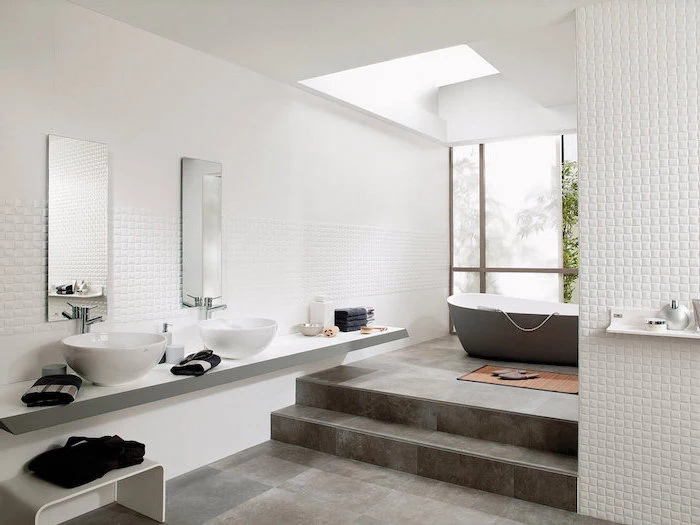
- Fewer grout lines to clean.
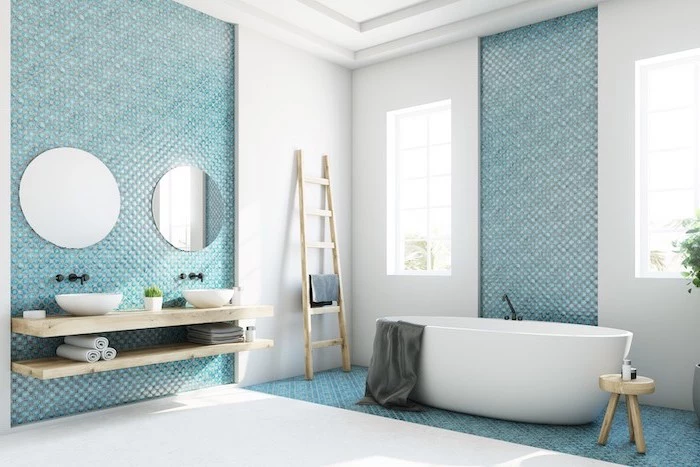
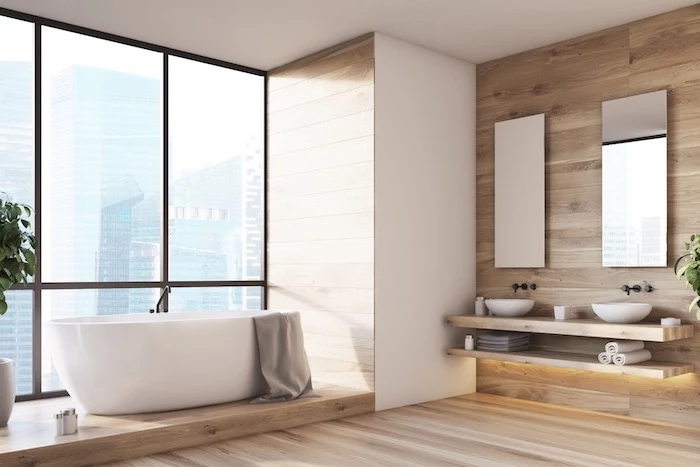
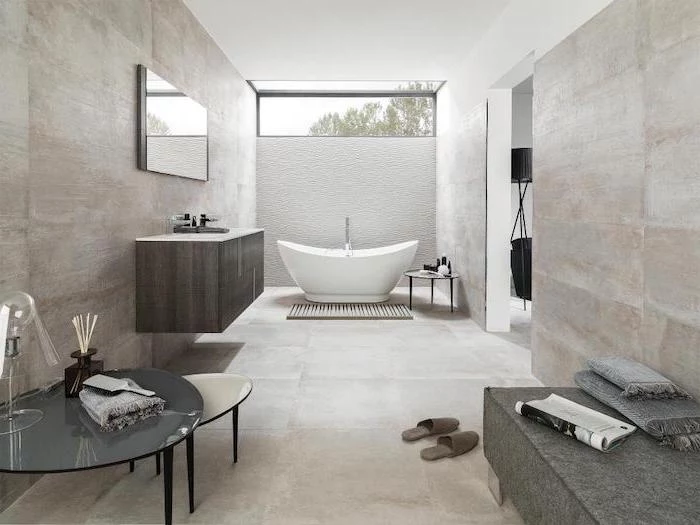
- Creates an illusion of a larger, more seamless space.
- Provides a sleek, contemporary and luxurious feel.
The secret? Using large format tiles. Slabs of porcelain measuring 24×48 inches or even larger are revolutionizing bathroom design, minimizing maintenance while maximizing impact.
According to the Tile Council of North America (TCNA), porcelain tile must have a water absorption rate of 0.5% or less to be classified as such.
This isn’t just a technical detail. It’s why porcelain is the undisputed champion for bathroom floors and shower walls. Its dense body means it’s practically impervious to water, making it far more durable and stain-resistant than its more porous cousin, ceramic tile, in high-moisture environments.
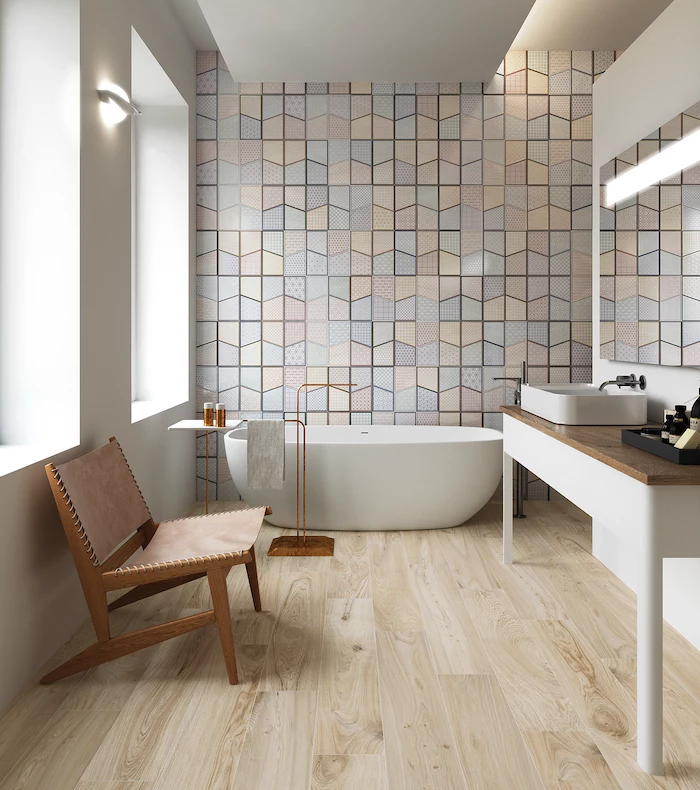
What exactly is a ‘rectified’ tile?
A rectified tile has been mechanically cut or ground to a precise, uniform size with sharp 90-degree edges. This process allows for installation with extremely thin grout lines (as narrow as 1/16 inch), creating a clean, seamless look that’s perfect for modern and minimalist aesthetics. In contrast, standard pressed tiles have slightly rounded, less uniform edges, requiring wider grout lines.
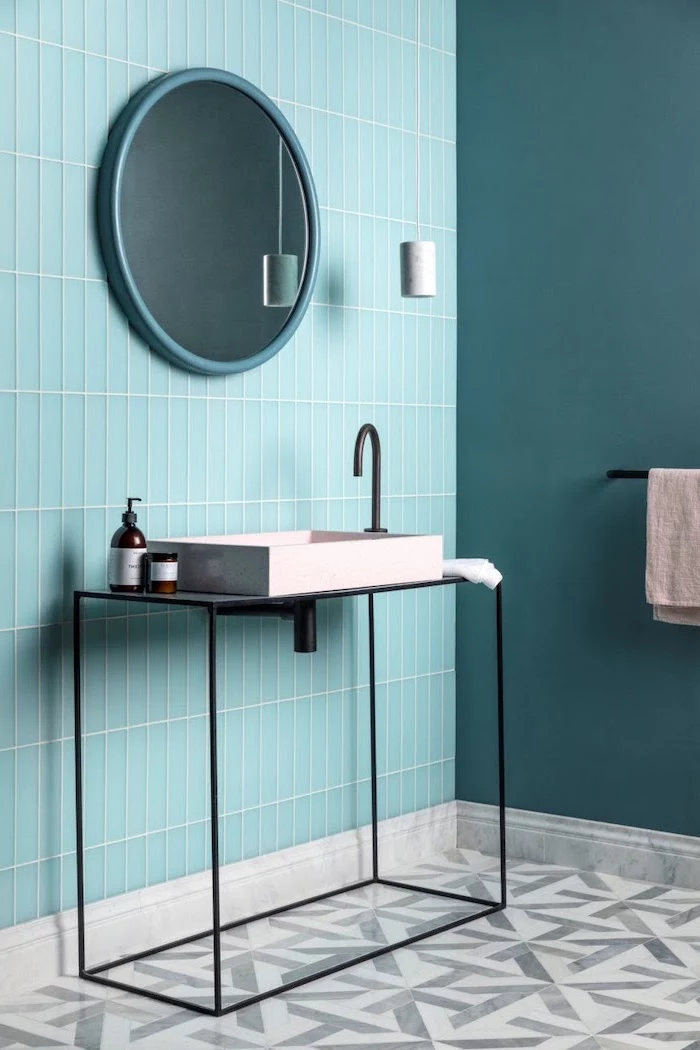
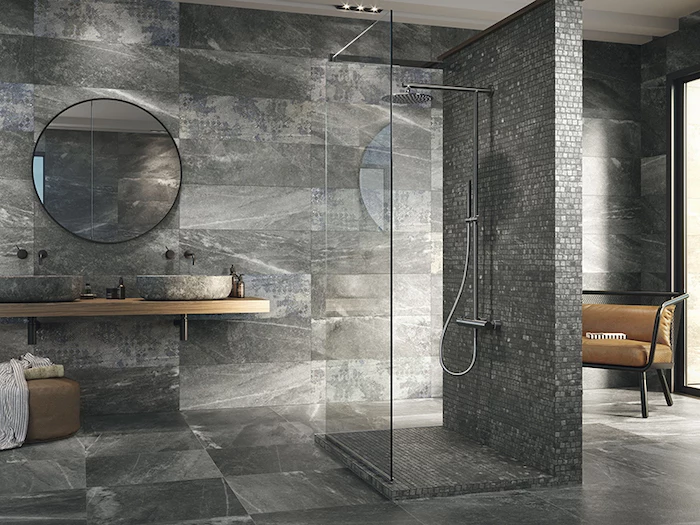
When considering tile finishes, think about light and maintenance:
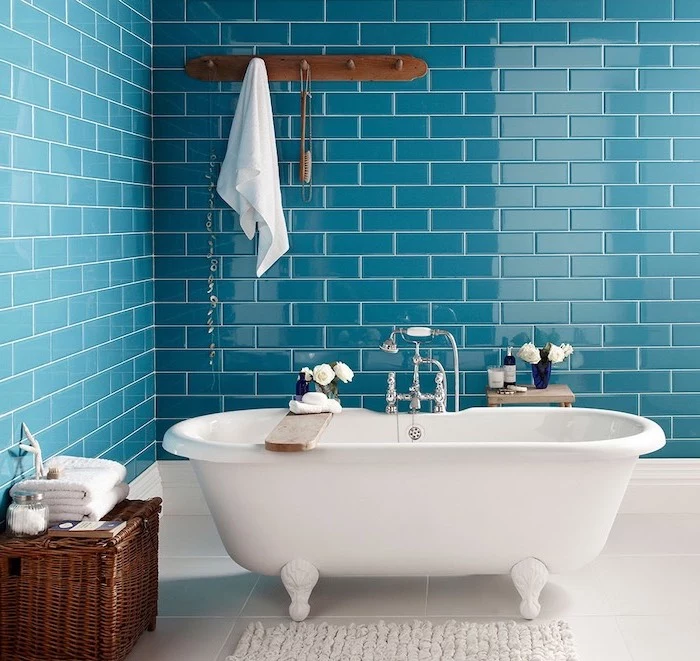
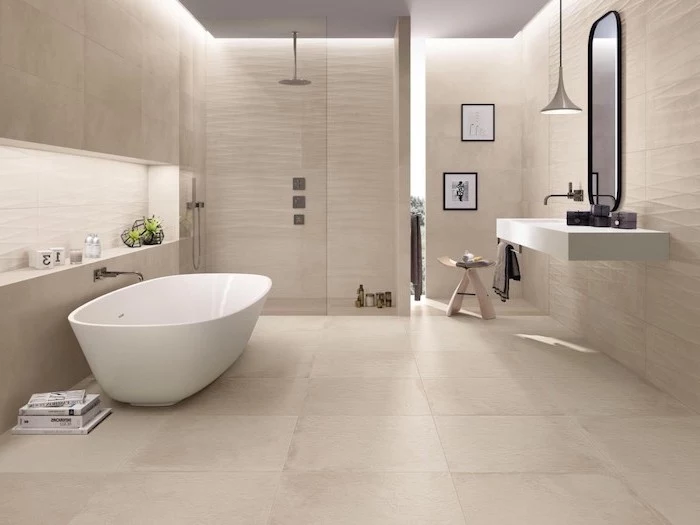
- Glossy: Bounces light around the room, making a small bathroom feel brighter and bigger. Best for walls as it can be slippery on floors and shows water spots.
- Matte: Offers better traction underfoot and masterfully hides smudges and watermarks. Its non-reflective surface provides a soft, contemporary look.
- Honed: A finish primarily for natural stone, it’s a satin-smooth surface that’s less reflective than polished but more lustrous than matte, offering a truly high-end feel.
The unsung hero of a truly bulletproof shower is epoxy grout. Unlike traditional cement-based grout, it isn’t porous. It’s chemically cured, making it waterproof, nearly impossible to stain, and resistant to harsh chemicals and mold. While it requires a more demanding installation process, for a shower floor or kitchen backsplash that will see heavy use, the long-term performance is unbeatable.
Heated Floors: The Ultimate Upgrade
Imagine stepping out of the shower onto a warm, welcoming floor. That’s the magic of radiant floor heating. Systems like Schluter-DITRA-HEAT combine waterproofing, uncoupling (to prevent cracks), and heating cables into a single, integrated layer. It’s an invisible luxury that completely transforms the feeling of a bathroom, especially in colder climates.
Ceramic Tile: An affordable and versatile option, made from a softer, less dense clay. It’s easier to cut, making it a favorite for DIY wall projects.
Porcelain Tile: Fired at higher temperatures with finer clay, it’s dense, durable, and highly water-resistant. The superior choice for any floor, especially in a bathroom.
For high-traffic floors and wet areas, the durability of porcelain is worth the investment.
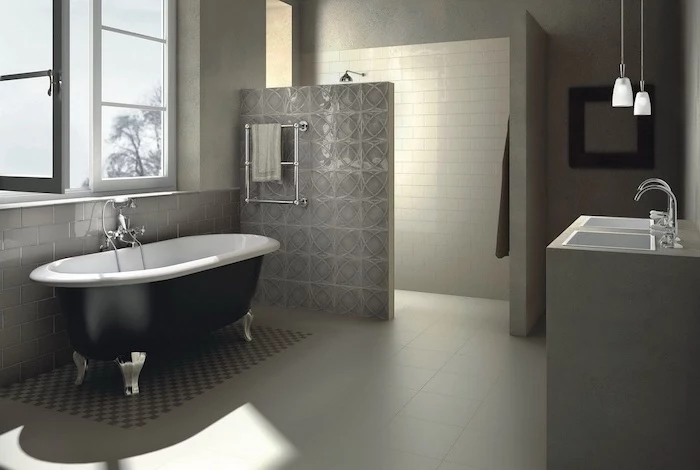
A common mistake: Tiling right up to a bathtub or where a floor meets a wall and filling that joint with grout. Grout is rigid and will crack as the different planes of the house subtly shift. Always use a 100% silicone or flexible color-matched caulk in these corners and changes of plane. It’s designed to absorb movement.
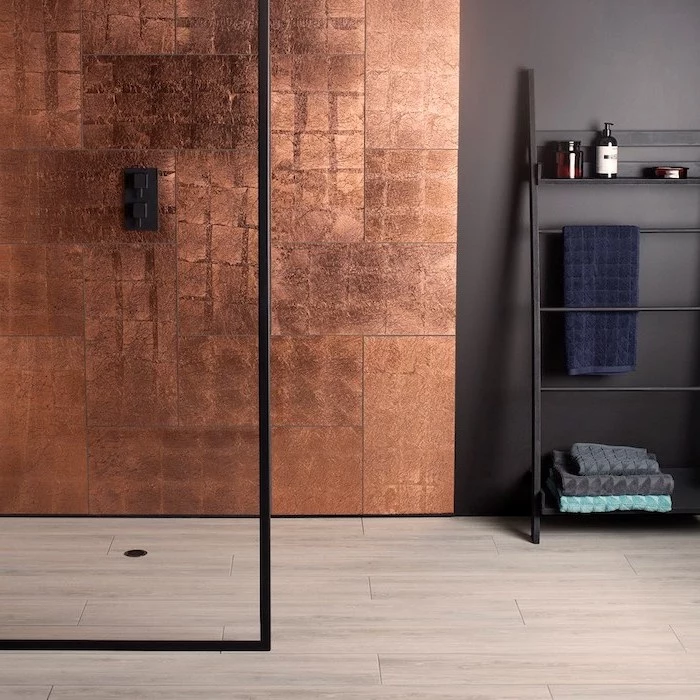
The final touch that separates an amateur job from a professional one is often the edge trim. Instead of a clumsy line of caulk on an exposed tile edge, consider a metal profile. Brands like Schluter Systems offer a huge range of profiles (like the minimalist JOLLY or quadrant-shaped RONDEC) in finishes from matte black to brushed brass, providing a clean, protected, and highly designed finish to any tile installation.
- Sanded Grout: Contains fine sand for strength and to prevent shrinkage. It’s the standard choice for most floors and for grout lines wider than 1/8 inch.
- Unsanded Grout: A smoother mix without sand, designed for delicate, easily-scratched surfaces like glass or polished marble, and for very narrow grout lines (1/8 inch or less).
Are tile leveling systems worth it?
Absolutely, especially with large format or rectified tiles. These systems, like the Spin Doctor or T-Lock, use clips and wedges to pull adjacent tiles to a flush, even surface while the mortar cures. This prevents
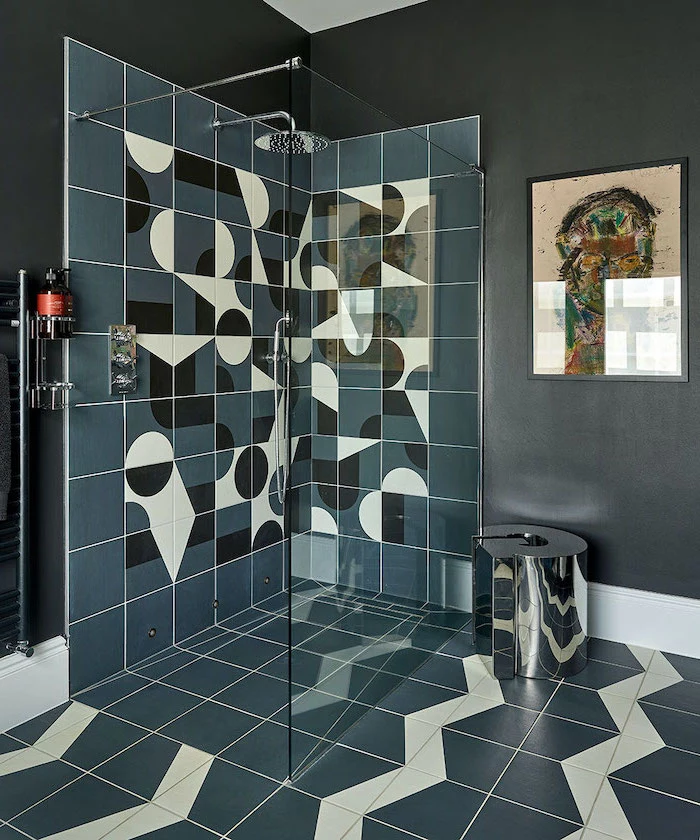
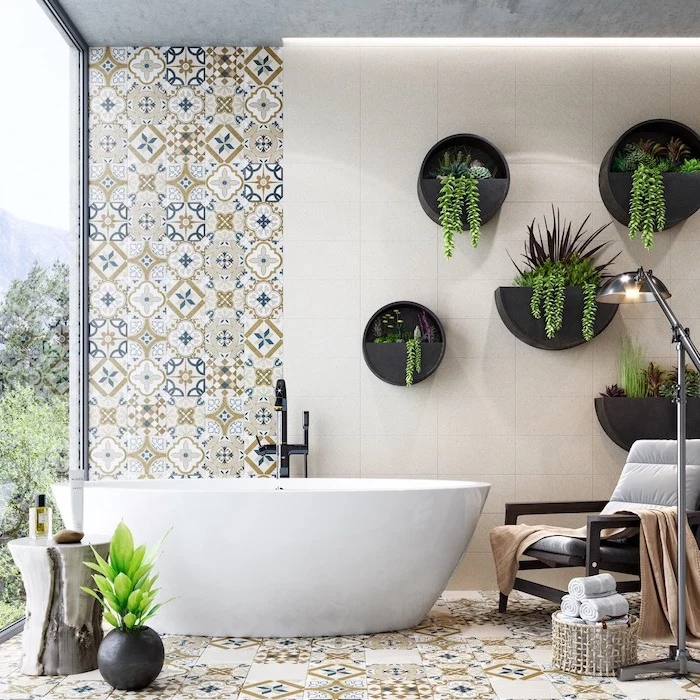
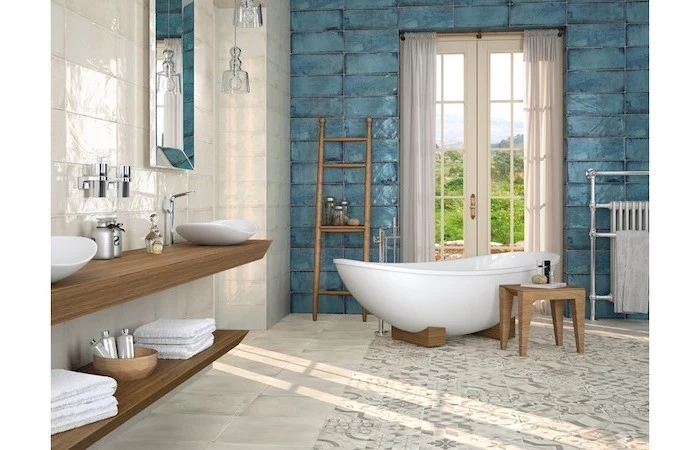
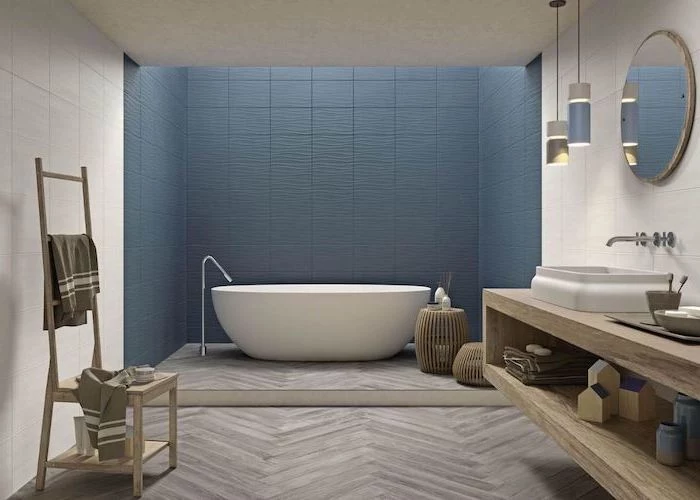
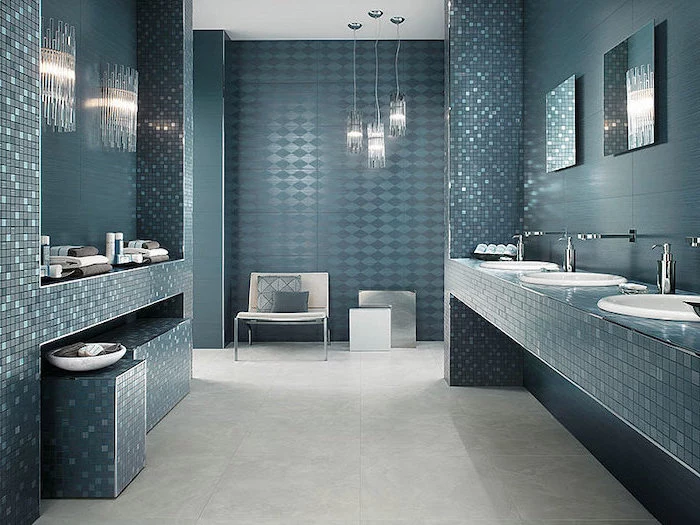
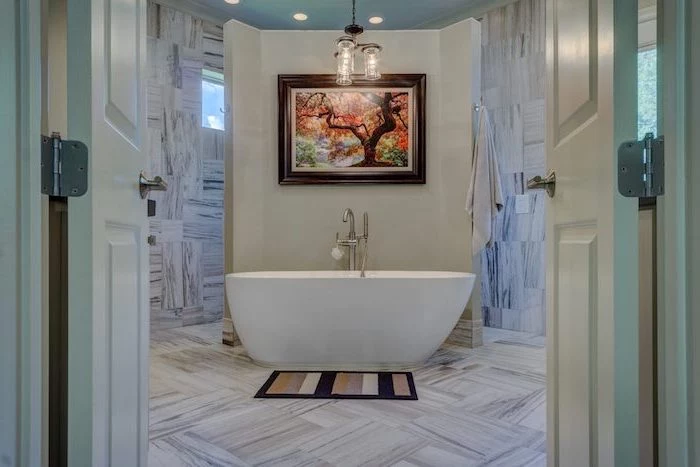
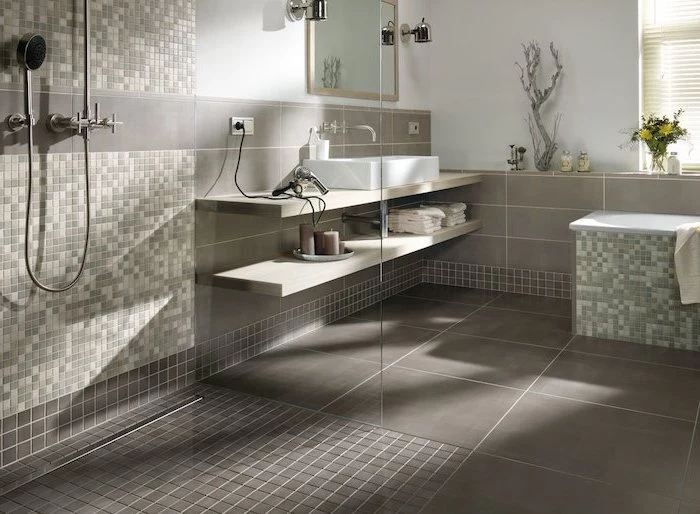
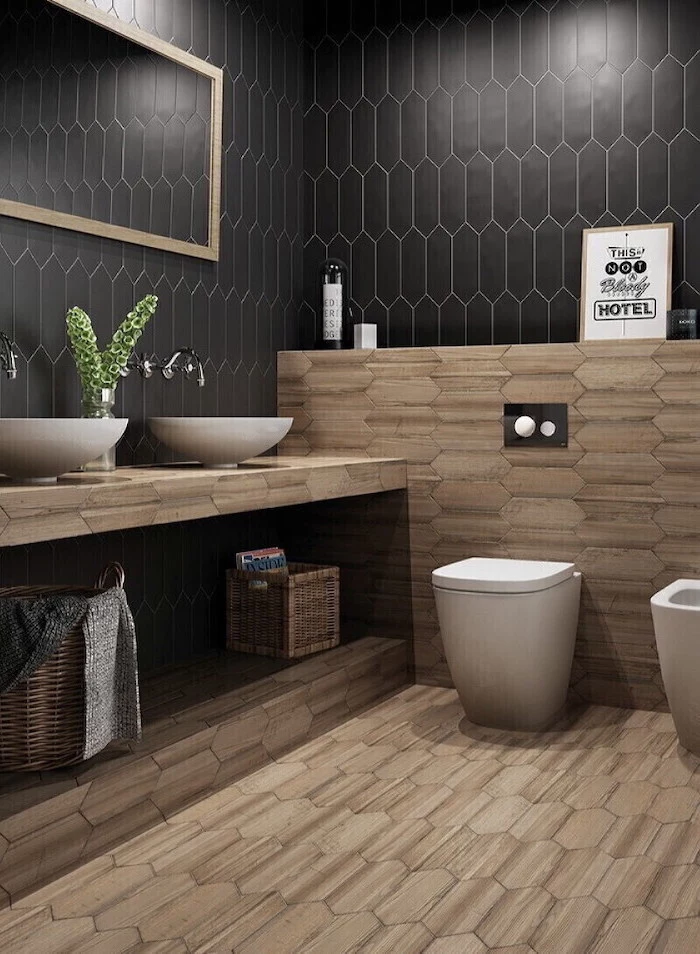
Think beyond the tile itself and consider the pattern. A simple subway tile can be completely transformed by its layout. A classic brick-like ‘running bond’ is timeless, but a ‘vertical stack’ can make a ceiling feel higher, while a ‘herringbone’ pattern adds dynamic energy and a touch of European elegance.
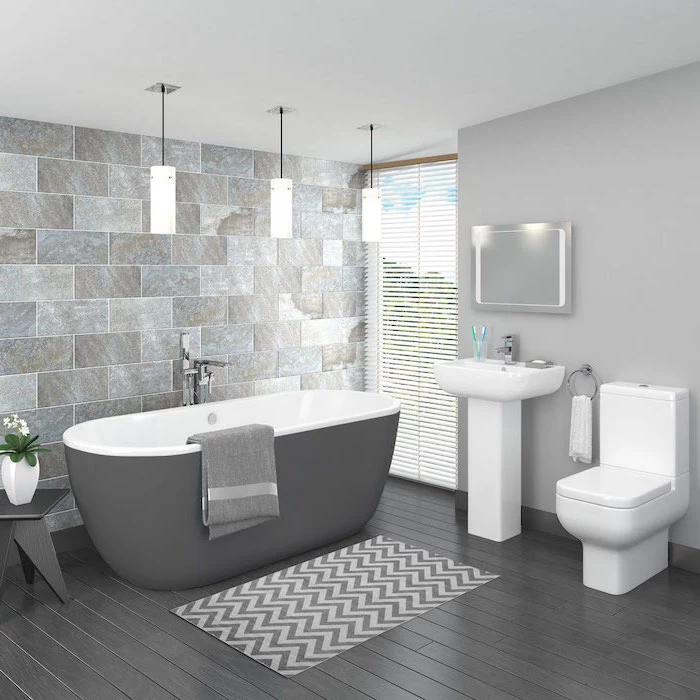
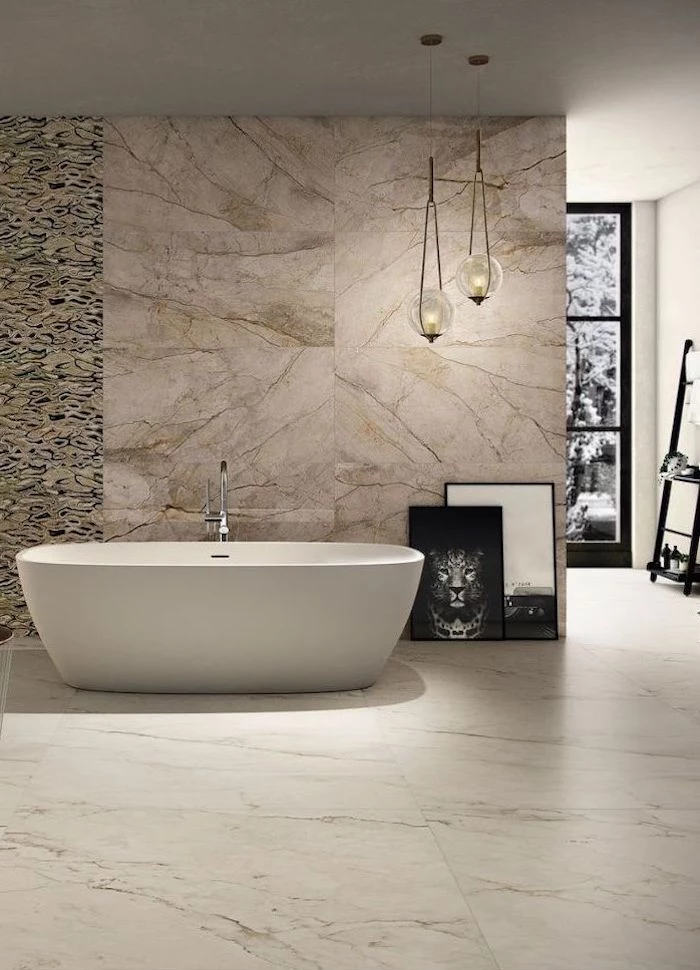
Did you know a standard 12×24 inch porcelain tile can weigh between 7 and 9 pounds? For a 5×8 foot shower wall, that’s over 400 pounds of material hanging on your wall.
This is precisely why the article stresses the importance of a solid, waterproof substrate. It’s not just about water; it’s about having a foundation strong enough to carry that significant weight for decades without sagging, flexing, or failing.
The PEI Rating: When choosing floor tile, look for its PEI (Porcelain Enamel Institute) rating. This scale from 1 to 5 indicates the tile’s resistance to abrasion and its suitability for foot traffic. A PEI 1 is for walls only, while a PEI 4 or 5 is recommended for heavy residential or even light commercial traffic, making it perfect for a busy family bathroom floor.
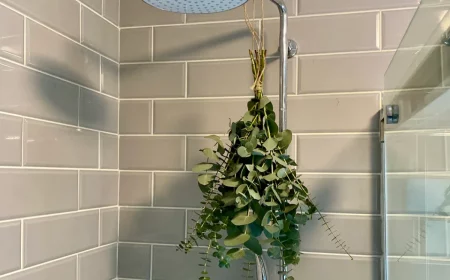
For a touch of spa-like serenity, consider pebble tile for your shower floor. The rounded stones provide a gentle, natural massage underfoot. They typically come on mesh sheets for easier installation, but pay close attention during grouting to ensure complete coverage around each stone for a comfortable and durable finish.

- Create a waterproof, recessed shelf for shampoos and soaps.
- Adds a high-end, custom design element.
- Eliminates the need for clumsy shower caddies.
The secret? A pre-formed shower niche. Companies like Schluter-KERDI-BOARD offer lightweight, waterproof, and ready-to-tile niches in various sizes, making this professional feature much easier to incorporate into your shower wall.
Can you tile over old tile?
Technically, yes, but with major caveats. The existing tile must be completely solid, with no loose or cracked pieces, and perfectly flat. You’ll need to scuff the glossy surface of the old tile and use a specialized primer, like Mapei’s Eco Prim Grip, to create a surface the new thin-set mortar can adhere to. However, this will raise your floor height, which can create transition issues at doorways.
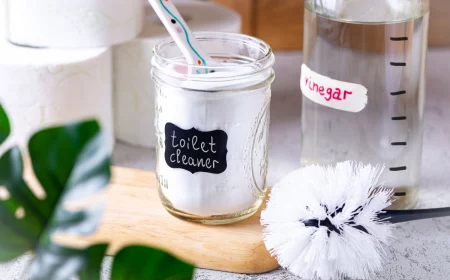
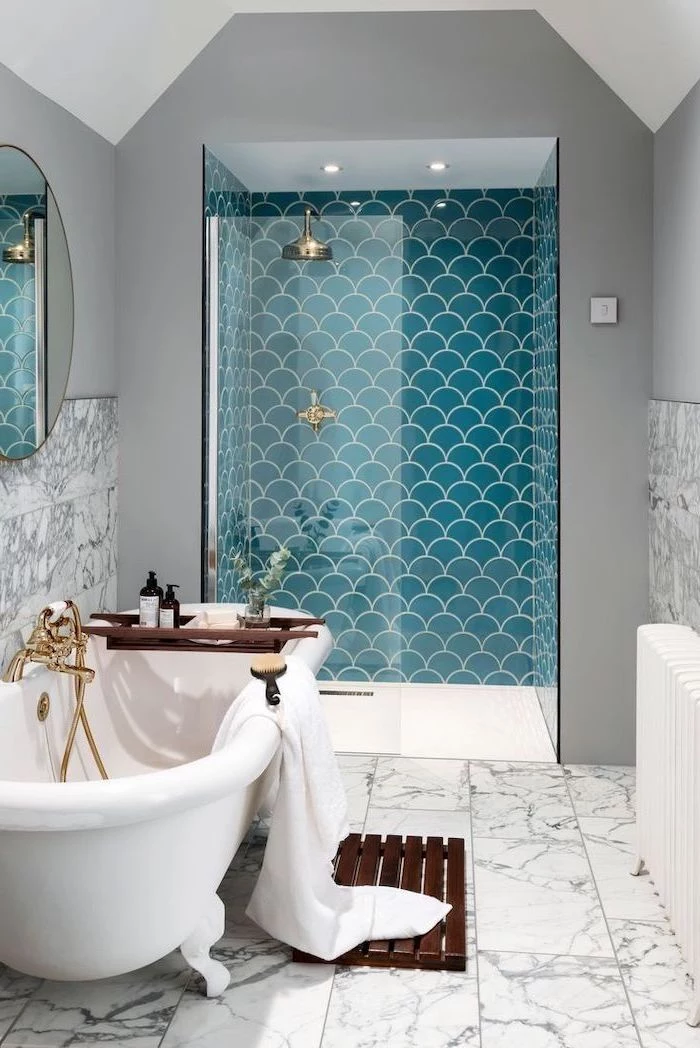
Caring for Natural Stone: Marble, travertine, or slate tiles are beautiful but demand specific care. They are porous and acid-sensitive. Never use vinegar, bleach, or common all-purpose cleaners on them. Stick to a pH-neutral cleaner specifically formulated for stone and be sure to re-apply a quality penetrating sealer every 1-2 years to prevent staining.
Glass tiles can add a luminous, jewel-like quality to a bathroom wall or backsplash. However, they require special care. Use a bright white, high-performance thin-set mortar specifically designed for glass; a standard gray mortar will show through and dull the color. Also, be sure to use an unsanded grout to prevent scratching the delicate surface.
Before a single tile is set, perform a
The Trowel Matters: A common DIY error is using the wrong size notched trowel. The goal is to get full mortar coverage on the back of the tile. For large format tiles (12×24 or bigger), you’ll need a trowel with deeper notches, like 1/2
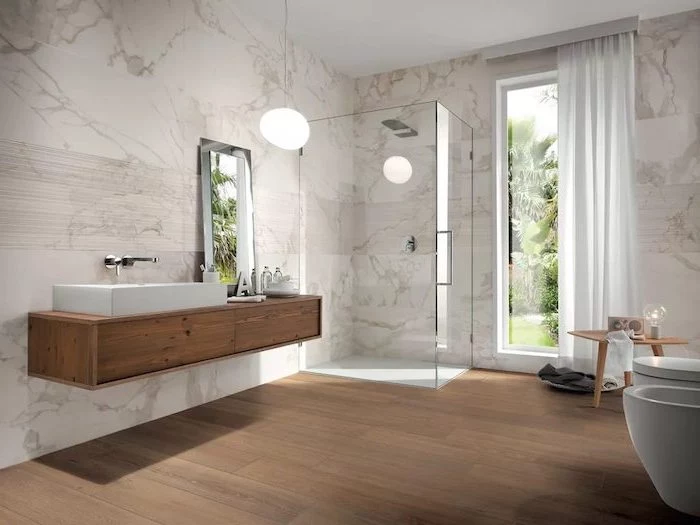
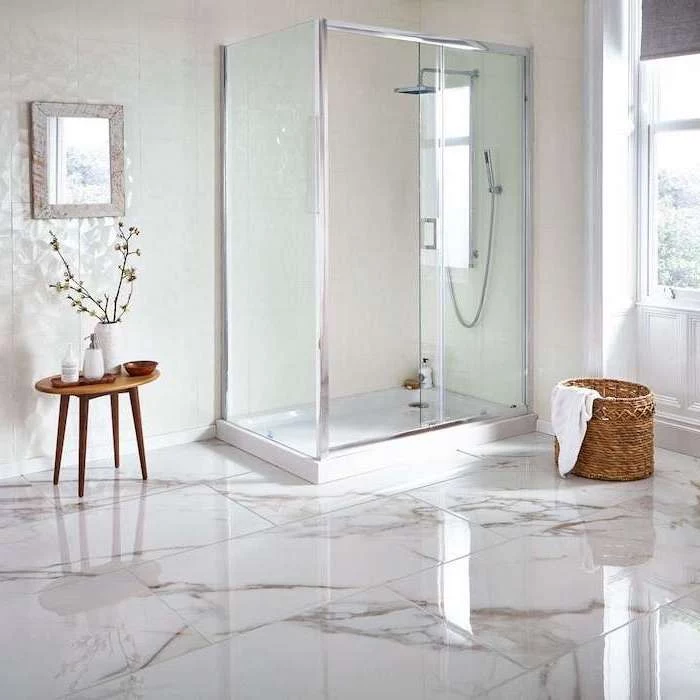
Looking for the marble look without the maintenance or cost? High-definition porcelain has become incredibly realistic. Manufacturers like Porcelanosa or Marazzi use advanced printing technology to create tiles that convincingly replicate the veining and depth of Calacatta or Carrara marble, giving you a luxurious look with the bulletproof durability of porcelain.