Your Bathroom Remodel Playbook: A Pro’s Guide to Doing It Right (Without Losing Your Mind)
So, you’re thinking about remodeling your bathroom. Awesome! I’ve been in this game for a long time, and I’ve seen it all—from tiny powder rooms getting a facelift to massive master suites being gutted to the studs. The most successful projects, the ones that make homeowners genuinely happy for years, all have one thing in common: a solid plan.
In this article
- On a Tight Budget? Start Here with Quick Wins.
- The Blueprint: Layout, Spacing, and a Realistic Budget
- The Gritty Work: Demolition and Bulletproof Waterproofing
- The Guts of the Room: Plumbing & Electrical
- The Fun Part: Surfaces and Finishes
- Choosing Your Fixtures
- The Final Details and Protecting Your Investment
- Inspirational Gallery
A great remodel isn’t just about picking out pretty tile or a cool-looking sink. Honestly, that’s the fun part at the end. The real magic is in creating a space that functions beautifully, is built to last, and is safe for your family. It’s easy to get caught up in the final look and forget about the crucial stuff happening behind the drywall. This guide is my brain dump of everything I’ve learned, walking you through the process just like I would with my own crew.
The number one mistake I see? People dive in without a clear roadmap. They fall in love with a huge double vanity online, buy it, and only then realize it won’t let the bathroom door open all the way. Whoops. A well-planned remodel is one of the best bangs for your buck in home improvement, but a messy one… well, that’s just a headache waiting to happen. We’re going to cover it all, from layout to waterproofing, so you can ask the right questions and feel confident, whether you’re going full DIY or hiring a team.
On a Tight Budget? Start Here with Quick Wins.
By the way, not every bathroom project has to be a full-blown, down-to-the-studs renovation that costs a fortune. If you’ve only got a weekend and a budget under $1,000, you can still make a massive difference.
Think about these high-impact updates:
- A Fresh Coat of Paint: This is the classic for a reason. A couple of gallons of quality, moisture-resistant bathroom paint will run you about $80-$100 and can completely change the vibe of the room in a single afternoon.
- New Lighting and Hardware: Swap out that dated vanity light for something modern. You can find stylish options for $100-$250. While you’re at it, new drawer pulls, a towel bar, and a toilet paper holder can make the whole space feel more cohesive. Budget another $100 for a decent set.
- Upgrade Your Faucet and Showerhead: A new faucet can instantly make an old sink look better. Prices range from $75 to $300. A new showerhead can improve your daily routine for as little as $50.
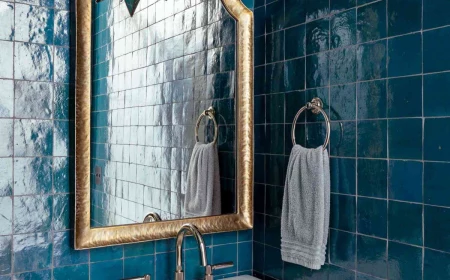
- Frame the Mirror: That big, plain plate-glass mirror? You can add a custom-look frame to it using kits you can find online or at home improvement stores for around $100. It’s a game-changer.
See? You don’t always need a sledgehammer to make a change.
The Blueprint: Layout, Spacing, and a Realistic Budget
Okay, for the bigger projects, your first step is to grab a tape measure and get to know your space intimately. Write down the length, width, and ceiling height. Pinpoint the exact location of the toilet drain, the vanity water lines, and the tub drain. Note where the windows and doors are, and—this is a big one—which way the door swings. An inward-swinging door can be a real space-killer in a small bathroom.
Your Turn! A Quick Reader Challenge: Grab that tape measure right now. Does your toilet have at least 15 inches from its centerline to the wall or vanity next to it (for a total of 30 inches of width)? Do you have at least 21 inches of clear space in front of it? You might be surprised by how tight things already are!
This is where drawing a simple sketch on graph paper can save you thousands of dollars. It helps you visualize how that new, bigger vanity will crowd the toilet, or how a swinging glass shower door might bonk into the toilet. These little details, known as clearances, are dictated by building codes for a reason—they ensure the room is actually usable. A shower, for example, needs to have an interior space of at least 30×30 inches. Ignoring these rules makes a bathroom feel awkward and can even fail a building inspection, which is a major pain.
Let’s Talk Real Money: Budgeting Beyond the Pretty Stuff
So what does a bathroom remodel actually cost? It’s the million-dollar question, right? It obviously varies a ton based on where you live and how fancy you get, but let’s break it down into some rough tiers.
- The $5,000 – $10,000 Range: This is typically a cosmetic update. You’re keeping the layout the same (no moving toilets or showers!), but you’re replacing the vanity, toilet, flooring, and fixtures, and giving it a great paint job. You might be doing a lot of the labor yourself to stay in this bracket.
- The $15,000 – $25,000 Range: This is the most common ballpark for a full remodel with a professional crew. For a typical 5×8 foot bathroom, this involves tearing everything out, putting in new tile, a new tub/shower combo, a nice vanity, and all new fixtures. This is where you get into proper waterproofing and new plumbing/electrical.
- The $25,000+ Range: Now you’re talking luxury. This could involve moving walls, changing the layout significantly (like moving the toilet, which is a big job), a high-end curbless shower, custom cabinetry, and premium materials.
Here’s a pro tip on budgeting: a professional quote is usually broken into thirds. For a $15,000 job, for instance, you can expect something like $7,000 for labor, $5,000 for materials (tile, backer board, mortar, etc.), and $3,000 for fixtures (the tub, toilet, vanity). And ALWAYS, always have a contingency fund. Set aside an extra 15-20% for surprises. When you open up a wall, you never know if you’ll find old water damage or scary wiring. It’s better to have the cash and not need it than the other way around.
As for timelines, a cosmetic update might take a few days to a week. A full gut remodel of a standard bathroom with a pro crew will typically take 2 to 4 weeks, assuming no major surprises or delays in getting materials.
The Gritty Work: Demolition and Bulletproof Waterproofing
This is it. This is the single most important phase of your project. The work you do here, the stuff nobody will ever see, determines whether your beautiful new bathroom lasts five years or thirty. Seriously.
Before a single hammer swings, turn off the water to the whole house and drain the lines. Then, head to the breaker panel and kill the power to the bathroom. Use a voltage tester to double-check that the wires are dead before you touch anything. Safety first, always.
A quick but critical heads up: if your home was built several decades ago, you could have asbestos in old vinyl flooring or lead in the paint. Disturbing these can be incredibly dangerous. I once saw a project where a DIYer tried to scrape a “popcorn” ceiling and ended up contaminating his entire house with asbestos fibers. The professional abatement and cleanup cost him way more than the remodel itself. If you have any suspicion, get it tested. It’s a few hundred bucks for peace of mind. If it’s positive, you absolutely must hire a licensed abatement pro. Don’t mess with this stuff.
The Secret to a Bathroom That Lasts: Waterproofing
A bathroom is a wet room. Your goal is to build a waterproof box inside the room, especially in the shower and tub area. This is where so many people cut corners, and it always, always leads to mold, rot, and failure down the line.
Rule #1: Regular drywall has no place in a shower. Not even the green, moisture-resistant kind. It’s not waterproof, and when it gets wet, it will turn to mush. You need to use a proper tile backer board. The two main players are cement board and foam board. Cement board is solid and stable, but water can pass right through it, so you have to waterproof over it. Foam boards are lighter and come with a waterproof layer already built-in, which is a nice all-in-one solution, though they do cost a bit more.
The real defense is the waterproofing membrane. Think of it as a seamless rubber liner for your shower. You can either paint on a liquid membrane (like RedGard or AquaDefense), making sure you get a final thickness like that of a credit card, or you can use a sheet membrane, which is a fabric-like material you install with mortar. Either way, this is where you can’t afford mistakes.
Top 3 Waterproofing Mistakes I Always See:
- Screwing through the membrane at the bottom. People install their waterproof membrane and then put screws for the cement board through it in the bottom 6 inches of the shower. That’s like poking holes in a boat. All screws should be above the flood line.
- Not sealing the seams and corners properly. This is where leaks start. Every corner, every screw head, every seam needs to be meticulously sealed with fiberglass mesh tape and more membrane.
- Ignoring the shower curb. The curb is the little dam that holds water in your shower. It needs to be waterproofed just as thoroughly as the walls, with the membrane wrapping completely over it.
Good to know: If you’re building a shower floor (the pan), you can buy pre-sloped foam trays now. They make getting the perfect 1/4-inch-per-foot slope toward the drain foolproof. Back in the day, we had to hand-pack this slope with deck mud, a skill that takes ages to perfect. These trays are a fantastic innovation.
Your Waterproofing Shopping List (for a standard tub surround):
- 3-4 sheets of 1/2-inch cement board: ~$60
- 1 gallon of a liquid waterproofing membrane like RedGard: ~$65
- 1 roll of fiberglass mesh tape: ~$10
- 1 box of proper backer board screws: ~$15
For under $150, you have the core materials for a job that will last decades.
The Guts of the Room: Plumbing & Electrical
I’m going to be blunt here: for 99% of homeowners, this is not DIY territory. In most places, you’re legally required to use licensed pros for this work, and for good reason. A tiny plumbing leak can rot your house from the inside out, and a small electrical mistake can burn it down. It’s just not worth the risk.
How to Hire a Pro Without Getting Ripped Off:
Arm yourself with a few key questions before you hire anyone:
- Are you licensed and insured in this state/city? (Ask to see the proof!)
- Will you be pulling a permit for this work? (The answer should almost always be ‘yes.’)
- What brand of shower valve do you recommend and why? (This shows they think about quality and longevity, not just what’s cheap.)
A crucial safety feature in modern plumbing is a pressure-balancing or thermostatic shower valve. You know how you get blasted with scalding water when someone flushes a toilet? These valves stop that. They’re required by code now and are a non-negotiable for safety, especially with kids or elderly folks in the house.
On the electrical side, every single outlet in the bathroom must be GFCI protected. A Ground Fault Circuit Interrupter detects any tiny change in the electrical current (like it flowing through you) and shuts the power off in a millisecond. It’s a literal lifesaver. And please, get a good exhaust fan. It’s not a luxury; it prevents mold. A cheap, noisy fan is useless. Look for one with a CFM (Cubic Feet per Minute) rating that’s at least as high as your bathroom’s square footage. So, an 80-square-foot bathroom needs an 80 CFM fan, minimum. I love putting these on a timer switch so they can run for 20 minutes after you leave to really clear the air.
The Fun Part: Surfaces and Finishes
Once all that bulletproof, behind-the-scenes work is done, you get to choose the pretty stuff. For flooring and showers, I almost always recommend porcelain tile. It’s fired hotter and is much denser than ceramic, meaning it absorbs almost no water. This makes it incredibly tough and stain-resistant. Ceramic is fine for walls, but for floors that take a beating, go with porcelain.
And let’s talk grout. For a cleaner look and less maintenance, use the smallest grout lines your tile allows (usually 1/16th or 1/8th of an inch). As for the grout itself, epoxy grout is the undisputed champion of durability—it’s waterproof and stain-proof. But, to be frank, it’s a nightmare to work with for a beginner. A high-quality, polymer-modified sanded grout is a fantastic choice for most projects. Just make sure you seal it a week or so after it cures.
A quick pro tip for tiling: always “back-butter” any large tiles (anything over about 15 inches on one side). This just means you spread a thin, smooth layer of mortar on the back of the tile itself in addition to the mortar you troweled onto the wall. This guarantees you get 100% coverage and prevents hollow spots that can lead to cracked tiles down the road.
Choosing Your Fixtures
When you’re looking at fixtures, think about function and feel. For toilets, “comfort height” models are a few inches taller and just easier for most adults to use. Also, look for the WaterSense label, which means it uses less water per flush without being weak.
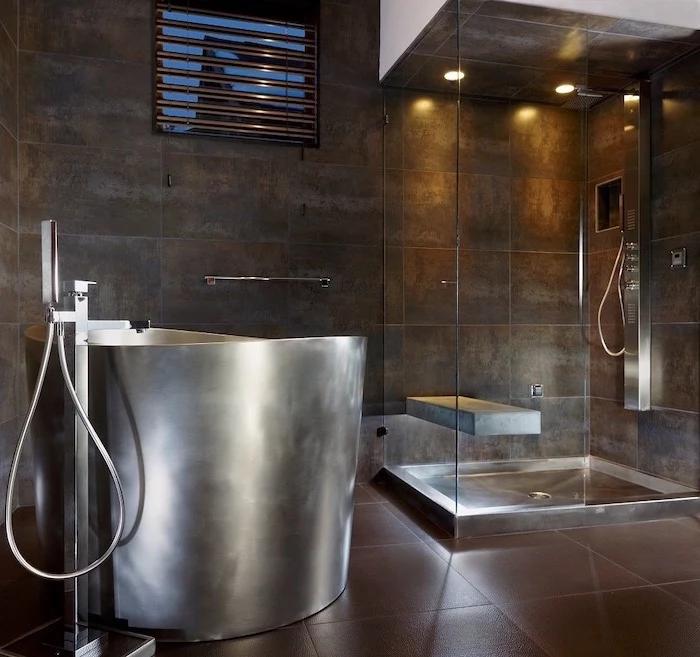
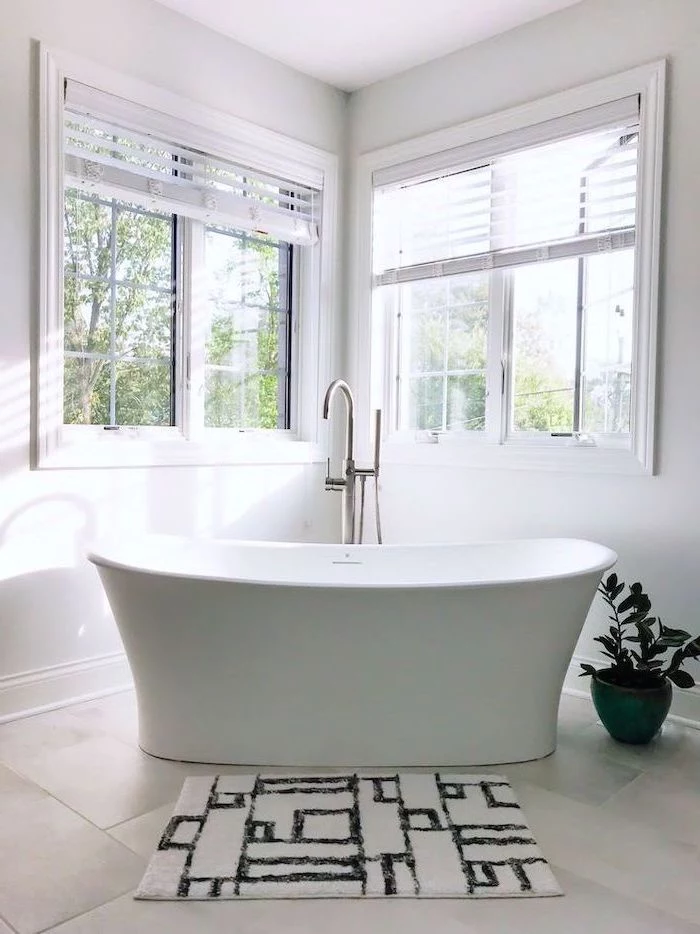
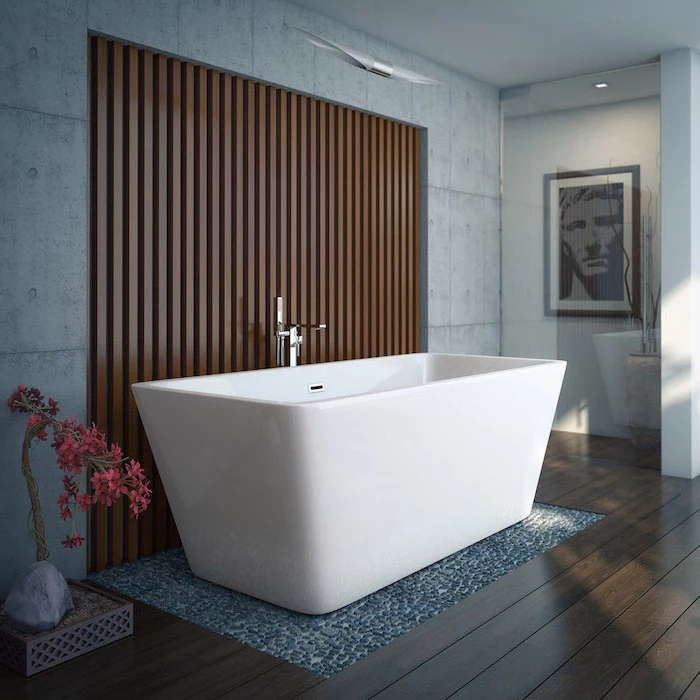
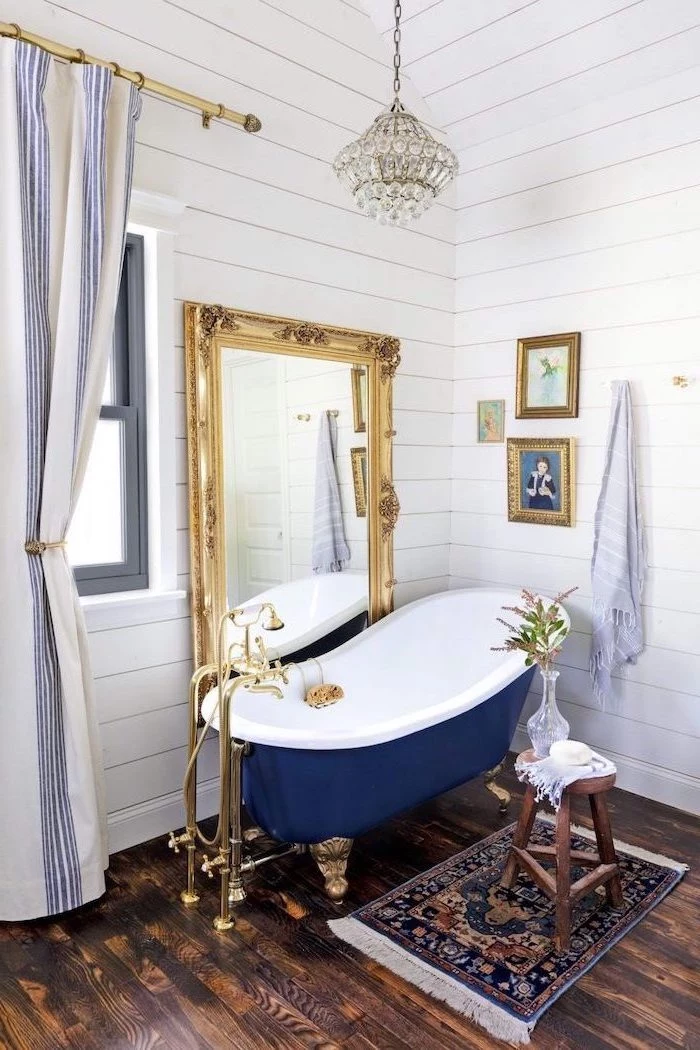
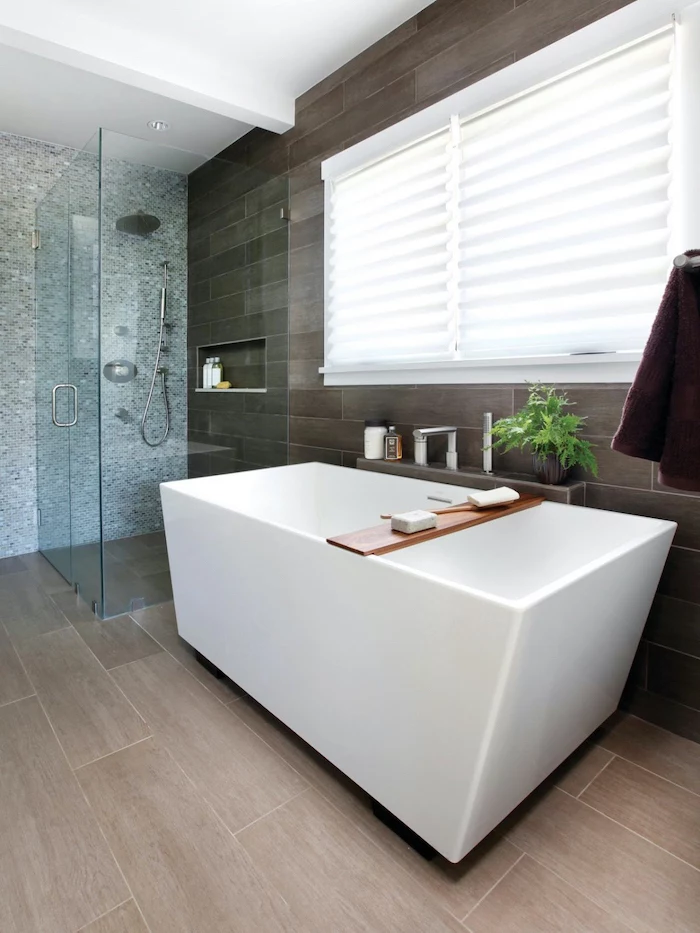
For tubs, it’s usually a showdown between classic cast iron and modern acrylic. So which should you choose? Well, a cast iron tub is a timeless classic. It’s built like a tank, incredibly durable, and holds the heat from your bathwater for a long, long time. The downside? It is ridiculously heavy. We’re talking 300-500 pounds, meaning you need a crew of strong people to move it and you have to be sure your floor structure can handle the weight. It’s an investment, but one that will last a lifetime.
On the other hand, an acrylic tub is much lighter and generally less expensive. They come in a huge variety of shapes and sizes, and they feel warm to the touch, which is nice. They are, however, easier to scratch than cast iron. But for most people, the combination of cost, weight, and style options makes acrylic a very practical and popular choice.
As for faucet finishes, chrome is the reliable workhorse. It’s affordable, durable, and easy to clean. Matte black and brushed brass are super trendy right now, but they require more care. Matte black looks amazing but will show every water spot and fingerprint. Uncoated brass will develop a natural patina over time, which is a beautiful living finish if you like that look, but it’s not for everyone.
The Final Details and Protecting Your Investment
The job isn’t done until the caulk is perfect. And listen up: you MUST use 100% silicone caulk for any joint where tile meets another material—where the tub deck meets the wall, where the vanity top meets the backsplash, and in all the corners of your shower. Grout will crack in these moving joints, but silicone stays flexible and waterproof. Regular painter’s caulk will just disintegrate.
Finally, to keep your beautiful new bathroom looking great for years to come, here’s a simple checklist:
- Every Six Months: Pop the cover off your exhaust fan and vacuum out the dust and lint. A clean fan works way more efficiently.
- Annually: Check all your caulk lines for any signs of cracking or peeling. If you see any, scrape it out and apply a fresh bead. This is your first line of defense against water getting where it shouldn’t.
- Annually (if you used cement grout): Give your grout a good cleaning and apply a fresh coat of grout sealer. It’s like waxing your car—it protects the surface and makes it much easier to clean.
A bathroom remodel is a big undertaking, but if you respect the process and pay attention to the details, you can create a space that brings you comfort and pride every single day. Plan carefully, hire good people for the critical stuff, and don’t skimp on the parts that keep your home safe and dry. You’ve got this.
Inspirational Gallery
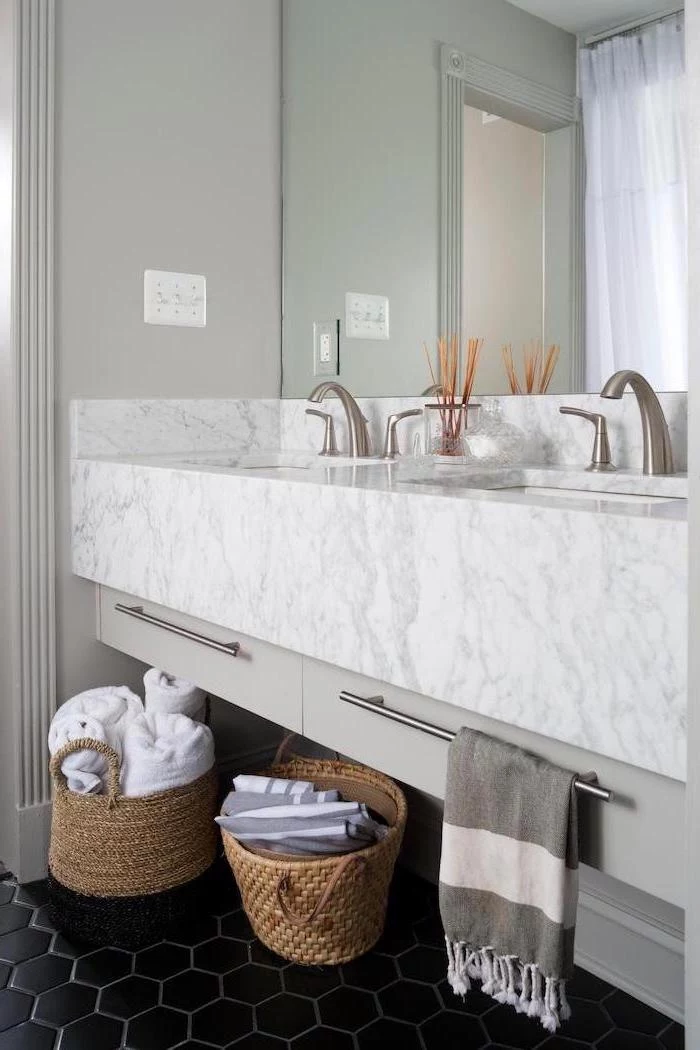
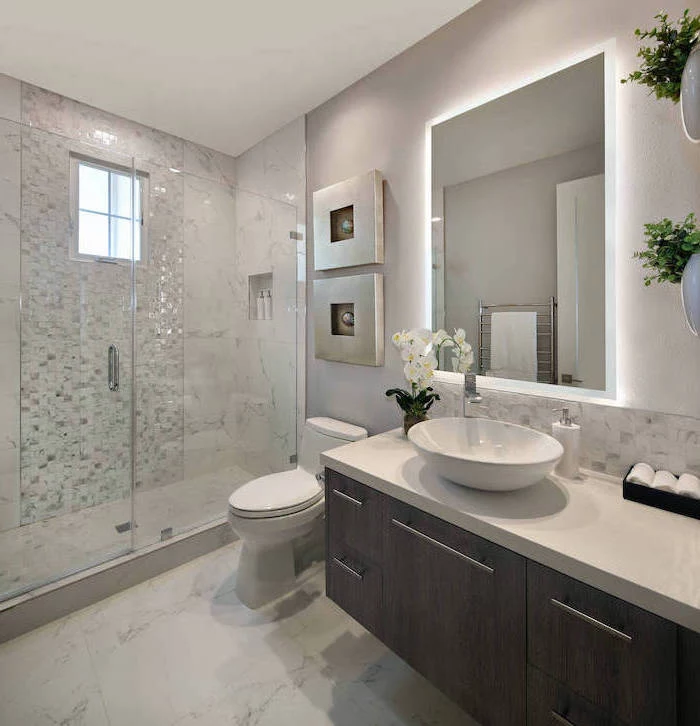
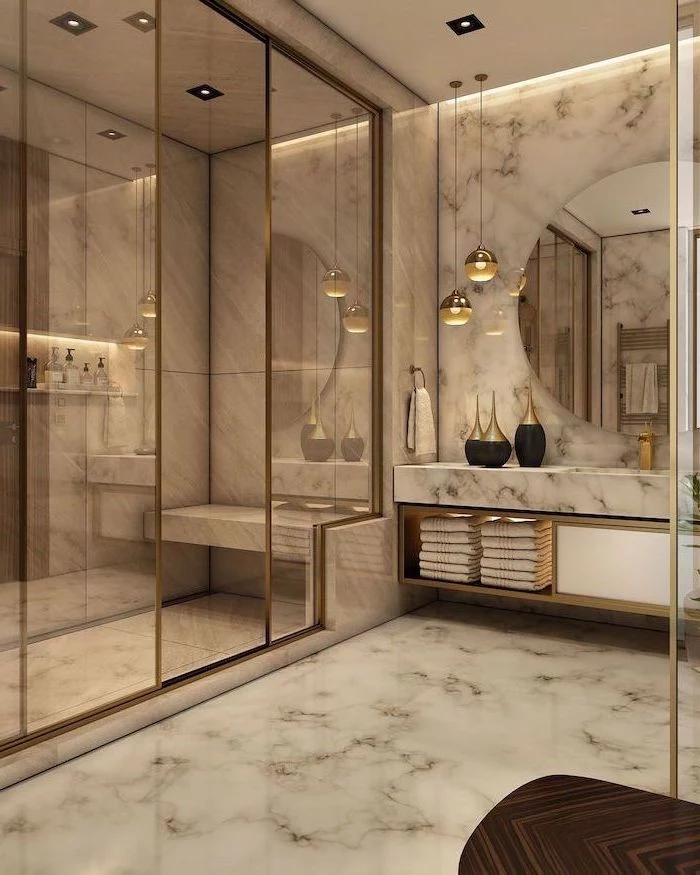
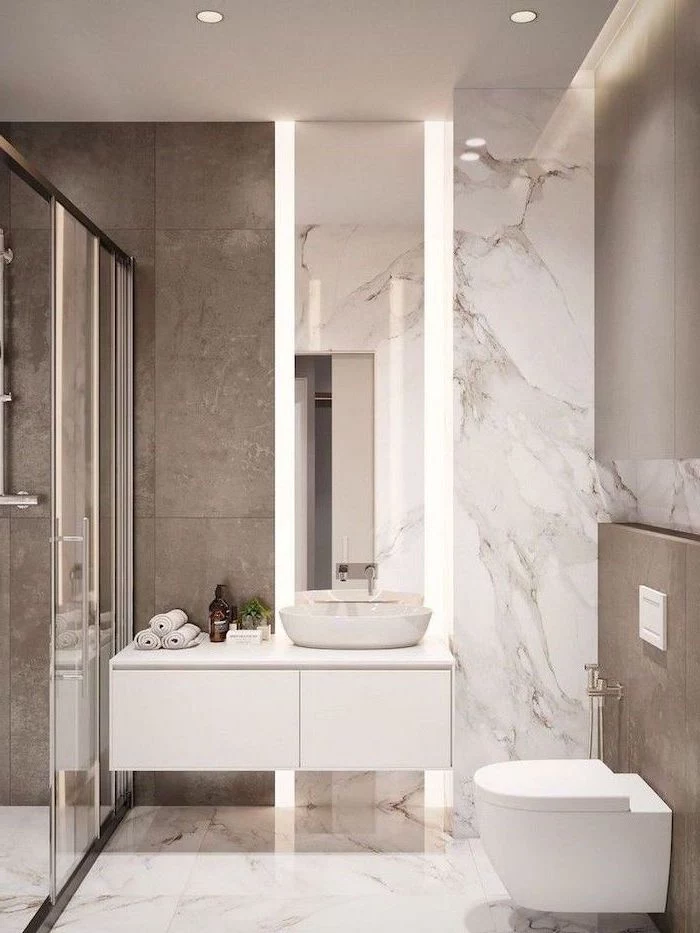
When choosing a countertop, don’t overlook engineered quartz. Unlike natural stones like marble, which are porous and can stain, quartz is non-porous, making it highly resistant to moisture, bacteria, and staining from makeup or colored soaps. Brands like Caesarstone and Silestone offer an incredible range of finishes, from perfect replicas of Carrara marble to modern concrete looks, without the demanding maintenance.
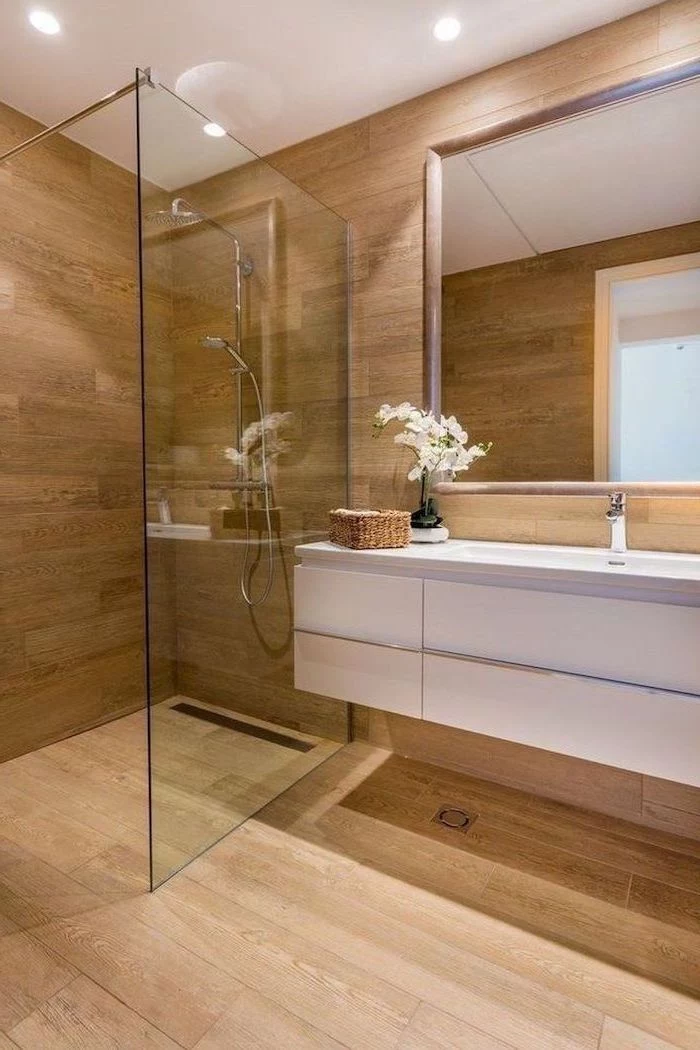
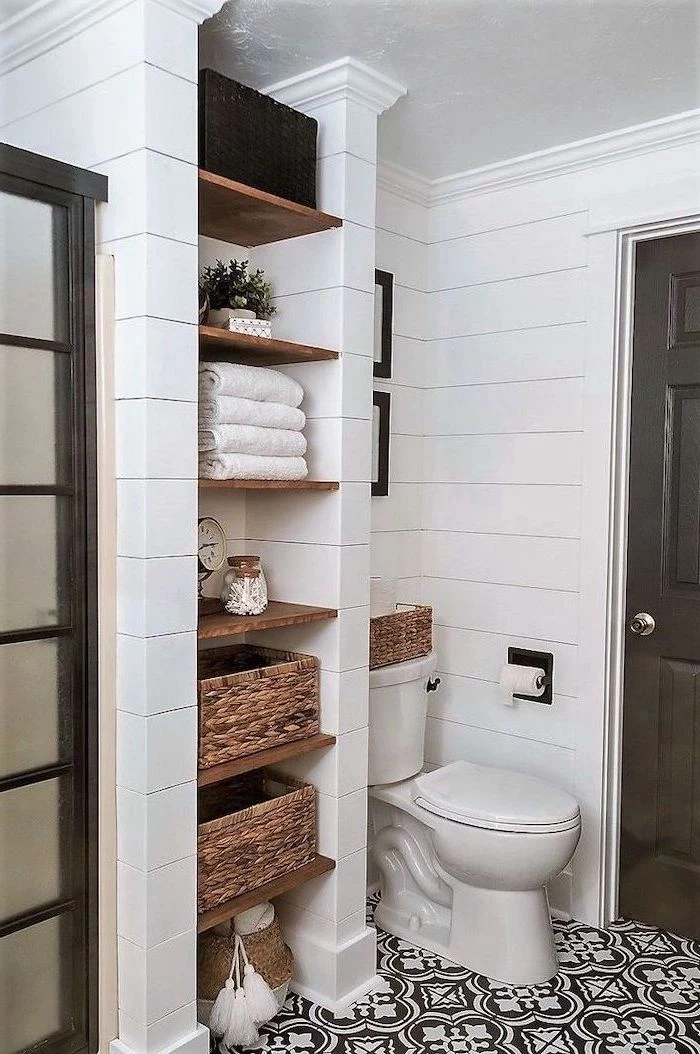
- Creates a seamless, open look, making small bathrooms feel larger.
- Improves accessibility for all ages and mobility levels.
- Simplifies cleaning with fewer corners and edges to scrub.
The secret? A
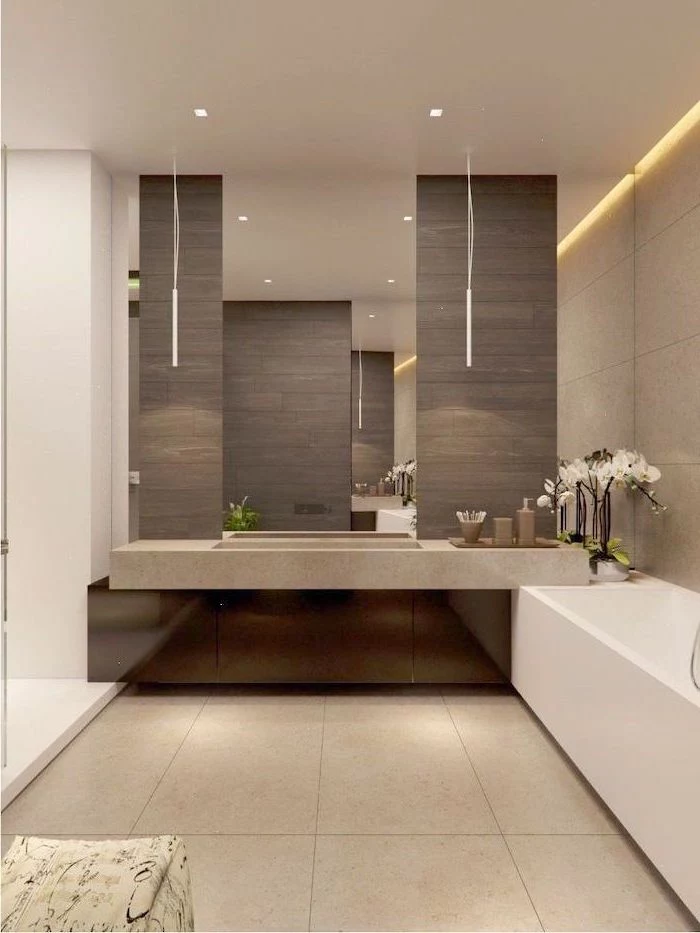
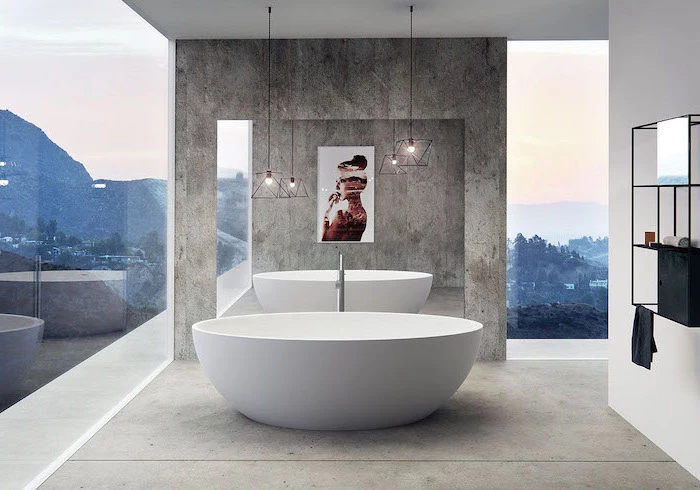
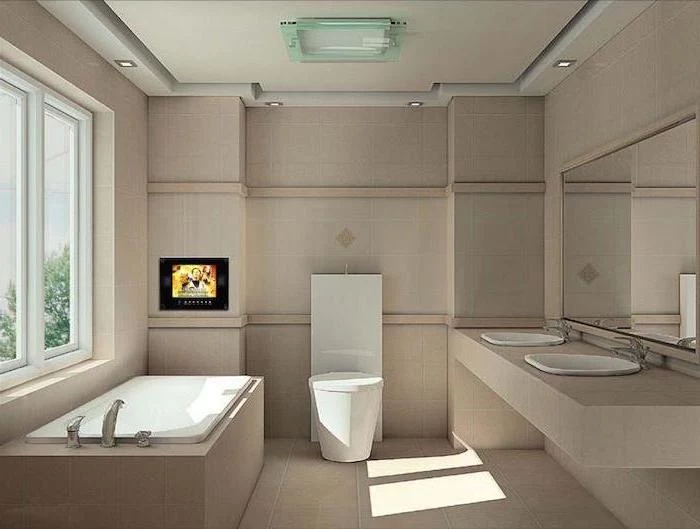
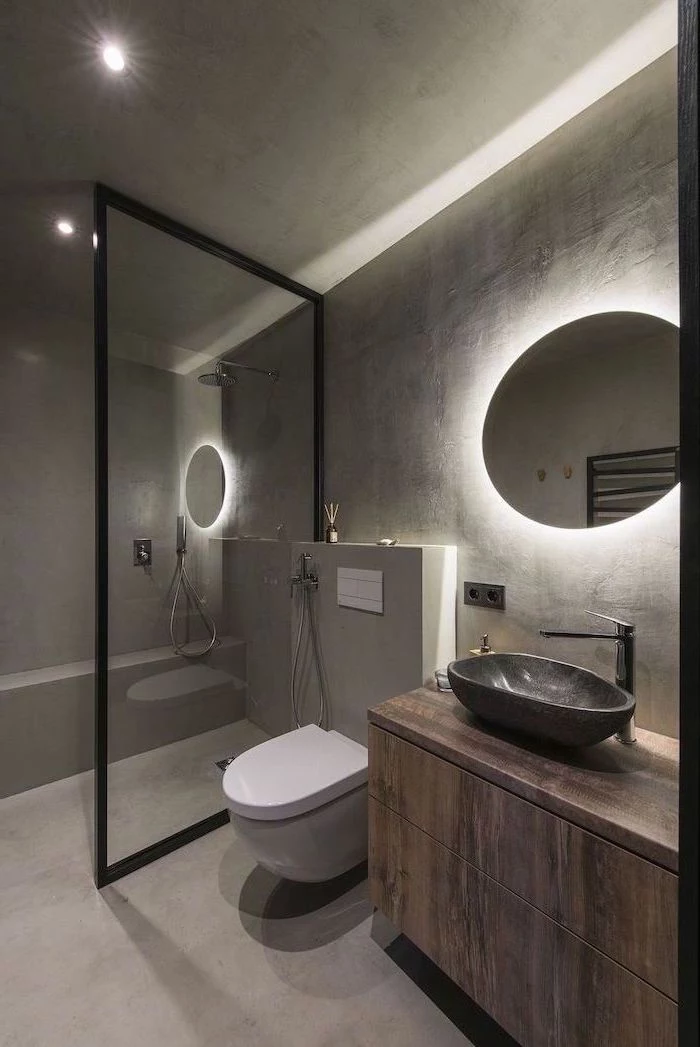
The single biggest lighting mistake: relying on one central ceiling fixture. This creates harsh shadows on your face, making tasks like shaving or applying makeup difficult. A successful lighting plan layers different sources: bright, focused task lighting at the vanity, soft ambient light for general illumination, and dimmable accent lighting to highlight architectural features or create a mood.
According to the EPA, the average family can save 13,000 gallons of water and $130 in water costs annually by switching to WaterSense labeled fixtures.
This isn’t just about the toilet. Look for the WaterSense label on faucets and showerheads from brands like Delta and Kohler. They are engineered to be at least 20% more water-efficient than average products without sacrificing performance. It’s an upgrade that pays for itself.
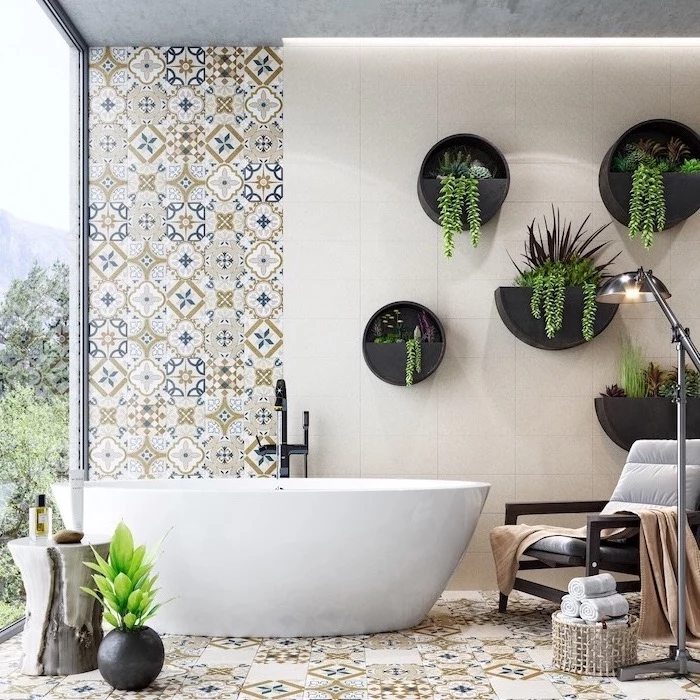
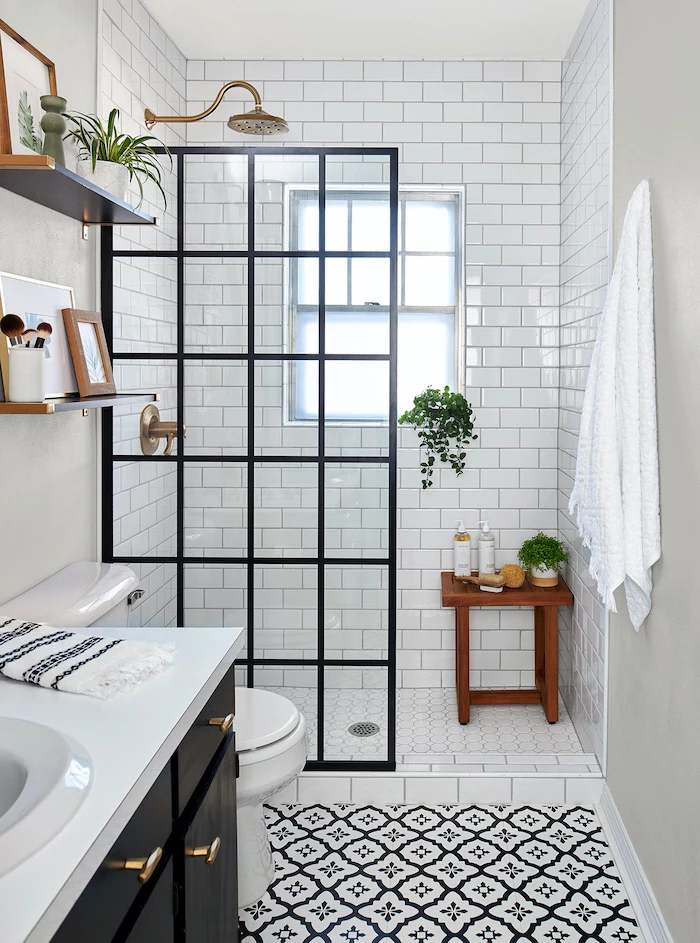
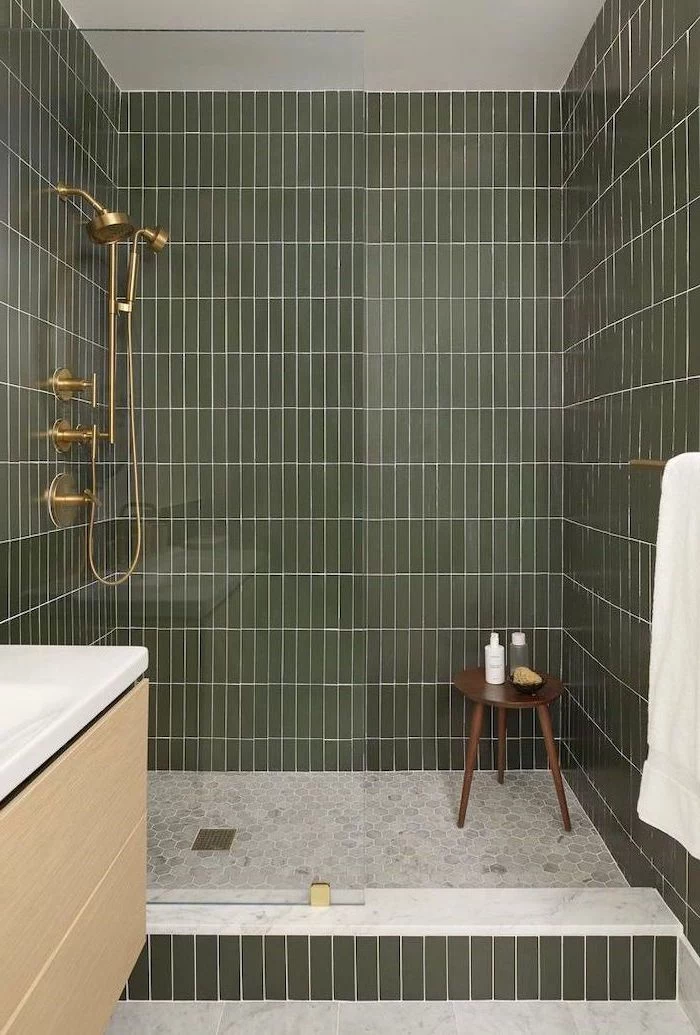
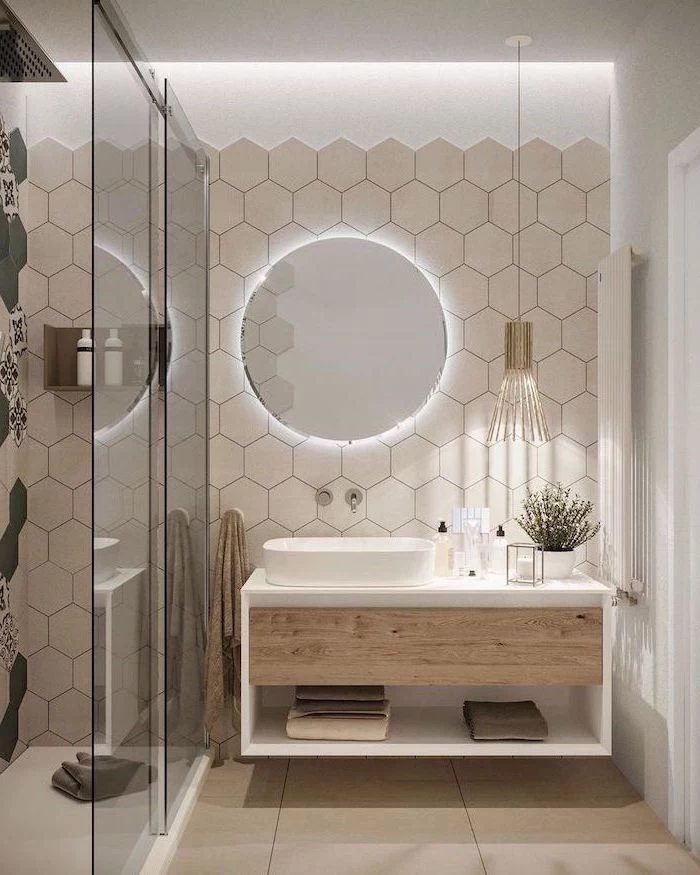
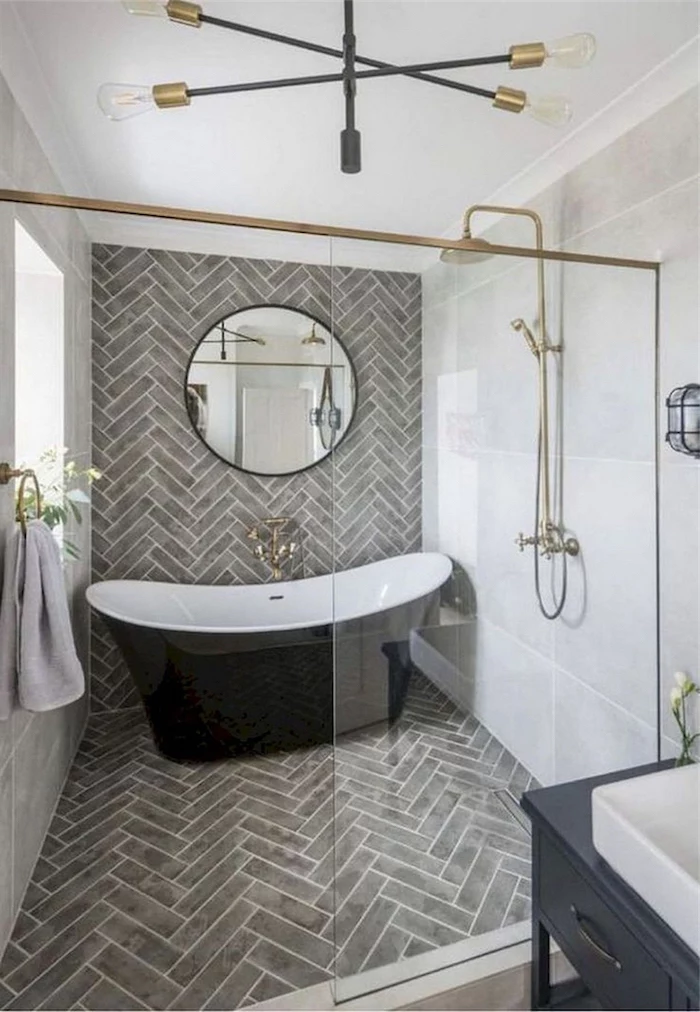
Think beyond the standard subway tile layout. The pattern you choose can dramatically alter the room’s character. For a touch of classic elegance or a modern twist, consider these arrangements:
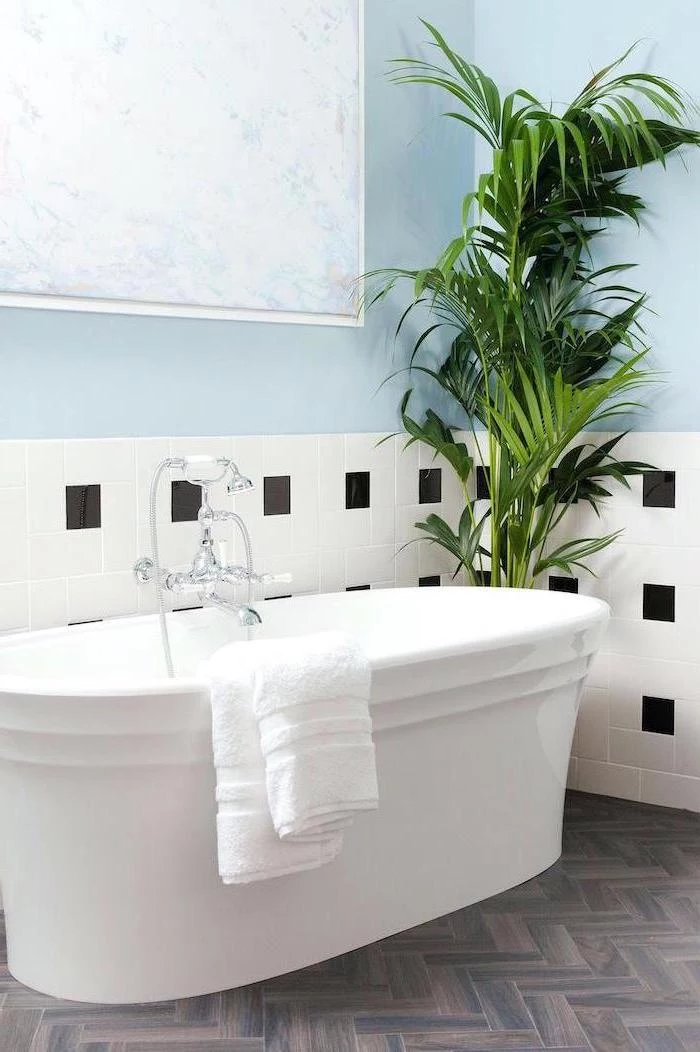
- Herringbone: Creates a sense of movement and sophistication, perfect for a feature wall or floor.
- Vertical Stack: Emphasizes height, making ceilings feel taller—ideal for smaller bathrooms.
- Basket Weave: A timeless pattern that adds texture and a vintage-inspired feel.
Do I really need an exhaust fan, or is a window enough?
A high-quality, properly-sized exhaust fan is non-negotiable for controlling moisture and preventing mold growth. A window alone isn’t sufficient, especially in colder climates. For a standard bathroom, look for a fan rated for at least 50 CFM (cubic feet per minute), or calculate your needs by multiplying the room’s square footage by 1.1. For a truly quiet operation, seek out models with a Sone rating of 1.0 or less.
Porcelain Tile: Fired at higher temperatures and made from denser clay, it’s less porous, more durable, and better suited for high-moisture areas like shower floors. It’s often through-body, meaning the color runs all the way through, so chips are less noticeable.
Ceramic Tile: Softer and more porous, it’s easier to cut and install, often making it a more budget-friendly choice. It’s best for walls or low-traffic floors and almost always has a glazed surface over a different colored body.
For a bathroom floor that will last, porcelain is generally the superior investment.
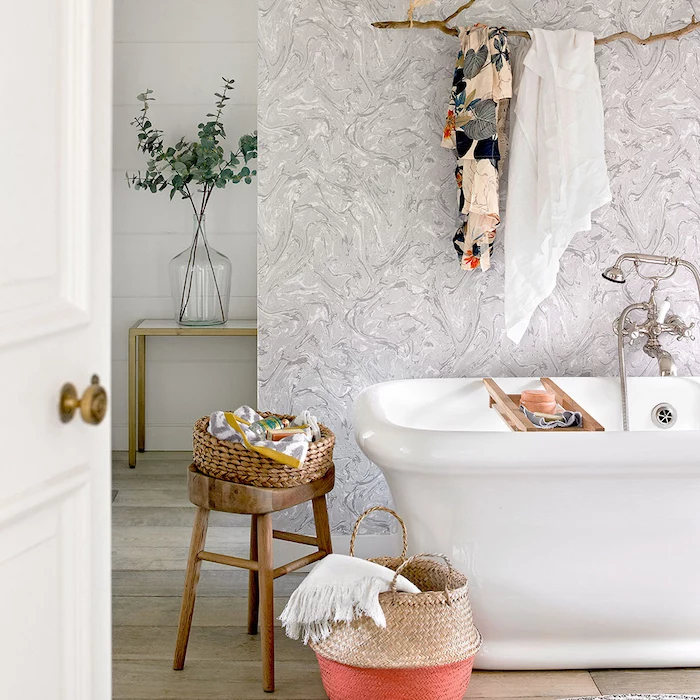
Did you know that wallpaper is making a huge comeback in bathrooms? The trick is to use modern ‘paste-the-wall’ vinyl or non-woven papers specifically designed for high-humidity environments.
Forget the peeling floral patterns of the past. Today’s options from brands like Graham & Brown or Farrow & Ball offer stunning, durable designs. Use it on a single accent wall away from direct water splashes—like behind the vanity or toilet—to add a powerful dose of personality without compromising on practicality.
Creating that coveted spa-like atmosphere is less about specific products and more about engaging the senses. Think about integrating a heated towel rack for a touch of warmth on a cold morning. Use a dimmer switch on your main lights to easily transition from bright and functional to soft and relaxing. A small, waterproof Bluetooth speaker can bring calming music into your daily routine. It’s these small sensory details that elevate the space from a simple bathroom to a personal retreat.
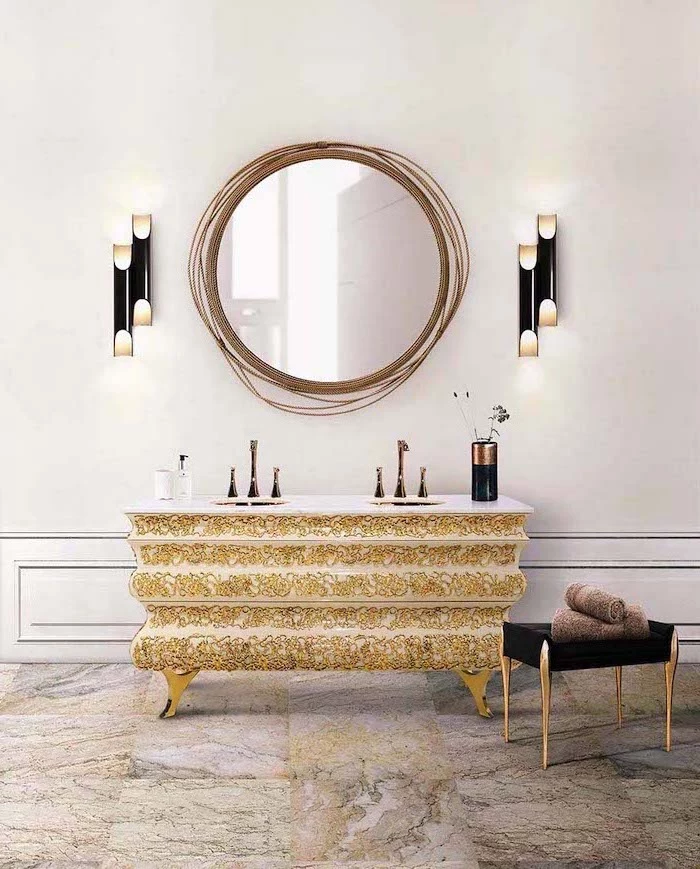
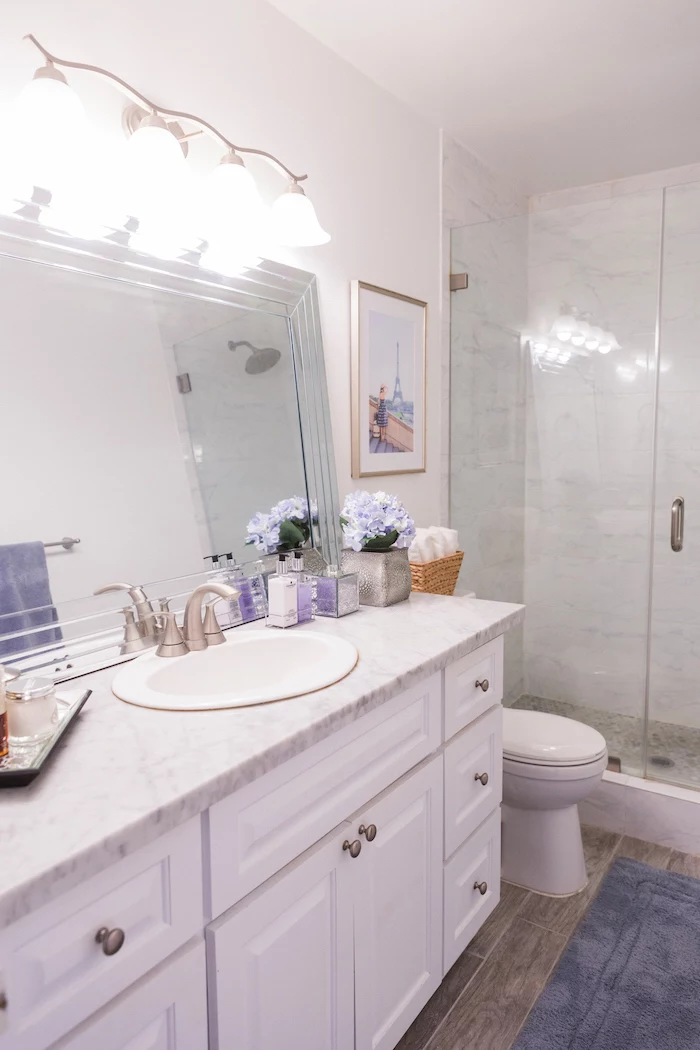
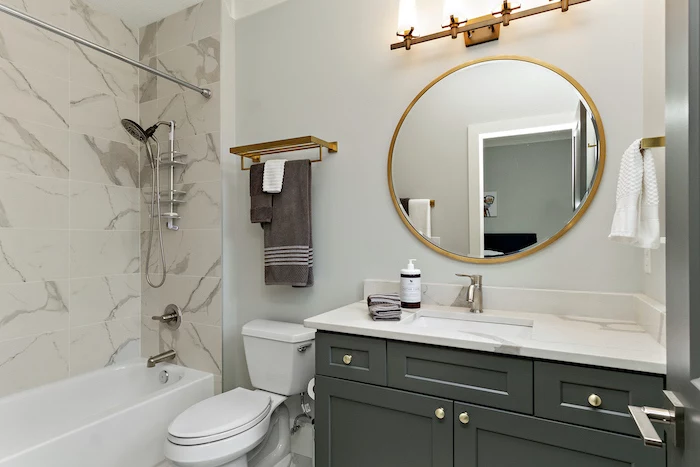
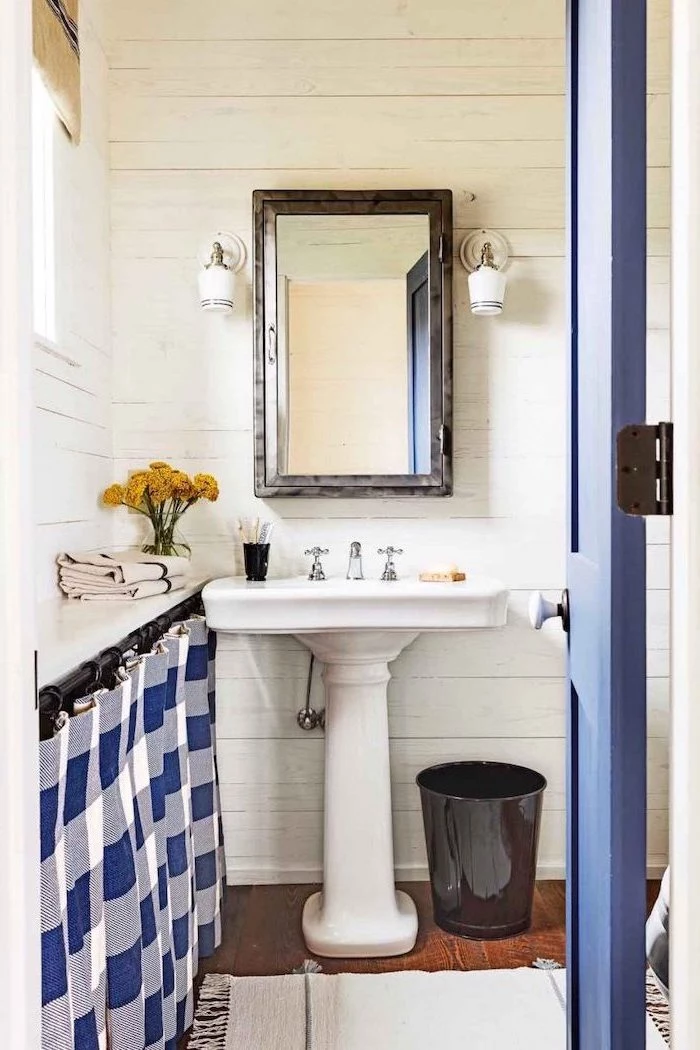
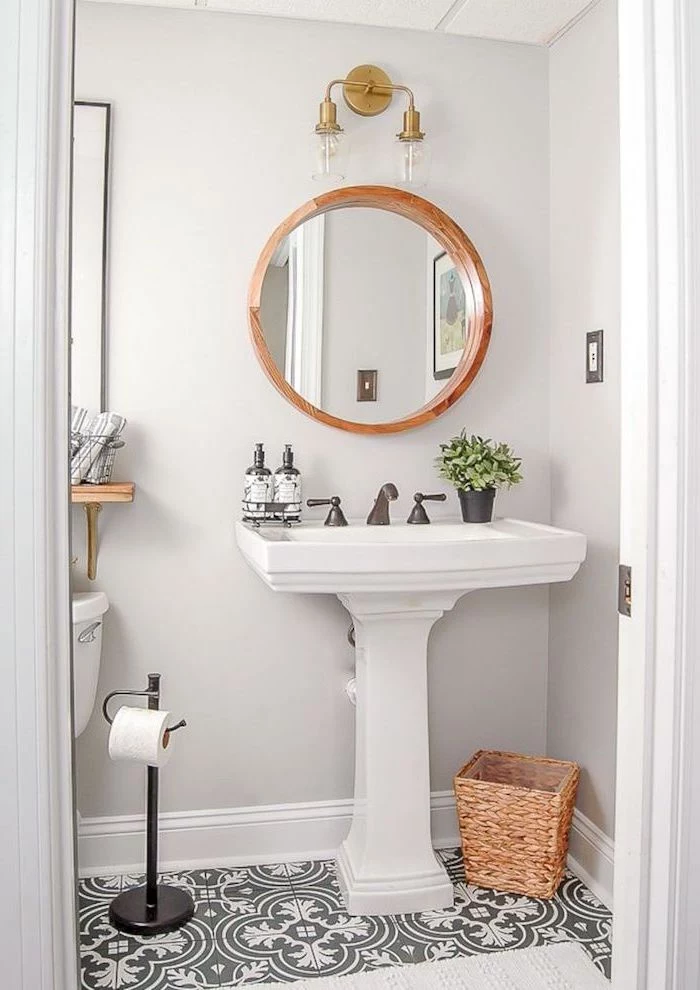
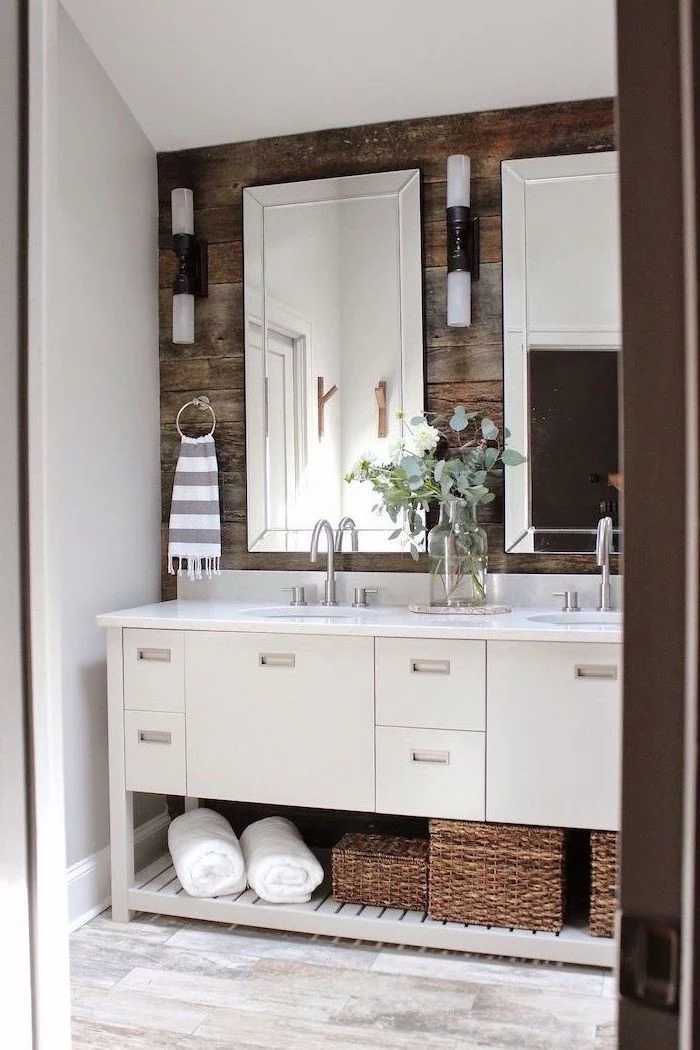
Love the look of a custom-framed vanity mirror but not the price tag? This is a simple, high-impact DIY. Purchase decorative molding from a hardware store, cut the pieces to size with 45-degree miter cuts, and then glue and nail them directly onto the face of your existing builder-grade plate glass mirror. Paint it to match your vanity or in a bold accent color for a fully custom look in an afternoon.
- Splurge: Waterproofing. This is what happens behind the walls, and it’s the most critical part of the job. Use a premium system like Schluter-KERDI to prevent leaks and mold that can lead to catastrophic repairs down the line.
- Save: Decorative accessories. Towels, soap dispensers, and artwork can be updated easily and inexpensively over time to refresh the look of the room without another major renovation.
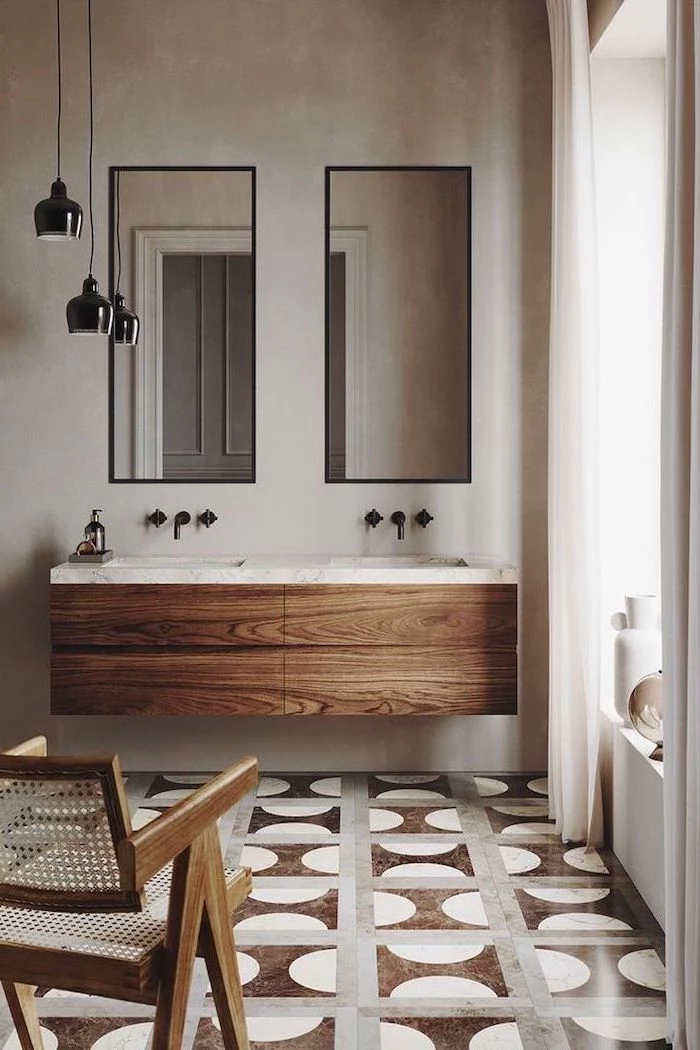
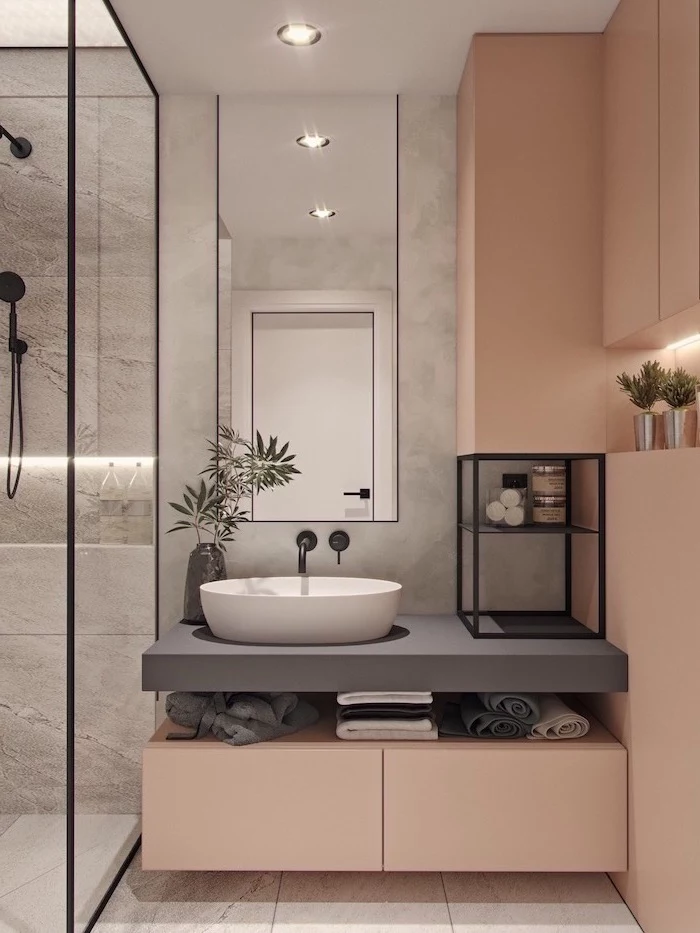
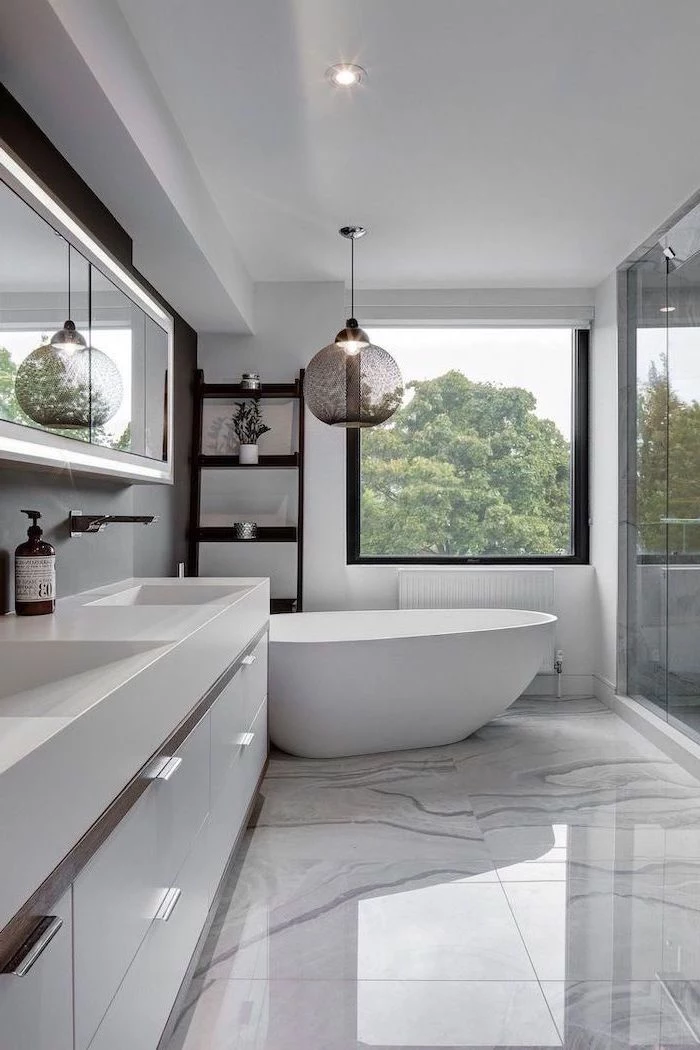
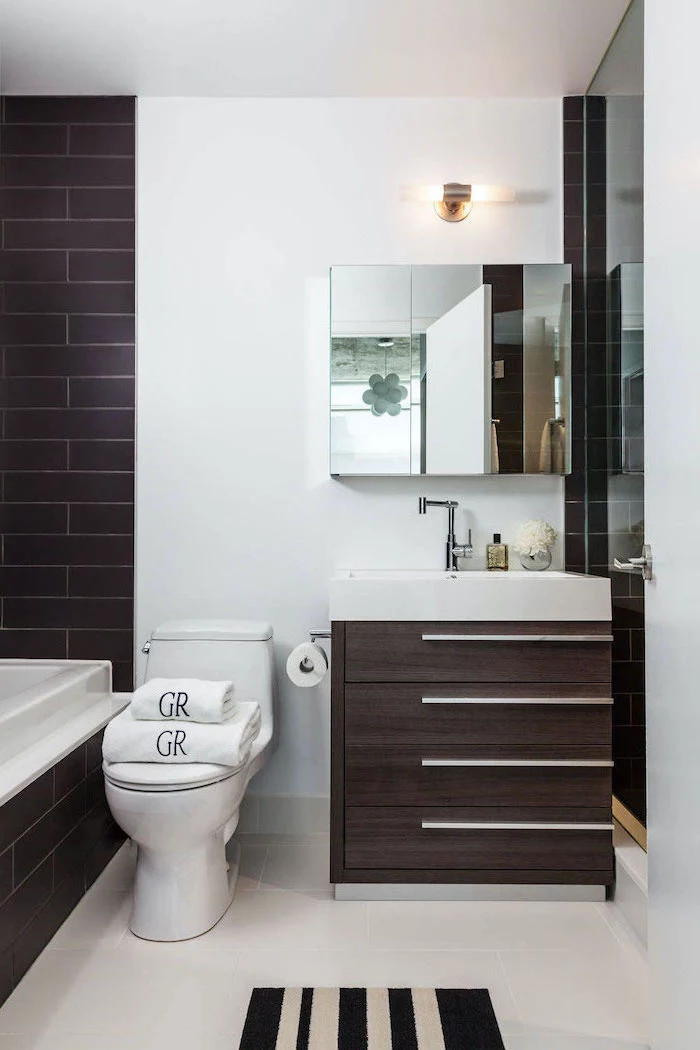
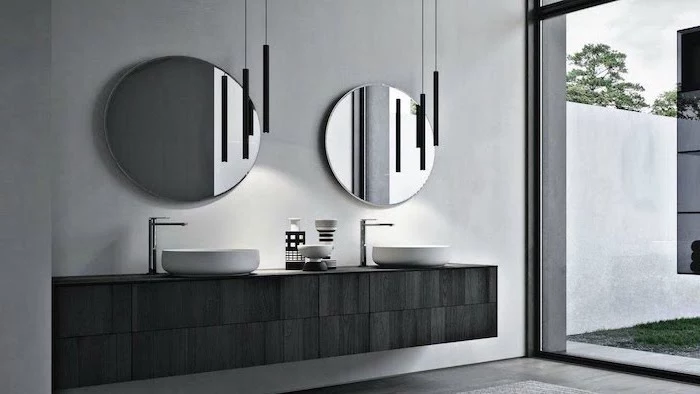
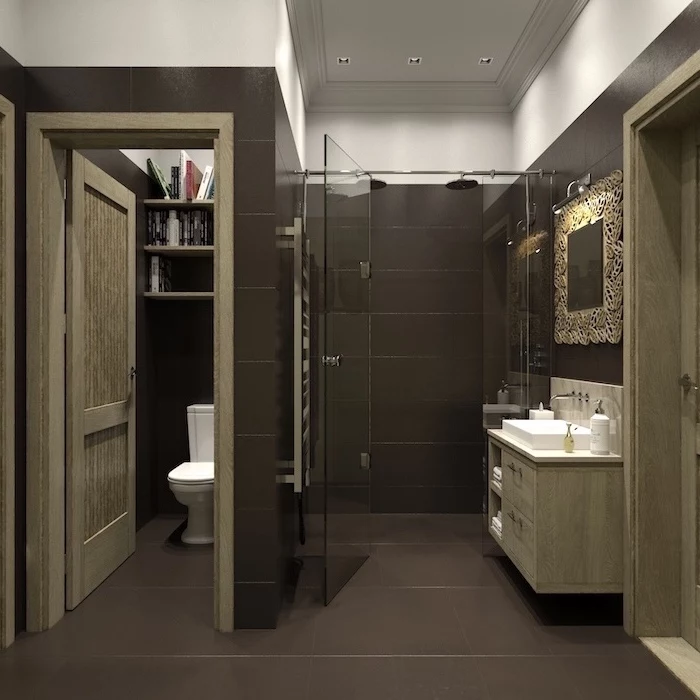
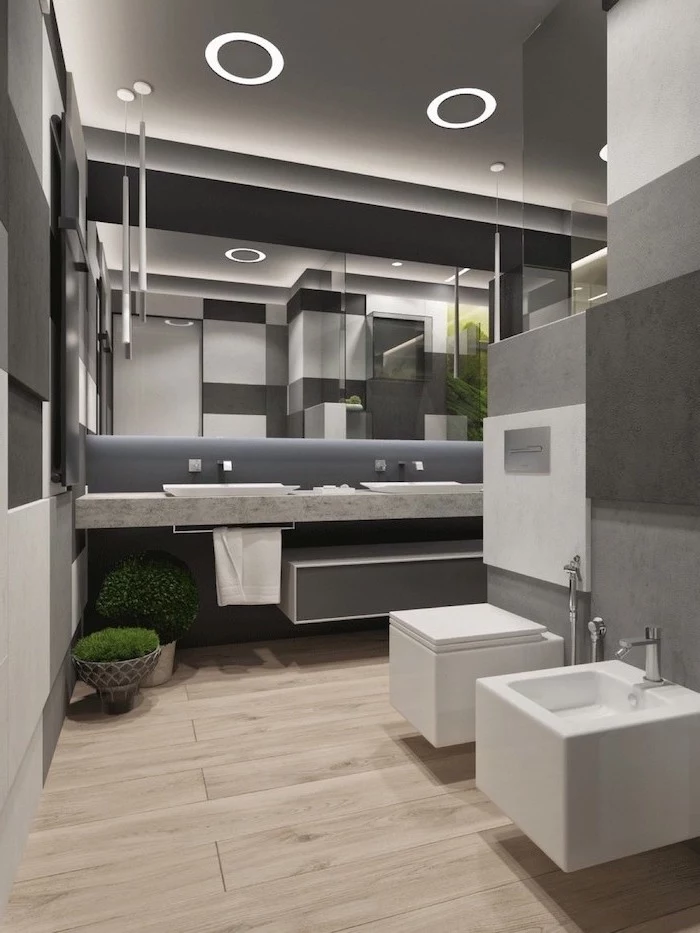
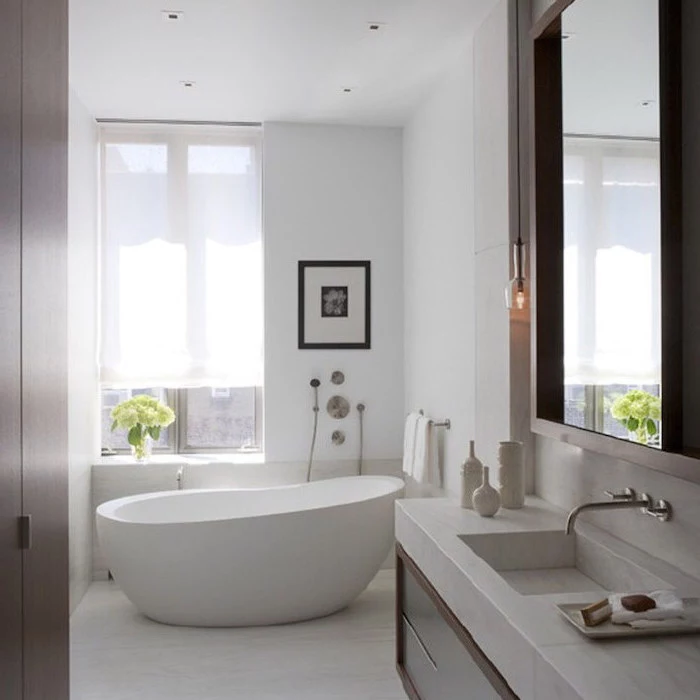
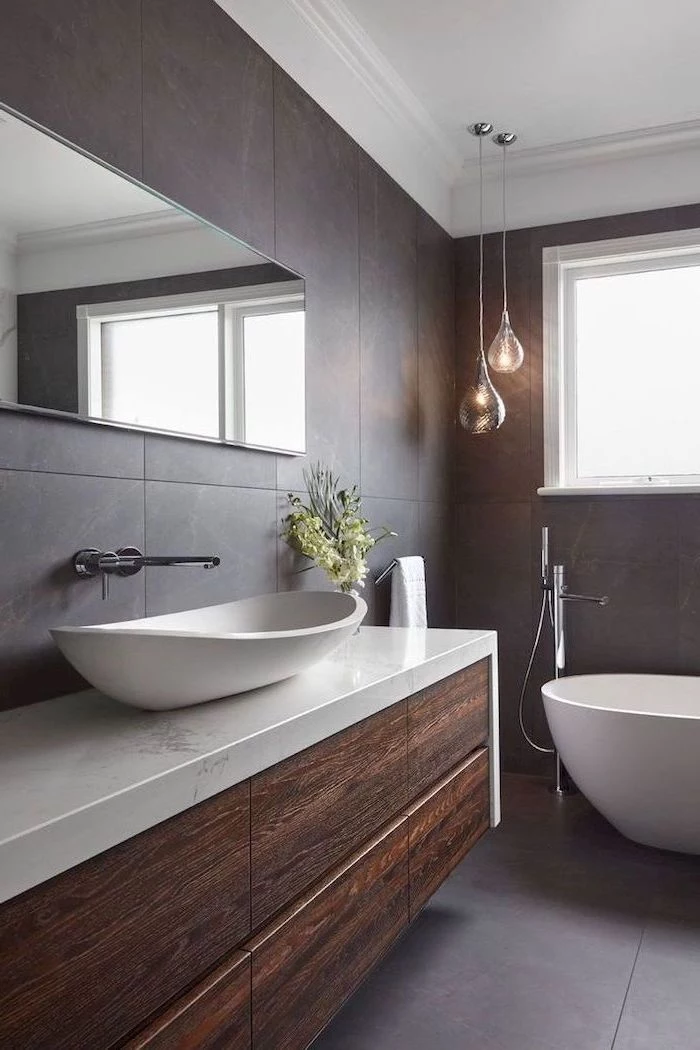
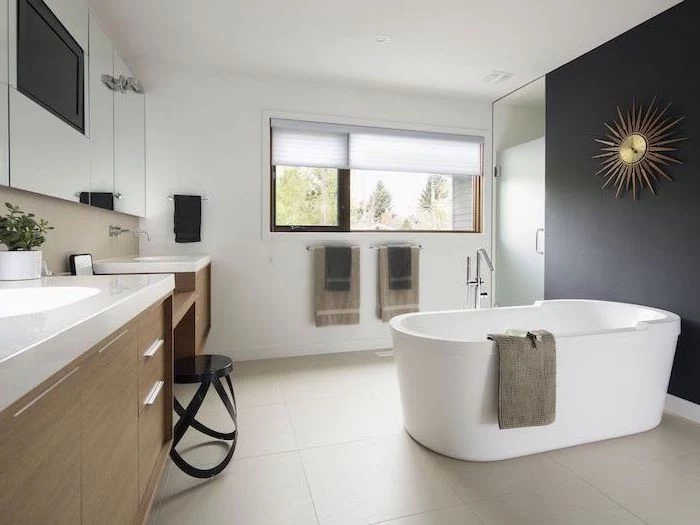
Floating Vanity: Mounts directly to the wall, leaving open space underneath. This creates an illusion of a larger, more open floor area, making it a fantastic choice for small or contemporary bathrooms. It also makes cleaning the floor a breeze.
Freestanding Vanity: Sits on the floor like a piece of furniture. It often offers more storage and can provide a more traditional or transitional look. Brands like Restoration Hardware or Pottery Barn excel at this style.
The choice depends on your storage needs and desired aesthetic—airy and modern, or grounded and classic.
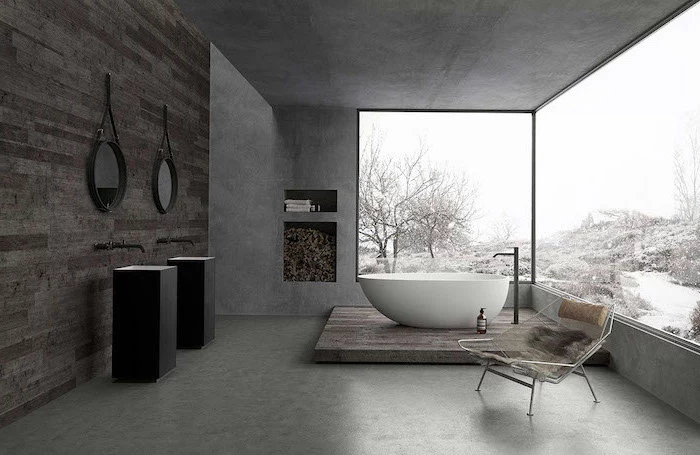
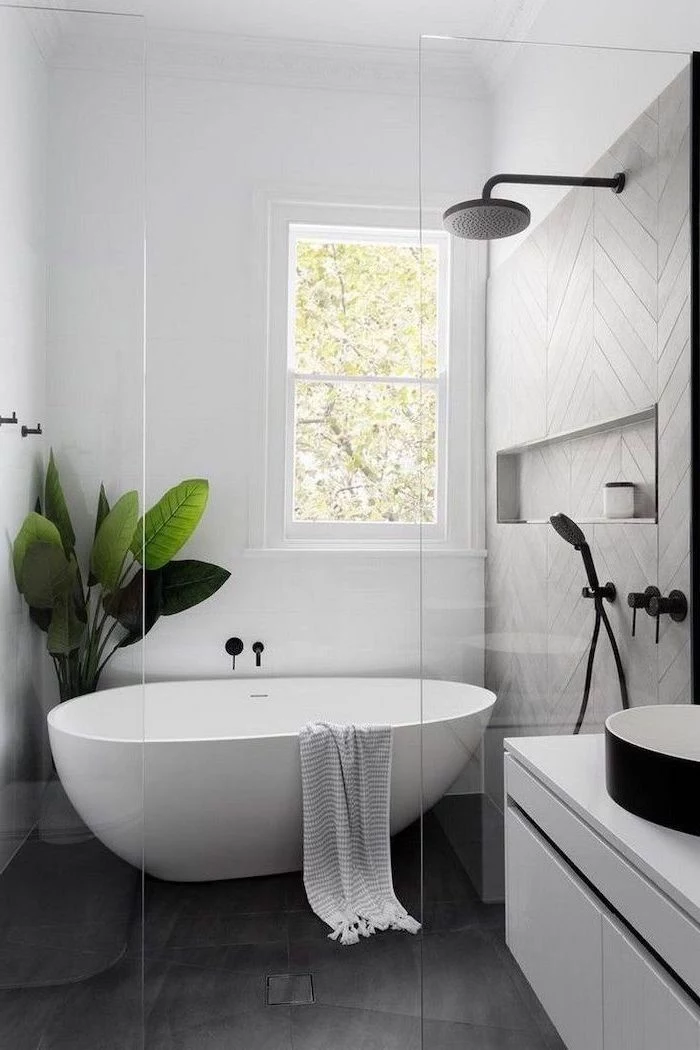
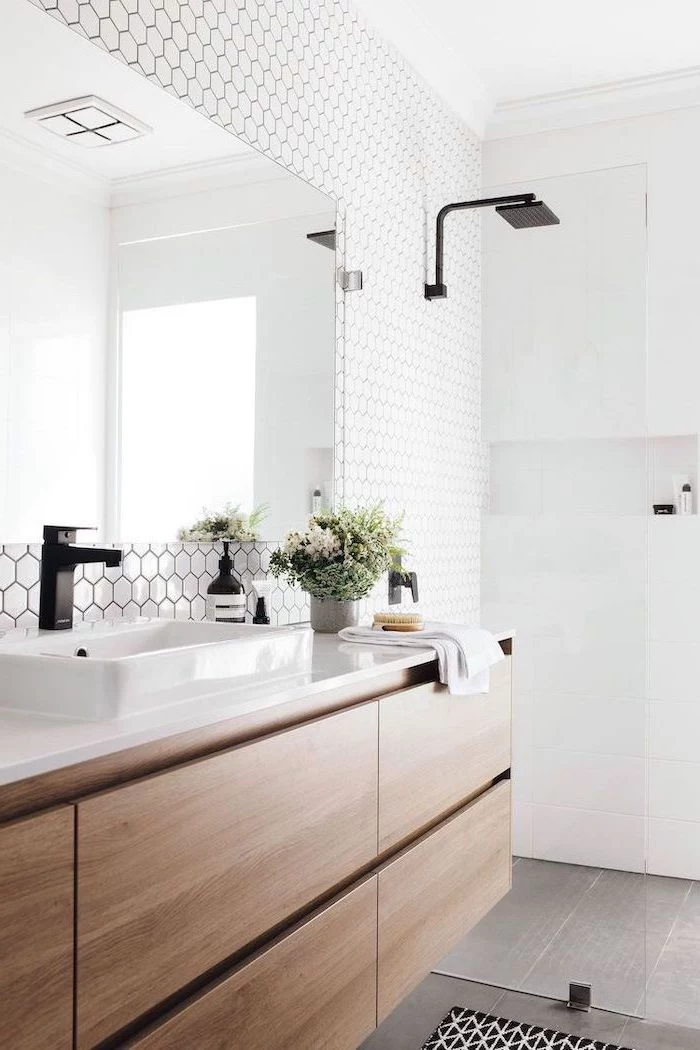
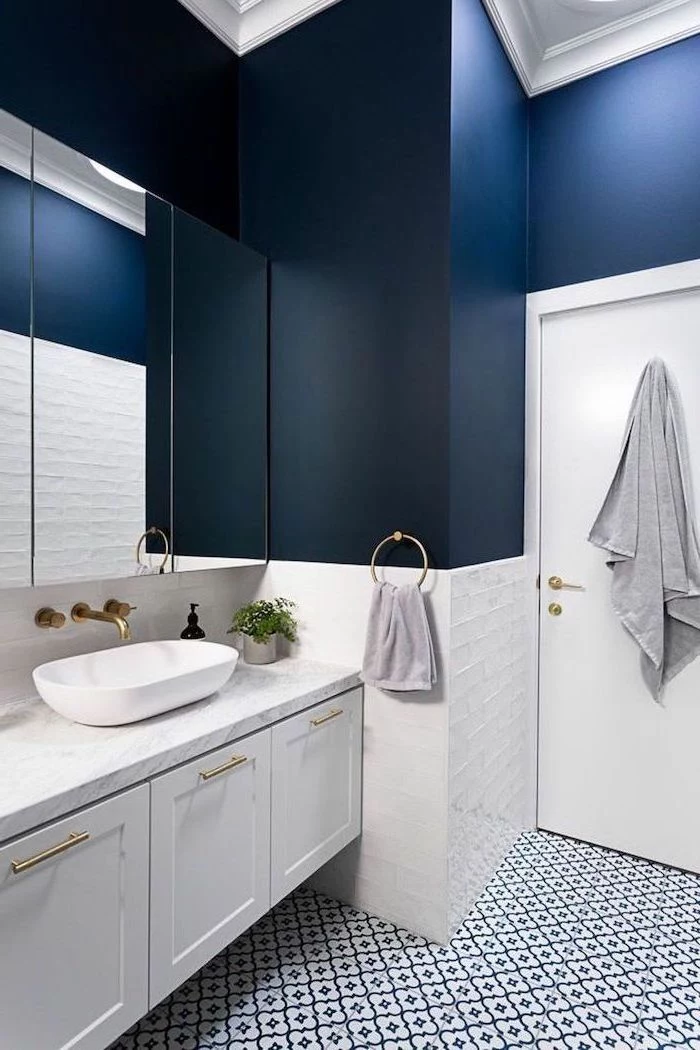
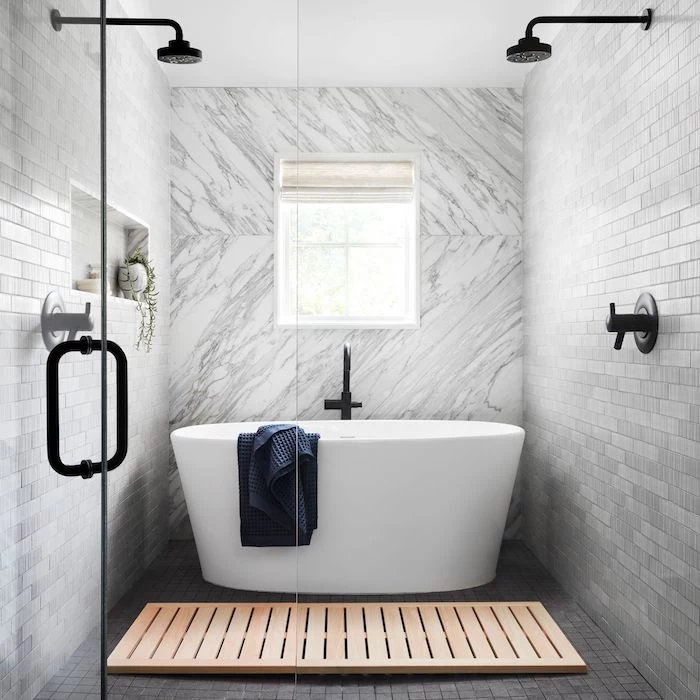
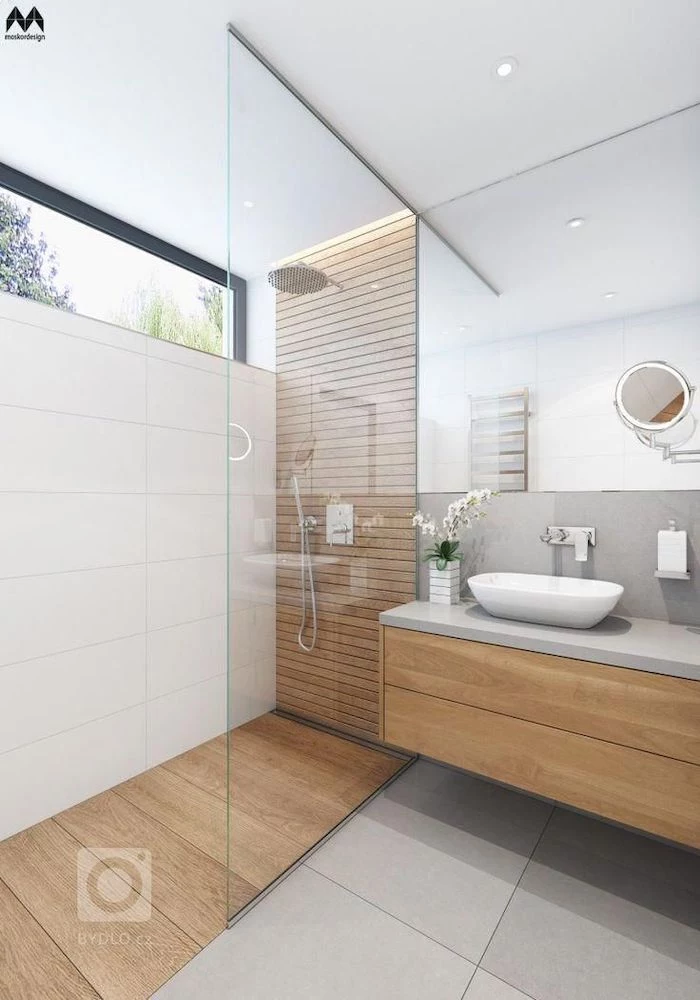
For an authentic touch of Scandinavian design, focus on a blend of functionality, natural light, and organic materials. Combine simple white tiles with warm wood accents, like a teak shower mat or an oak vanity. Keep fixtures minimal and sleek—think matte black or brushed brass from a brand like Vola. The key is to create a space that feels bright, uncluttered, and deeply connected to nature.
What’s the right grout color to choose?
It’s a small detail with a big impact. A contrasting grout (e.g., dark grout with white subway tile) will highlight the pattern and create a graphic, modern look. A matching grout color will make the tile pattern recede, creating a more uniform, monolithic, and serene surface. For floor tiles, a slightly darker grout is a practical choice as it’s more forgiving with stains over time.
Don’t forget the power of texture. A bathroom filled only with hard, glossy surfaces can feel cold and sterile. Introduce contrasting textures to add warmth and visual interest. Consider a reeded or fluted glass shower door, a rough-hewn wooden stool, a nubby linen roman shade, or plush, high-pile bath mats from a brand like Coyuchi. These tactile elements make the space feel more curated and inviting.
Building codes typically require at least 15 inches of clear space from the centerline of the toilet to any wall or obstruction on either side, and at least 21 inches of clear space in front of it.
This is a critical measurement to respect during your layout planning phase. Squeezing a toilet into a space that’s too tight not only feels cramped but is also a code violation. Always measure your proposed layout carefully before purchasing fixtures.
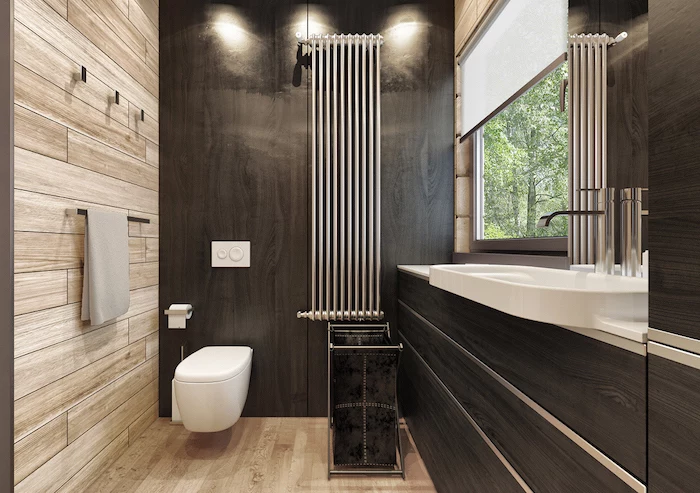
- Adds a layer of unexpected luxury and comfort.
- Provides gentle, radiant heat that warms the entire room efficiently.
- Can help dry out the floor faster after a shower, reducing moisture.
The secret? An electric floor heating system. Thin mats or cables, like those from Schluter-DITRA-HEAT, are installed directly under the tile. While it’s an upfront cost, the comfort and potential energy savings (by keeping your main thermostat lower) are a worthy long-term investment.
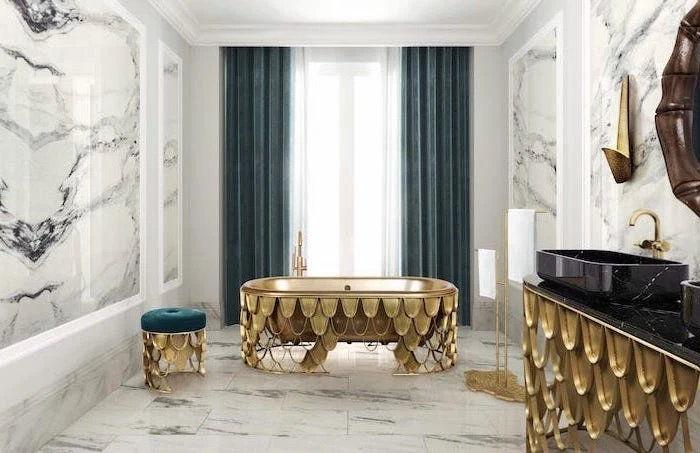
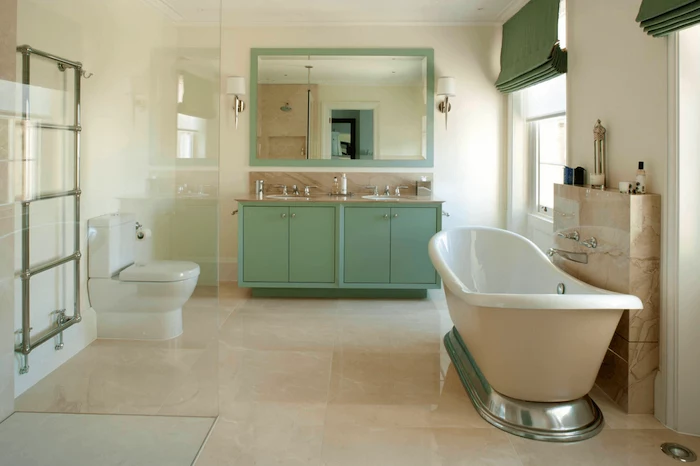
The hardware is the jewelry of the bathroom. Mixing metals—like a matte black faucet with brushed brass cabinet pulls and light fixtures—is a sophisticated designer move. The rule of thumb for getting it right is to choose a dominant metal and then add one or two others as accents. Distribute them thoughtfully around the room to create a balanced, cohesive look rather than a chaotic one.
A Common Pitfall: Choosing a vanity that’s too short. For decades, the standard height was a back-straining 30-32 inches. The new ‘comfort height’ standard is 36 inches, the same as a kitchen counter. This is far more ergonomic for most adults. If you have children, a stylish, sturdy step stool is a much better solution than installing a too-short vanity that you’ll dislike for years.
A single dripping faucet can waste more than 3,000 gallons per year—enough water to take more than 180 showers!
During a remodel, it’s the perfect time to invest in quality fixtures. A well-made faucet from a reputable brand like Grohe or Hansgrohe uses superior ceramic disc cartridges that are far less prone to the leaks and drips that plague cheap, builder-grade models.
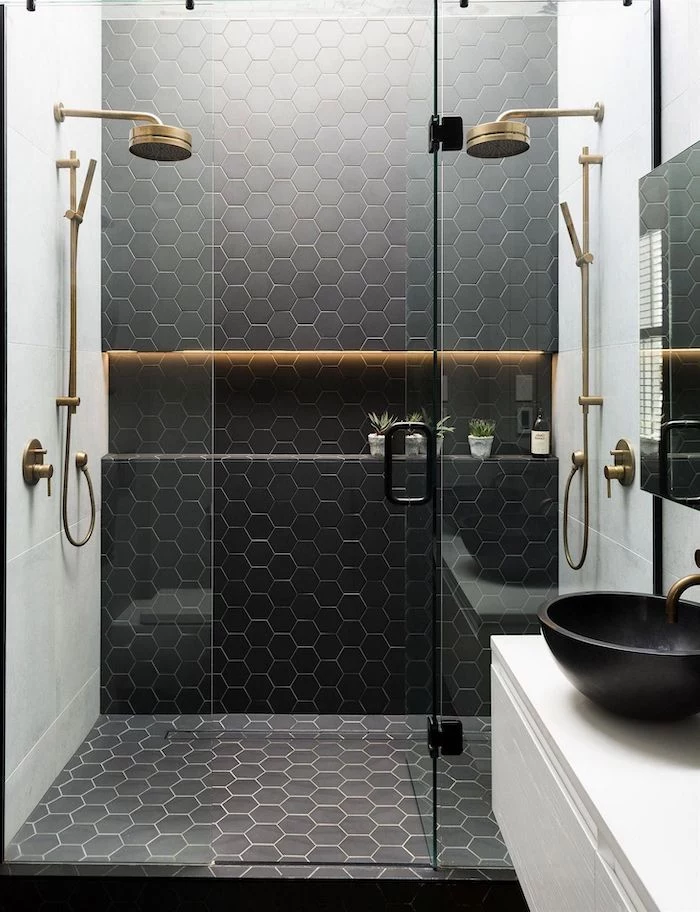
Thinking about a black sink or toilet? It’s a bold, high-design choice that can be stunning. However, be aware that in areas with hard water, mineral deposits (limescale) will show up as a white, chalky film that is much more visible on black surfaces than on traditional white porcelain. It requires more frequent cleaning to keep it looking its best.
What exactly is a ‘smart toilet’?
It’s a high-tech fixture that integrates features well beyond a simple flush. High-end models from brands like TOTO or Kohler can include a heated seat, a built-in bidet with adjustable water temperature and pressure, an automatic air deodorizer, a nightlight, and even hands-free flushing and lid operation. They offer a significant upgrade in comfort and hygiene.
For easy-to-clean walls in the shower area, consider solid surface panels instead of tile. Products like Corian solid surface or Onyx Collection panels can be installed in large sheets, which means no grout lines to scrub or seal. While the upfront cost can be higher than basic ceramic tile, the savings in long-term maintenance and cleaning time are significant.
Curved Shower Rod: An incredibly simple and affordable upgrade for any standard tub-shower combo. It bows outward, adding several inches of valuable elbow room inside the shower, making it feel significantly more spacious without any actual remodeling.
Straight Shower Rod: The classic choice, functional and space-efficient on the outside. Often used with glass doors for a cleaner look.
For under $50, a curved rod is one of the best bang-for-your-buck improvements for daily comfort.