That Annoying Drip is Costing You Money: A Pro’s Guide to Easy Bathroom Fixes
I’ve been in the plumbing game for a long time, and let me tell you, I’ve seen it all. I’m talking about the 3 a.m. calls for a burst pipe flooding a brand-new kitchen, but also the afternoon visits where a homeowner’s water bill had shot through the roof. The culprit? A tiny, worn-out part in their toilet tank that cost less than five bucks to replace. It’s wild.
In this article
The honest truth is that so many of those panic-inducing bathroom problems are surprisingly simple to fix yourself. But some are definitely warning signs of a much bigger, more expensive issue brewing behind the walls. My goal here is to pull back the curtain and show you how to diagnose these common problems like a pro.
Most importantly, I want you to know the difference between a safe, five-minute fix and a problem that needs someone with a truck full of specialized tools. Knowing when to put down the wrench and pick up the phone is probably the most valuable skill a homeowner can have. Oh yeah, before we dive in, it’s a great idea to have a small “Plumbing First-Aid Kit” under your sink. We’re not talking about a full toolbox, just the essentials: a good flange plunger, a small adjustable wrench, and maybe some thread seal tape. It’ll save you a frantic trip to the store later.
The Ghost in the Bathroom: Fixing a Running Toilet
A running toilet is, without a doubt, the most frequent call I get. So many people just get used to the sound or learn to jiggle the handle just right. But that constant hiss is literally the sound of money going down the drain. I once had a client whose quarterly water bill was hundreds of dollars higher than normal, all from one toilet silently leaking water from the tank into the bowl. It adds up to thousands of gallons wasted.
What You Might Need: Food coloring (from your kitchen), a universal flapper (around $8), or a new fill valve kit (about $20).
How Your Toilet Tank Actually Works
Your toilet tank is a beautifully simple machine. When you push the handle, it lifts a chain connected to a rubber seal called a flapper. This uncovers a hole, letting all the tank water rush into the bowl. That rush creates a siphon that pulls everything down the drain. As the tank empties, the flapper falls back into place, sealing the hole. Then, a fill valve opens to refill the tank, and a float rises with the water. When the float hits the right height, it shuts off the water. Simple, right? A running toilet just means something in that little sequence is broken.
How to Diagnose the Problem in 20 Minutes
Before you even think about touching anything, just lift the lid, listen, and look. This is the first thing I do on every single job.
1. The Food Coloring Test: This is a classic for a reason. It’s the absolute best way to see if you have a slow leak from the tank to the bowl. Just add a few drops of dark food coloring to the tank water. Now, walk away. Don’t flush! Come back in about 20 minutes. If you see any of that color in the toilet bowl, you’ve got a bad flapper or a leaky seal. This is the number one cause of a mystery high water bill.
2. Check the Chain: Is the chain too tight? If it is, it’s holding the flapper slightly open. Is it too loose? It could be getting tangled or caught underneath the flapper, which also breaks the seal. The chain should have just a tiny bit of slack, but not much.
3. Feel the Flapper: Flappers are usually made of rubber. Over time, minerals in the water and harsh cleaning chemicals can make them warp, get stiff, or even blister. If it feels gummy or hard instead of soft and flexible, it’s time for a new one. A new one at Home Depot or Lowe’s will only set you back between $5 and $10.
4. Eyeball the Water Level: Look for the open pipe in the middle of the tank—that’s the overflow tube. The water level should always be about an inch below the top of that tube. If water is constantly spilling into it, your fill valve isn’t shutting off properly.
The Fixes: Easier Than You Think
For a flapper or chain issue, you’re looking at a 10-minute job, max.
- First, turn off the water using the little knob on the wall behind the toilet (turn it clockwise).
- Flush the toilet to drain the tank.
- You can adjust the chain by unhooking it and reconnecting it on a different link. Easy.
- To replace the flapper, just unhook it from the two little ears on the overflow tube. Take the old one with you to the store to get a perfect match. Quick tip: If the old flapper is too disintegrated to compare, look inside the tank or on the back of the lid for the toilet’s brand and model number. You can usually find the exact part you need with a quick online search.
If your water level is too high, you can usually adjust the float on the fill valve. On older styles with a big ball on an arm, you can gently bend the arm down a bit. On more modern cup-style floats, there’s an adjustment screw or a clip you can move. Make tiny adjustments and let the tank refill to check your work.
If that doesn’t work, the whole fill valve might be shot. A new kit costs between $15 and $25 and is a totally manageable DIY project. Just follow the instructions carefully. Heads up! The biggest mistake people make is over-tightening the plastic nuts under the tank. They should be hand-tight, plus maybe a final quarter-turn with a wrench. If you crack the porcelain tank, you’re buying a whole new toilet. If you’re not comfortable with that, this is a great time to call a pro. For us, it’s a quick job, and a service call for this will likely run you between $125 and $250, depending on where you live.
Your weekend mission: Go do the food coloring test on every toilet in your house. It takes less than 30 minutes and could literally save you a hundred bucks on your next water bill. You might be surprised by what you find!
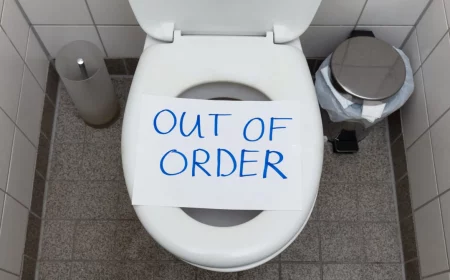
The Dreaded Clogged Toilet
Nothing brings a household to a screeching halt faster than a toilet that won’t flush. The first instinct is usually panic, especially if that water starts rising. Don’t worry. Most of the time, the clog is right there in the toilet’s built-in trap, and you can handle it.
Why Toilets Clog (and a PSA)
Every toilet has an S-shaped bend in its base, called a trap. It’s designed to hold water to block sewer gas from creeping into your home. It’s also the narrowest point in the whole system. Clogs happen here when too much waste is flushed, or when things that should never be flushed go for a swim. And trust me, I’ve pulled out everything from cell phones to kids’ toys to dental floss. So here’s my PSA: The only things that should ever, EVER be flushed are human waste and toilet paper. Those so-called “flushable” wipes are one of the biggest lies in marketing. They don’t break down, and they cause major blockages.
Pro-Level Techniques for Clearing a Clog
When I show up for a clog, I don’t reach for the chemicals. I grab my tools.
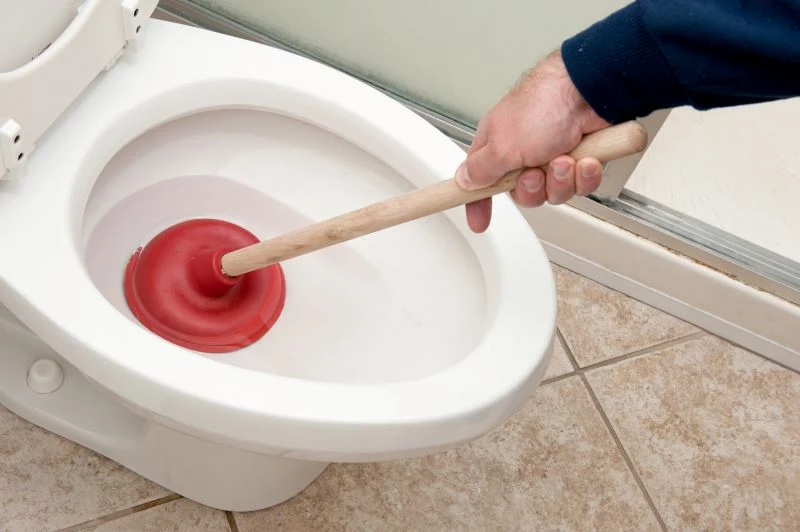
1. The Right Plunger Matters. A Lot. That classic red cup plunger you have? That’s for sinks. For a toilet, you need a flange plunger. It has an extra flap of rubber that folds out to perfectly seal the hole at the bottom of the toilet bowl. This seal is everything.
- Sink Plunger (Cup-shaped): Bad for toilets. It can’t form a good seal and just splashes water around.
- Toilet Plunger (Flange-shaped): Perfect for toilets. The flange creates a seal, giving you the suction you need to actually move the clog.
Before you start, run the plunger under hot water for a minute to soften the rubber. Your first push should be gentle to get the air out. After that, it’s all about forceful push-and-pull motions. The pull is actually more important than the push—it uses suction to yank the clog loose.
2. The Dish Soap & Hot Water Trick: If you don’t have a flange plunger handy, this can sometimes work on, uh, organic clogs. Squirt about half a cup of dish soap into the bowl and let it sit for ten minutes to lubricate things. Then, carefully pour a bucket of hot (NOT boiling!) water from about waist height into the bowl. The heat and pressure can sometimes be enough to break the clog free. A serious warning: Never use boiling water. The sudden temperature shock can crack the porcelain bowl, and then you’ve got a much bigger problem.
3. When to Call for Backup: If you’ve given it a good shot with a proper flange plunger and it’s still blocked, it’s time to stop. The blockage is likely further down the main drain line. A tell-tale sign is water backing up into your shower or tub when you flush. At this point, you need a pro with a powerful drain machine. Continuing to plunge can just wedge the clog in even tighter.
And please, I’m begging you, avoid liquid drain cleaners. They rarely work on toilet clogs, and they’re incredibly toxic. If they fail, you’re left with a bowl full of caustic water, which is a huge hazard for you and for the plumber who has to come fix it.
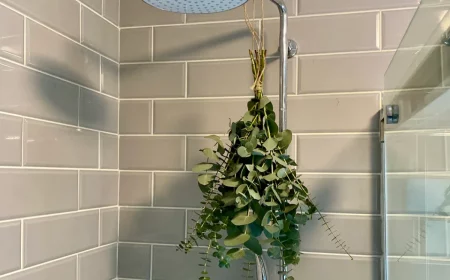
Solving That Weak, Annoying Shower Spray
A weak shower or a faucet that just trickles out water is super frustrating. Most people immediately jump to thinking they have a major, expensive plumbing problem. But from my experience, 90% of the time low pressure at just one fixture is a simple blockage right at the end of the line.
The Culprit: Mineral Buildup
Water isn’t just water; it’s full of dissolved minerals like calcium and magnesium. Over time, these minerals build up and form a crusty, hard scale inside your pipes, faucet aerators, and showerheads. It’s like plumbing cholesterol, and it slowly chokes off the water flow. It’s a super common issue, especially in areas with hard water.
The 1-Hour Fix for Better Water Pressure
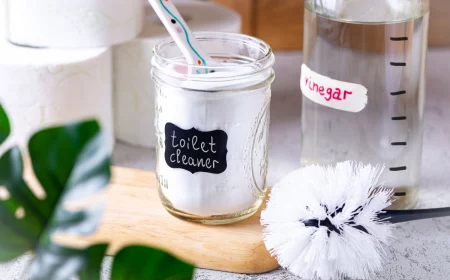
Luckily, this is one of the most satisfying and easy DIY fixes out there. All you really need is some white vinegar and an old toothbrush.
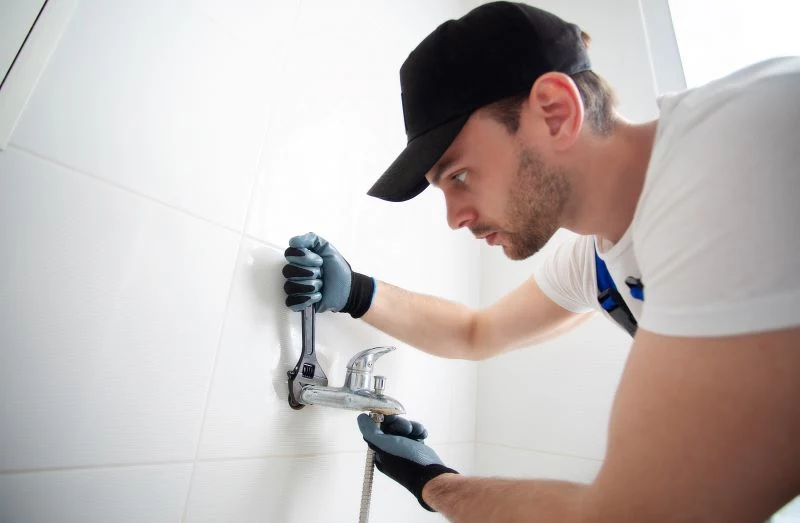
For a Faucet:
- Unscrew the very tip of the faucet—that’s the aerator. If it’s on tight, wrap a cloth or rag around it before using pliers or a wrench to prevent scratching the finish.
- Carefully take the aerator apart. You’ll see a little screen and a rubber washer. Lay them out so you remember how they go back together.
- Drop all the parts into a cup of white vinegar and just let them soak for an hour or so. You might even see it fizzing as the vinegar dissolves the minerals.
- After the soak, use an old toothbrush to scrub away any remaining gunk. Rinse, reassemble, and screw it back on. You’ll be amazed at the difference.
For a Showerhead:
The process is basically the same. Unscrew the showerhead from the pipe coming out of the wall. Soak the whole thing in a bowl of vinegar, scrub the little spray holes with a toothbrush, and put it back on. Boom. Your powerful shower is back in action.