Your Bathroom Walls Have One Job: Don’t Fail. Here’s How to Help Them.
I’ll never forget the call I got from a homeowner in a total panic. Their gorgeous, high-end wallpaper—the kind you see in magazines—was literally peeling off the wall in giant, sad sheets. And behind it? The drywall was spongy and covered in black mold. It was a complete gut job, all because they chose a look without understanding the environment.
In this article
Let’s be real: a bathroom isn’t like any other room in your house. It’s a hostile environment, constantly under attack from humidity, wild temperature swings, and direct water spray. Choosing a wall finish here is less about interior design and way more about engineering a solid defense against moisture.
After years of doing this, I can tell you that the most beautiful finish in the world will fail if the system behind it is garbage. It’s not just about the tile or paint you see. It’s about the hidden layers, the room’s ventilation, and making smart material choices. So, let’s skip the trends for a minute and talk about how to build a bathroom that actually lasts.
Your First Line of Defense Isn’t a Wall—It’s a Fan
Before we even think about materials, we have to talk about ventilation. A hot shower creates a massive amount of water vapor, or steam. When that warm, moist air hits a cooler wall, it condenses back into liquid. If your walls aren’t ready for that, they soak it up. This is where peeling paint and mold parties begin.
Your single most important weapon is a good exhaust fan. Seriously. It’s not optional. Its job is to yank that humid air out of the room before it has a chance to cause trouble. Fan power is measured in CFM (Cubic Feet per Minute), and a good rule of thumb is to have at least 1 CFM for every square foot of floor space. So, an 8×10 foot bathroom (80 sq ft) needs at least an 80 CFM fan. Personally, I always go a little bigger. It’s better to have too much power than not enough.

Heads up! For bathrooms over 100 square feet, the pros use a more detailed method. They often recommend adding up the needs for each fixture: 50 CFM for a shower, 50 CFM for a toilet, and 50 CFM for a bathtub. It ensures you have enough power to clear the air quickly.
And for the love of all that is holy, make sure the fan vents outside your house. Not into the attic. Venting into the attic just moves the moisture problem upstairs where it can rot your roof structure from the inside out. I’ve seen it happen, and it’s an expensive, ugly mess.
The Foundation: Choosing the Right Stuff Behind the Wall
The material your pretty finish sticks to is called the substrate. This is where a huge number of projects go wrong. Regular old drywall, which is basically paper-faced gypsum, turns to complete mush when it gets wet. It has absolutely no business being in a shower or tub surround.
Here are your main options, from ‘okay’ to ‘bombproof’:
- Moisture-Resistant Drywall (or “Green Board”): The key word here is “resistant,” not “proof.” It has a waxy paper coating that helps it shed a bit of moisture, but the core is still gypsum. It’s acceptable for a bathroom wall that’s far away from any water source, like behind the door, but it should never be used in a wet zone. In fact, most building codes don’t even allow it for new showers anymore.
- Cement Backer Board (CBU): This is the classic, reliable choice for tiled areas. It’s made of cement and reinforcing fibers, so it won’t rot or swell up when it gets wet. But here’s the catch: it’s not waterproof. Water can and will pass right through it to the wood studs in your wall. That’s why it absolutely must be used with a separate waterproofing membrane on top.
- Waterproof Foam Boards: This is the modern, high-performance option. These boards are made from a super-dense foam that’s already coated in a waterproof layer. They’re incredibly lightweight, a breeze to cut (just score and snap with a utility knife!), and create a totally waterproof and vapor-tight surface all in one step. They’re a bit more expensive upfront, but they can save you a ton of time and labor.
A quick DIY reality check: Tossing up foam boards is a one-person job. They’re so light. Cement board, on the other hand, is heavy, dusty, and awkward. You’ll definitely need a friend to help you wrangle it into place, and you’ll be cleaning up cement dust for days. When you factor in your own sanity and time, the extra $30-$40 per foam board (a typical 3×5 ft sheet of CBU is about $15, while a foam board of the same size can be $50-$70) might suddenly feel like a bargain.
The Real Deal: Creating a Waterproof Barrier
Since grout is porous, water will eventually get behind your tile. The waterproofing membrane is the hidden layer that actually protects your home’s structure. You have two main paths here.
The first is a liquid-applied membrane. Think of it like a thick, rubbery paint that you roll or brush over your cement board. Common ones are that bright red or blue stuff you see at Home Depot. The absolute key here is getting the coating thick enough. A common mistake is putting on a couple of thin coats that look good but don’t actually do the job. A pro tip is to buy a cheap wet film gauge for about $5. It’s a little plastic or metal comb you press into the wet membrane to measure its thickness, ensuring you’ve met the manufacturer’s spec (usually around 90 mils when wet). This one tiny step can be the difference between success and failure.
The second option is a sheet membrane. This is a waterproof fabric that gets installed over the substrate with thin-set mortar. You have to overlap all the seams and cover every screw head with special banding to create a continuous, unbroken waterproof shell. It’s a very systematic approach. Oh yeah, and a crucial tip for sheet membranes: you often need to use unmodified thin-set mortar. Why? Because these membranes block air, and regular modified thin-set needs air to dry and cure properly. Unmodified thin-set cures chemically, so it doesn’t need air. Using the wrong kind is a project-killing mistake I see all the time.
So which is better? The liquid stuff is cheaper in terms of materials (a bucket for around $60 can cover a whole shower), but you have to wait 12-24 hours between coats. The sheet systems are faster to install—you can often start tiling the same day—but the materials cost more.
Okay, Let’s Make It Look Good: Your Finish Options
With a bulletproof foundation, you can finally choose your finish. Each one has its own quirks.
The Workhorse: Tile
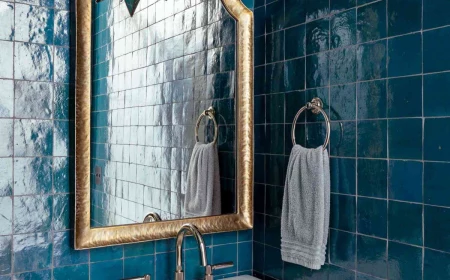
Tile is the go-to for a reason: it’s incredibly durable and easy to clean. But not all tile is the same. I pretty much exclusively recommend porcelain for wet areas. It’s fired at a much higher temperature than standard ceramic, making it far denser and less porous. This means it absorbs less than 0.5% water, which is huge for preventing moisture issues. Natural stone like marble or travertine is beautiful, but it’s a part-time job. It’s porous and needs to be sealed every year or so to prevent stains.
Remember, a tile job is a system. For maximum strength, industry standards call for 95% mortar coverage on the back of every tile in a wet area. To achieve this, we comb mortar onto the wall with a notched trowel and also skim a thin layer onto the back of the tile itself—a technique called “back-buttering.” It ensures there are no hollow spots where water can collect.
And don’t forget the final details! For grout, you can choose between traditional cement-based grout (which needs sealing) or epoxy grout. Epoxy is more expensive and a bit trickier to work with, but it’s waterproof and stain-proof right out of the box—no sealing ever. And finally, at every corner and where the tile meets the floor or tub, use 100% silicone caulk, NOT grout. The corners are joints that move, and grout will just crack. Silicone stays flexible.
The Low-Maintenance Champ: Solid Wall Panels
If you despise cleaning grout lines, acrylic or solid-surface wall panels are your best friend. They come in huge sheets that are glued directly to your waterproof backer board, creating a seamless, easy-to-clean surface. The downside? They can sometimes look less luxurious than tile, and you have to be very precise with your installation, often using a specific kit from the manufacturer. But for zero grout maintenance? It’s a trade-off many people are happy to make.
For Everywhere Else: The Right Way to Paint
For the walls outside the direct wet zones, paint is perfectly fine—if you do it right. Start with a good quality, moisture-resistant primer. This will seal the wall and prevent the paint from blistering. Then, choose a paint with a bit of a sheen, like satin or semi-gloss. These finishes are more durable and scrubbable than a flat or matte finish, making it easy to wipe away condensation streaks. A high-quality bathroom-specific paint might run you $60-$80 a gallon, but it contains mildewcides and is formulated to handle the humidity.
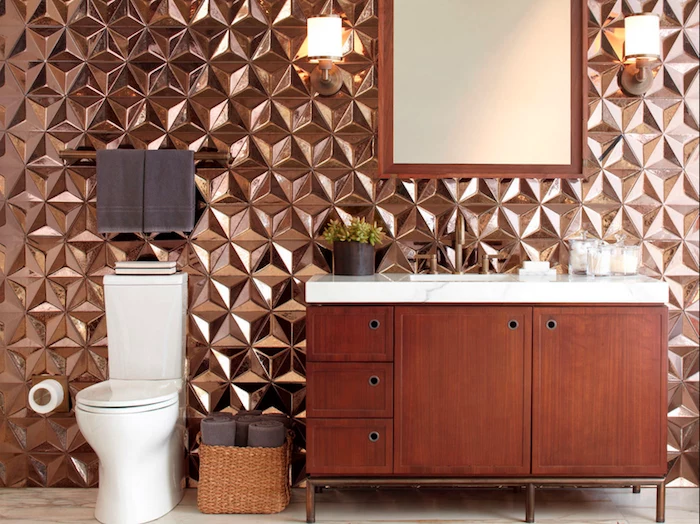
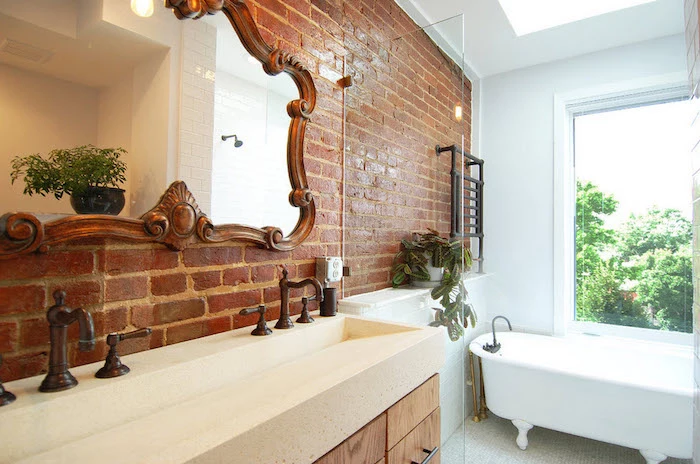
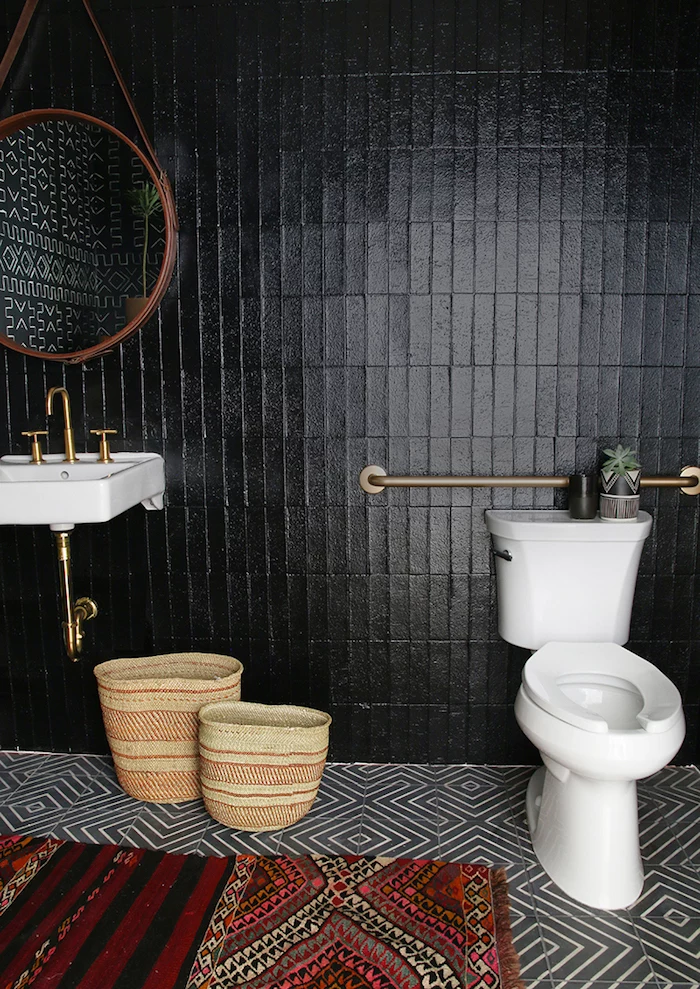
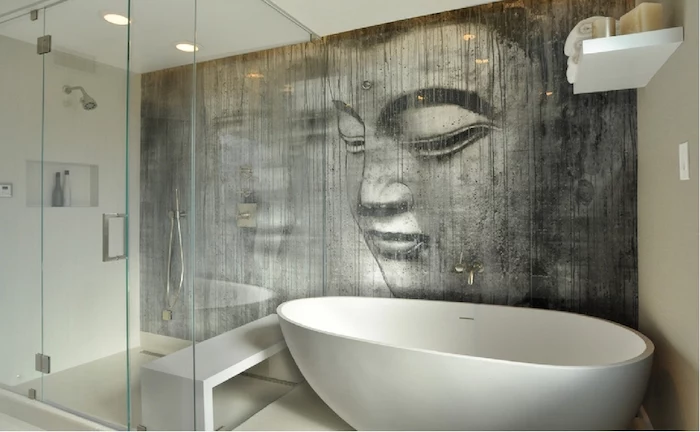
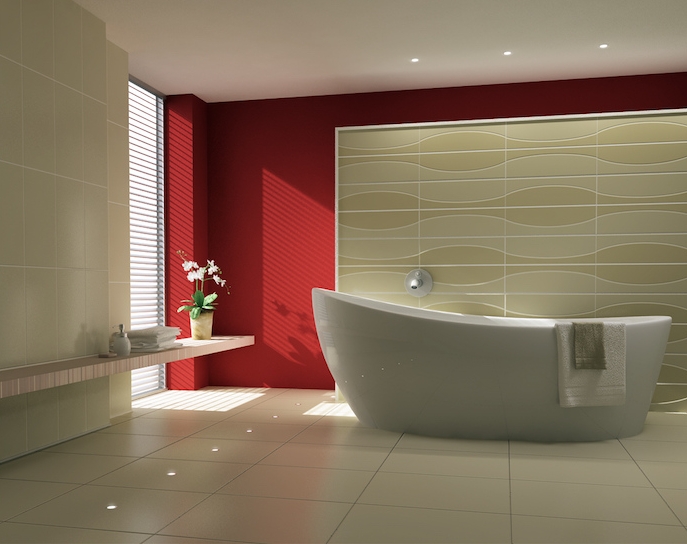
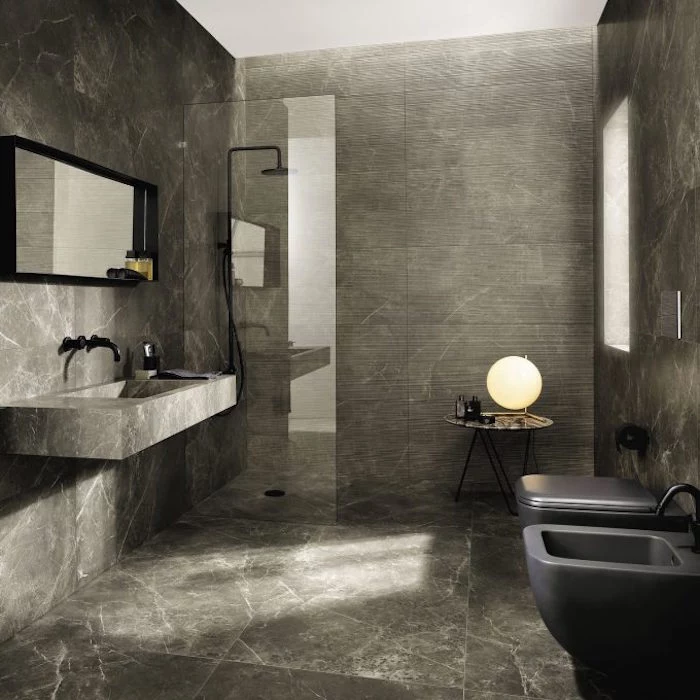
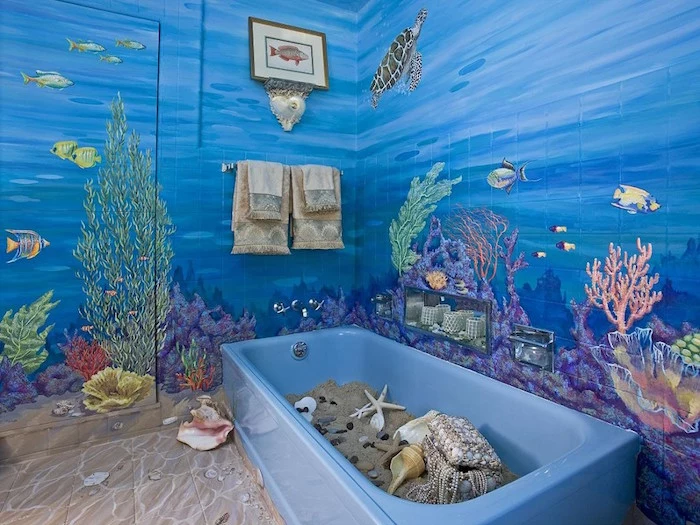
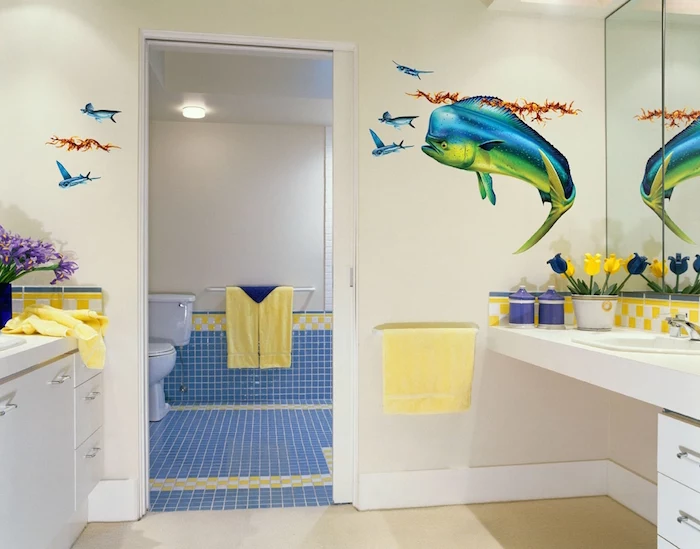
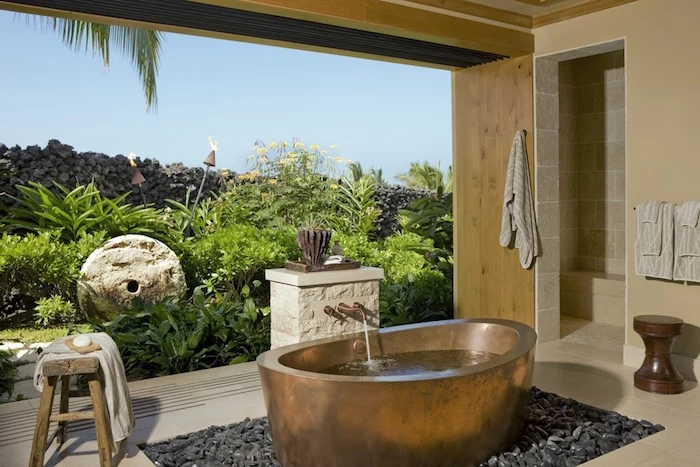
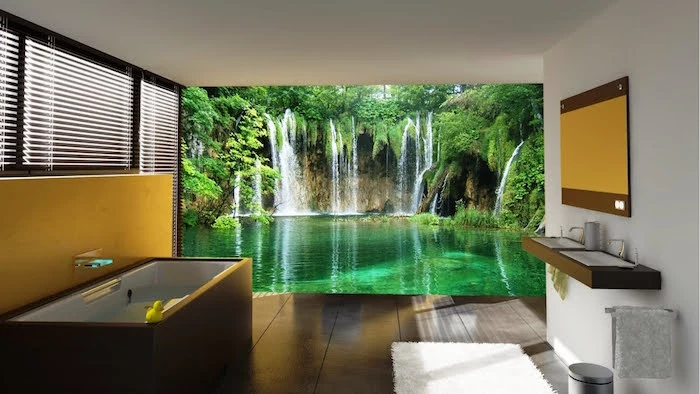
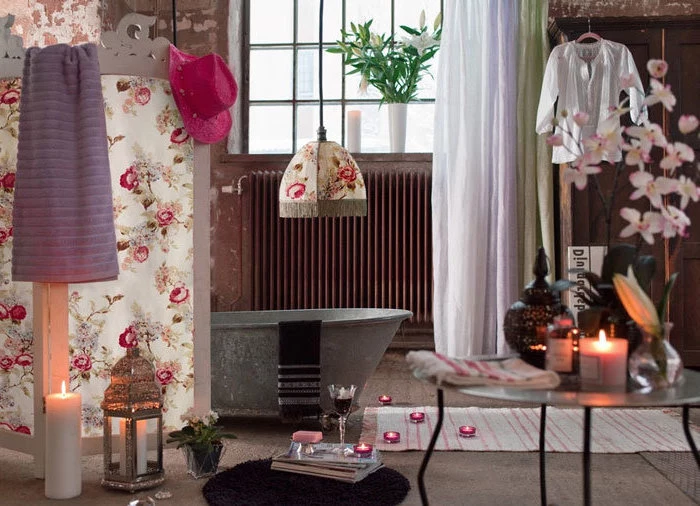
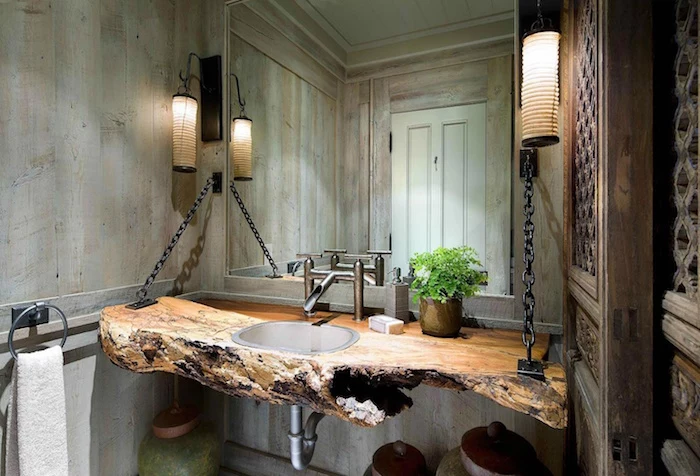
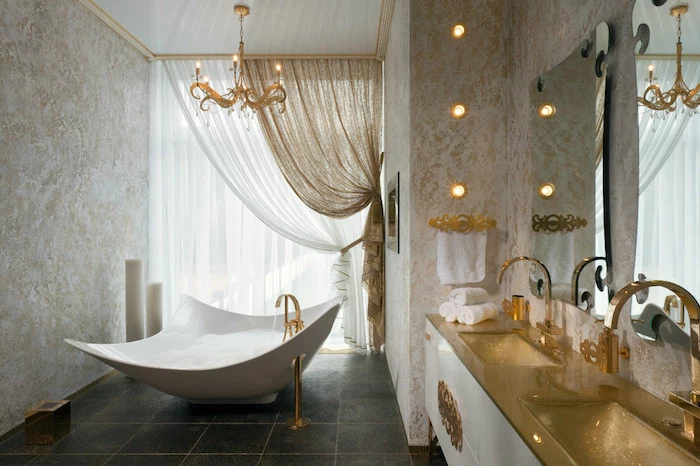
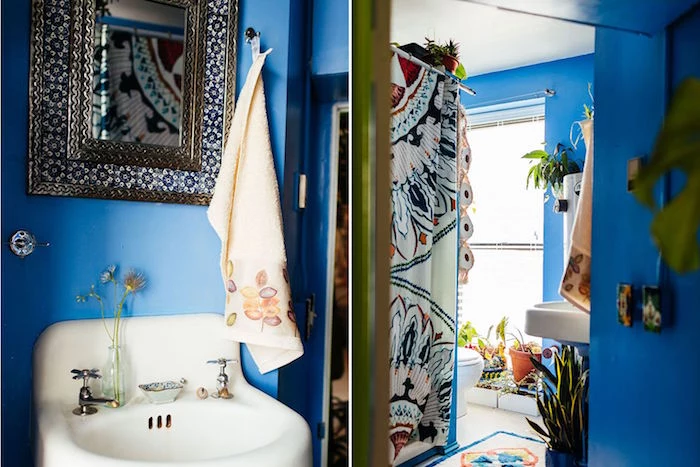
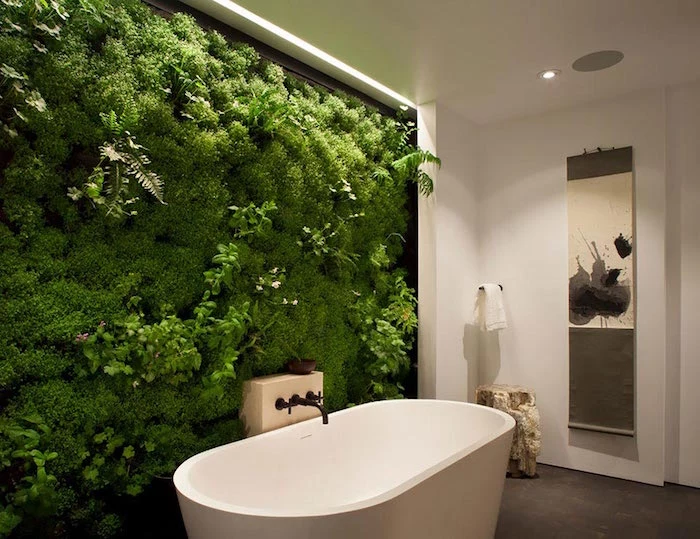
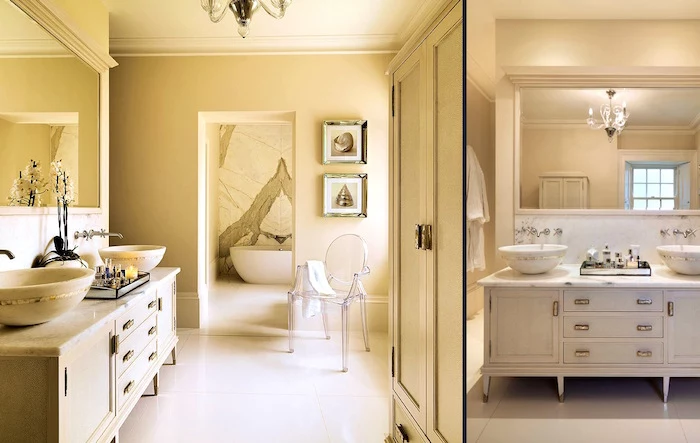
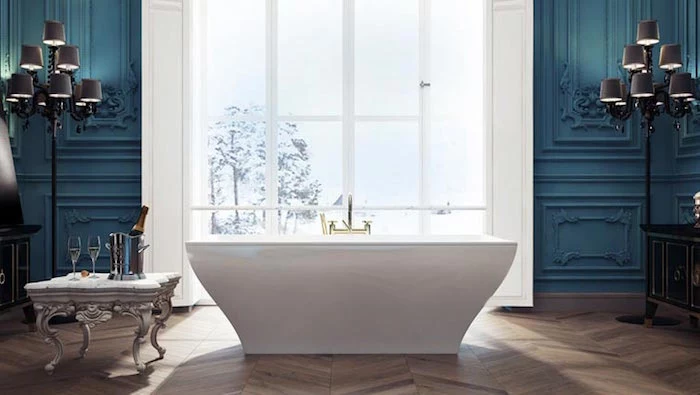
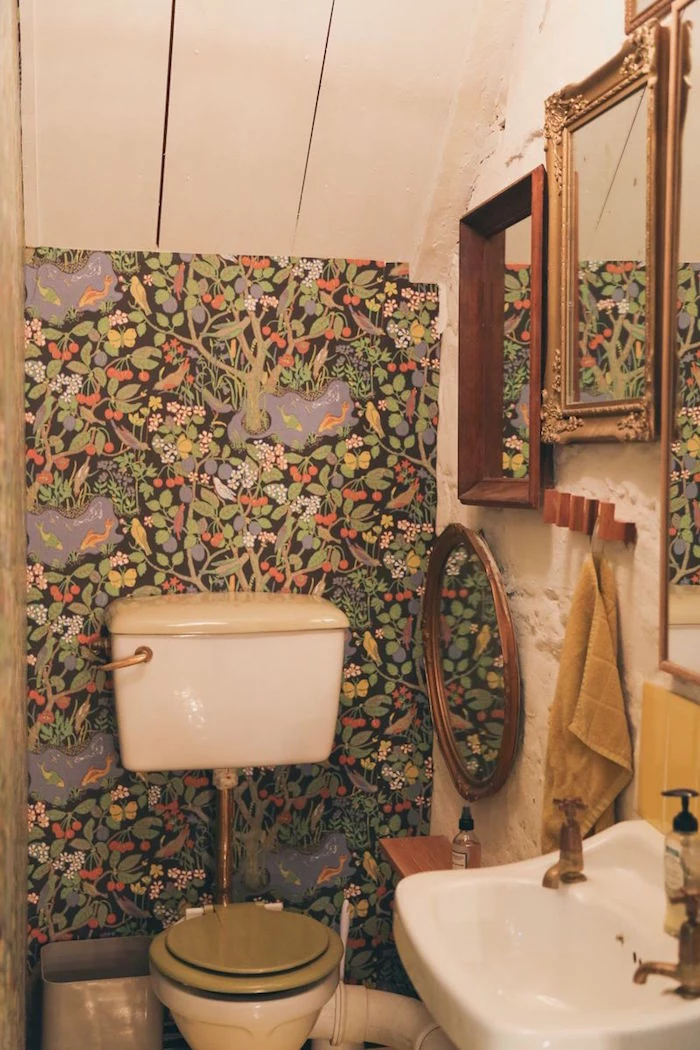
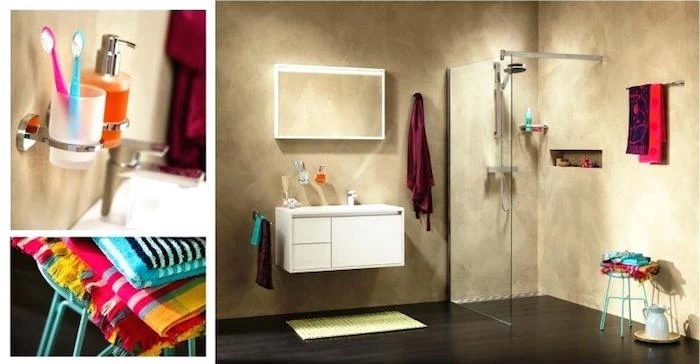
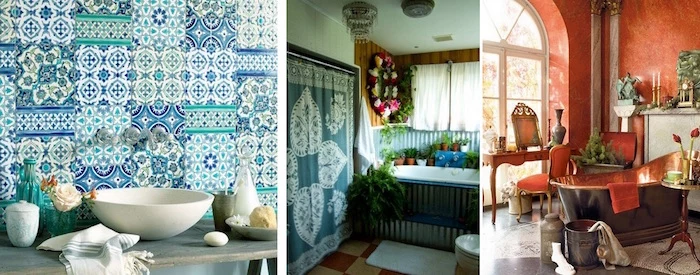
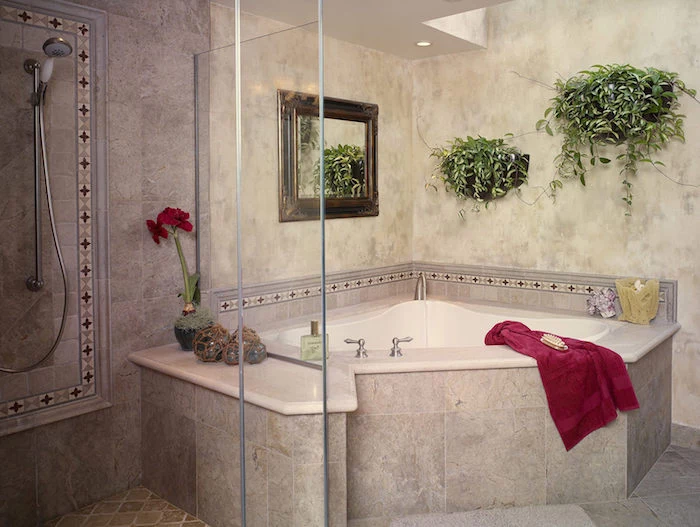
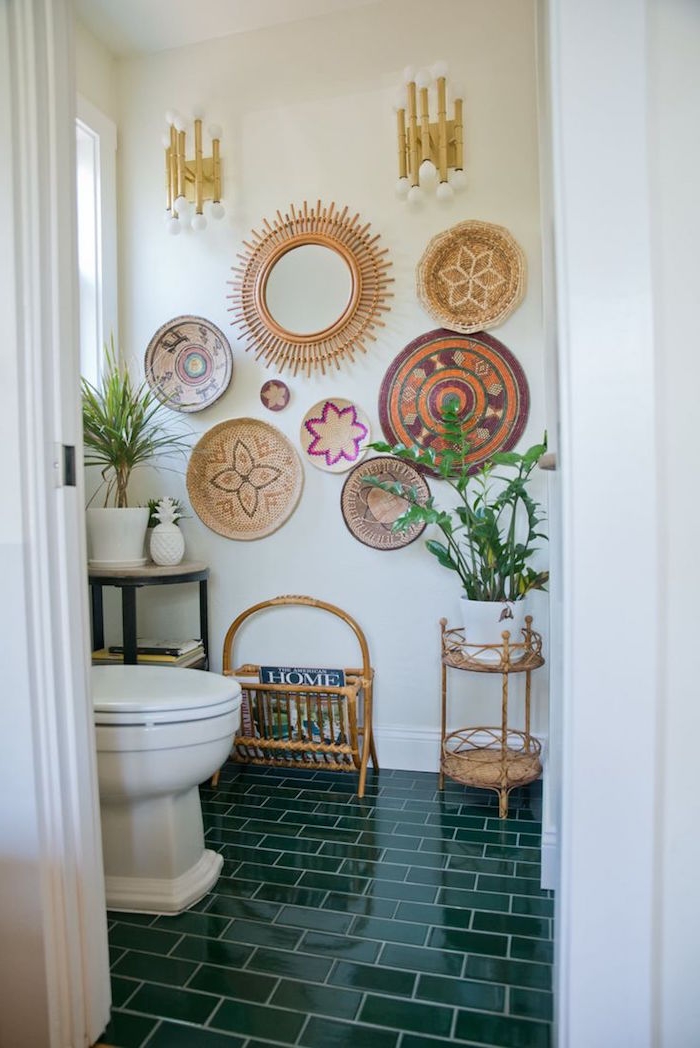
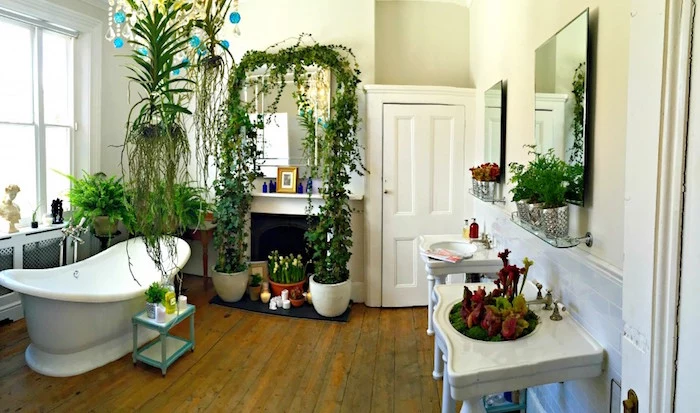
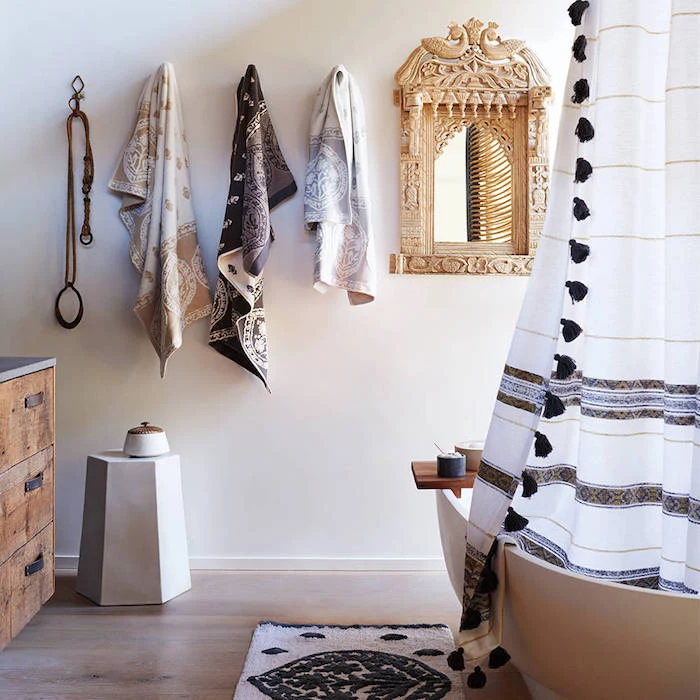
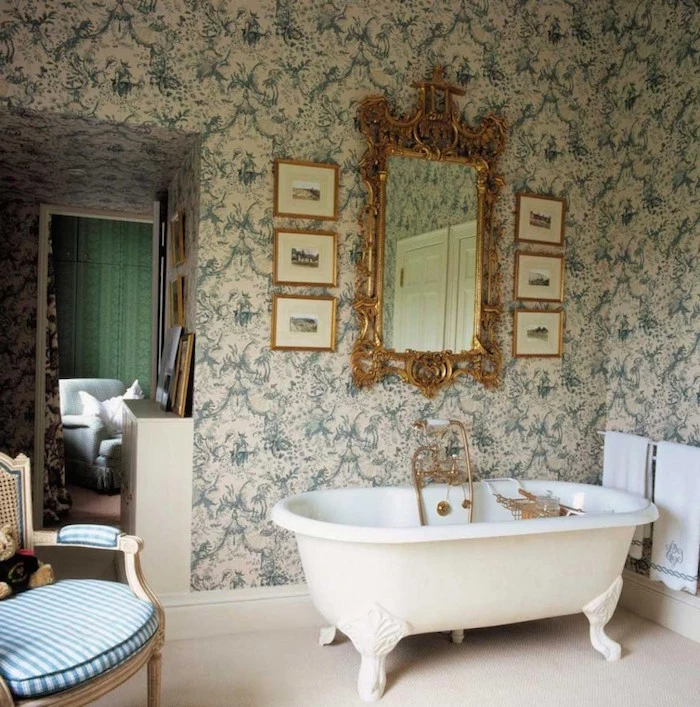
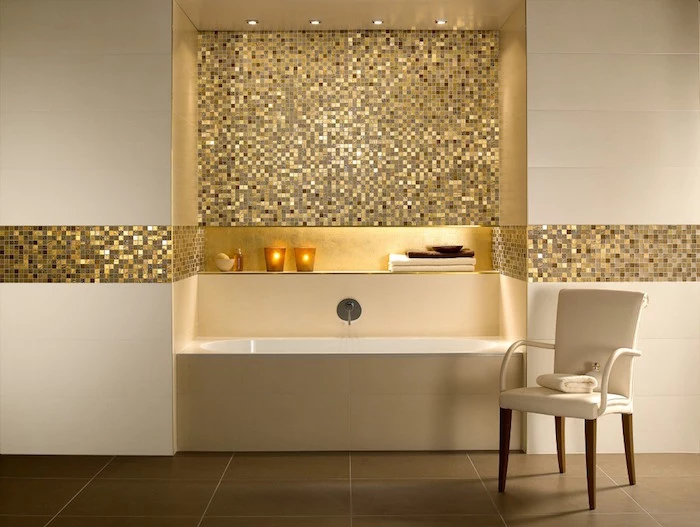
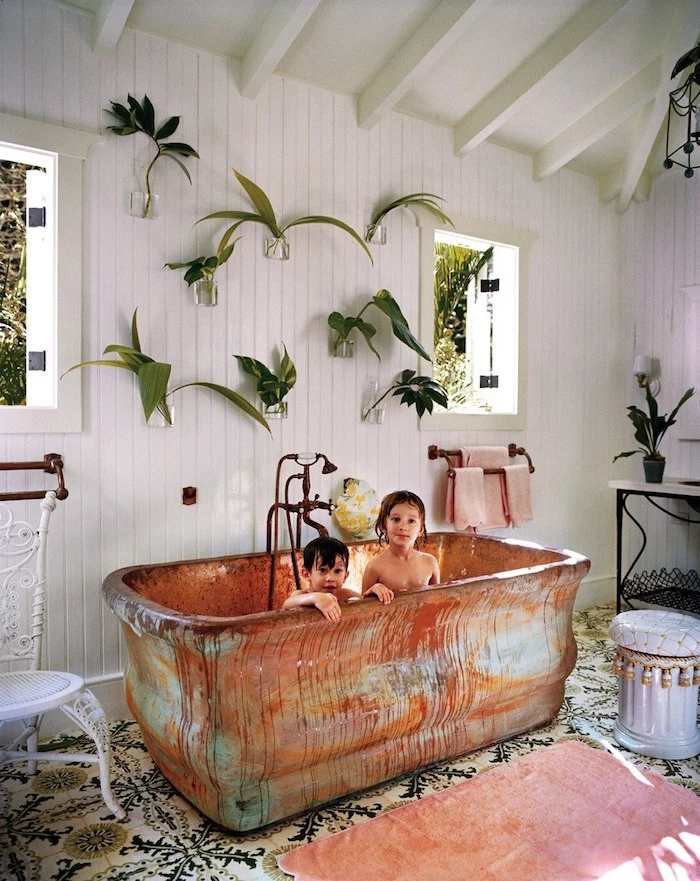
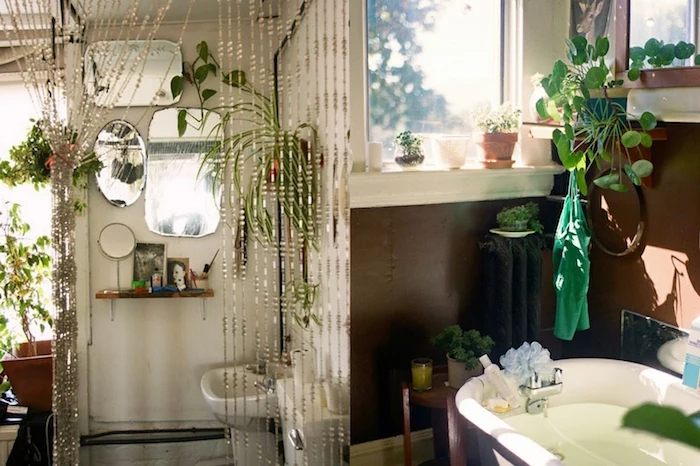
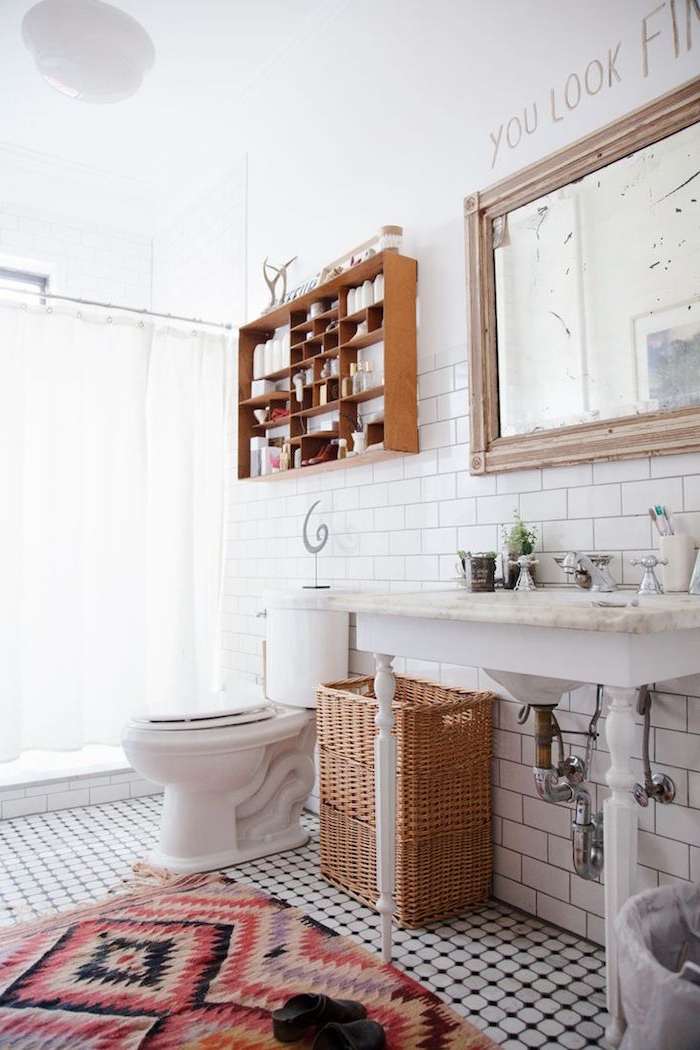
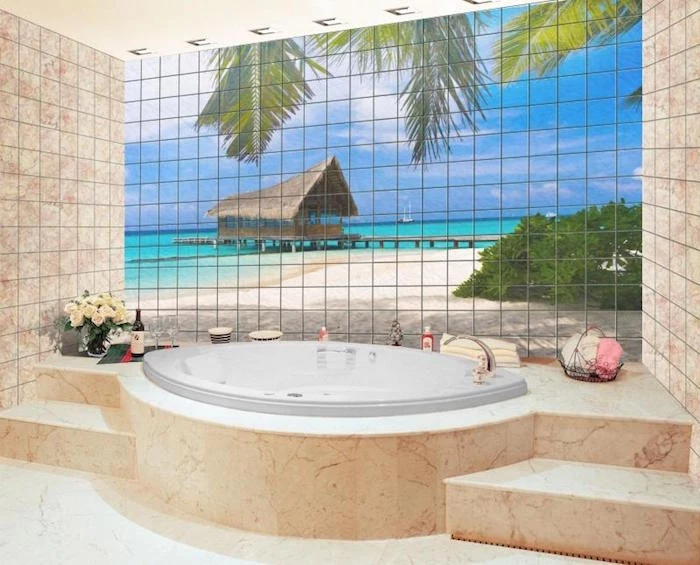
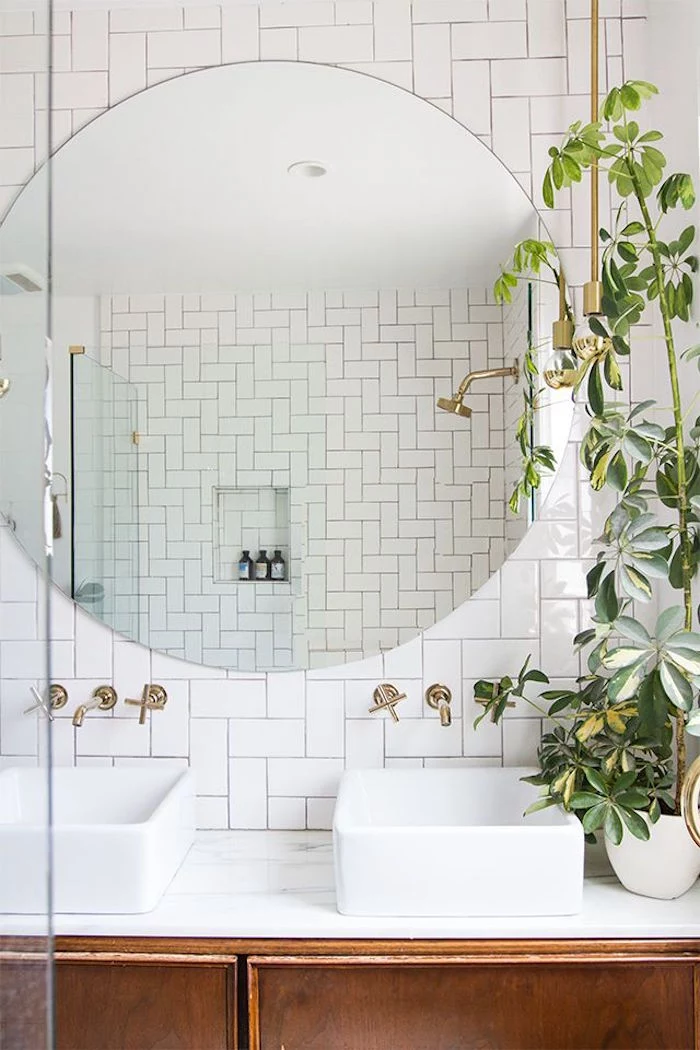
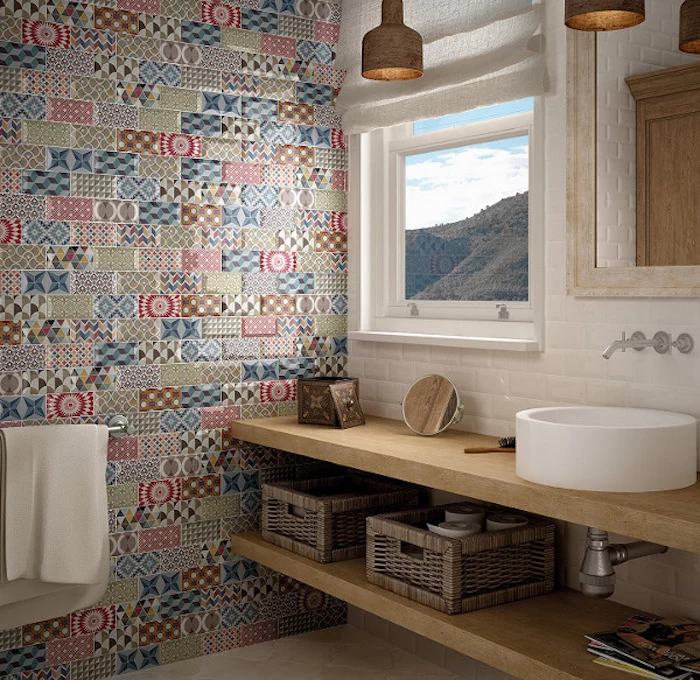
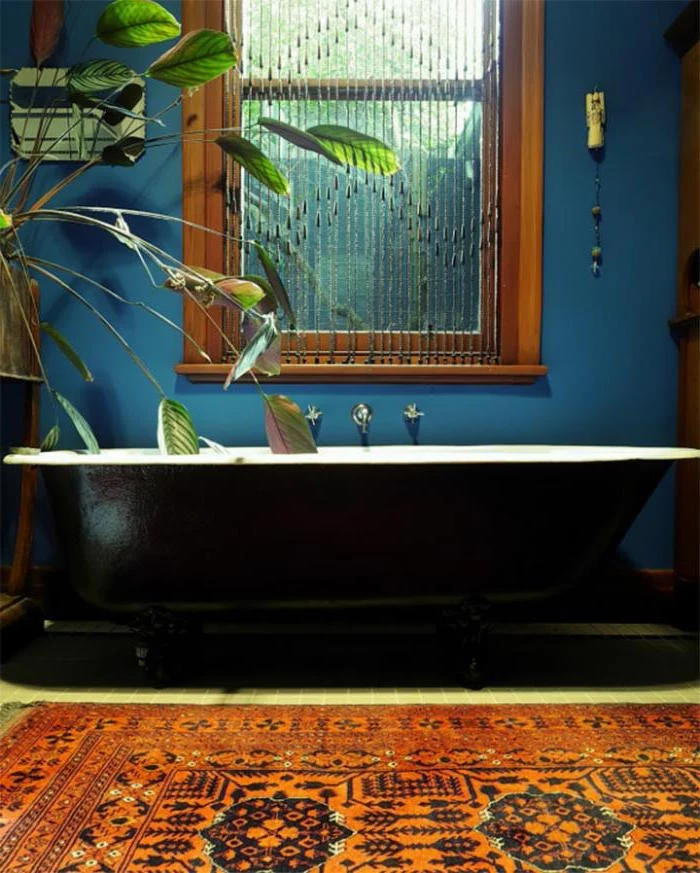
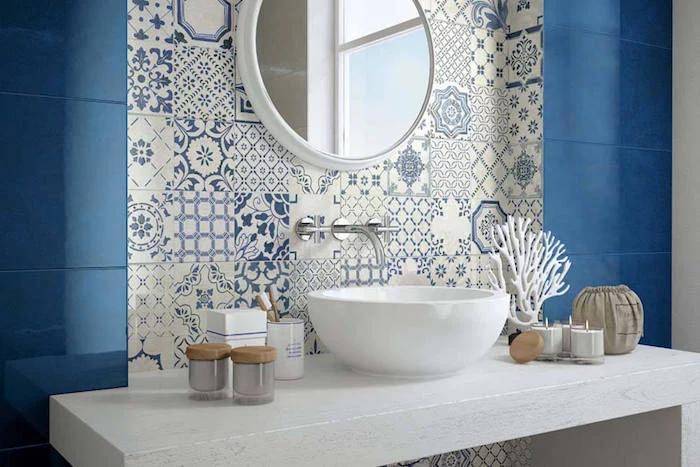
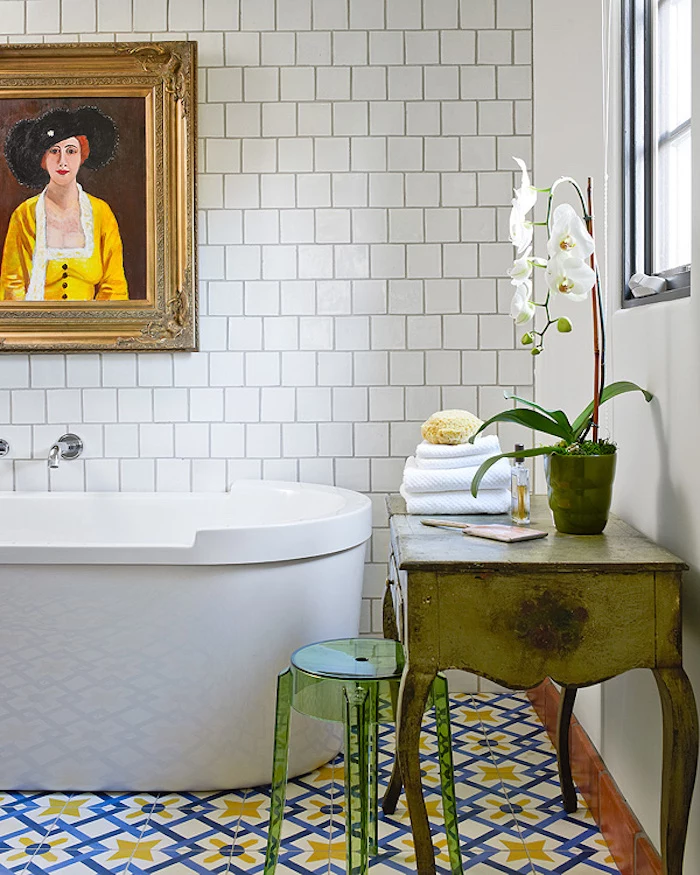
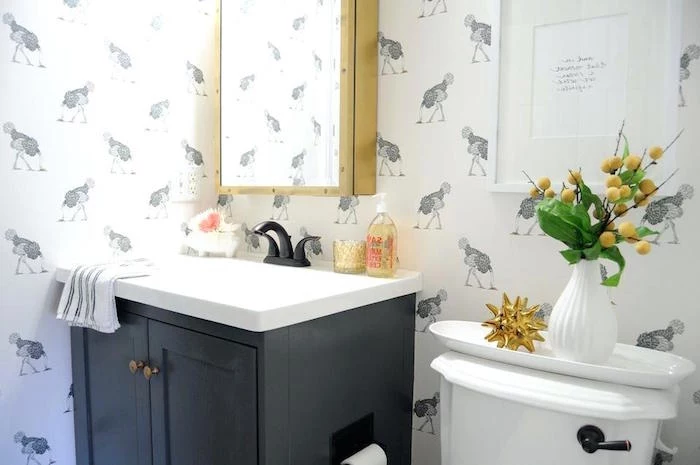
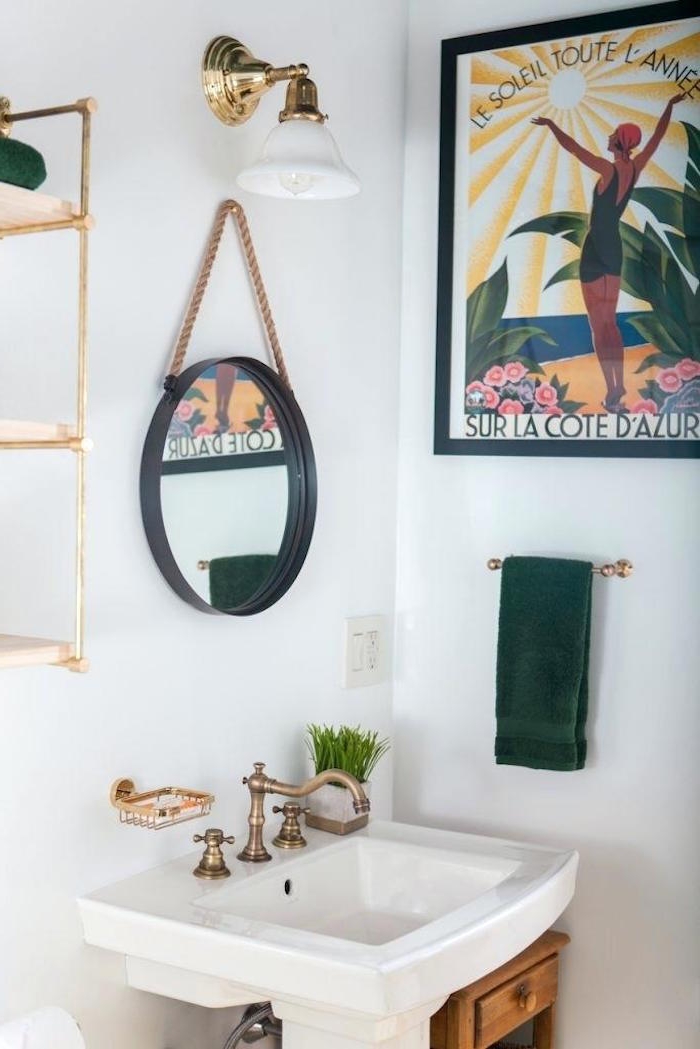
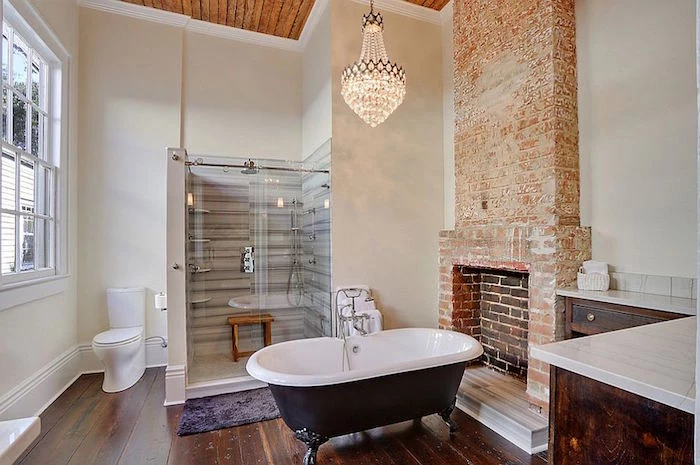
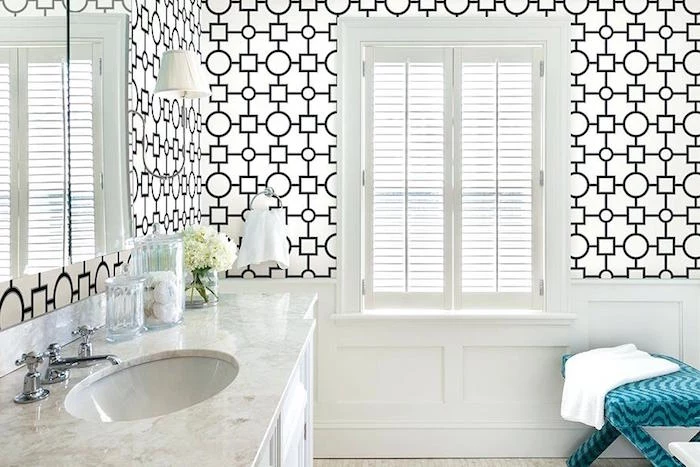
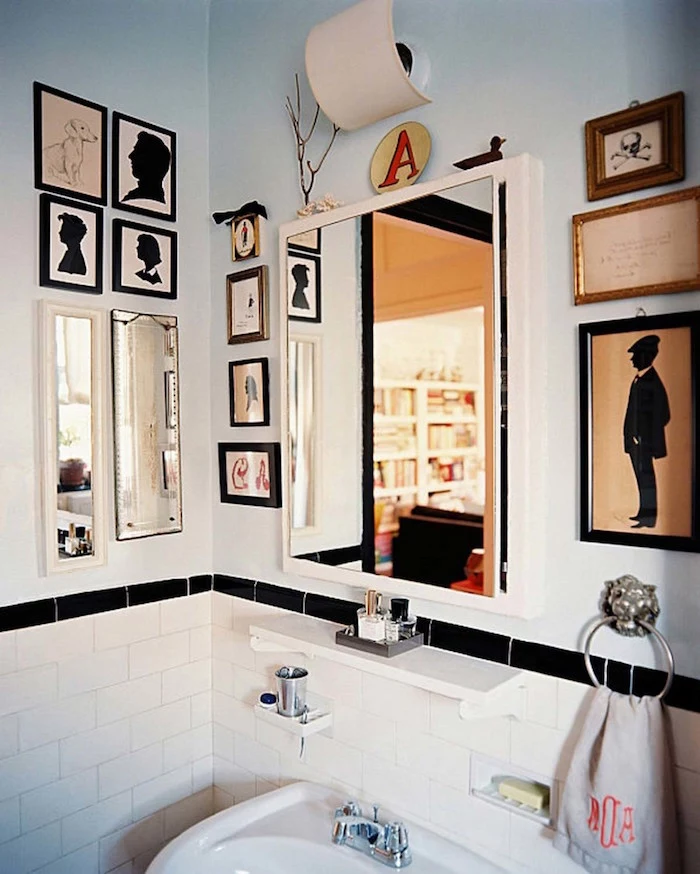
Inspiration Gallery
The unseen hero: Before a single tile is laid in a wet area, ask your contractor about the waterproofing membrane. A product like Schluter-Kerdi is a pliable, sheet-applied membrane that creates a fully sealed system behind the tile. It’s the difference between a wall that’s merely water-resistant and one that’s truly waterproof.

- Fights mildew and stains, even in steamy conditions.
- Maintains its color without yellowing or fading from humidity.
- Offers a durable, scrubbable surface for easy cleaning.
The secret? A high-performance paint designed specifically for bathrooms. Benjamin Moore’s Aura® Bath & Spa is a prime example, formulated with a tighter molecular structure that repels moisture.

Can you really use wallpaper in a bathroom?
Yes, but with major caveats. Forget standard paper-based options. You need to look for solid vinyl or fiberglass-based wallpapers, often labeled ‘scrubbable’ or ‘extra-washable.’ These are non-porous and can handle indirect moisture. Install them in a powder room or a well-ventilated main bathroom, but keep them far away from the direct splash zone of a shower or tub surround. Proper wall priming with a moisture-resistant primer is non-negotiable.
According to the U.S. Environmental Protection Agency (EPA), maintaining indoor humidity levels between 30% and 50% is ideal for inhibiting mold growth.
An exhaust fan isn’t just for clearing steam—it’s your primary tool for managing the room’s overall humidity. Consider installing one with a humidistat, which automatically turns the fan on when moisture levels get too high and off when the room is dry, ensuring protection without you having to think about it.

For a truly seamless, modern, and grout-free look, large-format porcelain slabs are changing the game. These massive panels (some can be 5×10 feet) can cover an entire shower wall with a single piece. The result is a stunning, easy-to-clean surface with no grout lines to scrub or harbor mildew. Brands like Florim, Porcelanosa, and Daltile offer incredible stone and marble looks in this format.

Tile Backer Board: The foundation for your tile job. Standard green board (moisture-resistant drywall) is not waterproof and shouldn’t be used in showers. Cement-based boards like HardieBacker or Durock are a better choice, as they don’t disintegrate when wet.
Waterproof Membrane: The essential layer on top of the backer board. This is what actually stops water. It can be a liquid-applied product like RedGard or a sheet membrane like Schluter-Kerdi.
Your tile is decoration; the backer board and membrane are the real protection.

- Check that the fan’s CFM rating is appropriate for your bathroom size.
- Ask specifically what type of backer board will be used in the shower area.
- Confirm which waterproofing membrane will be applied and how it will be detailed at corners and seams.
- Inquire about the type of grout (cementitious vs. epoxy) and if it will be sealed.

A single pinhole-sized leak in a grout line can allow more than a gallon of water to seep into a wall cavity over the course of a few months.
This is why grout sealing is so critical. While epoxy grout offers superior water resistance, traditional cementitious grout must be sealed upon installation and then periodically re-sealed (typically every 1-2 years) to maintain its ability to repel water and prevent stains.
A common mistake to avoid: Using porous natural stone like travertine or certain types of marble in a shower without understanding the commitment. These beautiful materials must be impeccably sealed upon installation and resealed regularly. Failure to do so allows water and soap scum to penetrate the stone, leading to discoloration, staining, and deterioration that can be impossible to reverse.

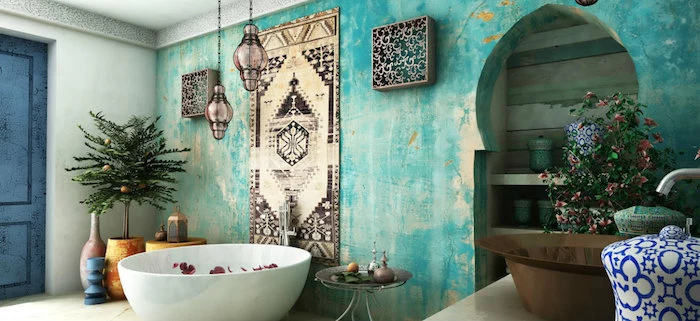
What is Tadelakt?
Originating from Morocco, Tadelakt is a traditional waterproof lime plaster. It’s applied seamlessly, creating a smooth, subtly undulating surface with a soft sheen. Because it’s naturally water-repellent and anti-fungal, it’s been used for centuries in hammams and baths. It’s a high-end, artisan-applied finish that offers a unique, organic alternative to tile.


The gleam of a high-gloss paint finish isn’t just for looks. The slicker, less porous surface of a semi-gloss or high-gloss paint makes it inherently more water-resistant than a matte or eggshell finish. Water beads up and runs off more easily, and the surface is harder for mildew to cling to. It’s a smart, functional choice for walls outside the immediate shower area.
Acrylic Panels: Pre-fabricated, non-porous sheets that are glued directly to a moisture-resistant wall. They are 100% waterproof and have no grout lines, making cleaning effortless.
Ceramic Tile: Individual tiles installed over a waterproofed backer board and held together with grout. Requires more labor and ongoing grout maintenance.
For a fast, low-maintenance, and completely waterproof solution, acrylic panels are often a more practical, if less traditional, choice.
- Superior stain and chemical resistance.
- Completely waterproof and non-porous, no sealing required.
- Inhibits the growth of mold and mildew.
The key is using an epoxy-based grout, like Laticrete SpectraLOCK or Mapei Kerapoxy. Unlike traditional cement grout, it’s a resin-based system that cures into a solid, plastic-like consistency, making it the ultimate defender for your tile installation.
‘Paint is the fastest and most affordable way to transform a bathroom, but only if you use the right product. A quality bathroom-specific paint contains mildewcides and has a tougher finish that can withstand repeated cleaning and constant humidity.’ – Architectural Digest
If you’re using wainscoting for a classic look, think beyond standard wood or MDF, which can swell and rot with moisture. Opt for wainscoting made from cellular PVC. It looks and feels just like wood, can be cut and painted the same way, but it is completely impervious to water, making it a perfect, long-lasting choice for bathroom walls.
A small detail with a big impact: The paint’s sheen. In a small, dark bathroom, a satin or semi-gloss finish will reflect more light than a flat or matte finish, making the space feel brighter and a bit larger. This simple choice enhances both the room’s ambiance and the wall’s durability.
Before you even think about the finish, consider the foundation. Using standard drywall in a bathroom is a recipe for disaster. At a minimum, use moisture-resistant drywall (often called ‘green board’). For shower and tub surrounds, the gold standard is a cement backer board or a coated foam board like Schluter-Kerdi-Board, which provides a stable, waterproof substrate for tile.


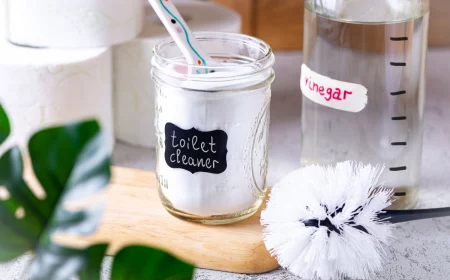
Dealing with existing mildew?
Never just paint over it. The mildew will continue to grow underneath and eventually blister the new paint. First, clean the surface thoroughly with a solution of one part bleach to three parts water. Let it sit for 10-15 minutes, then scrub and rinse completely. Ensure the wall is bone dry before priming with a stain-blocking, mold-inhibiting primer like Zinsser B-I-N.

- No grout lines to clean or re-seal.
- Installation is often faster than tiling.
- A sleek, minimalist aesthetic that makes small bathrooms feel larger.
This is the appeal of microcement. Applied by hand in thin layers, it creates a durable, seamless, and waterproof surface reminiscent of concrete, perfect for modern and industrial-style bathrooms.


Don’t let your fan run in vain. Forgetting to turn the exhaust fan off wastes energy, but turning it off too soon leaves damaging moisture behind. The solution is a simple timer switch. For about $20, you can replace your standard switch with a timer that lets you run the fan for a set period (30-60 minutes is ideal) after you leave the room, ensuring a complete air exchange.

Budget-Friendly: A high-quality acrylic paint like Sherwin-Williams Duration Home Interior Acrylic Latex in a semi-gloss finish. It offers excellent moisture and mildew resistance for a fraction of the cost of tile.
High-End Investment: Venetian plaster. This artisan-applied finish is breathable, naturally mold-resistant, and creates a stunning, marble-like depth and texture. It’s a luxurious, durable option for walls outside the direct shower zone.
That little gap where your shower floor meets the wall is the most vulnerable point for water intrusion. Proper waterproofing requires an integrated approach, where the wall membrane (like Kerdi) overlaps and seals with the shower pan liner or floor membrane, creating a continuous, unbroken barrier. It’s a critical detail that separates a professional job from a future failure.
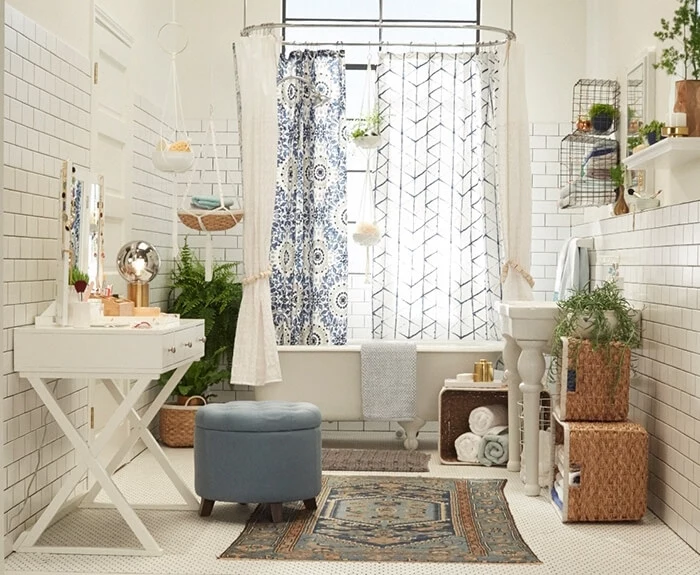
Did you know? The term ‘subway tile’ comes from the white 3×6 inch tiles used in the first New York City subway stations in the early 1900s. They were chosen for their durability, easy-to-clean surface, and light-reflective qualities—the very same reasons they’re still a bathroom classic today.


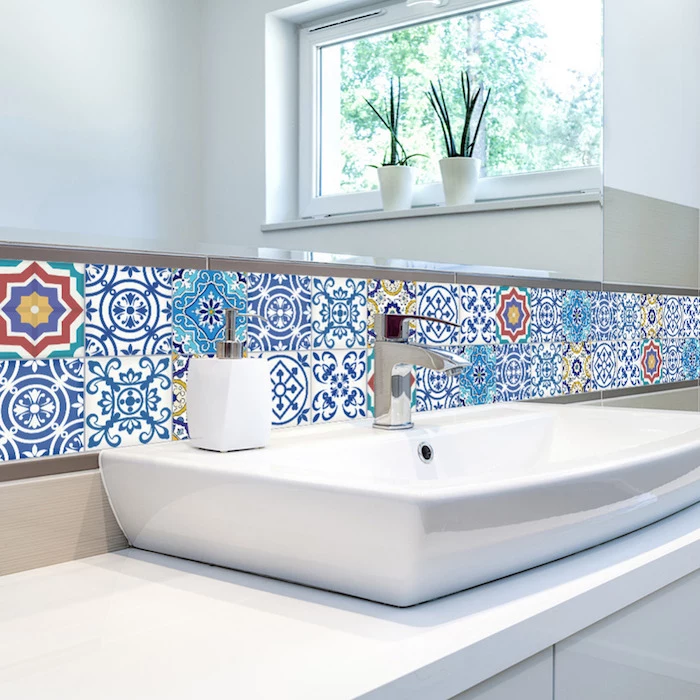
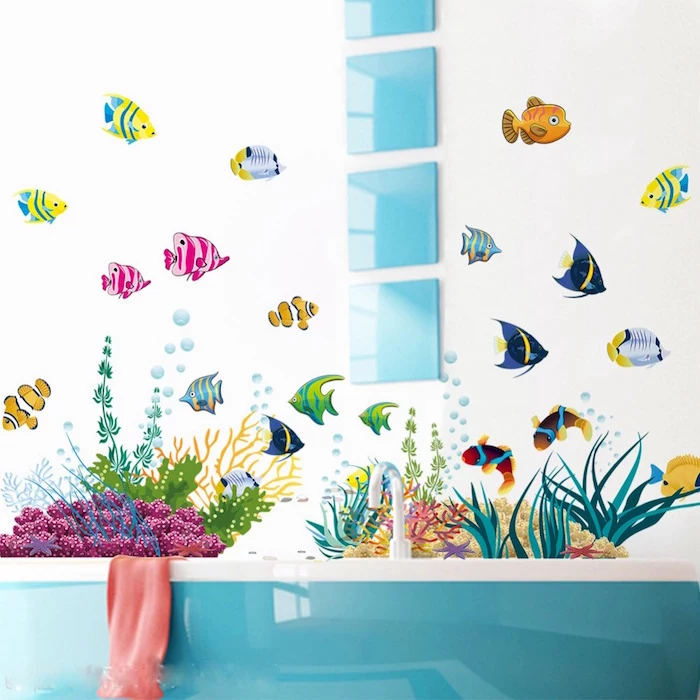
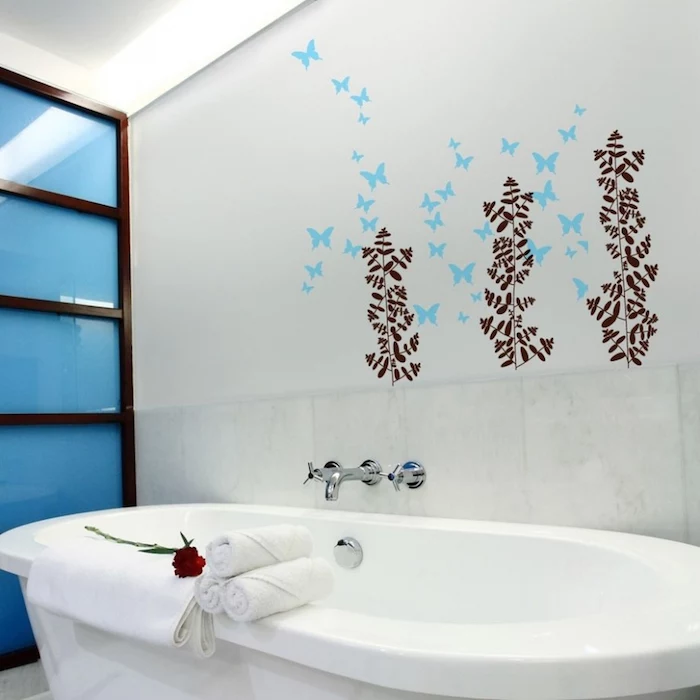
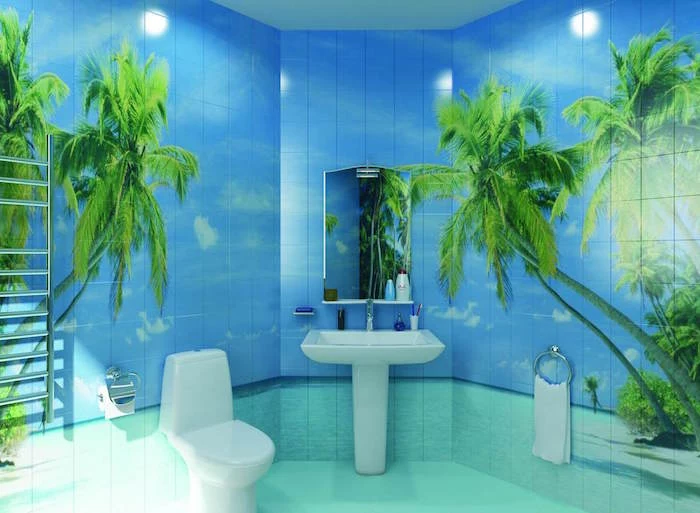
When installing decorative vinyl decals, like the fish or floral motifs seen in the gallery, the key to a bubble-free finish is the ‘wet application’ method. Simply spray the (clean) wall surface lightly with a solution of water and a tiny drop of dish soap. This allows you to slide the decal into the perfect position before using a squeegee to push the water and air bubbles out from the center.

The sensory experience of a bathroom is defined by its surfaces. The cold, solid feel of porcelain tile creates a sense of clean, crisp efficiency. The seamless, smooth warmth of Tadelakt or microcement evokes an organic, spa-like calm. Your choice of wall material goes beyond visual appeal; it sets the entire mood and feeling of the space every time you step inside.