Your Bathroom Isn’t As Clean As You Think. Here’s How to Fix It.
I’ve been a professional cleaner for a long, long time, and let me tell you a secret: what you see in a bathroom is only half the story. I once had a client with a stunning marble bathroom—it looked like something out of a magazine. They were so proud. But then I did my little test. I ran a gloved finger under the lip of the faucet and felt that tell-tale slime. That, my friends, is biofilm. It’s a living, thriving colony of germs, and it tells the real story of clean.
In this article
A genuinely clean bathroom isn’t about looking perfect. It’s about being a healthy space. Honestly, it’s one of the few places in your home where you’re most vulnerable, so keeping it clean is a huge act of self-care. Most of us hit the big three—toilet bowl, sink, shower floor—and call it a day. But the real grime lives in the places we forget.
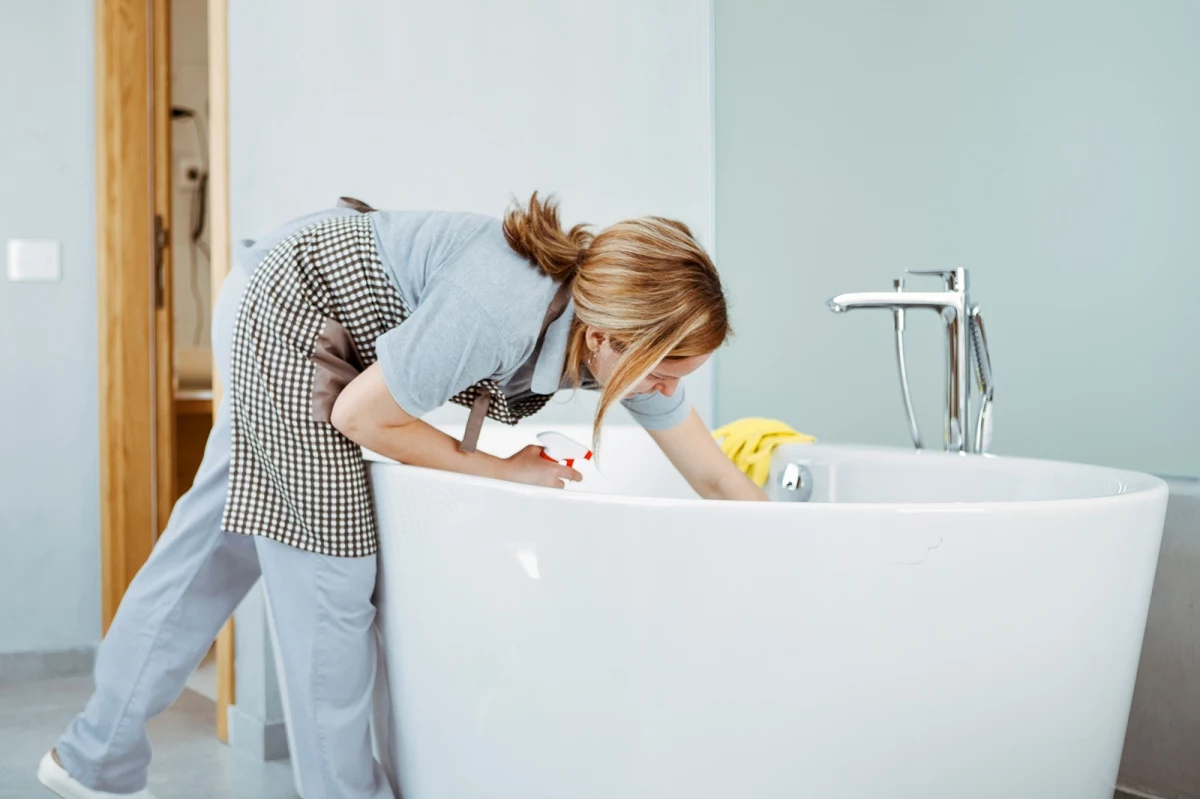
So, let’s look at your bathroom with a pro’s eye. And just so we’re on the same page, cleaning removes surface dirt, sanitizing lowers germ counts, and disinfecting pretty much kills everything. For a bathroom, you really need to do all three.
The Gross Science You Need to Know
To win the war on grime, you have to know your enemy. It’s not just dust and soap scum; it’s a microscopic battleground.
First up is the dreaded “toilet plume.” When you flush with the lid open, the toilet basically sneezes a fine, invisible mist of water and whatever was in the bowl into the air. This stuff can travel up to six feet and land on everything—your counters, your towels, your toothbrush. Yikes. So, Rule #1, always and forever: close the lid before you flush. It’s a simple physical barrier that makes a world of difference.
Then there’s biofilm, that slime I mentioned. It’s a community of bacteria that creates its own protective shield. You’ll find it in drains, on shower floors, and inside your toothbrush holder. A quick wipe won’t cut it; you need to physically scrub to break it down.
Oh yeah, and let’s clear this up: mold and mildew are not the same. Mildew is that powdery gray or white stuff you see on shower curtains. Mold is nastier, often fuzzy or slimy, and can be green or black. It sends roots deep into porous things like grout or drywall. Both thrive on moisture and warmth, which is why good ventilation is your best friend. If you live somewhere humid, you know this all too well.
Your Cleaning Arsenal: What You Actually Need
You don’t need a whole cabinet of pricey, single-use gadgets. The pros rely on a few versatile workhorses. Here’s a shopping list with some ballpark prices.
- High-Quality Microfiber Cloths: This is a non-negotiable. They grab and hold dust and germs instead of just pushing them around. Expect to pay about $15-$25 for a good multi-pack. Pro-Tip: Prevent cross-contamination with a color-coded system. Seriously, do this. Use one color for glass and mirrors (blue), another for general surfaces like sinks and counters (yellow), and a third color exclusively for the toilet area (red). Never, ever mix them up.
- Detail Brushes: Think of them as oversized, stiff toothbrushes. They’re perfect for grout lines and around faucet bases. You can grab a set at any hardware store or even in the auto-detailing aisle for under $10.
- A Good Squeegee: The single best tool for preventing mildew and soap scum. Using one on shower walls after every shower removes most of the moisture that feeds the gunk. A decent one will cost between $5 and $20.
- A Pump Sprayer (Optional Pro Move): For big jobs, a simple one-gallon garden sprayer from Home Depot ($10-$15) lets you apply cleaner evenly without killing your hand. It’s an efficiency game-changer.
Choosing Your Cleaners: The Good, The Bad, and The Smelly
The cleaning aisle is designed to confuse you. Here’s the simple breakdown of what you actually need to pay attention to.
When you need to truly disinfect, look for an official registration number on the product label. This is proof that it’s been tested by government health agencies and works as advertised. The most important thing on that label is the “dwell time” or “contact time”—that’s how long the surface needs to stay visibly wet with the product to actually kill the germs. If you spray and wipe immediately, you’re just cleaning, not disinfecting.
Let’s talk about your main options for heavy-duty work:
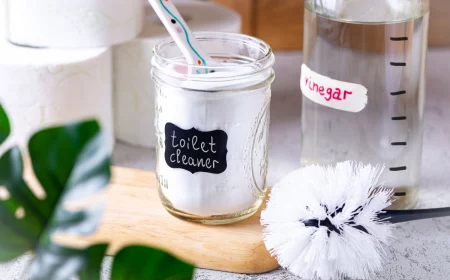
- The Powerhouse: Bleach. A simple solution of household bleach is incredibly effective for disinfecting. For a big batch, a ratio of 1/3 cup of bleach to 1 gallon of cool water works. But let’s be real, who needs a gallon? For your spray bottle: A more practical mix is about 1 tablespoon of bleach per 2 cups of cool water. The downside? The fumes are intense, and it can damage or discolor some surfaces.
- The Grime-Cutter: White Vinegar. This is your go-to for mineral deposits—that chalky white stuff (limescale) from hard water. It’s an acid, so it dissolves them beautifully. It’s also great for cutting through soap scum. The downside? It doesn’t disinfect as powerfully as bleach, and the smell isn’t for everyone.
- The Gentle Alternative: Hydrogen Peroxide. Standard 3% hydrogen peroxide from the pharmacy is a fantastic, less-harsh alternative to bleach. It’s great at killing germs and whitening grout, but without the toxic fumes. It breaks down into just water and oxygen, making it a more eco-friendly choice. It’s my go-to for people who are sensitive to harsh chemicals.
Heads up! A critical warning: Never, EVER use acidic cleaners like vinegar (or products containing acid) on natural stone like marble, granite, or travertine. It will literally eat into the surface and cause permanent damage called etching. For those surfaces, you need a special pH-neutral stone cleaner.
Safety First. No, Seriously.
I can’t stress this enough. I once saw a new cleaner mix a bleach product with an ammonia-based glass cleaner, thinking it would be extra strong. Within seconds, the room filled with toxic gas, and we had to evacuate. It was terrifying and a lesson I never forgot.
- NEVER, EVER MIX CLEANING CHEMICALS. Specifically, bleach + ammonia = toxic chloramine gas. Bleach + acid = toxic chlorine gas. The only thing you should ever mix a cleaner with is water, period.
- VENTILATE. Open a window. Turn on that noisy exhaust fan. Airflow protects your lungs and helps dry surfaces faster, which is a key part of preventing mold. If you can smell strong fumes, you need more air.
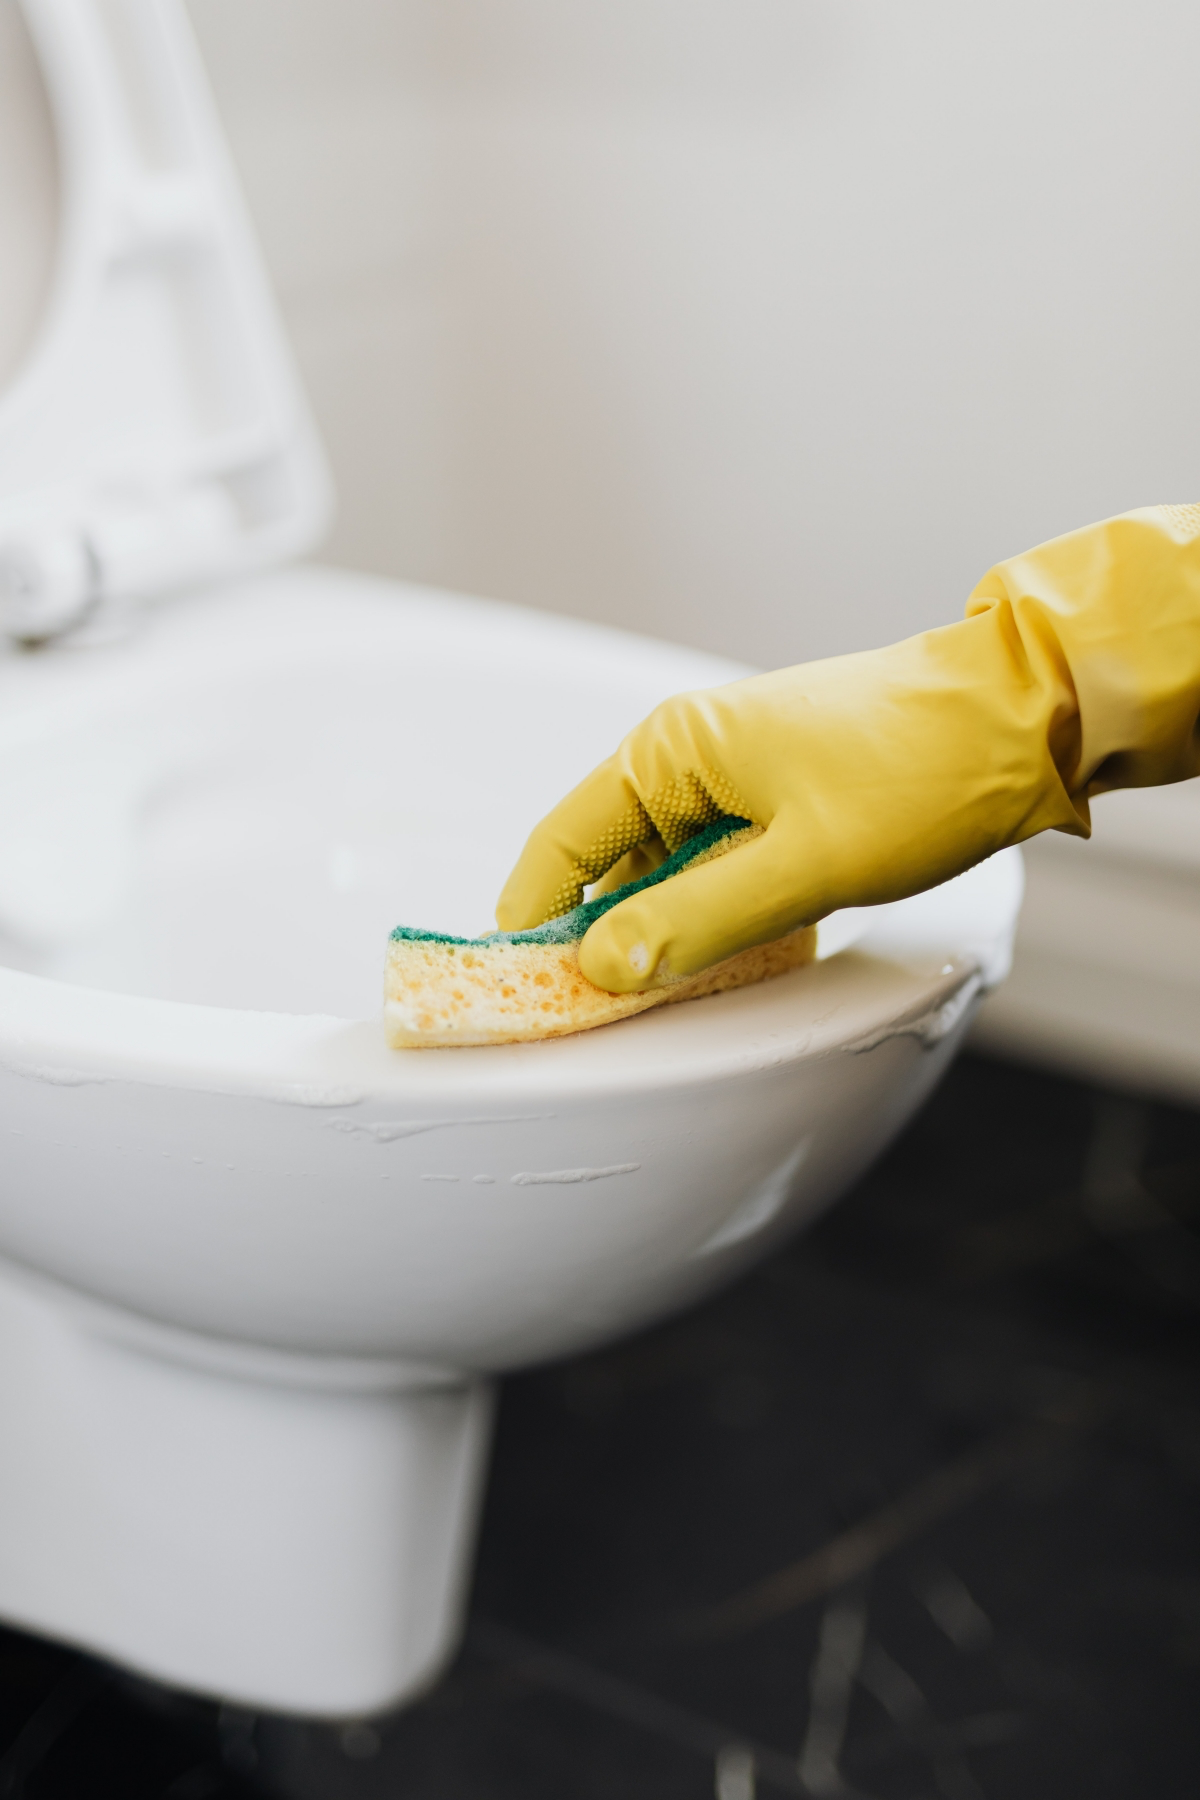
- Protect Yourself. At a minimum, wear gloves. I prefer nitrile over latex. If you’re spraying a lot or the ventilation is poor, wear safety glasses. That mist gets everywhere.
The Step-by-Step Guide to a Deeply Clean Bathroom
Okay, let’s get to work. The pro-method is to work top-to-bottom, and from the cleanest areas to the dirtiest. And always remember this little trick: dry-dust or sweep surfaces before you get them wet. Otherwise, you’re just making a disgusting hair-and-dust mud that’s a nightmare to wipe up.
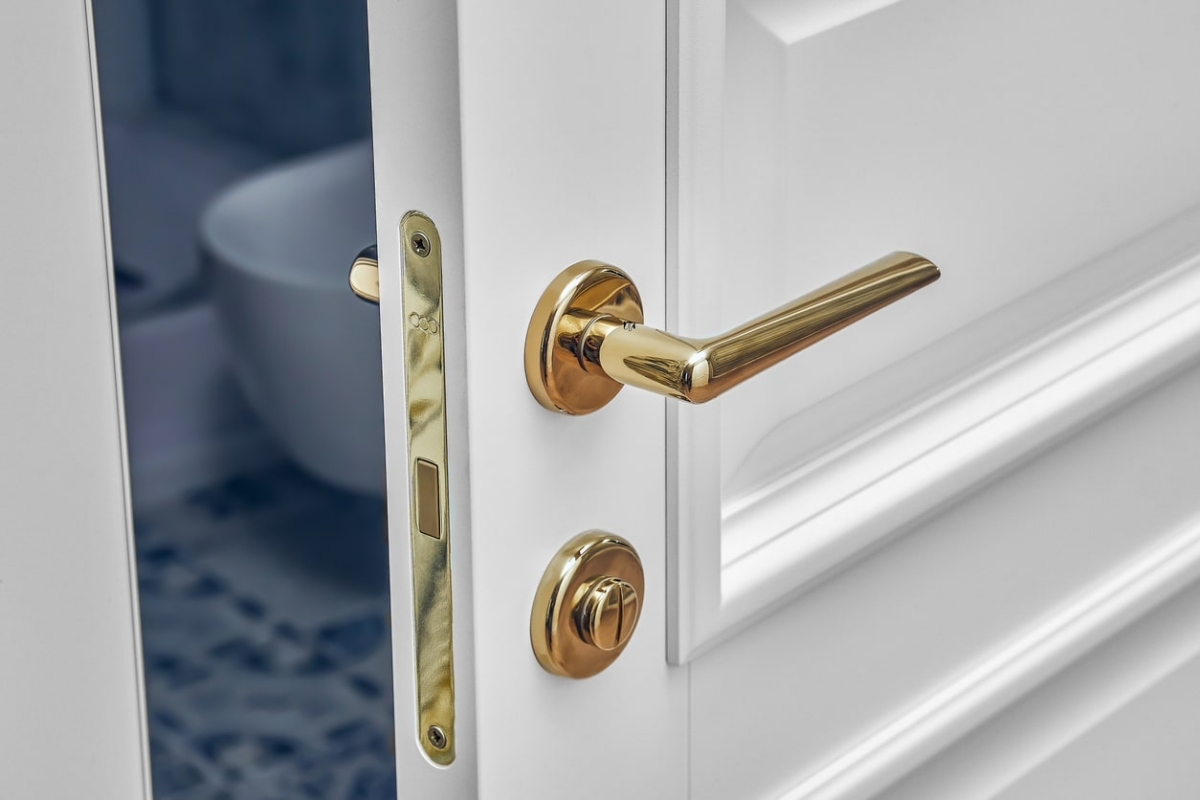
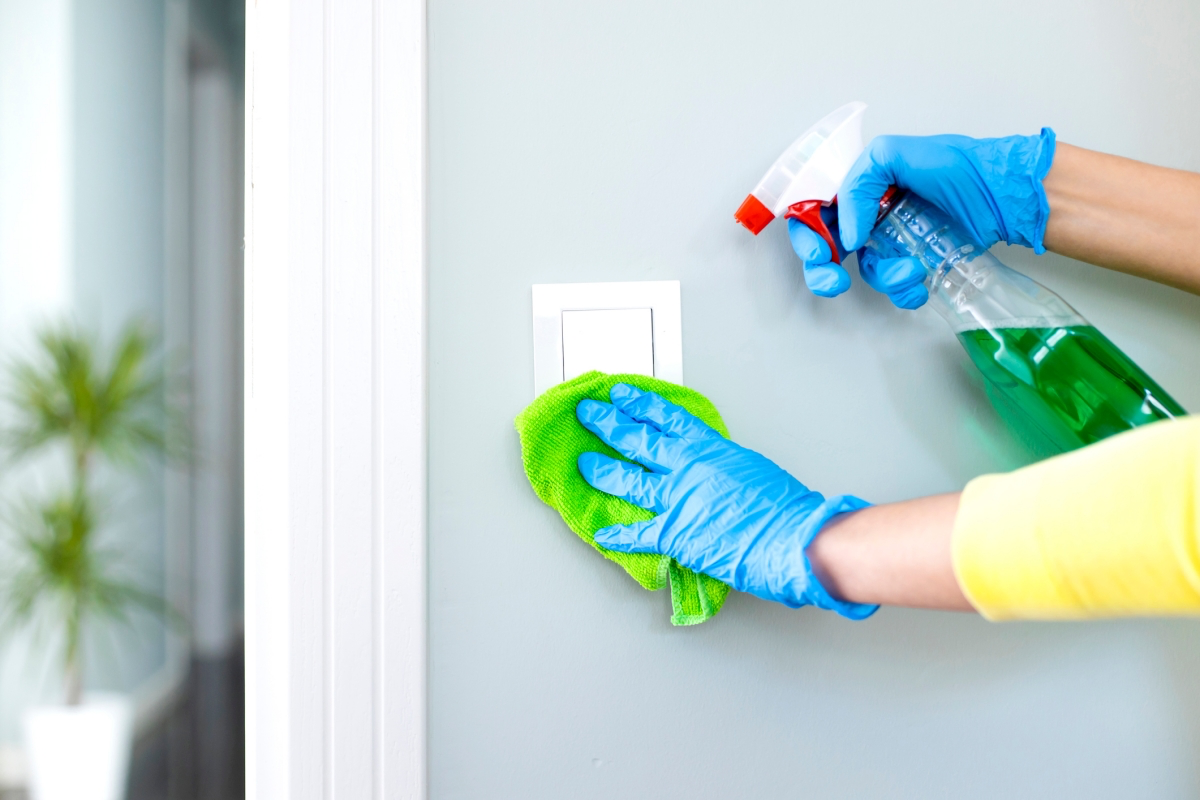
High-Touch Zones
These are the germ-transfer hotspots. Wipe down light switches, doorknobs, and faucet handles weekly with your disinfectant. And don’t spray the light switch directly! Spray your cloth, then wipe. Use your detail brush to scrub around the base of the faucet and the toilet flusher handle where gunk loves to hide.
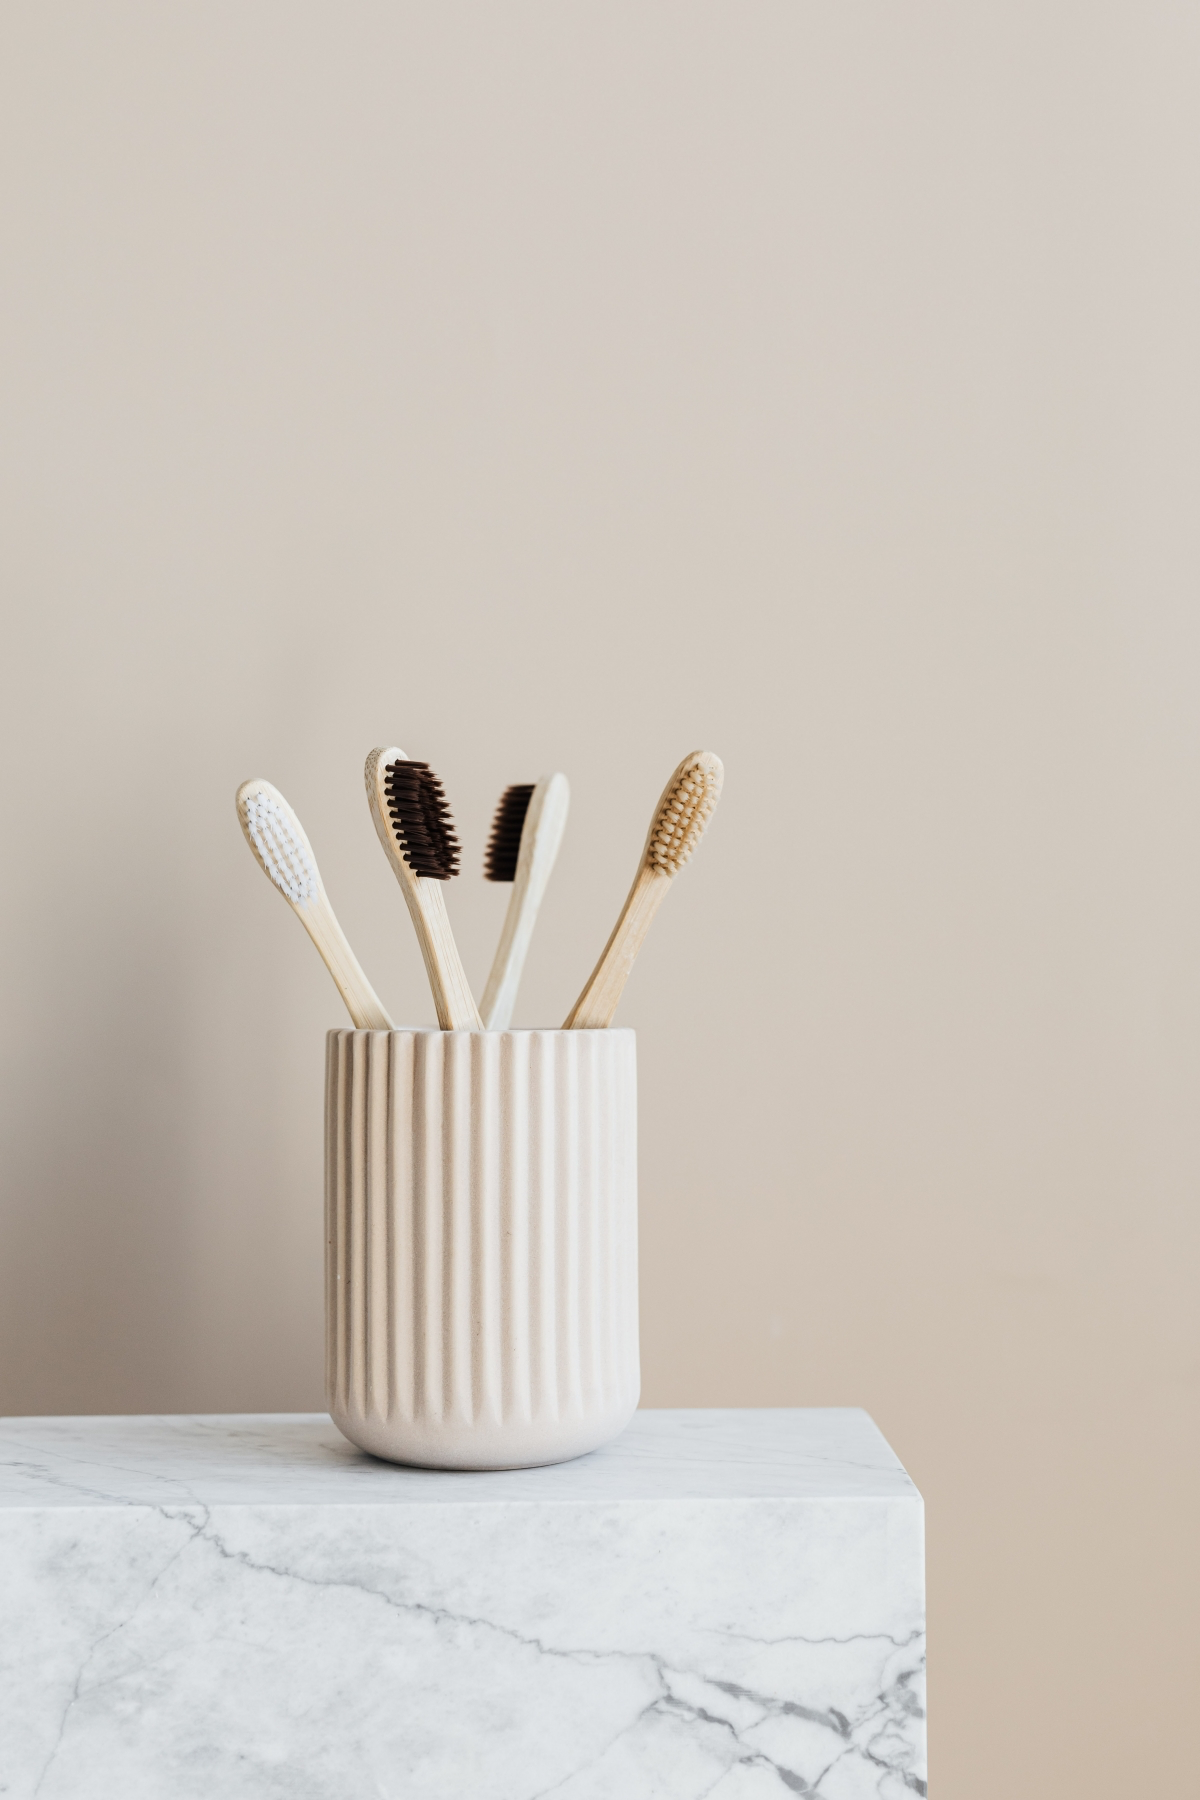
Quick Win! Don’t have time for a full clean? Do this ONE thing today: Clean your toothbrush holder. It’s often the single grossest item in the bathroom, full of toothpaste drips and airborne germs. Take it apart, wash it in hot, soapy water, then let it soak for 10 minutes in a hydrogen peroxide or diluted bleach solution. You can also just run it through the dishwasher’s sanitize cycle if it’s safe to do so. Let it dry completely before putting it back together.
The Wet Zones
This is where moisture breeds problems. That pink slime on your shower liner? It’s bacteria. Most plastic liners are machine washable. My trick is to throw it in the wash with a couple of old towels—the towels act as scrubbers. Use regular detergent, a half-cup of baking soda, and add a cup of white vinegar to the rinse cycle. Hang it back up to dry (never put a plastic liner in the dryer!). If it has black mold, just toss it. A new one costs about $10 and isn’t worth the health risk.
For a clogged shower head, fill a plastic bag with white vinegar, tie it over the head so the nozzles are submerged, and let it soak for a few hours or overnight. Take it off, scrub the holes with a detail brush, and flush with hot water. It’s a surprisingly satisfying fix.
And for those stubborn grout and caulk lines… clean them first with a good bathroom cleaner and a stiff brush (no wire brushes!). To treat mold stains, you can make a paste of oxygen bleach powder and water, let it sit, then scrub. But be honest with yourself. If your caulk is peeling or cracked, no amount of cleaning will help. Moisture is trapped behind it. The only real fix is to cut out the old caulk, clean the joint, and apply a new bead of 100% silicone kitchen and bath caulk. It’s far more flexible and mold-resistant than the cheaper acrylic versions.
The Hidden Filth
\p>The area behind and around the base of the toilet is a magnet for dust, hair, and that toilet plume. Use a flexible duster to get the loose stuff out first. Then get in there with your dedicated “toilet only” red cloth and disinfectant. And pop off those little plastic caps that cover the bolts at the base of the toilet. What you find underneath might horrify you. Clean it all out before snapping them back on.
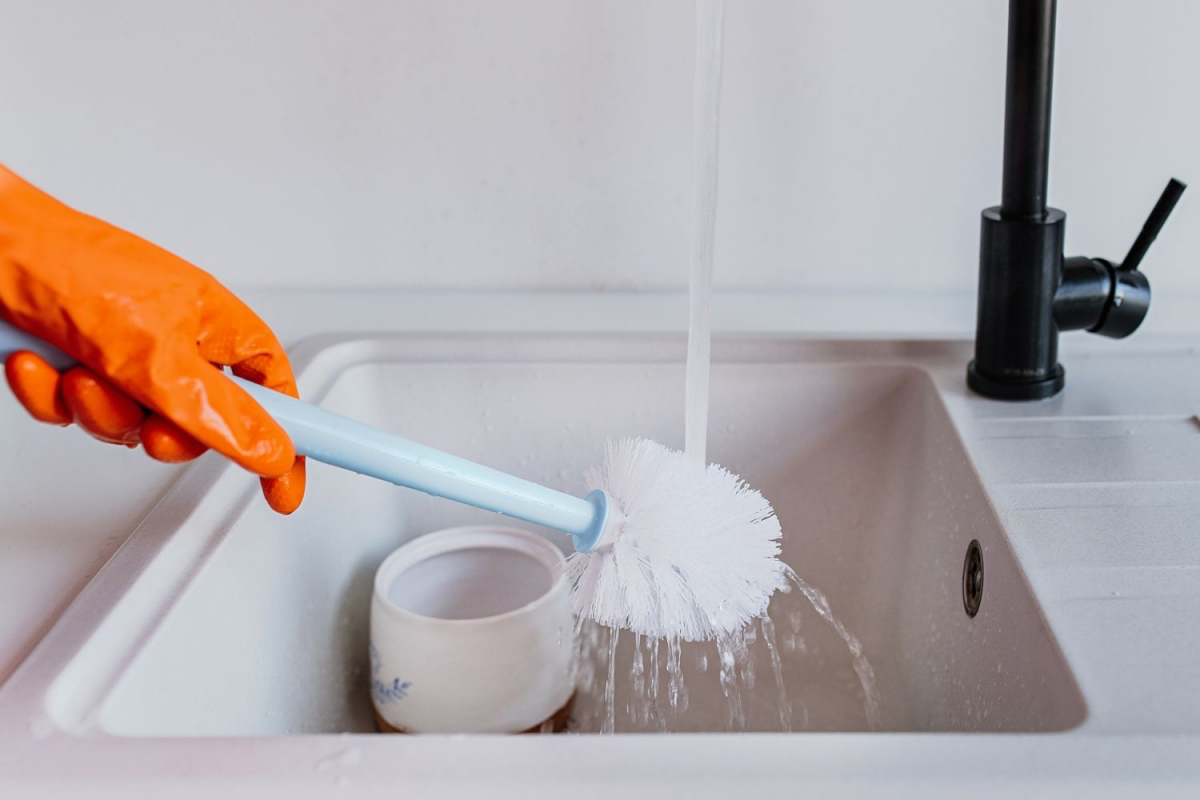
And what about your toilet brush? After you scrub the bowl, spray the brush itself with disinfectant and let it drip-dry by wedging it under the toilet seat over the bowl. Putting a wet brush back in its holder creates a swamp of germs. Clean the holder itself weekly.
Finally, look up at your exhaust fan cover. A clogged fan can’t remove moisture, which means more mold. Safety first: turn off the power at the circuit breaker. Pull the cover down, wash it in the sink, and use a vacuum’s brush attachment to carefully clean the gunk from the fan blades and housing. Reassemble when everything is dry, then turn the power back on.
Keeping It Clean (Without Losing Your Mind)
Once you’ve done this deep clean, maintaining it is way easier. It’s about small, consistent habits, not a massive six-hour scrub-a-thon twice a year.
- Every Day (2 Minutes): Squeegee the shower walls. Wipe the counter. Flush with the lid down.
- Every Week (20 Minutes): Do a proper clean of the toilet and sink. Disinfect high-touch spots. Swap out towels.
- Every Month (30-40 Minutes): Do your weekly tasks, and add one deep-clean item to the list—tackle the shower curtain one month, the fan vent the next.
By looking beyond the obvious surfaces and understanding what you’re up against, you can create a bathroom that is truly, deeply clean and healthy for you and your family. It’s a skill, and it gets easier every time.
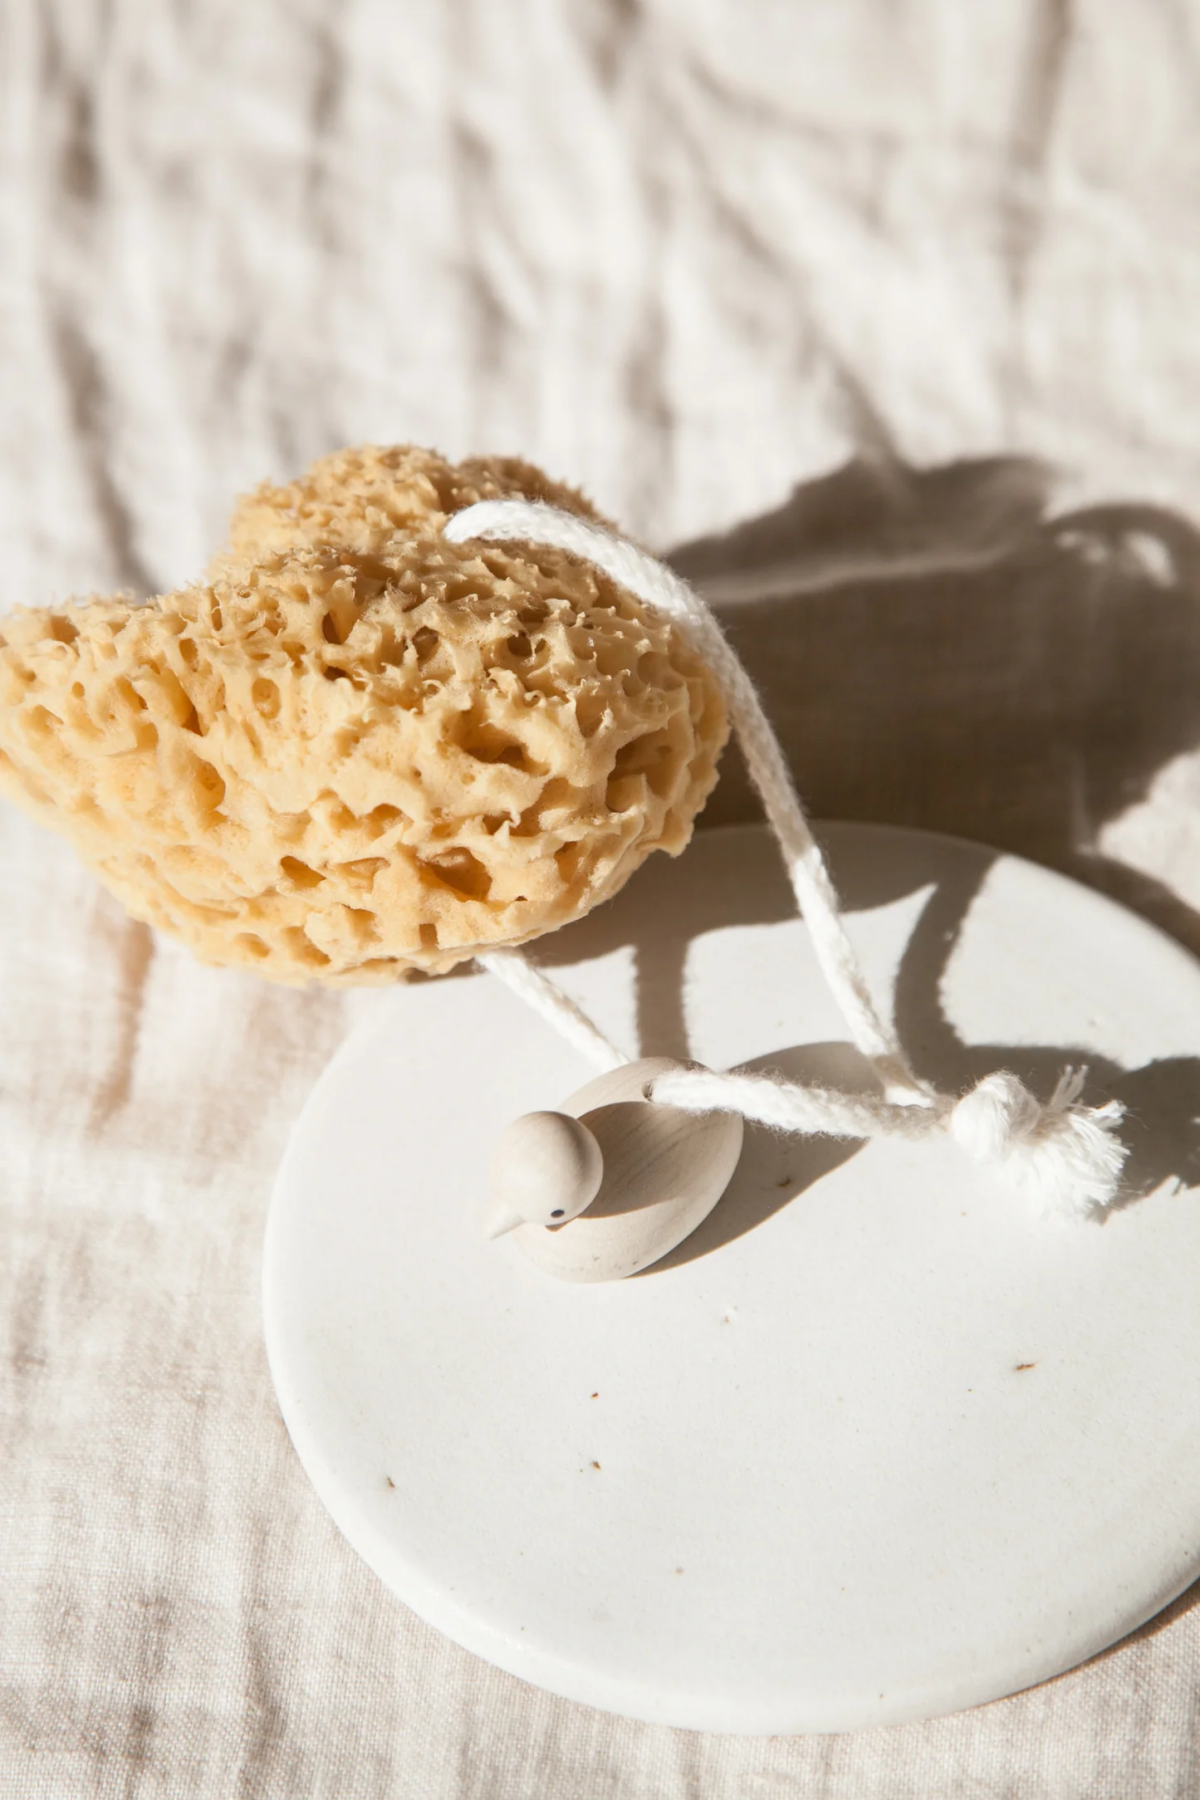
Inspiration:
Once the germs are gone, how do you keep the air feeling truly clean?
Move beyond aerosol sprays that simply mask odors. For a healthier alternative, place a few drops of eucalyptus or tea tree essential oil onto the cardboard tube of your toilet paper roll. Each time it spins, it will release a subtle, naturally anti-bacterial scent. It’s a simple trick that works continuously to maintain a fresh, spa-like atmosphere without a single harsh chemical.
A 2011 NSF International study found that toothbrush holders were the third germiest item in the entire home, often containing yeast, mold, and even coliform bacteria.
This happens because we place a wet toothbrush back into a dark, enclosed space—the perfect breeding ground. To combat this, don’t just rinse your holder. Once a week, dismantle it and run it through the hot cycle of your dishwasher or soak it for ten minutes in a solution of one part bleach to ten parts water. Let it air dry completely before reassembling.