My Unfiltered Guide to Bathroom Remodeling (From a Pro Who’s Seen It All)
I’ve been deep in the trenches of bathroom remodels for a long, long time. And let me tell you, I’ve seen it all. I’ve watched gorgeous plans completely crumble over one tiny, missed detail. I’ve had to tear out brand-new showers that were leaking because the waterproofing was a rush job. But, I’ve also had that incredible feeling of handing over the keys to a bathroom that just works for a family, knowing deep down that it was built to last.
In this article
- First, Let’s Talk Money & Time: Realistic Planning is Everything
- Demo Day: More Than Just a Sledgehammer
- Waterproofing: The One Step You CANNOT Get Wrong
- Choosing Your Surfaces: Floors, Walls, and Grout
- The Functional Stuff: Fixtures, Lighting, and Fresh Air
- How to Hire a Pro and Not Get Burned
- The Final Walk-Through: Your Punch List
- Inspirational Gallery
A successful bathroom remodel isn’t just about picking pretty tiles and a slick new vanity. Honestly, that’s the fun part at the end. The real magic—and the real risk—is what happens behind the walls and under the floor. It’s a careful dance of design, physics, and good old-fashioned skilled work. This guide is basically the conversation I have with every one of my clients. It’s what I’ve learned from my wins and, more importantly, from the costly mistakes I’ve seen others make. We’re going to walk through the whole thing, step-by-step, focusing on the details that make the difference between a project you adore and one you’ll quietly resent every morning.
First, Let’s Talk Money & Time: Realistic Planning is Everything
Before you even dream about that freestanding tub, we need to talk about your plan and your budget. This is, without a doubt, the most important step. A fuzzy budget is the number one cause of stress and disappointment in any renovation.
Most people see the price tag on a faucet and think that’s the main expense. The reality? Labor is the real heavyweight, often eating up 40% to 60% of your total budget. If you want to move the toilet or the shower drain? That percentage is going to climb, fast.
So, how do you even start? List out everything you want to change. Then, get honest and split that list into ‘needs’ and ‘wants.’ A shower that doesn’t leak is a need. A specific, imported mosaic tile is a want. This forces you to prioritize. Here’s a rough idea of where the money goes in a typical project:

- Labor: 40-60%
- Fixtures (tub, toilet, faucets): 15-20%
- Tile & Surfaces: 15%
- Vanity & Countertop: 10-15%
- Everything Else (lighting, paint, etc.): 5-10%
As for the total cost, a full, mid-range bathroom gut job in my area typically lands somewhere between $15,000 and $25,000. Of course, this can swing wildly based on where you live and how high-end you go with materials.
Now for the most important part of your budget: the contingency fund. I tell my clients to add 15-20% on top of their total estimated cost. This is not optional. It’s for the surprises we will find when we open up those walls. I once worked on an older home where we discovered the floor joists under the tub had been rotting for decades from a slow, hidden leak. The contingency fund saved the day, covering the structural repairs without derailing the whole project. Without it, the homeowners would have been in a world of hurt.
Oh yeah, and be prepared for your bathroom to be out of commission for a solid 3 to 6 weeks for a complete remodel. The biggest delays are often waiting for inspections or for that special-order tile to arrive.
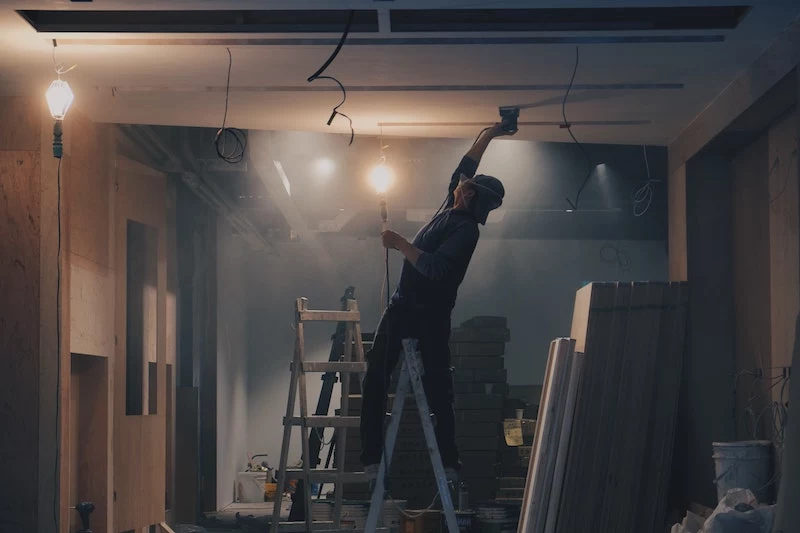
Demo Day: More Than Just a Sledgehammer
Once the plan is locked, it’s time for demolition. This isn’t just a free-for-all. It has to be done with some thought. First, we shut off all the water and power to the room. Heads up! If your home is from an older era, there’s a chance of finding nasty stuff like asbestos in the flooring or lead in the paint. Don’t mess with that stuff. It’s a serious health risk that requires pros to handle.
For the motivated DIY-er, doing your own demo can save you a grand or two in labor. If you’re going for it, make sure you have a good pry bar, a hammer, heavy-duty gloves, safety glasses, and a quality dust mask. Be very, very careful not to accidentally smash a pipe or slice a wire you didn’t know was there.
After everything is torn out to the studs, the real work begins. I check the subfloor for any sponginess or water stains. I use a long level to see if the walls are straight and the floor is flat. Old houses are never perfect. If a wall is leaning, every single tile will magnify that flaw. We spend a ton of time shimming studs to make them perfectly vertical and often pour self-leveling compound on the floor. It’s tedious, invisible work, but it’s the foundation for everything that comes next. Skip this, and you’re asking for cracked tiles down the road.
Waterproofing: The One Step You CANNOT Get Wrong
Okay, listen up. This is the single most critical technical part of the job. Water is relentless; it will find any tiny weakness. A waterproofing failure isn’t a cosmetic issue—it’s a recipe for thousands of dollars in mold and structural damage.
For a long time, the standard was a thick-bed of mortar with a vinyl liner. It works, but the mortar bed above the liner always stays damp, which can get a little funky over time. These days, the best pros use modern topical waterproofing systems. This is either a paint-on liquid membrane that creates a seamless rubbery barrier or a specialty fabric sheet system. We apply this directly over the cement backer board, right behind the tile. The idea is simple: we stop water at the surface, so the structure behind it stays bone dry.
Quick tip: This is the one job I tell every homeowner NOT to DIY. A small mistake here is catastrophic. The cost of having a pro do your shower waterproofing is tiny compared to the cost of fixing a leak later. Just hire it out. Period.
After the waterproofing is installed and cured, we do a flood test. I plug the drain, fill the shower pan with water, and draw a pencil line at the water level. We let it sit for 24 hours. If that water level drops even a millimeter, there’s a leak to be found and fixed. We never, ever lay a single tile until that shower passes the test. I learned that lesson the hard way early in my career, when a tiny pinhole leak ruined a brand-new ceiling below. Ouch.
Choosing Your Surfaces: Floors, Walls, and Grout
With the guts of the room perfected, we can finally get to the pretty stuff. Here’s the lowdown on materials.
When it comes to flooring, my top recommendation is almost always porcelain tile. It’s fired at a super high temperature, making it incredibly dense and almost completely waterproof. It’s tough as nails. When you shop for it, look for a PEI rating (a measure of wear resistance) of at least 3 for residential floors. Luxury Vinyl Plank (LVP) is another great option. It’s 100% waterproof, feels warmer underfoot, and has minimal grout lines. Just be sure to get a quality product with a thick wear layer; the cheap stuff can dent and scratch easily. And what about natural stone like marble? It’s absolutely stunning, but it’s porous and a bit of a diva. It needs to be sealed regularly to prevent stains.
And don’t forget the grout! For the best performance, I push for an epoxy-based grout, especially on shower floors. It’s non-porous, meaning it resists stains and mildew without ever needing to be sealed. Be prepared, though—it can cost 2-3 times more for the material and labor to install, but the payoff of never having to scrub moldy grout is huge. Also, in any corner or where tile meets another surface (like the tub), we use 100% silicone caulk, not grout. It stays flexible as the house settles, while grout would just crack.
For walls outside the shower, you need a paint made for high-humidity areas. A satin or semi-gloss finish is your best friend here, as it allows moisture to bead up and evaporate instead of soaking in like it would on a flat or matte finish paint.
The Functional Stuff: Fixtures, Lighting, and Fresh Air
This is the equipment you’ll use every single day, so choosing well is key.
For faucets and shower controls, you really do get what you pay for. Sticking with major, well-known brands is smart, not for the name, but because you’ll actually be able to find replacement parts ten years from now. The most important piece is the shower valve inside the wall. A quality pressure-balancing or thermostatic valve prevents you from getting scalded when someone flushes a toilet elsewhere. It’s a non-negotiable safety feature.
As for toilets, think about a “comfort height” model, which is a bit taller and easier to use. A dual-flush model is also a fantastic way to save water. For vanities, you can go with a stock unit from a big box store for a budget-friendly and quick solution, or have one custom-built to perfectly fit your space and needs, though it will cost more.
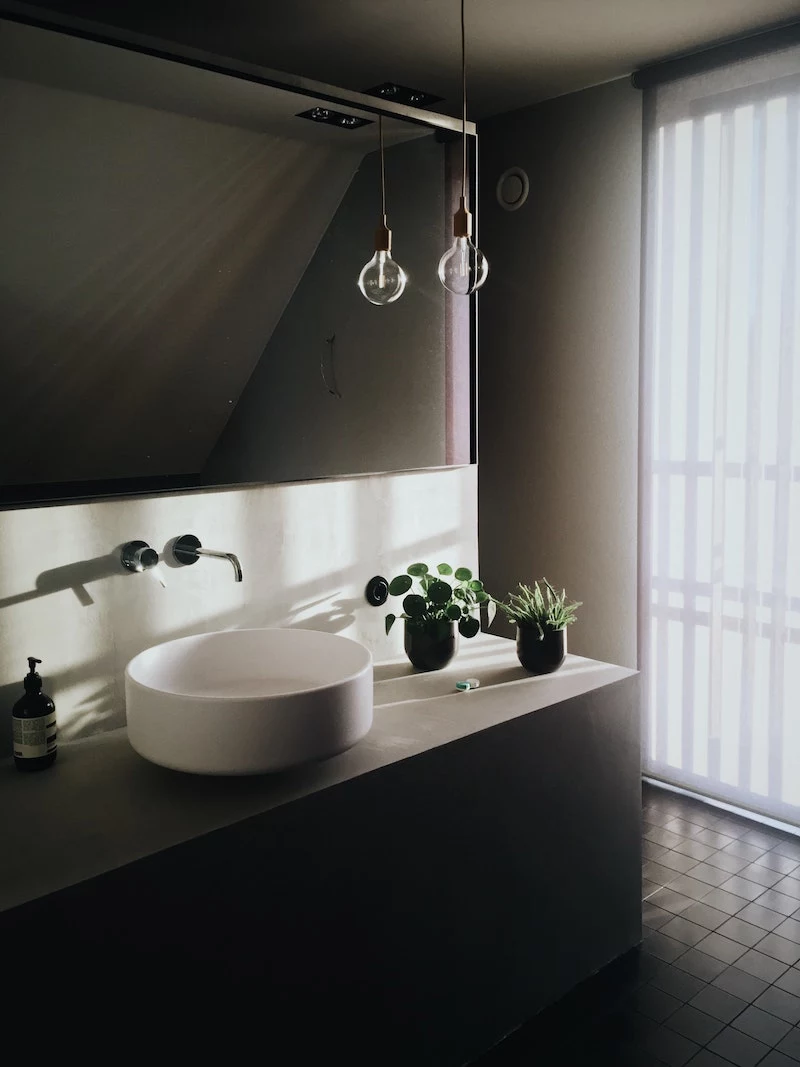
Lighting can make or break a bathroom. You need layered lighting. That means general ambient light from an overhead fixture, bright task lighting around the vanity mirror so you can actually see, and maybe some cool accent lighting in a shower niche. And please, please, install a proper ventilation fan. A weak, noisy fan is useless. You need a fan with a CFM (cubic feet per minute) rating appropriate for your room’s size—a good rule of thumb is at least 1 CFM per square foot of floor space. So, an 80-square-foot bathroom needs at least an 80 CFM fan. This is your number one weapon against mold and mildew.
How to Hire a Pro and Not Get Burned
Finding a good contractor can feel daunting, but it doesn’t have to be. Here’s what to look for:
- Licensed & Insured: Ask for proof of their license and, more importantly, their liability insurance. Don’t just take their word for it.
- A Solid Contract: A pro will have a detailed contract that spells out the scope of work, materials, payment schedule, and timeline. Vague contracts are a huge red flag.
- Ask the Right Questions: Ask them if they use their own employees or subcontractors. Ask who is pulling the required permits. Ask if they provide a lien waiver upon final payment (this protects you from their suppliers putting a lien on your house).
- Beware of… contractors who demand a massive upfront payment (a small deposit is normal), pressure you to sign on the spot, or give you a quote that’s wildly lower than everyone else’s.
The Final Walk-Through: Your Punch List
Once the dust has settled and the contractor says they’re done, it’s time for the punch list. This is your final inspection where you create a list of any small things that need to be fixed before you make that final payment. Walk through the room with a critical eye and a roll of blue painter’s tape.
Here’s your checklist:
- Turn on every faucet and check underneath for leaks.
- Flush the toilet a few times. Does it feel solid? No wobbling?
- Inspect all the tile work. Are the grout lines consistent? Any chipped tiles?
- Look at the paint job from different angles. Any drips, smudges, or missed spots?
- Open and close every door and drawer. Do they operate smoothly?
- Flick every light switch and test the exhaust fan.
- Check the caulk lines to make sure they’re smooth and completely sealed.
A good remodel is a marathon, not a sprint. It takes careful planning, a solid budget, and the right team. But when it’s all done, and you step into that beautiful, functional, and well-built space… it’s worth every bit of the effort.
Inspirational Gallery
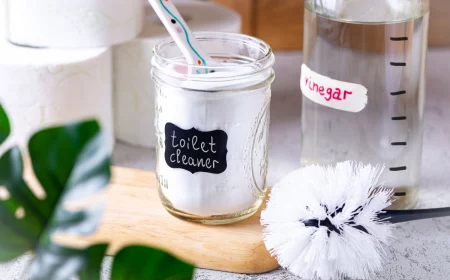
Epoxy Grout: A more modern, expensive option that is non-porous, waterproof, and highly resistant to stains and mildew without ever needing to be sealed. Installation is more demanding, often requiring a pro.
Cementitious Grout: The traditional, less expensive choice. It’s porous and requires a quality sealer applied after installation—and reapplied periodically—to resist moisture and staining.
For shower floors and walls, investing in an epoxy product from a brand like Laticrete is often worth the upfront cost for its longevity and low maintenance.
According to waterproofing specialists, the vast majority of leaky showers are not due to tile or grout failure, but to an improperly installed or nonexistent waterproofing membrane *behind* the tile.
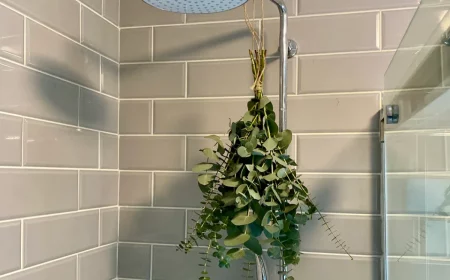
Beyond the basics, a few key upgrades can transform a functional bathroom into a personal sanctuary. Consider these elements for a true spa-like atmosphere:
- Heated Floors: The ultimate touch of luxury on a cold morning. Systems like Schluter-DITRA-HEAT are a professional favorite for their reliability.
- A Quality Rain Shower Head: Look for models from brands like Kohler or Hansgrohe that offer ample coverage without sacrificing water pressure.
- Dimmable Lighting: Essential for shifting from a bright, task-oriented space to a softly lit, relaxing soak.
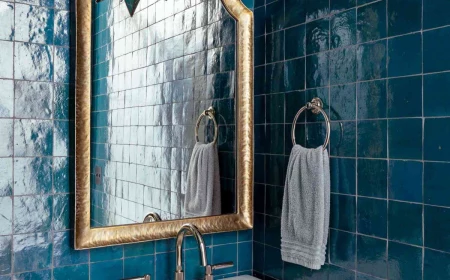
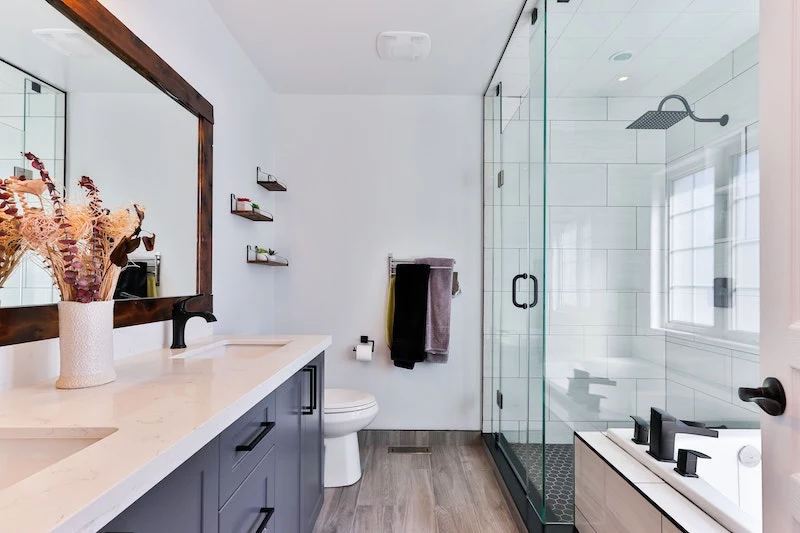
Is it a design sin to mix metal finishes?
Not anymore. The key to a chic, intentional look is to establish a clear hierarchy. Pick one primary metal to be your workhorse—for instance, matte black for the faucet and shower fixtures. Then, select a contrasting metal, like brushed brass or polished nickel, as a deliberate accent for cabinet hardware, the mirror frame, and light fixtures. This strategy creates a curated, layered look rather than a chaotic, mismatched one.
The single most important appliance for your remodel’s longevity? The ventilation fan. A cheap, noisy fan that doesn’t properly vent moisture to the building’s exterior is a direct invitation for mold, mildew, and peeling paint. Invest in a quiet, powerful model from a trusted brand like Panasonic, ensuring its CFM (Cubic Feet per Minute) rating is adequate for your bathroom’s square footage. It’s the best insurance policy for your new walls and ceiling.
Fixtures bearing the EPA’s WaterSense label are certified to use at least 20% less water than standard models, without sacrificing performance.
This translates into real savings. Over its lifespan, a WaterSense-certified toilet can save a family thousands of gallons of water and hundreds of dollars on utility bills. When choosing fixtures from brands like Delta, Moen, or American Standard, looking for this label is a simple way to make a smart, sustainable choice.
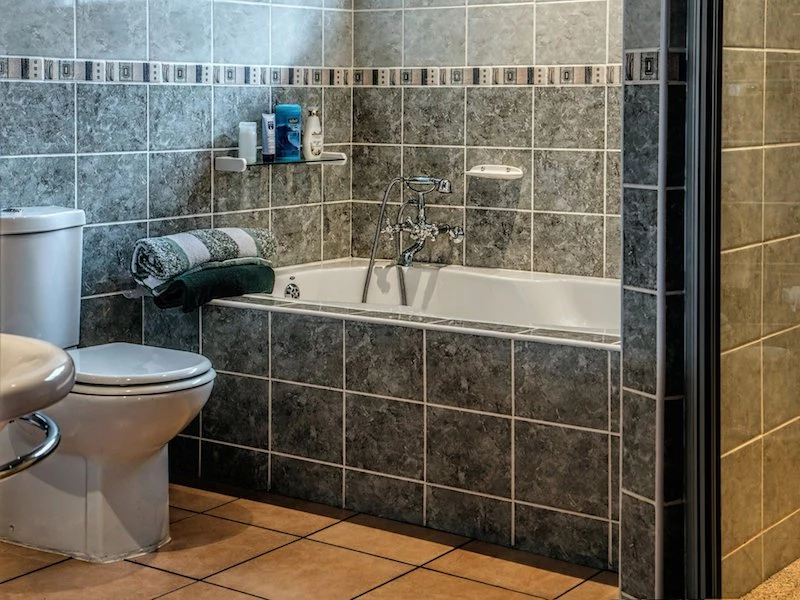
- A clean, expansive, and decidedly modern aesthetic.
- Far fewer grout lines to scrub and keep clean over time.
- A visual illusion that makes a small bathroom feel larger and less cluttered.
The secret is using large-format tiles. Moving beyond the standard 12×12, options like 24×24 or even 24×48 inch tiles for floors and shower walls are a trend that’s both stunning and incredibly practical.
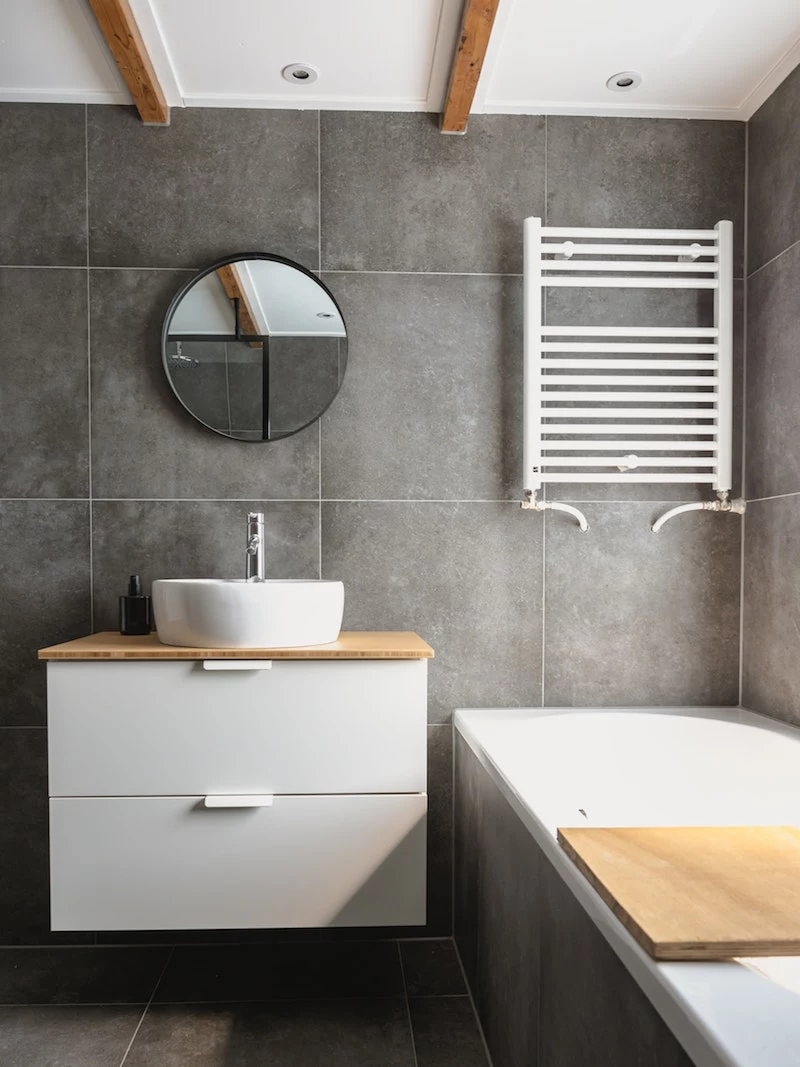
Proper vanity lighting isn’t a luxury; it’s a necessity. Avoid placing a single light fixture directly overhead, as this casts unflattering shadows on your face. The professional standard is to place vertical sconces on either side of the mirror, about at eye level. This provides even, cross-illumination that’s perfect for daily grooming. It’s a small detail in the overall plan that makes a huge difference in the daily experience of using the room.
Knowing where to allocate your funds is the key to a smart remodel. Here’s a quick guide on where to splurge and where you can save:
- Splurge: The shower valve and waterproofing system. These components are buried behind the wall. A failure here is catastrophic and expensive to fix. Invest in quality parts from a brand like Schluter or a solid brass valve from Kohler or Moen.
- Save: The toilet. You can get a highly efficient, top-rated toilet from brands like Toto or American Standard for a very reasonable price. The extra-costly models often only add aesthetic features, not functional improvements.
A beautiful pedestal sink you can’t put a toothbrush on is just a sculpture.