Don’t Remodel Your Bathroom Until You Read This: A Pro’s Guide to Getting It Right
After more remodels than I can count, I can tell you one thing for sure: kitchens and bathrooms are where the real money gets spent. They’re also where a small mistake can turn into a financial nightmare. I’ve been called in to fix so many beautiful bathrooms gone wrong—we’re talking brand new, expensive tile getting ripped out because of a phantom leak. It’s heartbreaking.
In this article
- First Things First: What’s This Actually Going to Cost?
- The Pro’s Order of Operations
- The Foundation: Layout, Water, and Air
- The Unseen Hero: A Deep Dive into Waterproofing
- Controlling Air and Moisture
- Choosing the Right Materials
- The Final Layer: Lighting Makes or Breaks the Room
- Trust the Process, Call the Pros
- Inspiration:
Honestly, these disasters almost always boil down to a few common planning mistakes. A bathroom isn’t just a pretty room; it’s a technical puzzle. You’ve got plumbing, electrical, serious waterproofing, and ventilation all crammed into a tiny space. Getting it right is about so much more than picking a cool vanity.
Before you even think about tile, let’s talk about how to build a bathroom that’s not only gorgeous but also safe, durable, and actually functional for decades. I’m going to walk you through what really matters.
First Things First: What’s This Actually Going to Cost?
Let’s get the big question out of the way. When clients ask me for a budget, it really depends. Are you doing a simple cosmetic update (new paint, new vanity, new toilet in the same spot)? You might get away with a budget of $5,000 to $8,000 if you’re careful.
But are you talking about a full gut job? Moving walls, relocating the toilet or shower, new everything? You should be planning for $15,000 to $30,000 or even more, depending on the finishes you choose. Knowing this upfront helps you make smart decisions from day one.
The Pro’s Order of Operations
Feeling overwhelmed? It helps to know the sequence of events. A beginner has no idea what comes first, but for pros, it’s a standard process. Here’s a simplified roadmap so you know what to expect:
- Demo & Framing: Tear out the old stuff and build any new walls.
- Rough-ins: This is the big one. Plumbers and electricians run all the new pipes and wires inside the open walls.
- Insulation & Backer Board: Close up the walls and install the special cement board for tile areas.
- Waterproofing: A critical, non-negotiable step before any tile goes in the shower.
- Tile & Grout: The fun part starts! Floors and shower walls get finished.
- Major Fixtures: The vanity, toilet, and tub are installed.
- Painting & Trim: Now you can paint the non-tiled walls and add baseboards.
- Finishing Touches: Electricians come back to install lights and outlets, and the plumber installs faucets and the shower head.
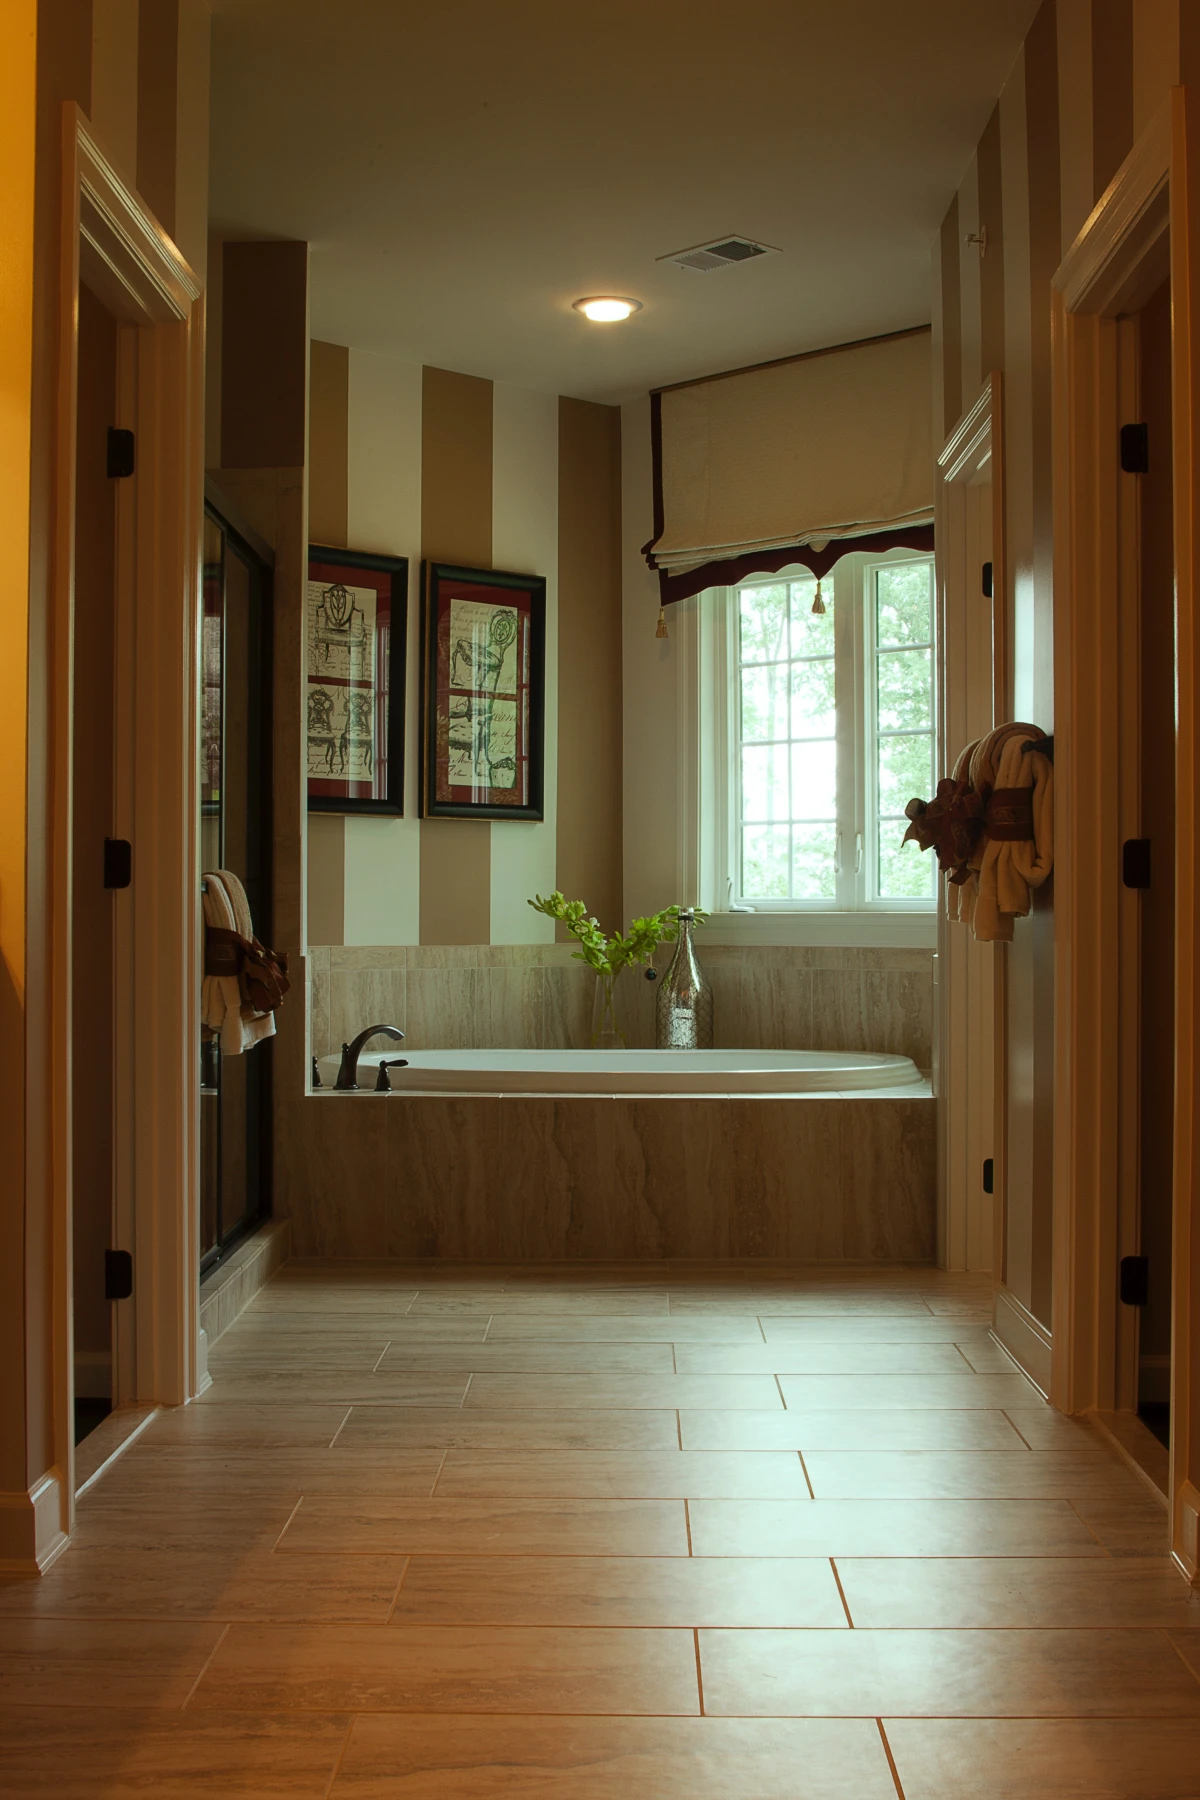
The Foundation: Layout, Water, and Air
The most expensive mistakes are the ones you can’t see—the ones buried in the walls and under the floor. Getting this stage perfect is the difference between a dream bathroom and a decade of headaches.
Layout Is Everything
A bad layout is a daily annoyance. I once fixed a bathroom where the beautiful custom vanity drawers couldn’t open all the way because they hit the door frame. An oversight like that makes a key feature totally frustrating. That’s why building codes exist—they enforce basic usability.
Here are the key measurements I never ignore:
- Toilet Space: You need at least 21 inches of clear legroom in front of the toilet. From the toilet’s centerline, you also need 15 inches to any wall or vanity next to it. That means a toilet needs a 30-inch-wide slot, minimum. Don’t try to cheat this.
- Door Swings: This seems obvious, but make sure your main door and shower door can open fully without crashing into each other or the vanity.
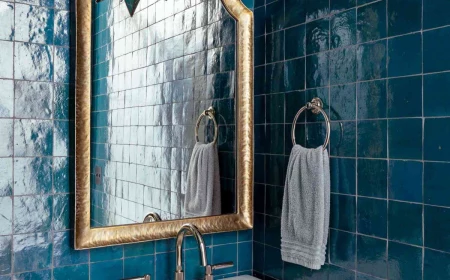
- Workflow: Think about your routine. Can you step out of the shower and grab a towel easily? Is the toilet paper holder in a natural spot, not forcing you to be a contortionist?
Quick Win: Go measure your toilet’s rough-in right now. It’s the distance from the finished wall behind the toilet to the center of the bolts on the floor. It’s usually 12 inches, but older homes can have 10 or 14-inch rough-ins. Knowing this number before you shop will save you a massive headache.
By the way, if you’re thinking about moving the toilet… be prepared. A toilet needs a big 3 or 4-inch drainpipe that has to slope down perfectly. Moving it even a few feet can be a huge job. Expect a licensed plumber to charge anywhere from $1,000 to $2,500 or more just to relocate that drain. It’s a big deal.
The Unseen Hero: A Deep Dive into Waterproofing
Water is the ultimate enemy of a house. It will find any tiny crack or weak spot. A waterproofing failure is, without a doubt, the most destructive thing that can happen in a bathroom. It rots the wood structure of your home and invites mold. This is NOT the place to save a few bucks.
Modern Waterproofing: Sheets vs. Liquids
Traditional methods have been replaced by far superior modern systems. There are two main approaches the pros rely on, and you can find both at big box stores like Home Depot or at a specialty tile shop.

- Paint-On Membranes: You’ve probably seen the bright red or blue stuff that gets rolled onto shower walls. It’s a liquid rubber that creates a seamless waterproof barrier. It’s generally more affordable and a bit more DIY-friendly for beginners. The trick is applying enough coats to get the right thickness—about the width of a credit card. Don’t skimp here.
- Sheet Membranes: Another popular option is a pliable waterproof sheet, often a bright orange color. You install it over the backer board with mortar. The big advantage is that you get a perfect, factory-controlled thickness every time. The challenge is in the details: you have to overlap all the seams perfectly and use special bands to seal every corner and screw head. It’s less forgiving of sloppy work but arguably more foolproof when done right.
My Non-Negotiable 4-Step Flood Test
After waterproofing the shower base and before a single tile is laid, we always perform a flood test. Skipping this is just asking for trouble.
- Plug the drain securely. A special, inflatable test plug works best.
- Fill the shower pan with water, right up to the top of the curb.
- Mark the water level with a permanent marker.
- Let it sit for a full 24 hours. The next day, check if the water level has dropped at all. Also, and this is crucial, check the ceiling in the room below for any hint of moisture.
Early in my career, we skipped this on a rushed job. A tiny pinhole in the liner caused a slow leak that went unnoticed for a year. We had to go back and tear out an entire custom shower, repair a rotted subfloor, and deal with a major mold issue. It was a lesson I only needed to learn once.
Controlling Air and Moisture
A good bathroom doesn’t just get rid of water; it gets rid of water vapor. Steam from a hot shower is just as destructive as a leak over time.
Ventilation: It’s Not Just a Noisy Fan
That fan isn’t just for smells; it’s your primary defense against mold and peeling paint. Most places require one by code unless you have a functional window.
The key is getting the right size, measured in CFM (Cubic Feet per Minute). A good rule of thumb is to have at least 1 CFM for every square foot of floor space. So for an 8×10 foot bathroom (80 sq ft), you need an 80 CFM fan, minimum.
And please, spend a little extra on a quiet fan. Noise is measured in “sones.” A cheap, loud fan from the hardware store might be 4.0 sones. A quality, quiet one will be 1.0 sones or less. A noisy fan might be $40, but a whisper-quiet model is probably closer to $150. In my book, that extra $110 is the best money you’ll spend in the whole room.
Heads up! A vent fan MUST be ducted all the way to the outside of your house. Never, ever just vent it into the attic. I’ve seen attics filled with black mold and rotted roof trusses from this lazy shortcut.
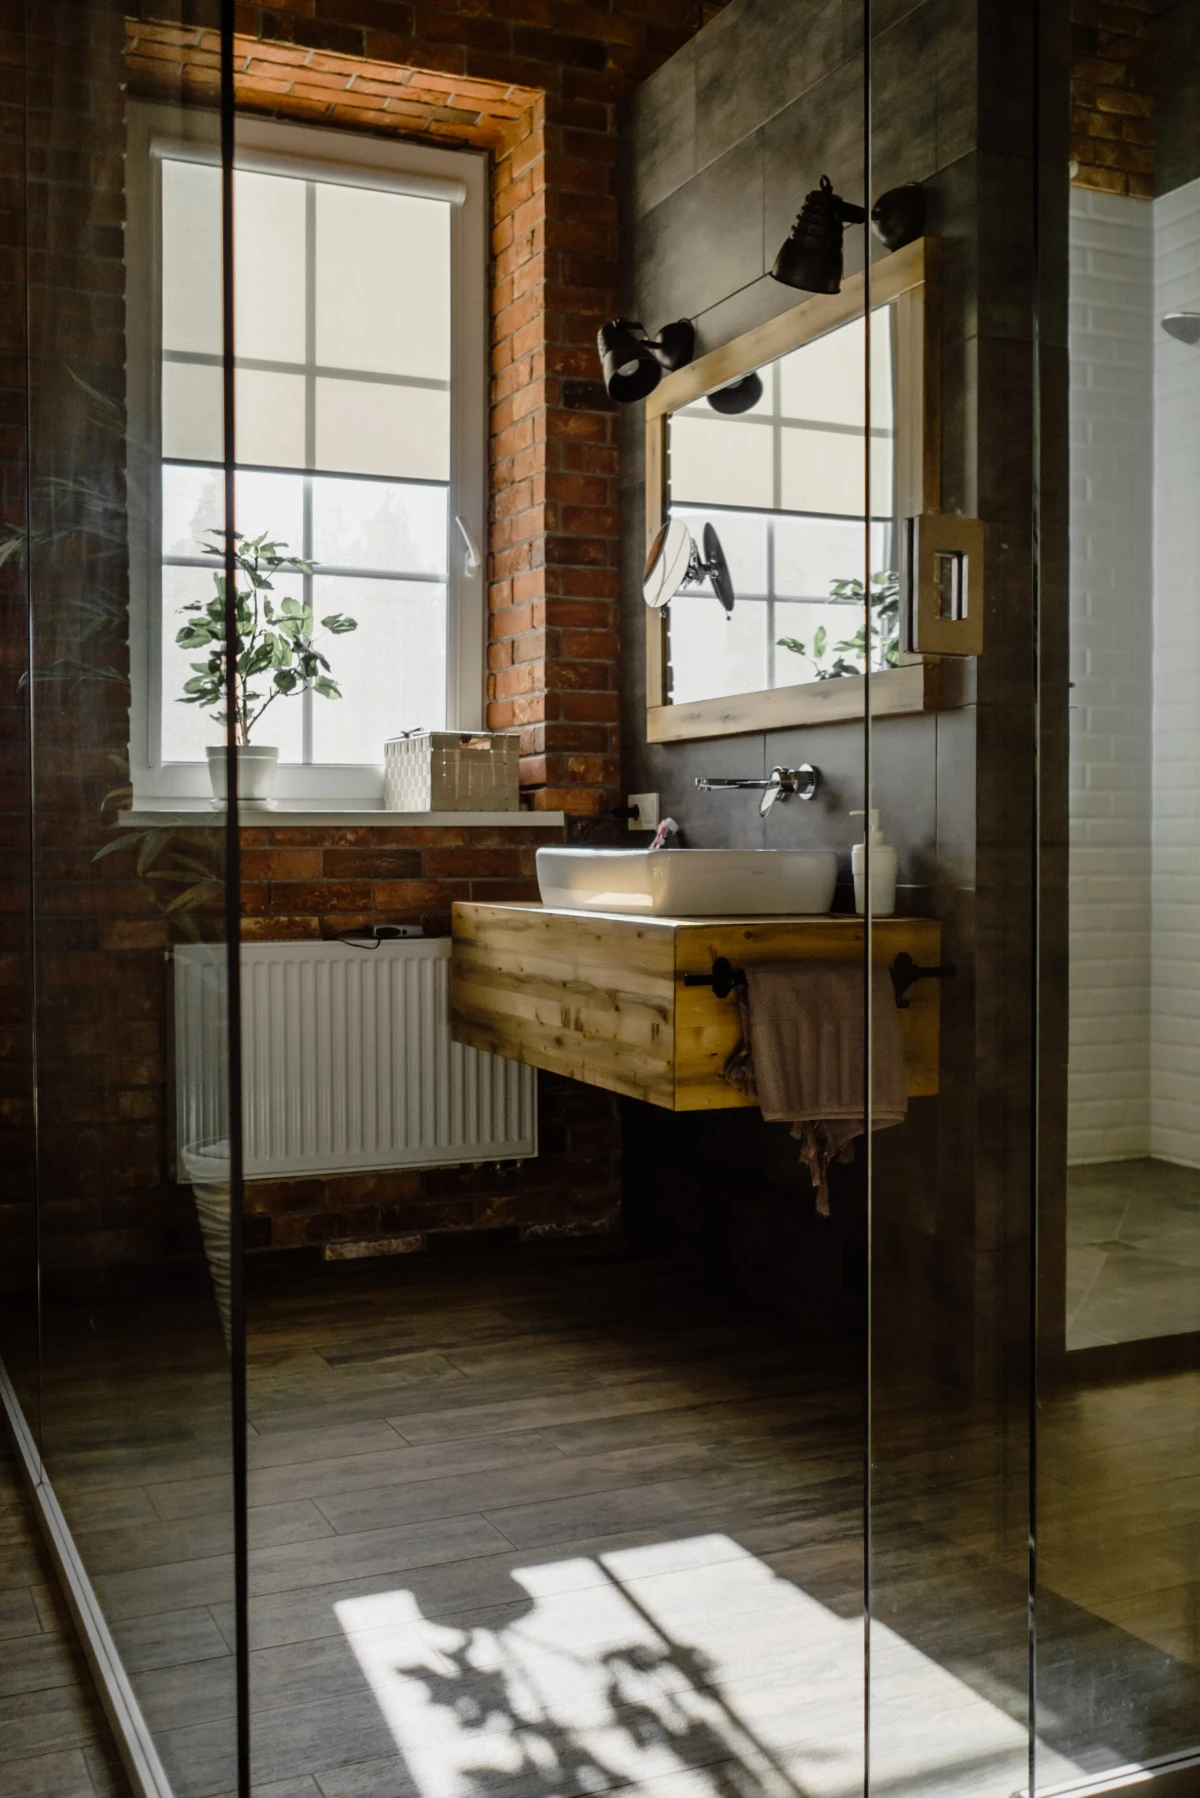
Choosing the Right Materials
Okay, now for the fun stuff. Once the hidden systems are planned, you can pick the things you’ll see and touch every day.
Flooring: It’s About Water and Grip
Bathroom flooring has to be waterproof and safe to walk on when wet.
- Porcelain vs. Ceramic Tile: Both are great, but I almost always push for porcelain on floors. It’s fired at a higher temperature, making it denser and way less absorbent (under 0.5% water absorption). It’s practically waterproof. It might cost you $1 to $3 more per square foot than a basic ceramic, but the durability is worth every penny.
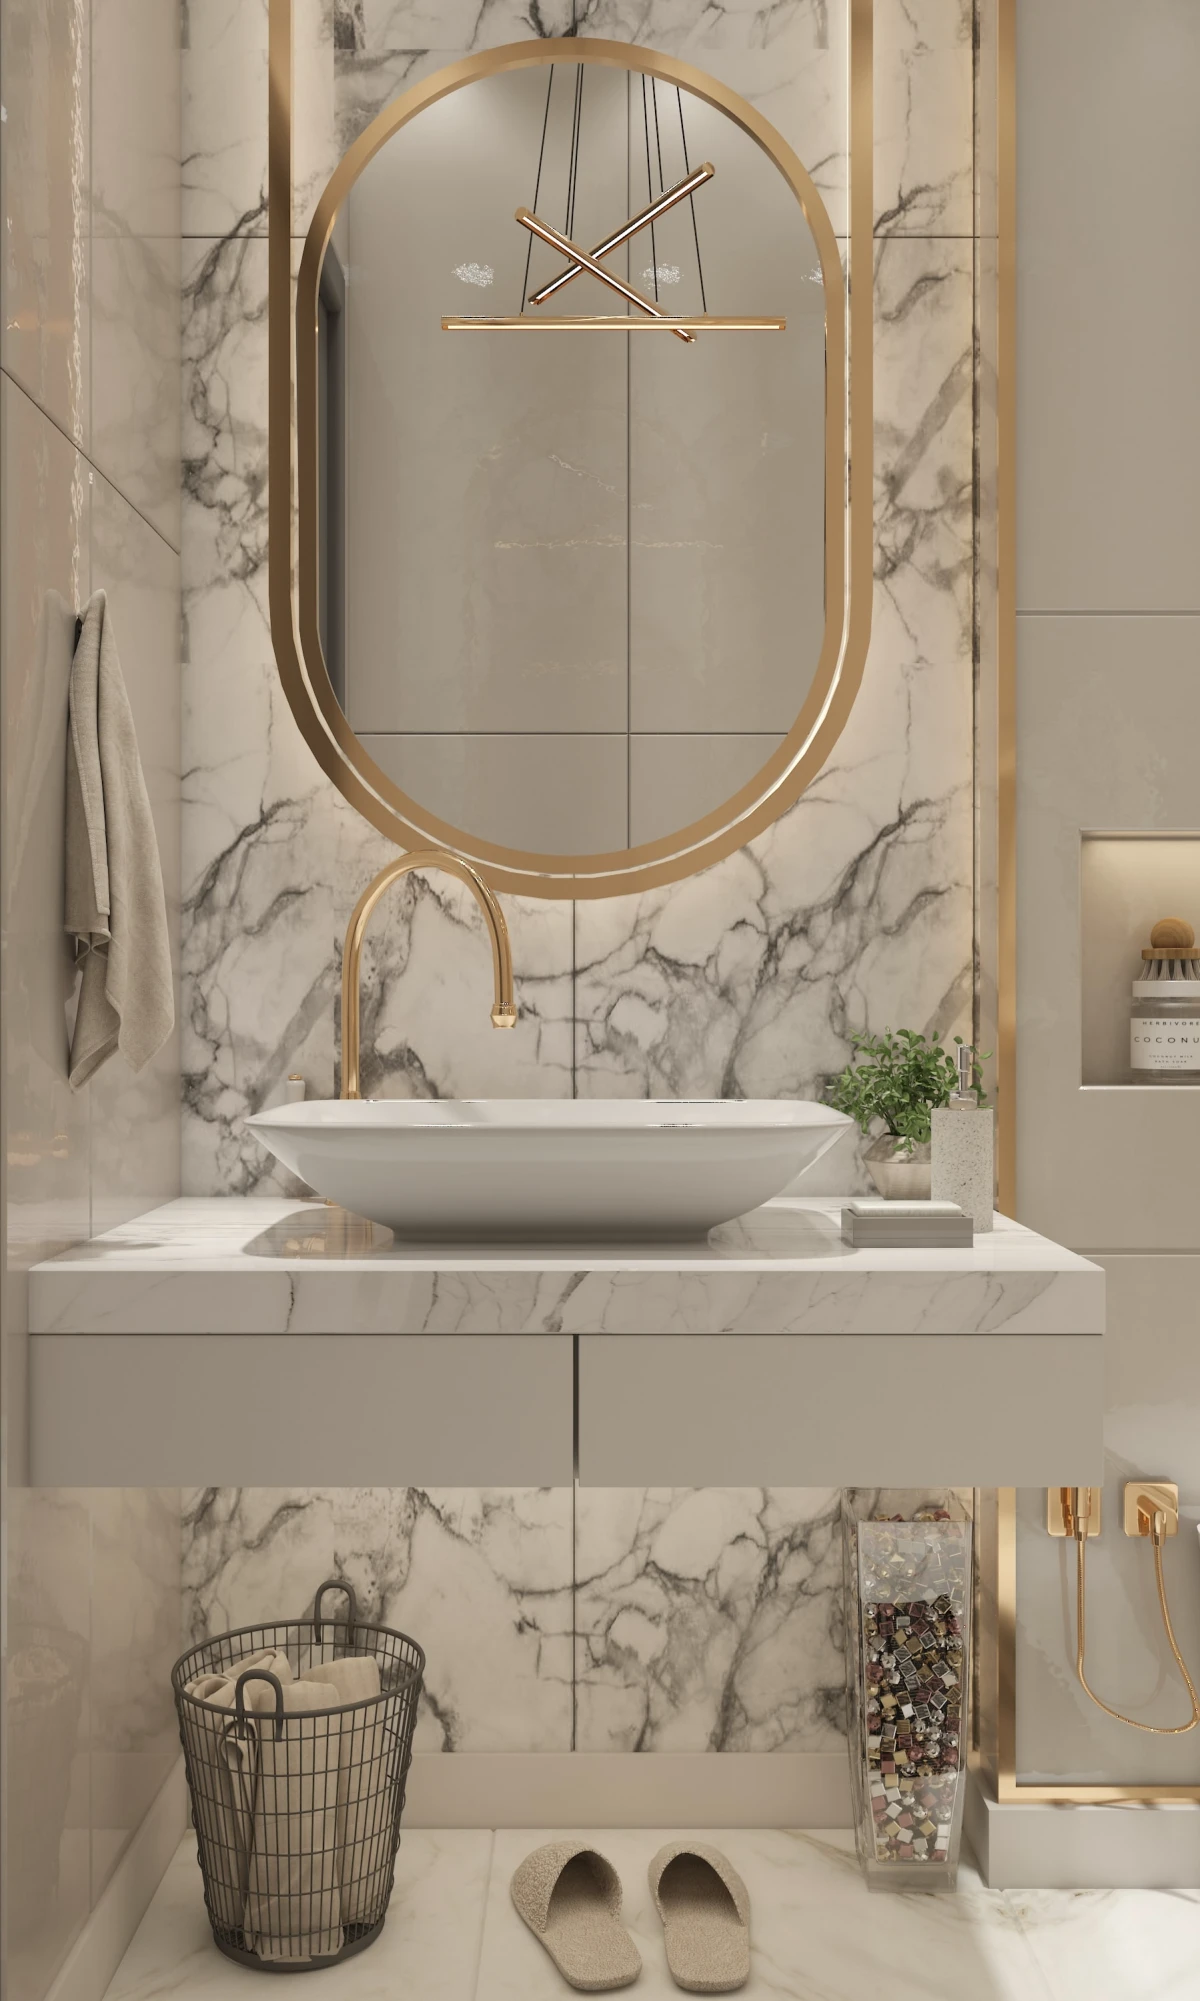
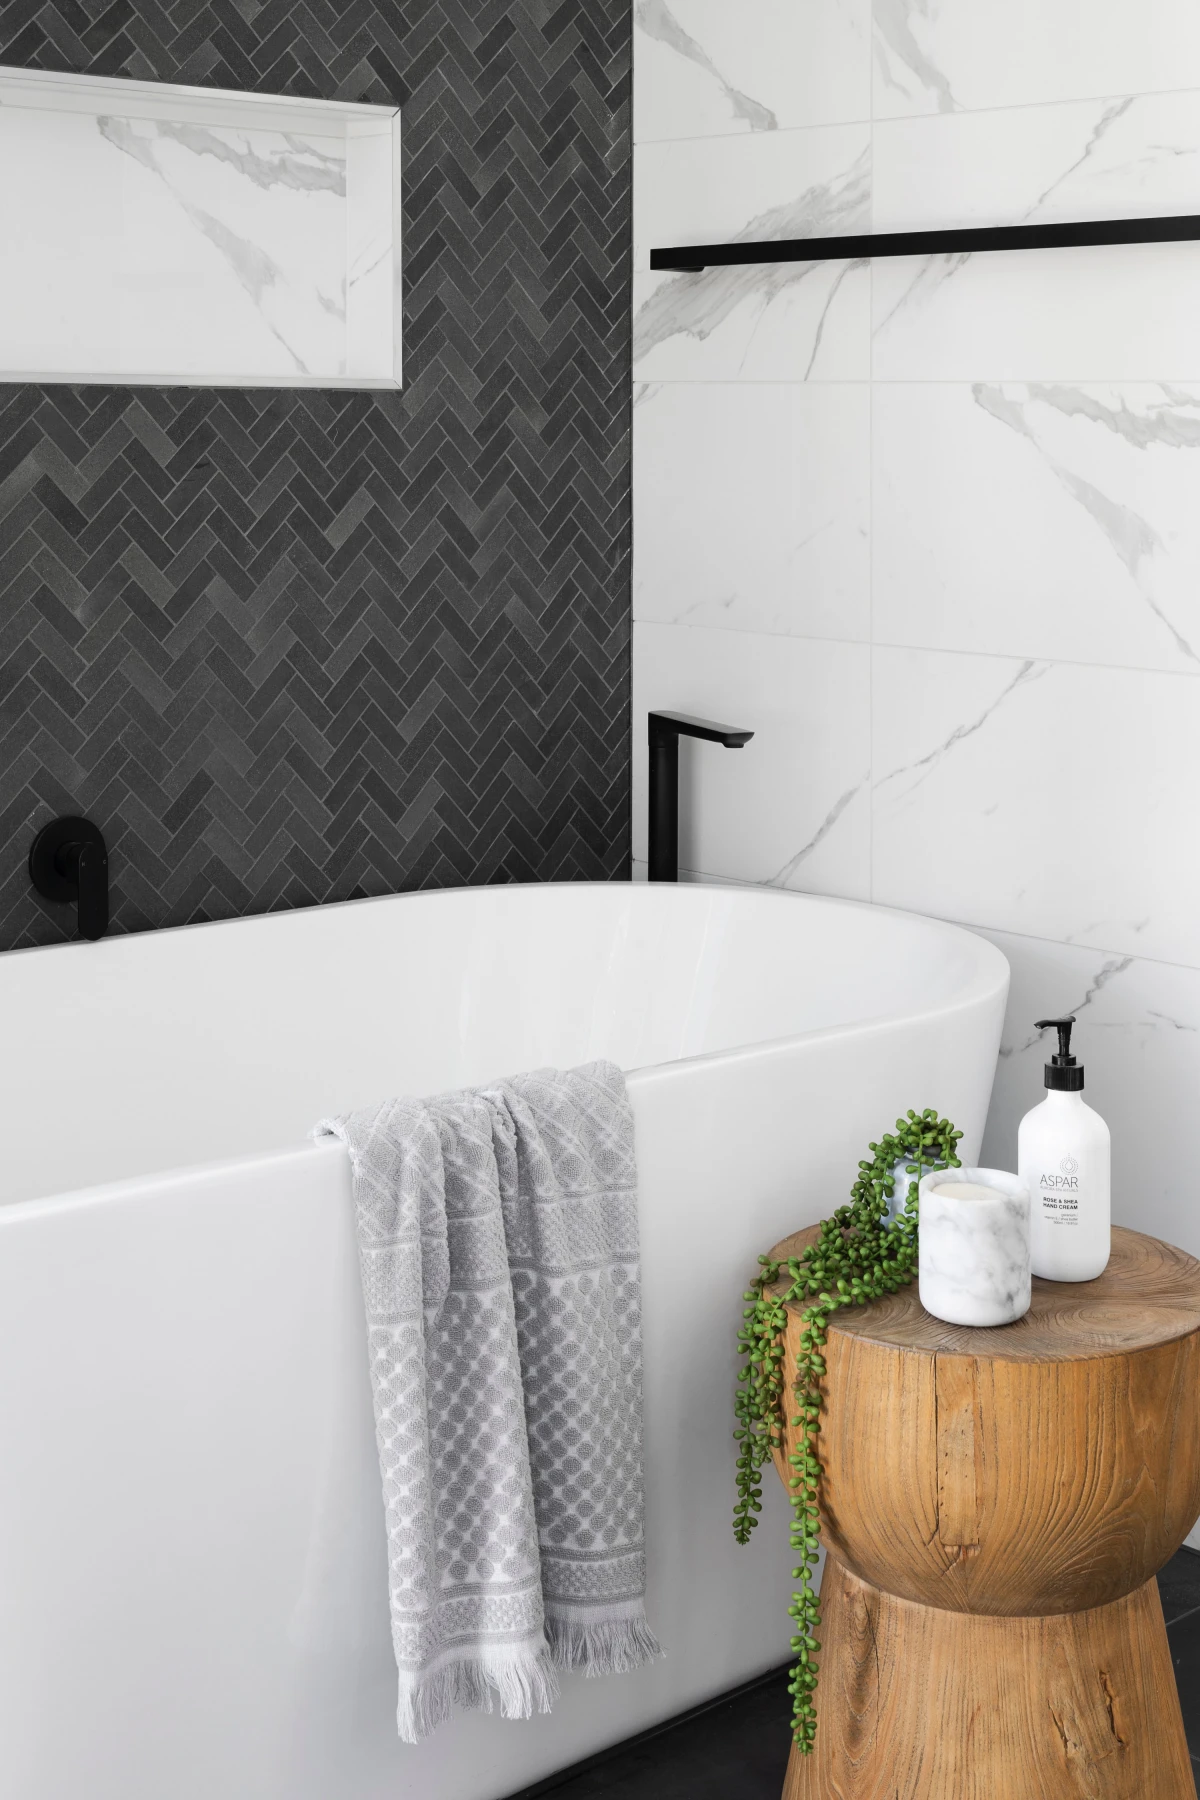
- Natural Stone: Looks amazing, but it’s needy. Marble and travertine are porous and need to be sealed every year to prevent stains. They’re also sensitive to harsh cleaners. Be honest with yourself about whether you’ll keep up with the maintenance.
- Slip Resistance: For safety, look for a tile’s DCOF rating on the spec sheet. It’s a measure of grip when wet. You want a rating of 0.42 or higher.
Thinking About Heated Floors?
This is the one luxury upgrade that people rarely regret. Electric radiant heat systems are installed right under the tile. The materials themselves aren’t crazy expensive—plan for around $10 to $20 per square foot for the heating mats or cables, plus the cost of a special thermostat. The real cost is in the installation, as it adds a day of labor for the electrician and tile setter. But on a cold morning, stepping onto a warm tile floor… it feels like pure magic. It’s definitely worth considering if it fits in your budget.
Vanities, Toilets, and Storage
Clutter ruins a peaceful bathroom. Good storage is essential. Think about recessing a medicine cabinet into the wall to save space. When we frame a shower, we almost always build in a tiled niche for shampoo bottles—just make sure the bottom shelf is sloped slightly so water drains out!

When choosing a vanity, I’m a huge fan of drawers over big open cabinets. It’s so much easier to find things. And for scale, a standard vanity is 21 inches deep, but you can find 18-inch deep models that can be a lifesaver in a narrow room.
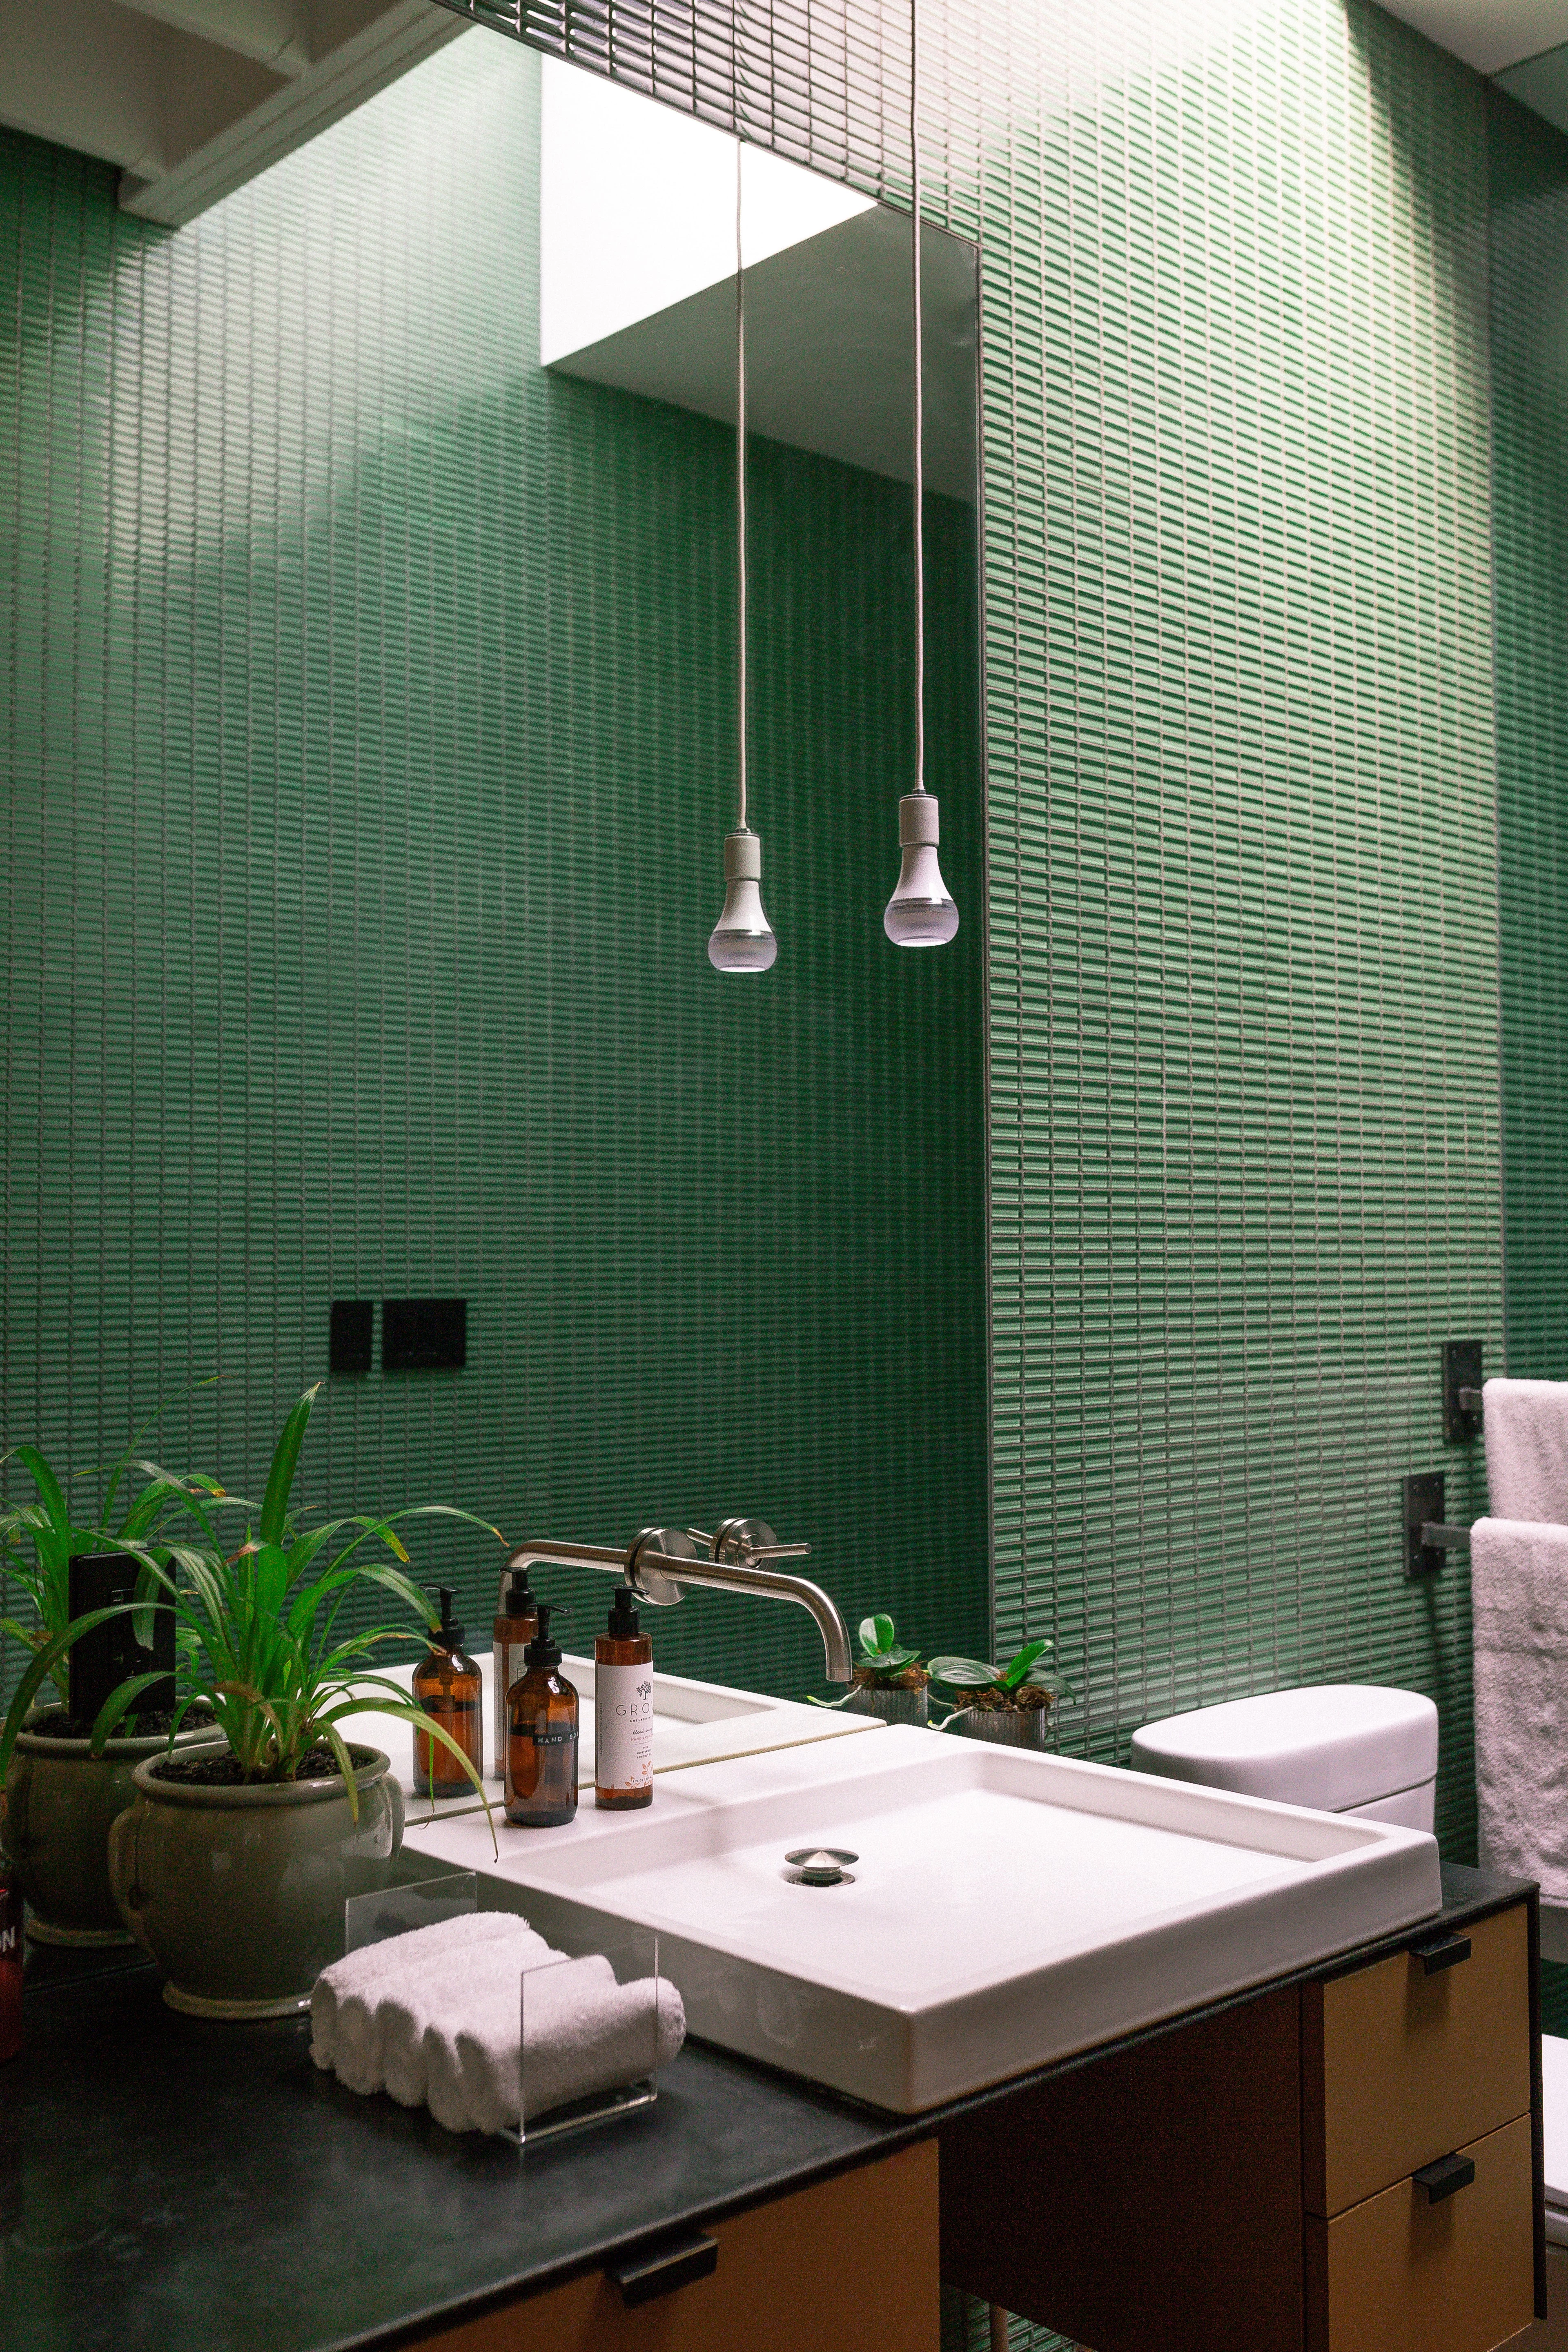
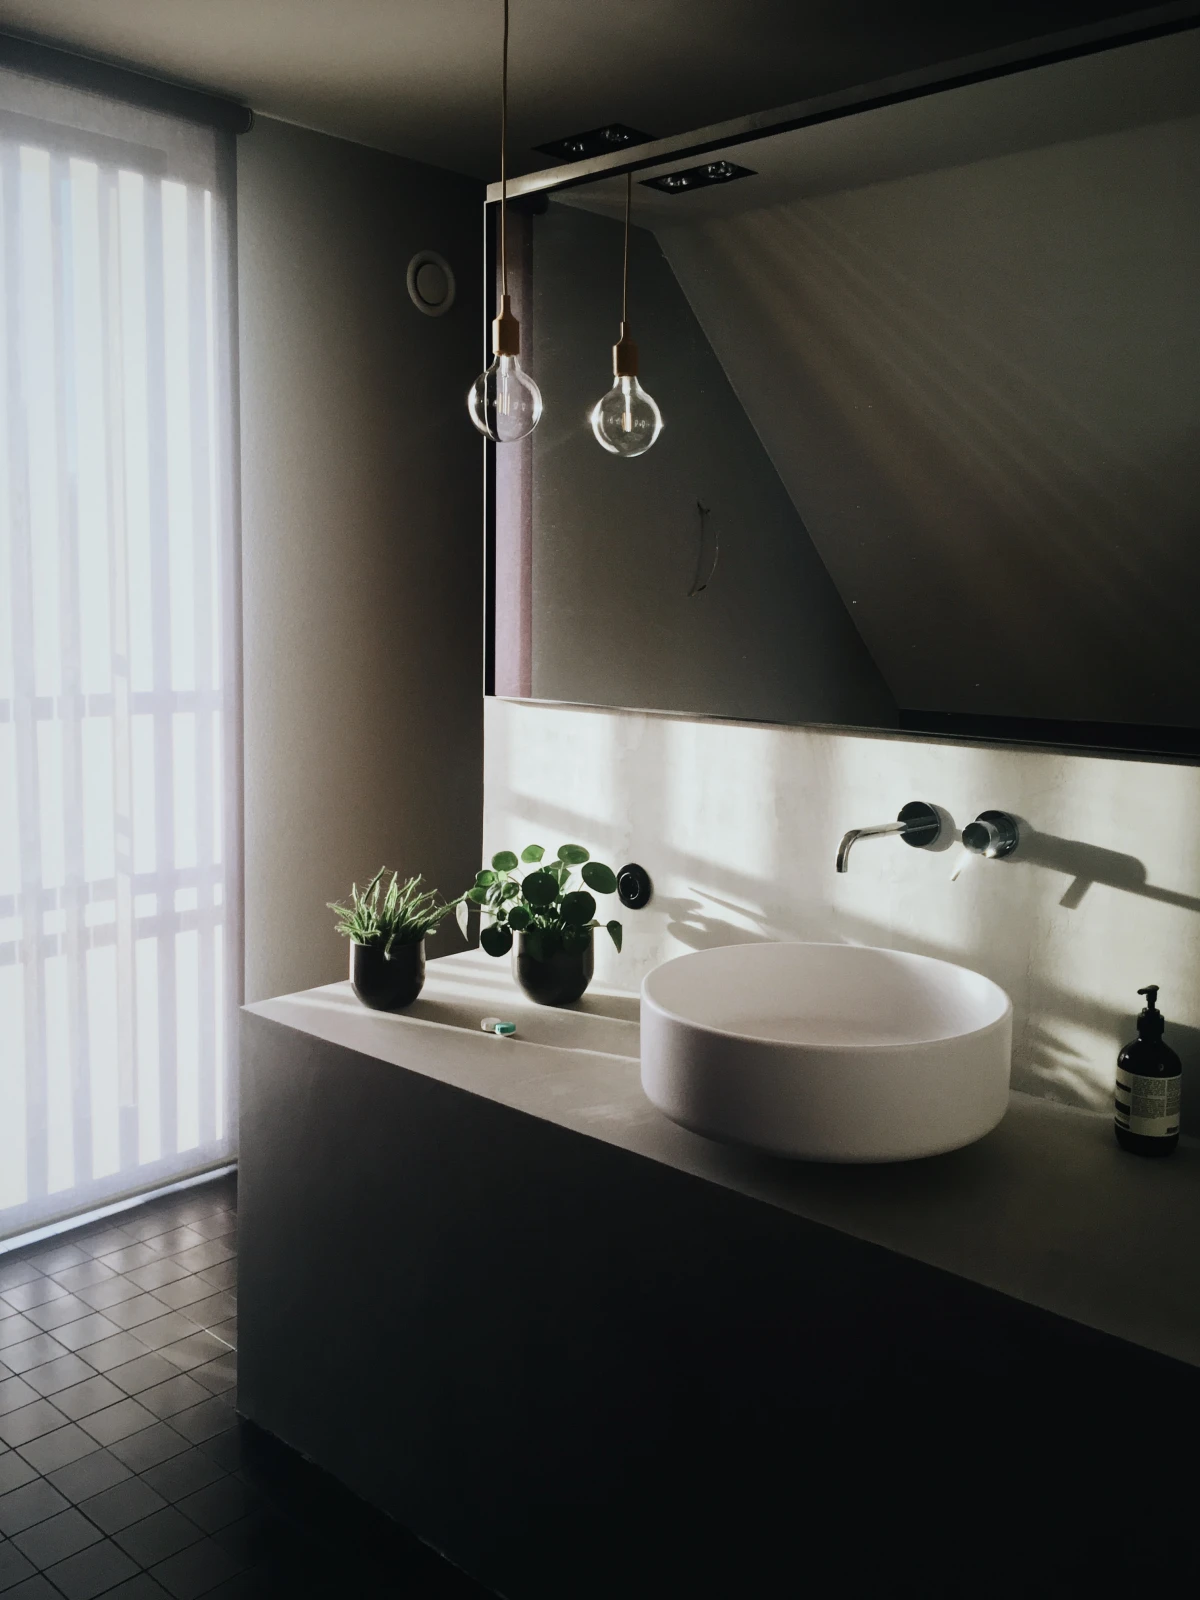
The Final Layer: Lighting Makes or Breaks the Room
Bad lighting can make a $30,000 bathroom feel cheap. A single light in the middle of the ceiling is a terrible idea. You need layers.
- Task Lighting: This is for grooming. The best setup is lights on either side of the mirror at eye level. This kills the harsh shadows an overhead light creates.
- Ambient Lighting: This is your general room light, maybe from recessed cans in the ceiling.
- Accent Lighting: This is the fancy stuff, like a small spotlight on art or an LED strip in that shower niche.
And here’s a pro tip: put EVERYTHING on a dimmer switch. It’s a small extra cost that lets you have bright, functional light in the morning and a soft, relaxing glow at night.
Trust the Process, Call the Pros
Look, a bathroom project involves systems that can burn your house down or flood it. Electrical outlets in a bathroom MUST be GFCI-protected. It’s a life-saving device that shuts off power instantly if there’s a fault. Unless you’re a licensed electrician, don’t mess with wiring in a wet room.
The same goes for plumbing. A tiny, slow leak behind a wall can cause thousands in damage. And yes, if you’re moving walls or plumbing, you’ll need a permit. The inspection process isn’t there to annoy you; it’s a safety net to make sure the job was done right.
Planning a bathroom is a lot of work upfront, but it’s work that pays off for years. Get the foundations right, and you’ll have a space that’s a source of comfort and value, not regret. Build it right the first time. It’s always the cheapest way.
Inspiration:
What’s the real difference in modern shower waterproofing?
Your contractor will likely recommend one of two leading systems, and understanding the choice is key. It’s not just about stopping leaks; it’s about managing vapor. The Schluter-KERDI system uses a fabric-like sheet membrane, installed like wallpaper over the backer board. It’s a complete, integrated system with pre-formed corners that pros love for its precision and guaranteed thickness. On the other hand, liquid-applied membranes like RedGard are painted directly onto the board, creating a seamless rubbery barrier. They’re fantastic for complex curves but require careful application to ensure the correct thickness everywhere. Both are top-tier, but the discussion itself is a sign your contractor is taking waterproofing seriously.
A single 10-minute shower can release over half a gallon of water vapor into your bathroom’s air.
That invisible moisture is the number one enemy of your new remodel, leading to peeling paint, mildew, and even wood rot in the vanity. Don’t just pick any fan. A quiet, powerful model from a brand like Panasonic or Broan, properly sized for your room’s volume (measured in CFM, or Cubic Feet per Minute), is your best defense. Think of it as an essential appliance, not just a noisy box on the ceiling.