A Pro’s No-Nonsense Guide to Upgrading Your Home’s Exterior
After years of working on every kind of house you can imagine, from brand-new builds to homes that have seen a century of seasons, I can tell you one thing for sure: the outside of a house tells a story. It’s way more than just a first impression; it’s the home’s primary shield. A well-kept exterior shows you care and, more importantly, protects the whole structure.
In this article
It’s funny how we can obsess over paint colors and furniture inside, but often let the outside slide. This isn’t about chasing fleeting trends. It’s a real, systematic way to look at your home and make smart improvements. We’re going to cover everything from the tiny details that pack a punch to the protective skin of your house, the lighting, the landscaping, and how to make your outdoor spaces truly usable.
Let’s get into it.
1. Nail the First Impression: Numbers, Hardware, and Your Front Door
Okay, here’s a quick challenge for you. Go outside, stand on the sidewalk, and look at your house. Can you clearly read your house numbers? Be honest. I’ve heard horror stories from paramedics who wasted precious minutes because a house number was hidden by a bush or so faded it was unreadable. This is a safety issue first and a design choice second.
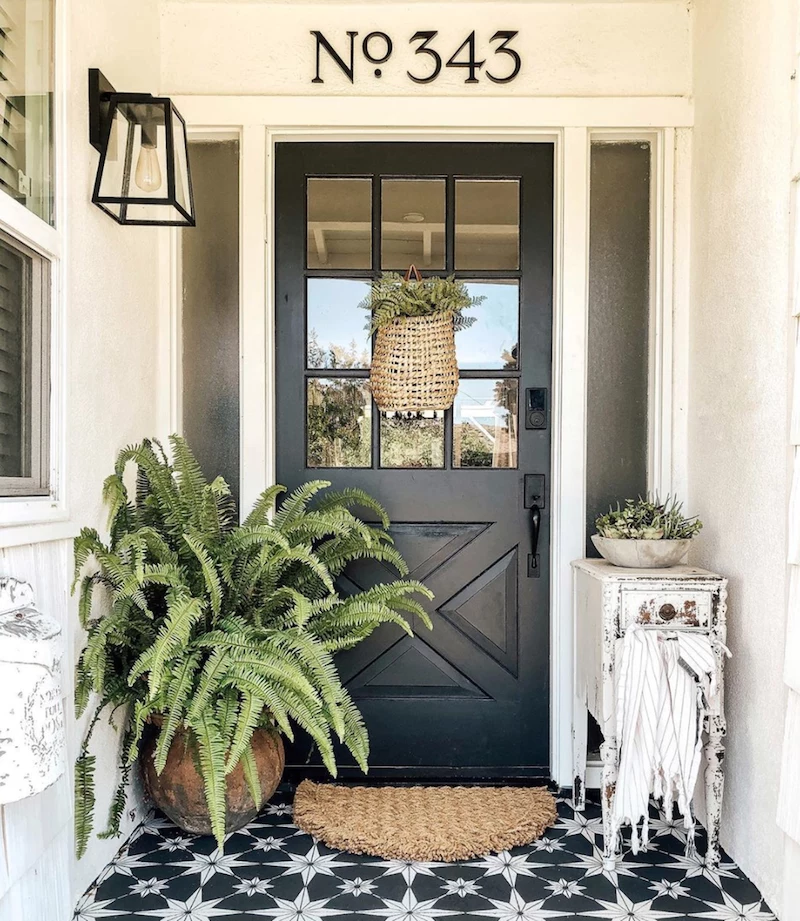
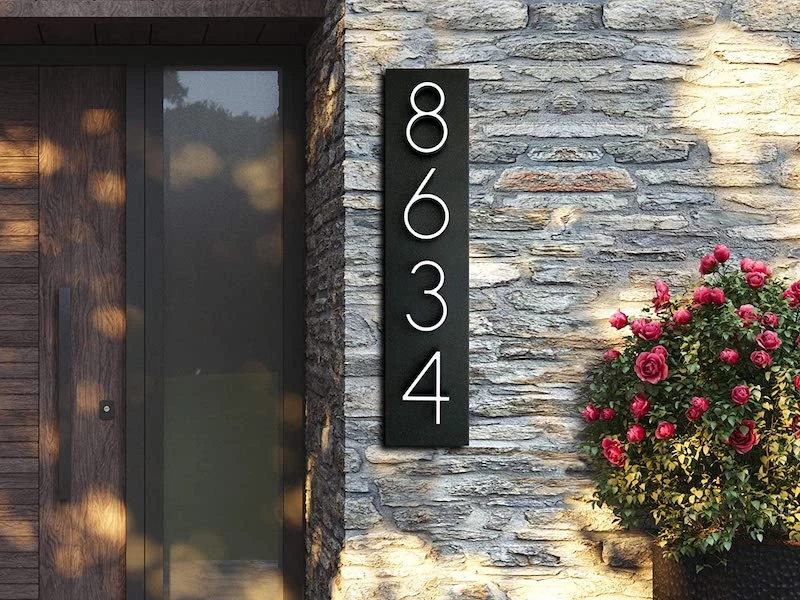
Most towns actually have rules about this, often requiring numbers to be at least four inches high and in a color that contrasts with your siding. When you’re picking new ones, think about what they’re made of.
A little insider info on materials:
- The Cheap Stuff: Those plated metal numbers you see at big-box stores for $5 to $10 a pop? They look okay for a minute, but expect them to pit, peel, or rust within a couple of years, especially if you get a lot of rain or live near the coast.
- A Solid Investment: For a look that lasts, you’ll want to invest in better materials. Think powder-coated aluminum or solid brass. These will run you more, maybe $25 to $60+ per number from a specialty hardware store or online, but they’ll still look great a decade from now. Marine-grade 316 stainless steel is another fantastic, modern-looking option if you have salty air.
- A Quick Tip on Wood: Wooden numbers can look amazing and offer a custom feel, but they are high-maintenance. They need a top-notch exterior varnish and regular recoating to keep them from rotting.
When you install them, use standoffs—the little posts that make the number float about a half-inch off the wall. It looks so much better because it creates a shadow, but the real reason the pros do it is to let water drain away. This prevents ugly stains on your siding and rot on wood. Oh, and here’s a lesser-known trick: before you put the screw in, squirt a tiny dab of quality exterior caulk in the hole. It seals the opening and stops water from getting in. A 30-second step that can save you from a major headache later.
Bring It All Together with Hardware
Now, think of all your exterior metal as a matching set. The mailbox, your doorbell, the door handle, and the light fixtures should all speak the same language. A mishmash of peeling brass, shiny chrome, and faded black plastic just looks neglected. Deciding on a single finish—like matte black, brushed nickel, or oil-rubbed bronze—and updating everything creates a cohesive, intentional look. This is a super satisfying weekend project that can instantly make your entryway feel more polished.
2. The Protective Skin: Let’s Really Talk About Paint
Paint is not just for color. It is your home’s armor against rain, sun, and even bugs. When you see paint cracking and peeling, that’s a sign your armor is failing. It’s an open invitation for moisture to sneak into your walls, and believe me, I’ve seen entire walls rot away because a paint job was put off for too long.
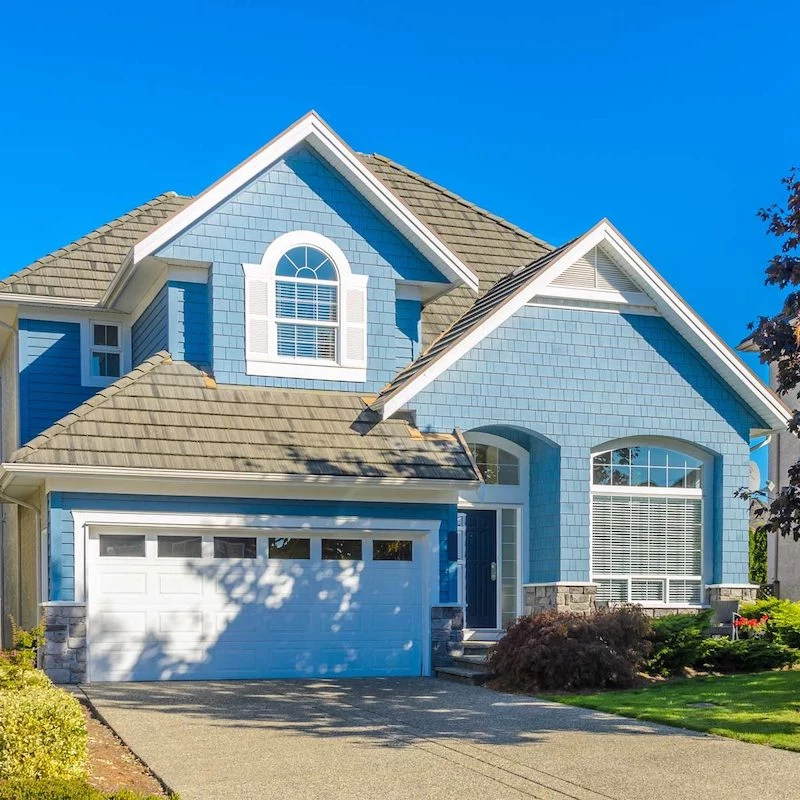
Let’s talk numbers. A professional exterior paint job can last 10 to 15 years. A bad one, or one with sloppy prep, can fail in just two or three. The cost difference is also huge. For a typical 2,000-square-foot house, doing it yourself might set you back $800 to $1,500 in quality paint and supplies. Hiring a good, insured crew is a different ballpark entirely, often ranging from $5,000 to over $10,000, depending on how much prep and repair work is needed.
The Pro’s 5-Step Process (The Part You Can’t Skip)
Proper painting is all about prep. Seriously, it’s 90% of the work. When I say prep is tedious, I mean it. For that same 2,000 sq. ft. house, you should plan for at least 20 to 40 hours of prep work before a single drop of finish paint goes on. It’s a grind, but it’s the only way to get a result that lasts.

1. The Wash & Dry: We start with a gentle power wash (under 1500 PSI for wood!) to get rid of dirt and loose flakes. Then, the house needs to dry completely—at least two full, sunny days. Don’t rush this.
2. Scrape, Sand & Repair: Now for the fun part… scraping off every last bit of loose paint. We then sand the edges of the scraped areas so you don’t see the patch marks later. Next, we hunt for gaps and cracks, filling them with a high-quality, flexible caulk. Don’t buy the cheap stuff; it’ll just crack. I’m a big fan of brands like Sashco’s Big Stretch. It moves with your house and lasts for years.
Heads up! This is also when we look for rotten wood. A common mistake is just painting right over a soft spot on a windowsill. That’s like putting a bandage on a broken leg. You’re trapping moisture, and the rot will spread. The board has to be repaired with epoxy wood filler or, more likely, replaced entirely.
3. Prime Time: Primer seals the surface and gives the paint something to grab onto. We only spot-prime the bare wood and repaired areas. You usually don’t need to prime the whole house, which is good news for your budget.
4. The Application: We always work from the top down to avoid drips. The best technique is to spray the paint on and then immediately go over it with a roller or brush (this is called “back-brushing”). It pushes the paint into the surface and creates a much stronger bond. And yes, you always need two full topcoats.
5. Weather Watch: You can’t paint if it’s going to rain in the next 24 hours or if temps are below 50°F—the paint just won’t cure right. Painting in the blazing hot sun is also a bad idea; it dries the paint too fast, causing a weak finish.
A CRITICAL Safety Warning: Lead Paint
If your home was built before the late 1970s, you absolutely MUST assume the paint contains lead. Scraping or sanding this stuff creates toxic dust that is incredibly dangerous. This isn’t a DIY situation. Federal laws regulate how lead paint must be handled, and you need to hire an EPA-certified firm to do the work. The health risks are just too severe to mess with.

3. Let There Be Light: Safety and Ambiance
Good lighting makes your home look amazing at night, but its most important job is safety. A lit path prevents falls, and a lit doorway helps you find your keys and see who’s there. It’s also a great deterrent for anyone who might be lurking around.
A pro tip on color: always choose bulbs with a warm color temperature, between 2700K and 3000K. This gives off that pleasant, welcoming glow. Anything over 4000K starts to look harsh and clinical, like a hospital waiting room.
Solar vs. Low-Voltage: Which is Right for You?
You’re probably seeing solar-powered lights everywhere. They’re super easy to install because there’s no wiring, and they cost nothing to run. The downside? They are often much dimmer and can be unreliable, especially on cloudy days or in shady spots. They’re great for a little decorative touch but not for critical safety lighting.
For reliable, powerful light, a low-voltage (12V) system is the way to go. It requires a transformer and running wires, but it gives you complete control and bright, consistent light exactly where you need it. From my experience, investing in a quality low-voltage system from a brand like Volt (they sell pro-grade kits to homeowners) is a much better long-term solution than replacing cheap solar lights every year.
Know Your Limits! A low-voltage system is a totally doable DIY project for a handy person. However, anything involving your home’s main 120V power—like installing a new porch sconce or security floodlight—is a job for a licensed electrician. Seriously, 120V electricity can be fatal. It’s not worth the risk.
4. The Green Frame: Landscaping & Hardscaping
Your yard is the frame for the picture of your house. Overgrown bushes and cracked sidewalks can make even the prettiest house look rundown. But good landscaping is about more than just flowers.
Let’s be real: your landscaping’s most important job is keeping water away from your foundation. The ground should slope away from your house—a drop of at least 6 inches over the first 10 feet is the rule of thumb. Also, make sure your downspouts are dumping water a good 4 to 6 feet away from the foundation.
When it comes to plants, keep at least 18 inches of clear space between shrubs and your siding. This allows air to circulate and prevents bushes from scraping off paint or giving ants a convenient bridge into your home. And please, think about the mature size of a plant before you buy it! That cute little shrub might be blocking your whole window in five years.
The Reality of Paver Patios
A paver walkway or patio can be a stunning upgrade. But the secret to one that doesn’t heave and buckle is the base. A proper installation involves digging out 6-8 inches of soil, laying down special fabric, and then adding and compacting several inches of gravel base before a final layer of sand. It’s a ton of work.
And here’s a dose of reality. Digging out a 10×10 foot area, 8 inches deep, and then hauling literally tons of gravel and sand by wheelbarrow is absolutely back-breaking work. Be honest with yourself about the labor involved. For any patio larger than a small landing, it’s often worth getting a quote from a pro.
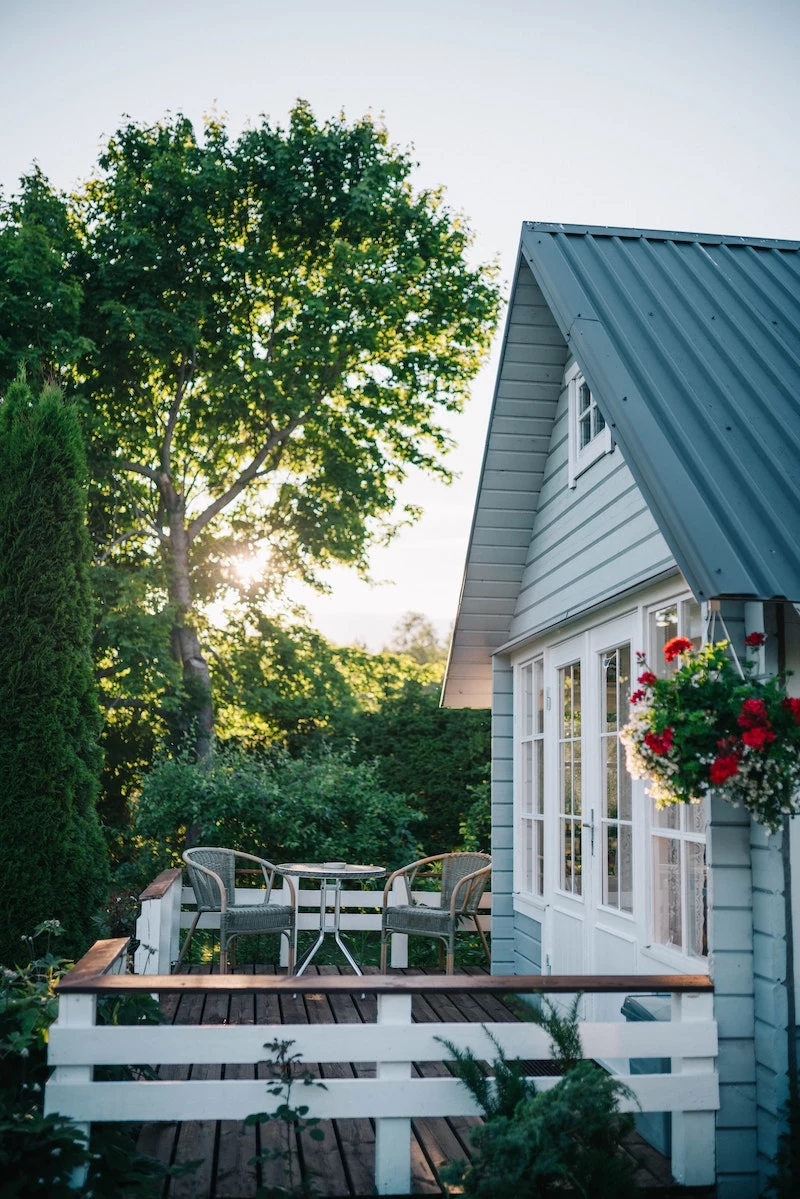
5. Making Your Outdoor Space a Place You’ll Actually Use
A front porch or a back deck should be an extension of your home. But to make it great, it needs to be safe and functional.
The Great Decking Debate: Wood vs. Composite
This is the big one. What material should you use for your deck? Let’s break it down without a complicated chart.
Classic Wood: Nothing beats the feel of real wood under your feet. It also has a lower upfront cost. Depending on the type of wood, you might be looking at around $20 to $35 per square foot, installed. The trade-off? The maintenance. You have to clean and re-stain or seal a wood deck every 2-3 years to protect it from the elements. If you don’t, it will splinter, warp, and rot.
Modern Composite: Materials like Trex or TimberTech are made from a mix of recycled plastic and wood fibers. The upfront cost is significantly higher, often $45 to $60+ per square foot installed. But here’s the magic: the maintenance is almost zero. A simple wash with soap and water once a year is all it needs. It won’t rot, warp, or splinter, and the color you install is the color it stays. Over 15-20 years, the total cost often ends up being pretty similar.
Don’t Mess with Safety & Permits
If you’re building or repairing a deck or porch, safety is non-negotiable. I’ve seen decks collapse. It’s terrifying. Any deck more than 30 inches off the ground needs a guardrail that’s at least 36 inches high, with spindles close enough that a 4-inch ball can’t pass through (that’s to protect kids). Projects like this almost always require a building permit from your town. Do not skip this step. An inspector will check the work to ensure it’s safe, which protects you and your family.
Final Thoughts
Taking care of your home’s exterior is a marathon, not a sprint. The best way to tackle it is in phases. Start with the critical stuff—fixing drainage, cleaning gutters, dealing with any rot. Then, move on to safety, like lighting and railings. Finally, you can have fun with the aesthetic upgrades like new hardware and landscaping.
Think of it as a system where every part affects the others. With a little knowledge and a smart approach, you can protect your biggest investment and create a home that’s safe, solid, and incredibly welcoming.


