Your Bathroom Isn’t Dirty, It’s Just Misunderstood: A Pro’s Guide to a Lasting Clean
After spending decades cleaning everything from luxury homes to massive office buildings, I can tell you one thing for sure: the bathroom is the most misunderstood room in the house. You see a small space and think, “quick job.” But the grime in there? It’s a complex beast. We’re talking a stubborn cocktail of body oils, sloughed-off skin, and rock-hard mineral deposits.
In this article
- First, Know Your Enemy: The Science of Bathroom Grime
- The Most Important Concept: Understanding pH
- My Top 3 Bathroom Cleaning Mistakes I See Everywhere
- Building Your Pro Cleaning Caddy (Without Breaking the Bank)
- The Step-by-Step Pro Process for a Deep Clean
- The Single Best Habit for a Cleaner Bathroom
- When You Need More Than a Cleaning
- Inspiration:
Honestly, wiping it all down with a generic all-purpose spray is like trying to put out a grease fire with water. You’re mostly just making a bigger mess.
To get a bathroom truly clean—the kind of clean that lasts—you have to think less like a maid and more like a chemist. You need to know what the gunk is made of before you can obliterate it. Once you get the ‘why,’ the ‘how’ becomes so much easier. This isn’t about scrubbing harder; it’s about working smarter. So, let’s walk through how the pros get it done, from the science to the final, sparkling wipe-down.
First, Know Your Enemy: The Science of Bathroom Grime
Before you even think about grabbing a spray bottle, you need to understand what you’re up against. In my professional certification training, the first thing they drill into you is how to identify different types of soil. In any bathroom, you’re basically fighting a three-front war.
1. Organic Soils
This is all the stuff that comes from us. Think body oils, dead skin cells, hair, and all the lovely bacteria and mildew that feast on that stuff. It’s greasy, sticky, and the reason your shower floor can feel slick or slimy. Because it’s a food source for microbes, it’s also the root cause of most persistent bathroom odors. Plain water just smears it around; you need something that can cut through fats and oils.
2. Inorganic Soils
These are the mineral deposits left behind by hard water. Limescale (mostly calcium carbonate) is the big one. When water evaporates, it leaves these minerals behind, forming that crusty, chalky white layer on your faucets, shower head, and glass doors. Rust stains from iron in the water also fall into this category. These soils are alkaline, so spraying them with a standard cleaner does absolutely nothing. You need an acid to dissolve them.
3. Compound Soils (The REAL Problem)
And then there’s the final boss: soap scum. This stuff is a diabolical combination of organic and inorganic gunk. Traditional bar soap is made from fats (organic). When those fats mix with minerals in your hard water (inorganic), they react to form a waterproof, waxy film that glues itself to your shower walls and tub.
This is why it’s so tough to remove. An oil-cutting cleaner takes care of the soap part but leaves the minerals. An acid cleaner dissolves the minerals but can’t touch the greasy soap film. It’s a two-part problem that needs a two-part solution.
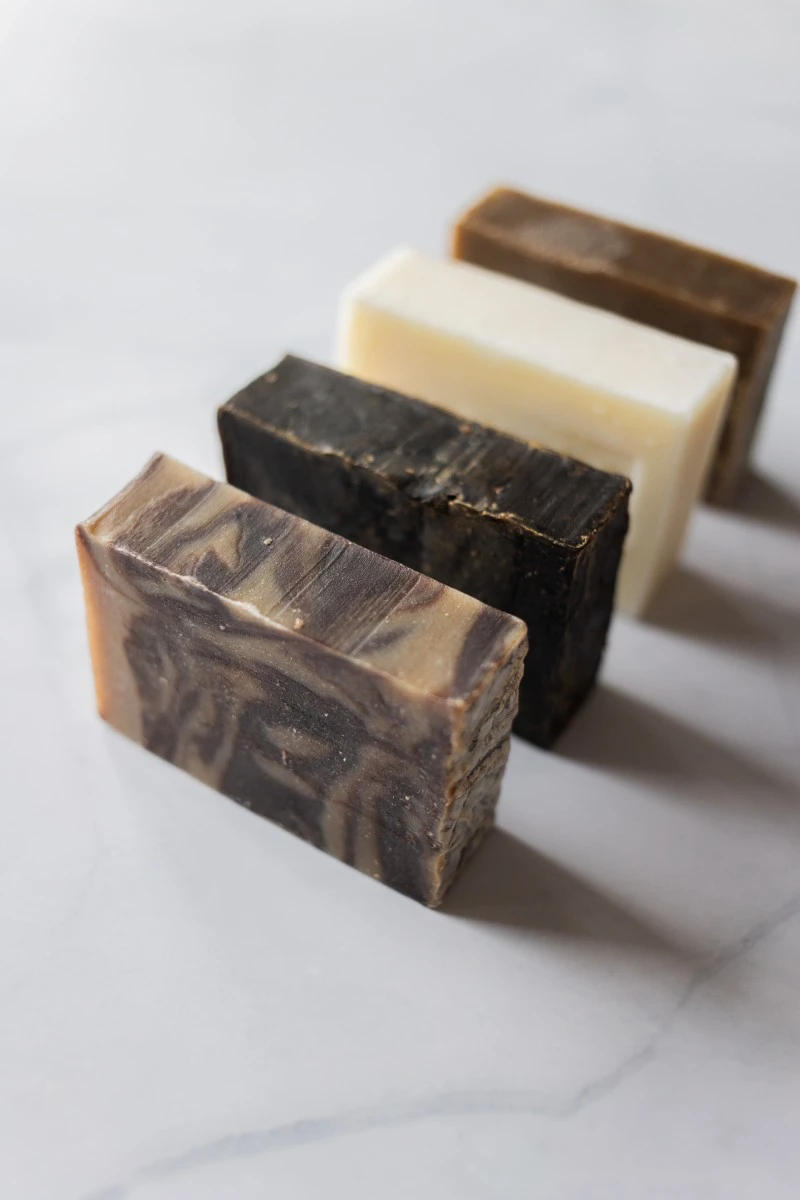
Here’s a life-changing tip, by the way: Switching from bar soap to a liquid body wash will eliminate about 90% of your soap scum issues. Seriously. It’s the easiest win you’ll get in the bathroom.
The Most Important Concept: Understanding pH
Okay, stick with me for a second. The pH scale, which runs from 0 (very acidic) to 14 (very alkaline), is the secret key to unlocking cleaning power. Pure water is a neutral 7.
- Acidic Cleaners (pH 0-6): These are your mineral-busters. They dissolve inorganic soils like limescale and rust. Think vinegar, citric acid, or commercial products like Lime-A-Way or CLR.
- Alkaline Cleaners (pH 8-14): These are your grease-cutters. They are fantastic at breaking down organic soils like fats, oils, and body grime. Degreasers, ammonia-based cleaners, and even dish soap fall into this category.
Using the wrong pH is like trying to open a door with the wrong key. You can jiggle it all day, but it’s not going to open. You can’t scrub away hard water stains with a degreaser—it just won’t work.
My Top 3 Bathroom Cleaning Mistakes I See Everywhere
Before we get to the how-to, let’s cover the big mistakes that make your life harder. Avoiding these is half the battle.
- Using the Wrong Cleaner for the Job. This is the pH problem we just talked about! Trying to remove oily soap scum with a vinegar-based (acidic) cleaner is a waste of time and elbow grease.
- Not Giving Cleaners Time to Work. We call it ‘dwell time.’ Spraying and immediately wiping is useless. You have to let the chemicals sit for 10-15 minutes to do the heavy lifting for you. Let them work so you don’t have to.
- Using a Damaging Cleaner on a Sensitive Surface. The classic blunder is using vinegar or an acid-based cleaner on natural stone like marble or travertine. I once had a client who tried to clean their gorgeous marble vanity with a popular all-purpose spray. It permanently etched the surface, leaving dull spots that could only be fixed by a professional stone restorer. A very expensive mistake.
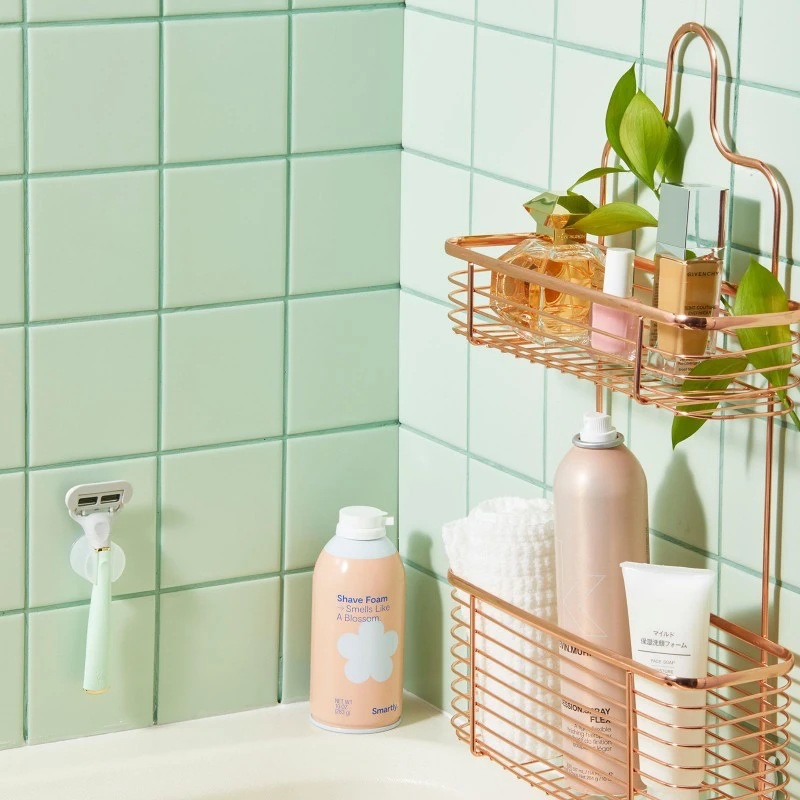
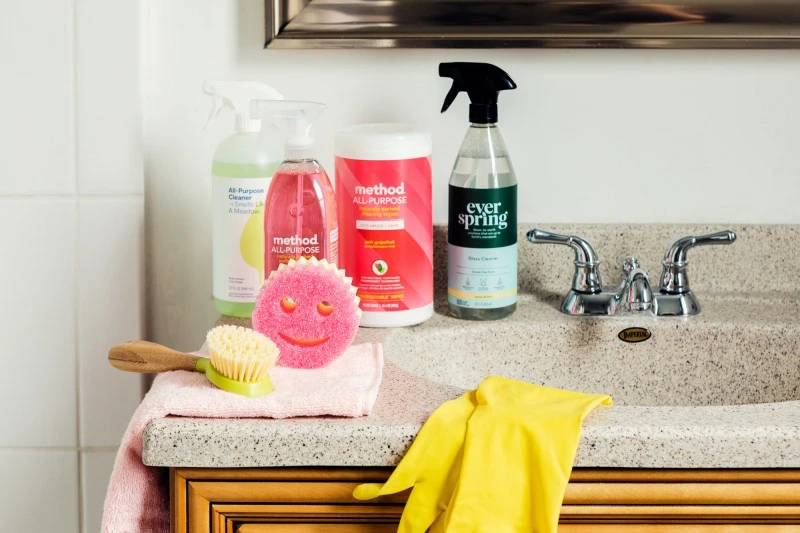
Building Your Pro Cleaning Caddy (Without Breaking the Bank)
You don’t need an entire aisle of products. You just need a few key things that actually work. Here’s what I recommend for a killer starter kit.
The Tools:
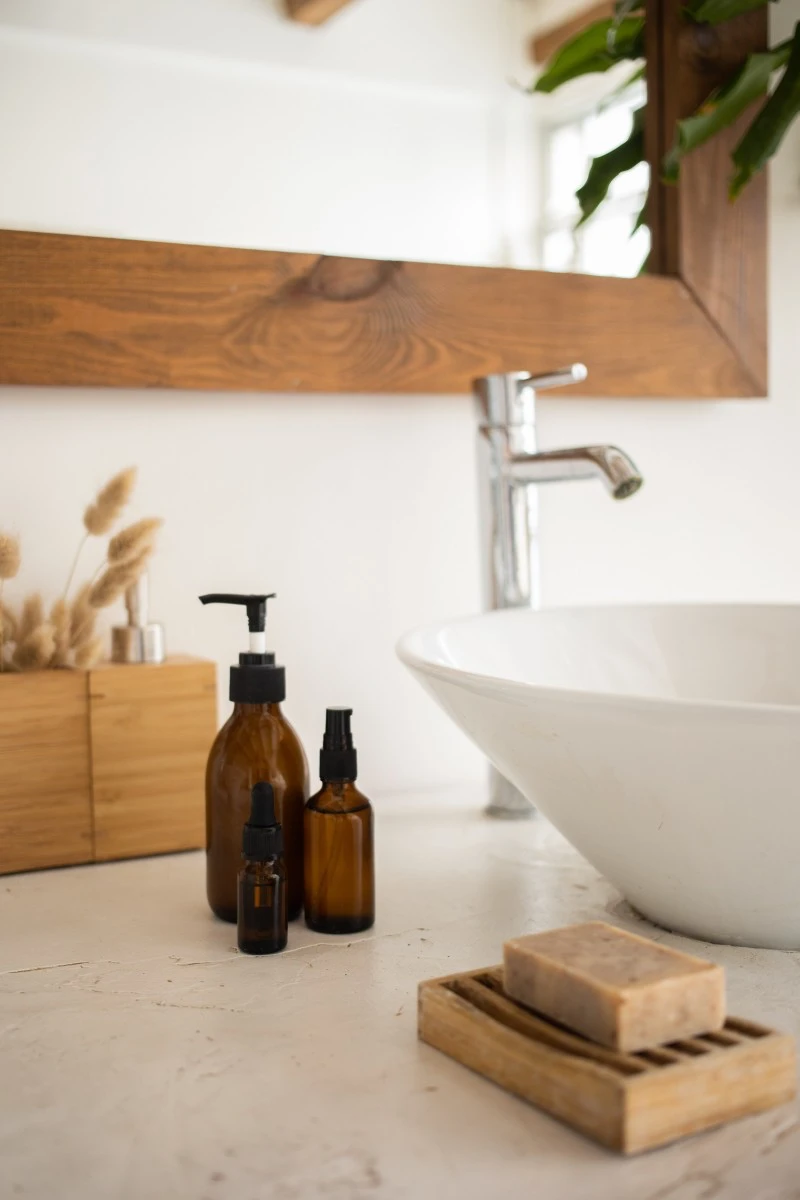
- Color-Coded Microfiber Cloths: This is a non-negotiable rule to prevent cross-contamination. Cotton just pushes dirt around; microfiber actually traps it. A simple system works best: Blue for glass/mirrors, Green for general surfaces like counters, and Red for the toilet ONLY. You can grab a multi-pack for $10-$15 online or at any big box store.
- A Good Squeegee: A 10 or 12-inch professional squeegee ($15) is your best defense against soap scum and water spots. Using it after every shower is a game-changer.
- A Real Grout Brush: An old toothbrush is too soft. A proper grout brush has stiff, angled bristles that get into the lines. It’ll cost you about $5-$8 at a hardware store.
- Non-Scratching Scrub Pads: Think of these like sandpaper for cleaning. Get a variety pack. The white pads are the gentlest, perfect for fiberglass or acrylic that scratches easily. The blue pads are great all-purpose scrubbers for porcelain and tile. The green ones are highly abrasive—use them with caution on tough ceramic tile, but NEVER on plastic or fiberglass, or you’ll regret it.
- Pumice Stick: This is your last resort for stubborn toilet bowl rings. It’s a soft volcanic rock that scours away mineral buildup on porcelain. A couple of bucks at Home Depot or Lowe’s.
The Chemicals:
- An Alkaline Cleaner (Degreaser): Your workhorse for soap scum and body oils. A product like Krud Kutter or Zep Foaming Tub & Tile Cleaner works wonders. Expect to pay $8-$12.
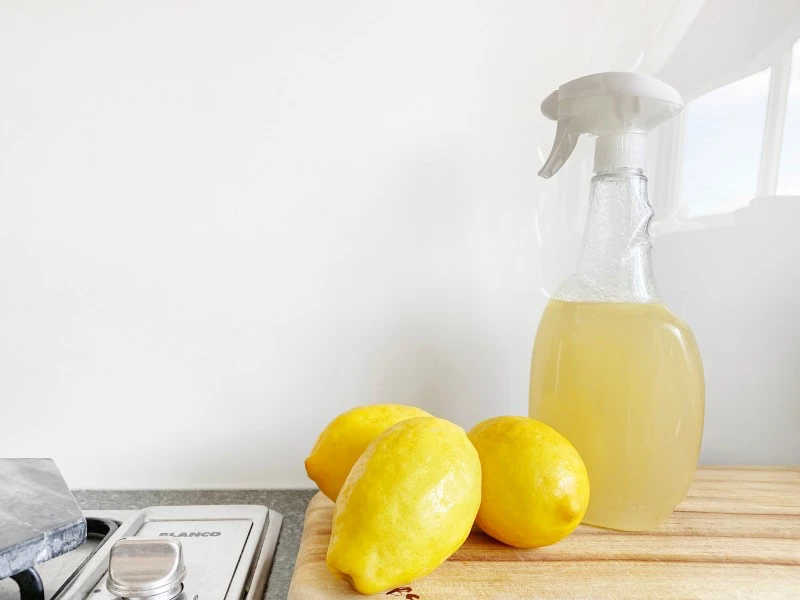
- An Acidic Cleaner: For hard water, limescale, and rust. Look for a cleaner with phosphoric or glycolic acid, like Zep Acidic Toilet Bowl Cleaner or Lime-A-Way. Usually around $7-$10. For daily prevention, a 50/50 mix of white vinegar and water in a spray bottle is your best friend.
- A pH-Neutral Cleaner: This is for sensitive surfaces like granite, marble, or travertine. It won’t damage the stone or its sealer. You can find specific stone cleaners for about $10.
- A Disinfectant: Remember, cleaning removes soil, disinfecting kills germs. They are two different steps. I clean first, then disinfect. A good EPA-registered disinfectant is key. Check the label for the ‘dwell time’—that’s how long the surface has to stay wet to kill everything.
The Step-by-Step Pro Process for a Deep Clean
Alright, let’s do this. This whole process, for a first-time deep clean, might take you 2-3 hours. Don’t rush it. We work top-to-bottom, dry-to-wet. It’s a system that guarantees you don’t miss anything or make more work for yourself.
Step 0: Prep and Safety
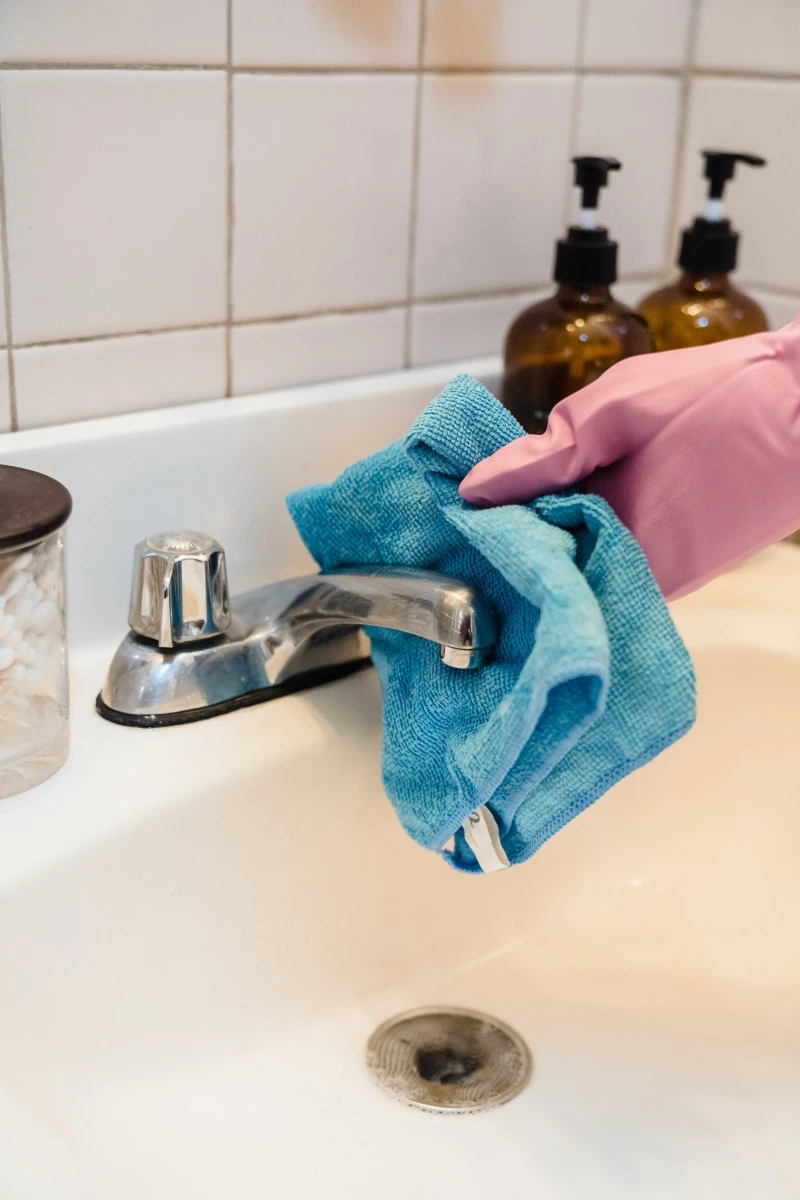
- Gear Up: Always wear gloves (nitrile is better than latex for chemical resistance) and safety glasses. I learned this the hard way after a tiny splash of acidic cleaner bounced off a faucet and into my eye. It was a painful lesson I only needed once.
- Ventilate: Turn on the exhaust fan and open a window if you can. And please, NEVER mix cleaning chemicals, especially anything with bleach and anything with ammonia. That combo creates toxic gas.
- Clear the Decks: Get everything off the counters, tub ledge, and floor. You can’t clean a cluttered room.
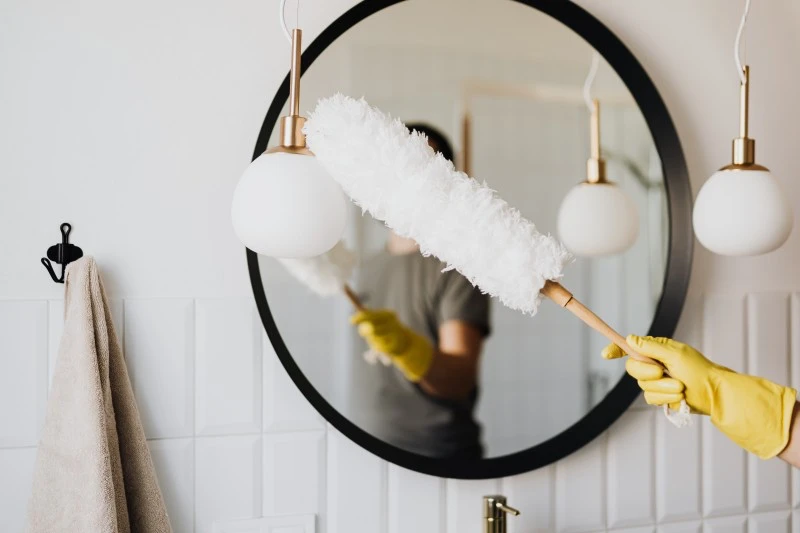
Step 1: The Dry Work (No Water Yet!)
So many people start by spraying everything, which just turns dust and hair into a gross paste. Remove all the dry stuff first.
- Dust High to Low: Use a duster to get cobwebs from corners and dust off light fixtures.
- Vacuum the Floor: Use a crevice tool to suck up hair and dust from corners and especially around the base of the toilet. This is way more effective than sweeping.
Step 2: Apply Cleaners and Let Them Dwell
This is where your new knowledge pays off. Apply the right cleaner to the right soil and let it sit for a good 10-15 minutes. The chemicals are doing the hard work now.
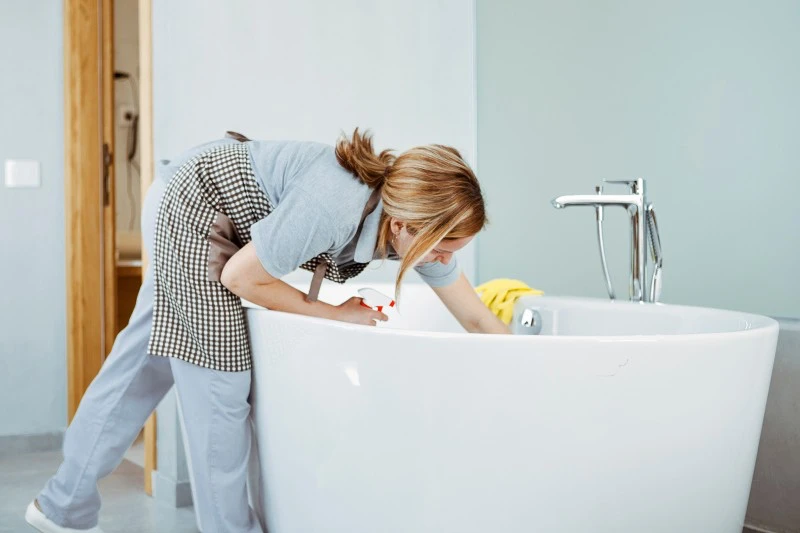
- Shower & Tub: Hit the soap scum and general grime with your alkaline cleaner. For hard water spots on glass doors and metal fixtures, use your acidic cleaner. Let it all marinate.
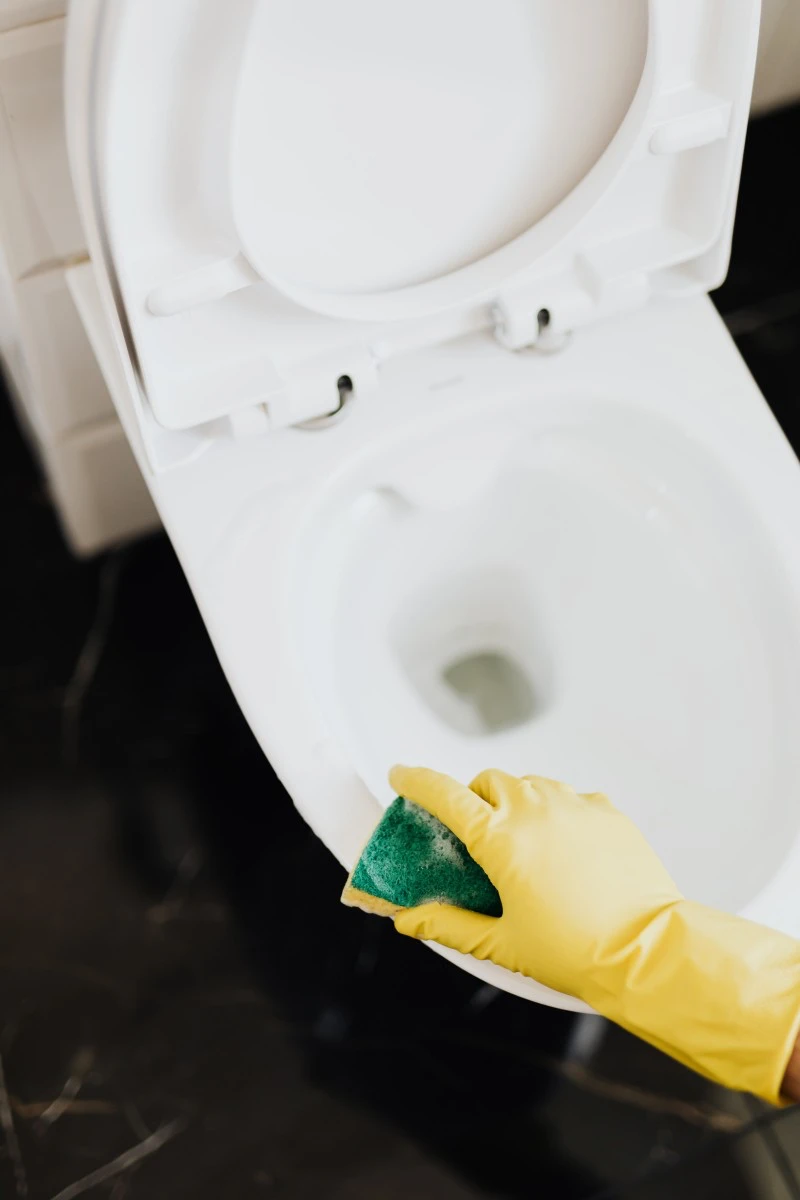
- Toilet & Sink: Squirt an acidic toilet bowl cleaner under the rim. Spray the sink with the appropriate cleaner—alkaline for general grime, acid for any visible mineral rings around the faucet.
Step 3: Agitation and Rinsing
Now that the cleaners have worked their magic, it’s time to scrub.
- The Two-Step Shower Attack: For that tough, layered soap scum, this is the pro move. First, scrub the walls with your alkaline cleaner and a blue scrub pad to break down the greasy soap. Now, rinse the entire shower thoroughly with water. Heads up! This is a critical safety step. Never apply an acid cleaner on top of an alkaline one. After rinsing, apply your acidic cleaner to dissolve the mineral deposits that were hiding underneath the soap. Scrub again, then give it a final, thorough rinse.
- Grout Lines: Spray grout with a dedicated cleaner or a paste made from an oxygen bleach product (like OxiClean—it’s different from chlorine bleach!) and water. Scrub with your grout brush. You’ll be shocked at what comes out.
- Glass Doors: After your acidic cleaner has dwelled, scrub with a non-scratching pad, rinse, and then use your squeegee. Start at a top corner, pull down, and overlap each stroke by an inch. Wipe the blade with a microfiber cloth after each pass for a streak-free finish.
Step 4: The Toilet
Grab your red cloths for this job. Clean from the top down: tank, handle, lid, seat, then the rim and base. Use a toilet brush for the bowl. For a really stubborn ring, you can turn off the water supply, flush to lower the water level, and gently scrub the wet porcelain ring with a pumice stick.
Step 5: Sinks, Counters, and Mirrors
Wipe down the counters and sink you sprayed earlier. Use your grout brush for the gunk around the faucet base. If you have natural stone counters, now is the time to use your special pH-neutral cleaner. For the mirror, lightly mist a blue microfiber cloth with water and wipe, then immediately polish it dry with a second, clean, dry cloth. No streaks.
Step 6: The Floor
The floor is always last. A pro trick is the two-bucket method: one bucket with your cleaning solution, one with clean rinse water. This stops you from just painting the floor with dirty water. Start in the farthest corner and mop your way out of the room.

The Single Best Habit for a Cleaner Bathroom
Feeling overwhelmed? I get it. If you do only ONE thing from this guide, do this:
Spend 30 seconds with a squeegee after every shower.
Seriously. Squeegee the glass and tile walls. You remove over 90% of the water that creates soap scum and mineral deposits. It will save you HOURS of future scrubbing. It is the biggest return on investment for your time in the entire bathroom.
When You Need More Than a Cleaning
Sometimes, a problem is bigger than just dirt.
- Stubborn Mildew on Caulk: If mildew has stained your silicone caulk black, cleaning won’t fix it. The stain is inside the caulk. The only real solution is to carefully cut out the old caulk and apply a fresh bead of new, mildew-resistant silicone.
- Clogged Exhaust Fan: If your fan is caked with dust, it can’t pull moisture out of the room, leading to more mildew. Turn off the power at the circuit breaker, take the cover off and wash it, and carefully vacuum the fan blades.
- Know When to Call a Pro: If you see widespread mold on drywall or your grout is crumbling and falling out, that’s not a cleaning job. That’s a sign of a bigger issue like a water leak. You’ll need a restoration or tile professional to fix the root cause.
By shifting your mindset from just ‘wiping’ to ‘treating,’ you’ll achieve a level of clean that actually lasts. It turns a frustrating chore into a satisfying project where you can see—and feel—the amazing results.
Inspiration:
The most powerful cleaning tool you’re probably not using? The clock. Pros call it


