Your House Is Leaking Money: Simple Heating Fixes Most People Miss
After years of working in home performance and heating, you start to see the same things over and over. I get the call from a frustrated homeowner: their house feels drafty, the heating bills are creeping up, and there’s always that one room that feels like an icebox. They’ve cranked the thermostat to the max, but it’s not making a dent. Honestly, most of the time, the furnace itself isn’t broken. The real culprit is a bunch of small, easy-to-miss issues that add up to one big comfort problem.
In this article
Heating your home isn’t just about the big metal box in the basement. It’s a whole system. The furnace makes the heat, sure, but the ductwork has to deliver it, the insulation has to keep it in, and the thermostat is supposed to be the brain of the whole operation. When one of those parts is out of whack, the entire system struggles. I’ve spent more time in basements, attics, and spooky crawl spaces than I can count, and I’ve seen the same simple mistakes costing people hundreds of dollars a year and leaving them shivering.
This isn’t about some super-technical HVAC wizardry. This is about the practical stuff I’ve learned in the field—the kind of knowledge I’d pass on to any new person I was training. We’re going to cover the gear, the controls, and the actual structure of your house that’s meant to hold all that cozy heat.
The Heart of the System: Your Furnace Needs Love, Too
Your furnace is the engine of your home’s comfort, but for some reason, it’s often the most neglected piece of equipment you own. People tend to have an “out of sight, out of mind” attitude until it suddenly quits on the coldest day of the year. A little bit of attention here is what separates a comfortable winter from a frantic emergency call. It really boils down to two things: clean air and a yearly checkup.
Let It Breathe: The Mighty Air Filter
I cannot say this enough: the single most important thing you can do for your heating system is change the air filter regularly. A dirty filter is the root cause of so, so many service calls. It seems too simple to matter, but its impact is huge.
Think about it like this: your furnace has to pull air from your home, heat it up, and then push it back out. The filter is there to clean that air before it gets into the sensitive guts of the furnace. When that filter is clogged with dust, pet hair, and who-knows-what, the system is essentially trying to breathe through a dirty rag. The blower motor has to work way harder to pull the air through, which leads to a whole cascade of problems. It spikes your electricity use, weakens the airflow to your rooms (especially the ones far away), and puts a ton of strain on the motor. I’ve seen five-year-old blower motors completely burned out because of a ten-dollar filter that hadn’t been changed in a year.
A quick tip on choosing the right one: those cheap, see-through blue fiberglass filters are pretty much useless. They might stop a stray feather, but fine dust zips right through and coats the inside of your equipment. You want a pleated media filter. Look for its MERV rating (Minimum Efficiency Reporting Value). For most homes, a MERV rating between 8 and 11 is the sweet spot—it grabs most of the junk without choking your system. The super-high MERV filters (13 and up) can actually be too restrictive unless your system was specifically designed for them.

Good to know: When you slide the new filter in, make sure the little arrow on the side is pointing toward the furnace. That ensures it’s facing the right way. And where is it? Look for a slot either right on the furnace itself or in the big metal return duct right next to it. When in doubt, the furnace manual will show you the spot. Check it once a month. If you hold it up to a light and you can’t see the light, it’s done. Swap it out. For most homes, that’s every 60-90 days, or every 30 days if you have pets.
The Annual Tune-Up: More Than Just a Quick Glance
Be a little wary of those super-cheap “$49 Furnace Inspection!” ads. A proper, professional tune-up is a detailed process that should take at least an hour. It’s all about safety, efficiency, and making the system last longer.

A real tune-up should include:
- Cleaning and Checking the Burners: A pro will make sure the gas is burning clean and blue. A lazy, yellow flame is a red flag that can mean dirty burners, which can produce dangerous carbon monoxide (CO).
- Cleaning the Flame Sensor: This is a key safety device. It’s a small metal rod that confirms there’s a flame. If it gets dirty, it can’t sense the flame and shuts the furnace down. A simple cleaning prevents a ton of nuisance calls.
- Inspecting the Heat Exchanger: This is THE most critical safety check. The heat exchanger is what separates the fire from your breathing air. If it cracks, CO can leak into your home. A technician uses special cameras to look inside for any signs of stress or cracks. This isn’t a DIY job, and it’s the number one reason for a yearly check.
- Testing All the Safeties: They’ll also test the high-limit switch and other controls to make sure the furnace will shut itself down if something goes wrong.
A thorough tune-up will probably set you back between $100 and $250. Think of it as an investment. A good technician is focused on keeping your system healthy, not just finding something to sell you. And by the way, when you’re looking for a company, ask if their technicians are NATE-certified—it’s a good sign of a well-trained pro. Also, ask for a written list of what’s included in their tune-up before you book.
The Brains of the Operation: Using Your Thermostat Smarter
The thermostat is your command center, but so many people misunderstand how it works. This is a big one for your energy bills.
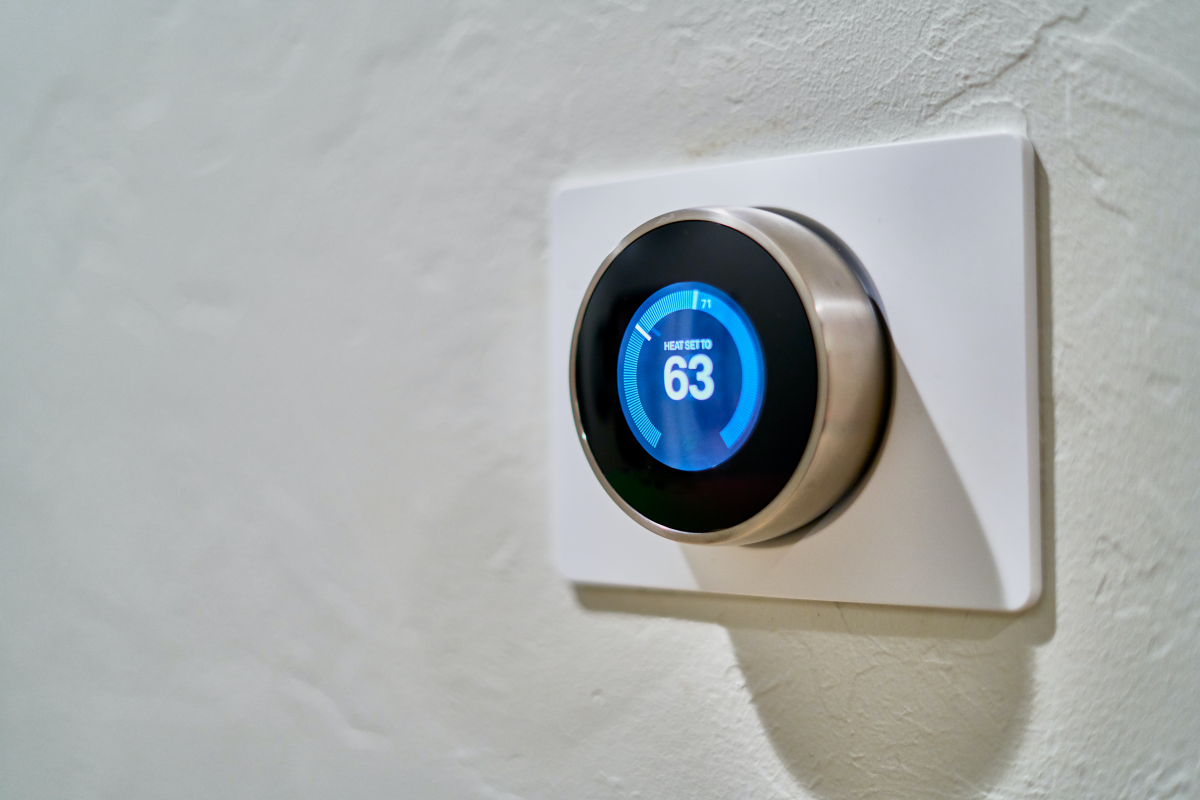
First, let’s bust a myth. When you come home to a cold house, do you crank the thermostat up to 85 degrees, thinking it’ll heat things up faster? It doesn’t work that way. Your furnace puts out heat at a constant rate. Setting the thermostat higher doesn’t make the air hotter; it just tells the furnace to run longer until it reaches that crazy-high temperature. It’s way more efficient to just set it to the actual temperature you want, say 70°F, and let it get there steadily.
This is where a programmable thermostat becomes your best friend. The whole point is that you don’t need your house to be a toasty 70 degrees while you’re at work or tucked in bed. By setting the temperature back 7-10 degrees for those 8-hour periods, you can save up to 10% on your heating bill. A good starting point is 68°F when you’re home and awake, and maybe 60-62°F when you’re away or asleep. Smart thermostats can learn your schedule, which is cool, but they aren’t magic. A smart thermostat on a leaky, poorly maintained system is just a smarter way to waste money. You have to nail the fundamentals first.
The Building Itself: Your Home’s First Line of Defense
Here’s the thing: you can have the most efficient furnace on the planet, but if your house is full of tiny holes, you’re just paying to heat the neighborhood. This is what we call the “building envelope,” and shoring it up is where you get the most bang for your buck.
Your mission, should you choose to accept it, is to become a draft hunter. On a calm day, turn off your furnace and grab an incense stick or a smoke pen. Go to your windows, electrical outlets on exterior walls, and doors. Hold the stick nearby. If you see the smoke get pulled or start wiggling, you’ve found a leak! These little gaps let cold air in and let your expensive heated air out.
The fix is surprisingly cheap. You can put together a weekend draft-busting kit for under $40 at any hardware store.

- Your Shopping List: A caulk gun (about $10), a tube of paintable latex caulk ($5), a roll of foam weatherstripping for doors and window sashes ($12), and maybe a can of spray foam for bigger gaps around pipes under the sink ($8).
Sealing these up is one of the most effective things you can do. Oh, and don’t forget the attic hatch! It’s a huge source of heat loss. Put some weatherstripping around the edges to create a good seal.
While you’re thinking about the attic, take a peek at your insulation. You should see a deep, fluffy blanket of it, usually 12 to 16 inches deep, with no low spots or gaps. If you can see the tops of your ceiling joists, you almost certainly need more.
Quick Wins: What You Can Do in the Next 10 Minutes
Feeling motivated? Here are a couple of super-easy things you can do right now.

First, check your ceiling fans. In the winter, they should be spinning clockwise on a low speed. This gently pushes the warm air that pools at the ceiling back down into the room without creating a chilly draft. There’s usually a little switch on the body of the fan to reverse the direction.
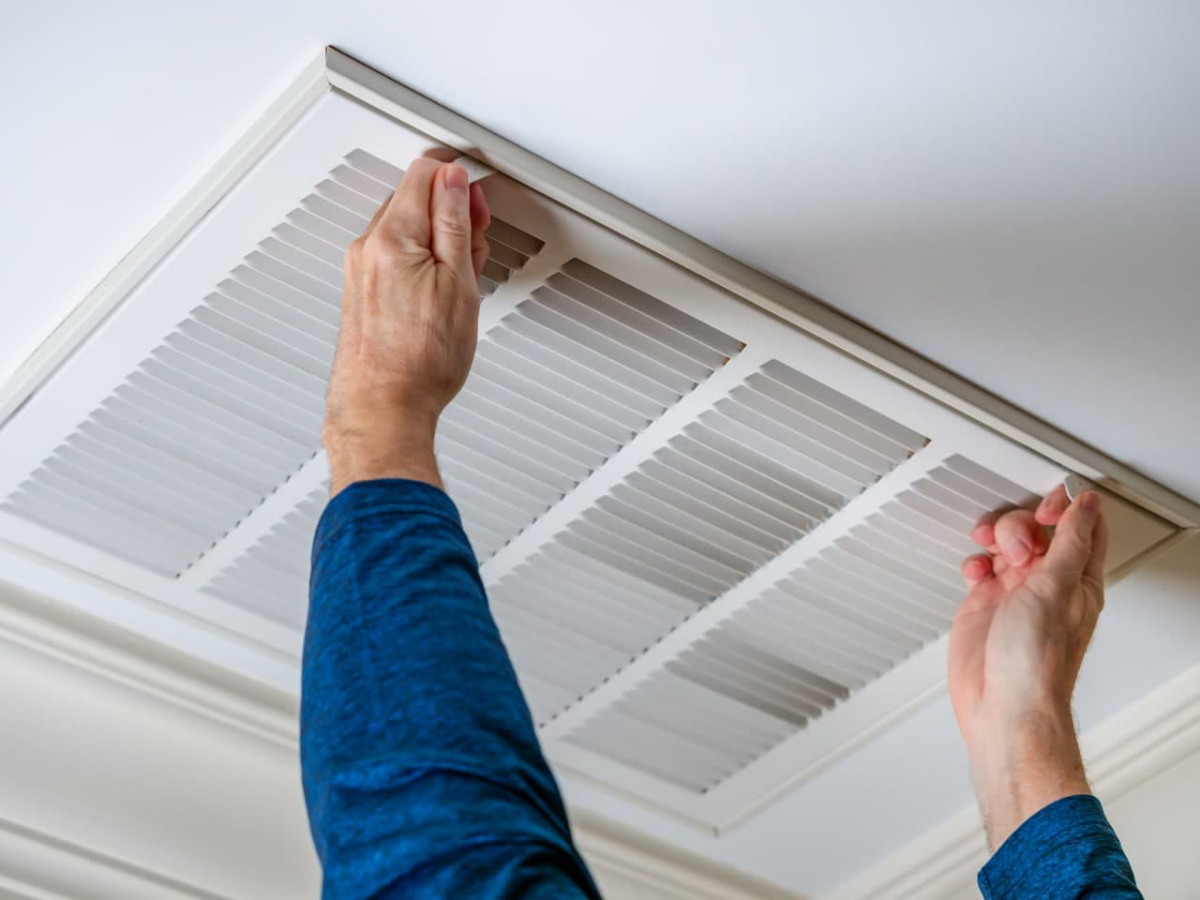
Second, check that your heating vents aren’t blocked. It’s easy for a couch, a rug, or a pile of toys to end up covering a supply register, which completely stops the heat from getting into the room.
Your Winter-Ready Checklist
Feeling a little overwhelmed? Don’t be. Here’s a simple plan to get you started.
- Today: Program your thermostat for savings and reverse your ceiling fans.
- This Month: Check your furnace filter. Hold it up to a light!
- This Fall (Annually): Schedule that professional tune-up. Don’t wait for it to break.
- This Weekend: Go on a draft hunt with an incense stick and seal up any leaks you find.
And that’s it. Taking care of your heating system is about paying attention to all the little pieces. A little bit of effort goes a long, long way toward a warmer, safer, and less expensive winter.
Galerie d’inspiration


According to the U.S. Department of Energy, heat gain and heat loss through windows are responsible for 25%–30% of residential heating and cooling energy use.
That’s a staggering amount of wasted energy and money literally going out the window. Before considering expensive window replacements, a simple and effective solution is applying a layer of transparent window insulating film. Brands like 3M or Duck Brand offer easy-to-install kits that create an insulating air pocket, significantly reducing thermal transfer. It’s an almost invisible fix that can make a room feel noticeably cozier.

Dumb Thermostat: It follows a rigid schedule, often one you set years ago and forgot. It heats an empty house and doesn’t adapt to changes in weather or your routine.
Smart Thermostat: A device like the Google Nest Learning Thermostat or an Ecobee SmartThermostat learns your habits, senses when you’re away, and can be controlled from your phone. It provides detailed energy reports, helping you pinpoint exactly where your heating dollars are going and how to save them.
The upgrade often pays for itself in just a couple of seasons.
Ever wonder why your heated home can still feel uncomfortably chilly and dry?
The answer is often humidity. Dry winter air has a low relative humidity, and as your furnace heats it, the humidity drops even further. This dry air pulls moisture from your skin, making you feel colder than the actual room temperature. Maintaining an indoor humidity level between 30-50% with a humidifier can help you feel warmer at lower thermostat settings, saving energy and improving air quality.
Beyond the obvious leaky windows and doors, heat finds surprising escape routes. Have you checked these sneaky spots?
- Electrical Outlets & Switches: Especially on exterior walls, these uninsulated boxes are direct channels for cold air. Simple foam gaskets installed behind the faceplates can seal them in seconds.
- Recessed Lighting: Older can lights in the ceiling are notorious for air leaks into the attic. If they aren’t IC-rated (Insulation Contact), you can’t cover them with insulation, but you can find specialized, fire-rated covers to seal them.
- The Attic Hatch: A poorly sealed, uninsulated attic hatch is like leaving a window open. Add weatherstripping around the edges and glue a piece of rigid foam insulation to the back of it.


