Your Flowers Don’t Have to Die in 3 Days: A Pro’s Guide to Bouquets That Actually Last
I’ve spent my entire career with my hands in flowers. My journey began in the chilly back room of a bustling flower shop, where I learned the business from the roots up—literally. I processed endless buckets of roses, scrubbed more vases than I can count, and got a feel for what a perfectly healthy, hydrated stem should feel like. It’s a trade you learn with your hands.
In this article
- So, What’s a Cut Flower’s Deal Anyway?
- Professional Prep: The Step Everyone Skips (But Shouldn’t)
- Choosing Your Flowers Like a Pro
- The Mechanics: Building a Hidden Support System
- Putting It All Together: The Art of the Arrangement
- Working with the Seasons (and Your Wallet)
- A Few Final, Important Notes
- Inspiration Gallery
Since then, I’ve done it all, from designing massive arrangements for fancy hotels to teaching workshops for total beginners. And honestly, I see the same mistakes over and over. People bring home a gorgeous bunch of flowers but then miss the simple, crucial steps that help them thrive. They aim for a pretty look without building a solid foundation first.
This guide is different. It’s not about fleeting trends. It’s about the fundamental process the pros use to build arrangements that are not only beautiful but also stable and surprisingly long-lasting. We’ll cover how flowers actually work, how to prep them like a professional, and how to build an arrangement with purpose. Once you get this down, you’ll stop just plopping flowers in a vase and start creating something that truly brings life into your home.
So, What’s a Cut Flower’s Deal Anyway?
Understanding what happens to a flower the moment it’s snipped is the secret sauce. This knowledge is the difference between a bouquet that wilts in two days and one that looks fantastic for a week or more. It’s the “why” behind everything a florist does.
It’s All About the Water
Think of a flower stem as a tight bundle of tiny drinking straws, which are called the xylem. Their only job is to suck water up from the vase to the flower’s head to keep every petal and leaf hydrated. But the second a flower is cut, air can rush into those straws, creating a tiny bubble—an air lock—that blocks water from getting through. This is why a flower can look droopy and sad even when it’s sitting in a full vase of water. It’s literally thirsty and can’t drink.
Giving it a fresh snip, especially under water, is like clearing the blockage. A sharp, 45-degree angle cut is best because it creates more surface area for the stem to absorb water, way better than a flat, straight-across cut.

The Invisible Enemies in Your Vase
Two main culprits are out to ruin your bouquet. The first one is bacteria. Any leaves, dust, or gunk left in the vase water quickly starts to rot, feeding a wild party of bacteria. This bacteria creates a slimy film that clogs the stems, once again preventing the flower from drinking. So yeah, clean vases and fresh water aren’t just suggestions; they’re non-negotiable.
The second enemy is ethylene gas. It’s a natural plant hormone that basically tells plants to get old, ripen, and decay. Your flowers produce it as they age, but they’re also super sensitive to ethylene from other sources. The biggest one in your house? That bowl of ripening fruit on the counter. Apples and bananas are notorious for releasing tons of ethylene, which tells your flowers to speed up their aging process. Just moving your arrangement away from the fruit bowl can add days to its life. Seriously.
Professional Prep: The Step Everyone Skips (But Shouldn’t)
In any professional flower shop, the first thing we do is a process called conditioning. It’s the prep work that happens before a single flower goes into a design, and it’s the most important factor for a long vase life. Skipping this is why most store-bought flowers don’t last.
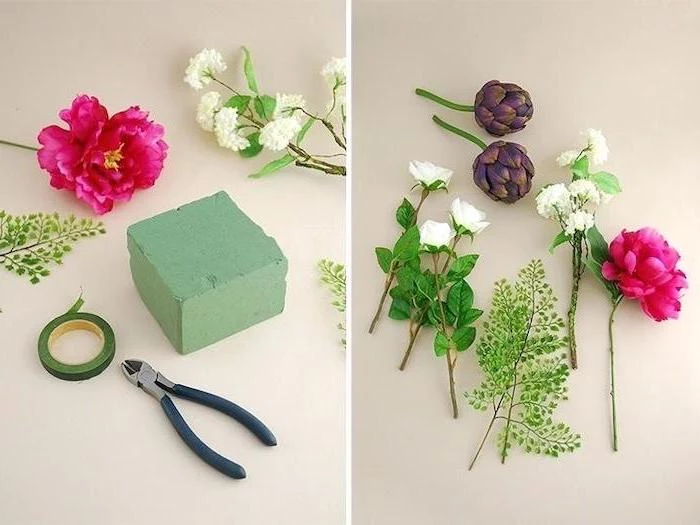
Your Conditioning Toolkit
You don’t need a bunch of fancy gear to get started. Here’s the basic setup:
- Clean Buckets or Vases: You’ll want at least two deep, squeaky-clean containers. And I mean scrubbed with soap and water to get rid of any old bacteria.
- A Sharp Tool: Pros use a floral knife, which you can get online for about $15-$20. It makes a perfect, clean cut. But for a beginner, a sharp pair of bypass garden pruners or even super-sharp kitchen shears work just fine. The key is to avoid dull scissors that crush the stem’s ‘straws’.
- Flower Food: Don’t toss that little packet! It’s a mix of sugar for energy, a biocide to kill bacteria, and an acidifier to help the stems drink more easily.
Heads up! Don’t have the packet? In a pinch, you can make a substitute: mix 1 quart of water with 1 teaspoon of sugar (for food), a few drops of bleach (to kill germs), and 2 teaspoons of lemon juice (to help water uptake). It’s not quite as good as the scientifically formulated stuff, but it’s way better than plain water.
The Step-by-Step Conditioning Ritual
Do this the moment you get your flowers through the door. I promise it’s worth it.
- Get Your Station Ready: Fill a clean bucket with lukewarm water. Most flowers absorb slightly warm water more easily than icy cold water. Mix in your flower food.
- Unpack and Inspect: Gently unwrap your flowers and check them over. Pull off any sad-looking petals or broken stems right away.
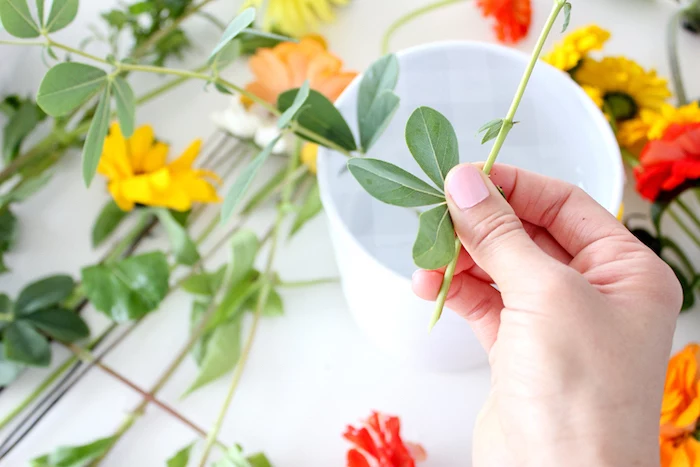
- Strip the Stems: This is critical. Remove ALL leaves that will end up below the waterline in your final vase. I just run my hand down the stem to strip them off quickly. Any leaf left in the water will rot and create a bacteria-fest.
- Make the Cut: Holding a stem, give it a fresh 1-inch cut at that 45-degree angle. The absolute best way to do this is with the stem submerged in a basin of water or under a gently running tap. This prevents a new air bubble from getting in.
- Hydrate and Rest: Immediately pop each freshly cut flower into your bucket of prepared water. Once they’re all in, move the bucket to a cool, dark place—a basement, a cool mudroom, or just a shady corner of a room. Let them chill out and drink for at least four to six hours, though overnight is even better. You will be shocked at how much firmer and more vibrant they look after this rest period. This is called “hardening off,” and it’s a game-changer.
Choosing Your Flowers Like a Pro
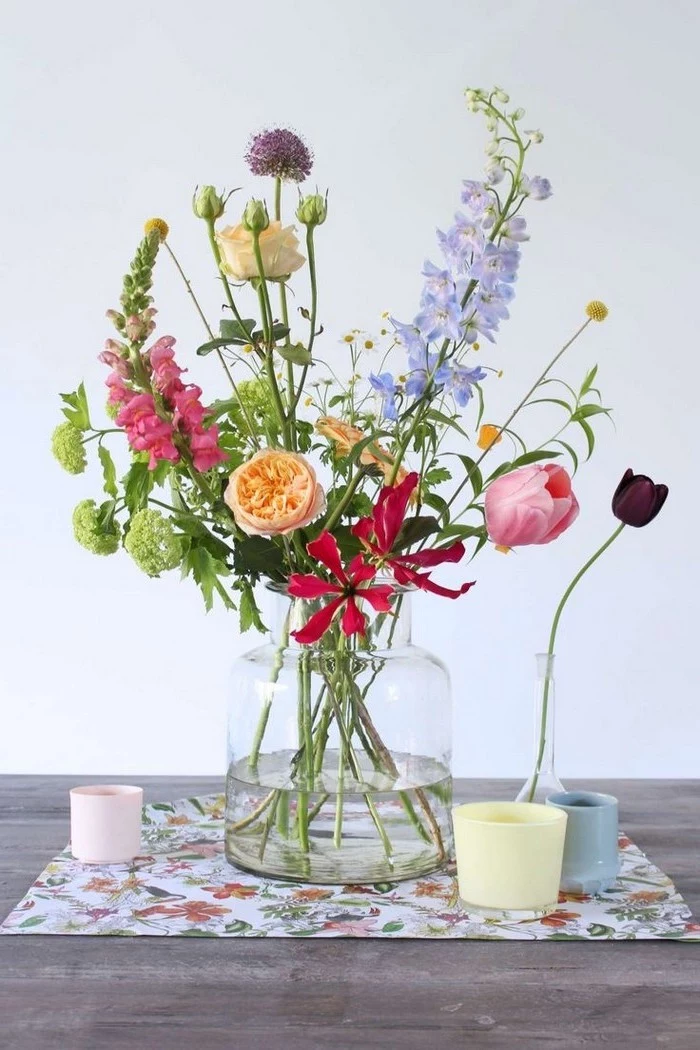
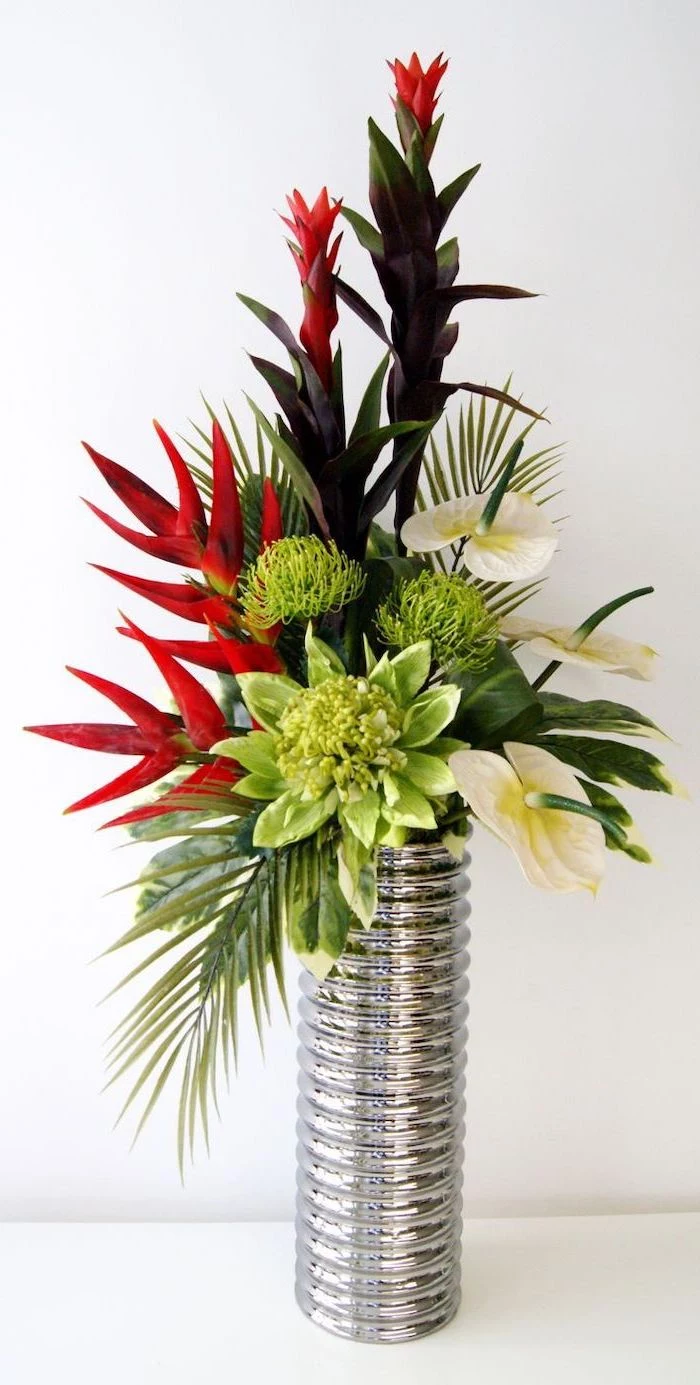
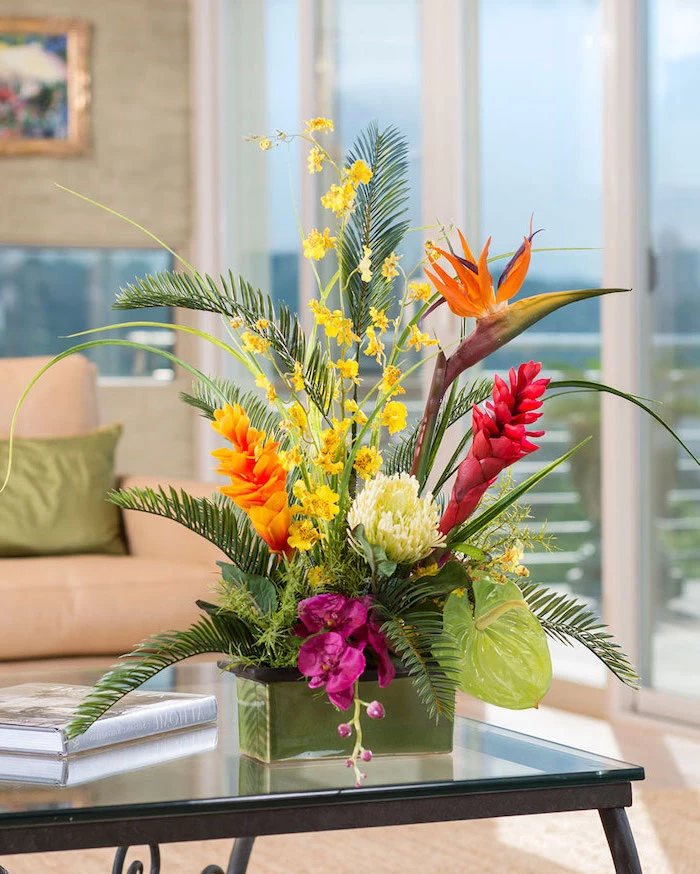
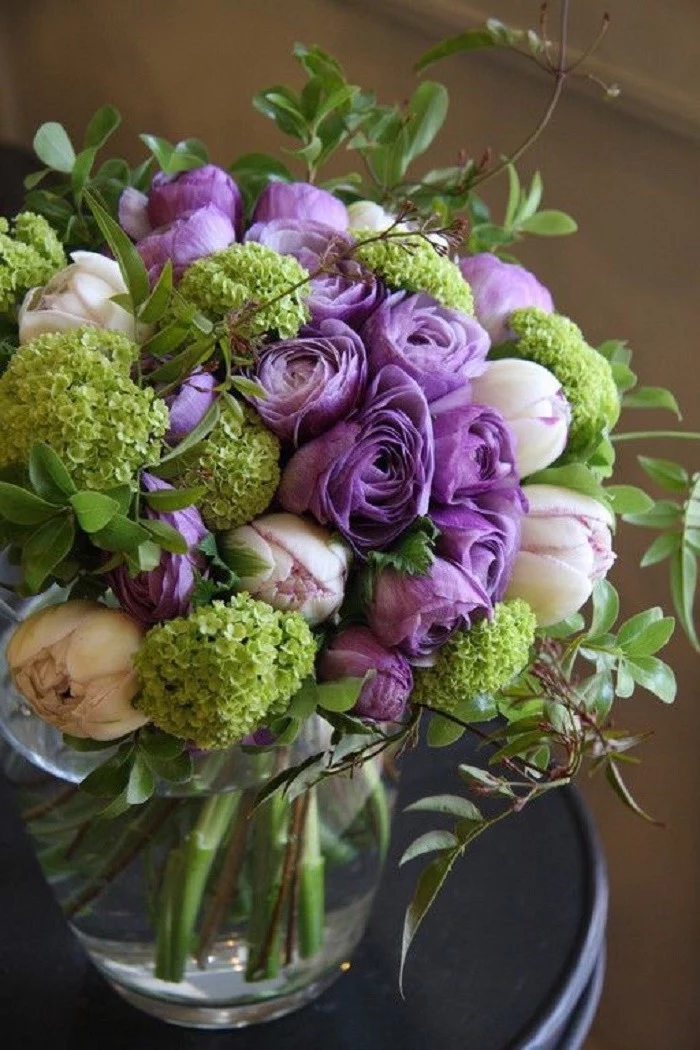
A stunning arrangement isn’t just about grabbing your favorite color. It’s about mixing shapes, textures, and sizes to create something balanced and interesting. In the industry, we think about flowers in a few different categories.
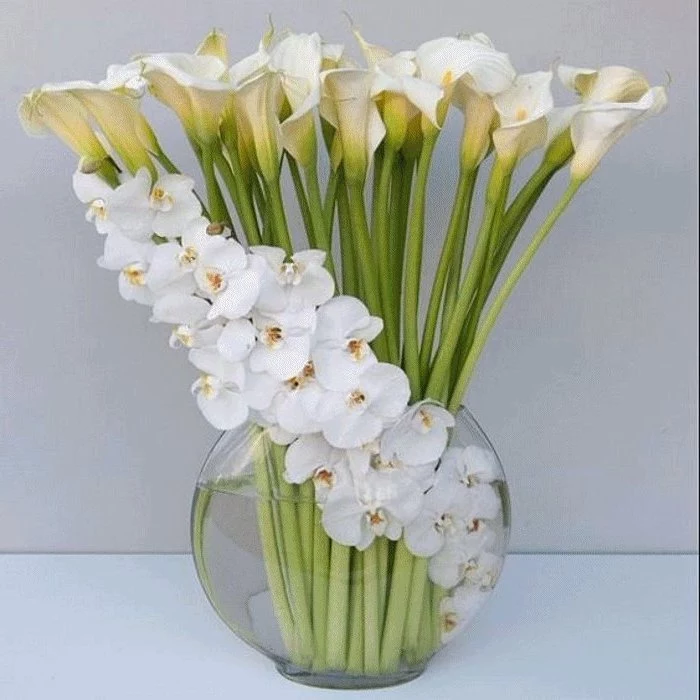
- Focal Flowers: These are your divas, the stars of the show. Think big, beautiful blooms like roses, peonies, or large lilies. You usually want an odd number, like three or five, because it looks more natural to the eye.
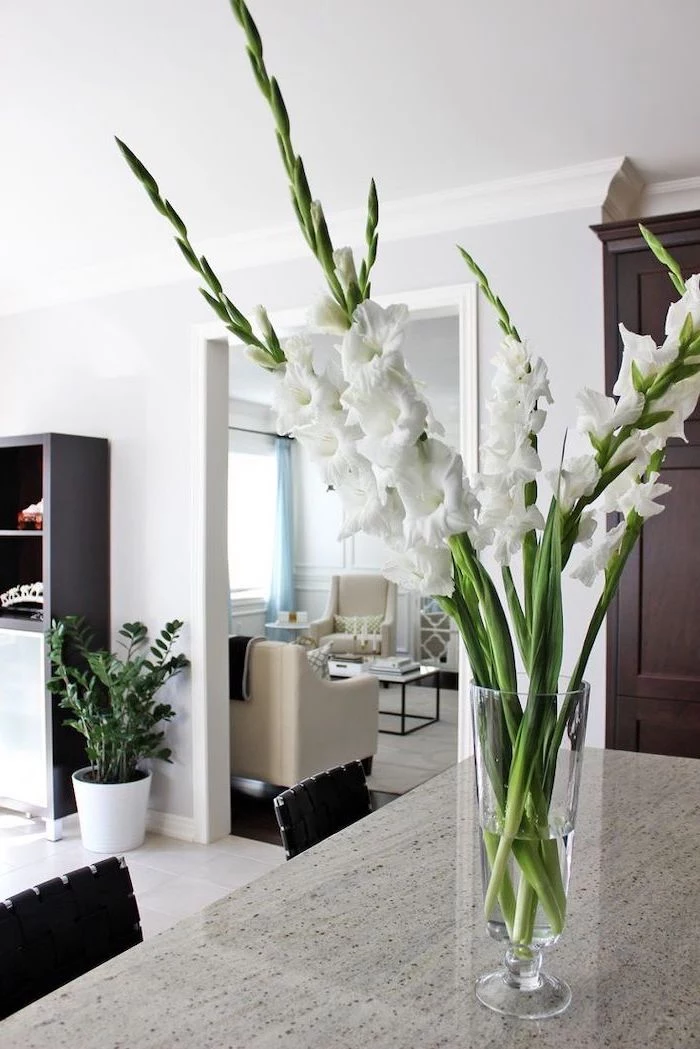
- Line Flowers: These give your arrangement its height and shape. They’re the tall, spiky ones like snapdragons, delphiniums, or larkspur.
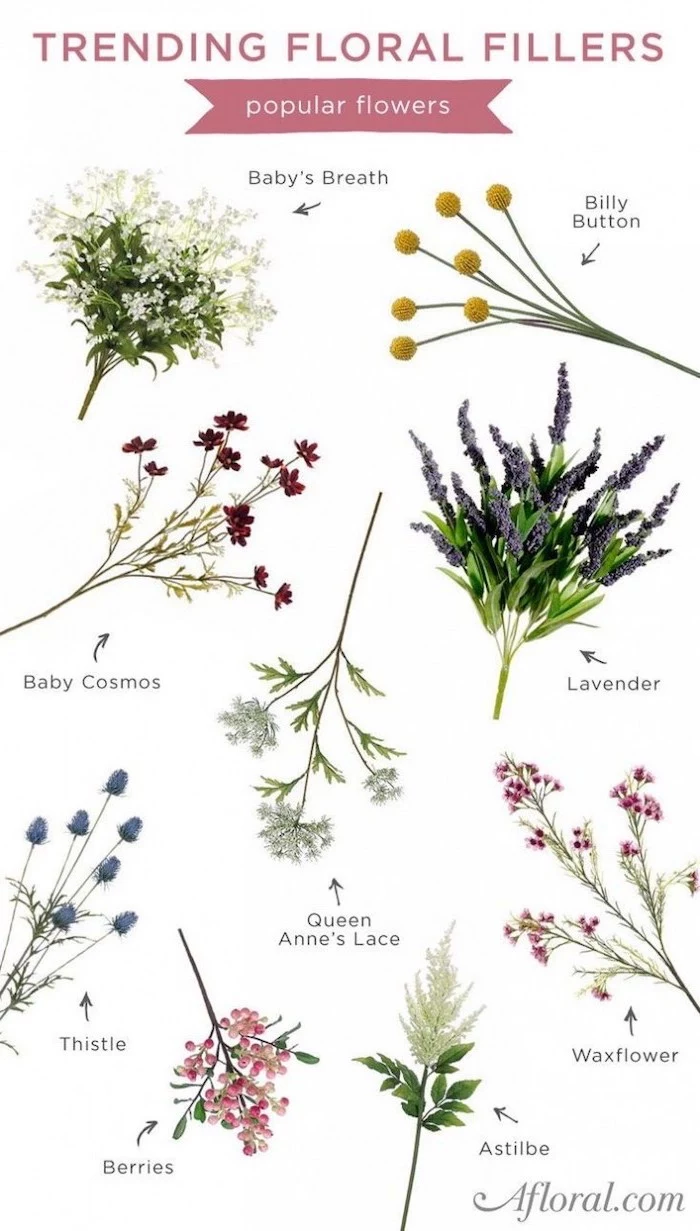
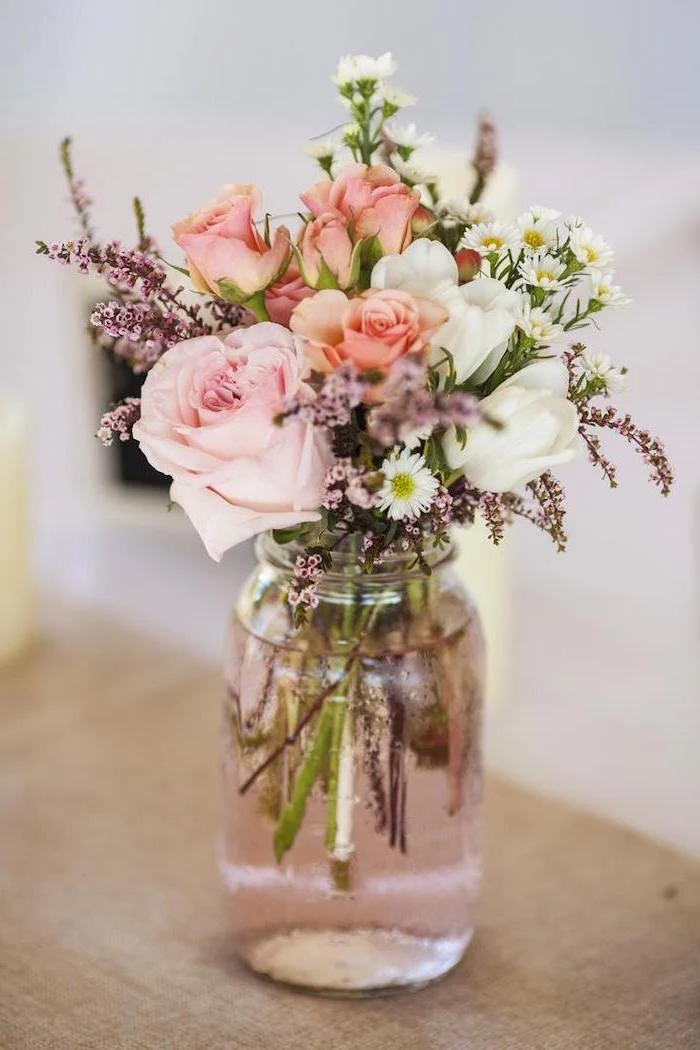
- Filler Flowers: These are the supporting cast. They’re smaller, often textural flowers that fill in gaps and add volume. Think waxflower, statice, or even baby’s breath.
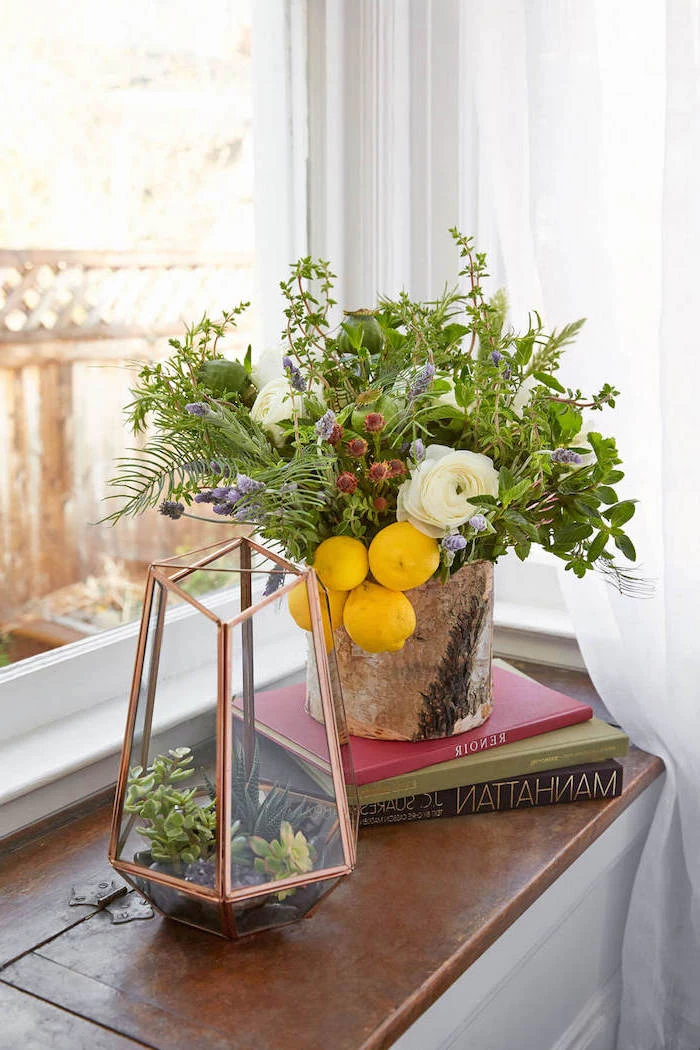
- Foliage: Never, ever skip the greenery! Foliage builds your foundation, adds incredible texture, and provides a color contrast that makes your flowers pop. Eucalyptus, pittosporum, and lemon leaf are absolute workhorses.
A Beginner’s No-Fail Bouquet Recipe: Feeling overwhelmed? Just head to the grocery store or farmer’s market and get these three things. You literally can’t mess this up:
- 1 bunch of focal flowers (like 5-7 roses)
- 1 bunch of filler flowers (like waxflower or solidago)
- 1 bunch of nice greenery (like eucalyptus)
You can get all of this for around $20-$30, and it’s the perfect combo to practice with.
The Mechanics: Building a Hidden Support System
So, how do you get flowers to stand up straight and not just flop to the side? We use hidden techniques called “mechanics” to create a structure inside the vase. This holds every stem exactly where we want it.
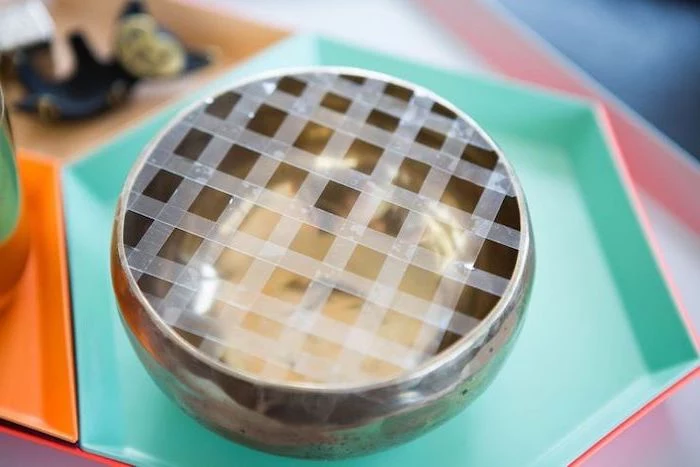
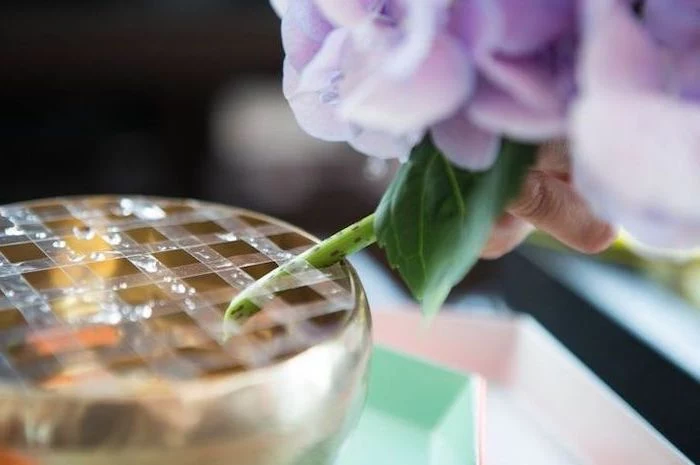
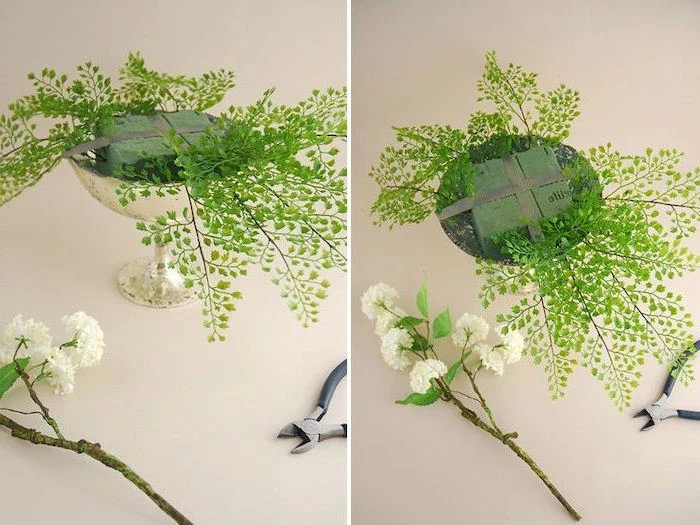
So which method is right for you? Well, the tape grid is your best friend for wide-mouthed bowls. It’s cheap and easy—just create a checkerboard pattern across the opening with waterproof floral tape. The downside is that it’s a one-time use thing. My personal favorite for a classic, sustainable approach is the interlocking greenery base. It’s free and looks natural because it’s part of the design. Think of it like building a little nest for your flowers: first, place 3-4 leafy stems around the inside rim of the vase, then crisscross two more stems through the middle. That’s it! You’ve made a sturdy web. And for those times you want ultimate control and the ability to place stems at wild angles, pliable chicken wire formed into a ball and tucked inside the vase is a reusable, modern favorite. You can find it at most hardware or craft stores.

By the way, you might have seen that green floral foam. While it gives you a lot of control, I really advise against using it at home. It’s a single-use plastic made from petroleum that doesn’t biodegrade, crumbling into microplastics that get into our water. We only use it as a last resort for massive event installations. The other methods are just as good and way kinder to the planet.
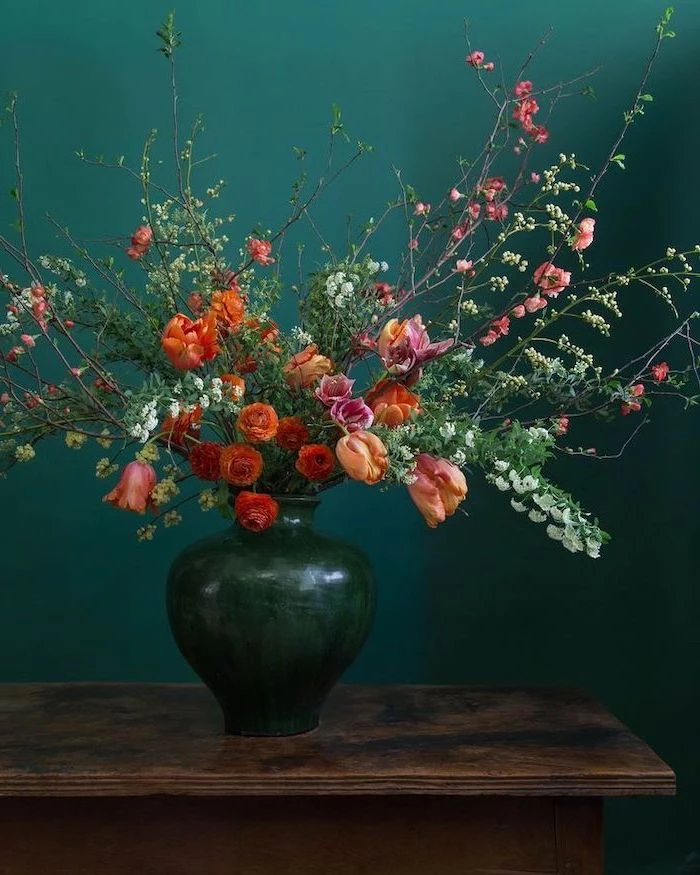
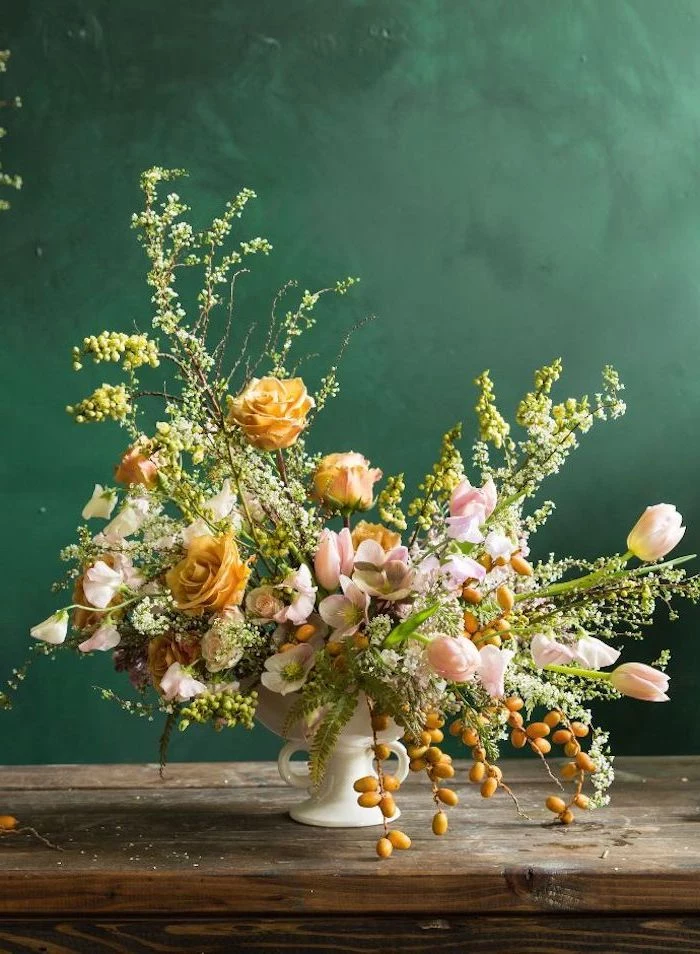
Putting It All Together: The Art of the Arrangement
Alright, your flowers are hydrated and your mechanics are in place. Now for the fun part. For your first few arrangements, set aside a good 20-30 minutes of unhurried time. Pour yourself a drink. Put on some music. This should be relaxing!
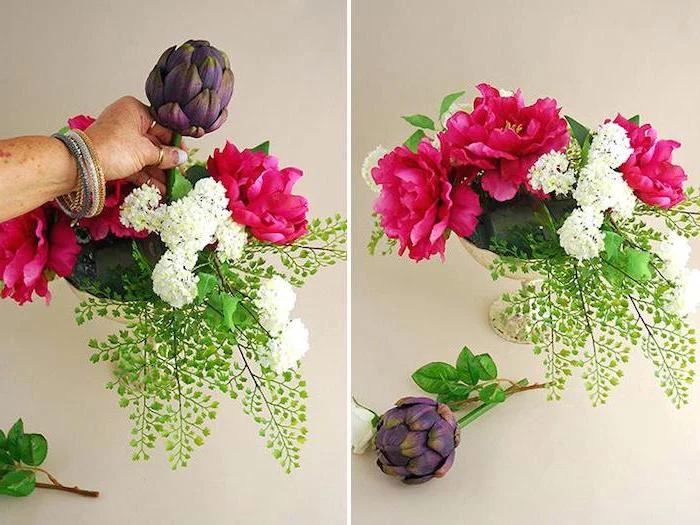
- Green it Up: Start with your foliage. This step, called “greening the vase,” sets the overall size and shape of your arrangement. Make a loose, airy framework.
- Set Your Height: Next, add your tallest line flowers. This will establish the peak of the design and create movement.
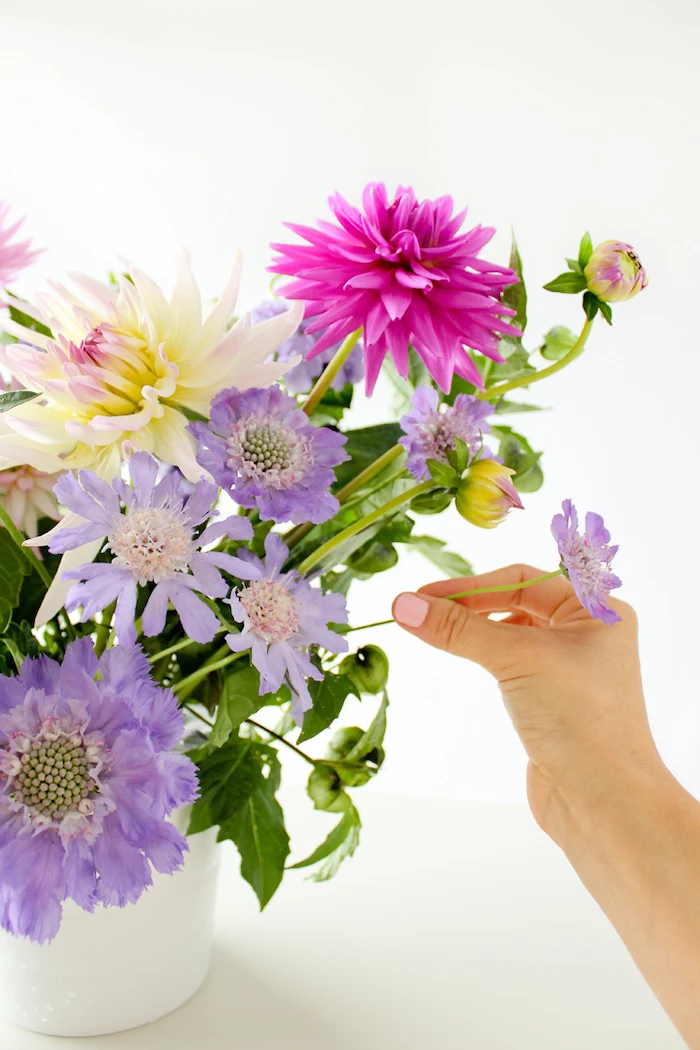
- Place Your Stars: Now, bring in your focal flowers. Place them at different heights and depths to create interest. A common trick is to place them in a loose, informal triangle to help guide the eye.
- Add the Filler: Use your smaller filler flowers to plug any obvious gaps. Tuck them in around the bigger blooms to add texture and support.
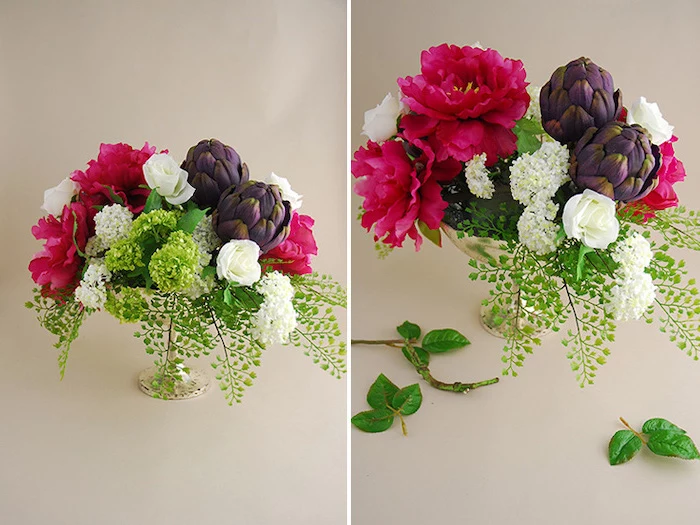
- The Final Edit: Step back and squint your eyes. Does it look balanced? Are there any weird holes? A seasoned pro once told me, “An arrangement is finished not when you can’t add anything more, but when you can’t take anything else away.”
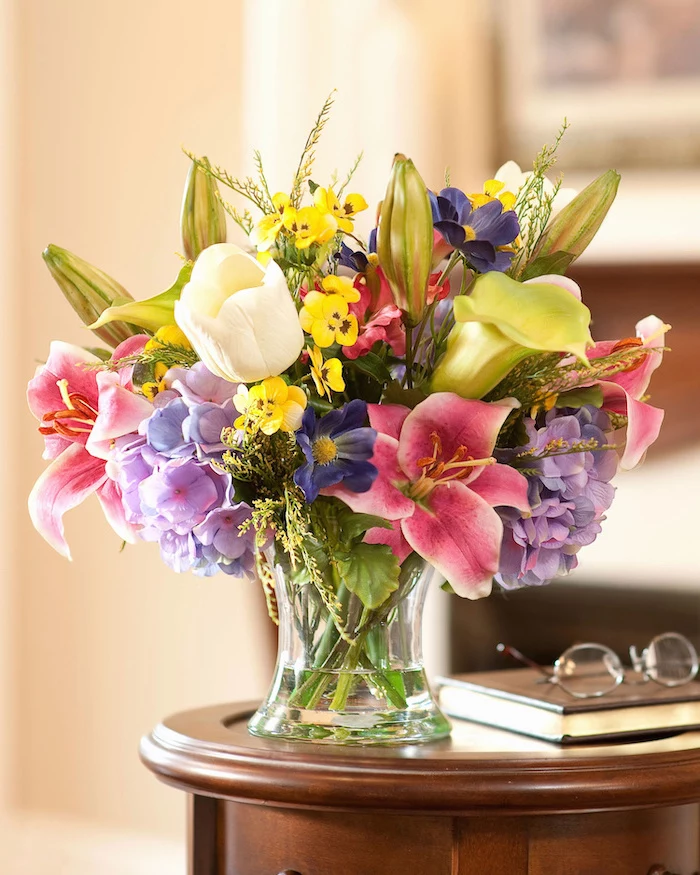
Working with the Seasons (and Your Wallet)
The best flowers are always the ones that are in season and grown nearby. They’re fresher, last longer, and are usually much cheaper. Here’s a quick cheat sheet:
- Spring: It’s all about bulbs and flowering branches. Think tulips, daffodils, and ranunculus. Pro Tip: Daffodils release a sap that’s toxic to other flowers. If you want to mix them, you have to let them sit by themselves in a separate bucket of water for at least 12 hours first. After that, don’t re-cut their stems when you add them to the main vase!
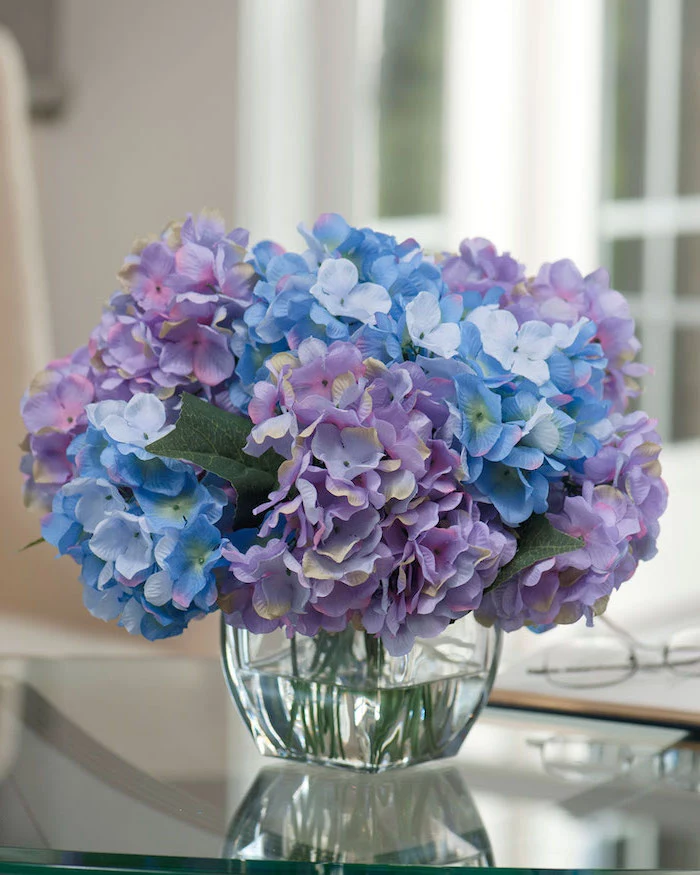
- Summer: This is the season of lush, heavy blooms like peonies, hydrangeas, and sunflowers. Good to know: Hydrangeas are drama queens and drink a ton of water. If one wilts, you can often revive it by submerging the entire flower head and stem in a sink full of cool water for 30 minutes.
- Autumn: My favorite! It’s all about rich colors and textures. Dahlias are the star, but you’ll also find gorgeous chrysanthemums and textural things like seed pods and colorful grasses.
- Winter: The selection is smaller but very elegant. Look for amaryllis, paperwhites, and beautiful evergreens.
A Few Final, Important Notes
A couple of last things we always keep in mind in a professional shop.
Pet and Child Safety
This is so important. Many common flowers are toxic if eaten by pets or kids. Lilies, for instance, are extremely poisonous to cats—even a little pollen can be fatal. If you have cats, just make a rule: no lilies in the house. Ever. Other common toxic plants include tulips, daffodils, and foxglove. When in doubt, place your arrangements well out of reach. Nervous about it? Stick to a guaranteed pet-safe bouquet! Roses, sunflowers, snapdragons, and freesias are all generally safe and beautiful choices.
Ongoing Care is Everything
Your job isn’t quite done. To get every last day out of your bouquet, you need to do a little maintenance.
- Change the water every day or two. Just lift the whole bouquet out, dump the cloudy water, rinse the vase, and refill with fresh water and a splash more flower food.
- Give the stems a tiny re-snip every few days when you change the water.
- Pull out any individual flowers as they start to fade. One dying bloom releases ethylene that will speed up the demise of its neighbors.
Quick Win: Go change the water in any flowers you have in your house RIGHT NOW. It’s the single best thing you can do today to make them last.
Learning this skill is such a joy. Start small with a simple bunch from the market. Practice conditioning them properly. Enjoy the process. With a little patience and these fundamentals, you’ll be creating beautiful arrangements that genuinely last and bring so much happiness to your space.
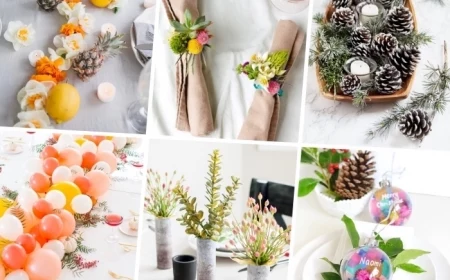
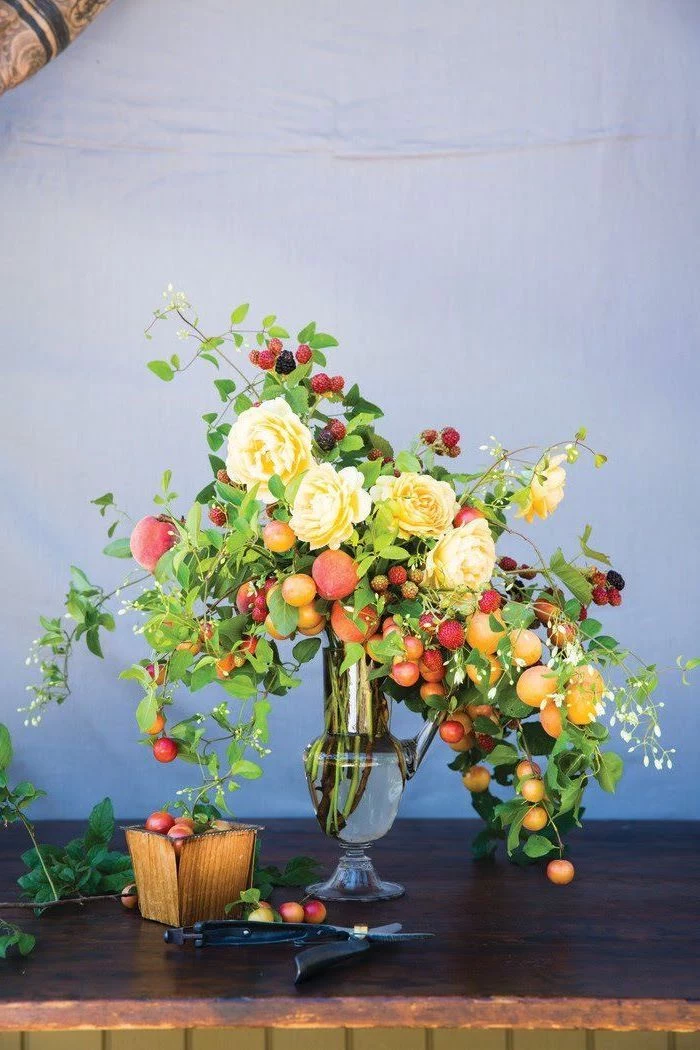
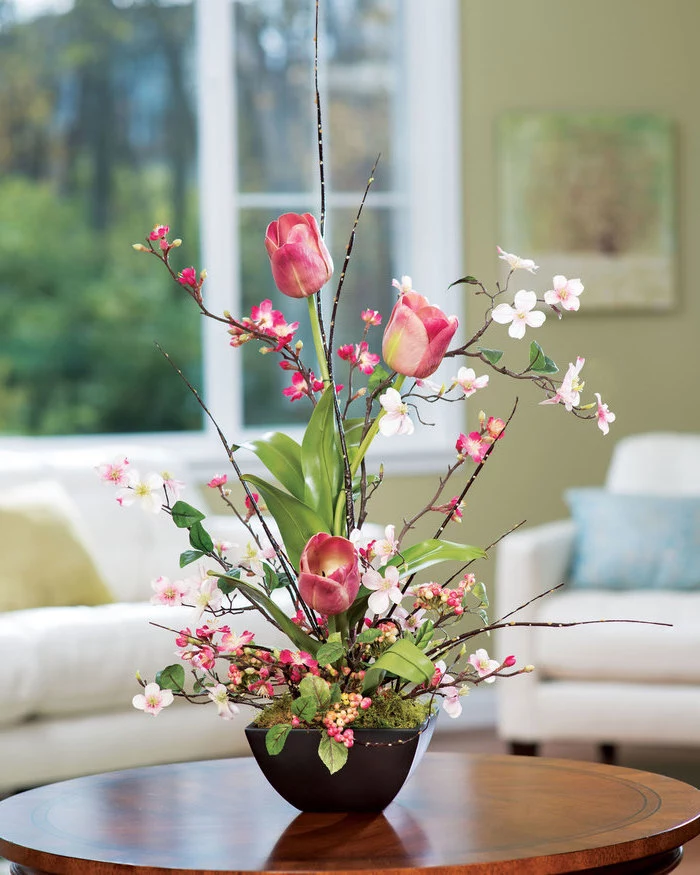
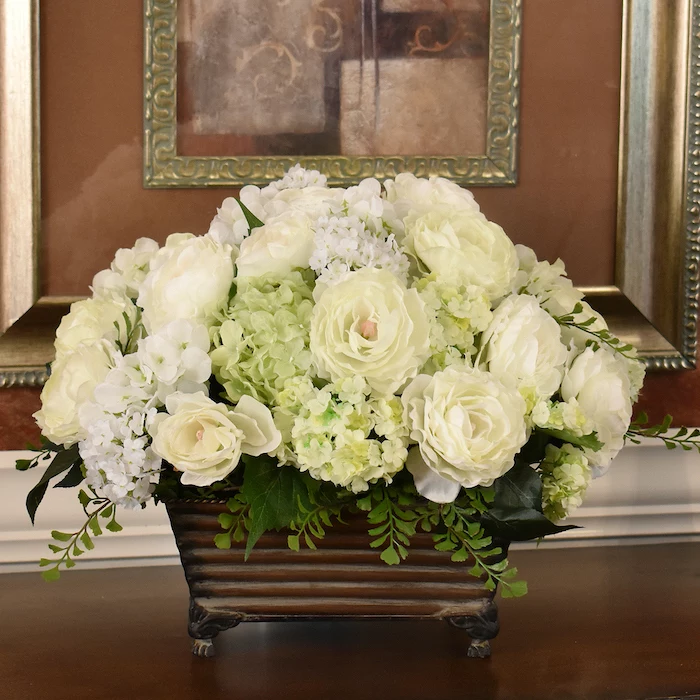
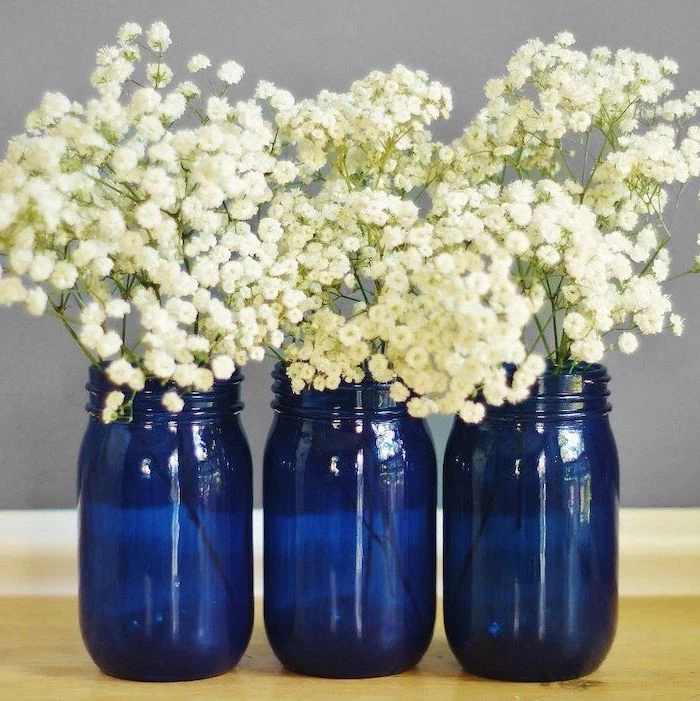
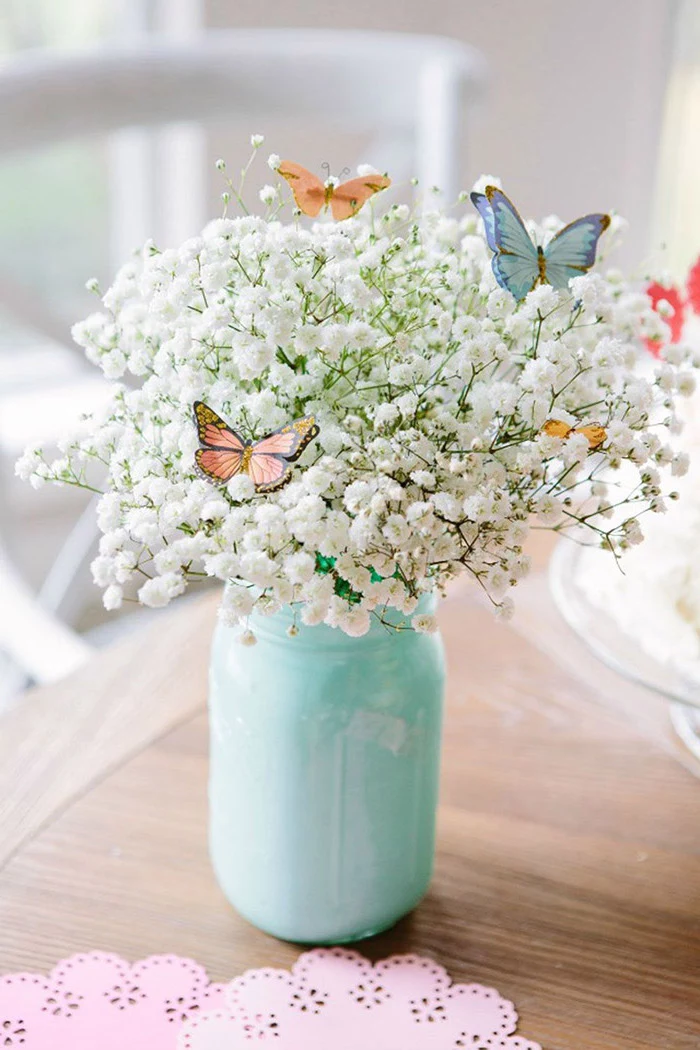
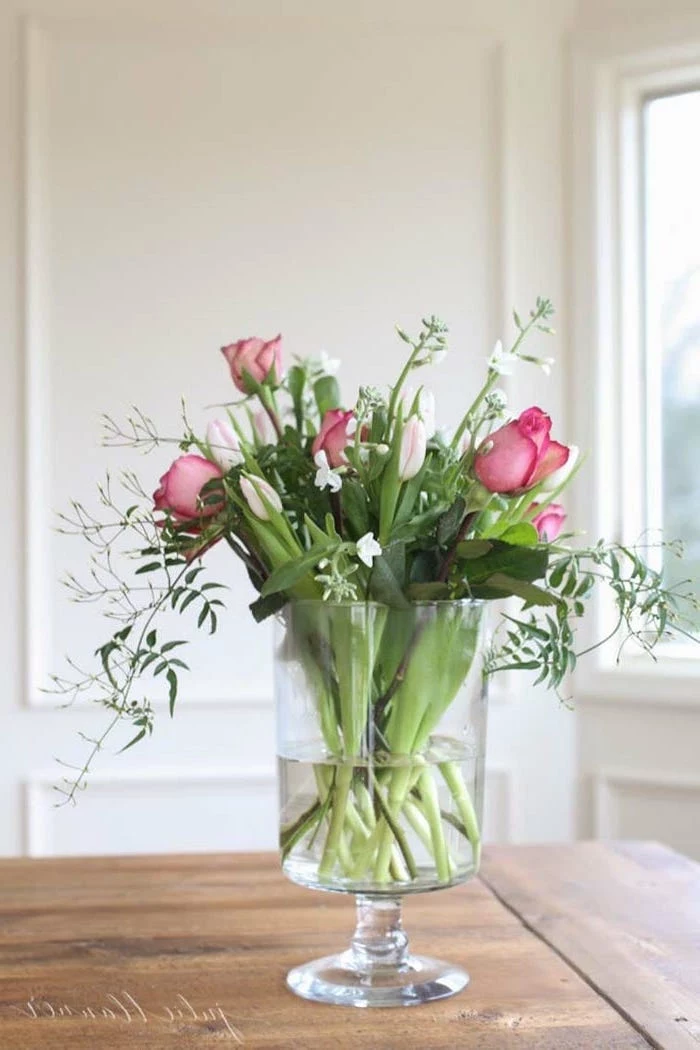
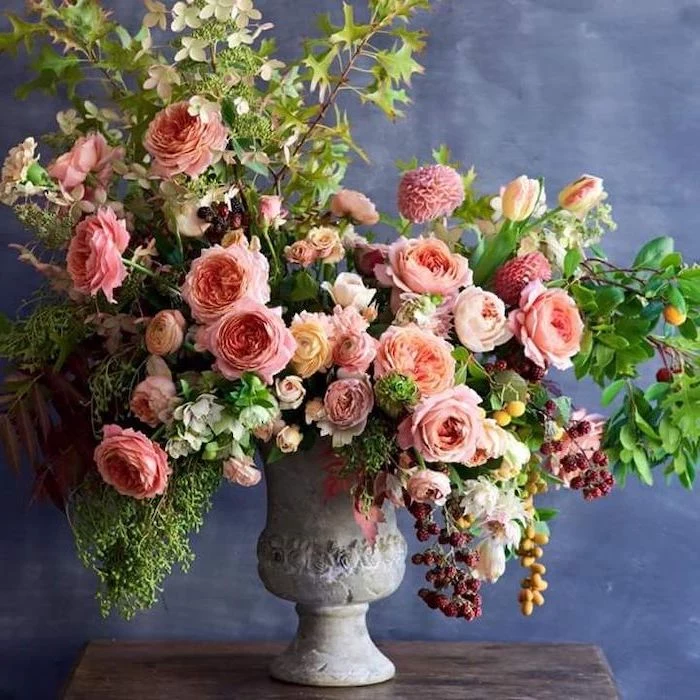
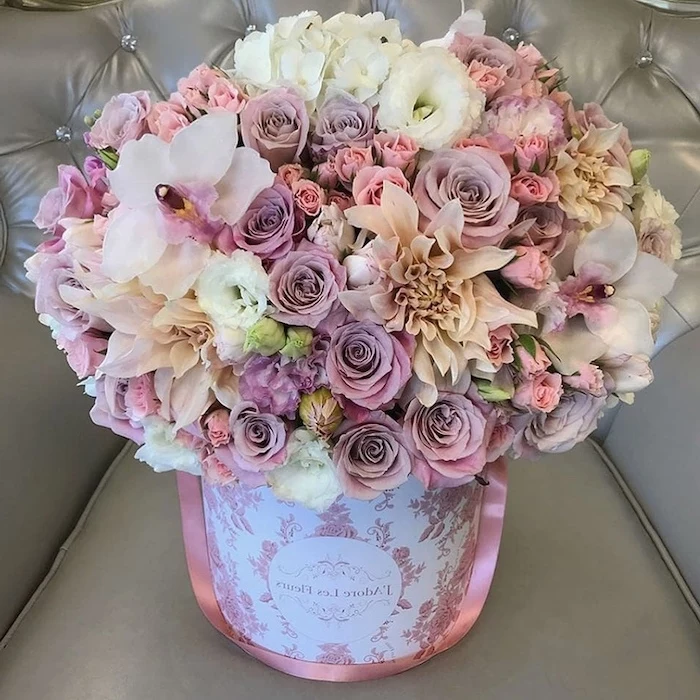
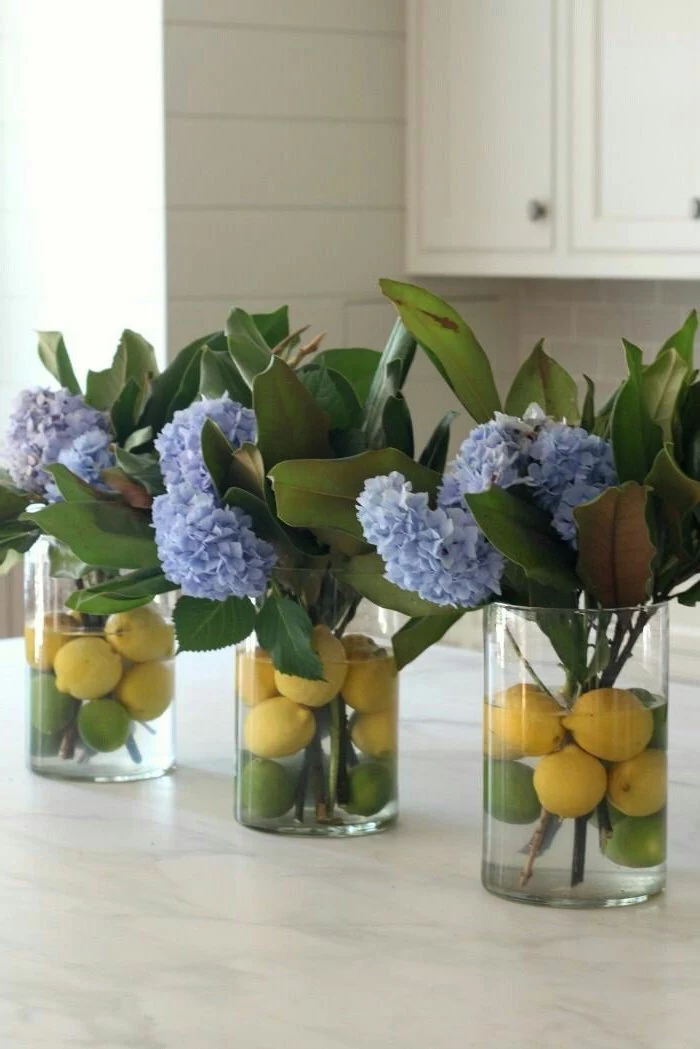
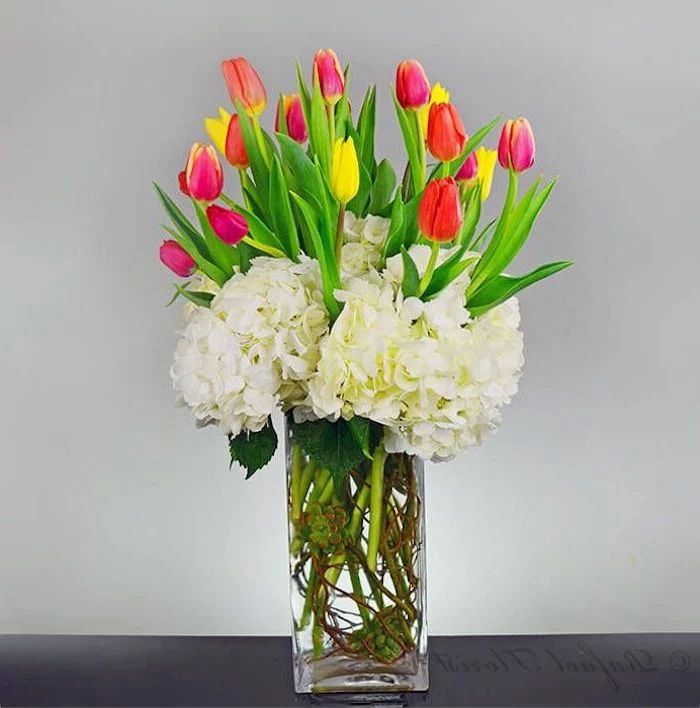
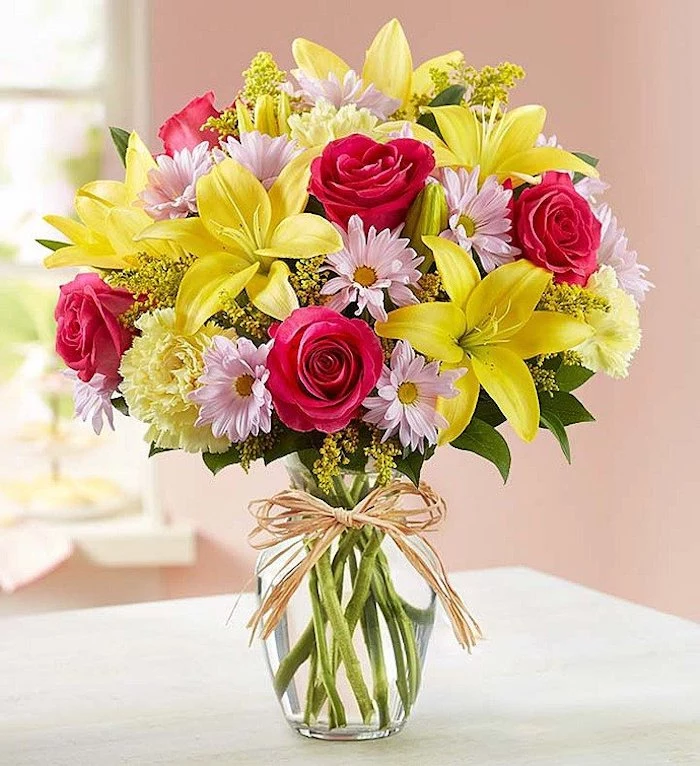
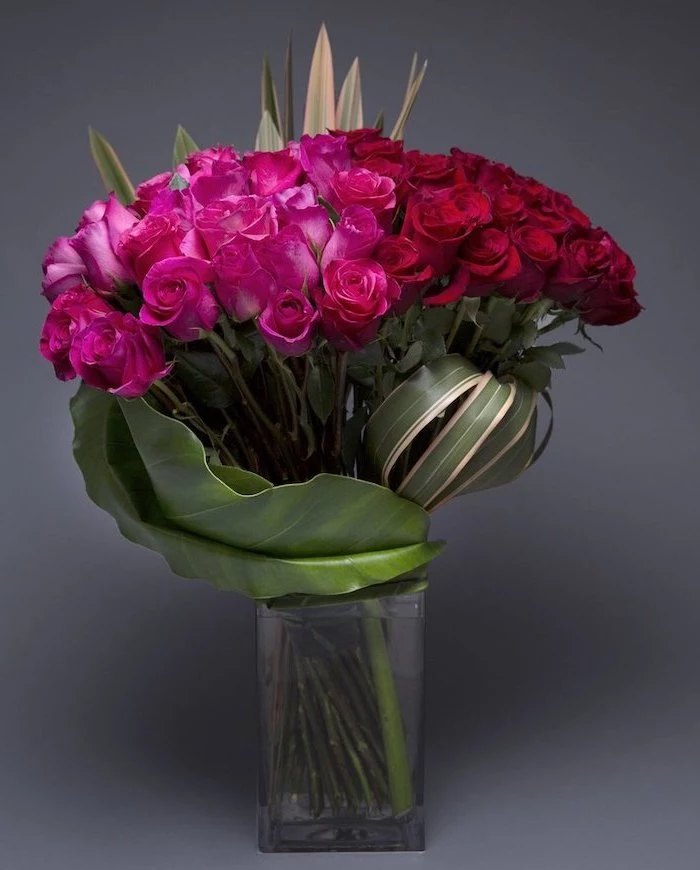
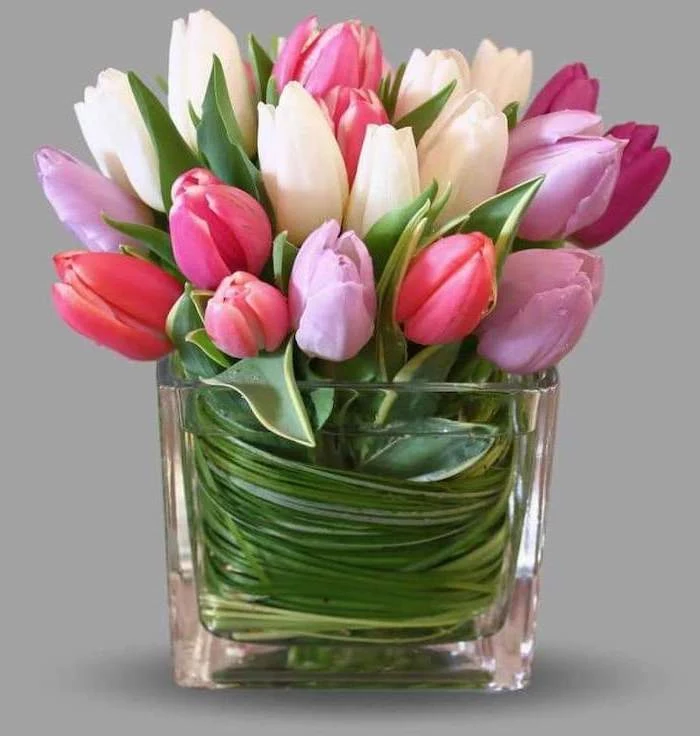
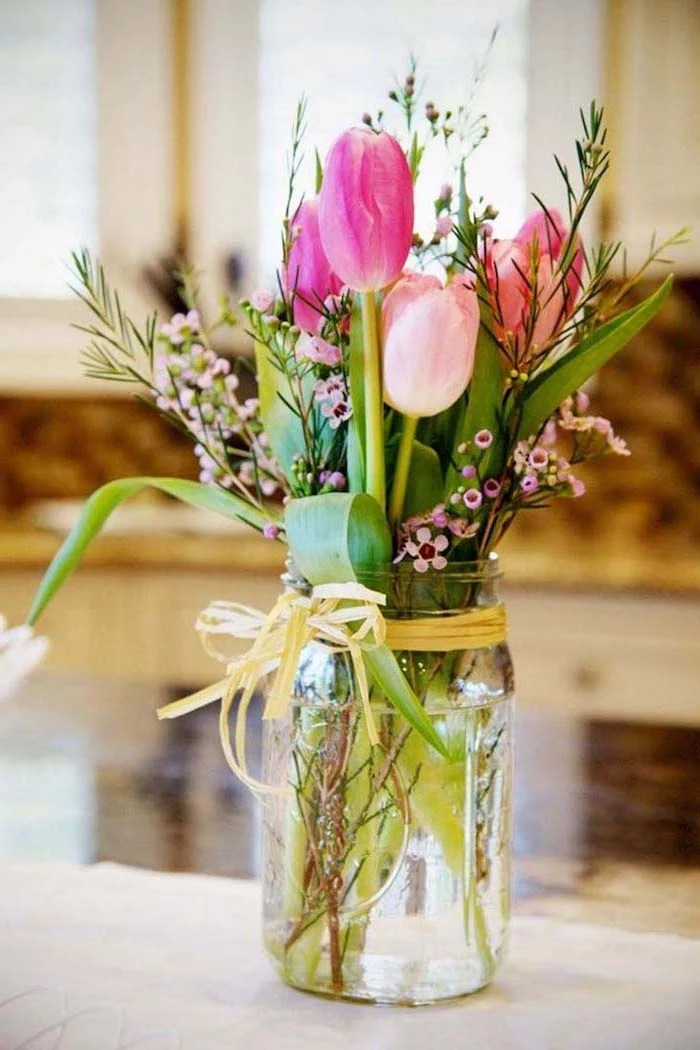
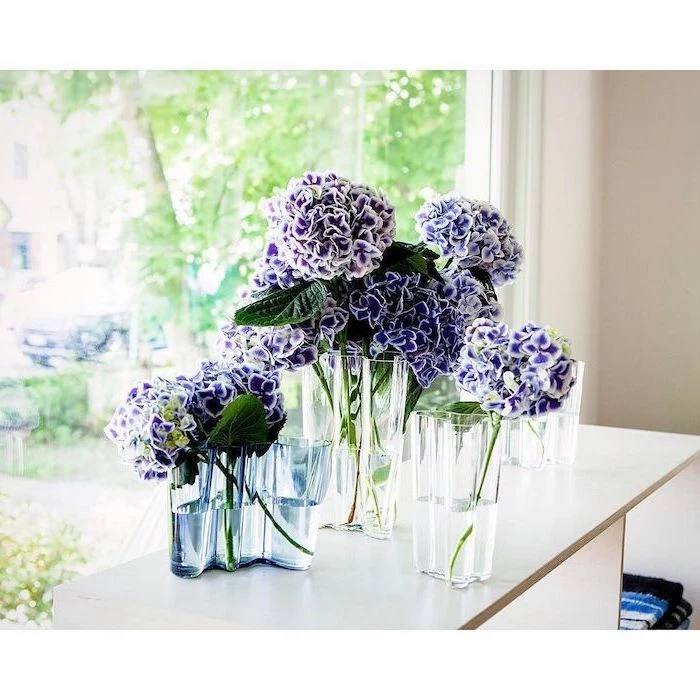
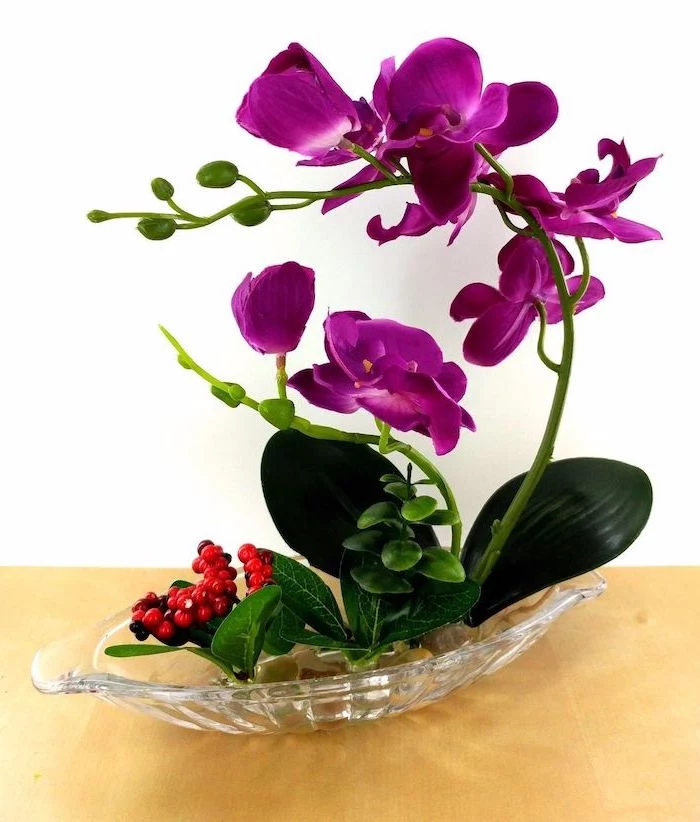
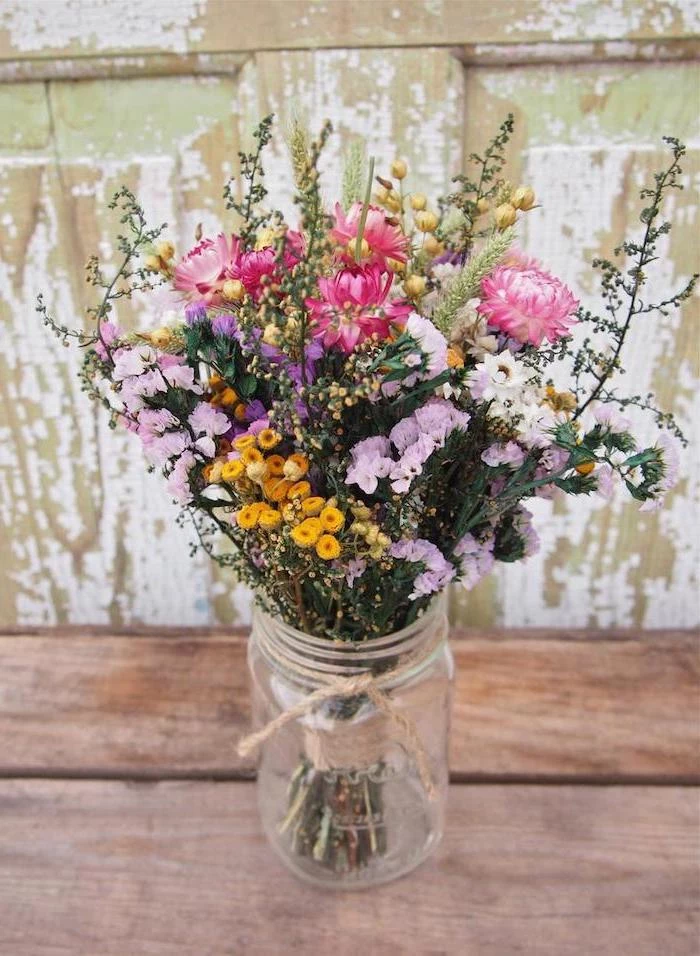
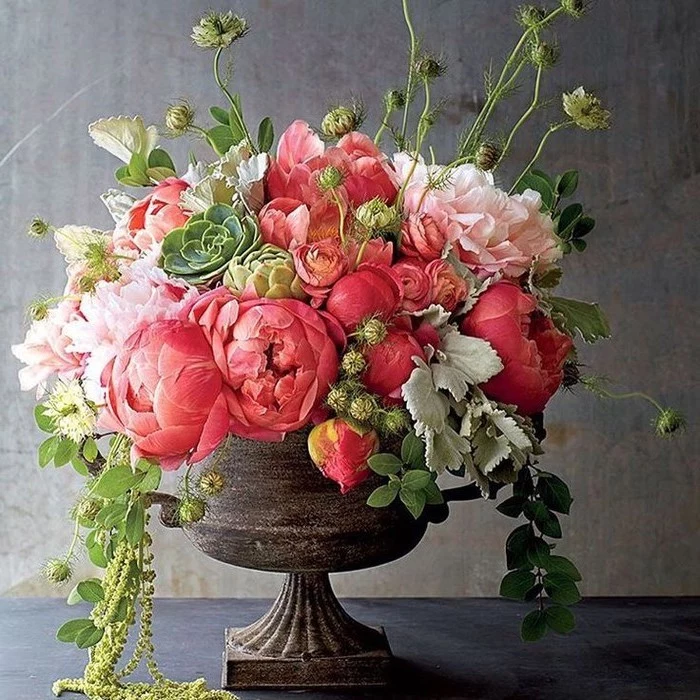
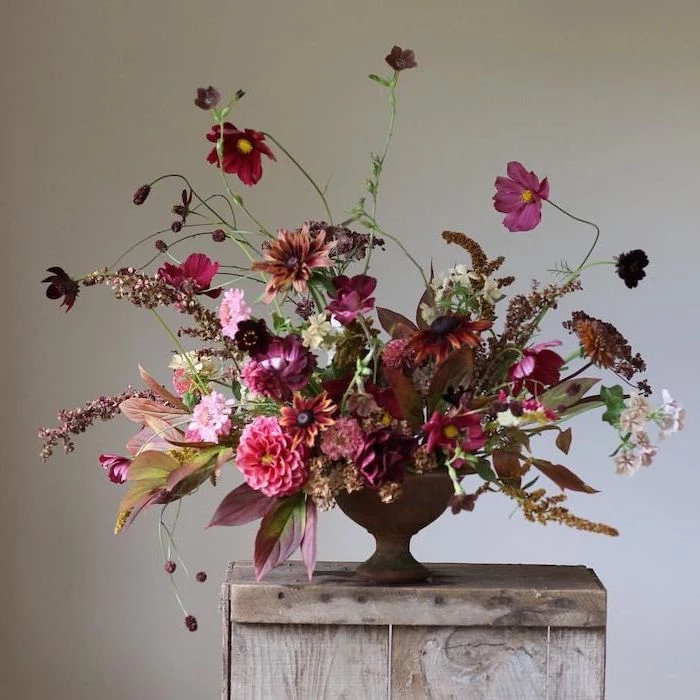
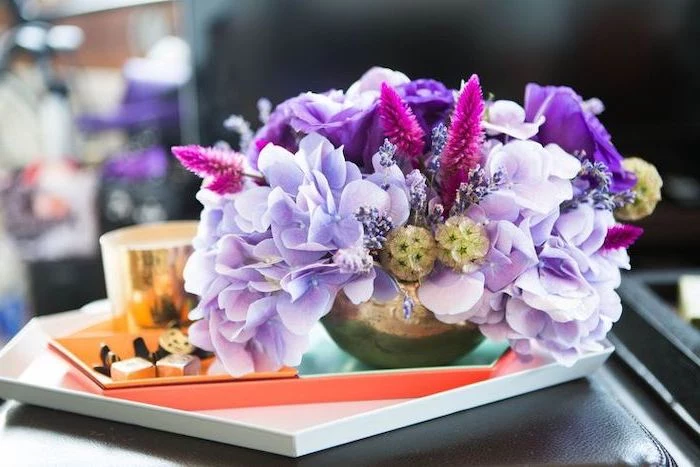
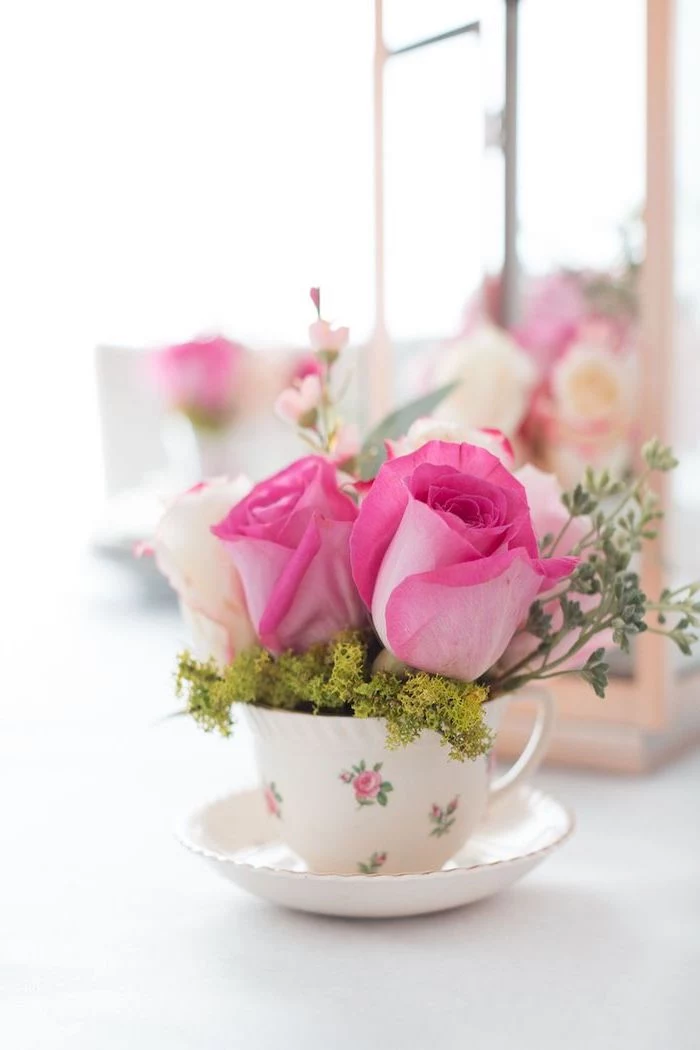
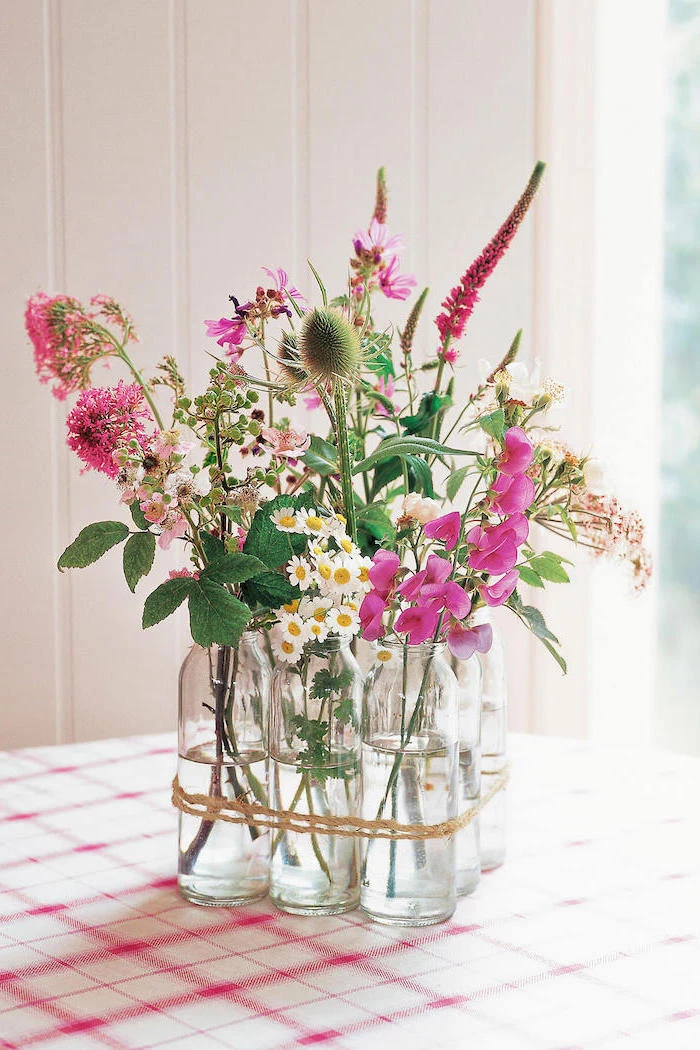
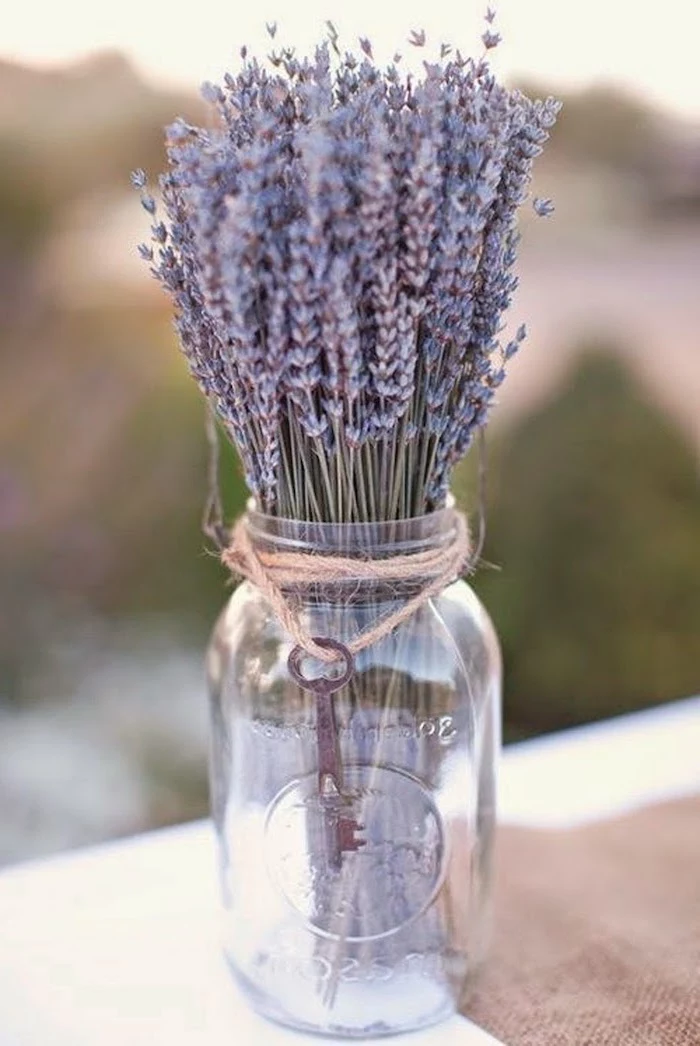
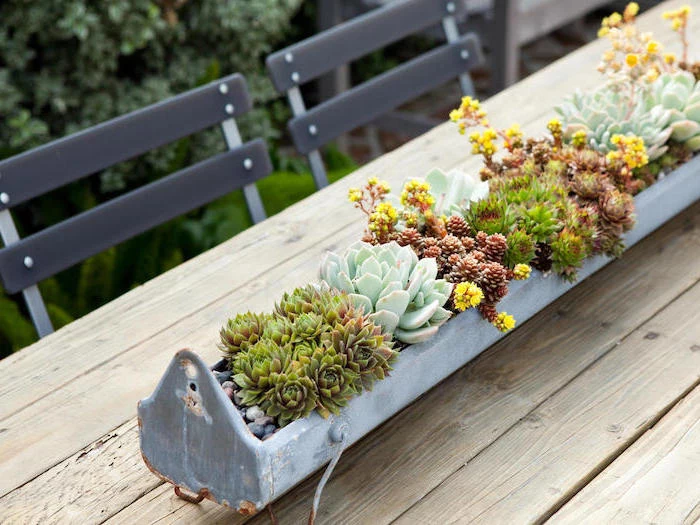
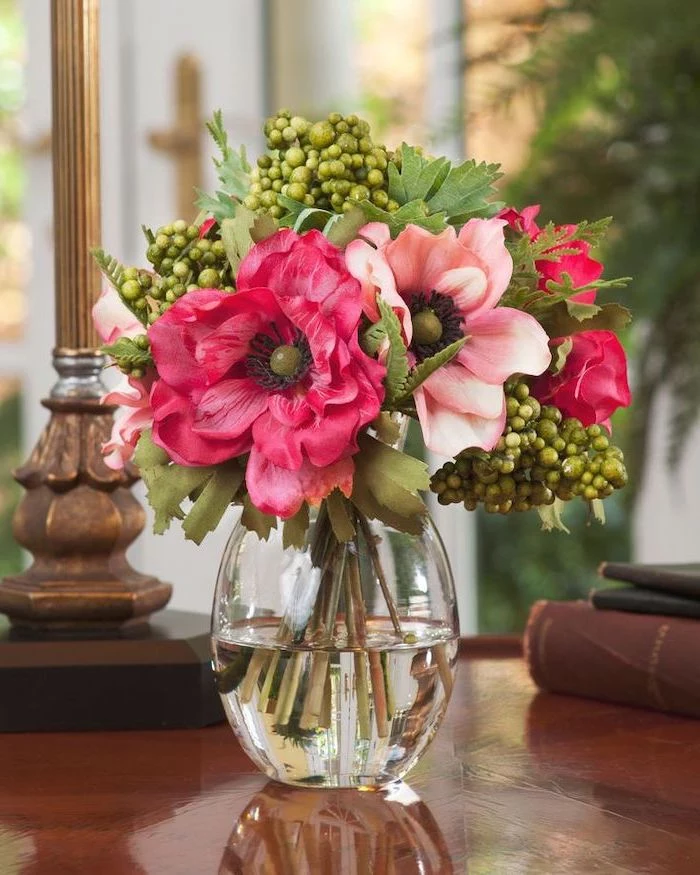
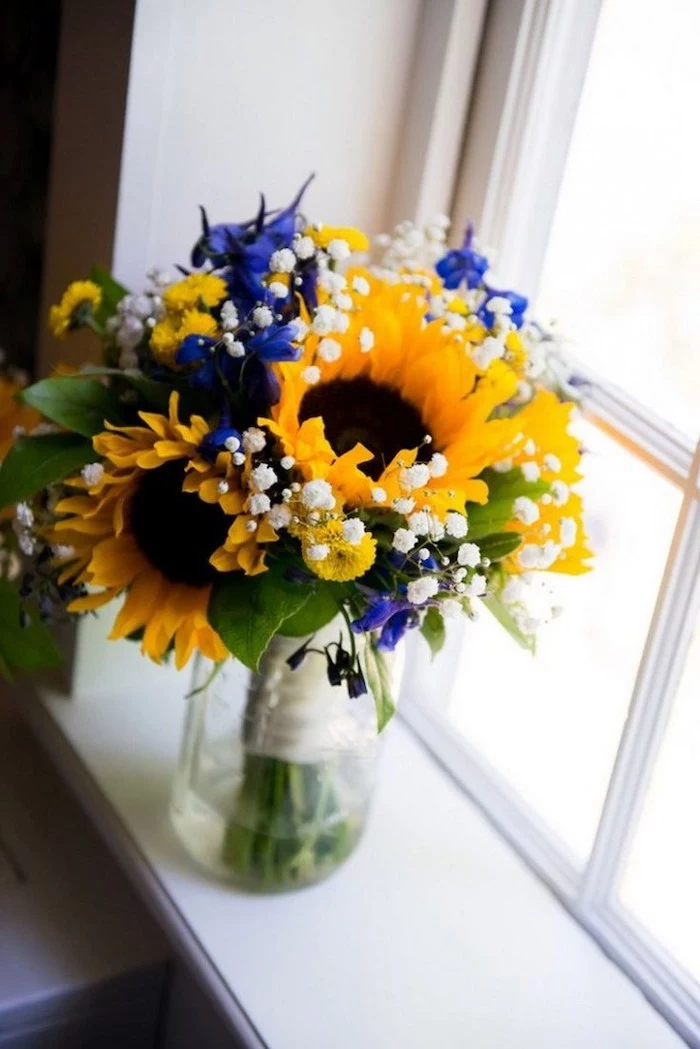
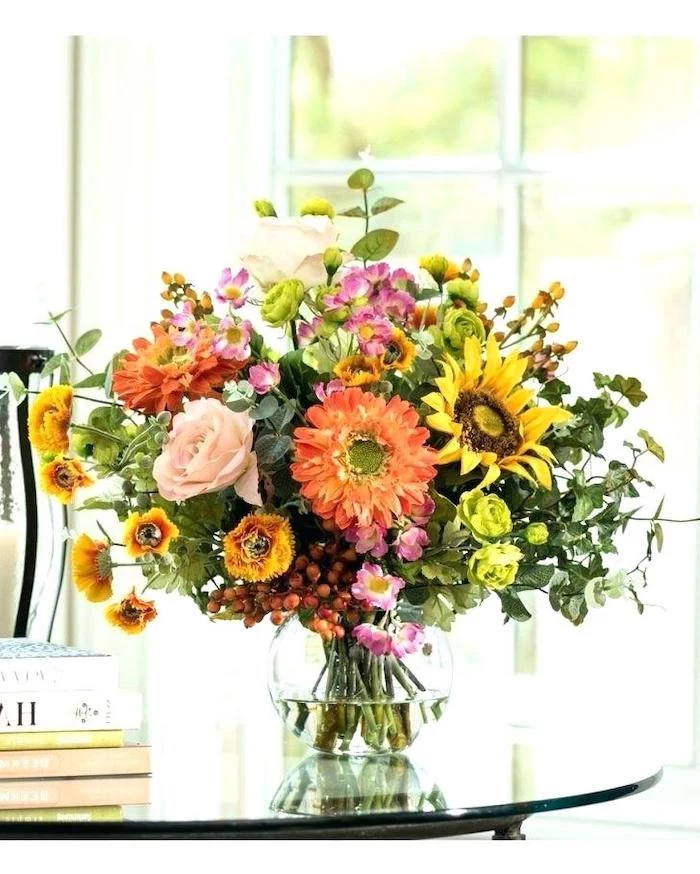
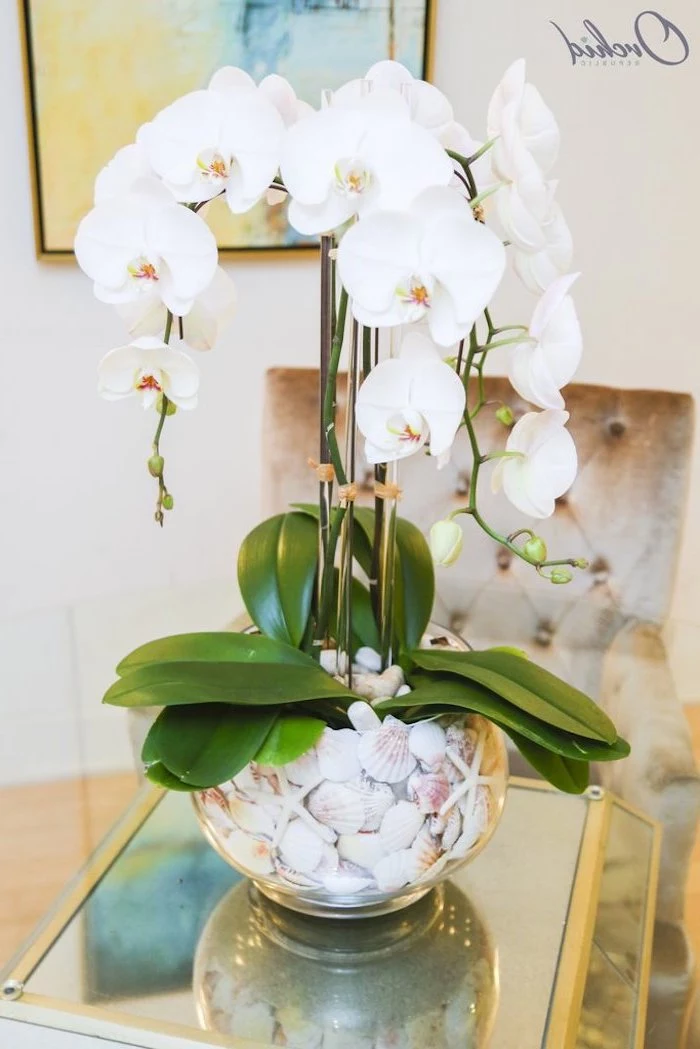
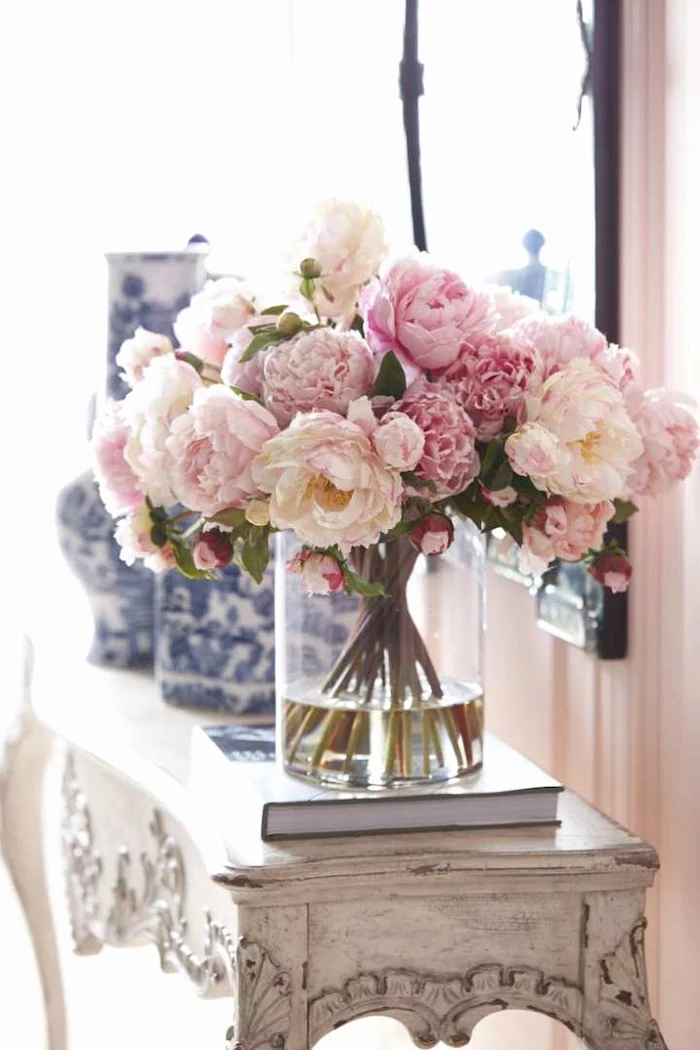
Inspiration Gallery
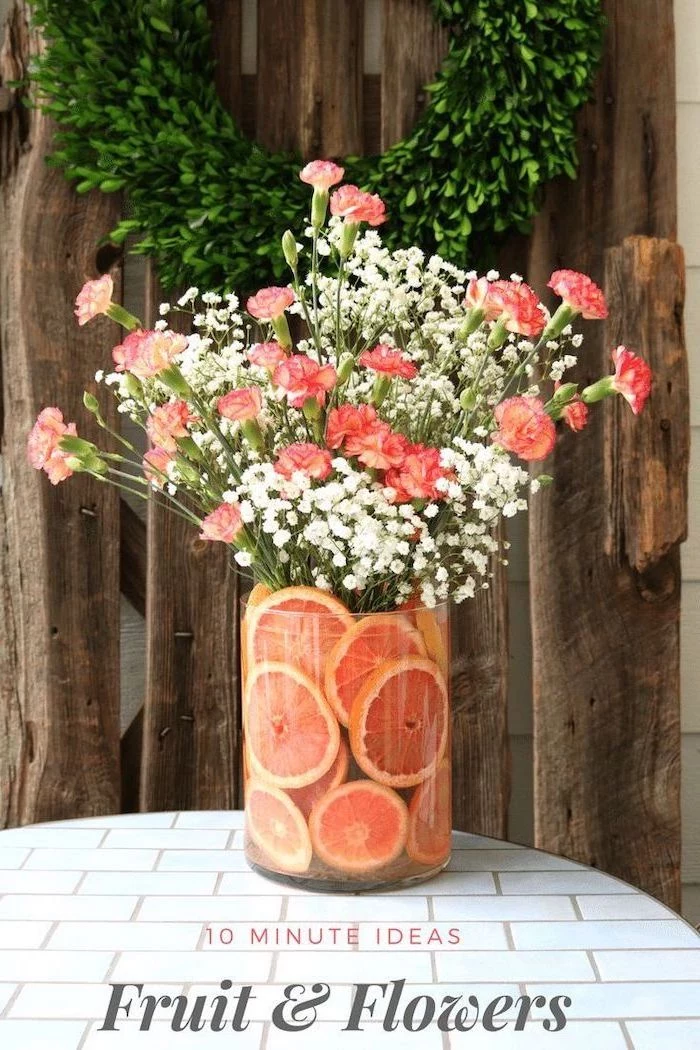
The single most overlooked step: A sparkling clean vase. Bacteria are the number one enemy of fresh flowers, clogging their stems and poisoning the water. Before you even think about arranging, wash your vase with hot water, soap, and a few drops of bleach. Rinse thoroughly to ensure no residue remains. This simple act can add days to your bouquet’s life.

- Keep bouquets out of direct sunlight, which can scorch petals and encourage wilting.
- Avoid placing them near ripening fruit. The ethylene gas released by apples and bananas is a chemical signal that tells flowers to age faster.
- Steer clear of drafts from open windows, vents, or fans, as this dehydrates the blooms quickly.


Did you know that commercial flower food, like that from Chrysal or Floralife, can double the vase life of your flowers compared to plain water?
It’s not a gimmick. This specially formulated powder contains a biocide to kill bacteria, an acidifier to help the stems drink, and a sugar to provide energy. It’s a complete life-support system in a packet, far more effective than DIY solutions like sugar or soda.
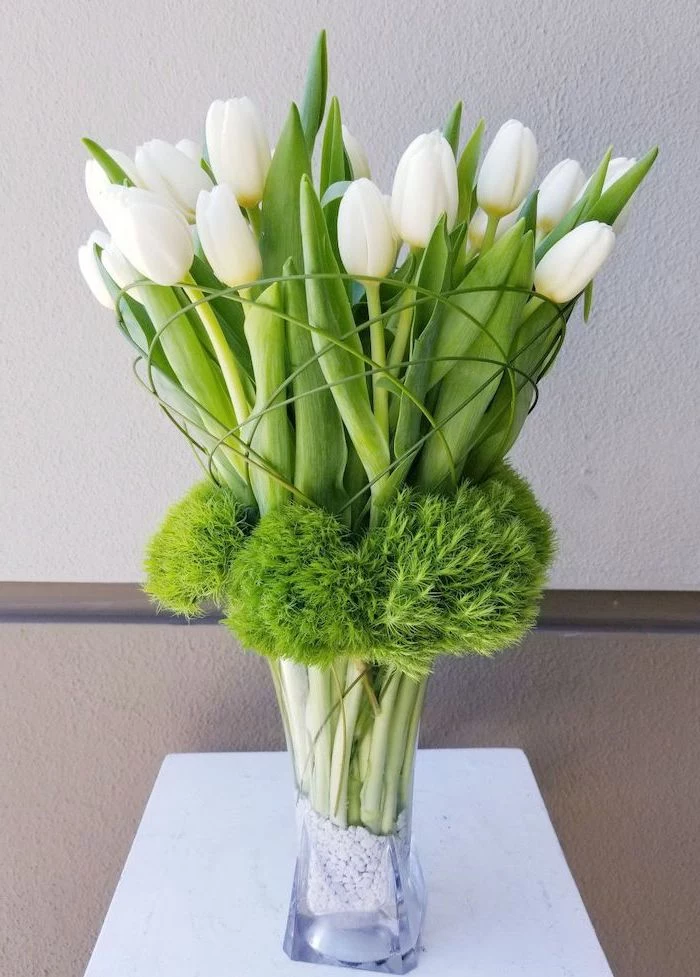
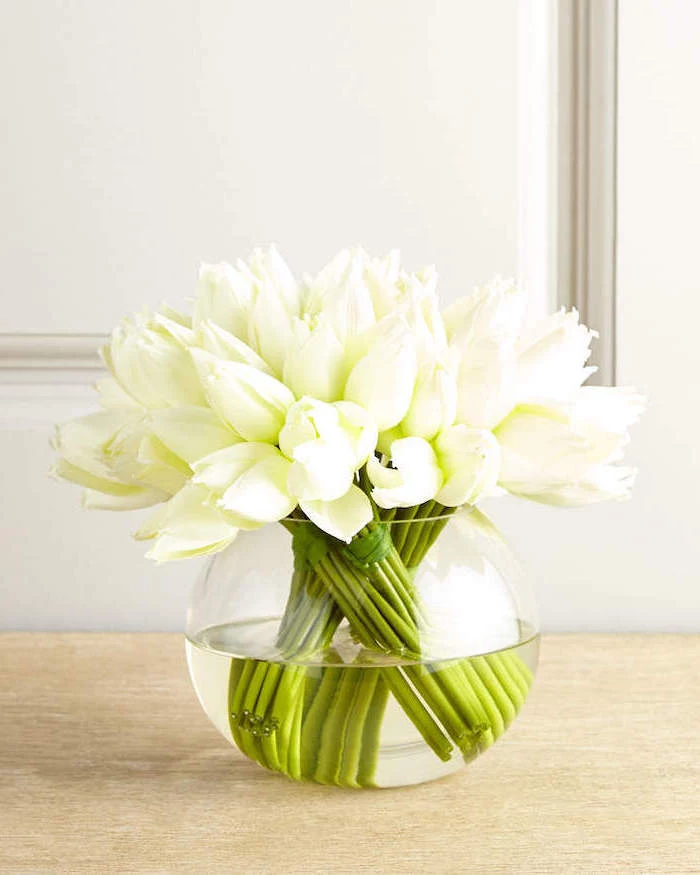
My tulips keep growing and drooping! What’s happening?
This isn’t a sign of failure; it’s a unique characteristic of tulips! They are one of the few cut flowers that continue to elongate in the vase, often growing an extra inch or more. Embrace their natural, languid droop for a romantic look, or trim them every other day to keep them more upright. They also bend towards light sources, so rotate your vase daily.
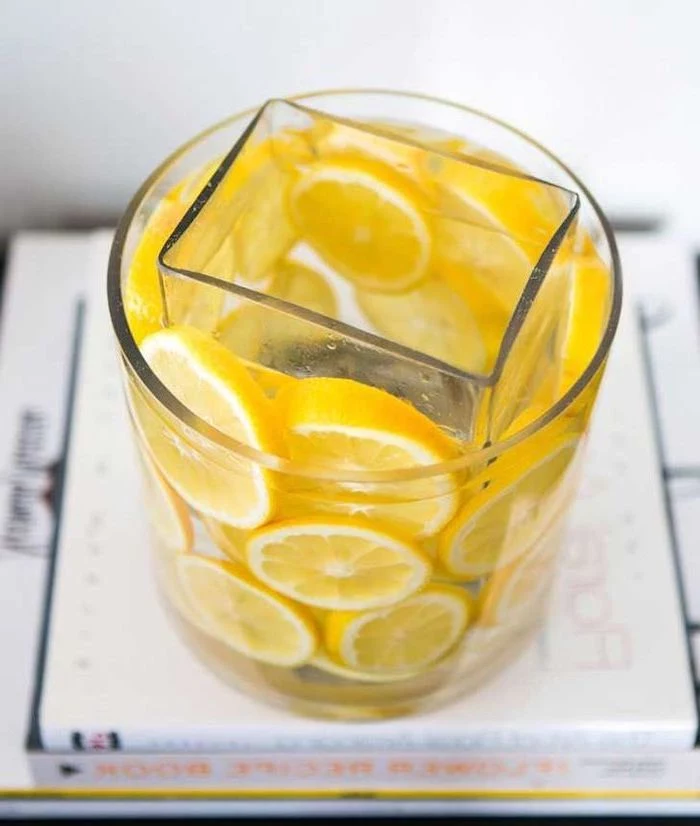
Create an invisible support system for wide-mouthed vases with a grid of clear floral tape (like Oasis brand waterproof tape) across the opening. This creates small squares to hold individual stems exactly where you want them, preventing the arrangement from looking sparse or falling to one side. It’s a classic florist trick for achieving a full, professional look with fewer flowers.
For woody stems (like lilacs, forsythia, or hydrangeas): These tough stems have a harder time absorbing water. After the initial 45-degree cut, make an additional vertical slit about one inch up the center of the stem. This doubles the surface area of the xylem, allowing these thirsty branches to drink more efficiently.
For hollow stems (like dahlias or delphiniums): These can be prone to airlocks. A neat trick is to hold them upside down, fill the hollow stem with water, and plug the end with your thumb as you place it into the vase. This ensures water is available from the inside out.
Flowers are restful to look at. They have neither emotions nor conflicts. – Sigmund Freud
Don’t be afraid to give your flowers a little grooming. Gently remove the outer
- Chrysanthemums (can last 3-4 weeks)
- Carnations (often 2-3 weeks)
- Alstroemeria (Peruvian Lily)
- Orchids (especially Cymbidium stems)
- Zinnias
Looking for longevity on a budget? These floral workhorses provide incredible value and vibrant color that lasts.
The power of foliage is immense. It’s not just
Is it better to change the water or just top it off?
Always change it completely. Simply topping off a vase leaves the bacteria-filled old water to fester. Every two days, lift the entire bouquet out, dump the old water, give the vase a quick rinse, and refill with fresh, cool water and another half-dose of flower food. Give the stems a little trim while you’re at it for maximum absorption.
A single daffodil can be a bad neighbor. It releases a slimy sap into the water that is toxic to other flowers, especially tulips and roses.
To avoid this floral drama, condition your daffodils separately. Place them in their own container of water for at least 6-12 hours after cutting. This allows the sap to leach out. After this quarantine period, you can add them to a mixed arrangement, but don’t re-cut their stems, or the sap will be released again.
A game-changer for wilted hydrangeas: The entire flower head can absorb water! If you find your hydrangea drooping dramatically, don’t give up. Submerge the entire head and stem in a sink or basin of cool water for 20-30 minutes. You’ll be amazed as it rehydrates and perks right back up.
Floral Foam: The traditional green brick (like from Smithers-Oasis) offers incredible stability for dense, classic arrangements. However, it’s a single-use microplastic that doesn’t biodegrade.
Kenzan (Pin Frog): This reusable metal device, popular in Japanese Ikebana, is perfect for minimalist, airy designs. It’s a sustainable investment for a different style of arranging.
For a modern, eco-conscious approach, a kenzan or a simple tape grid is often the superior choice.
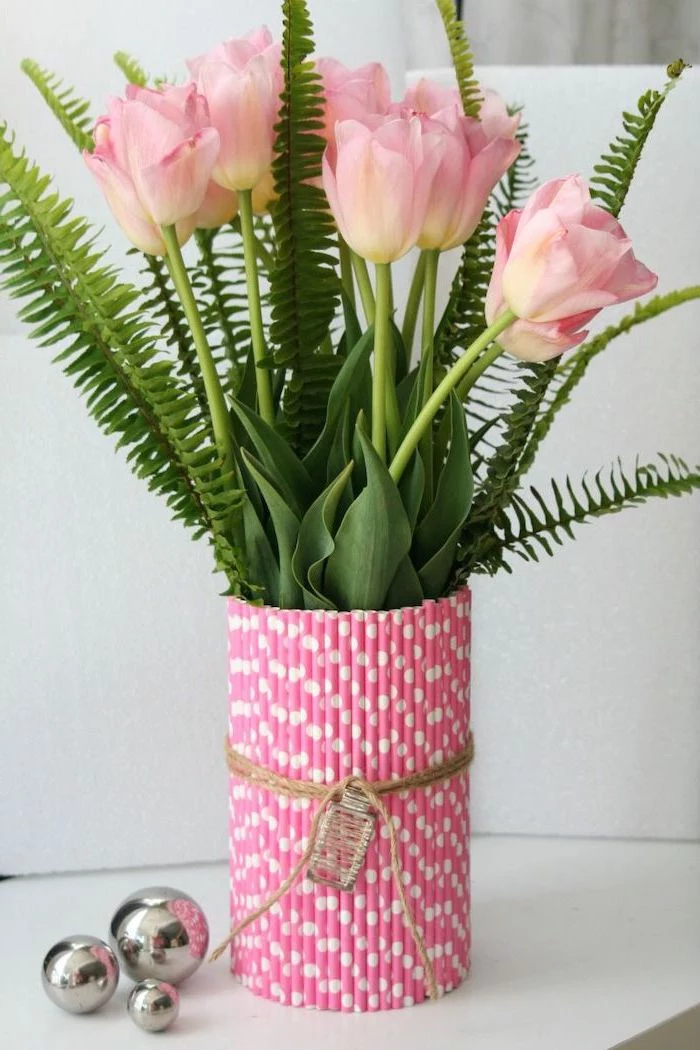
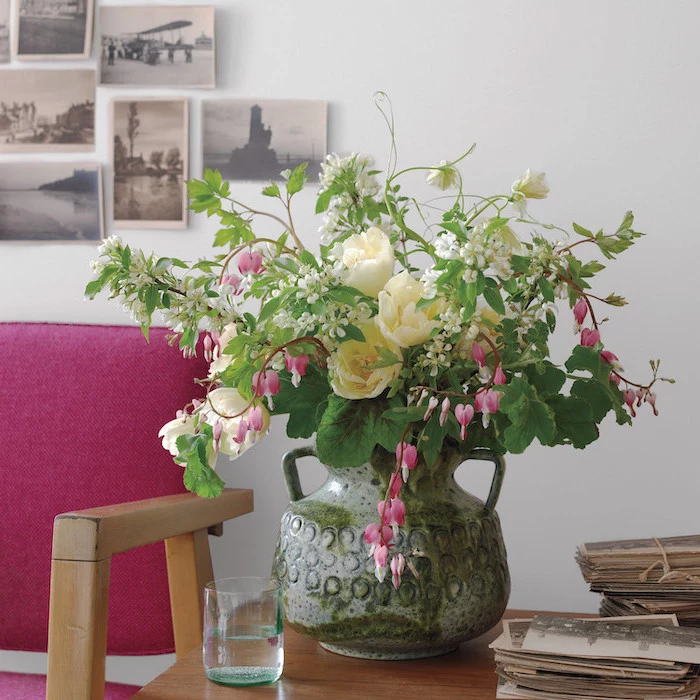
Think beyond the traditional vase. A vintage ceramic water pitcher, a collection of small glass lab beakers, or even a wide-mouthed teapot can serve as a charming and unexpected vessel for your flowers. The key is to ensure it’s watertight and impeccably clean before you begin.
The tools you use matter. While kitchen scissors will do in a pinch, they can crush and damage the delicate water-absorbing cells (xylem) in a flower’s stem. A proper pair of floral shears or a sharp floral knife, like those from Felco or ARS, makes a clean, precise cut that leaves the pathways wide open for hydration.
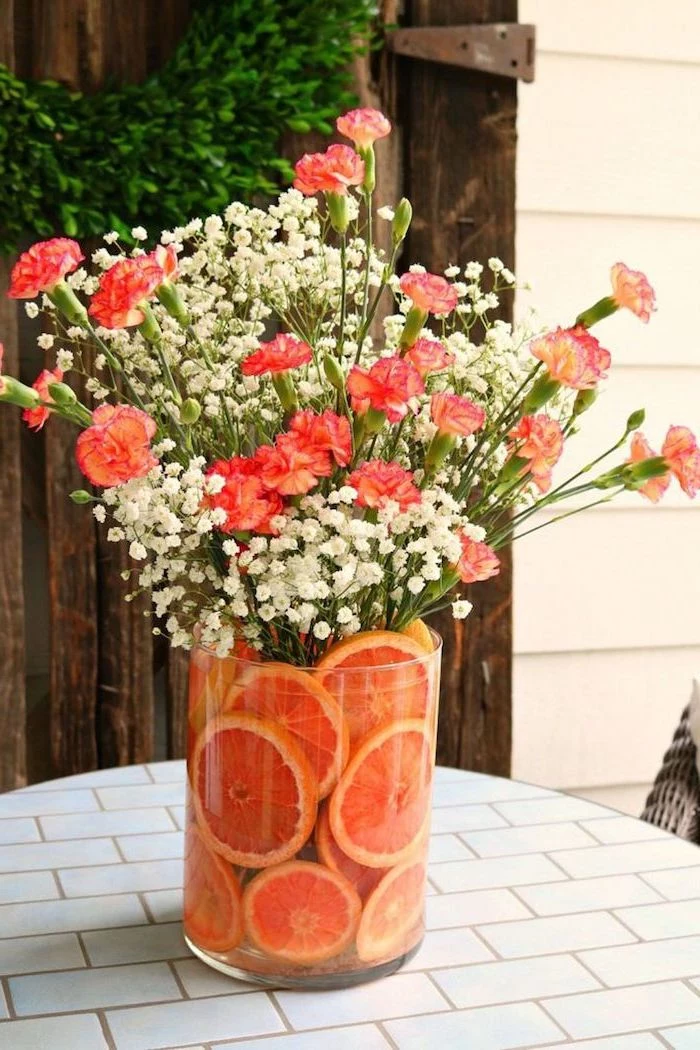
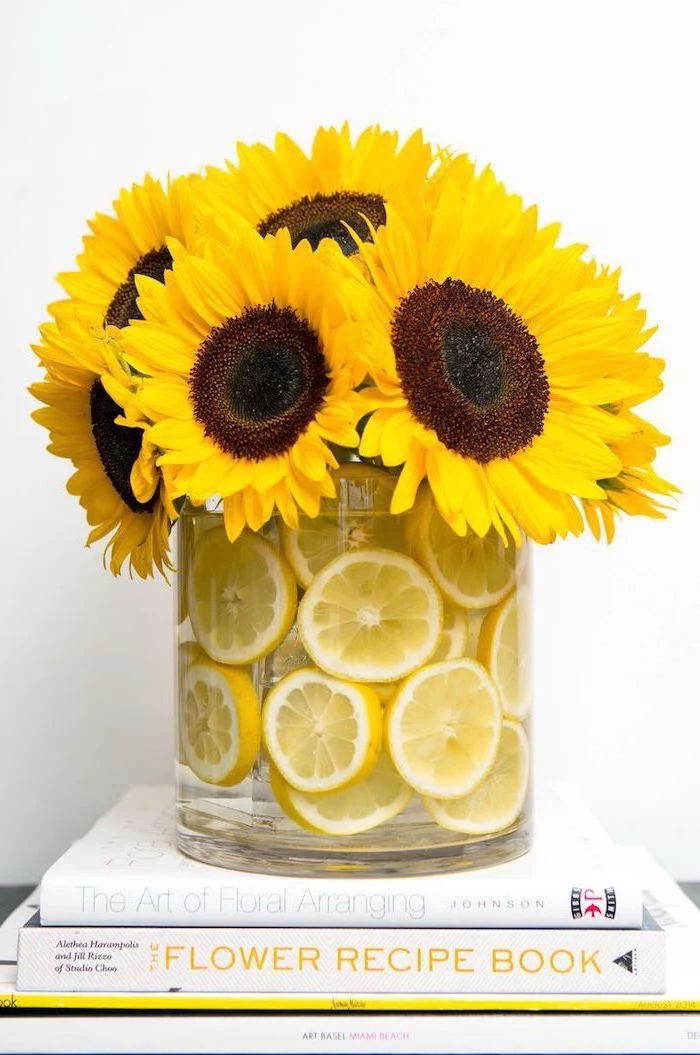
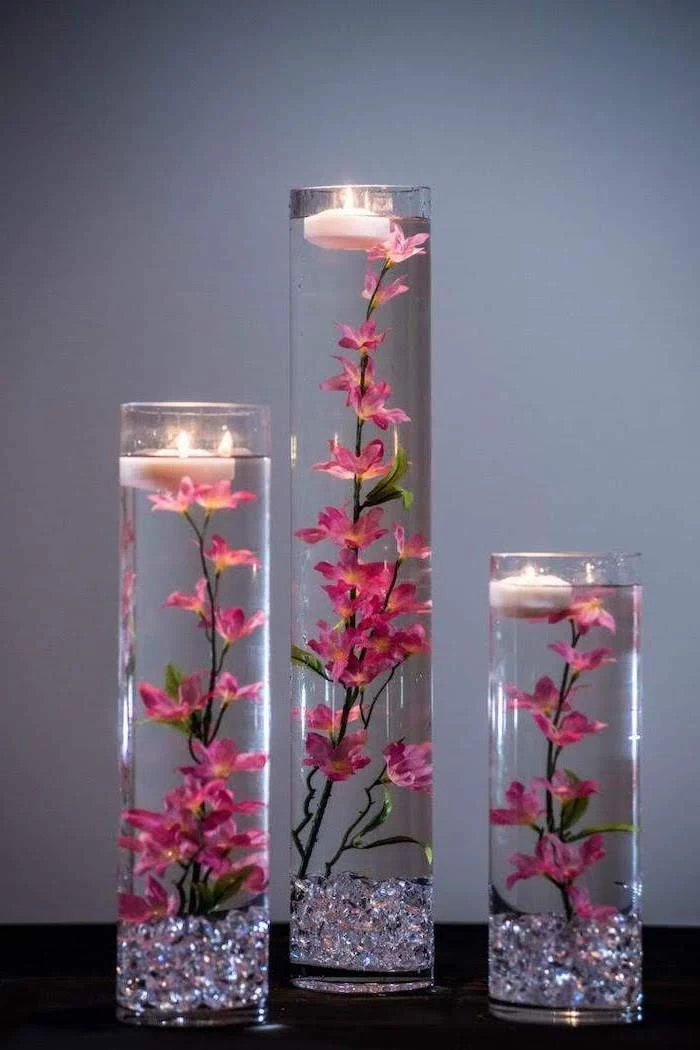
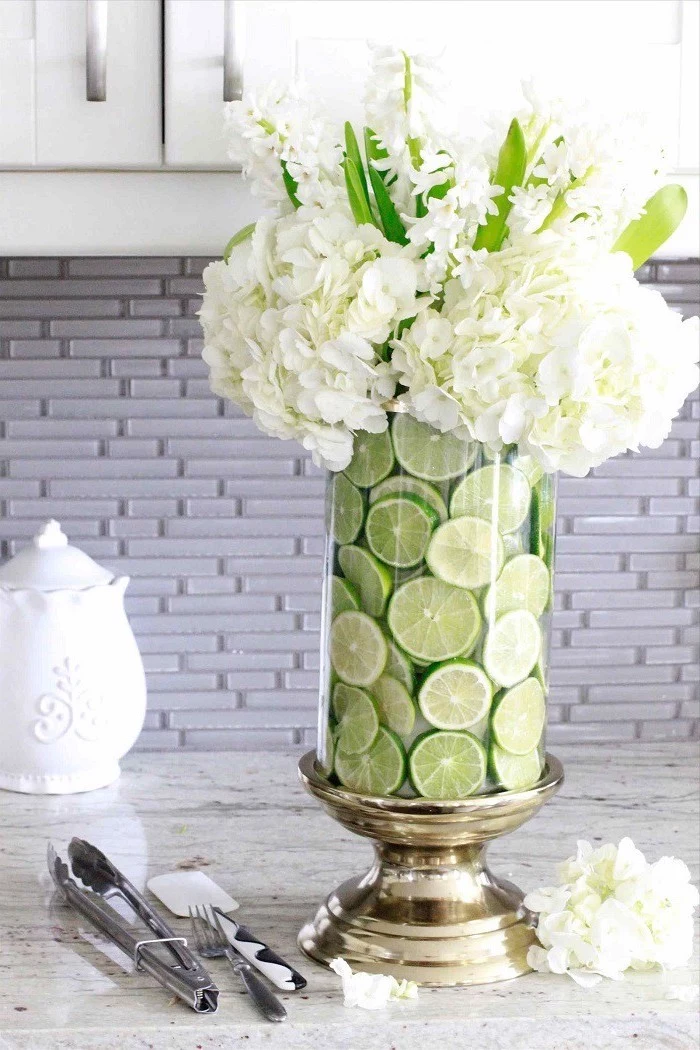
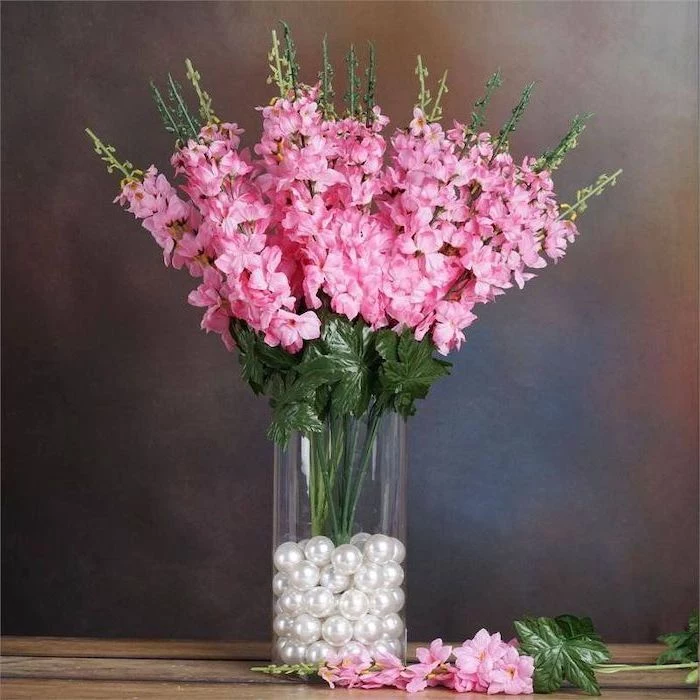
- It creates a stunning, high-end centerpiece.
- It hides cloudy water and messy stems.
- It adds an extra layer of color and texture.
The secret? The
The global cut flower trade is a multi-billion dollar industry, with flowers often traveling thousands of miles from farms in countries like Colombia, Ecuador, and the Netherlands.
This incredible journey makes your first steps—a fresh cut and immediate hydration—even more critical to help the blooms recover from their long trip.

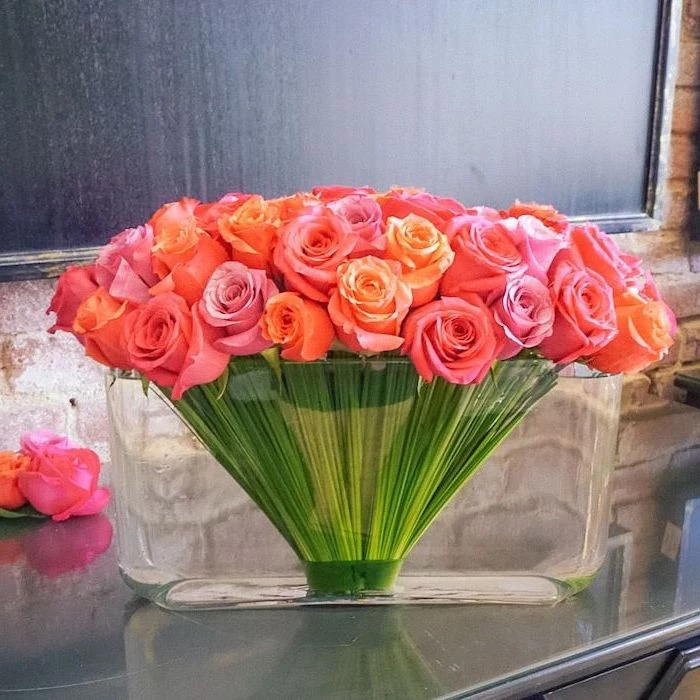
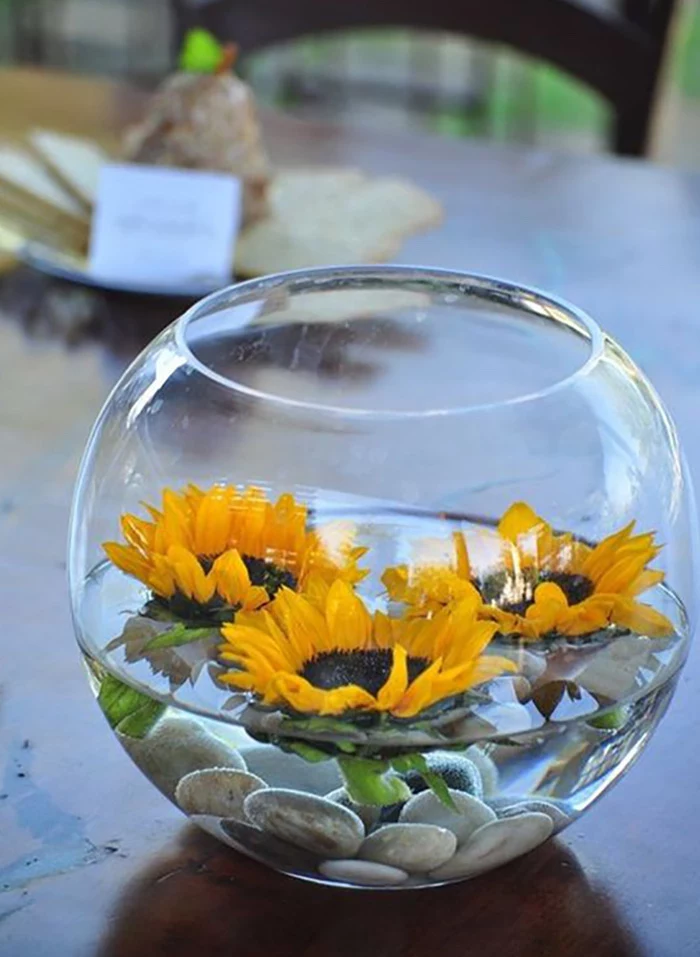
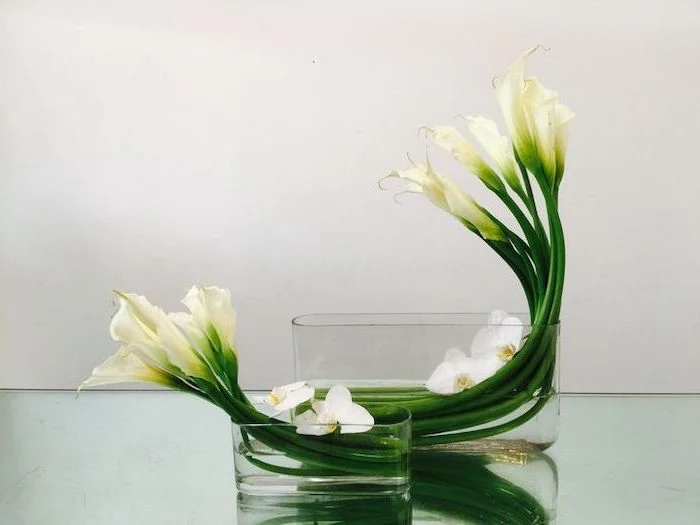
Sometimes, less is more. Don’t underestimate the impact of a monochromatic or single-variety bouquet. A tight bunch of deep red tulips, a fluffy cloud of white baby’s breath (Gypsophila), or a few elegant stems of white Calla Lilies can make a more powerful and modern statement than a complex mix of colors.
What’s the right water temperature?
Think lukewarm. For most flowers, tepid water (around 100-110°F or 37-43°C) is most easily absorbed by the stems. The exception is for spring bulb flowers like tulips and hyacinths, which prefer cool water as it helps keep their stems firm and slows down their tendency to open too quickly.
Sustainable Choice: Traditional green floral foam is a non-biodegradable microplastic. For a greener alternative, explore options like Agra-Wool’s 100% natural floral foam or stick to reusable mechanics like a metal kenzan, a ball of chicken wire, or a simple tape grid on your vase.
- First, prepare a bucket of lukewarm water with flower food.
- Unwrap your flowers immediately upon arriving home.
- Remove all leaves that will fall below the waterline in your vase.
- Give each stem a fresh, 45-degree angle cut.
- Place them in the prepared bucket to rest and hydrate for at least two hours before arranging.

A final finishing touch, especially in dry, centrally-heated homes, is a light misting. While the stem is the main water source, a gentle spritz of water on the petals and leaves can reduce transpiration (water loss) and keep the arrangement looking dewy and vibrant for an extra day.
A 2018 study in the journal *HortTechnology* found that LED lighting, common in modern homes, can actually extend the vase life and improve the color quality of some cut flowers, like roses, compared to fluorescent lighting.

Don’t throw away your wilting bouquet just yet! Salvage what you can. Sturdier flowers like roses or statice can be hung upside down to dry for an everlasting arrangement. Greenery like eucalyptus also dries beautifully. Compost the rest to return their nutrients to the soil.