Your Dark, Gloomy Room Isn’t a Lost Cause. Here’s How to Fix It.
I can’t tell you how many times I’ve walked into a home where the owner says, “We love this house, but… this room.” It’s always that one space—the north-facing living room that feels perpetually gray or the basement den with one tiny window. They’ve tried the usual tricks, like swapping in brighter bulbs or hanging a colorful poster, but the room still feels heavy and closed-in. It’s a super common problem.
In this article
Here’s the thing: making a dark room feel bright isn’t about one single fix. It’s about creating a system. It’s about understanding how light actually works in a space and giving it every possible chance to shine. Over the years, I’ve learned that it’s less about brute-forcing brightness and more about intelligently managing the light you have. I want to walk you through the real-deal approach the pros use, breaking down the methods that actually get results.
First, Let’s Talk About a Pro’s Secret Weapon: LRV
Before you even think about picking up a paintbrush, we need to talk about your most powerful tool: the surface of your walls. And that brings us to a key piece of insider info called Light Reflectance Value, or LRV. Honestly, this one number is a game-changer.

Every single paint color has an LRV score from 0 (think black hole) to 100 (pure, brilliant white). The number tells you exactly what percentage of light a color reflects. So, a paint with an LRV of 65 bounces 65% of the light back into the room and absorbs the rest. For a dark space, you want to aim for an LRV of 60 or higher. Some of the most popular, effective whites have LRVs over 90!
Good to know: Wondering where to find this magic number? It’s easier than you think. Just go to the paint manufacturer’s website, find the color you’re interested in, and look for a “details” or “technical specs” section. It’s almost always listed there. It’s a far more reliable guide than a paint’s catchy name.
By the way, there are two kinds of reflection you’re trying to create. The first is diffuse reflection, which you get from matte surfaces. It scatters light softly and evenly, creating a gentle brightness without any glare. The second is specular reflection, which comes from shiny surfaces like a mirror or polished metal. This bounces light in a direct, crisp line. A truly bright room uses both.
Getting the Foundation Right: Walls, Ceilings, and Floors
The biggest surfaces in your room are doing the heaviest lifting when it comes to light. Getting these right is everything. And no, it’s not just about painting the walls white.
More Than Just Color: Choosing the Right Paint Sheen
The finish of the paint is just as important as the color. I’ve seen people paint a dark room in high-gloss, thinking more shine equals more light. The result? A room that feels like a plastic box and highlights every single tiny bump on the wall. It’s a classic mistake.
Here’s a quick rundown of what to use where:
- Matte or Flat Finish: This finish has virtually no shine, making it perfect for that soft, diffuse light we talked about. It’s also incredibly forgiving and does a great job hiding imperfections on older walls. I use this on ceilings all the time.
- Eggshell or Satin Finish: These have a subtle, low-lustre glow. They’re my go-to for most living spaces because they bounce a bit more light than matte and are way easier to clean. You get a gentle sheen without harsh glare—a perfect middle ground.
- Semi-Gloss or High-Gloss Finish: Use these strategically! They’re fantastic for creating those sharp, specular reflections. I reserve them for trim, doors, and maybe cabinetry. Think of them as accents, not the main event.
Oh yeah, a lesser-known trick is to treat your ceiling as the “fifth wall.” To make a room feel instantly taller and more open, paint the ceiling a crisp, flat white. Or, if you want a more cohesive look, take your wall color and have the paint store mix it at 50% strength for the ceiling. That subtle shift creates a wonderful sense of airiness.
Prep Work Is Non-Negotiable
You can’t just slap a light color over a dark one and call it a day. The old color will grin through, killing your new paint’s LRV and making the whole job look muddy. My crew always spends more time prepping than painting, and for good reason.
Always start by cleaning the walls with a simple detergent solution to get rid of grime. Then, patch and sand any imperfections until they’re smooth. And the most critical step: use a high-quality primer. A good can of primer will run you $40 to $60, but it’s worth every penny. It seals in the old color and gives your new paint a perfect, uniform base to work its magic.
What About the Floor?
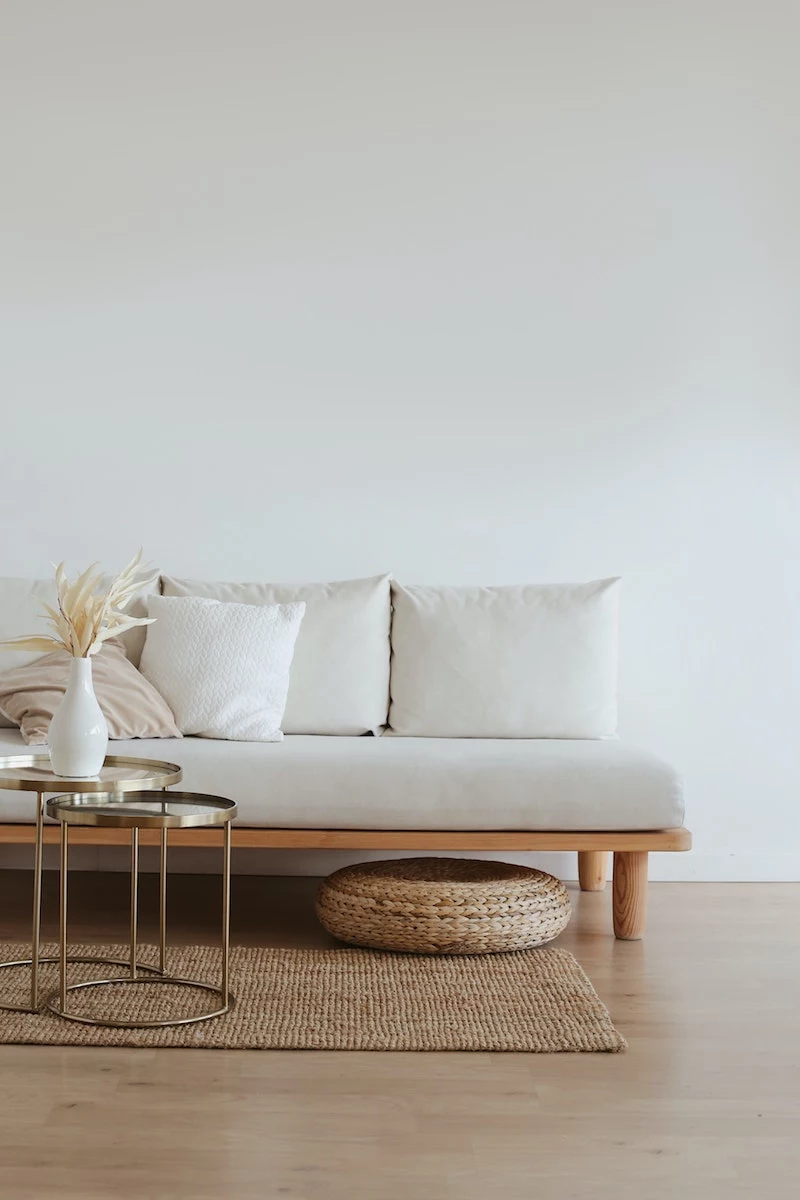
Floors are massive light-suckers. Dark wood, dark tile, or a dark carpet will drink up all the light at the base of your room. If you have the budget, swapping to a lighter flooring like pale oak, ash, or a light-colored tile makes a world of difference.
But if a total floor replacement is out of the question, the next best thing is a large, light-colored area rug. An 8×10 rug in a cream, light gray, or beige can cost anywhere from $200 to $600 and will instantly create a huge, bright surface that bounces light back up toward the ceiling.
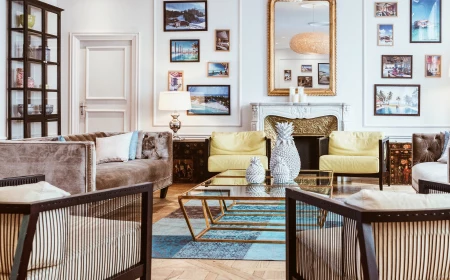
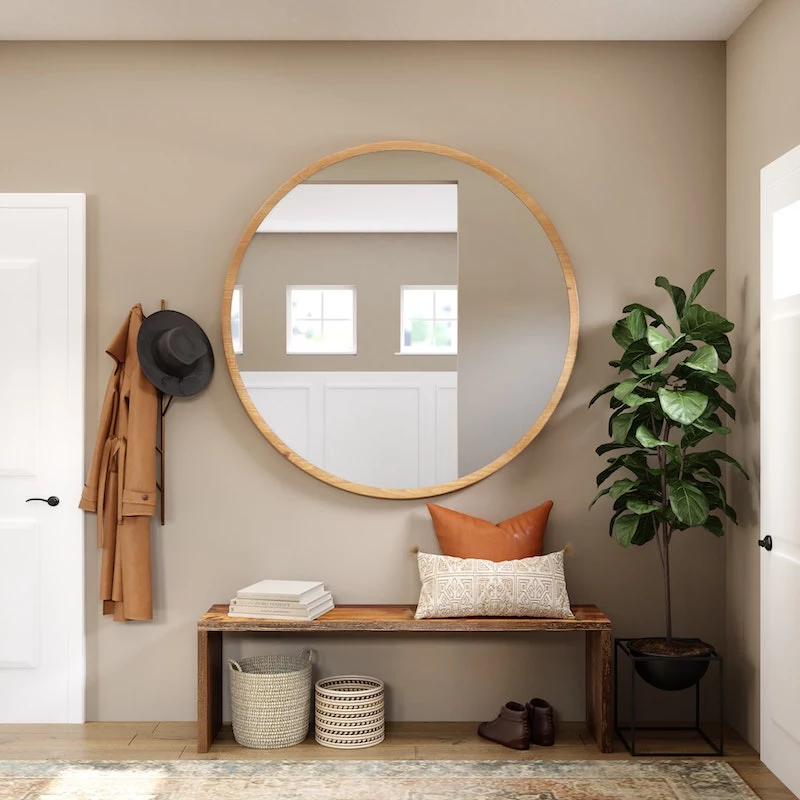
Be Smart with Mirrors and Shiny Things
Everyone knows the “hang a mirror” trick, but most people do it wrong. The most common mistake is hanging a mirror on a dark interior wall. What does it reflect? More darkness. Sure, it adds a feeling of depth, but it doesn’t add any light.
The pro move is to place the mirror on the wall opposite or adjacent to a window. This way, it captures the natural light coming in and shoots it right back into the room, basically acting as a second window. I once worked on a long, narrow living room—a real bowling alley—with just one window at the far end. We installed a massive floor-to-ceiling mirror along the long wall. The transformation was incredible. Before, it was a dark tunnel. After, it felt like we’d blown out the side of the house, creating a bright, welcoming lounge.
Heads up! A big mirror is seriously heavy. I heard a horror story once about a 100-pound mirror that was hung with flimsy picture wire. It fell and shattered, and it was a miracle no one was hurt. Always use a stud finder and anchor heavy items properly. If you’re not 100% confident, hiring a handyman for an hour is a smart investment. It’ll probably cost between $75 and $150—way cheaper than a trip to the ER!
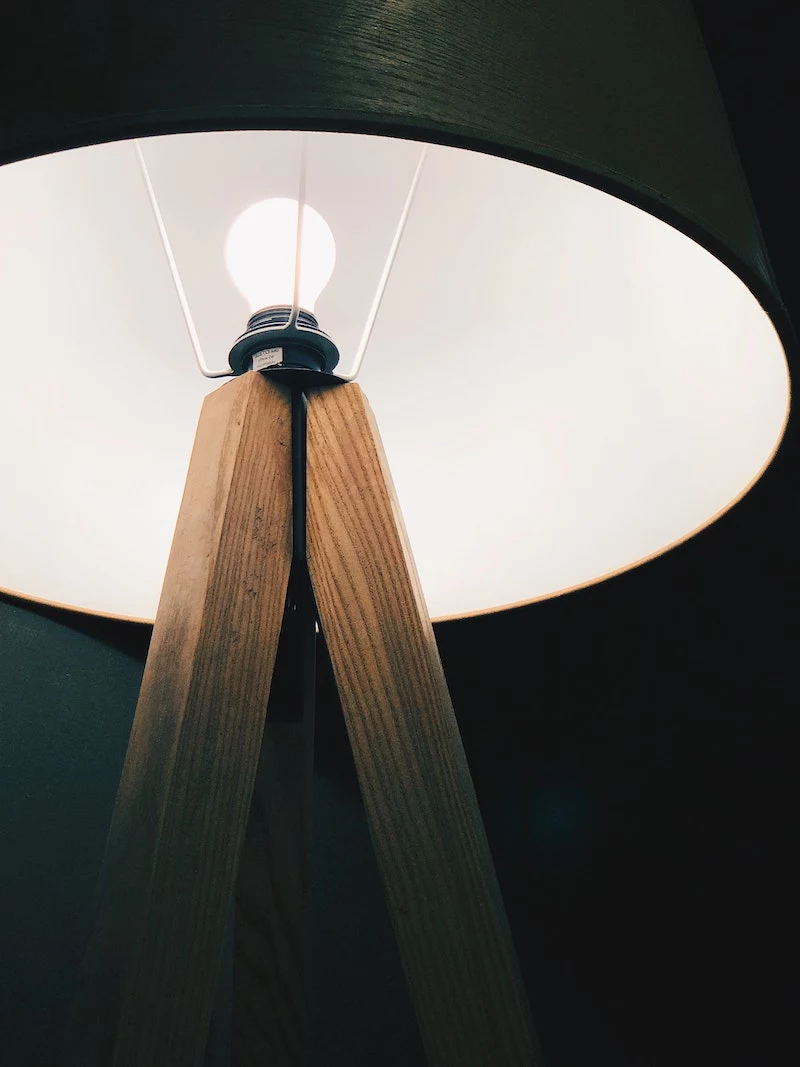
The Magic of Layered Lighting
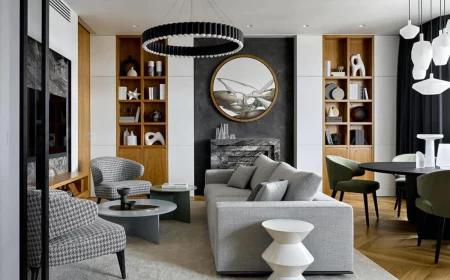
The single biggest lighting sin I see is the lonely, central ceiling fixture. Designers sometimes call this the “interrogation light” because it casts harsh shadows downward and leaves the corners of the room in darkness. A well-lit room always uses multiple layers of light.
Think of it in three simple layers:
- Ambient Light: This is your general, room-filling light. Instead of one central fixture, a better approach is a grid of recessed lights on a dimmer. A good rule of thumb for a DIY installation is to space 4-inch pot lights about 4-5 feet apart and 2-3 feet from the walls to wash them in light.
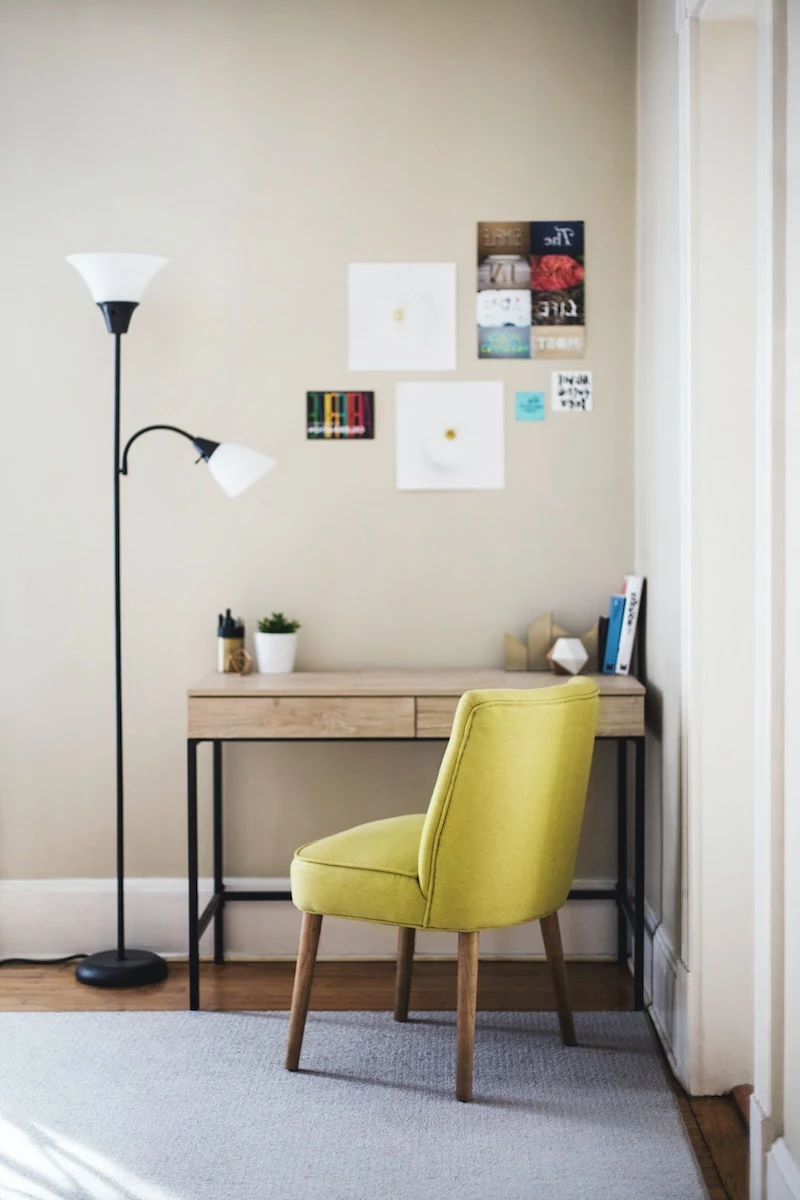
- Task Light: This is focused light for doing stuff. A reading lamp next to your favorite chair, under-cabinet lighting in the kitchen, or a desk lamp are all task lights. An elegant arc floor lamp can provide great overhead light for a reading nook and might run you between $150 and $400.
- Accent Light: This is the fun stuff! It’s all about creating mood and highlighting features you love, like a piece of art or a textured wall. A simple, hardwired picture light can be found for $30 to $80 and adds a touch of pure class.
And remember our chat about color temperature? For a cozy, inviting feel in most homes, stick with LED bulbs in the 2700K to 3000K range. They give off a warm, welcoming glow that flatters both people and paint colors.
No Painting Allowed? No Problem. A Guide for Renters
What if you’re renting and can’t make any permanent changes? Don’t worry, you’re not stuck in the dark. You just have to be a bit more creative.
Focus on what you can control. A tall arc floor lamp can swing out over your sofa, providing great overhead light without any wiring. Plug-in wall sconces have become super stylish and can flank a sofa or bed to add layers of light. You can also lean a large, full-length mirror against a wall opposite a window—no holes required. For lighter items, high-quality removable adhesive strips are your best friend.
And don’t forget textiles! Swapping out dark, heavy curtains for sheer, light-filtering ones makes an instant difference. The same goes for lampshades; trading a dark, opaque shade for a white or off-white linen one can double the light output from a single lamp.
Your 5-Minute Fix for Today
Want to see this in action right now? Find the darkest corner in your room. Now, go grab the shiniest decorative object you own—a metallic tray, a glass vase, a chrome canister—and place it there. Just leave it for the day. You’ll be surprised how it catches little bits of ambient light, adding a tiny point of brightness where there was none before. That’s the whole principle at work!