A Nail Tech’s Secrets to Flawless Wedding Nails (That Last Through the Honeymoon)
After more than a decade behind the nail table, I’ve prepped a whole lot of hands for their big day. I’ll never forget one bride who came to me just two weeks before her wedding, almost in tears. She’d gone to a random salon and walked out with a bulky, heavy set of acrylics that looked completely out of place with her elegant dress. We spent those next two weeks carefully removing the bad set, getting her natural nails healthy again, and finally creating a simple, beautiful look that actually felt like her. It really drove home a lesson I already knew: wedding nails are not the place to cut corners. They’re a finishing touch that deserves real planning and professional care.
In this article
- The (Not So) Secret Science of a Bulletproof Manicure
- The Trial Run: Your Non-Negotiable Pre-Wedding Date
- Choosing Your Fighter: Gel, Dip, or a Classic Polish?
- Popular Wedding Looks, Explained by a Pro
- Your 3-Month Countdown to Perfect Wedding-Day Hands
- How to Find a Great Tech (and Stay Safe)
- Your Bridal Nail Emergency Kit
- Galerie d’inspiration
Honestly, this is about so much more than just picking a pretty color. It’s about the health of your nails, how long the manicure will last, and how it all ties in with your dress, your rings, and the photos you’ll cherish forever. My goal here is to pull back the curtain and share what I’ve learned from my side of the table. I want to help you make choices you feel great about, so you can show off that ring with total confidence.
The (Not So) Secret Science of a Bulletproof Manicure
So, why do some manicures chip in a day while others look perfect for weeks? It really comes down to a little bit of chemistry. Your nail plate is made of protein layers and naturally has oils. The absolute key to making any product stick is creating the perfect foundation for it to bond to. This is where a pro’s prep work makes all the difference.
Before any color or product touches a nail, my first step is always meticulous prep. I start by lightly buffing the nail to take away the surface shine. This isn’t about thinning the nail; it’s about removing oils and creating a slightly rougher texture for the product to grip. Then, I’ll use a nail dehydrator, which is a liquid that temporarily zaps any remaining moisture and oils. It’s a super important step for adhesion, but its effect is short-lived, which is why I always work on one hand at a time.
Next, a pH-balancing primer often comes into play. Think of it exactly like priming a wall before you paint. It just creates that ideal surface for whatever comes next. Skipping these prep steps is, nine times out of ten, why at-home manicures fail so quickly.
By the way, different nail systems work in totally different ways:
- Gel Polish: This stuff is a modern marvel. It’s a polish formula that has to be cured—or hardened—under an LED or UV lamp. The light kicks off a chemical reaction that links molecules together into a super durable, plastic-like finish. That’s why it’s instantly bone-dry and can last for weeks without a chip.
- Acrylics: This is a classic system using a liquid (monomer) and a powder (polymer). When mixed, they create a chemical reaction that hardens into a strong nail enhancement without needing a lamp. We’ll touch on the importance of the liquid’s quality for safety later on.
- Dip Powder: This system uses a strong adhesive resin (similar to a glue) and a fine powder. You apply a base resin, dip the nail into the powder, and then brush on an activator liquid to cure and harden everything. It’s a different process from gel but gives you that same rock-solid durability.
Understanding this science is what lets a technician troubleshoot. If a client’s gel is lifting, my mind immediately goes to the prep. Were there oils left on the nail? Was the cuticle fully removed from the nail plate? This knowledge is the real difference between a quick paint job and a professional, long-lasting service.
The Trial Run: Your Non-Negotiable Pre-Wedding Date
I always, always ask my bridal clients to book a trial run, ideally three to four weeks before the wedding. Seriously, treat it just like your hair and makeup trial! It’s our chance to experiment and perfect the look without the stress of a looming deadline.
During this appointment, I turn into an investigator. I want to see a photo of the dress. Is it minimalist and modern, or is it covered in intricate lace? What’s the exact shade? A bright, stark white dress often looks best with a softer, slightly off-white nail, while an ivory gown is gorgeous with creamier nudes. I’ll also ask about your rings and other jewelry so we can match any metallic accents perfectly.
Then, I take a good look at your hands and nails. Are your nails naturally strong or do they tend to break? We’ll discuss shape—a classic French looks amazing on a soft square, while an almond shape is a fantastic canvas for ombré or chrome effects. We also have to consider your lifestyle. If you’re very hands-on, you might need the extra strength of dip powder to get you through the honeymoon.
Quick tip: When you’re at the trial, it’s the perfect time to ask your tech a few key questions:
- What’s your salon’s policy if a nail chips or a gem falls off before the wedding?
- Can I see a few photos of other bridal nails you’ve done?
- Could you walk me through your sanitation process for tools?
A good professional will be happy to answer all of these! Oh, and for budgeting, a trial run typically costs between $30 and $60, depending on the salon and what you’re testing out.
The timing of the final manicure is also critical. We do the real deal two to three days before the wedding. This is the sweet spot. The nails are perfectly fresh for photos, but there’s a little wiggle room for a stress-free fix if something happens. Trust me on this!
Choosing Your Fighter: Gel, Dip, or a Classic Polish?
The product you choose is a big deal. It affects the look, feel, and durability of your wedding nails. There’s no single “best” option—it’s all about what’s right for you. Let’s break it down.
Gel Polish
This is easily the most popular choice for brides, and for good reason. It gives you a super high-shine finish that will last a solid two to three weeks, meaning your nails will look flawless from the rehearsal dinner right through the honeymoon. Plus, it’s instantly dry when you leave the salon, so no smudges.
- Best For: Most brides who want a classic, shiny, and reliable manicure.
- Durability: 2-3 weeks.
- Appointment Time: Plan for about 60-75 minutes for a standard manicure.
- Typical Cost: Around $50 to $85 for a high-quality service.
The only real downside is that improper removal can cause damage. Gel should always be gently filed and then soaked off—never, ever peeled! For brides with weaker nails, I often recommend a “structured gel manicure,” which uses a thicker builder gel to add strength without the bulk of acrylic.
Dip Powder
Dip is famous for its strength. It’s a fantastic choice for brides with naturally weaker nails or for those who want to add a little bit of length and know it won’t break. The finish is incredibly durable and can easily last for three weeks or more.

- Best For: Brides needing extra strength or those who are tough on their hands.
- Durability: 3+ weeks.
- Appointment Time: Usually 60-90 minutes.
- Typical Cost: Expect to pay $55 to $90, sometimes more for intricate designs.
A quick heads up on hygiene: a salon should NEVER dip your finger into a communal pot of powder. That’s a huge cross-contamination risk. The proper, sanitary method is to pour the powder over your nail onto a clean surface. Any salon that prioritizes your health will do this.
Traditional Polish
To be frank, I rarely recommend regular polish for a wedding. It’s just too prone to chipping. And the dry time is a real problem; it can take hours to fully harden, leaving it vulnerable to smudges and dings. I’d only suggest it if a client is completely against gel or dip. In that case, we book the appointment for the day before the wedding and I send them home with the bottle for emergency touch-ups.
Popular Wedding Looks, Explained by a Pro
Once you’ve picked your product, it’s time for the fun part: the design! Trends come and go, but a few looks are just timeless.
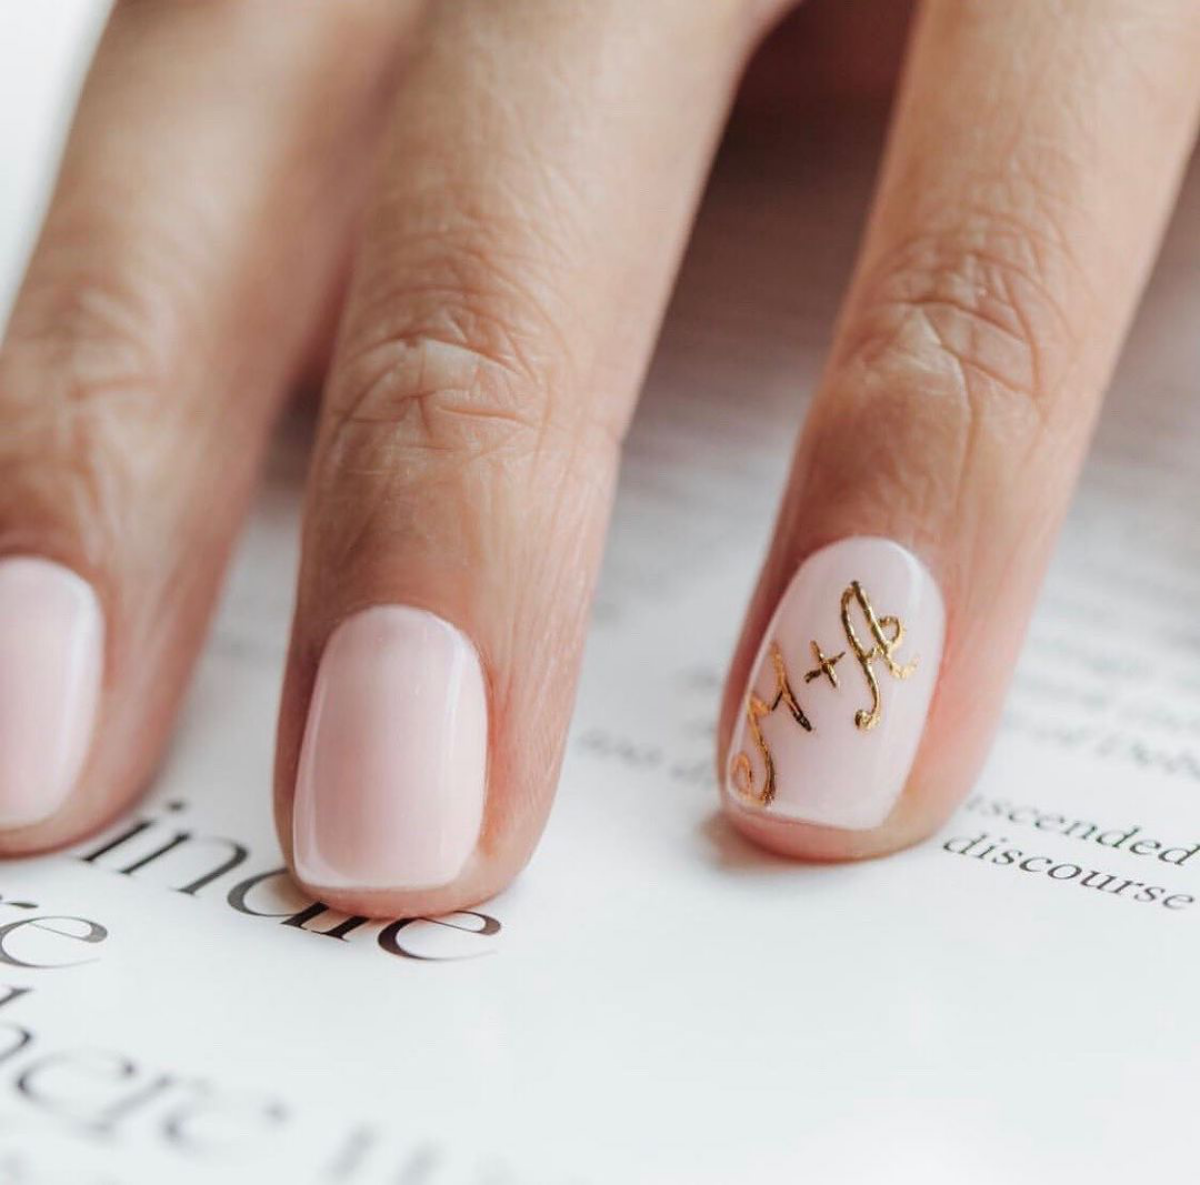
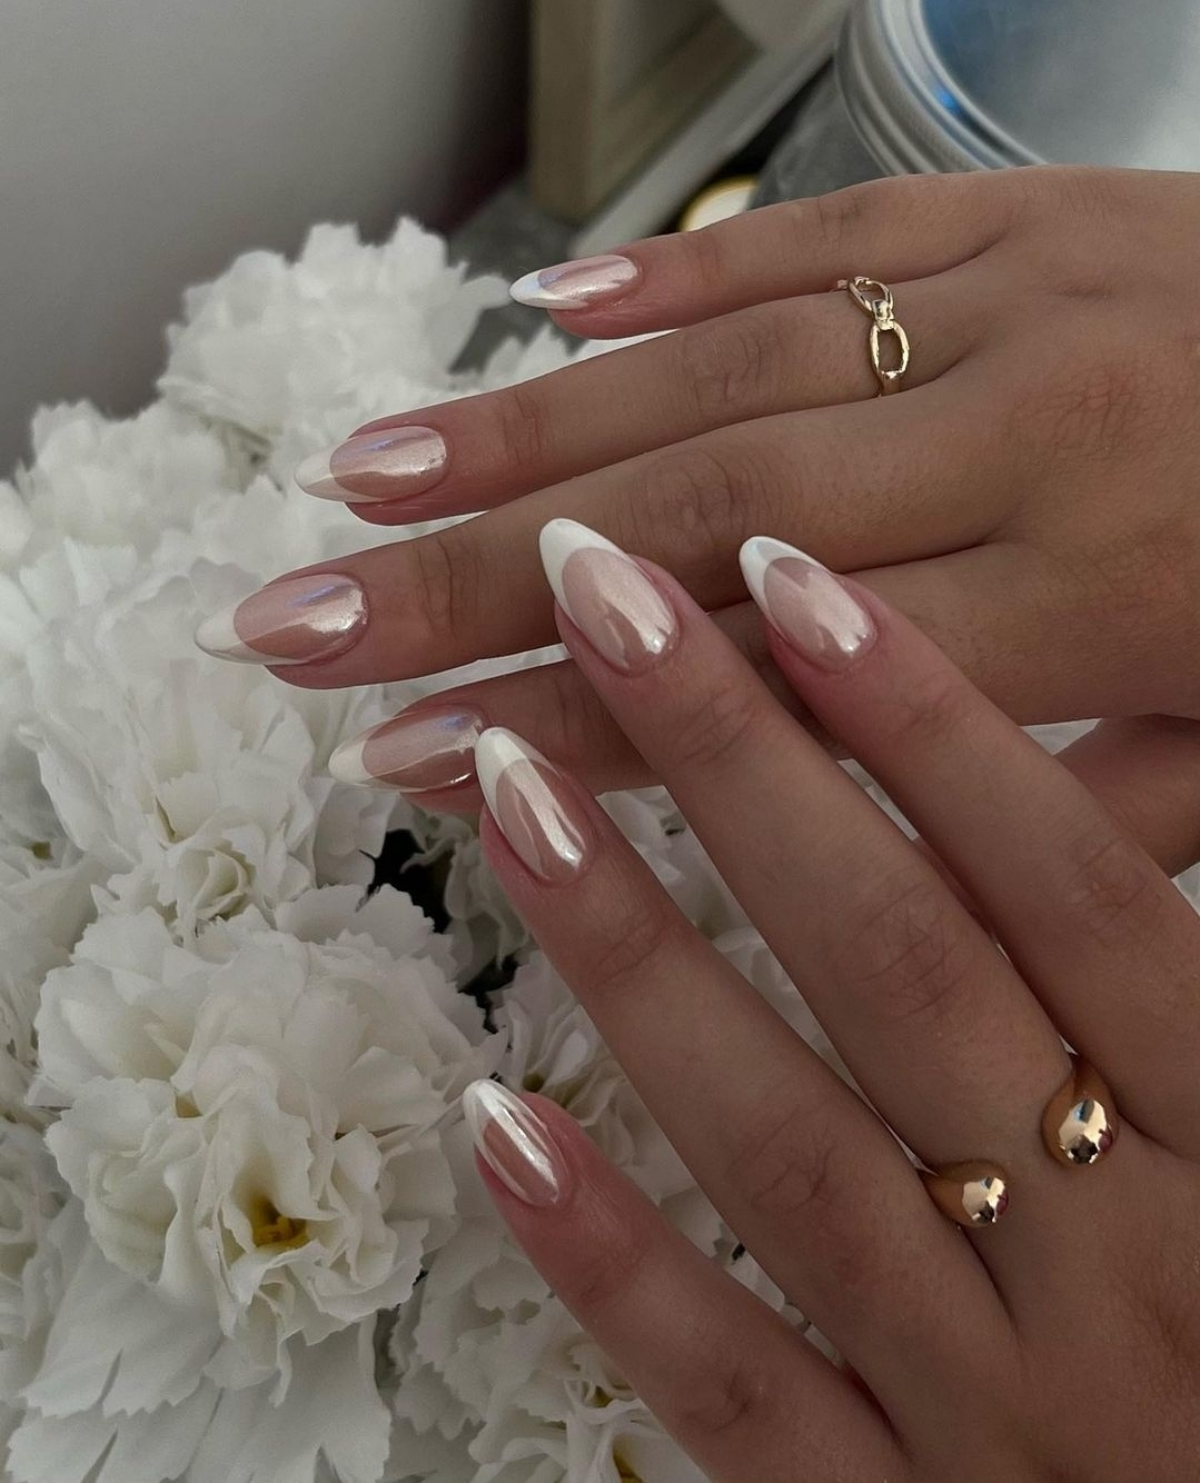
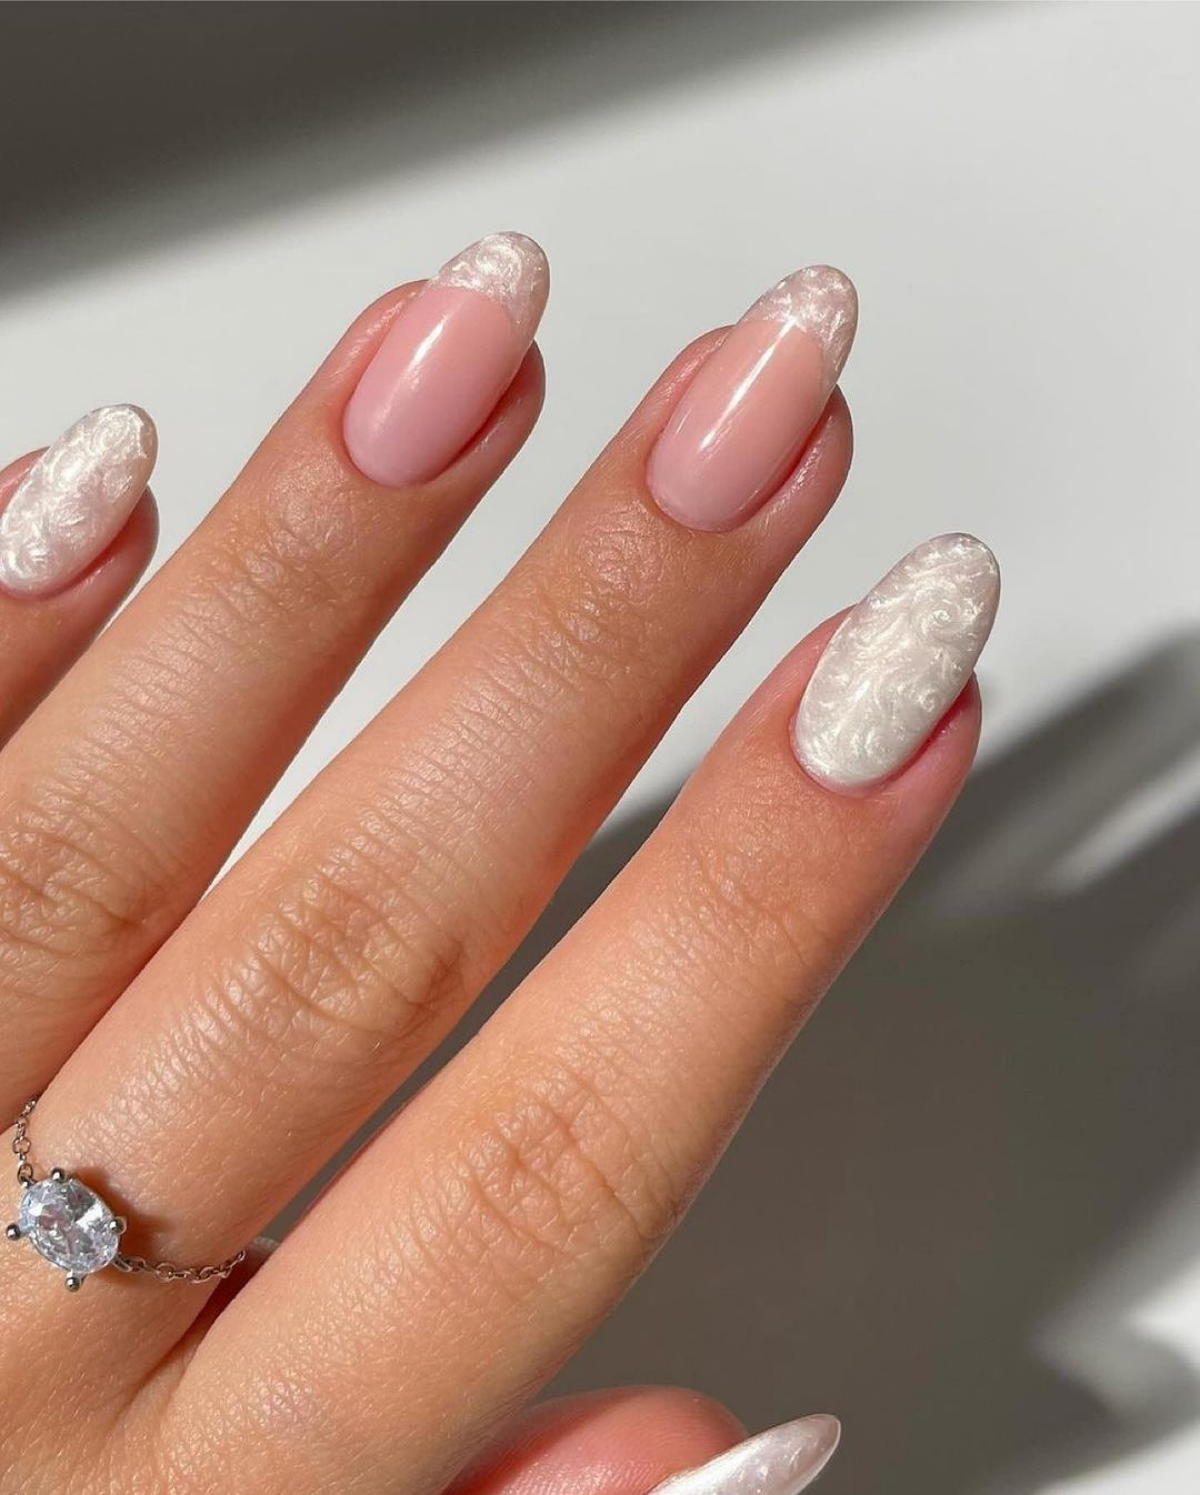
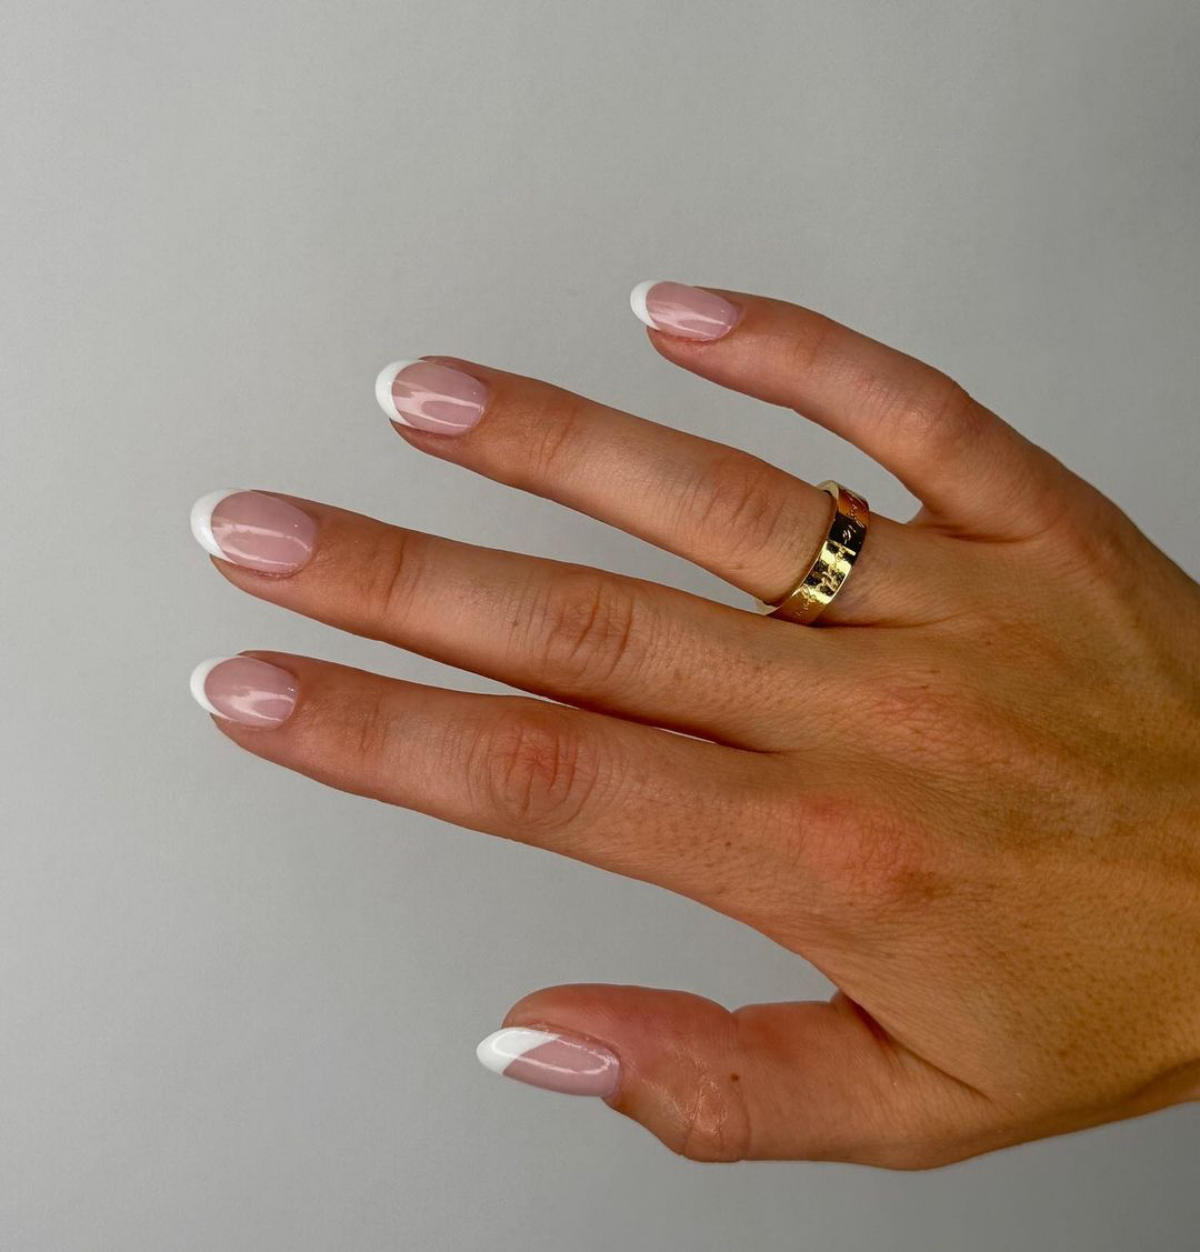
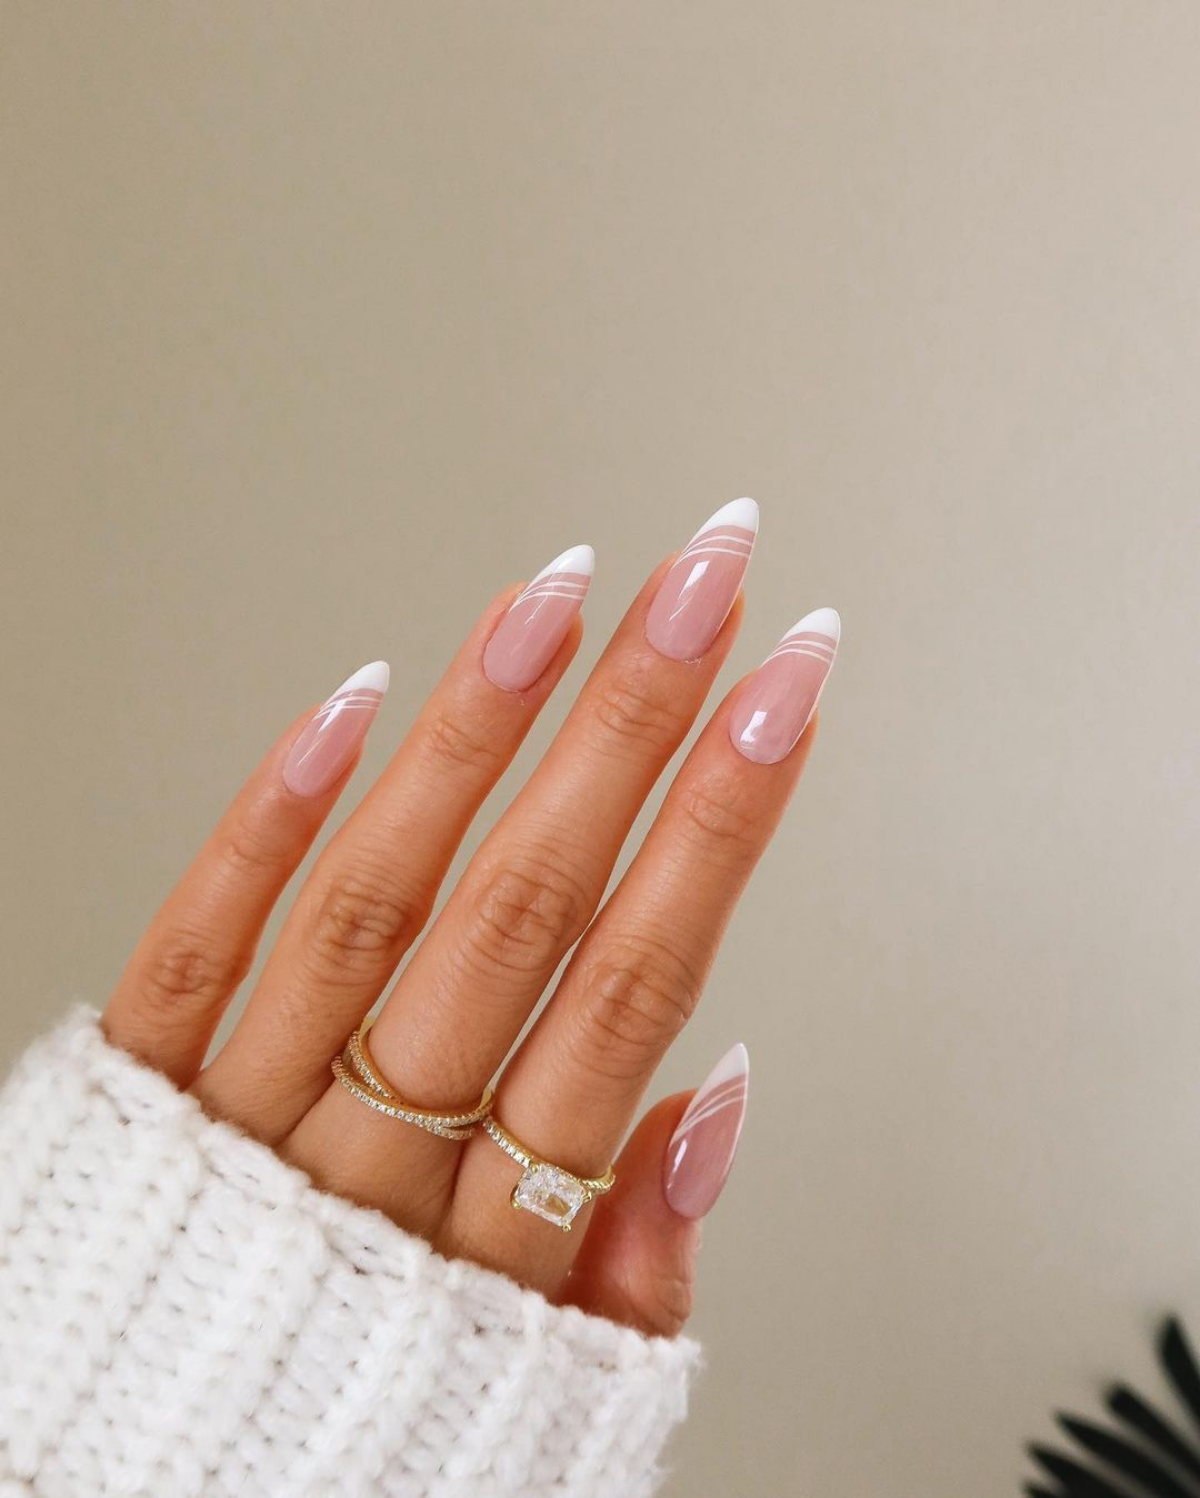
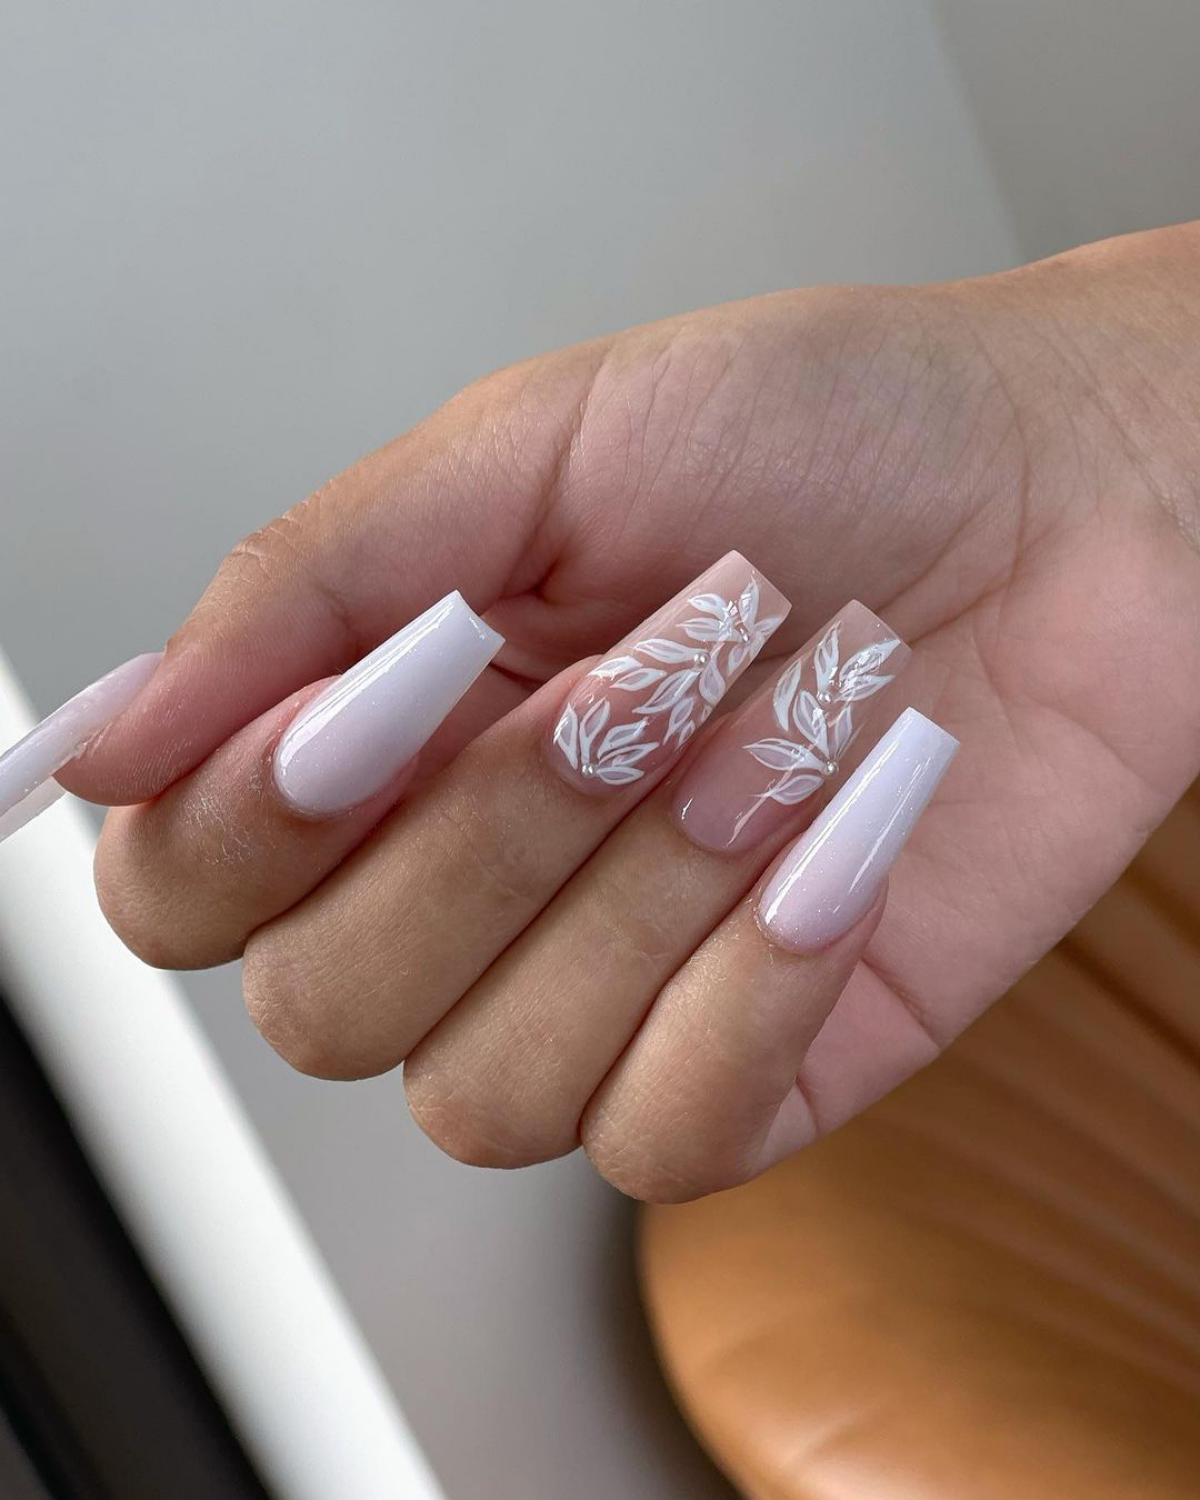
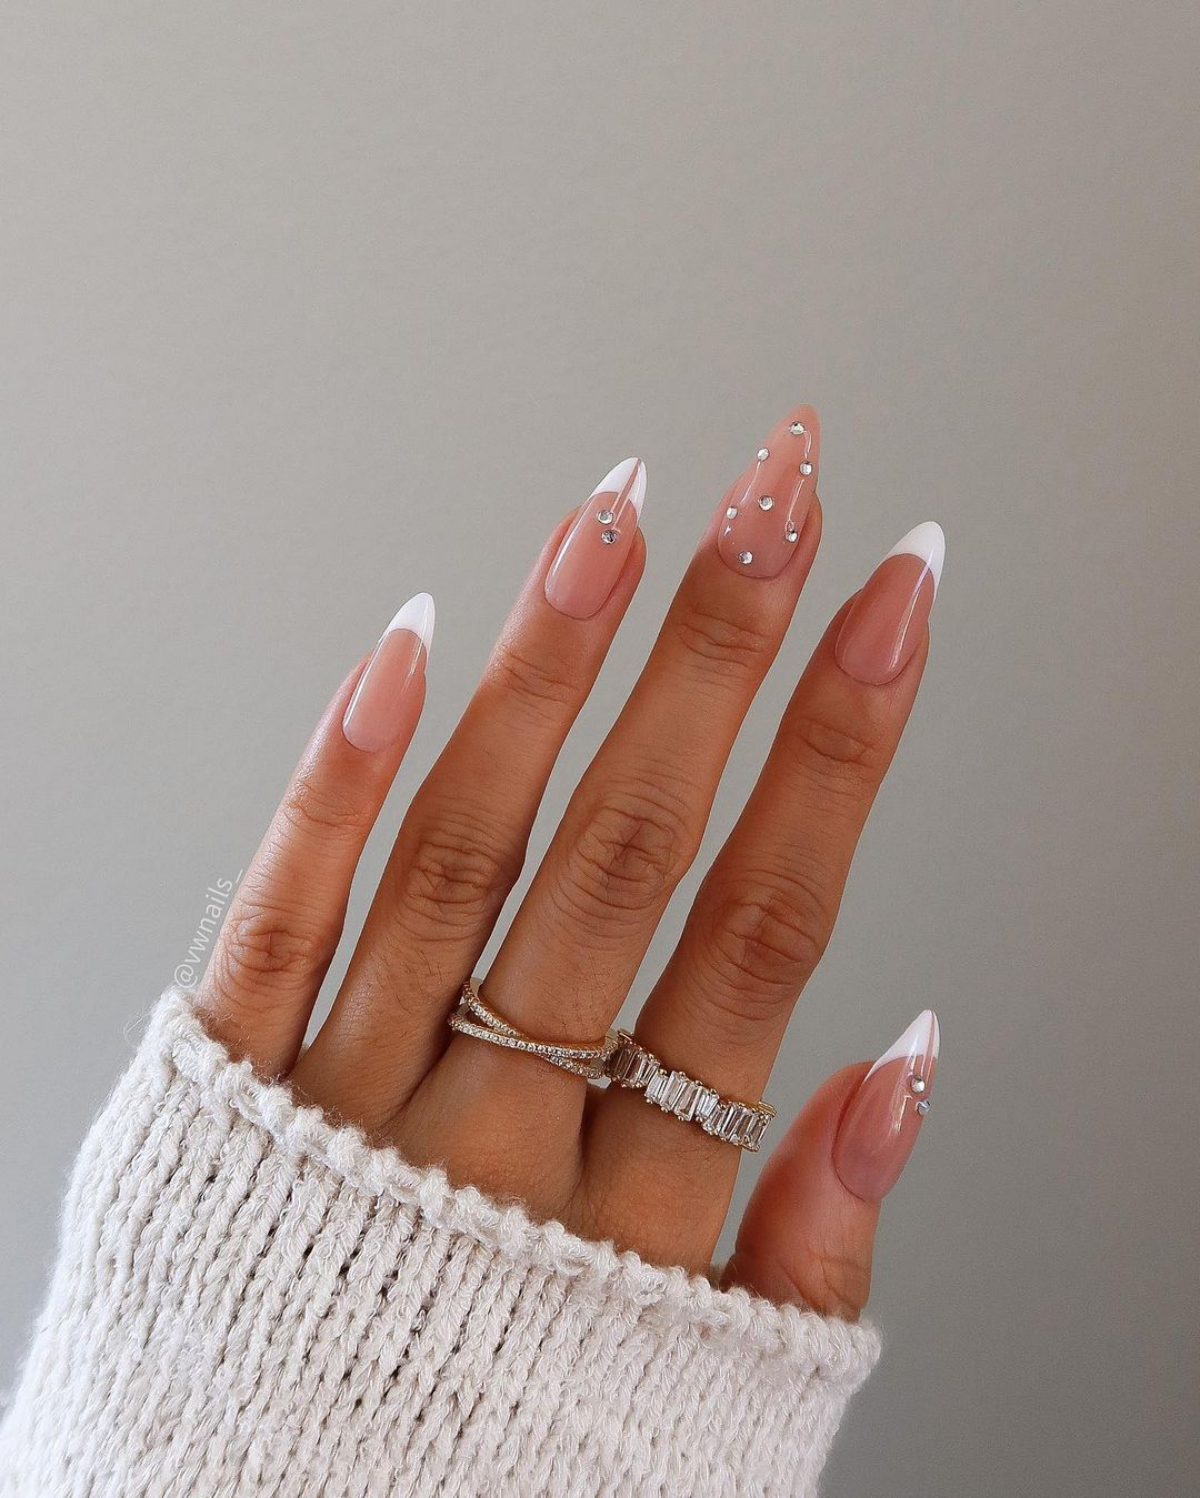
- The Classic French: This is a bridal staple. A true “Classic French” has a sheer pinky-nude base and a crisp white tip. A softer take is the “American Manicure,” which uses a creamier nude base and an off-white tip for a more blended, natural look. A modern, chic twist is the “Micro French,” which is just a paper-thin line of white at the very tip.
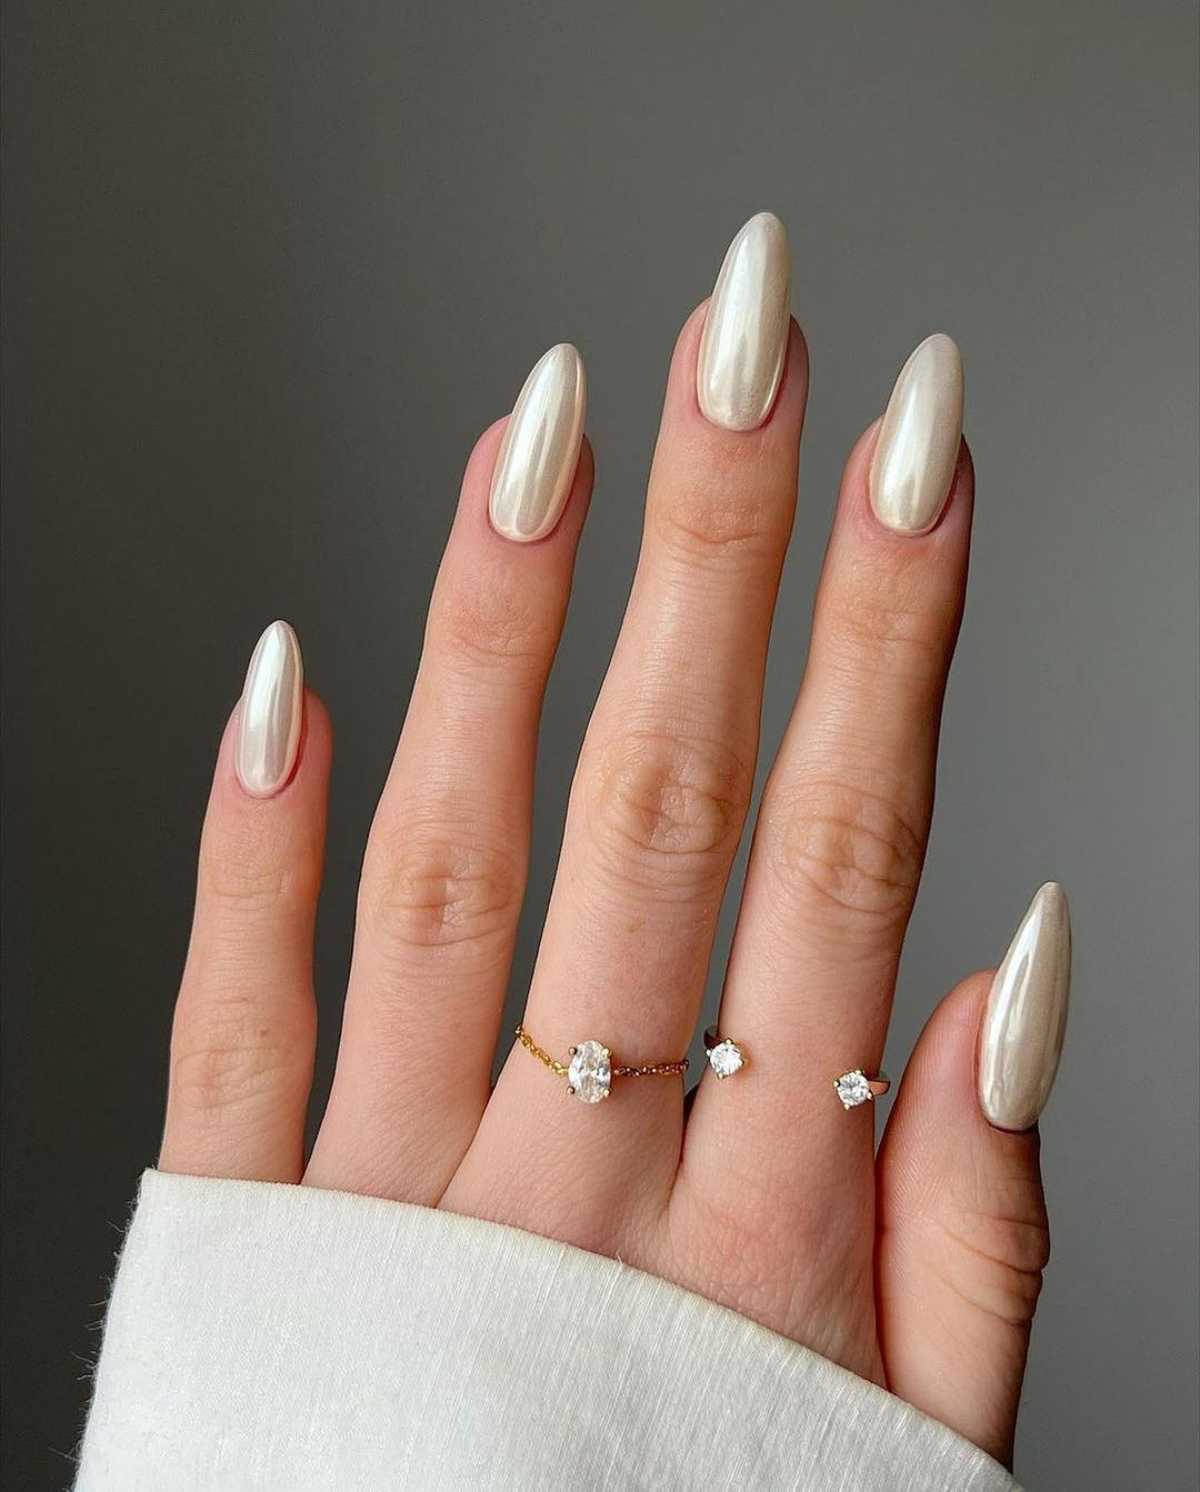
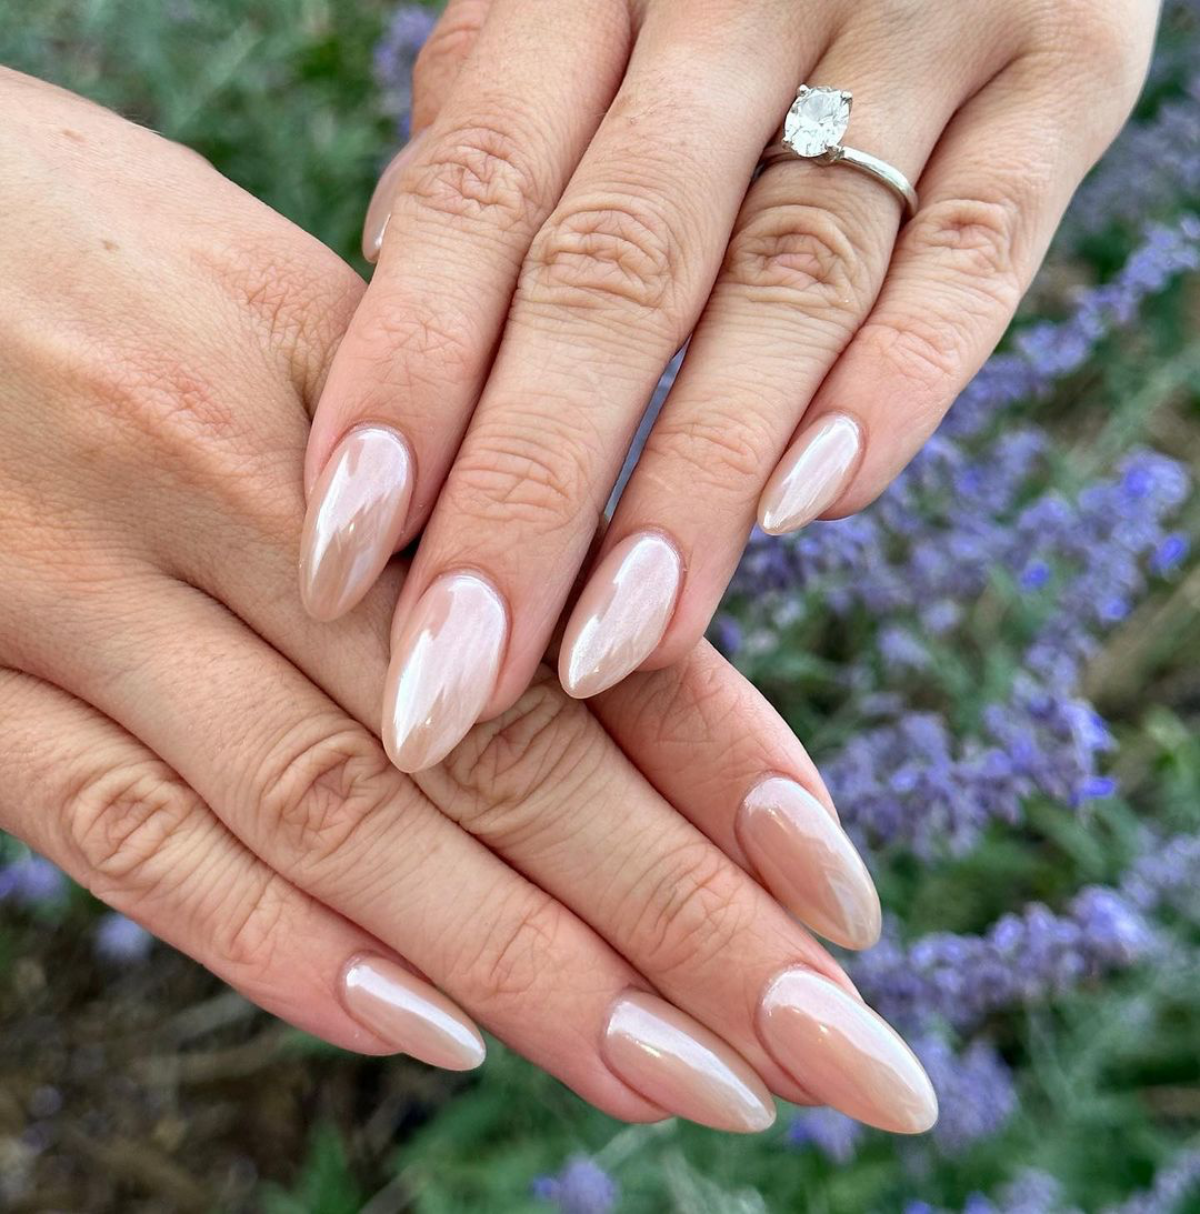
- The “Glazed” Chrome Look: This iridescent finish is stunning on a modern bride. It’s achieved by rubbing a special pearlescent chrome powder over a cured, no-wipe top coat. It creates a seamless, ethereal shine that looks incredible in photos. This effect usually adds $10 to $20 to the manicure cost.
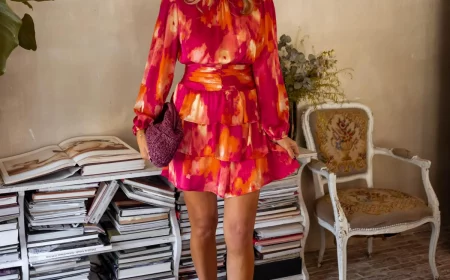
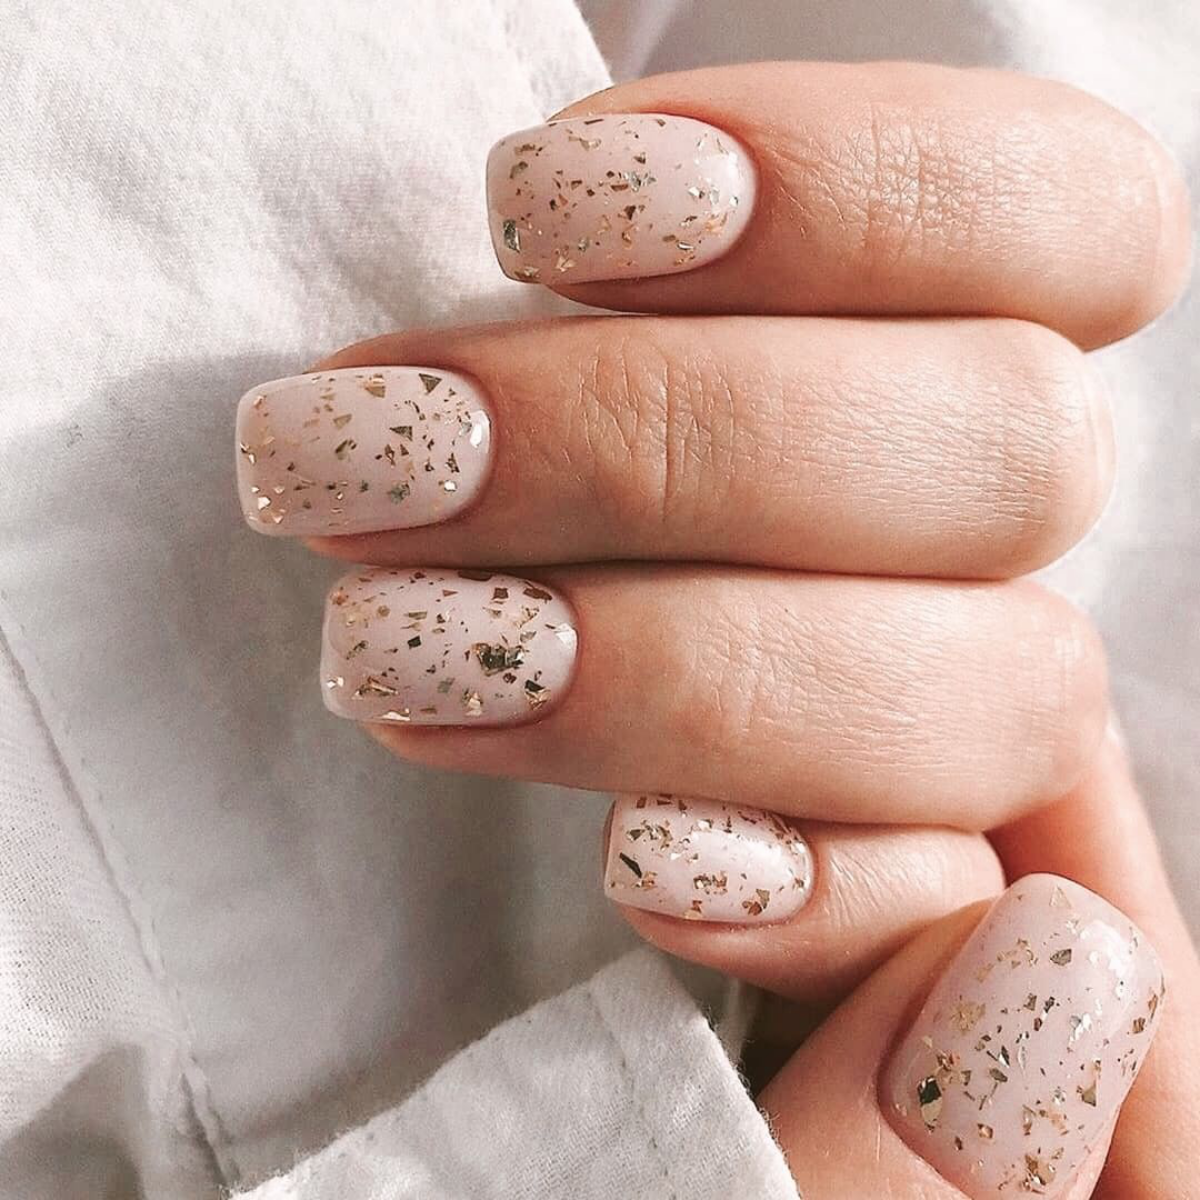
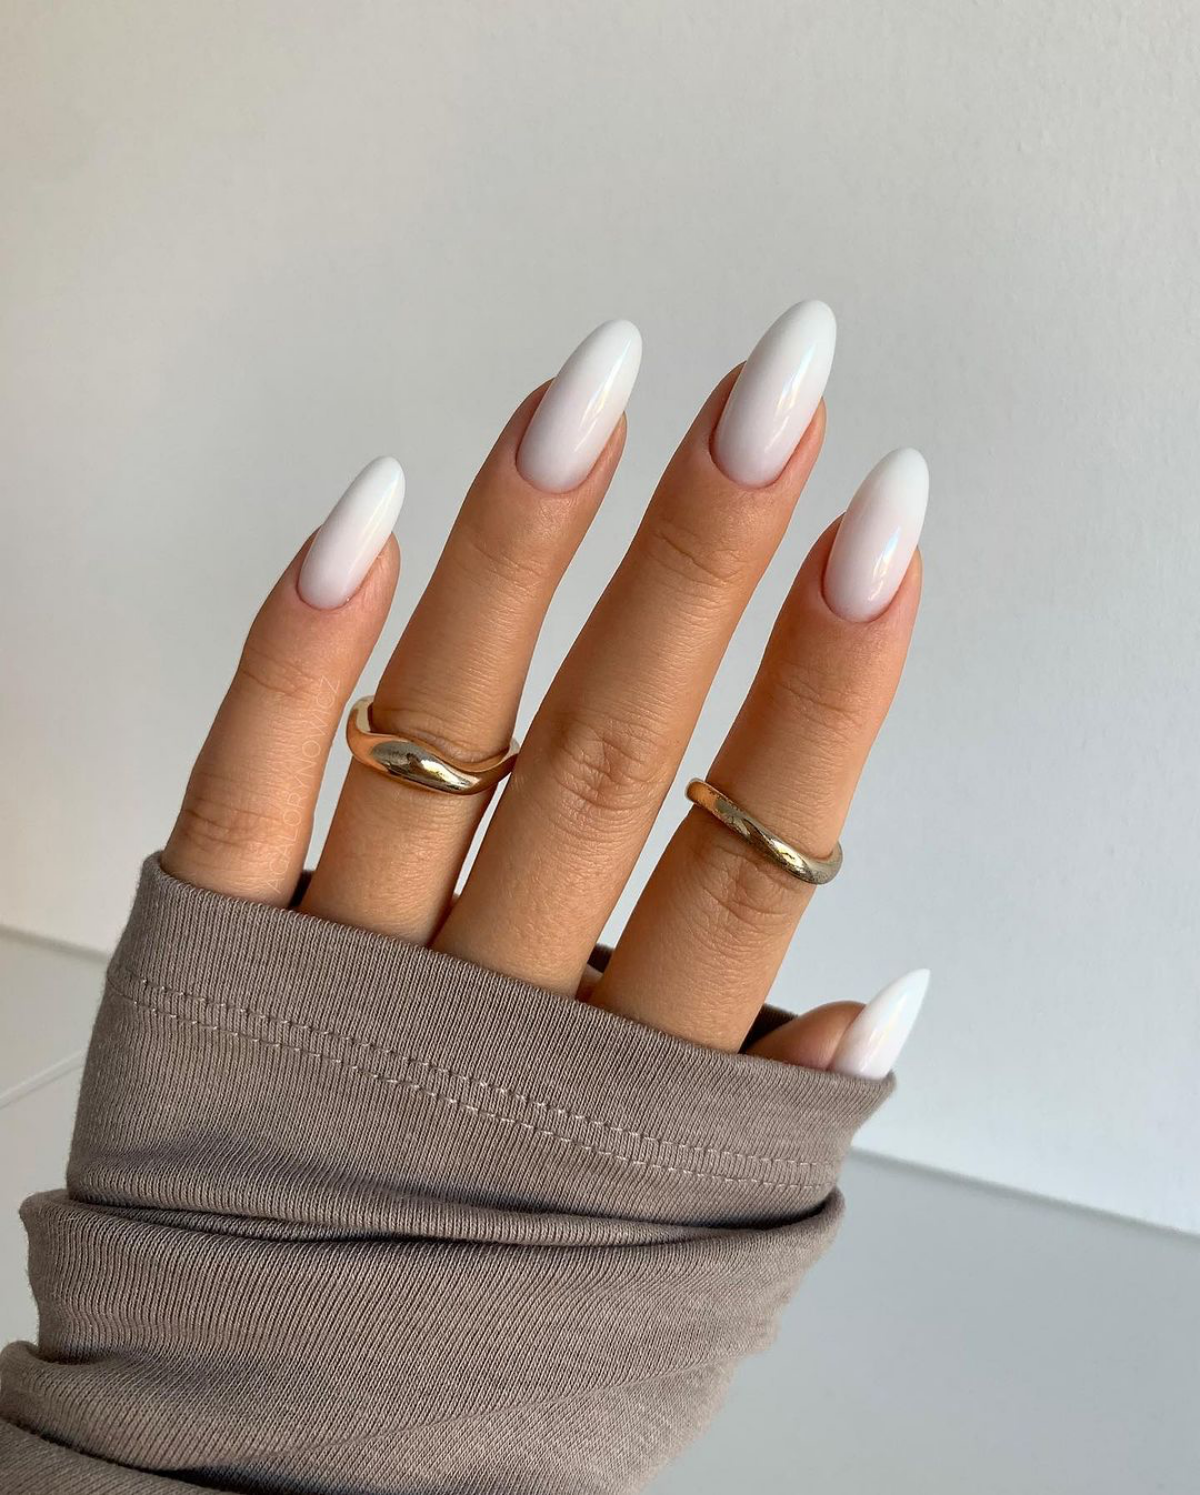
- Ombré (or “Baby Boomer”): This is a beautiful gradient look where a soft pink at the cuticle fades seamlessly into a soft white at the tip. It’s a softer, more romantic version of a French manicure. It’s easiest to do with acrylics, but a skilled tech can also blend it with gel and a sponge. This advanced technique will also likely add to the final price.
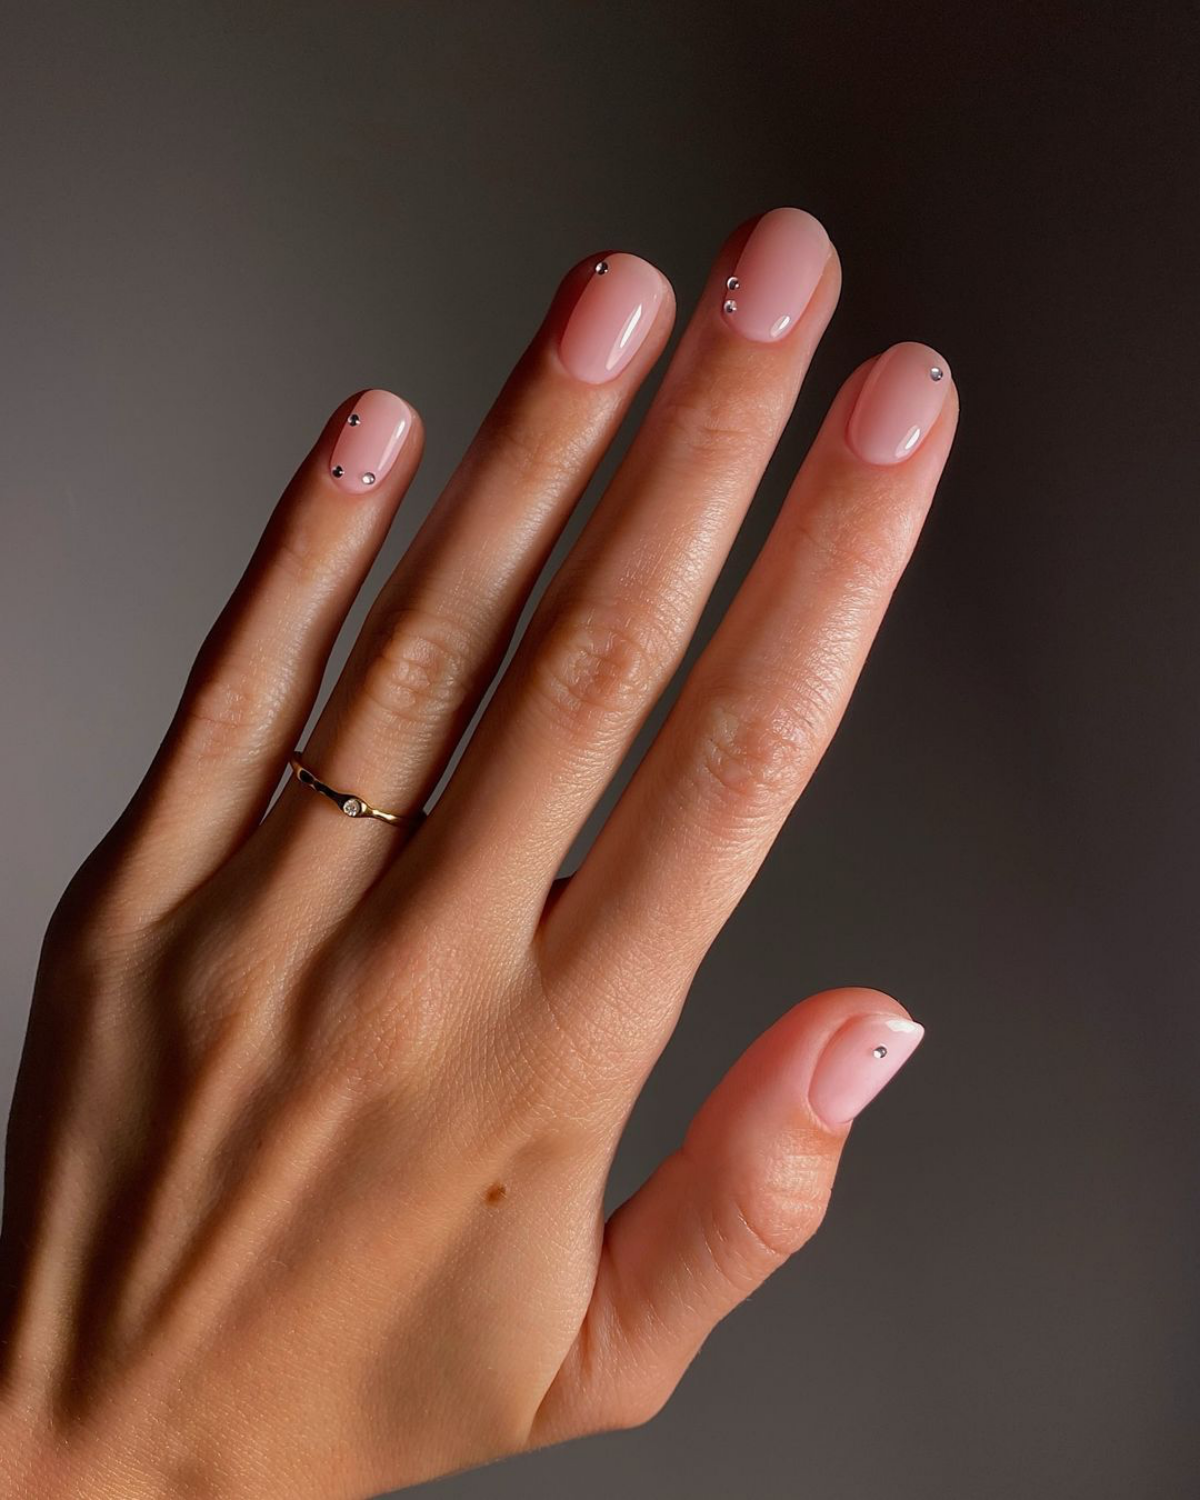
- Subtle Bling: A few tiny, well-placed rhinestones or pearls can be gorgeous. The key is securing them with a strong gel glue, not just top coat. I always place a bead of builder gel, set the stone, cure it, and then use a tiny brush to seal around the edges. Less is more here—a single gem at the base of each ring finger is a popular and elegant choice.
Your 3-Month Countdown to Perfect Wedding-Day Hands
Great nails don’t just happen the day of the appointment. They start with a little TLC beforehand. Here’s a simple routine I give my brides.
- 3 Months Out: Start Daily Cuticle Oil. This is the most important step! I can’t overstate this. Look for a professional-grade cuticle oil that has jojoba oil as a main ingredient—its molecules are small enough to deeply penetrate the nail. Daily use keeps nails flexible and prevents breakage. You can find a great bottle for about $10-$15 at a beauty supply store or online.
- 2 Months Out: Add a Weekly Hand Scrub. Soft hands are just as important for those ring photos! A gentle sugar scrub used once a week will exfoliate dry skin and make your moisturizer work even better.
- 1 Month Out: Protect Your Hands! This is the home stretch. Start wearing gloves when you do dishes or clean. It makes a surprisingly huge difference in keeping your hands and nails from drying out.
How to Find a Great Tech (and Stay Safe)
Your safety is priority number one. When you’re looking for a nail tech, keep your eyes peeled for a few key things.
First, sanitation. Do they wash their hands? Are the stations clean? Metal tools like pushers and nippers MUST be sterilized in an autoclave (a machine using heat and pressure). A jar of blue liquid is for disinfecting, but it’s not enough for tools. Files and buffers can’t be sterilized, so they should be brand new for every single client. Don’t be shy about asking to see their setup!
Also, be aware of a major red flag in acrylics: a super strong, fruity, chemical smell. This could be a cheap, banned liquid called MMA. It’s dangerous because it creates enhancements so rigid they can rip your natural nail right off the nail bed if you jam your finger. A professional salon uses EMA, which has a less harsh (though still distinct) smell and is much safer.
Finally, a little practical advice. When you find a tech you love, don’t forget to budget for a tip, which is typically 15-20% of the service cost. It’s a wonderful way to show your appreciation for their skill and care.
Your Bridal Nail Emergency Kit
For total peace of mind, I suggest putting together a tiny emergency kit for the big day. Just in case!
- A soft, high-grit nail file (to smooth a tiny snag, not for major reshaping)
- A bottle of clear top coat (to seal a tiny chip and stop it from getting worse)
- A small dot of nail glue (in the rare event a rhinestone pops off)
Your wedding day is about celebrating your love. Every little detail, right down to your fingertips, should make you feel confident and beautiful. With a bit of planning and the help of a pro you trust, you’ll have one less thing to worry about and one more perfect detail to enjoy.
Galerie d’inspiration
How do you choose between gel and dip powder for the wedding?
It’s a question every bride asks. A gel manicure, like the iconic CND Shellac, offers a thinner, more flexible finish that feels very natural and boasts an incredible shine. It’s perfect if you love a classic, polished look. Dip powder, such as OPI’s Powder Perfection, creates a harder, more durable layer, making it an excellent choice if your nails are naturally weaker or if you’ll be doing a lot with your hands setting up. Both offer weeks of wear, but the feel is the main difference. Talk to your tech about your nail type and honeymoon plans to pick your perfect match.