Pro Secrets for Valentine’s Decor That Actually Looks Amazing
Let’s be real for a second. Most of the Valentine’s Day decor you see in stores can feel a bit… well, disposable. We’ve all seen the flimsy paper hearts and glittery novelties that end up in the trash by February 15th. As someone who’s spent years styling spaces for events and homes, I’ve learned that creating a truly warm or romantic atmosphere isn’t about filling a room with stuff. It’s about thoughtful details and quality materials.
In this article
It’s the difference between a fleeting gesture and a feeling that lasts. I’ve seen it all—from intimate dinners to huge hotel lobbies. And I’ve definitely seen what doesn’t work. A cheap, sagging garland can bring down the vibe of an entire room, and the wrong candle can fill a space with more smoke than romance. So, this guide is all about sharing the pro techniques we use to build an atmosphere that feels intentional and personal, without the cringe factor.
We’re going to move past the simple cut-and-paste ideas and get into the craft itself. You’ll learn which materials to use and, more importantly, why they work. This is how you create pieces that look polished and professional, making your home feel genuinely special.
The ‘Why’ Behind a Romantic Vibe
Before we even think about touching a craft knife, it’s good to understand the psychology behind it all. In professional styling, we don’t just pick things because they’re pretty. We choose them for the predictable emotional response they trigger. This is the foundation that separates basic decorating from truly intentional design.
Let’s Talk Color and Light
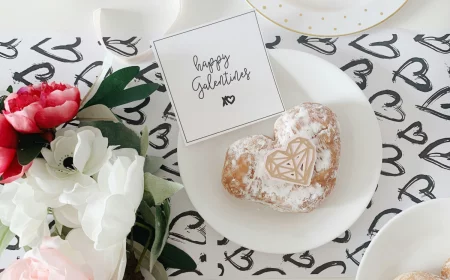
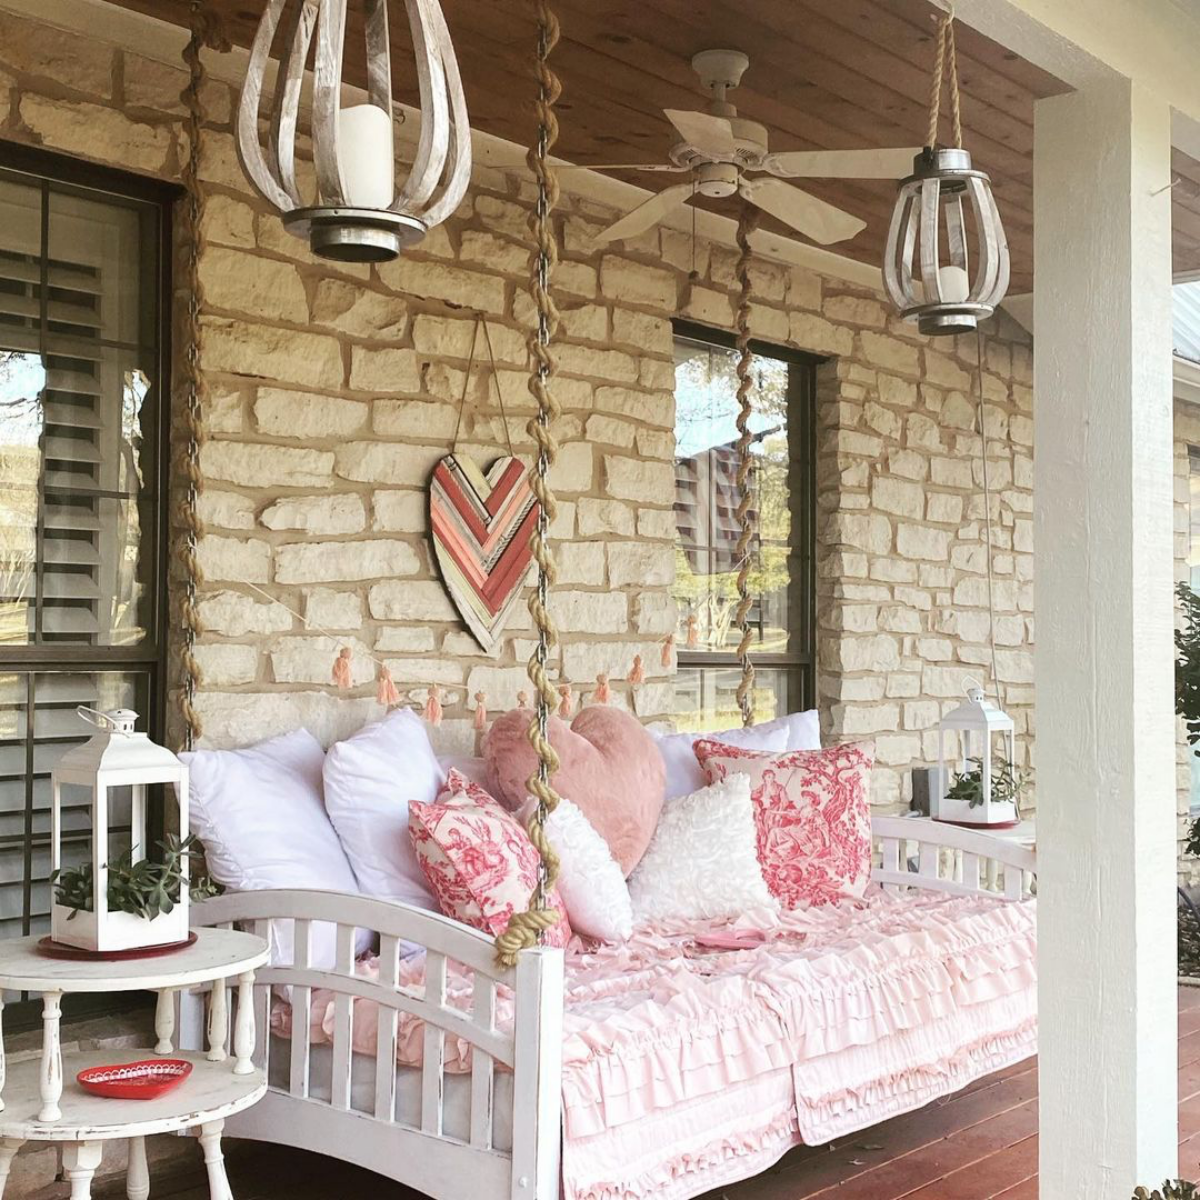
Color is powerful stuff. Red, the classic Valentine’s color, is known to actually increase heart rate and energy. It’s the color of passion, for sure. But here’s the thing: a room drenched in primary red can feel more aggressive than romantic. That’s why the pros almost always use it as an accent. Think of a single, rich red velvet pillow on a neutral sofa. Your eye goes right to it, but it doesn’t scream at you.
Pinks, on the other hand, are just red mixed with white, and that simple change makes them softer. They give off feelings of tenderness and calm. A great designer trick is to use a few different shades of pink together—like a dusty rose, a pale blush, and a deep magenta. This monochromatic approach creates depth and instantly looks sophisticated.
Light is just as crucial, if not more so. The warm, flickering glow of a candle flame has a very low color temperature, which is physically calming to our nervous systems. For comparison, harsh office lights are often double or triple that temperature. Warm, ambient light softens everything, hides imperfections, and creates an instant bubble of intimacy. This is why we always prioritize lamps, dimmers, and candles over bright, overhead lighting.
It’s All About Texture
A room is experienced with more than just our eyes. Texture plays a massive role in how a space feels. Smooth, cool surfaces like glass or metal can read as sleek and modern, but they can also feel a bit cold and impersonal.

To create warmth, you need to layer in different tactile surfaces. Think about it: what’s the difference between a heart cut from cheap, scratchy craft felt and one made from soft, dense wool felt? One feels like a kid’s project; the other feels like a quality object you want to hold.
When I’m teaching new stylists, I have them close their eyes and just touch the materials. The plush pile of a velvet cushion, the subtle roughness of real linen, the smooth grain of a wooden bead… they all send signals of comfort and even luxury to the brain. Layering these is the key to making a space feel rich and inviting.
Timeless DIYs That Look Store-Bought (in a Good Way)
Okay, let’s get our hands dirty. These aren’t flimsy, one-and-done crafts. These are methods for creating quality pieces you can be proud of and even pack away for next year.
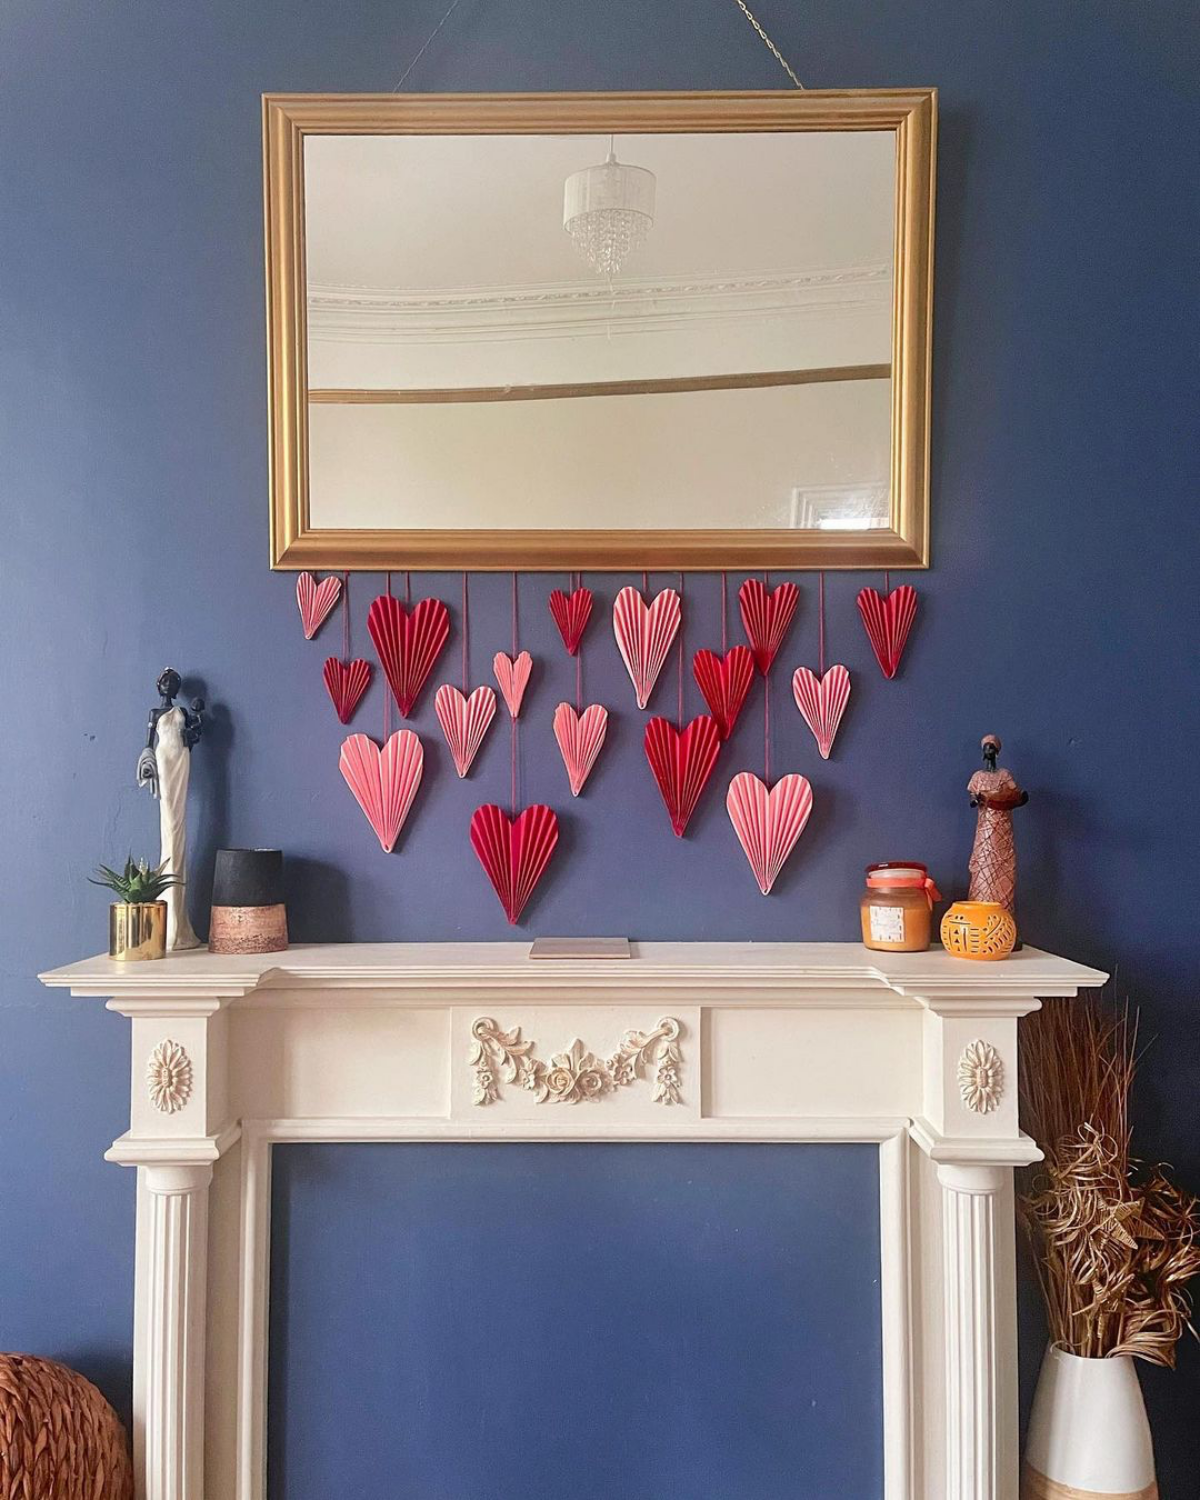
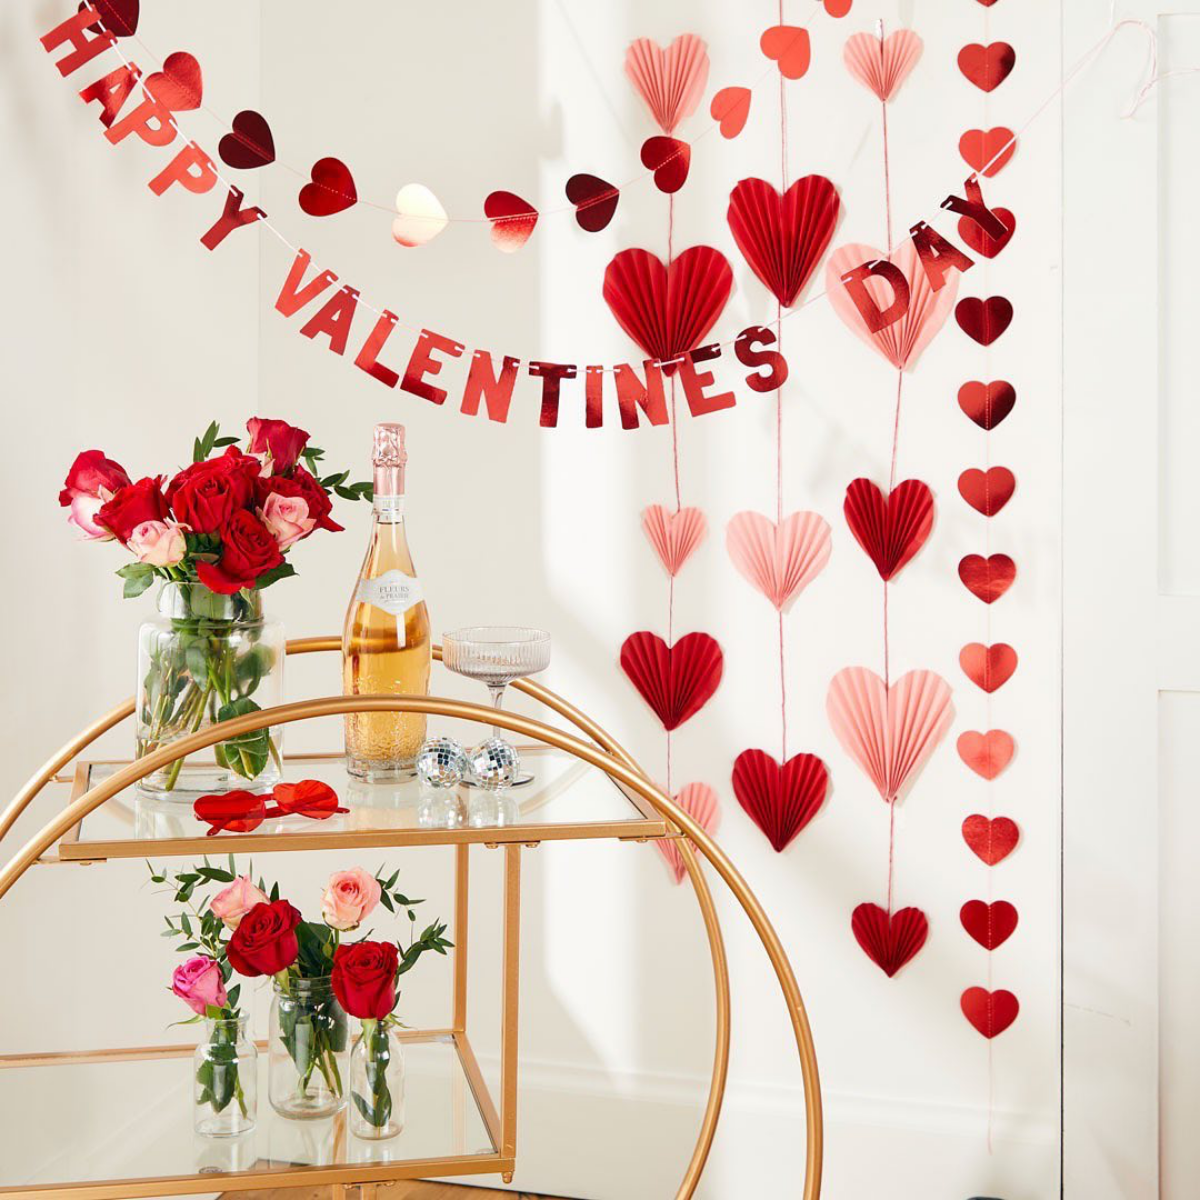
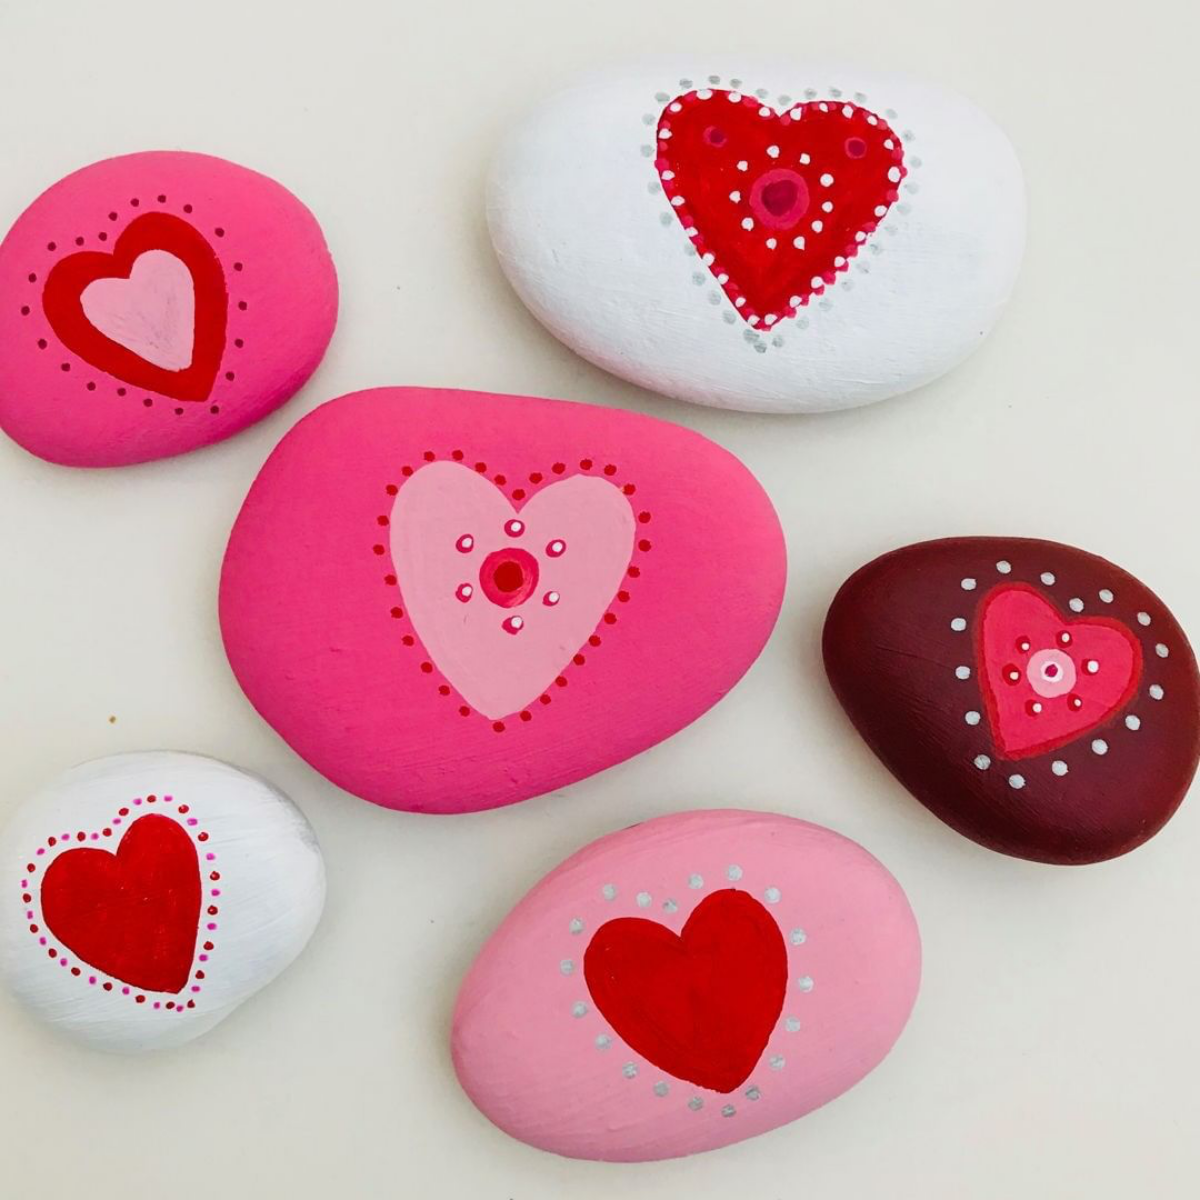
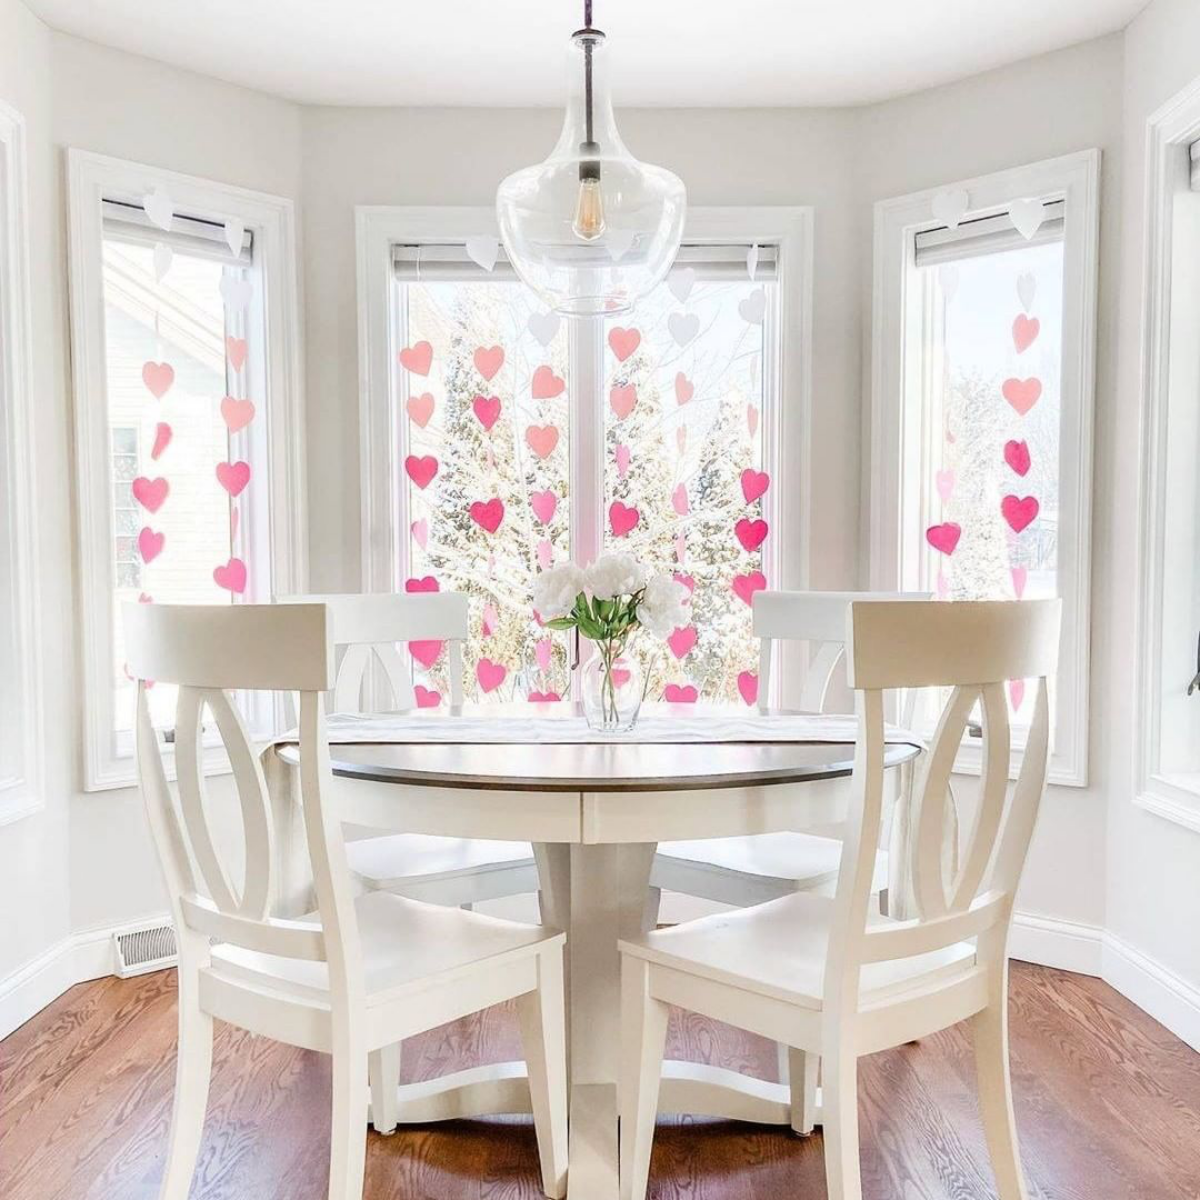
Technique 1: The 3D Paper Heart Garland
Anyone can string up paper hearts, but the difference between a sad, sagging string and an elegant, floating garland is all in the technique. We’re not just cutting and taping; we’re basically engineering a lightweight sculpture.
What You’ll Need:
- Paper: This is the most important part. Do not use flimsy construction paper! Trust me, I made that mistake once for a client, and the morning humidity turned it into a droopy, tragic mess. You need cardstock, specifically between 150 and 200 GSM (grams per square meter). You can find this at any craft store like Michaels or Jo-Ann, or online. It’s sturdy enough to hold its shape but light enough to hang easily.
- Cutting Tool: For those crisp, perfect edges, a sharp craft knife with a self-healing mat is your best friend. But for speed and perfect uniformity, a heart-shaped craft punch is a game-changer.
- String: Skip the regular cotton string that sags. I recommend clear monofilament fishing line (4-6 lb. test) for an invisible, floating look. For a more rustic vibe, high-quality baker’s twine looks amazing and is super cheap—usually under $5 for a big roll.
- Adhesive: A hot glue gun works, but it can get messy. For a super clean bond, I prefer a high-tack craft glue or strong double-sided tape made for scrapbooking.
The Pro Method:
- For each 3D heart, you’ll need to cut three identical heart shapes. A punch makes this go way faster.
- Take each heart and score it precisely down the middle with a bone folder and a ruler. Don’t just fold it by hand—the crease will be soft and look unprofessional. This sharp fold is a signature of quality work.
- Fold each of the three hearts in half along your scored line.
- Glue one folded half to another. Then, attach the third heart to create the 3D, six-finned shape.
- Before you glue the final two halves together, lay your fishing line or twine down the center spine. Then, apply your glue and press the final sections closed, trapping the string securely inside.
A Few Pro Tips: Spacing is everything! Random spacing can look like an accident. Deliberate, measured spacing (like one heart every 6 inches) looks intentional and polished. For a 6-foot garland, you’ll need about 12 of these 3D hearts, which means cutting 36 individual paper hearts. Plan for about 90 minutes of focused crafting time. To stop the hearts from sliding around on the fishing line, just tie a tiny, nearly invisible knot on the line right under each heart.
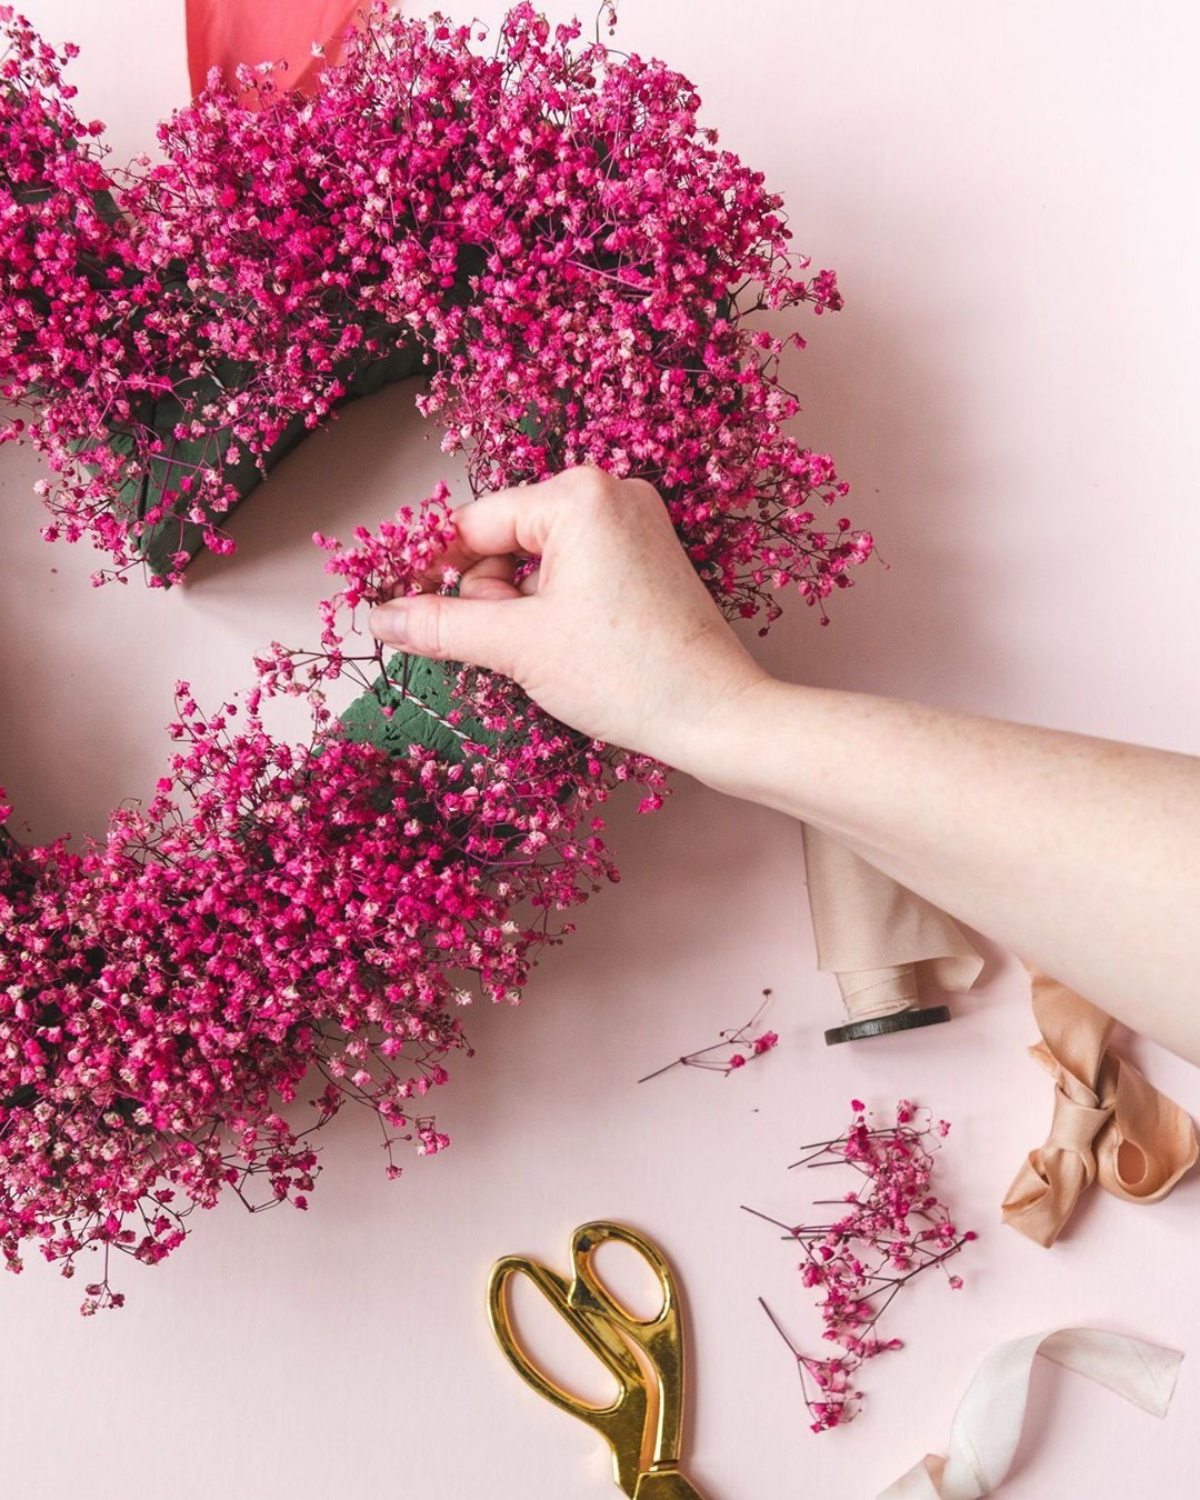
Technique 2: The Everlasting Baby’s Breath Wreath
A fresh baby’s breath (Gypsophila) wreath is stunning, but it only looks ‘fresh’ for a few days. The secret is to work with flowers that dry beautifully. Gypsophila is perfect because it keeps its shape and volume as it dries.
What You’ll Need:
- Wreath Base: You need a wire heart-shaped frame. You can find these for a few bucks in the floral section of any craft store or online at places like afloral.com. Avoid styrofoam bases; they trap moisture and can cause mold.
- Flowers: For a full, luxurious 12-inch wreath, you’ll want 2-3 full bunches of Gypsophila. For a pink tint, you can either buy it pre-dyed from a florist or gently mist white baby’s breath with a special floral spray paint (like Design Master). Regular spray paint is too heavy and will make the delicate blooms clump together.
- Wire: Thin, flexible green or silver paddle wire (24 or 26 gauge) is what you’re looking for.
- Tools: Good old wire cutters and scissors.

The Pro Method:
- First, prep your flowers. This is the most time-consuming part, so put on a podcast and get comfortable. Cut the Gypsophila into small sprigs, about 3-4 inches long.
- Create little mini-bouquets by holding 3-4 of these sprigs together. This is the key to getting a full, lush wreath.
- Attach your first mini-bouquet to the wire frame by wrapping the floral wire tightly around the stems and the frame a few times. Don’t cut the wire yet!
- Now, layer the next mini-bouquet so its fluffy tops completely hide the wired stems of the one before it. It’s exactly like laying shingles on a roof—a classic floral trick to hide all your mechanics.
- Keep going, overlapping each new bunch, until the whole frame is covered. When you get back to where you started, just tuck the last stems under the first flower heads to create a seamless circle. Secure the wire, and you’re done.
Heads up: This wreath will look fresh for about a week, then it will start to dry. The color might fade a little over time, but it will hold its shape for months, or even years, if you keep it out of direct sun and humidity. Just be gentle with it, as dried Gypsophila can be brittle.
Technique 3: Decorating Candles Without a Fire Hazard
Okay, this is important. I’ve seen the aftermath of this mistake, and it’s not pretty. Never paint directly on a candle with regular craft paint. Acrylic paint is a plastic polymer. When it heats up, it can easily catch fire, turning your romantic candle into a dangerous torch. Safety is non-negotiable, and we always follow strict fire safety guidelines.
Here are two safe and professional ways to decorate a candle.
Method A: Heat Embossing (My Favorite) This creates a gorgeous, slightly raised design that fuses right into the outer layer of wax. It looks so professional.
- The Gist: You’ll need pillar candles, a pigment ink pad, rubber stamps, embossing powder (metallics are beautiful), and a heat gun (around $25-$30 at a craft or hardware store). You just stamp the candle with ink, sprinkle on the powder, tap off the excess, and melt it with the heat gun. You’ll literally see it transform into a glossy, fused design.
- Safety Quick Tip: That heat gun gets incredibly hot. Keep it moving, hold it about 6 inches away from the candle, and never point it at your skin. Also, never emboss too close to the wick!
Method B: The Decorated Vellum Wrap This is a super easy and elegant alternative that keeps all decorative materials away from the flame.
- The Gist: Just measure and cut a piece of vellum paper to wrap around your pillar candle. Make sure it’s a little shorter than the candle’s height so it can’t interfere with the flame. Decorate the vellum first—you can use pressed flowers, paper cutouts, or even print a favorite poem very faintly onto it for a sweet, hidden detail. Wrap it around the candle and secure it with a piece of clear tape. A simple twine or silk ribbon tie finishes the look beautifully.
And no matter what, please always remember the candle basics: never leave a burning candle unattended, keep it on a stable, heat-resistant surface, and keep that wick trimmed to 1/4 inch.
Putting It All Together for a Cohesive Look
Once you’ve made a few pieces, the final step is making them work together. This is how you create a unified design story instead of a random collection of crafts.
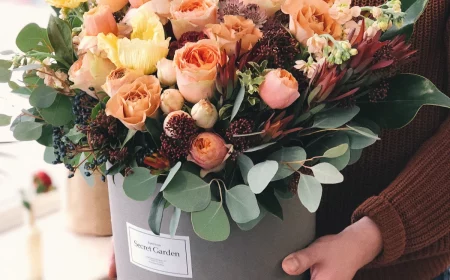
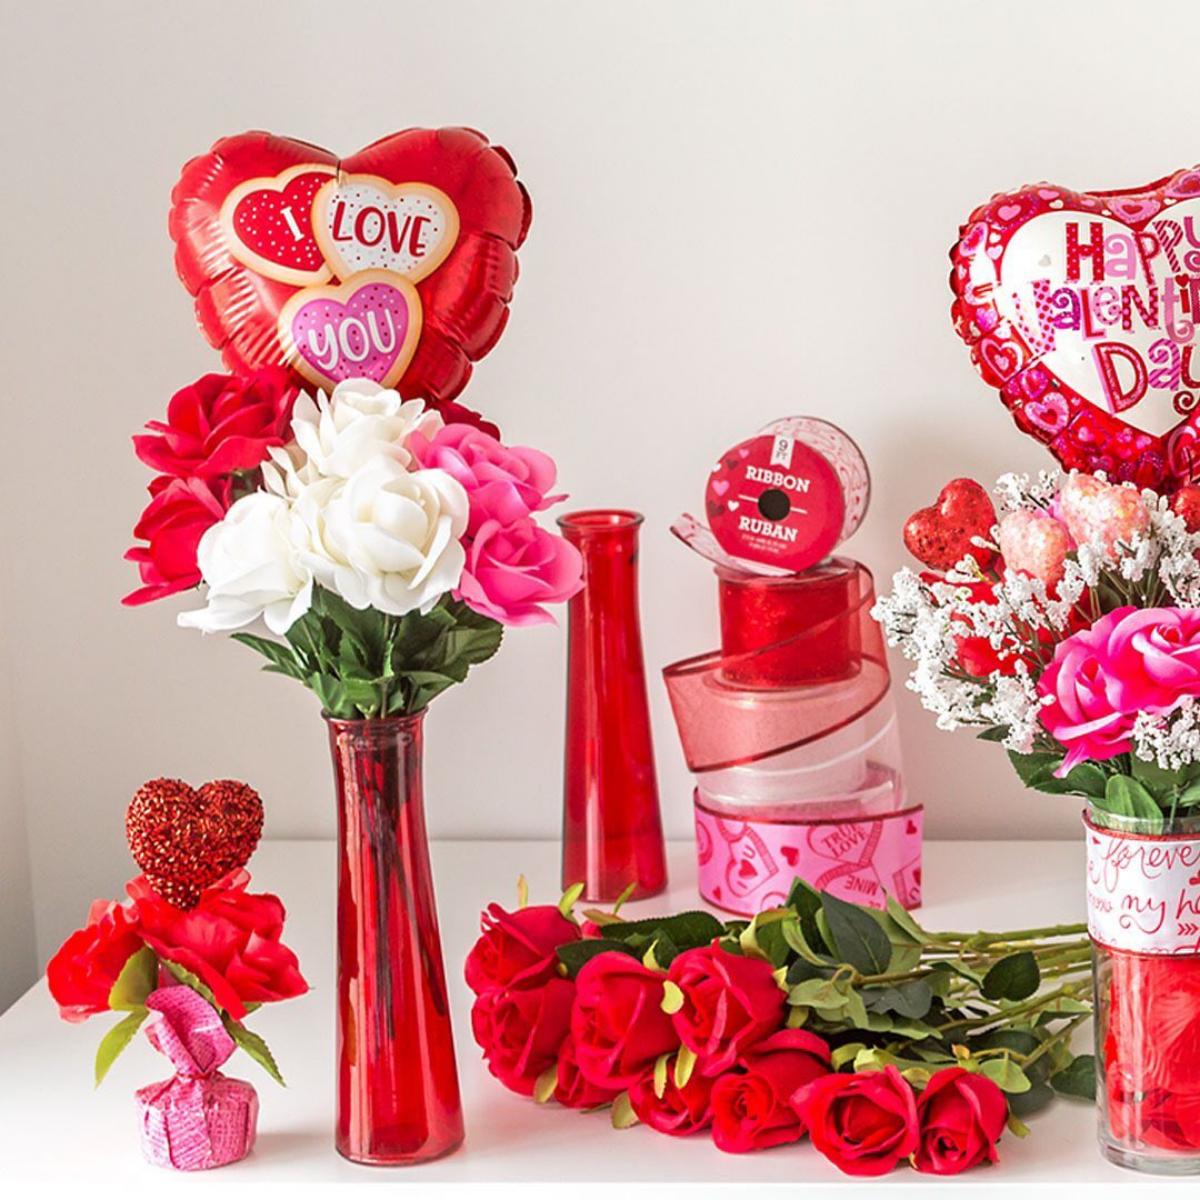
Beyond Red Roses: Building a Better Bouquet
A bouquet is a composition, not just a bunch of flowers crammed in a vase. And you don’t have to default to expensive red roses in February. In many colder areas, tulips and carnations are much more affordable and in-season. Tulips offer clean, modern lines, while carnations provide a soft, ruffled texture that’s really underrated.
Want a foolproof, budget-friendly ‘recipe’ you can take to the florist or grocery store? Ask for 5 pink tulips, 3 white carnations, and 2 stems of seeded eucalyptus. It’s a gorgeous combo that looks high-end without the high-end price tag.
A quick tip for longer-lasting flowers: The second you get them home, strip off any leaves that will sit below the waterline in the vase (this prevents bacteria), and give the stems a fresh cut at an angle. Pop them in clean water with that little flower food packet for a few hours before you even start arranging. It makes a huge difference.
Oh, and a really important note if you have pets: many common flowers, like lilies, are extremely toxic to cats. Tulips and amaryllis can also be harmful. Always do a quick search on the ASPCA’s toxic plant list before bringing new flowers home. It’s a non-negotiable safety check in my professional work.
The Easiest Room Makeover: Textiles
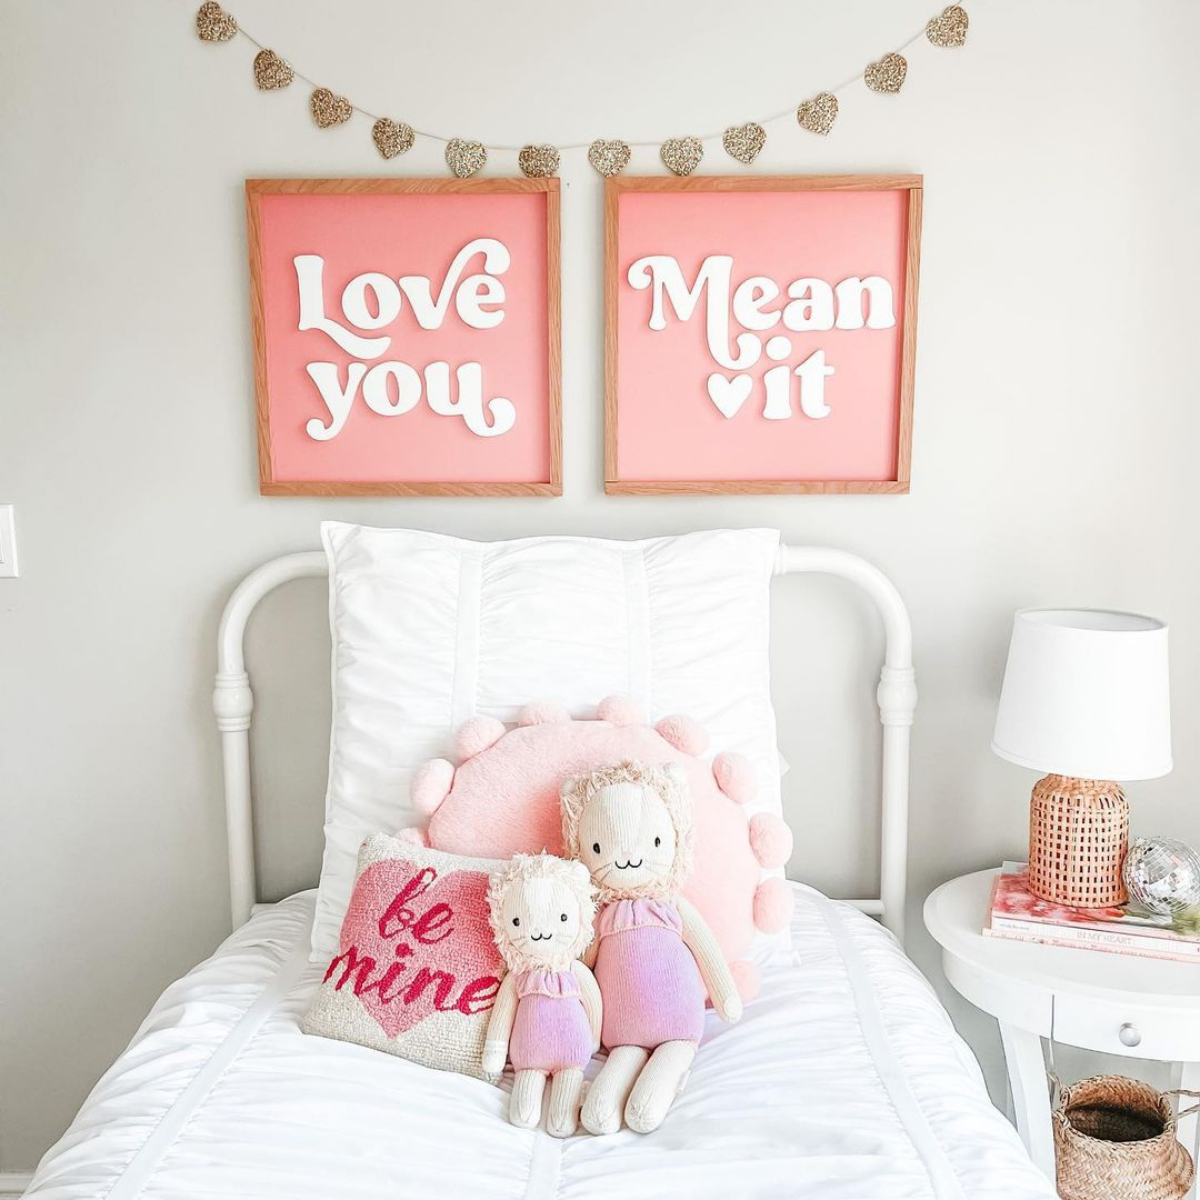
Pillows and throws are, without a doubt, the fastest way to change the feel of a room. To get that cozy, inviting look, it’s all about layering different textures.
Think of it like a cheat sheet for feelings: velvet reads as luxe and plush, linen feels natural and airy, and a chunky knit just screams ‘cozy and inviting.’ For a pro look, you always want to mix at least two of these. Imagine a sofa with a couple of large linen pillows, a smaller velvet one, and a soft knit throw draped over the arm. It just begs you to come curl up.
For a really full, styled sofa, try this formula: start with two larger (22-24 inch) matching pillows in the corners. Layer two slightly smaller (20 inch) pillows in a contrasting color or texture in front of them. Finish with a single, unique lumbar pillow in the center. It’s a classic for a reason!
So, What’s the Plan?
Let’s be honest about time and money. That beautiful paper garland can be done in an evening for under $20, but you need patience for the precise folding. The baby’s breath wreath will likely take 2-3 hours of hands-on time and cost between $30-$50, mostly for the flowers. The real question is: DIY or buy?
Be realistic about your time and skill level. The paper garland is a fantastic beginner project. A complex floral arrangement might just be frustrating if you’re new to it. Sometimes, the smartest move is to buy one or two high-quality statement pieces and then supplement with a few simple DIYs. That’s not cheating—it’s smart delegating!
Ultimately, this is all about creating a space that shows you care. When you take the time to score a piece of paper perfectly or wire a flower just so, that intention is baked right into the final object. And that tangible sense of effort and quality is what truly transforms a house into a warm, welcoming home.
Okay, your turn! I challenge you to pick one project this weekend—maybe start with the 3D paper heart garland. It’s so satisfying when you see it hanging up. I’d honestly love to see how it turns out!