Your Ultimate Guide to Dyeing Easter Eggs (That Actually Look Good)
That sharp, tangy smell of vinegar hitting hot water instantly transports me back to my childhood. It was a yearly ritual in my grandma’s kitchen, a hands-on tradition that felt like magic. We weren’t a store-bought kit family; we used things like onion skins, beets, and cabbage to pull color right out of the earth. It taught me that a decorated egg is so much more than a holiday craft—it’s a little piece of art, a science experiment, and a connection to the simple joy of making something yourself.
In this article
- First, Choose Your Adventure: What’s Your Dyeing Style?
- The (Not-So-Secret) Science of a Perfect Egg
- How to Hack Your Store-Bought Kit
- Going Natural: Dyes Straight from Your Kitchen
- Help! Why Do My Eggs Look… Like This?
- Level Up: Creating Keepsake Eggs
- Your Game Plan: Prep for a Mess-Free Day
- A Final, Crucial Note on Safety
- Inspirational Gallery
Most people see egg dyeing as just a fun thing for kids, and it totally is! But understanding a bit about why it works can take your eggs from splotchy and pale to vibrant and stunning. This guide is all the knowledge I’ve gathered over the years, from my first cracked, sad-looking eggs to the intricate designs I teach today.
First, Choose Your Adventure: What’s Your Dyeing Style?
Before you boil a single egg, you’ve got to decide what kind of project you’re getting into. Are you looking for a quick and easy afternoon activity, or a deep-dive into natural crafting? Let’s be real about the options.
- The Classic Box Kit: This is your go-to for speed and convenience. For about $3 to $5 at any grocery store, you get predictable, bright colors. It’s fantastic for younger kids who want to see results fast. The mess is contained, and the whole process takes about an hour. Kid-friendly? Absolutely.
- The Natural Dye Method: This is my personal favorite. It’s slower, more of an art, and the colors are rich, earthy, and gorgeous. The cost can be next to nothing if you use kitchen scraps (like onion skins), or up to $5-$10 if you’re buying produce like beets or a head of cabbage specifically for dyeing. It’s a bit more involved and can take several hours, or even overnight for deep shades. It’s a fantastic project for older kids and adults who appreciate the process.
- The Advanced Artistry Method: This includes intricate techniques like wax-resist designs. This isn’t just dyeing; it’s creating a keepsake. The time commitment is high—several hours at least—and it requires patience and a steady hand. It’s not the most kid-friendly for little ones, but it’s an incredibly rewarding craft for teens and adults.

The (Not-So-Secret) Science of a Perfect Egg
Ever wonder why you need vinegar? Or why sometimes your colors just don’t stick? It’s all about simple chemistry. An eggshell looks smooth, but it’s actually covered in thousands of tiny pores. The goal is to get dye into those pores.
The shell has a natural, invisible coating that repels water and, you guessed it, dye. This is where hot water and vinegar come in to save the day. The heat from boiling helps wash away that protective layer, opening up the pores. That’s your blank canvas.
Then comes the vinegar. Vinegar is a mild acid, and when it hits the alkaline eggshell (which is mostly calcium carbonate), it ever-so-slightly etches the surface. Think of it like scuffing something with sandpaper before you paint it. This microscopic roughness gives the dye molecules something to grab onto, leading to deep, even color. Without it, your eggs will look pale and sad. A good rule of thumb is about one tablespoon of white vinegar per cup of dye liquid.

How to Hack Your Store-Bought Kit
Most of us start with a boxed kit, and there’s no shame in that! But you can get way better results than the picture on the box. Here are a few tricks:
- Use Less Water: The instructions often say to use a full cup of water per tablet. For more intense, vibrant colors, try using half a cup instead. A more concentrated dye bath works wonders.
- Don’t Skip the Vinegar: That little vinegar tablet (or the call for liquid vinegar) is crucial. It smells, I know, but it’s the key to making the color pop. Always use it.
- Go for a Double Dip: Want to try some color theory? Dye an egg yellow first, let it dry, then give it a quick dip in the blue dye to create a brilliant green.
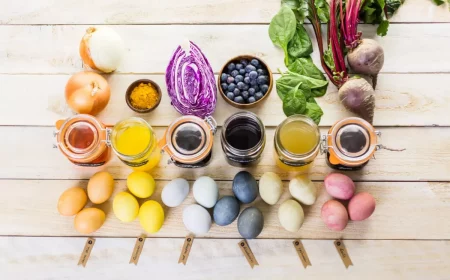
Going Natural: Dyes Straight from Your Kitchen
Ready to try dyeing the old-fashioned way? It’s a slower process, but the results are stunningly beautiful. The best way to do it is the cold method: you hard-boil your eggs first, then let them soak in a cooled dye bath. This gives you way more control over the final shade.
Heads up! Natural dyes will stain your pots. I have a dedicated old stainless steel pot just for my dyeing projects. Avoid aluminum or copper, as they can react with the dyes and give you some weird colors you weren’t planning on.
My Go-To Natural Dye Recipes
For each of these, simmer the ingredients in about a quart of water for at least 30 minutes. Let it cool completely, strain out the solids, and then stir in 3-4 tablespoons of white vinegar. This makes enough dye for about 4-6 eggs in a quart-sized glass jar. The longer you soak, the deeper the color—from 30 minutes to overnight in the fridge.
- Rich Gold-Yellow (Turmeric): Stir 3-4 tablespoons of ground turmeric into your water. A word of warning: turmeric makes a GORGEOUS yellow, but it will stain your countertops and fingers instantly. Handle with care!
- Deep Rusty Brown (Yellow Onion Skins): The skins from 6-8 yellow onions. This is the best beginner’s natural dye. It’s basically free, smells amazing while it simmers, and creates a beautiful, rustic brown. You honestly can’t mess this one up.
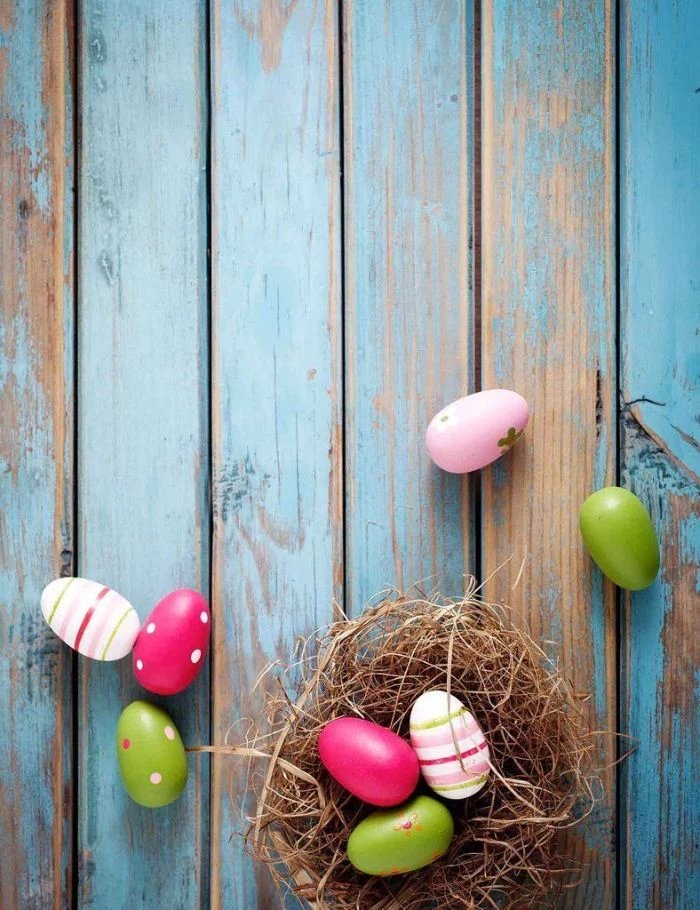
- Robin’s Egg Blue (Red Cabbage): Chop up about a quarter of a head of red cabbage. This one is pure magic. The dye bath will look purple, but thanks to a cool pH reaction with the eggshell, your egg will turn a perfect, beautiful blue. It’s a fantastic science lesson!
- Soft Pink to Deep Red (Beets): One large beet, grated, or a cup of beet juice. Fresh beets give you a lovely, earthy pink. For a punchier fuchsia, I’ve found that using pure beet juice instead of water works even better.
Oh, and a quick lesson learned the hard way: trying to get green from spinach is always a letdown. It just comes out a murky yellow-brown. The real trick is to dye your egg yellow with turmeric first, then let it sit in the blue cabbage dye for a few minutes. That color layering creates a much brighter, more vibrant green.
Help! Why Do My Eggs Look… Like This?
Even the pros have off days. If your eggs aren’t turning out right, one of these is probably the culprit.
- “Why are my colors so pale?” You probably need a more concentrated dye bath (less water, more dye) or a little more vinegar to help the color stick. Also, be patient! Deep colors take time, especially with natural dyes.
- “Why are they all splotchy?” This is almost always due to one of two things: either that natural protective bloom wasn’t fully washed off, or there were oils from your hands on the shell. Make sure to handle your boiled eggs with clean hands, tongs, or a spoon.
- “Why did my eggs crack in the water?” This happens when you put cold eggs directly into hot water. The sudden temperature change shocks the shell. Always let your eggs come to room temperature for about an hour before boiling.

Level Up: Creating Keepsake Eggs
Once you’ve mastered the basics, there are incredible folk art traditions you can explore.
One of the most beautiful is the wax-resist method. This technique involves drawing intricate designs on a raw egg with hot beeswax using a special tool called a kistka. You draw what you want to stay white, then dip the egg in a light dye like yellow. Then you cover the yellow parts you want to keep with more wax and dip it in a darker color. You repeat this, going from light to dark. At the end, you gently heat the egg to melt the wax, revealing a stunning, multi-colored pattern. It takes a ton of patience, but the results are breathtaking. (By the way, you can find starter kits with a kistka and wax on sites like Etsy or at specialty craft stores for about $15 to $25. It’s a very accessible hobby to get into!)
Another modern and almost magical technique is silk-tie dyeing. You wrap a raw egg tightly in a piece of 100% silk fabric (from an old tie or scarf), boil it in water with vinegar, and the pattern transfers directly onto the shell. A crucial heads-up: these eggs are for decoration ONLY and are not safe to eat. Fabric dyes contain chemicals you don’t want to consume.
Your Game Plan: Prep for a Mess-Free Day
Good preparation is the difference between a fun crafting session and a chaotic, stained mess. Here’s how to set yourself up for success.
Shopping & Prep List:
Before you start, gather your tools. It makes everything so much smoother.
- White eggs (let them sit out to reach room temperature!)
- White vinegar
- Newspaper or a cheap plastic tablecloth to protect your workspace
- Deep cups, bowls, or glass jars for your dyes
- A slotted spoon or wire egg dipper
- A wire cooling rack or an empty cardboard egg carton for drying
The Foolproof Hard-Boiled Egg Method:
This method prevents cracks and that gross green ring around the yolk.
Place your room-temp eggs in a pot in a single layer. Cover with at least an inch of cold water, and add a splash of vinegar and a pinch of salt. Bring to a rolling boil, then immediately turn off the heat, cover the pot, and let it stand for exactly 12 minutes. Transfer the eggs to an ice bath to cool completely. Perfect every time.
A Final, Crucial Note on Safety
Okay, let’s have a serious moment. If you plan on eating these eggs, food safety is non-negotiable.
Remember the two-hour rule. Hard-boiled eggs shouldn’t be left at room temperature for more than two hours. If your project takes longer (like with overnight natural dyes), consider those eggs decorations, not snacks. A tiny, invisible crack can let bacteria in.
And, of course, only use food-safe dyes and materials if the eggs are going to be eaten. Check every egg for cracks before and after dyeing; if it’s cracked, it’s for looking, not for eating. Store your finished masterpieces in the fridge, where they’ll last for about a week.

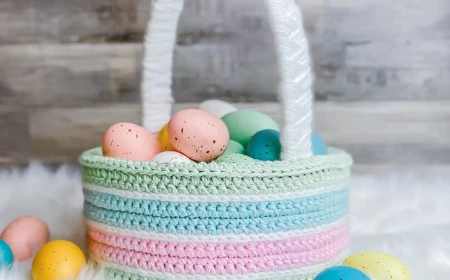
Ultimately, when you dye an egg, you’re not just making a pretty object. You’re taking part in a tradition that’s all about celebrating new life, the end of winter, and the joy of making something beautiful together. And that’s a craft worth doing right.
Inspirational Gallery


Once your beautifully dyed eggs are dry, give them a final touch of brilliance. Rub a tiny amount of neutral cooking oil, like canola or vegetable oil, onto a paper towel and gently polish each egg. This simple step evens out the finish, deepens the color, and gives them a lovely, subtle sheen perfect for any Easter centerpiece.

- Create vibrant, abstract stripes by tightly wrapping rubber bands around the egg before dipping it in the first color.
- For a two-tone effect, dye the egg a light color, let it dry, add rubber bands, then dip it in a darker color.
- Use thick and thin bands together to create varied line widths for a more dynamic design.

The acidity is key: Don’t skip the vinegar! It plays a crucial scientific role. The acetic acid lightly etches the eggshell’s surface (which is made of calcium carbonate), creating a better texture for the dye molecules to bond to. Without it, your colors will be faint and uneven.


The Ukrainian art of Pysanky uses a wax-resist (batik) method, where intricate designs are drawn on the egg with beeswax. Each color and symbol holds a specific meaning, from prosperity to protection.
Looking for earthy, rich tones from your own kitchen? It’s easier than you think. These kitchen scraps produce beautiful, natural colors when simmered with eggs, water, and a splash of vinegar.
- Golden Yellow: A tablespoon of ground turmeric per cup of water.
- Deep Red/Pink: Chopped raw beets.
- Rich Brown: Yellow onion skins.
- Blue/Grey: A handful of frozen blueberries or chopped red cabbage.

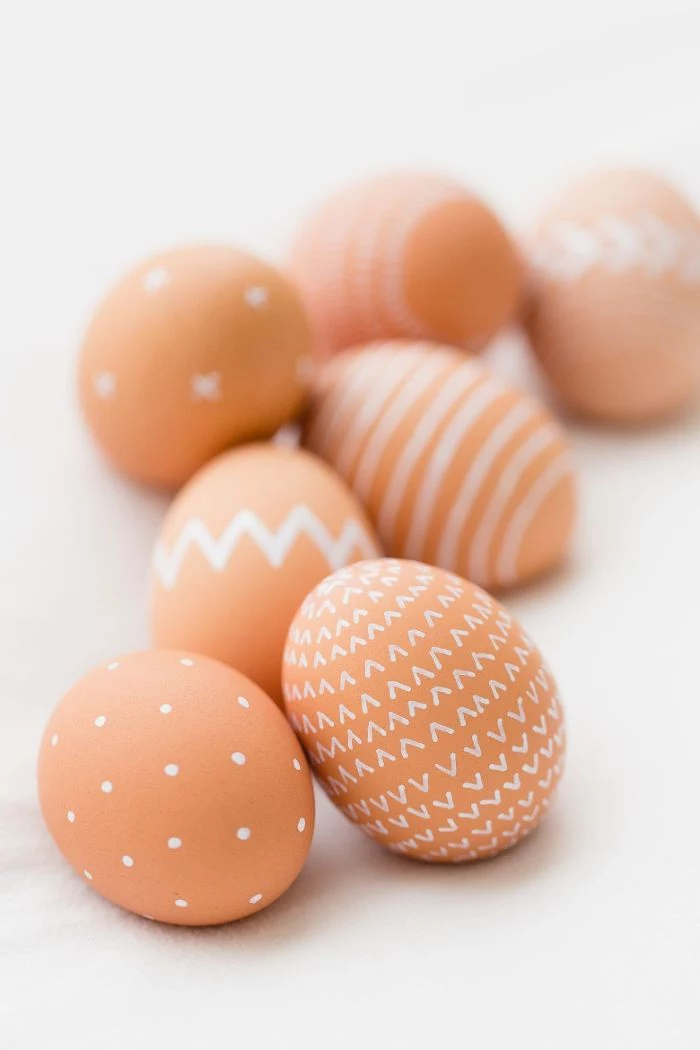
Can I dye brown eggs?
Absolutely! While white eggs give you truer, brighter colors, brown eggs offer a wonderful shortcut to deep, earthy, and jewel-toned results. A blue dye on a brown egg will result in a lovely mossy green, while red dye can create a rich burgundy. It’s a great way to get a more rustic, muted palette with less effort.

White Vinegar: This is the standard choice. It’s clear, so it won’t alter your dye colors, and its consistent acidity (usually 5%) provides reliable results every time.
Apple Cider Vinegar: It works just as well chemically, but its slight amber tint can subtly warm up your colors. This can be beautiful with natural dyes, enhancing yellows and reds, but might slightly muddy blues or purples.
For predictability, stick with white vinegar. For a slightly warmer, artisanal feel, try apple cider.

Did you know that in traditional Pysanky, the symbols are not just decorative? A spiral represents the cycle of life, a deer or stag wishes for good health, and a bird symbolizes the coming of spring.
When you create your own patterns, think about giving them a personal meaning. You’re not just decorating an egg; you’re infusing it with a wish for the season, making it a powerful little talisman for your Easter celebration.

- They become lightweight and perfect for hanging on an Easter tree.
- You can preserve your most intricate designs for years to come.
- No need to worry about the smell of boiled eggs after a few days.
The secret? Blowing out the egg first. Use an egg blowing tool or a simple syringe to pierce both ends and gently force the contents out.

For stunning, marbled patterns with zero artistic skill required, turn to an old silk tie or scarf (it must be 100% silk). Wrap a piece of the silk tightly around a raw egg, patterned side facing in. Secure it by wrapping a piece of an old white t-shirt or pillowcase over the silk and tying it off. Boil the wrapped egg in a solution of water and 1/4 cup of vinegar for 20 minutes. Let it cool completely before unwrapping to reveal the magic.


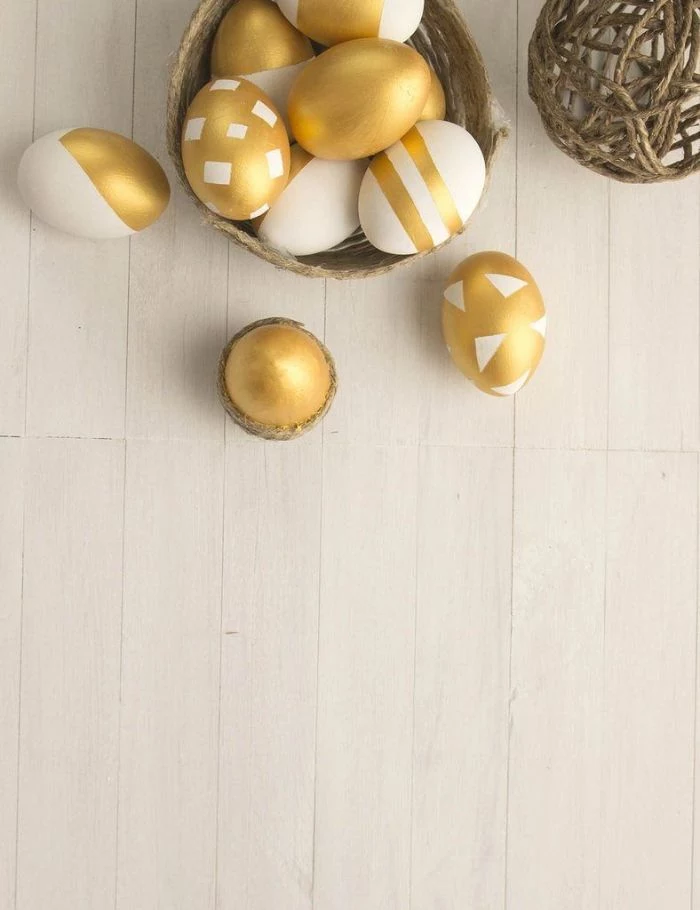
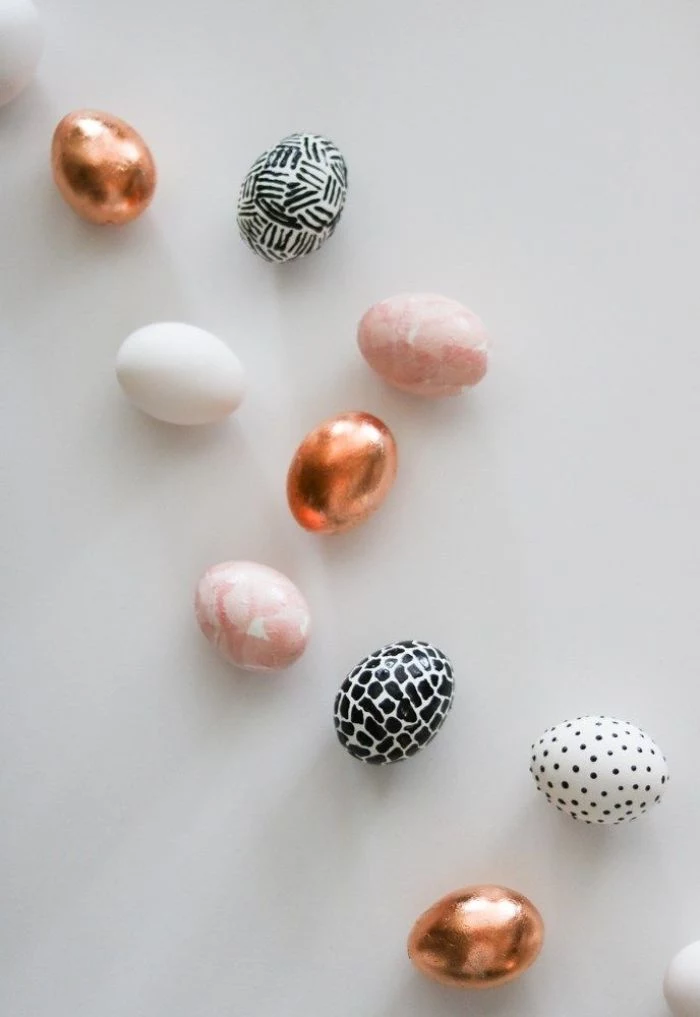
Don’t feel limited to dyes. Once your eggs are colored and dried, they become a fantastic canvas. Fine-tipped permanent markers like Sharpies are perfect for adding names or intricate doodles. For bold, opaque designs, paint pens like Posca markers are excellent. You can even add a touch of glamour with a metallic leafing kit, using a small brush and adhesive to apply flakes of gold or silver.

The #1 rookie mistake: Forgetting to wash the eggs before you start. Even clean-looking eggs have a natural, invisible coating called the ‘bloom’ or ‘cuticle’. This coating protects the egg but also repels water and dye. A quick wash with warm water and a bit of soap removes it, ensuring your dye adheres smoothly and evenly.

According to a 2023 Instacart survey, the most popular Easter egg dye colors in America are blue and purple, claiming the top spots in 28 states.

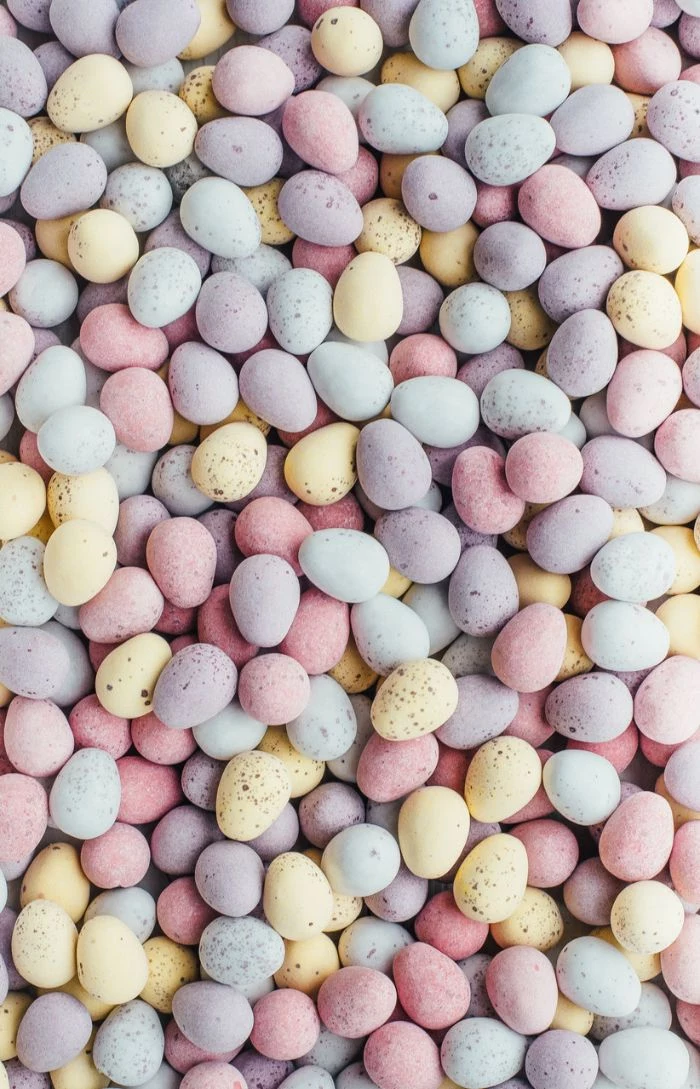
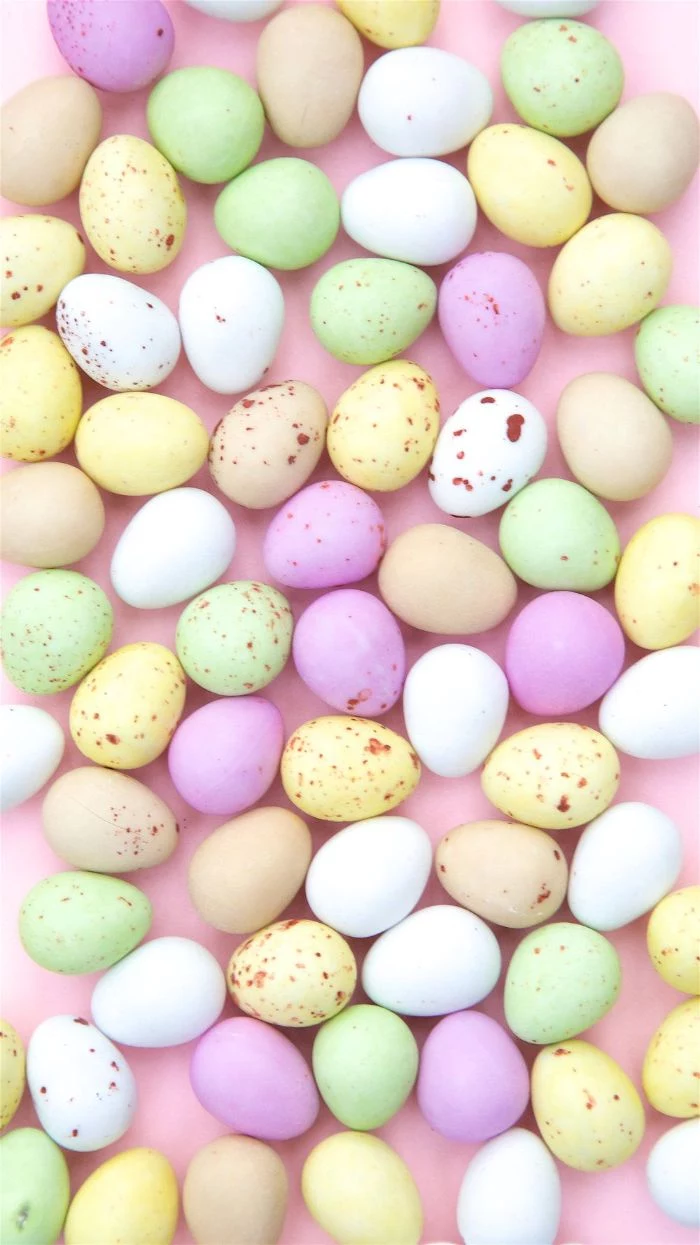
The speckled ‘robin’s egg’ look is elegant and surprisingly simple to achieve. It works best on eggs already dyed a solid pastel color, like pale blue, green, or tan.
- First, prepare your ‘paint’ by mixing a bit of brown or black food coloring with a few drops of water to create a thin liquid.
- Dip the tip of an old, stiff-bristled toothbrush into the color.
- Hold the toothbrush about six inches from the egg and use your thumb to flick the bristles, creating a fine spray of speckles. Let it dry completely.


My natural dyes came out disappointingly pale. What went wrong?
Patience and concentration are the two pillars of natural dyeing. Unlike potent commercial dyes, natural colors need time to develop. For deep shades from ingredients like red cabbage or onion skins, let the eggs steep in the cooled dye bath in the refrigerator for several hours, or even overnight. A longer soak equals a richer color. Also, ensure you’ve used enough of the raw material—don’t skimp on the beets or turmeric!

Classic Liquid Drops: The little droppers in kits like McCormick’s are perfect for creating classic pastel shades. They mix easily with water and are great for kids.
Concentrated Gel Colors: Brands like Wilton, typically used for cake frosting, deliver a serious punch. A tiny dab of gel creates an intensely vibrant, almost electric color. They are ideal for achieving deep jewel tones like magenta, teal, or emerald green.

In Greece, Easter eggs are dyed a brilliant, uniform red to symbolize the blood of Christ and victory over death. They are a centerpiece of the Pascha table and are used in the traditional tapping game, ‘tsougrisma’.
Embrace this tradition by dedicating a portion of your batch to a single, powerful color. A bowl filled with nothing but vibrant red eggs makes a striking and meaningful statement.

- Your colors will appear richer and more jewel-toned.
- The dye will adhere more evenly, reducing splotchiness.
The secret? A tiny pinch of salt. Adding about half a teaspoon of table salt to your dye bath helps the color particles bond more effectively to the protein in the eggshell, resulting in a more professional and vibrant finish.

To create a chic, modern display, try a monochromatic approach. Choose a single color and dye your eggs in a range of its shades. For example, use a red dye bath for varying lengths of time to create a gradient from the palest baby pink to a deep crimson. Arranged together in a simple white bowl, the effect is sophisticated and impactful.

Edible vs. Decorative: A Quick Safety Check
- If you plan to eat the eggs, only use food-grade dyes and materials. Stick to commercial kits or natural food-based dyes.
- For advanced techniques using craft paint, metallic leaf, or Sharpies, blow the eggs out first so they are for decoration only.
- Always keep hard-boiled eggs refrigerated until you’re ready to dye them, and return them to the fridge right after. Consume within one week.
The world’s largest decorated Easter egg is in Vegreville, Alberta, Canada. It’s a giant Pysanka measuring over 31 feet long, weighing 5000 lbs, and is made of over 3500 pieces of aluminum.


How do I create those cool marbled eggs I see online?
This trendy look is achieved with a simple science trick. Fill a shallow dish with water. Add a few drops of a dark food coloring, then a tablespoon of vegetable oil. The oil will break the color into a web-like pattern. Gently roll a light-colored egg through the mixture. The color will adhere in a beautiful, random marbled design. Dab gently with a paper towel to dry. For a bolder version, try this same technique in a tray of plain white shaving cream.

Use nature itself to create delicate patterns. It’s a beautiful way to capture the details of spring on your eggs.
- Gather small, flat leaves, ferns, or flowers like clover or Queen Anne’s Lace.
- Press a leaf firmly onto a dry, uncooked egg.
- Carefully pull a section of nylon pantyhose taut around the egg, securing the leaf in place. Tie it tightly.
- Dye the egg as usual. Once cool and dry, carefully cut the nylon and peel away the leaf to reveal the imprint.
Quick-Dry Solution: Use an empty egg carton or a board with nails hammered through it as a makeshift drying rack. This allows air to circulate around the entire egg, preventing the dye from smudging or creating a dark spot on one side as it pools.
Rice Dye Technique: For a unique, textured pattern, place a handful of uncooked white rice in a plastic container with a lid. Add a few drops of liquid food coloring and shake well to coat the rice. Place a hard-boiled egg in the container, put the lid on, and gently shake and roll it until the egg is covered in a fine, stippled pattern. Repeat with different colors for a layered, confetti-like effect.