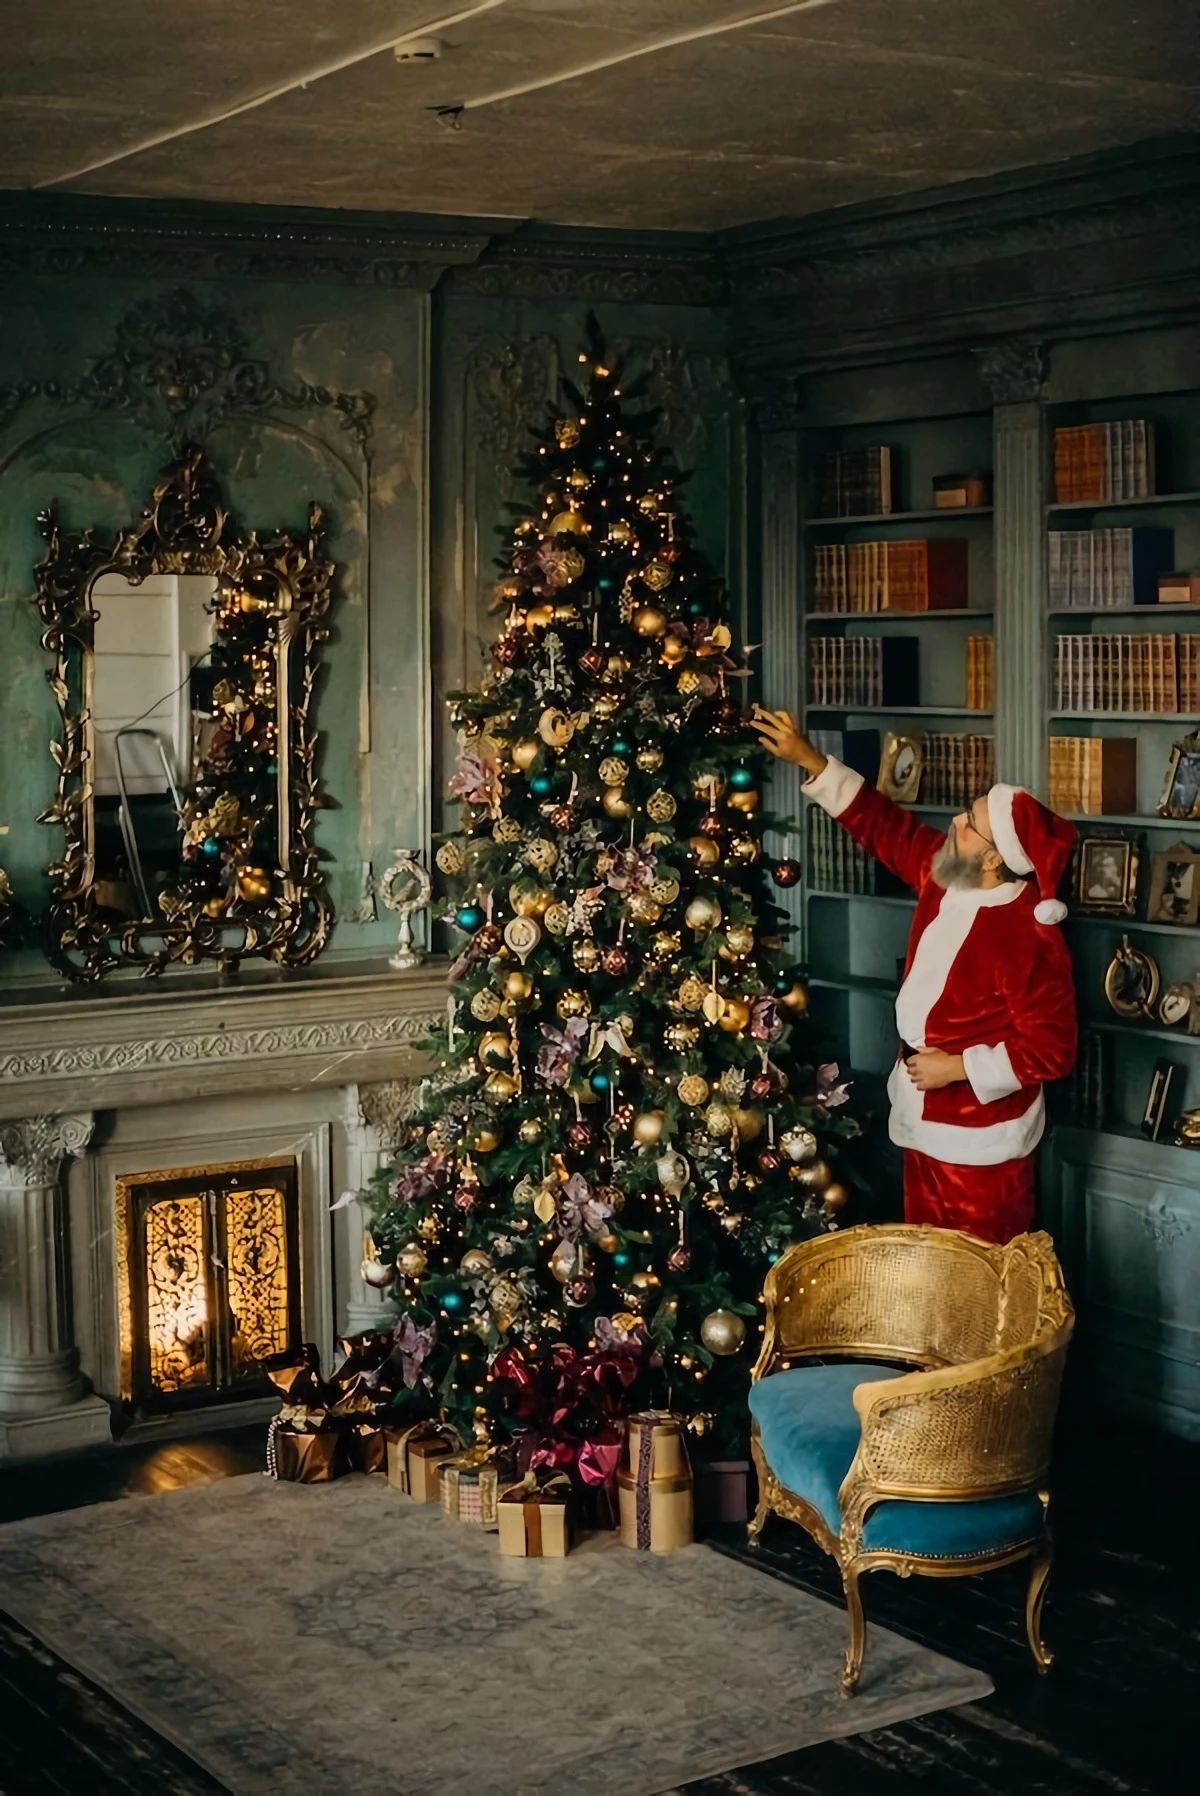
Finally, a Holiday Decor Storage Plan That Actually Works
Ah, January. The glitter has settled, the last of the festive cookies are gone, and a mountain of holiday decor is staring you down. If your first instinct is to shove everything into the nearest box just to reclaim your living room, I get it. We’ve all been there. But let’s be honest, that frantic shortcut is a recipe for broken ornaments, tangled light-monsters, and a whole lot of frustration next year.
In this article
Properly storing your holiday decorations isn’t about being fussy; it’s about protecting your memories and your money. That fragile ornament your kid made in kindergarten or the beautiful wreath you splurged on deserves more than a damp cardboard box in the garage. This isn’t about perfection. It’s about a smart, practical system that makes next year’s decorating a joy instead of a dreaded chore.
Before you even start, set a realistic expectation. For an average-sized home, plan for a solid 3-4 hour block on a weekend to do this right. Put on some music, grab a coffee, and let’s get it done.
First Things First: Where You Store Is Everything
Before we talk about a single ornament, we need to get real about the storage location. This is, hands down, the most critical decision you’ll make. Choosing the wrong spot can ruin your entire collection, no matter how carefully you pack. I’ve seen it happen too many times. Your decor is up against four main enemies in the off-season: intense heat, moisture, pests, and light.
The Villains of Off-Season Storage
So, what exactly are we fighting against here? It’s pretty simple:
- Extreme Heat: That sweltering attic can easily top 150°F in the summer. This kind of heat will warp plastic decorations, melt the glue holding your favorite pieces together, and make the coating on your artificial tree’s branches brittle. Oh yeah, and those festive candles? They’ll become a waxy puddle.
- Humidity & Moisture: Damp basements and garages are a breeding ground for destruction. Moisture leads to mold and mildew on anything fabric, like your tree skirt or stockings (you’ll know it by that musty smell). It will rust metal ornament hooks and cause cardboard boxes to weaken, sag, and eventually collapse.
- Pests: To mice, silverfish, and moths, your box of decorations is a five-star hotel with a free buffet. They’ll shred fabrics for nests and feast on the starches and glues in cardboard and paper.
- Light: Even indirect sunlight has UV rays that will fade the vibrant colors of your decorations. A single season near a basement window can leave things looking washed-out and sad.

The Best and Worst Places to Stash Your Stuff
Not all storage spaces are created equal. Here’s how I’d rank them, from best to absolute last resort:
The Gold Standard: A Climate-Controlled Space. An interior closet inside your home is the undisputed champion. It’s dark, dry, and stays at a stable temperature. A spare room or a finished, dry part of a basement is a close second.
A Good Runner-Up: A Finished, Dry Basement. As long as your basement is reliably dry and doesn’t have huge temperature swings, it’s a solid choice. If you have any doubt, run a dehumidifier down there. It’s a small investment to protect your collection.
Use With Caution: The Garage. A garage can work, but ONLY if it stays dry and you live in a place with a moderate climate. If you’re dealing with brutal summers or high humidity, the garage is a high-risk zone. If you must use it, your items absolutely need to be in high-quality, airtight plastic bins.
The Last Resort: The Unfinished Attic. Honestly, I tell everyone to avoid the attic unless there’s no other choice. The extreme heat is just too destructive. If you’re forced to use it, only store your most durable items there, like plastic outdoor decorations, and never anything sentimental or fragile.
The Right Gear: Bins and Packing Supplies That Protect
Okay, you’ve picked your spot. Now, let’s talk containers. Those flimsy cardboard boxes your decorations came in are not your friends for long-term storage.
Choosing Your Bins Like a Pro
I always steer people toward heavy-duty, latching plastic bins. You can find them at places like Home Depot, Lowe’s, or The Container Store. Clear bins are tempting, but opaque ones are actually better because they block light and prevent fading. Look for bins made from polypropylene (it’ll have a #5 in the recycling symbol). This plastic is stable and won’t degrade your items over time.
A good, sturdy bin will run you between $15 and $25. It might seem like a lot, but they’ll last forever and won’t crack the second you stack another bin on top. For damp areas like a basement, look for bins with a foam or rubber gasket seal—brands like Sterilite and Rubbermaid make great “industrial” or “weatherproof” totes that are worth the extra cost.
For some items, soft-sided bags are awesome. A vertical, rolling bag for your Christmas tree (usually $50-$80) is a lifesaver for both storage and transport. Padded, zippered bags are perfect for wreaths and garlands. Just don’t stack anything heavy on them!
Packing Materials That Won’t Cause Damage
What you wrap your ornaments in matters. I once saw a beautiful collection of vintage glass ornaments ruined by newspaper ink. Don’t let that be you.
- Acid-Free Tissue Paper: This is the professional standard for a reason. It won’t yellow or damage delicate paint and fabrics over time. It’s essential for heirlooms. You can find it at craft stores or online.
- Plain White Packing Paper: A great budget-friendly alternative you can get in a big roll for about $20. It’s clean and doesn’t have the damaging, transferable ink of newspaper.
- Bubble Wrap: Perfect for giving extra cushion to extremely fragile items. Quick tip: Wrap the item in tissue paper FIRST, then bubble wrap. This prevents the plastic from sticking to the ornament’s surface.
- Silica Gel Packets: These little packets are magic. I toss a few into every single bin, especially if it’s going into a basement or garage. They absorb any stray moisture. You can buy them in bulk online for cheap.
Heads up! A couple of common mistakes to avoid. Never use newspaper—the ink bleeds and the paper is acidic. Also, avoid stuffing things in plastic grocery bags. They trap moisture and are basically an invitation for mildew.
A System for Every Type of Decoration
The key to making this manageable is to sort everything by category. Tackle one type of item at a time so you don’t get overwhelmed.
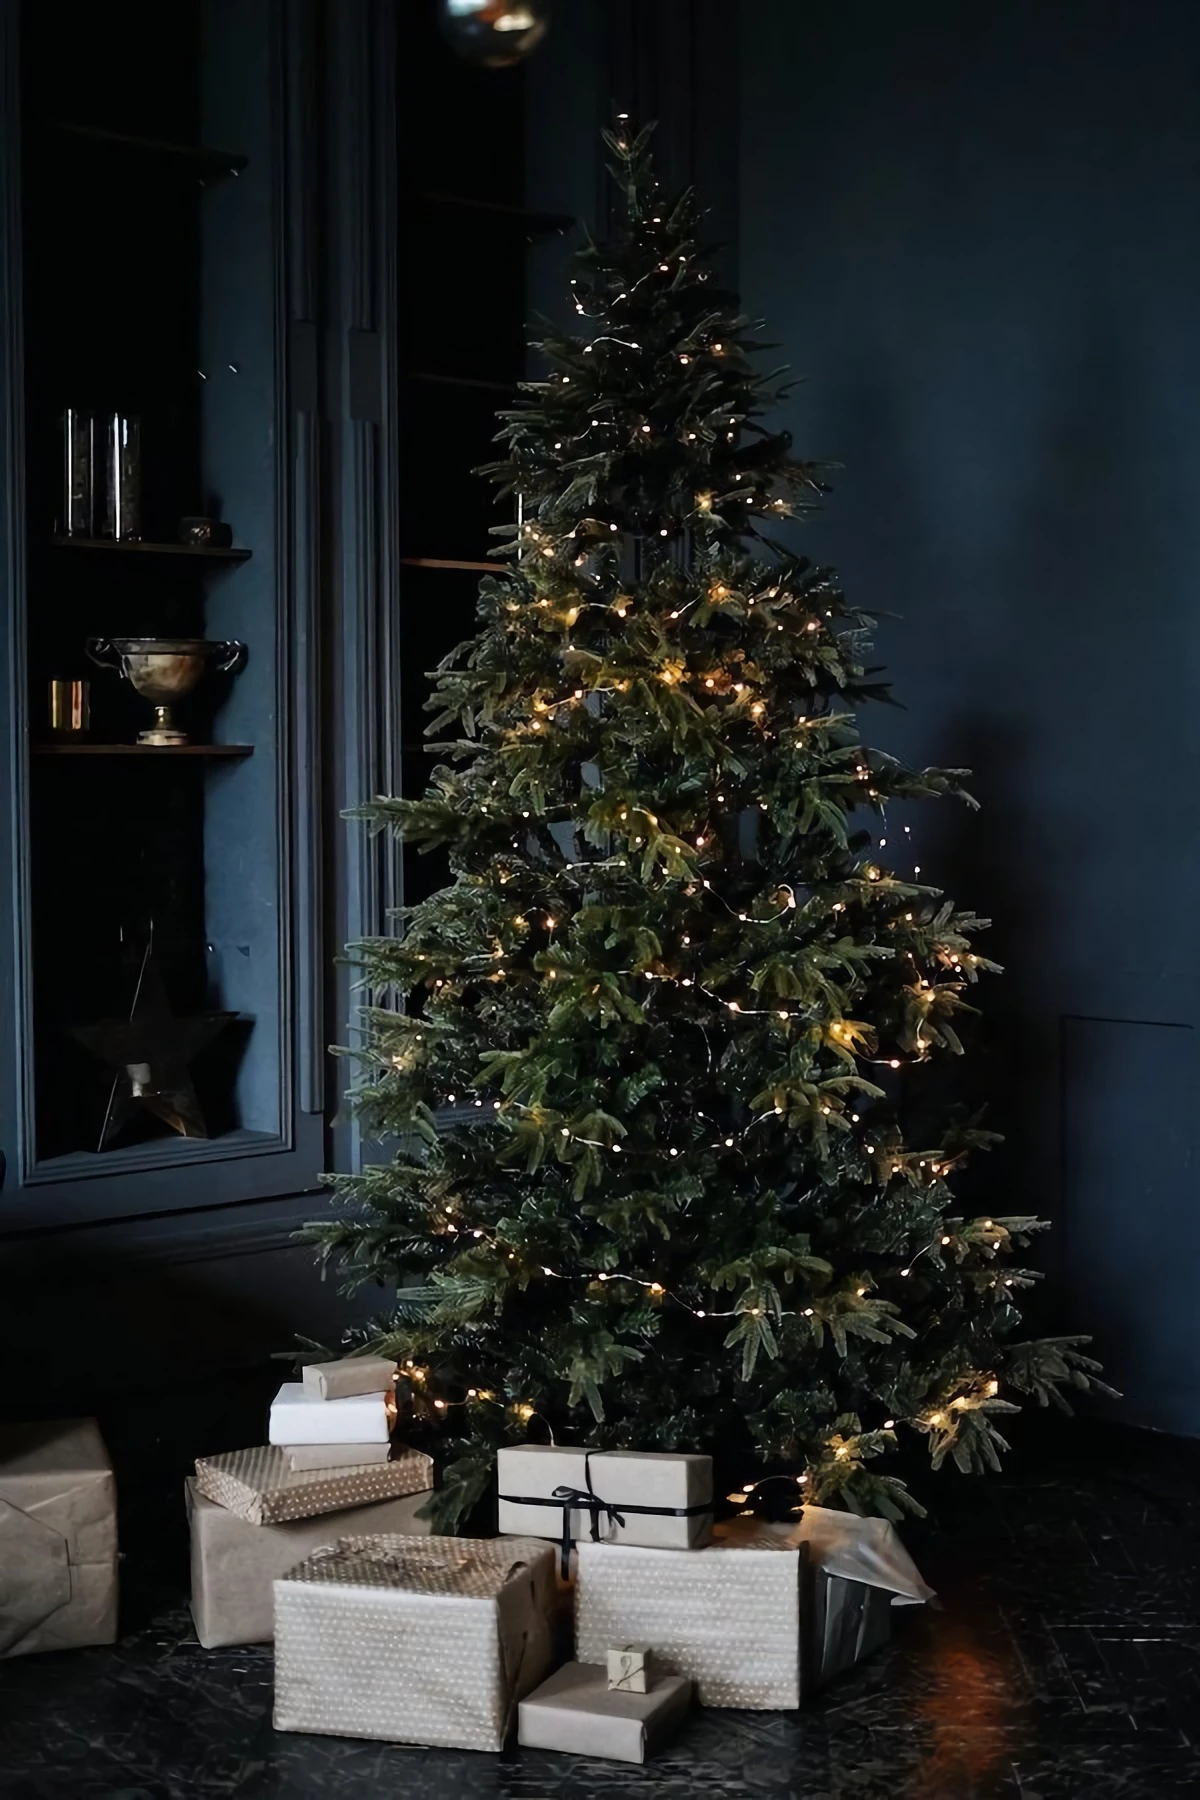
The Artificial Christmas Tree
Your tree was an investment, so storing it right can easily double its lifespan.
The goal is to compress the tree without snapping branches or damaging built-in lights. First, working section by section, fold the branches up toward the central pole. For a great DIY hack, use old belts or luggage straps to cinch each section tightly. This works just as well as plastic stretch wrap and is reusable!
The best storage solution is an upright, wheeled tree bag. Storing it vertically puts less stress on the branches. If you’re on a budget, a large horizontal duffel-style bag works, too. And for pre-lit trees, be super careful not to create sharp bends in the wires. Give each section a quick plug-in test before you pack it away. Finding a burnt-out section now is way less stressful than on decorating day.
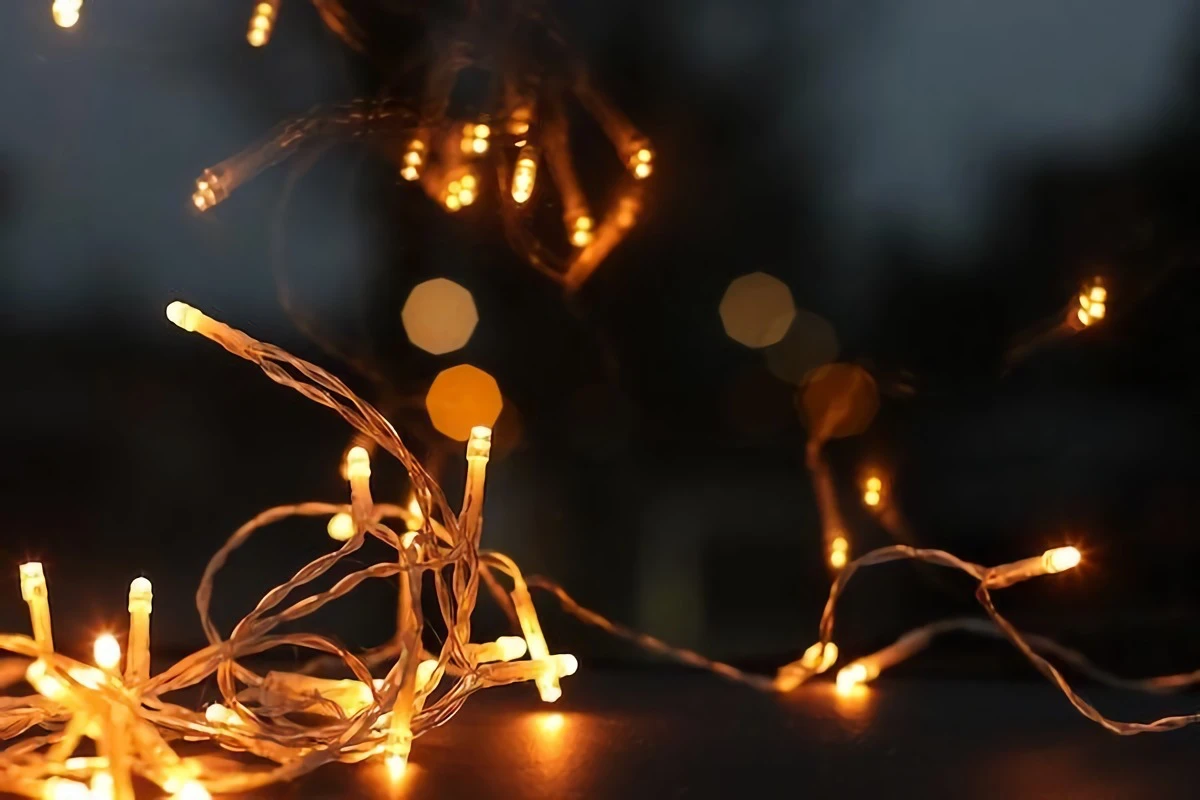
Taming the Tangle of Lights
We can all agree that untangling a giant knot of Christmas lights is the worst. Good news: it’s 100% avoidable.
Special plastic cord reels are fantastic and inexpensive, but a simple piece of sturdy cardboard works just as well. Just cut a slit on each end, tuck the plug into one, wrap the lights around the middle, and secure the other end in the opposite slit. A plastic coat hanger also works in a pinch.
But before you wrap a single strand, you MUST inspect it. Run your fingers along the entire wire, feeling for cracks, bare spots, or frayed areas. A damaged strand is a serious fire hazard. I once saw the aftermath of a garage fire started by a faulty string of lights in a storage box. It taught me to be ruthless—if it’s damaged, toss it. It’s not worth the risk.
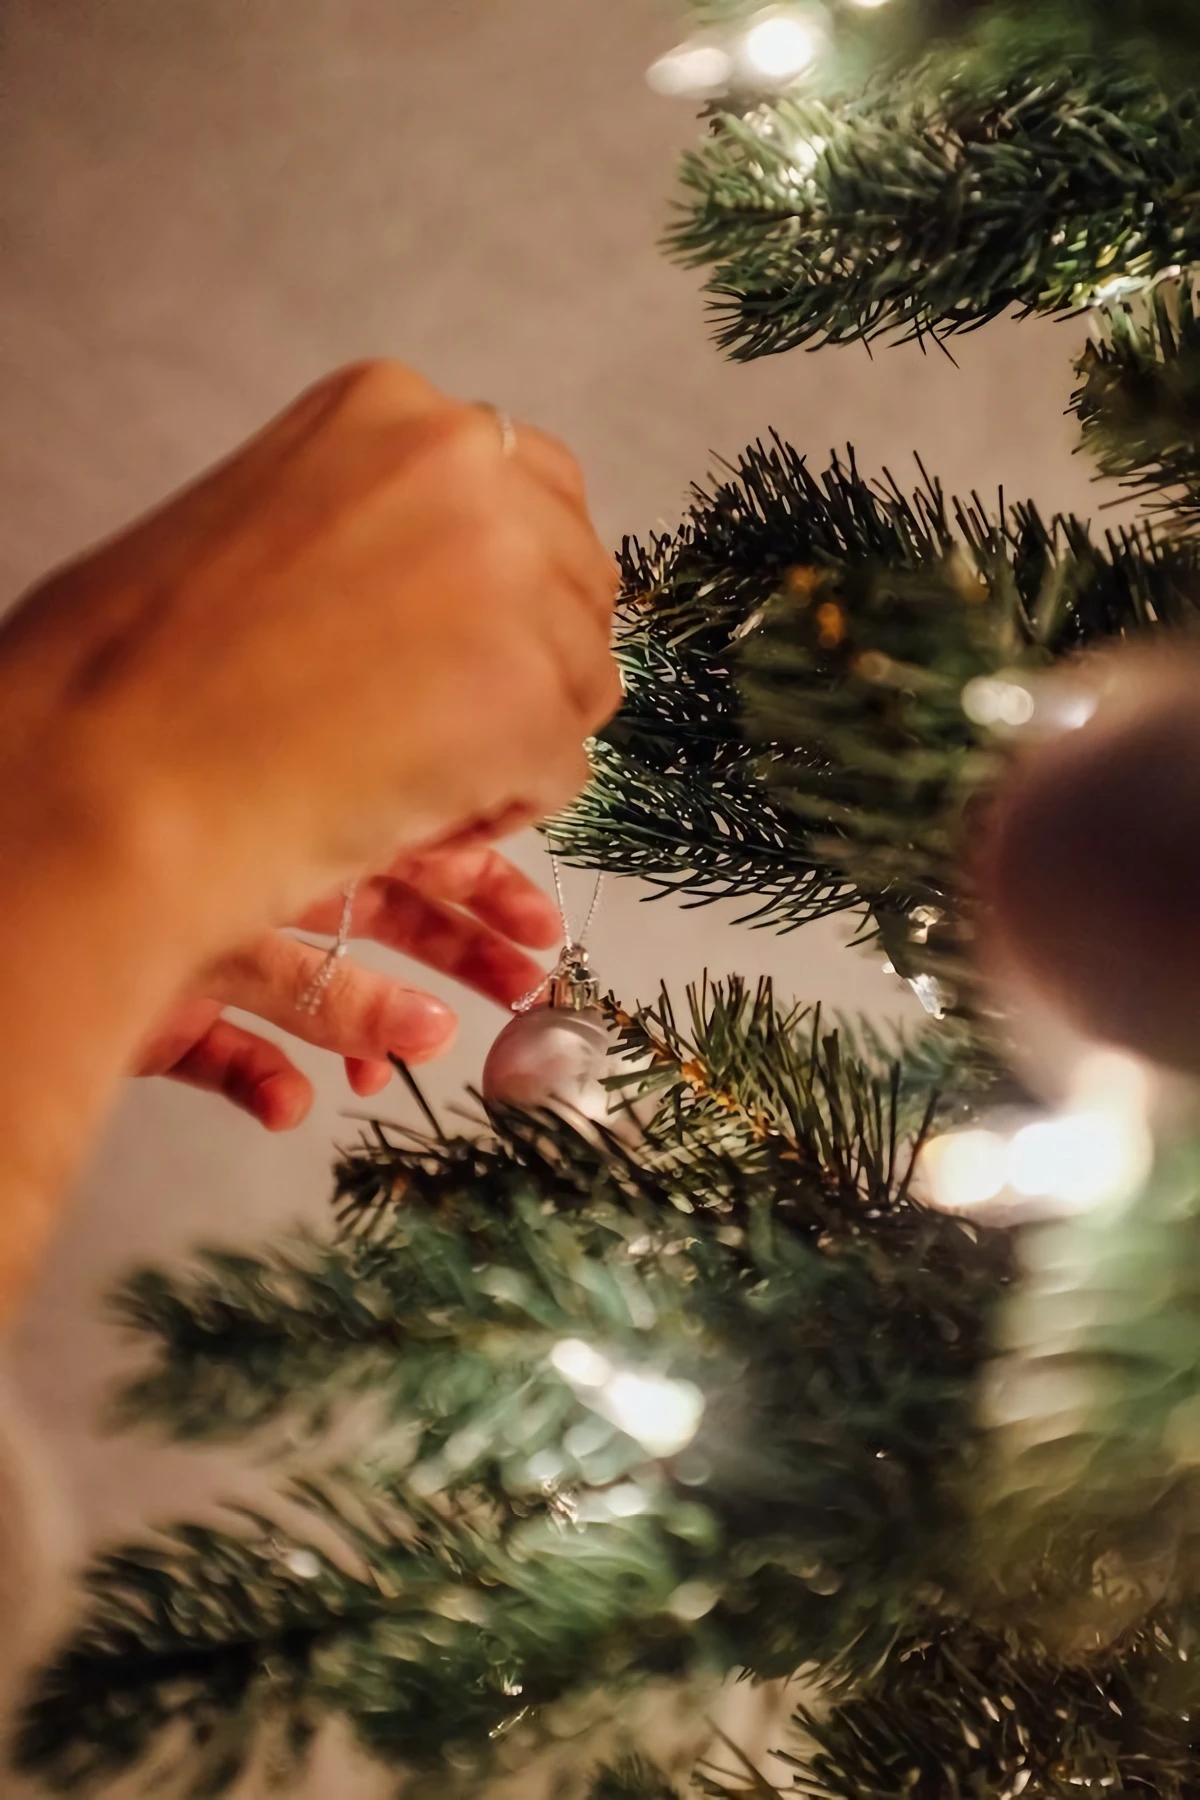
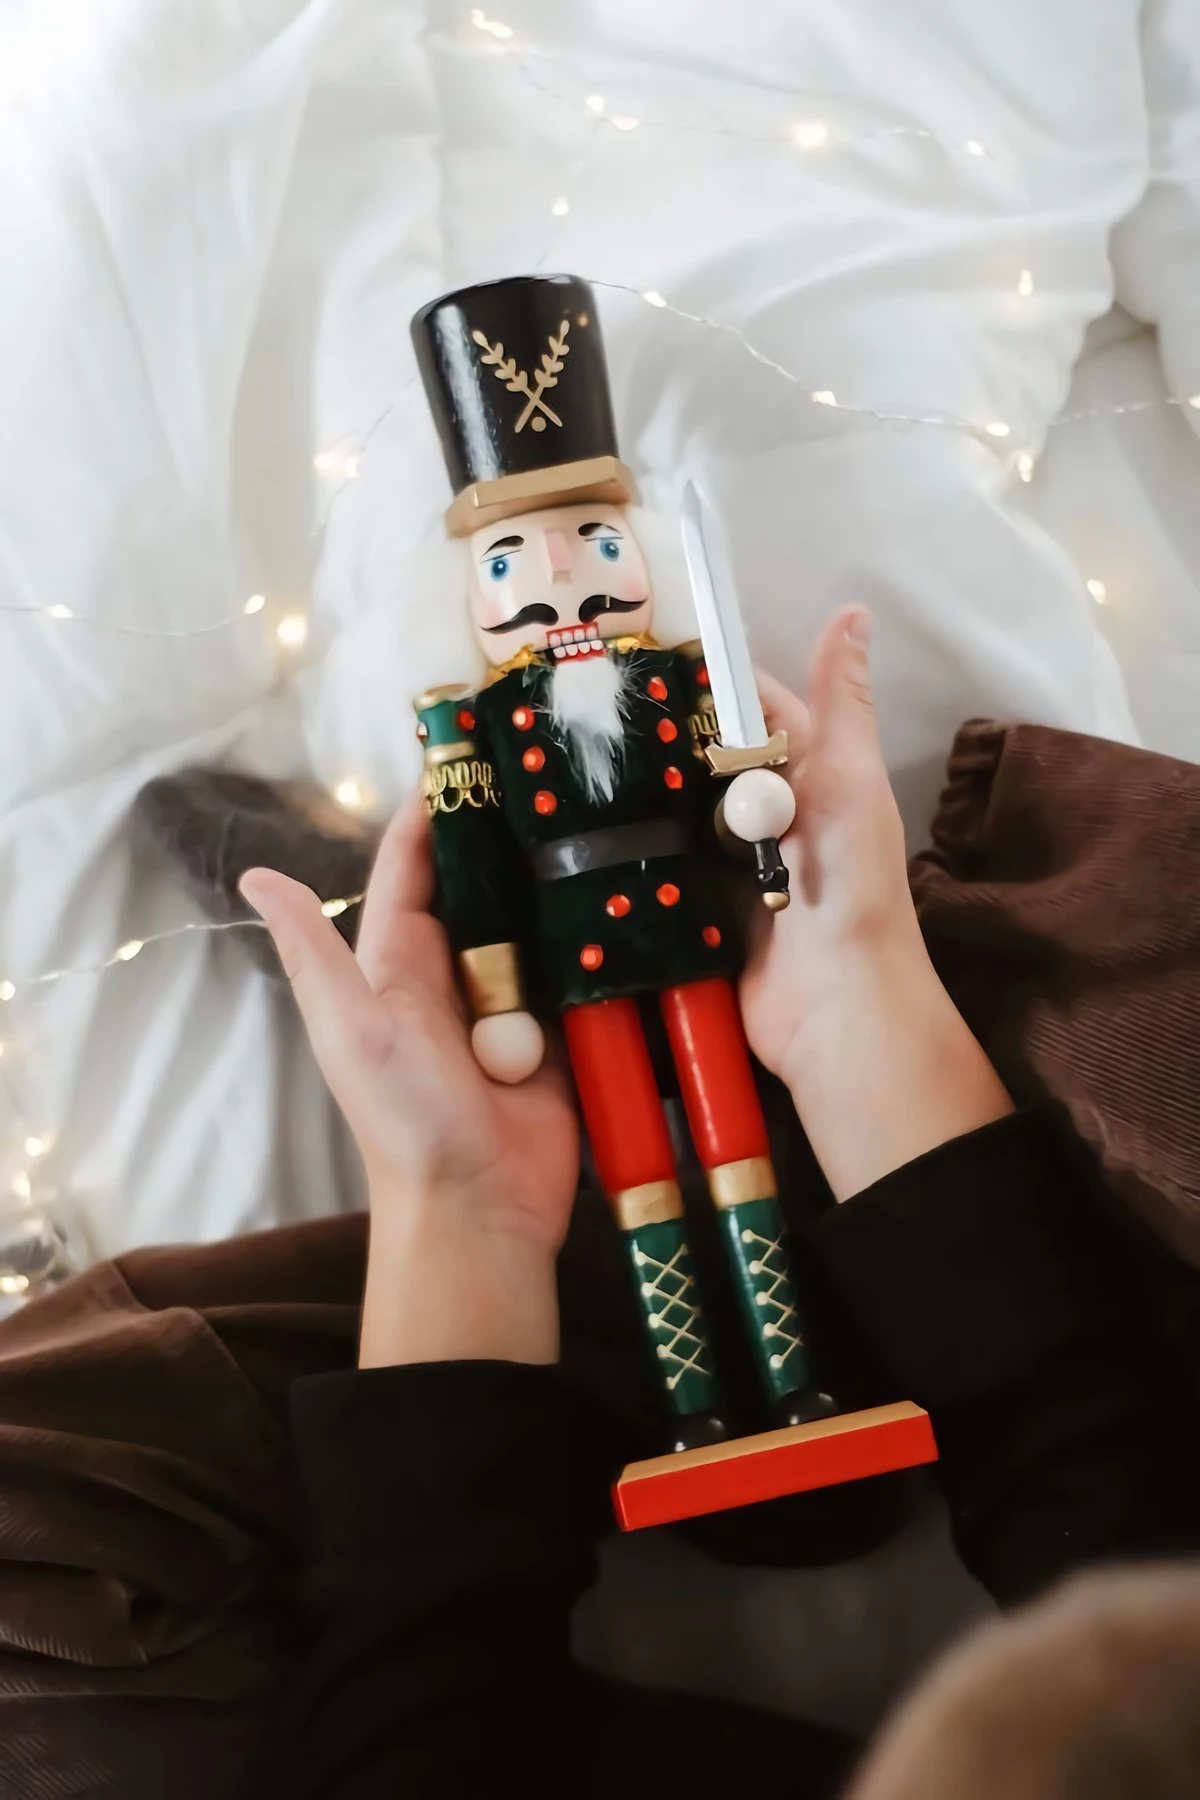
Protecting Your Ornaments and Fragile Heirlooms
Your ornament collection is where the real memories live. Give them the care they deserve.
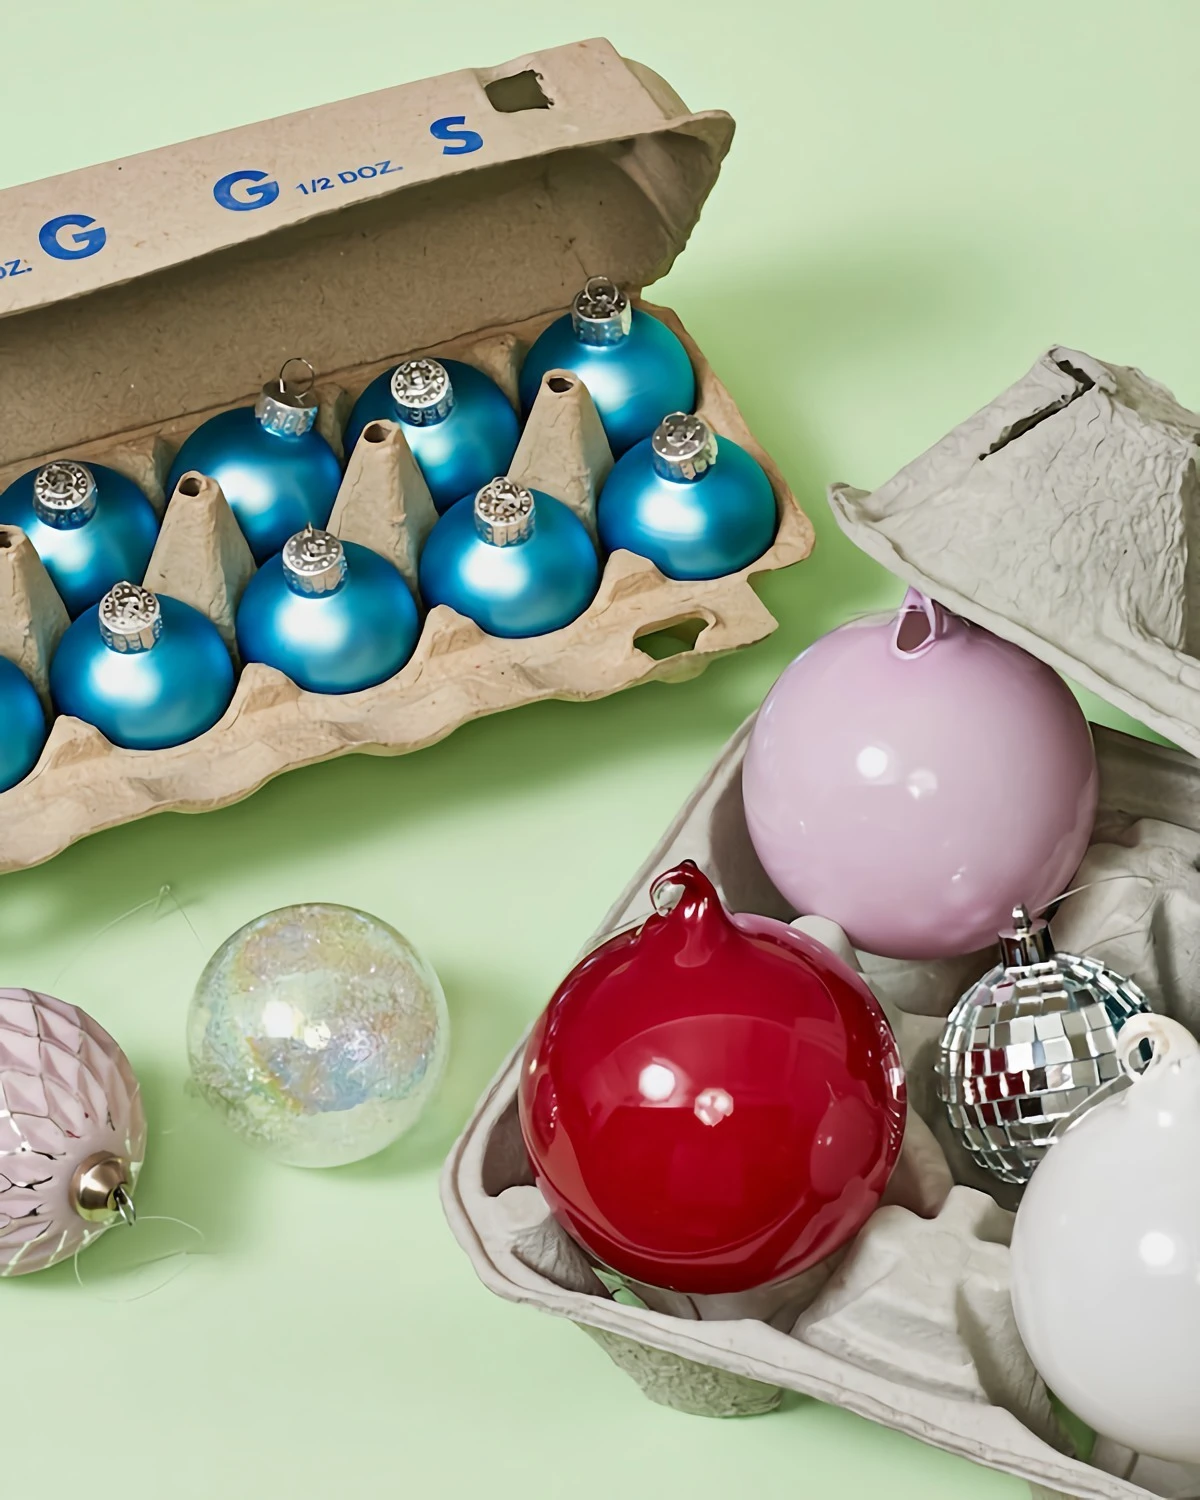
Start by giving each ornament a gentle dusting with a soft paintbrush. Then, wrap every fragile piece individually in tissue paper. The best storage is a dedicated ornament box with cardboard dividers. You can find these hard-sided boxes at most big-box stores after the holidays.
A clever DIY alternative is the plastic cup method. Just hot-glue a layer of plastic cups into the bottom of your bin. Place one wrapped ornament in each cup, then add a layer of cardboard on top and repeat. It’s cheap and surprisingly effective! And always remember to pack the heaviest, most durable ornaments on the bottom layer.
Pro-Tip for Glitter Bombs: We all have them—those ornaments that shed glitter everywhere. Store all your glittery items together in one dedicated bin, or seal each one in its own Ziploc bag before you wrap it. This contains the sparkly mess and saves you from finding glitter in your hair next July.
Wreaths, Garlands, and Greenery
The goal here is simple: don’t crush them. The best solution for a wreath is a hard-shell plastic wreath container. They cost around $25-$40 and are worth every penny when you pull out a perfectly shaped wreath next year. For garlands, don’t fold them. Loosely coil them inside a large, round bin to maintain their natural shape.
Quick Tips for Other Items
- Linens & Textiles: Always wash your tree skirts, stockings, and tablecloths before storing them. Unseen food stains will attract pests. Store them rolled in a clean cotton sheet in a closet or in an acid-free archival box. Avoid airtight plastic bins, as fabric needs to breathe.
- Scented Stuff: Got cinnamon pinecones or scented candles? Store them in their own airtight bin or double-bag them in Ziploc bags. Otherwise, your entire collection will smell like a potpourri explosion next year.
- Outdoor Inflatables: These must be 100% clean and dry before storage, or they will mildew. Inflate it one last time on a dry day to air it out, then fold it up tightly, pressing out all the air. Store the fan and stakes in a separate labeled bag to prevent snags.
The Final Step: Set Up Your Future Self for Success
A few extra minutes now will make you so happy next year. This is what turns a pile of boxes into a slick, manageable system.
Label Everything. I mean everything. Don’t just write “Christmas.” Get specific. A good label reads: “Living Room Ornaments – Fragile Glass” or “Outdoor LED Lights – Front Bushes.” Use a label maker or a piece of painter’s tape and a sharpie.
My Favorite Pro Tip: The “Open First” Box. This is a game-changer. Pack one small, clearly marked box with everything you need to get started: ornament hooks, extension cords, power strips, extra bulbs, scissors, and the tree skirt. When you’re ready to decorate, you grab this single box and you’re ready to roll, no frantic searching required.
Level-Up Hack: Take a quick photo of the contents of your “Open First” box with your phone and tape a printout to the outside. A quick glance tells you if you have everything you need to hit the ground running.
Putting away your holiday gear with this much care might seem like a lot, but it’s the final, satisfying act of the season. You’re not just cleaning a mess; you’re packing away your cherished memories, ensuring they’ll be just as bright and wonderful when you greet them again.