How to Clean Holiday Ornaments Without Accidentally Ruining Them
Over the years, I’ve seen it all when it comes to holiday ornaments. I’m talking everything from simple, modern glass balls you’d find at a department store to incredibly fragile, hand-painted treasures from a different era. The first thing I always tell people is that our goal here is preservation, not just cleaning. An ornament holds memories, not just dust, and aggressive cleaning can wipe away its story just as fast as it wipes away grime.
In this article
So, this guide isn’t about making every ornament look shiny and new. Honestly, for many vintage pieces, that would completely destroy their character and value. Instead, we’re going to use the same approach the pros do. It’s all about looking closely, understanding what you’re working with, and choosing the safest way to care for it. It takes a bit of patience, but the payoff is ensuring these little pieces of your family’s history can be enjoyed for years to come.

Expect to spend a solid afternoon on this, maybe 3-4 hours for an average-sized collection if you’re being careful. The good news? You can get all the essential supplies for under $25.
First Things First: Think Like a Pro
Before you even think about touching an ornament, we need to get in the right headspace. This isn’t just dusting; it’s a delicate procedure. Your most important tool is your own eyes.
Start by laying a soft, clean towel on your workspace—a fluffy bath towel works great. Pick up one ornament at a time and look at it under a good, bright light. What do you really see?
- Paint Check: Are there tiny chips of color missing? Does the surface have fine cracks, almost like an old painted windowsill? If so, a cloth is not your friend here.
- Glitter Status: Does the glitter look dull or is it shedding every time you breathe on it? This tells you to be extra gentle.
- Structural Health: Look for hairline cracks in the glass, chips near the cap, or dents in any metal parts.
- Tarnish vs. Rust: For metal pieces, is the discoloration a dark, even layer (that’s tarnish) or a flaky, orange-red powder (that’s rust)? They require totally different approaches.
- Fabric Condition: On felt or embroidered pieces, are threads loose? Do you spot any tiny holes? That could be a sign of pests.
By the way, it helps to know what you’re actually cleaning off. Household dust is a gritty mix of skin cells, fabric fibers, and dirt, all held together by a thin film of airborne oils from cooking or moisture. Wiping this mixture carelessly across a delicate painted surface is basically like using ultra-fine sandpaper. It will create micro-scratches and dull the finish over time. This is why we always, always start with the gentlest method possible.
Oh, and one more thing: patina is not dirt. Patina is the beautiful, soft aging that happens to an object over time—the gentle darkening on an old silver bell or in the crevices of a carved wooden bird. It tells the story of its life. Dirt is just… dirt. Our job is to remove the dirt without erasing the history.
Build Your Cleaning Kit: From Budget to Pro
You don’t need a lab full of expensive gear, but using the wrong tools can cause real damage. Here’s what you actually need, with a couple of budget options.
The ‘Good Enough’ Kit (Under $25):
- A cheap, soft makeup brush from the drugstore ($5)
- A simple camera air blower bulb ($10 on Amazon or at a tech store)
- A pack of microfiber cloths ($5)
- A jug of distilled water ($2 at the grocery store)
The ‘I Mean Business’ Kit (Under $75):
- A set of real sable or goat hair artist’s brushes ($25 at an art supply store like Blick)
- A quality air blower, like the Giottos Rocket Air Blower ($15)
- Archival-quality, acid-free tissue paper ($15 online)
- A proper archival storage box ($20+)
A couple of other must-haves are cotton swabs and some 70% isopropyl alcohol for specific situations.

Heads up! Whatever you do, DO NOT use canned compressed air. It shoots out with intense cold and force, which can easily crack fragile glass or paint. Plus, the chemical propellants can leave a damaging residue. I once saw a gorgeous, antique glass ornament literally shatter from a blast of canned air. Just don’t do it.
Level One: The Universal First Step (For ALL Ornaments)
Every single ornament should start here. To be frank, for about 80% of your collection, this is probably the only step you’ll need. The goal is simple: get the abrasive dust off before you do anything else.
First, use your air blower bulb to puff dust out of all the nooks and crannies. Think around the metal cap, inside detailed carvings, or between petals of a flower. Hold the ornament securely and work your way around it.
Next, grab your softest brush. Starting from the top, gently brush downwards with light, sweeping motions. Don’t scrub. You’re trying to lift the dust, not grind it in. For anything with glitter or a fuzzy flocked surface, you might only be able to dab gently. For smooth glass or metal, you can follow up with a gentle wipe from a clean, dry microfiber cloth.

Feeling Overwhelmed? Here’s Your Quick Win.
If a full-on cleaning session feels like too much, just do this one thing: Get your ornaments out of that old cardboard box or plastic bin. Wrap each one individually in acid-free tissue paper. This single step prevents more damage from moisture, acid, and clanking together than anything else. You can tackle the detailed cleaning next year!
Level Two: A Material-by-Material Guide
If dry dusting didn’t quite cut it, you can move on to more specific methods. But always, always test any liquid on a tiny, hidden spot first, like the very bottom or right under the metal cap.
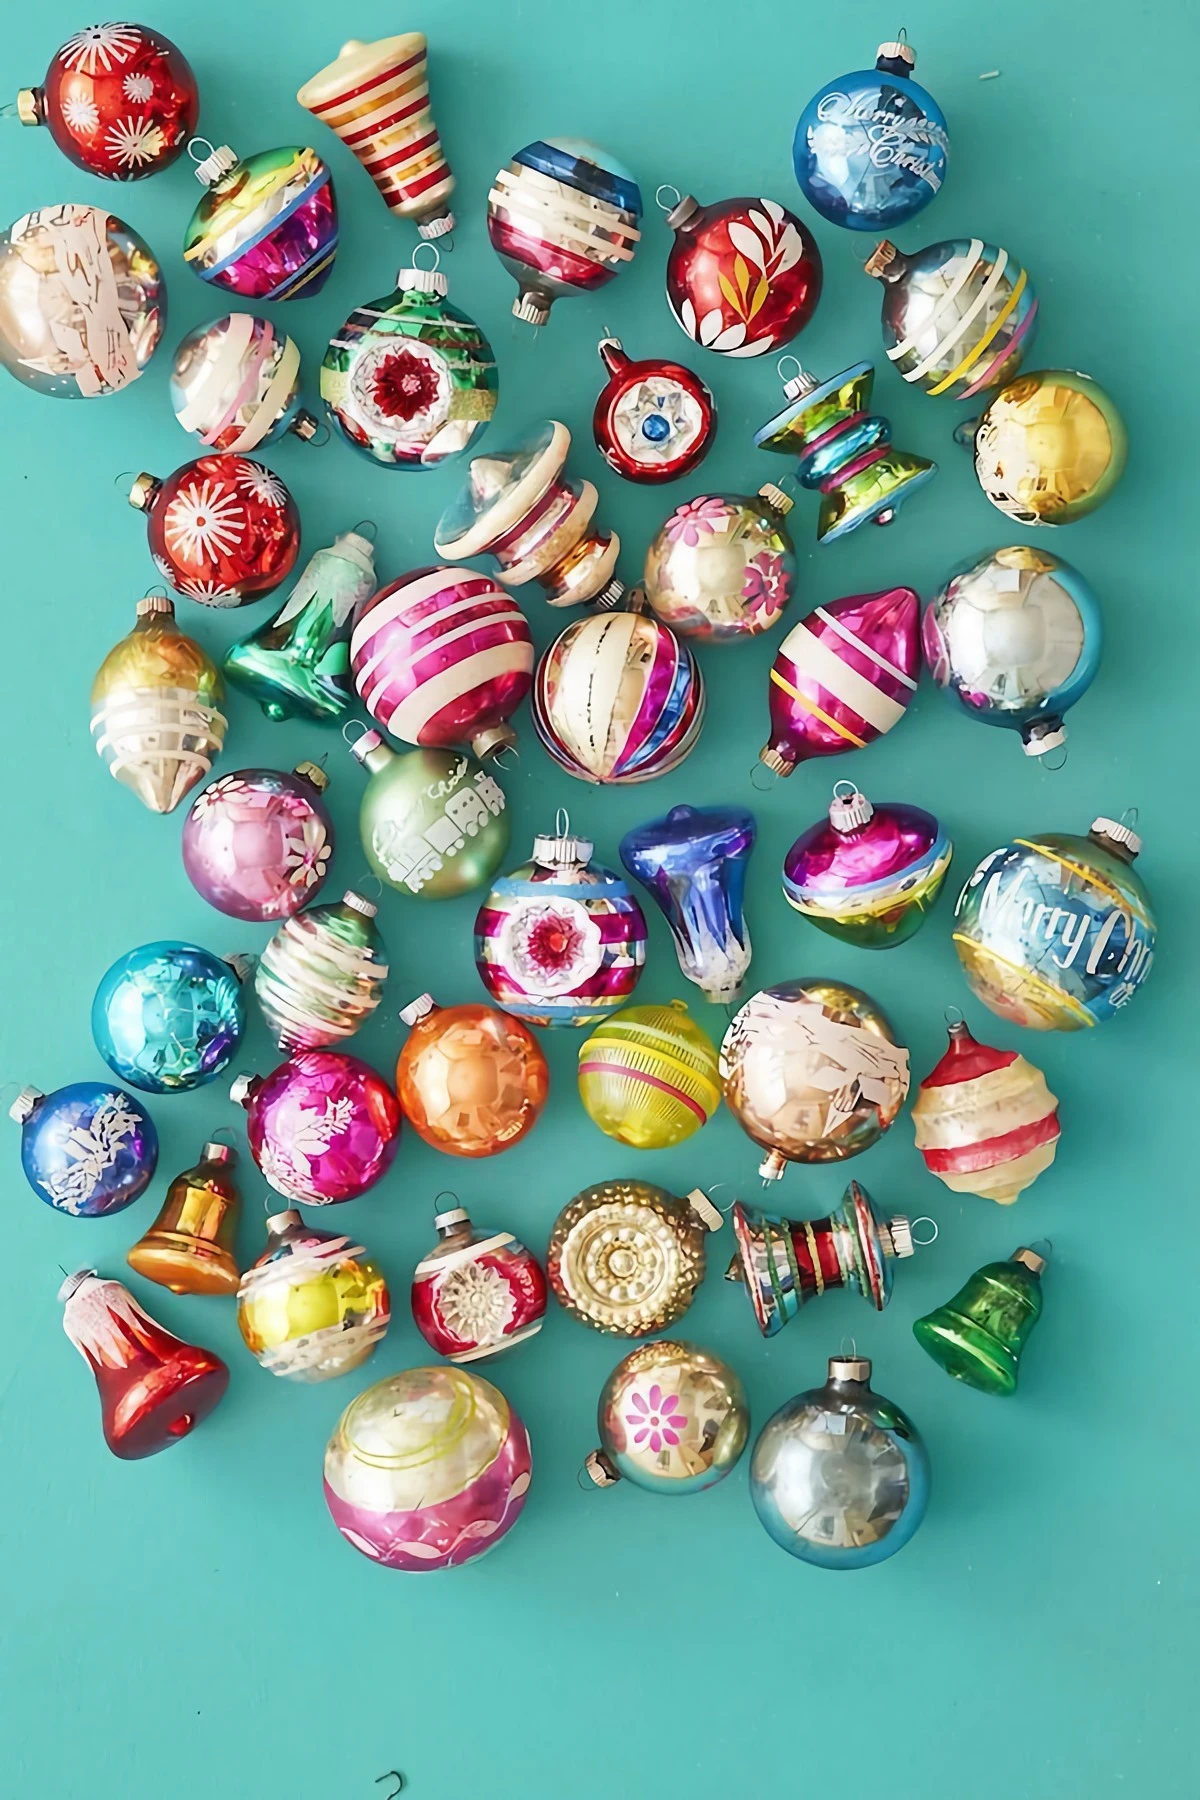
1. Glass Ornaments (Plain, Mirrored, and Mercury Glass)
These are your classic smooth glass balls. After dry dusting, if you still see spots, you can spot-clean. Mix a solution of 50% distilled water and 50% isopropyl alcohol. Lightly dampen a cotton swab—don’t soak it!—and gently roll it over the spot. Never, ever submerge a glass ornament in water. Water will seep in through the cap and ruin the internal silvering or paint, causing irreversible splotches. It’s the most common and tragic mistake I see.
2. Painted Ornaments (Hand-Painted, Matte Finish)
This is where you need to be the most careful. For 99% of painted ornaments, dry brushing is the ONLY safe method. If you have a very durable, modern, glossy ornament with a stubborn spot, you can try a cotton swab dampened only with distilled water. Press it gently to the spot and lift. If you see even a hint of color transfer to the swab, stop immediately. You’ve been warned!
3. Glitter and Flocked Ornaments
Easy one here. No liquids. No cloths. No rubbing. Your only tools are the air blower and a super-soft brush used for dabbing. You will lose a little bit of glitter or flocking—it’s just unavoidable. Trying to glue it back on or spray it with a sealant usually just makes it look clumpy and weird. It’s better to embrace minor loss as part of its character.
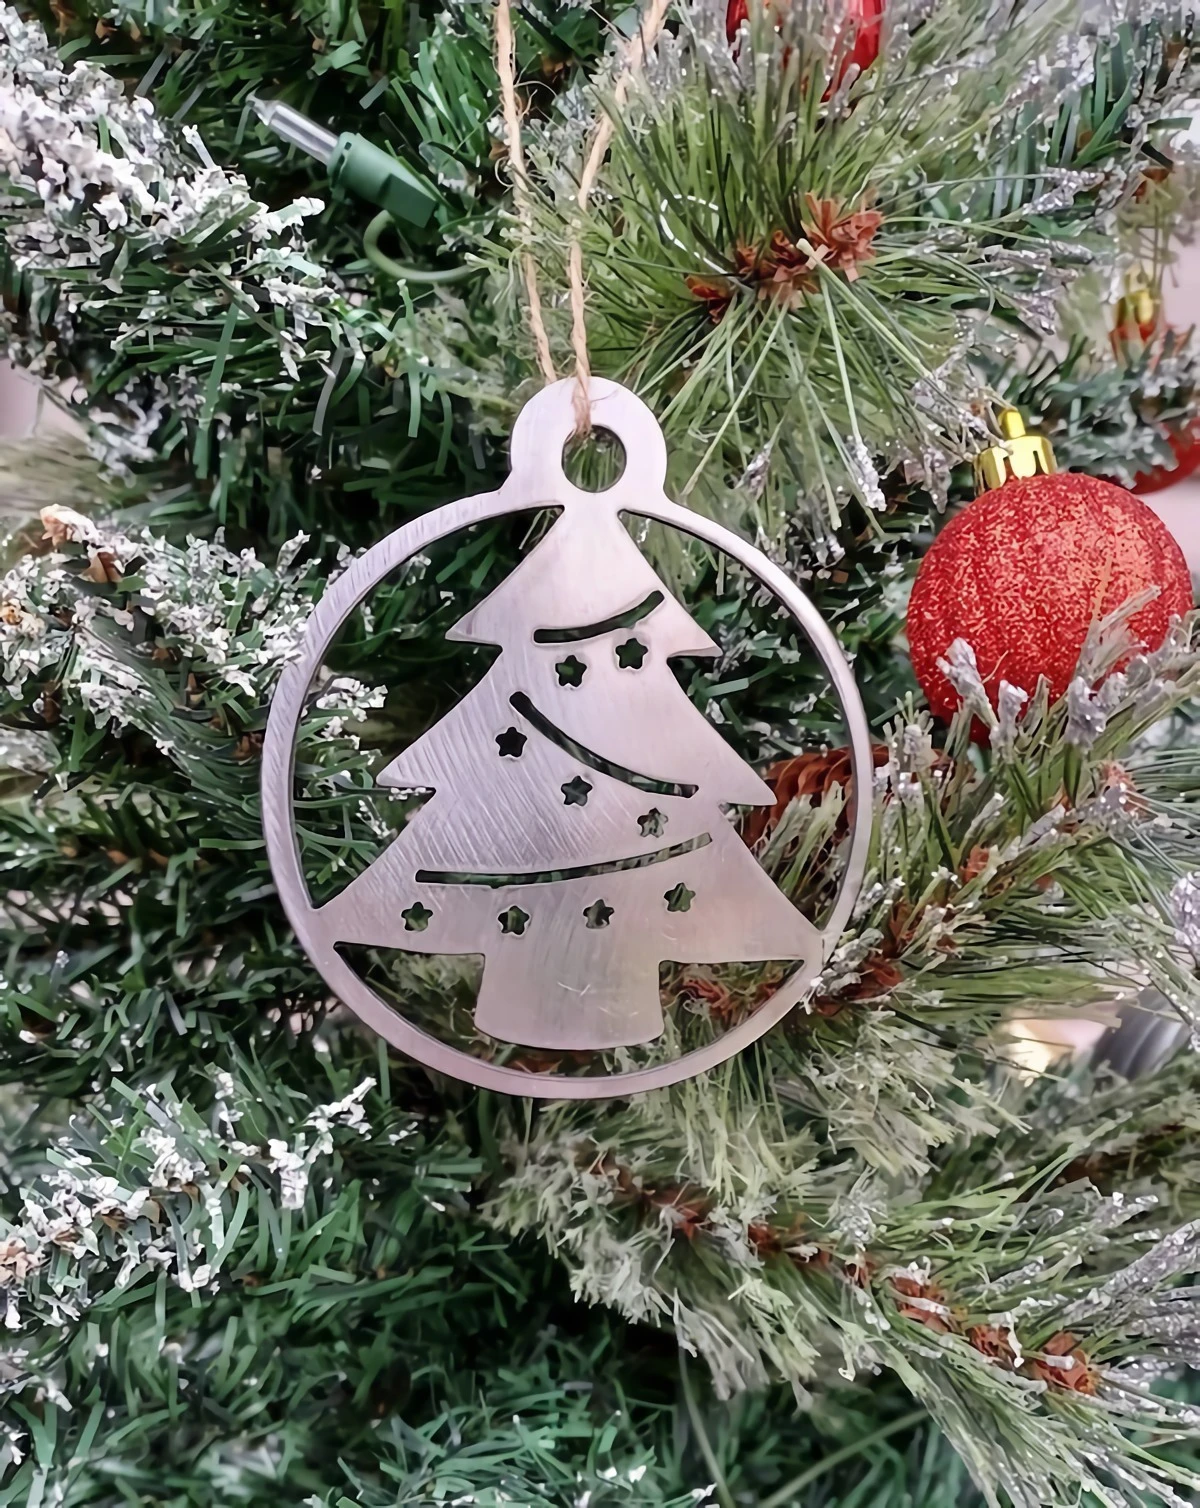
4. Metal Ornaments (Silver, Tin, Brass)
First, know the difference between cleaning (removing dust) and polishing (removing tarnish). For polishing, skip the liquid polishes and household remedies like toothpaste; they’re too abrasive and leave a white residue in the crevices. Instead, get a professional jeweler’s polishing cloth. These are infused with a micro-abrasive and give you so much more control. Just a gentle rub is all you need.

5. Wooden Ornaments (Raw, Stained, or Painted)
Dry dusting is best for all types. If you have a sealed or varnished wood piece that’s seriously grimy (say, from a smoker’s home), you can try a highly diluted solution of Murphy Oil Soap. I’m talking a tiny drop in a small bowl of distilled water, maybe a 1-to-20 ratio. Apply with a cotton swab, and immediately wipe the area clean with another swab dampened with plain distilled water. Test this on the bottom first!
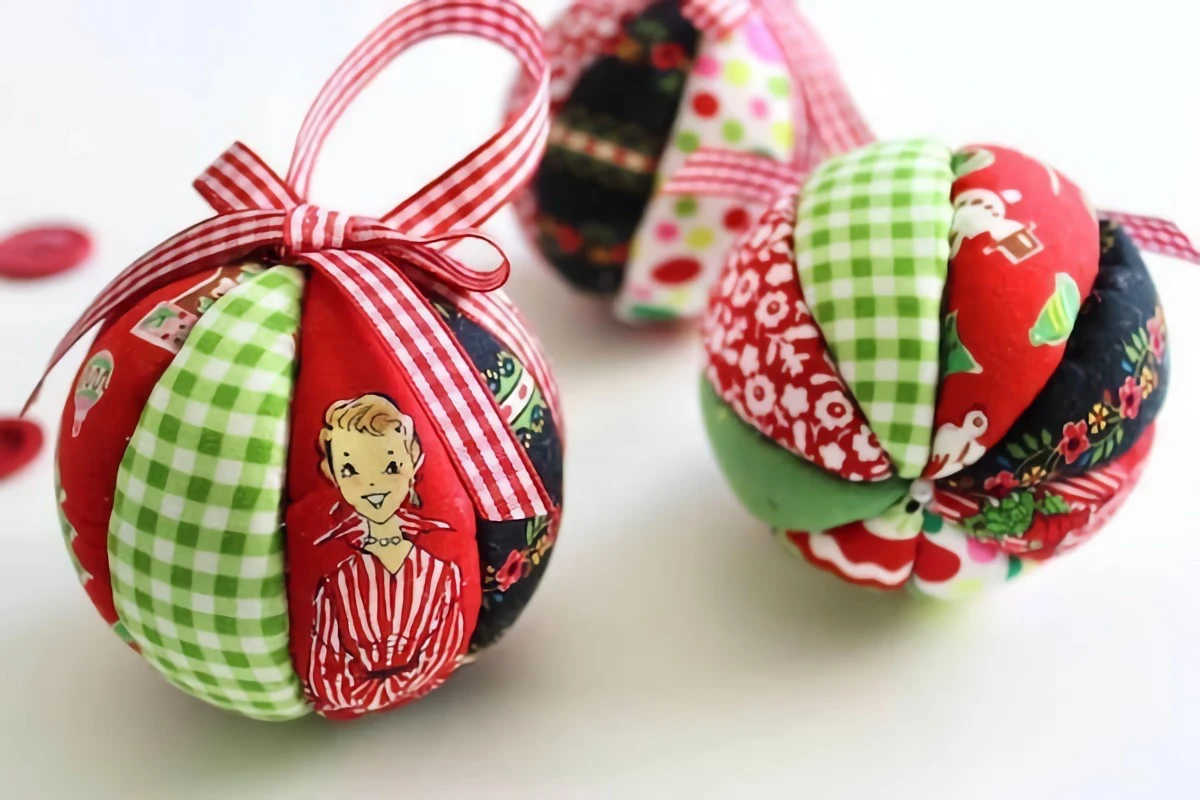
6. Fabric, Felt, and Thread Ornaments
A lint roller seems tempting, but it can pull on delicate embroidery. The pro trick? Use a vacuum cleaner on its lowest setting. Cover the end of the hose with a piece of nylon stocking secured with a rubber band. This gives you gentle suction to lift dust and pet hair without swallowing the ornament whole. Stain removal is high-risk territory here, as old dyes love to bleed. Unless it’s a minor spot, it’s often best to leave it alone.

7. Vintage Plastic Ornaments
Some very old plastics can become brittle and even release damaging gasses over time. If you have ornaments that feel especially light and thin for their age, they could be made of this unstable material. The only safe bet is a gentle dry dusting with a soft brush. It’s a good idea to store these separately from your other ornaments, just in case.
The Most Important Step: Proper Storage
All your careful work goes down the drain if you toss your clean ornaments back into a cardboard box in the attic. Attics and basements have wild swings in temperature and humidity, which is the number one enemy of old, fragile things.
Instead, aim to store them in a stable, dark, and dry place inside your main living area, like the top of a bedroom closet.
Wrap each ornament individually in acid-free tissue paper. This prevents them from knocking into each other and stops chemical reactions between different materials. Then, place them in sturdy boxes with dividers. Look for boxes labeled “acid-free,” “lignin-free,” or that have passed the “Photographic Activity Test (PAT).” You can find these at archival supply stores like Gaylord Archival or sometimes at art supply stores.
Quick Troubleshooting for Sticky Situations
What if you run into something weird? Here are a few common curveballs.
- Musty Smells: If your ornaments just smell old and musty from the attic, let them air out in a dry, well-ventilated room for a day or two before packing them away. Placing them in a box with some baking soda or activated charcoal (in a small open container) can also help absorb odors.
- Bugs?!: If you see evidence of pests like small holes in felt or webbing, isolate those ornaments immediately in a sealed plastic bag. For many materials (wood, sturdy fabric), freezing can kill any lingering pests. Place the sealed bag in the freezer for 72 hours, let it return to room temp slowly inside the bag to prevent condensation, and then repeat the cycle once more. Do NOT do this with fragile glass or painted items.
- Multi-Material Ornaments: What about that glass ball with felt antlers and a painted face? Always default to the most delicate material’s cleaning method. In this case, you would treat the whole thing like a painted ornament: dry brush only.
When to Stop and Call an Expert
Sometimes, the best move is to do nothing at all. You should stop and consider finding a professional conservator if:
- The ornament is worth a significant amount of money (say, over $100).
- It has extreme sentimental value (like the last thing your grandmother ever made).
- It’s actively crumbling or falling apart when you gently touch it.
It’s simply not worth the risk of losing it forever. A quick search for “object conservator” in your area can point you in the right direction.
Taking care of these objects is a slow, thoughtful process. But it connects us to the people who hung them on their own trees, maybe generations ago. You’re not just cleaning decorations; you’re the keeper of your family’s holiday memories.
Inspiration:


I’ve spotted tiny holes or fine webbing on my fabric ornaments. Is it a disaster?
Don’t panic, but act decisively. This is likely evidence of clothes moths or carpet beetles. First, isolate the affected ornaments immediately to prevent spread. Place them in a sealed Ziploc bag and put them in your freezer for at least 72 hours. This will kill any eggs or larvae without using chemicals. After freezing, let the bag come to room temperature for a full day before opening to prevent condensation. Then, you can proceed with a very gentle cleaning using a soft brush or a vacuum with a micro-attachment.
More than 90% of an object’s deterioration happens not during use, but during storage.
Once your ornaments are clean, how you store them is paramount. The original cardboard box or a simple plastic bin can do more harm than good, trapping moisture and allowing acidic materials to discolor paint and tarnish metal. For long-term preservation, invest in archival-quality, acid-free storage boxes, like those from Gaylord Archival. Use acid-free tissue paper—not newspaper!—to wrap each piece individually, providing a protective cushion that prevents chipping and chemical reactions for decades to come.