How to Craft Holiday Ornaments That Actually Become Heirlooms
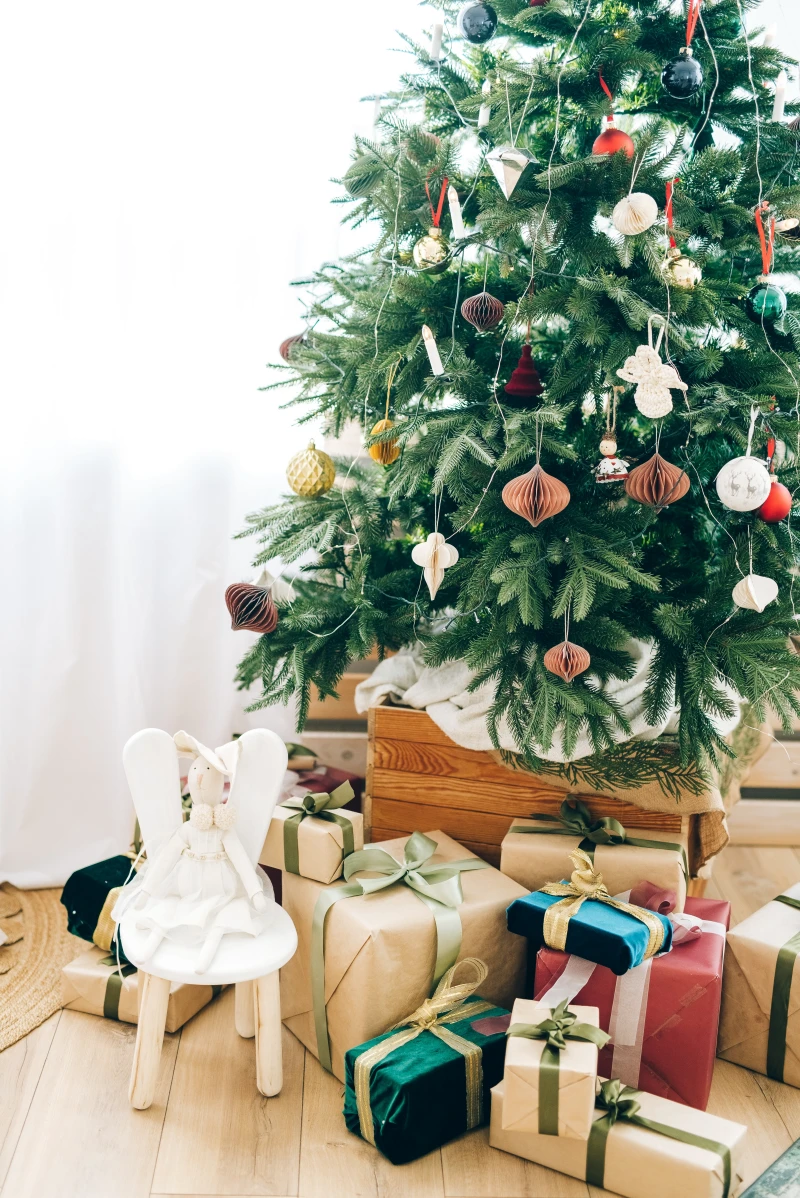
I still have this little ornament a family member made for me. It’s just a simple wooden bird, carved from a piece of scrap pine from his workshop. The paint’s a bit faded, and a fall chipped its wing a few years back. But every single December when I unwrap it, I’m not just holding a decoration. I’m holding the memory of that workshop, the smell of sawdust, and the patient way he showed me how to sand wood smooth. Honestly, that little bird is worth more than every shiny, store-bought ornament I own, combined.
In this article
- First Things First: Choosing Your Adventure
- The Foundation: Understanding Your Materials
- Technique Deep Dive 1: The Rustic Twig Snowflake (Your Perfect First Project!)
- Technique Deep Dive 2: The Flawless Painted Glass Ball
- Technique Deep Dive 3: The Classic Heirloom Felt Ornament
- Finishing, Storing, and Keeping Them Safe
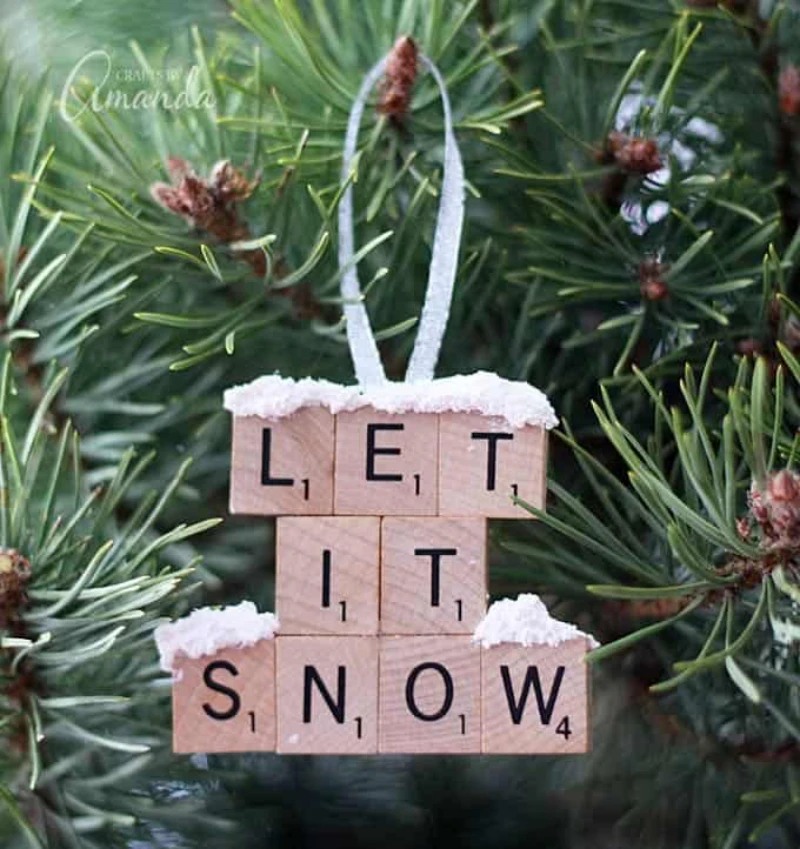
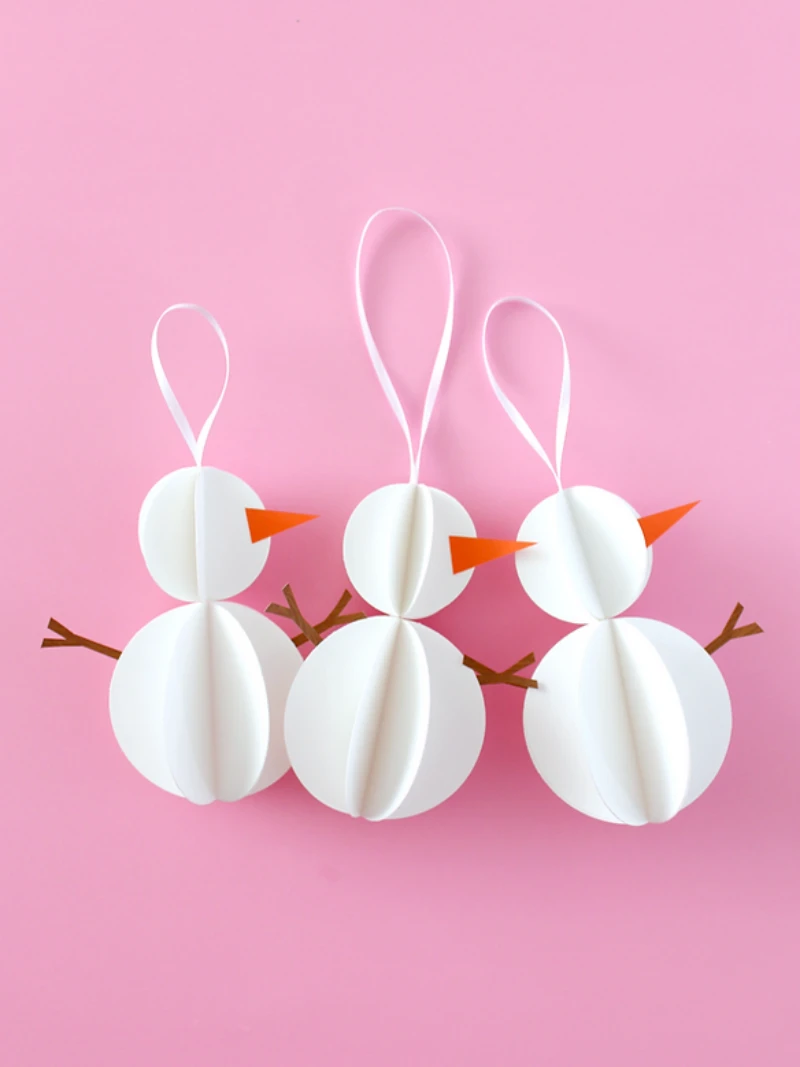
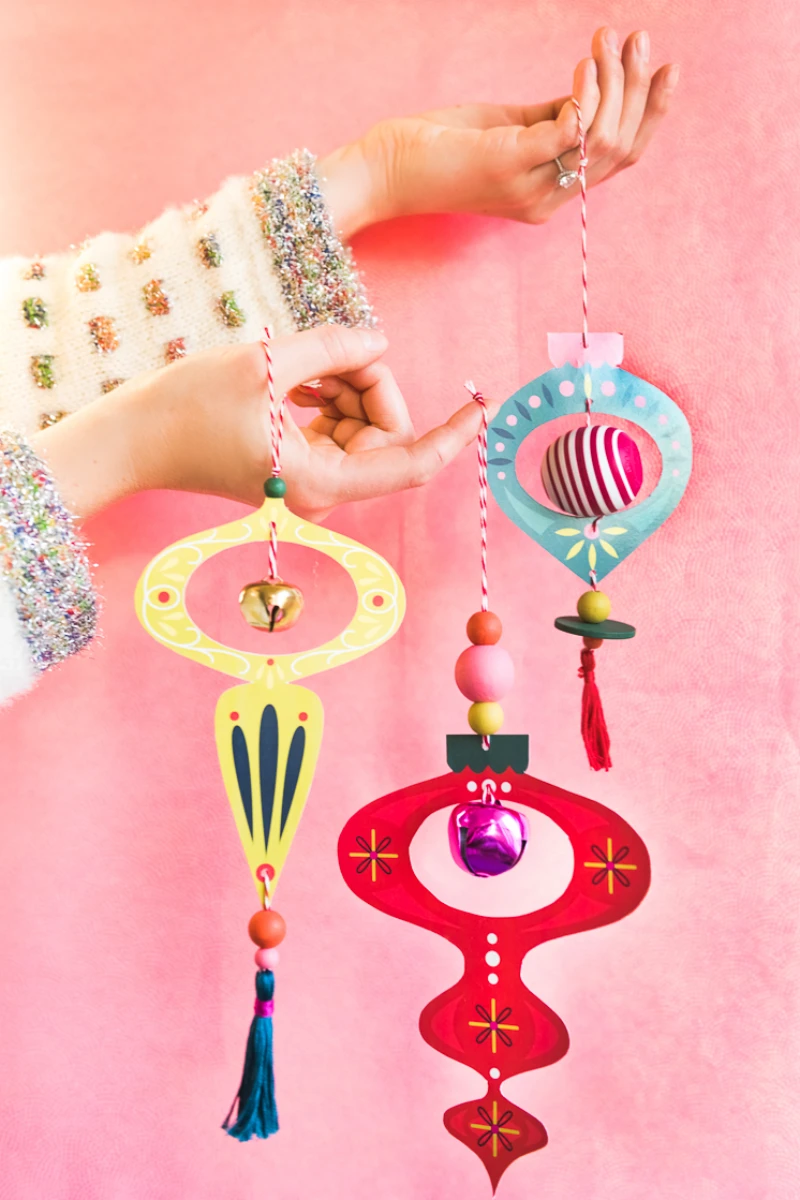
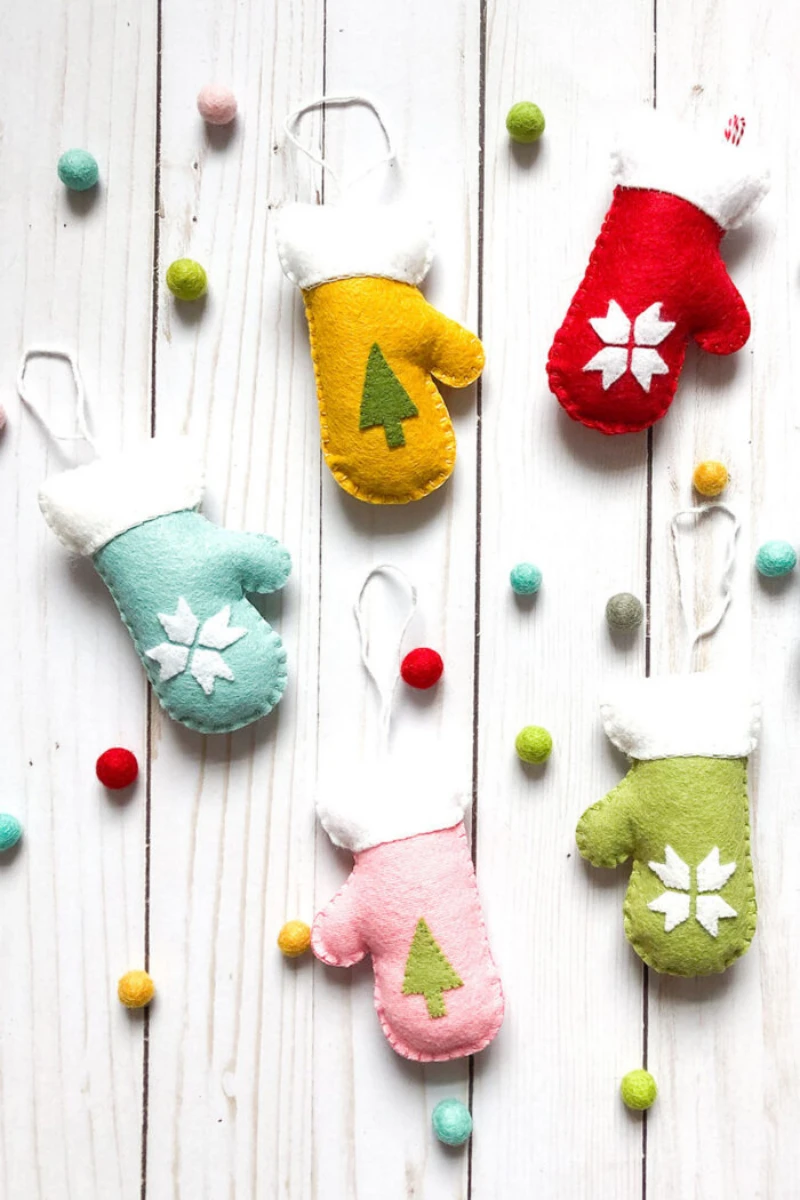
- Inspiration:
And that’s the magic, isn’t it? Making your own ornaments is so much more than a holiday craft. It’s a chance to build real traditions and create things that have a story. It’s about slowing down and putting genuine care into something that will hang on your tree for years, maybe even for your kids’ kids.
I’ve spent a long time working with all sorts of materials, and I want to share some of the core ideas that take a project from a quick glue-and-glitter craft to a lasting heirloom. We’re going to focus on picking the right stuff, using solid techniques, and finishing your work so it can be enjoyed for a long, long time.
First Things First: Choosing Your Adventure
Before we dive into the nitty-gritty, let’s figure out what kind of project is right for you. The quality of your ornament really begins with the materials you choose. A beautiful idea can fall flat if it’s made with supplies that warp, fade, or fall apart. Let’s break it down.
- For a Quick Win & Kid-Friendly Fun: Wood. This is your best starting point. It’s forgiving, has a wonderful rustic charm, and is incredibly durable. The cost can be next to nothing if you’re using found twigs. It’s the easiest path to a beautiful, sturdy heirloom.
- For a Sleek, Modern Look: Glass. This one’s a bit more intermediate. Painted glass ornaments look incredibly professional, like something you’d pay $20 for in a boutique. They require more patience and a delicate touch (they are glass, after all!), but the payoff is huge. Probably not the best one to do with young kids, though.
- For a Cozy, Traditional Vibe: Felt. If you enjoy detailed work and have a bit of patience for hand-sewing, felt is for you. It’s basically unbreakable, which is a huge plus. The cost can vary, but the results are full of soft, classic charm. This one is for the person who finds slow, meticulous work relaxing.
The Foundation: Understanding Your Materials
Okay, now let’s get into the specifics of what to buy and what to avoid. This is the step most people rush, and it makes all the difference.
Wood: Natural and Timeless
Wood just brings a warmth and sturdiness that’s hard to beat. But not all wood is created equal.
- Foraged Twigs: The best price: free! When you’re collecting twigs, look for pieces that are already dead and dry on the ground. Green wood will shrink and might crack as it dries out. Heads up: I always recommend baking your twigs on a sheet pan at about 200°F for an hour. This kills any unseen little critters and gets rid of the last bit of moisture. The smell of the warm wood is a fantastic bonus.
- Wood Slices: You can buy these pre-cut at craft stores like Michaels or online. A bag of 20-30 slices might cost you $10-$15. Look for “kiln-dried” on the package – that means they’ve been professionally dried to stop them from splitting later. Birch is a great choice for its smooth surface and pretty bark.
- Balsa and Basswood: These are super soft, lightweight woods perfect for carving or for ornaments where you need to keep the weight down. Balsa is especially easy to cut with a simple craft knife, but remember that its softness means it can dent easily. You can get blocks and sheets of this for under $10.
Glass and Plastic: A Clear Canvas
Fillable ornaments are everywhere, but there’s a real difference between glass and plastic.
- Glass: Glass gives you perfect clarity and a satisfying weight. It just feels more substantial. Of course, it’s also fragile. A quick tip: always work with glass ornaments over a folded towel. Before you do anything, clean the inside and out with a lint-free cloth and some isopropyl alcohol (70% or higher is best). This is critical for getting paint to stick properly.
- Plastic: A much safer choice if you have curious kids or a tail-wagging dog. Modern craft plastics are surprisingly clear. The main downside is that they can build up static, which is a pain if you’re using fine glitter. Wiping them with an anti-static dryer sheet can really help.
Felt: Softness and Color
The type of felt you choose will dramatically change the final product. Trust me on this one.
- Wool Felt: I almost exclusively use 100% wool felt or a good wool blend (at least 35% wool). It’s dense, soft, and doesn’t pill up. It cuts with a clean, crisp edge and holds stitches like a dream. Yes, it costs more – think $2-$4 for a 9×12 inch sheet – but for an heirloom piece, it’s a no-brainer. You can find it at specialty fabric stores or online.
- Acrylic Craft Felt: This is the cheap stuff you see in big, floppy sheets for about 50 cents at any craft store. It’s fine for a quick kids’ craft, but it’s thin, stretches out, and gets fuzzy over time. For something you want to last, I’d say skip it.
Adhesives and Finishes: Holding It All Together
Using the wrong glue is a classic rookie mistake. A hot glue gun is not always the answer, especially for heirlooms!
- Wood Glue: For any wood-to-wood connection, a quality PVA wood glue is your best friend. A small bottle costs about $5 and will last you ages. It creates a bond that’s literally stronger than the wood itself. Hot glue, by the way, can get brittle in a cold attic and just pop right off.
- Fabric Glue: For felt, a dedicated fabric adhesive is the way to go. It bonds well but stays flexible when it’s dry, so your ornament doesn’t feel stiff and crunchy.
- Clear Sealants: For painted ornaments, a sealant is key. I love water-based polyurethane finishes, which you can find under brand names like Polycrylic. A spray varnish (in matte or gloss) is also great for giving painted surfaces an even, protective coat. Just be sure to use spray cans in a well-ventilated area—seriously, take it outside.
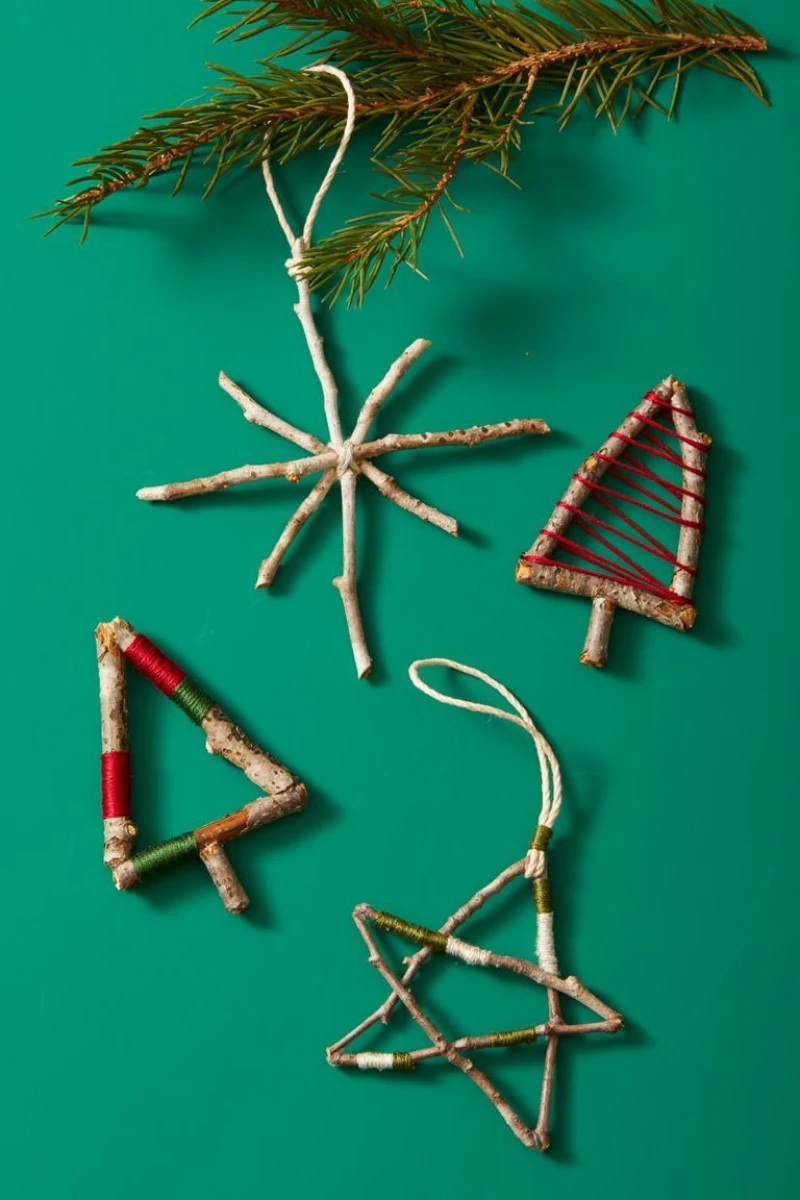
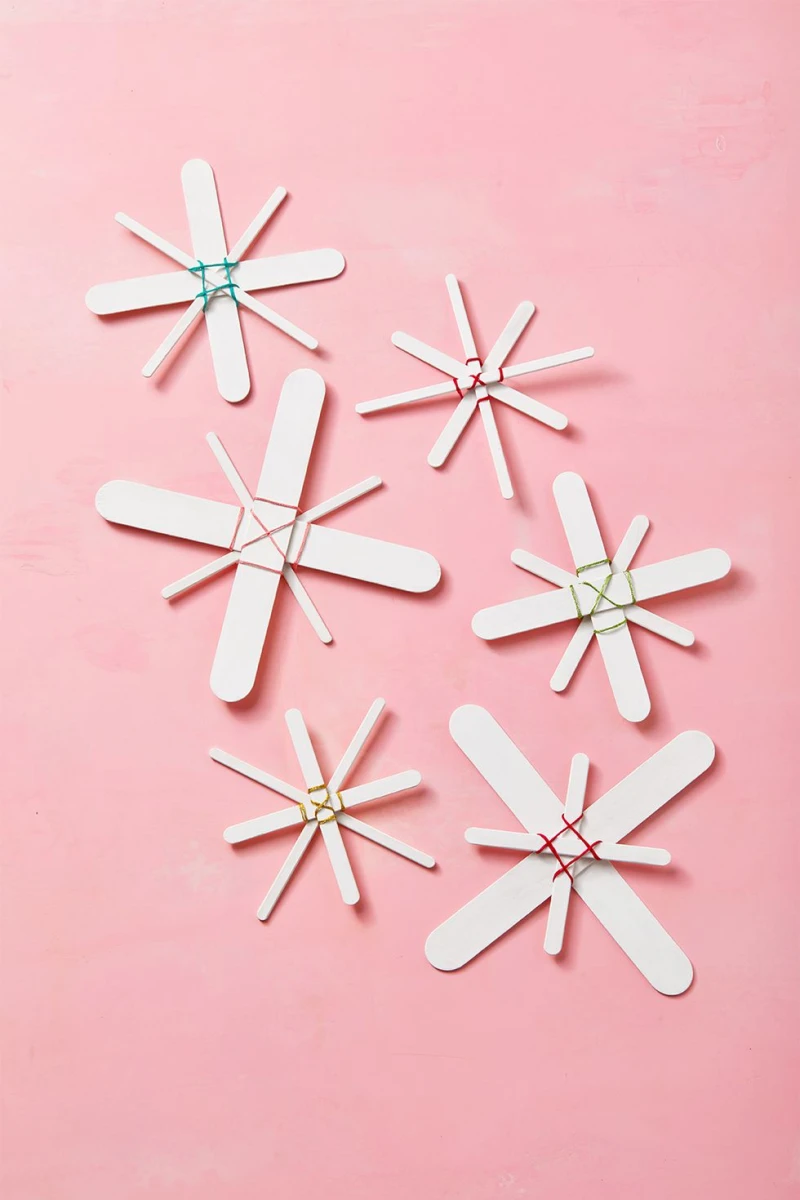
Technique Deep Dive 1: The Rustic Twig Snowflake (Your Perfect First Project!)
Let’s put that knowledge to work with a classic twig snowflake. This project is the perfect starting point. It looks simple, but doing it well teaches you all the right fundamentals and gives you a beautiful result with very little stress.
Project Snapshot:
- Active Time: About 20 minutes
- Total Time: 2-3 hours (mostly for glue to dry)
- Cost: Nearly free!
- Kid-Friendly? Absolutely! Kids are great at finding the perfect twigs and helping with the layout. An adult should handle any cutting.
The Pro Technique:
- Prep: Grab three straight, dry twigs, about 1/4-inch thick. Give them a quick bake in the oven as we talked about before, then let them cool.
- Cut: Use a small craft saw or sharp pruning shears to cut all three twigs to the same length—four inches is a good size. Make your cuts as flat as you can. Don’t use scissors; they’ll just crush the wood fibers.
- Assemble: Lay two twigs to form an ‘X’. Put a small dot of wood glue where they cross. Place the third twig across the center of the ‘X’. You should have six evenly spaced arms.
- Clamp: This is the secret step! Gently place a heavy book on the center of the snowflake to apply pressure. Let it dry for at least an hour, but overnight is even better for a rock-solid bond.
- Finish: Once it’s dry, that bond will be incredibly strong. Just tie a loop of jute twine or thin ribbon around one of the arms for a hanger. For extra security, a tiny drop of glue on the knot will keep it in place forever.
Level Up: Wood Slice Pyrography
If you get hooked on wood, you might want to try pyrography (wood burning). It looks so impressive. For a starter kit, look for a variable-temperature tool that comes with a few different tips—you can usually find one for $20-$30 at craft stores. Lightly sketch your design in pencil first, and let the hot pen glide over the wood. You don’t need to press hard! And a major safety warning: these tools get incredibly hot. Always keep it in its stand when you’re not holding it, and never leave it plugged in unattended.
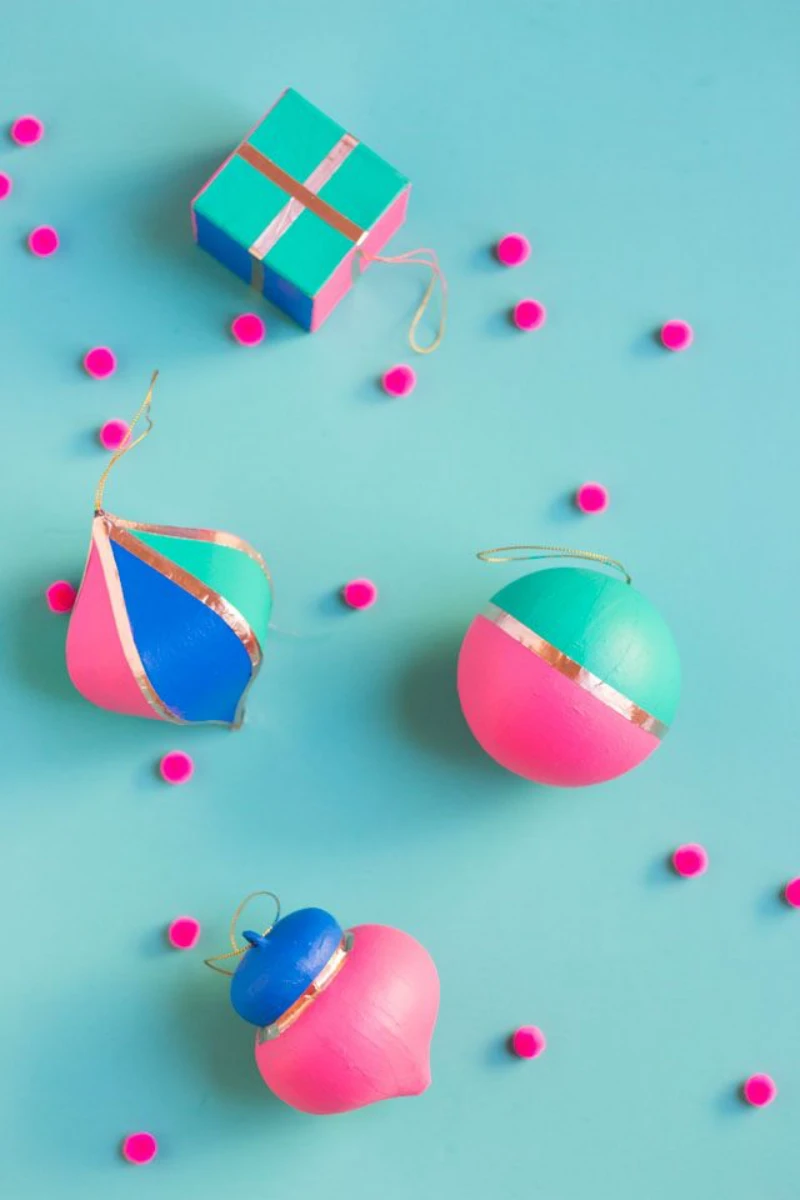
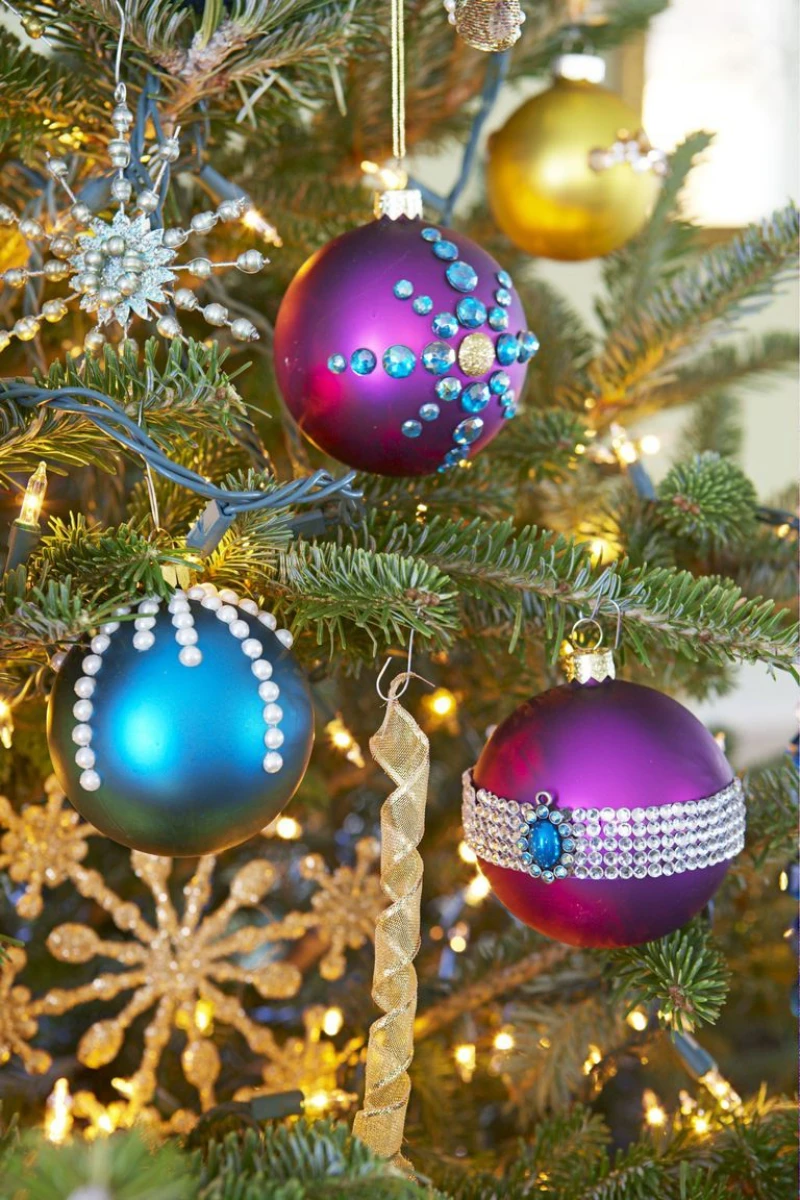
Technique Deep Dive 2: The Flawless Painted Glass Ball
Painting the inside of a clear ornament creates such a sleek, professional look. But so many online tutorials miss the key details, leading to streaky, peeling paint. Let’s do it right.
Project Snapshot:
- Active Time: 15 minutes
- Total Time: 2-3 DAYS (this is almost all drying time, but it’s crucial!)
- Cost: $5-$10 for a few ornaments and paint.
The Internal Swirl Method:
- Prep: Start with a clean, dry glass ball. Pour a tiny bit of 70%+ isopropyl alcohol inside, swirl it to coat everything, then pour it out. Let it air dry completely until it’s crystal clear.
- Paint: Standard acrylic craft paint is perfect. You want it to be the consistency of heavy cream. If it’s too thick, thin it with a tiny drop of water.
- Coat: Pour about a tablespoon of paint inside. Don’t overdo it! Slowly turn and tilt the ornament to coat the entire inner surface. Be patient and don’t shake it, or you’ll get air bubbles.
- Cure: This is the most important step. Once coated, turn the ornament upside down in a small disposable cup and let the excess paint drain out. Now, walk away. Leave it in that cup for at least 48-72 hours in a warm, dry spot. If you rush this, the paint will stay wet inside and slide down into a puddle later. From my experience, this is the #1 reason these ornaments fail.
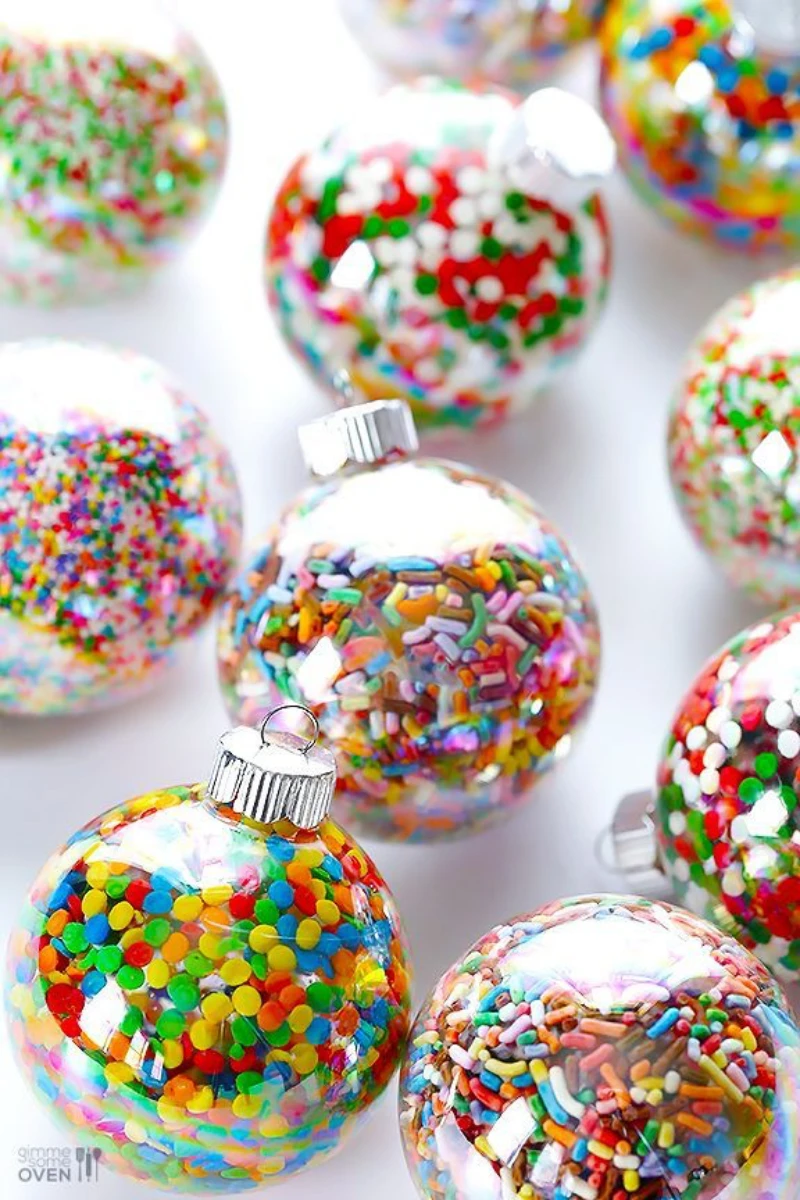
Oh yeah, and you can use this same technique with glitter! Instead of paint, use a clear-drying liquid adhesive like water-based polyurethane. Swirl it to coat, pour out the excess, let it get tacky for a few minutes, then pour in your glitter. Swirl again, dump the extra, and let it dry for a full day.
Technique Deep Dive 3: The Classic Heirloom Felt Ornament
Felt ornaments are just so charming and cozy. The difference between a kid’s craft and a beautiful keepsake is all in the quality of the felt and the neatness of the stitching.
Project Snapshot:
- Active Time: 45 minutes to 1.5 hours, depending on complexity.
- Total Time: Same as active time.
- Cost: $5-$15, depending on the quality of your felt.
The Pro Cutting & Stitching Method:
- Pattern: A lesser-known trick: use freezer paper. Trace your pattern onto the paper side. Don’t have a pattern? Make one! Fold a piece of paper, draw half a heart or star against the fold, and cut it out. Unfold for a perfect, symmetrical shape.
- Cut: Iron the waxy side of the freezer paper onto your good wool felt (medium heat, no steam). It’ll stick temporarily. Now, cut through both the paper and the felt with sharp scissors. When you peel the paper off, you’re left with a perfectly clean and accurate shape. No marker lines!
- Stitch: The blanket stitch is the classic choice for the edge. It’s both decorative and strong. Use two or three strands of embroidery floss. If you’re new to it, just search for a ‘blanket stitch tutorial’ online—you’ll get it in two minutes.
- Stuff: As you stitch the front and back pieces together, leave a small opening. Use small tufts of polyester fiberfill to stuff the ornament. A chopstick is perfect for getting it into the corners. The goal is plump, not rock-hard.
- Close: Stitch the opening closed. To hide the thread tail, pass your needle all the way through the ornament, pull the thread tight, and snip it right against the felt. The tail will pop back inside, completely hidden.
Quick tip: It’s WAY easier to add any embroidered details or beads to the front piece before you sew it to the back piece.
Finishing, Storing, and Keeping Them Safe
Your work isn’t done when the last stitch is made! A proper hanger and good storage will protect your new heirlooms for years.
Hangers and Hardware
For wood, the most secure hanger is a small metal screw eye. Pre-drill a tiny pilot hole first to stop the wood from splitting. For felt, sew a loop of ribbon right into the seam as you’re closing it up. For glass balls, the cap they come with is fine, but swapping the wire hook for a nice ribbon is a lovely touch.
Long-Term Storage: A Lesson I Learned the Hard Way
Early on, I stored a box of my handmade ornaments in a damp garage. Big mistake. The next year, I opened it to find mildew on the wood and flaked paint on the glass. It was heartbreaking. Now, I treat them like tiny museum pieces. Wrap each ornament individually in acid-free tissue paper. Store them in a sturdy, lidded box in a climate-controlled part of your house—a bedroom closet is perfect. Avoid attics and basements at all costs!
Creating something with your own hands connects you to a long history of craft and care. I hope these techniques give you the confidence to make something that’s not just beautiful for one season, but becomes a treasured part of your family’s story.
So, your turn! Which one are you going to try? Pick one this weekend and just go for it. That, more than anything, is how a new tradition begins.
Inspiration:
How do I add a name or the year without it looking clumsy?
The secret is using the right tool before sealing the ornament. Ditch the thick permanent marker and opt for an archival ink pen, like a Sakura Pigma Micron. Its fine tip allows for elegant script, and the ink is fade-resistant and waterproof. Practice on a scrap piece of wood, then write directly onto your ornament. Let it dry completely before applying a clear topcoat to protect it forever.
Did you know? The acid in standard cardboard boxes and colored tissue paper can cause materials like felt, wood, and certain paints to yellow and degrade over time.
To truly protect your handmade heirlooms for future generations, proper storage is key. Wrap each ornament individually in acid-free tissue paper (available at craft stores) and place them in a sturdy plastic bin with a secure lid. This simple step prevents discoloration, moisture damage, and crushing, ensuring your creations look just as vibrant next December.
When finishing a wooden ornament, the final clear coat makes all the difference. Your choice affects both its look and longevity.
Spray Lacquer: For a quick, even, and professional-looking hard shell, a spray-on lacquer like Deft Clear Wood Finish is excellent. It dries fast and provides great protection, but it’s best applied outdoors due to strong fumes.
Wipe-On Poly: For a more hands-on approach that brings out the wood’s warmth, a wipe-on polyurethane like Minwax’s version is perfect. It gives you more control, a hand-rubbed feel, and builds a durable, satin finish with a few thin coats.


