The No-Nonsense Guide to Keeping Your Cacti Alive (and Actually Happy)
I’ve been working with cacti for what feels like a lifetime. But my journey didn’t start with a gorgeous, thriving collection. It started with a string of sad, mushy failures. My very first cactus, a little Pincushion, rotted from the base up. I thought I was doing everything right! I read it needed “well-draining soil,” so I bought a bag. I gave it “plenty of sun” on a windowsill. I watered it “sparingly.” Or so I thought.
In this article
- First Things First: You Just Bought a Cactus. Now What?
- The Physics of a Cactus Pot (It’s More Than a Holder)
- Let’s Make Some Real Cactus Soil
- A Few Easy Cacti to Get You Started
- Watering: The Art of the ‘Soak-and-Dry’
- Light, Air, and Recreating the Right Vibe
- Wait, Not All Cacti Are from the Desert?
- The Long Game: Feeding, Pruning, and Repotting
- Winter Is Coming: The Importance of a Cool Rest
- Troubleshooting the Inevitable
- Galerie d’inspiration
Honestly, I learned a hard lesson: general advice is often too simple to be useful. Real success with these plants comes from understanding the why behind the rules. It’s about recreating a specific environment, not just blindly following a checklist. This guide is built on everything I learned from those early mistakes and from decades of growing these plants for a living.
First Things First: You Just Bought a Cactus. Now What?
Before we even get to pots and soil, let’s talk about the moment you bring a new plant home. It’s tempting to immediately give it a prime spot among your other plants, but hold on.
A quick tip that will save you a world of headaches: Always quarantine new plants. Keep your new cactus in a separate room, away from your main collection, for at least two to three weeks. This gives you time to make sure it doesn’t have any hidden pests like mealybugs that could infest your other plants. During this time, give it good light, but hold off on repotting or any other major changes. Let it acclimate to its new home first.
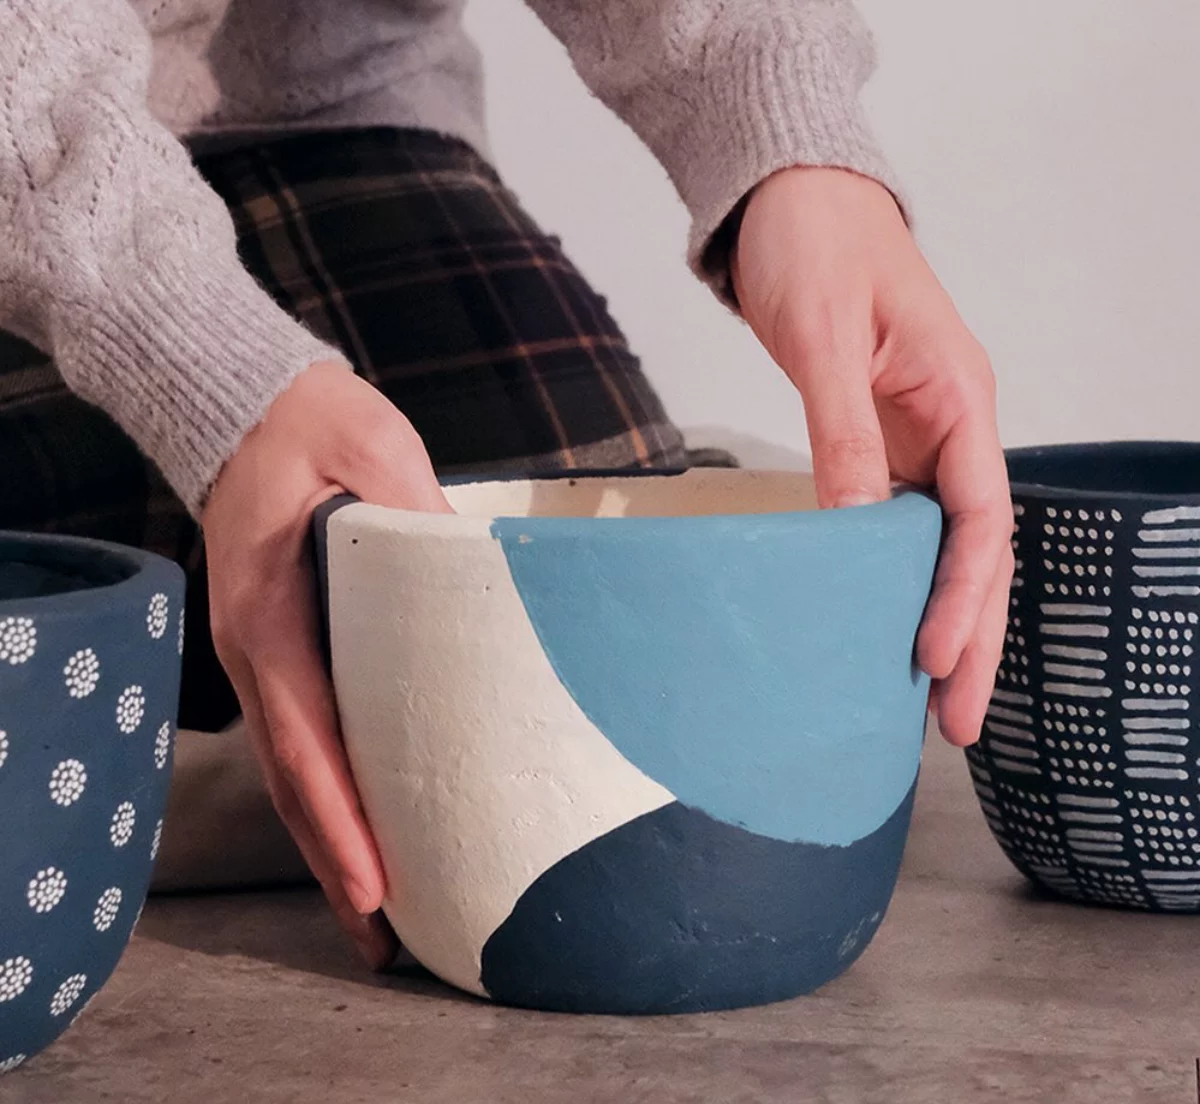
The Physics of a Cactus Pot (It’s More Than a Holder)
The single most common problem I see is root rot from the wrong pot and soil combo. A pot isn’t just a decorative holder; it’s a critical tool for managing water and air around the roots. See, cactus roots need to breathe. When soil stays soaked for too long, the air pockets fill with water, and the roots literally suffocate and start to decay. That’s root rot.
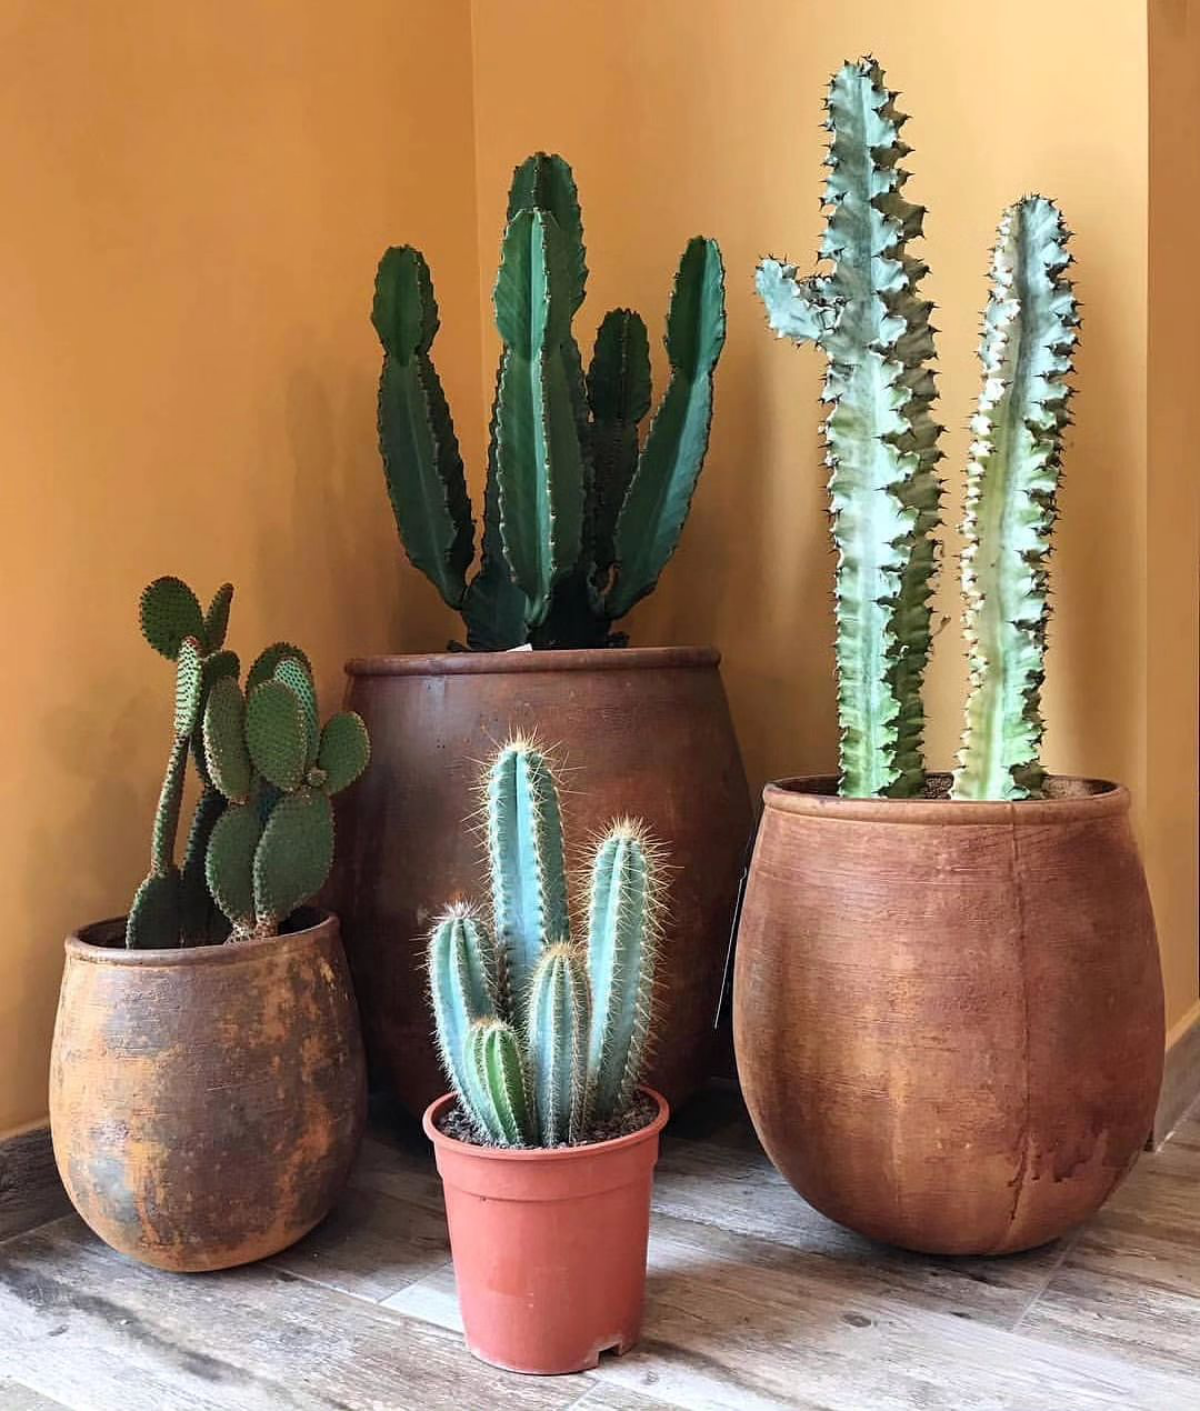
So, what pot should you choose? The material makes a huge difference in how fast the soil dries out.
- Terracotta (Unglazed Clay): This is my go-to recommendation for almost everyone. Terracotta is porous, meaning it breathes. It actively pulls moisture out of the soil and lets it evaporate. This is a massive safety net against overwatering. The only downsides? They dry out faster (which is usually a good thing!) and can be a bit fragile. A standard 4-inch terracotta pot will only set you back about $2-$4 at a place like Home Depot or any garden center.
- Glazed Ceramic & Plastic: These pots are non-porous. They hold moisture for a long time. To be frank, for a beginner with a desert cactus, these are high-risk choices. I only use them for jungle cacti (we’ll get to them later) or in a perfectly controlled greenhouse environment. If you must use a plastic pot, you absolutely need a super gritty, fast-draining soil mix to compensate.
Oh, and That Drainage Layer Myth…
\p>You’ve probably heard this one: “Put a layer of gravel at the bottom of the pot for drainage.” Please, don’t do this. It’s based on a misunderstanding of physics and actually makes root rot more likely. Water doesn’t like to move from fine soil to coarse gravel. So, the soil has to become completely saturated before any water will drain out. This creates a swampy “perched water table” at the bottom of your pot, right where the roots are. A good soil mix should be consistent from top to bottom. The only thing at the bottom of a pot should be a drainage hole. Period.
Let’s Make Some Real Cactus Soil
Bagged “Cactus & Succulent Soil” from a big-box store is… okay as a starting point, but I find it’s almost always too heavy on peat and fine organic stuff. It holds too much water and compacts over time. Making your own is the single biggest upgrade you can make. It’s also way cheaper in the long run.
A good mix is all about creating structure and permanent air pockets. Here’s my all-purpose recipe that works for most desert cacti.
The easiest way to think about this is in “parts.” Just use the same scoop for everything—a coffee cup, a small pot, whatever. It’s the ratio that matters.
- 2 Parts Pumice or Chicken Grit: This is the inorganic backbone. Pumice is a lightweight volcanic rock that’s full of air holes. Chicken grit (crushed granite) does the same job but is heavier, which is great for top-heavy plants. You can find pumice at good garden centers or online for about $20 for a big bag that will last you ages. Chicken grit is at farm supply stores.
- 2 Parts Coconut Coir: This is my favorite organic bit. Unlike peat moss, it re-wets easily and doesn’t break down as fast. It holds just enough moisture without getting soggy.
- 1 Part Coarse Sand or Sifted Compost: This adds a little grit and weight. Heads up! It must be coarse horticultural sand. Fine play sand will clog all the air gaps and turn your soil into concrete. For cacti that like a little more food, I’ll use compost that’s been sifted through a basic screen to get the big chunks out.
Just dump all the ingredients in a bucket or on a tarp and mix them up thoroughly. When you squeeze a handful of the slightly damp mix, it should feel gritty and crumble apart easily, not clump together like garden soil.
All in, you can get a single cactus, a pot, and enough ingredients to make a gallon of premium soil for under $40. And you’ll have plenty of soil mix left over for your next few plants.
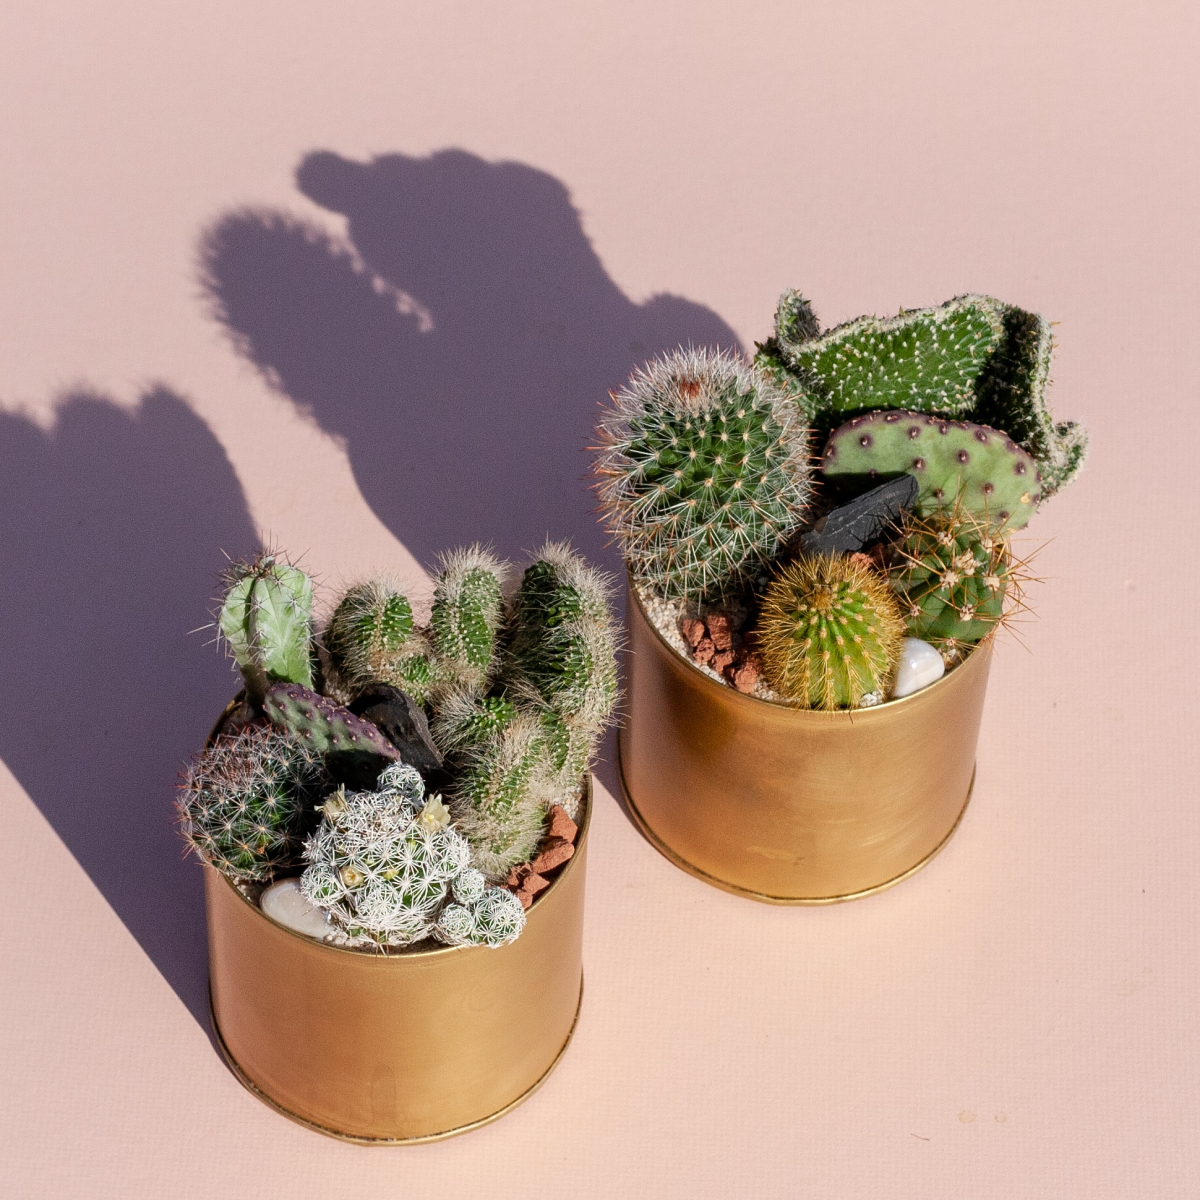
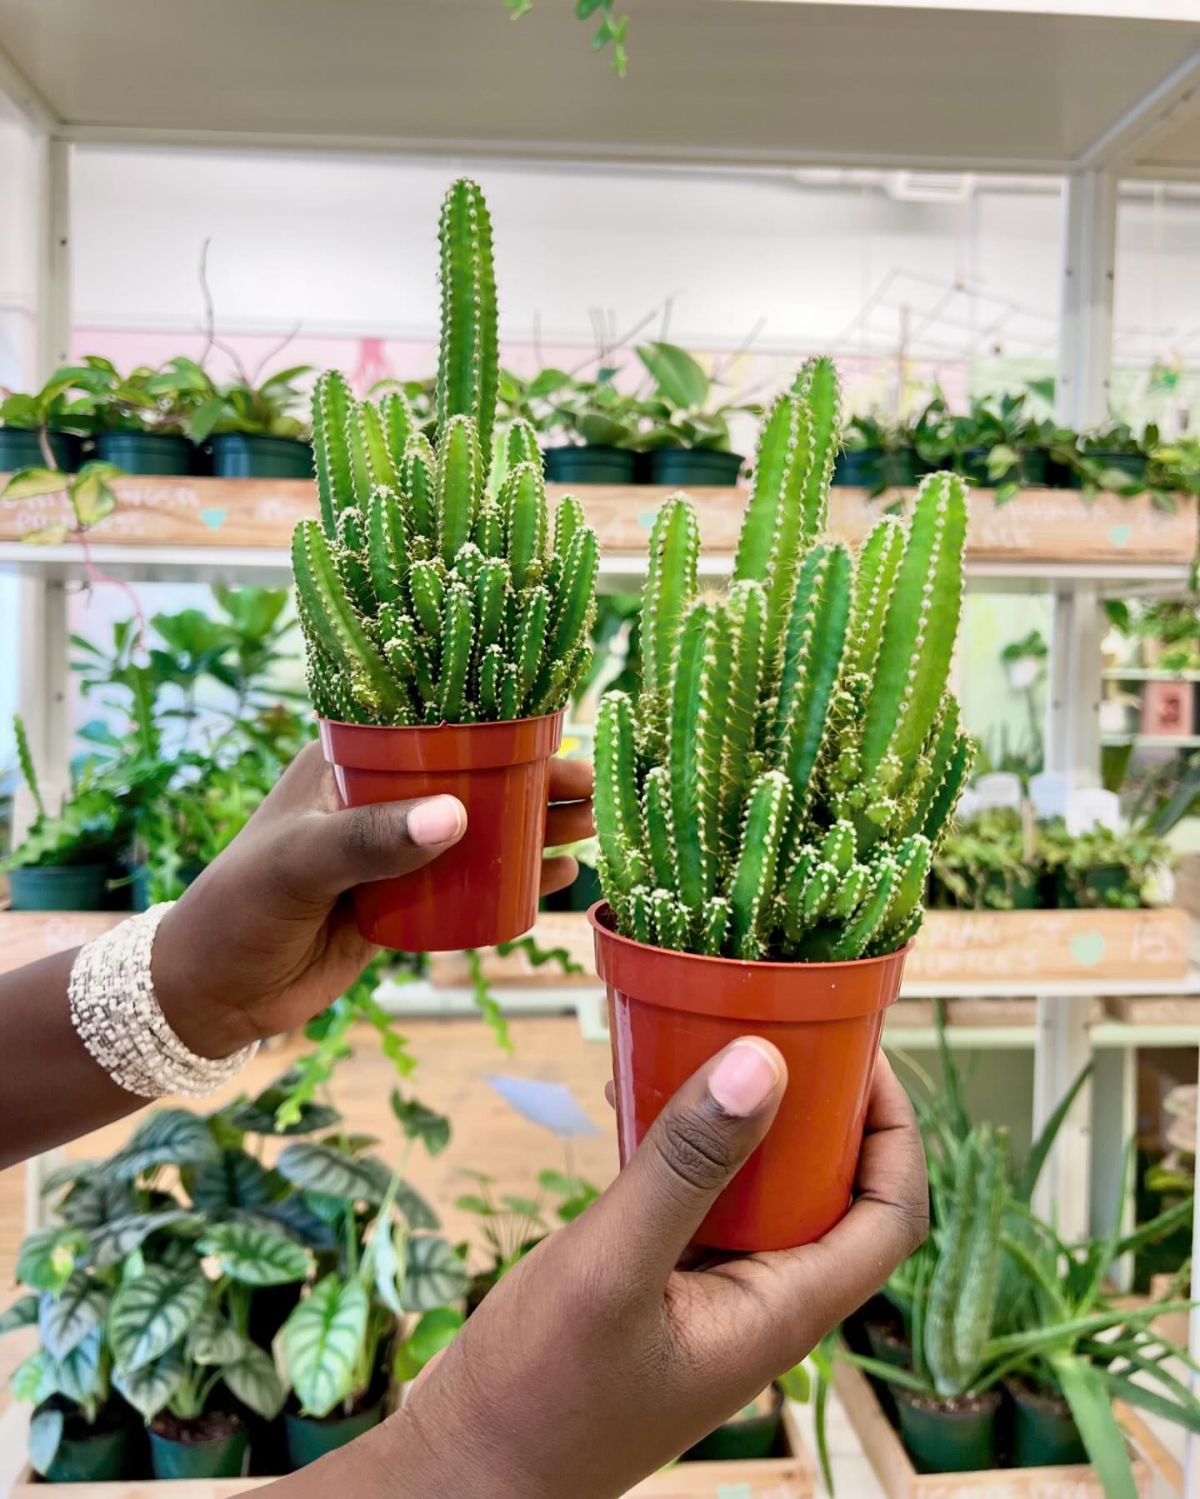
A Few Easy Cacti to Get You Started
Feeling overwhelmed? Don’t be! Start with a plant that’s known to be forgiving. Here are a few great choices for beginners:
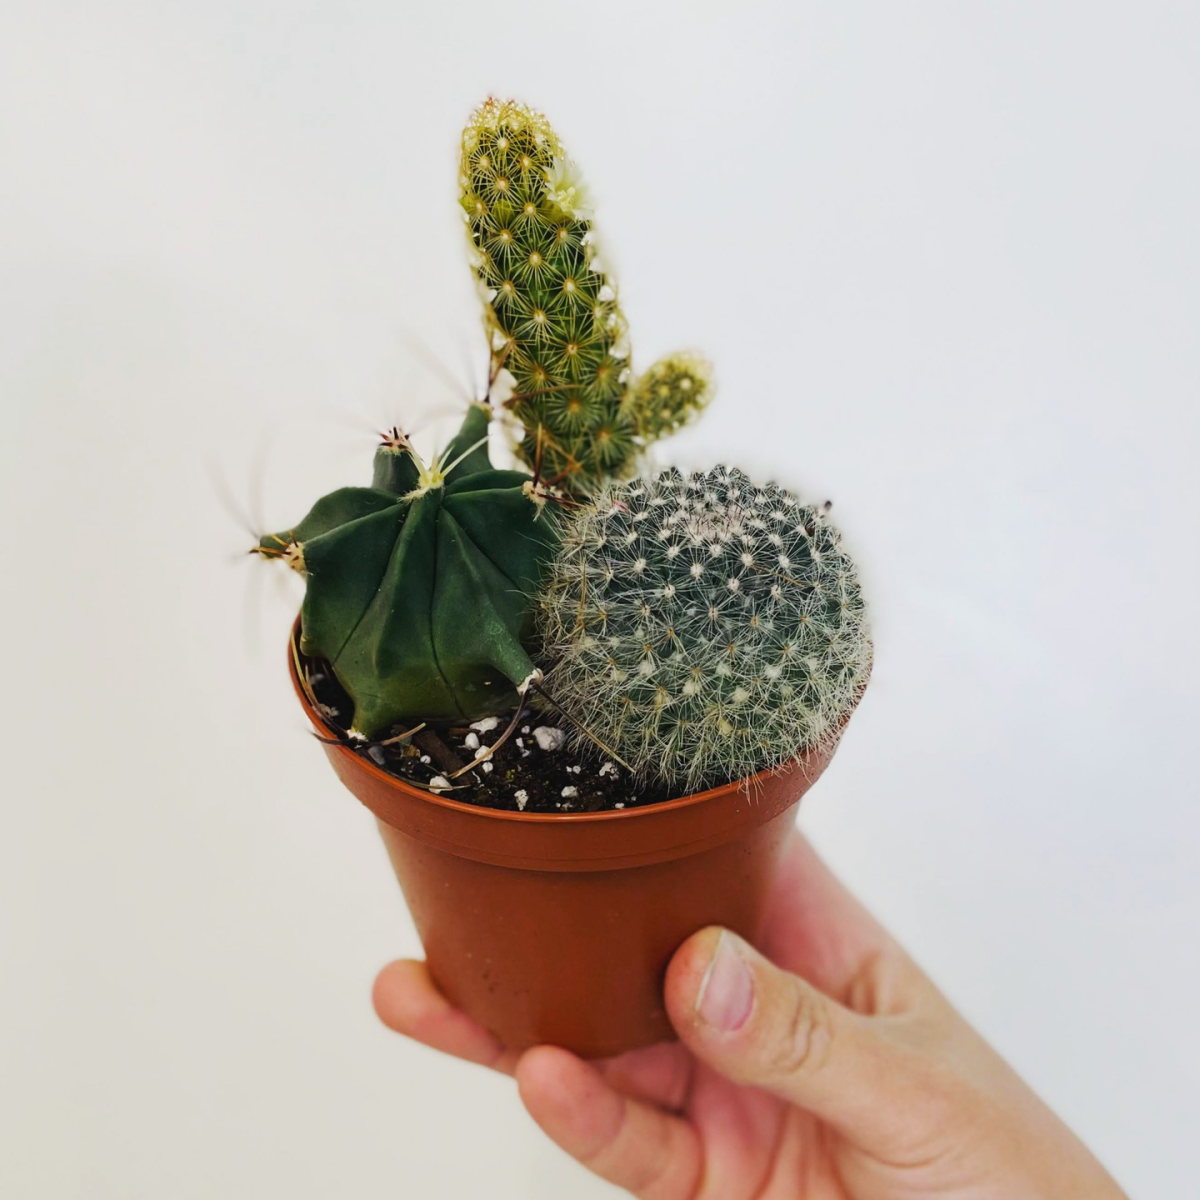
- Pincushion Cacti: Lots of small, charming species that are tough and bloom easily.
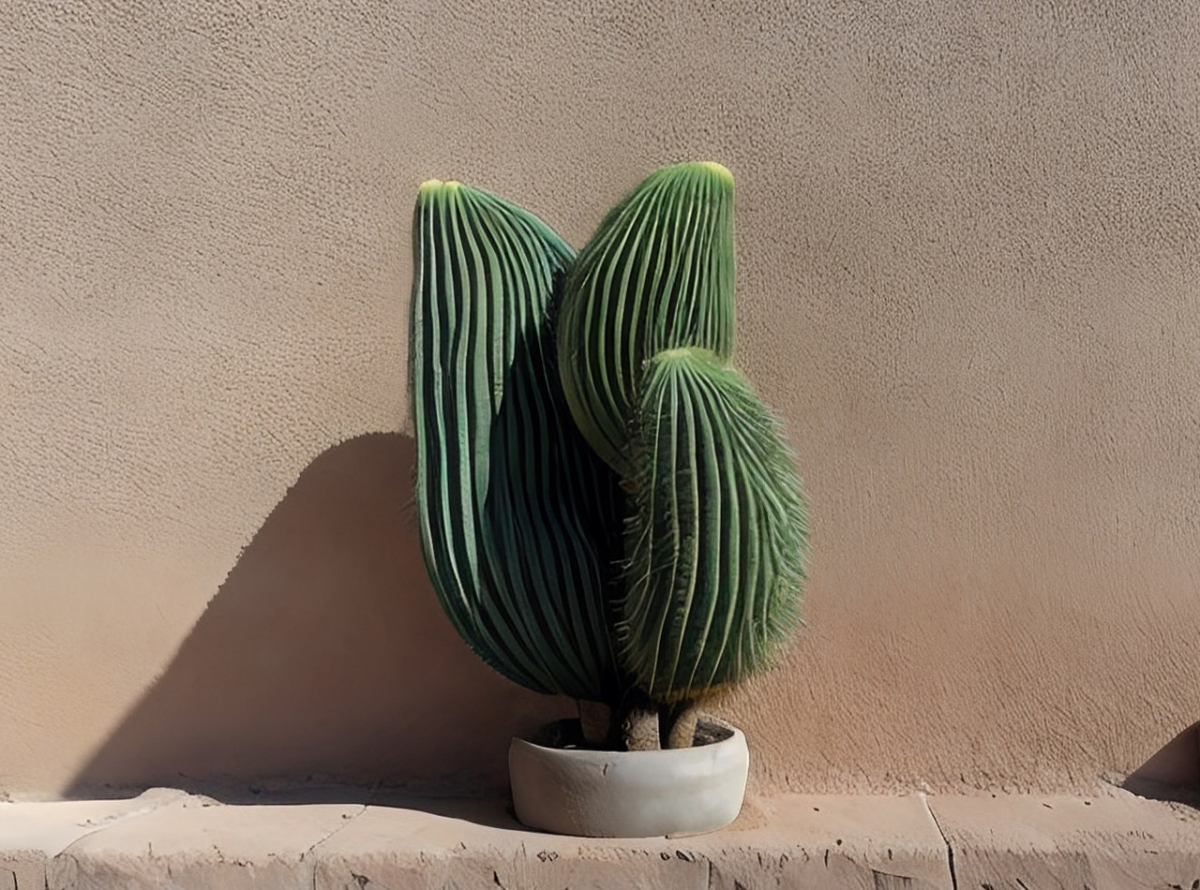
- Golden Barrel Cactus: A classic for a reason. It’s slow-growing, loves the sun, and is very resilient.
- Prickly Pear Cacti: These grow fast and are incredibly tough. Plus, they are super easy to propagate from their pads.
- Domino Cactus: A lovely, round cactus that produces huge, beautiful flowers and is quite tolerant of beginner mistakes.
- Star Cactus: These are unique, spineless, and stay relatively small, making them perfect for windowsills.
Watering: The Art of the ‘Soak-and-Dry’
Let’s get one thing straight: overwatering isn’t about watering too often. It’s about the soil staying wet for too long. That’s why the “soak and dry” method is the professional standard—it copies a desert downpour followed by a long, dry spell.
When it’s time to water, do it right. Take the pot to a sink and pour water all over the soil surface until it flows freely out the drainage hole. This hydrates the entire root ball and flushes out any mineral buildup. Then, and this is important, let it drain completely. Never, ever let a cactus sit in a saucer of water.
So, When Is It Time?
Don’t use a schedule. The best way to know when to water is to check the soil. The top inch can be bone dry while the bottom is still damp. Here are two much better methods:
- The Dowel Method: Grab a plain wooden dowel, a bamboo skewer, or even a chopstick. Push it deep into the soil (away from the plant). Pull it out. If it comes out clean and dry, it’s time to water. If it has dark, damp soil stuck to it, wait a few more days.
- The Weight Method: This comes with experience. Pick up your pot. You’ll quickly learn how light it feels when it’s completely dry versus how heavy it is after a good watering. If it feels surprisingly light, it probably needs a drink.
Your turn! Go find a wooden skewer or a plain chopstick from your kitchen. Right now. Go test the soil on one of your plants. Is it damp? Let it be. Bone dry? Time for a drink!
Light, Air, and Recreating the Right Vibe
Most desert cacti need at least 4-6 hours of direct, bright sun every day. A south-facing window is usually perfect. But even sun-lovers can get sunburned, which looks like white, yellow, or crusty brown patches on the skin. I once saw a gorgeous Golden Barrel with a huge burn scar because it was pressed right up against a window, and the glass was magnifying the afternoon sun. We just moved it two feet back, and all the new growth was perfectly healthy.
Too little light is just as bad. It causes stretching (etiolation), where the plant grows pale, thin, and weak. This damage is permanent. If you don’t have enough natural light, a grow light is a must. You don’t need a crazy setup; for a small collection, a full-spectrum LED bulb of at least 15-20 watts works great. You can screw it into a regular desk lamp and position it about 6-12 inches above your plants for 12-14 hours a day.
Oh yeah, and don’t forget airflow. Stagnant air is an invitation for pests and fungus. A small, oscillating fan in the room can make a world of difference.
Wait, Not All Cacti Are from the Desert?
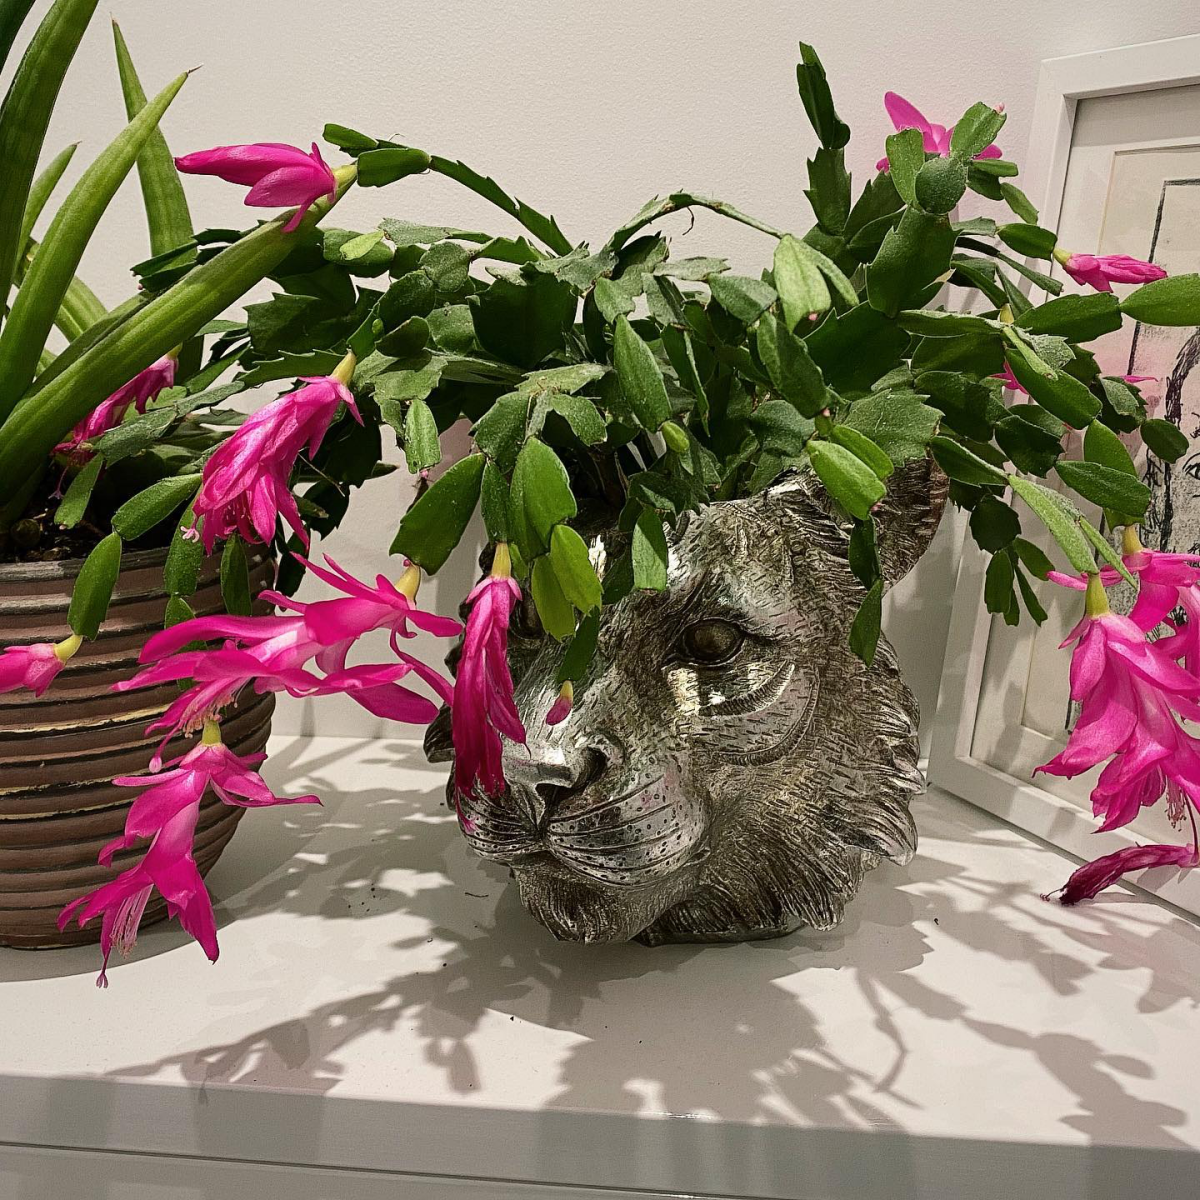
That’s right! There’s a whole other category of cacti, often called jungle or epiphytic cacti, that grow on trees in rainforests. Think of Christmas Cactus or Orchid Cactus. Their needs are totally different, and mixing them up is a recipe for disaster.
Here’s a quick breakdown:
Desert Cacti (like Barrels or Pincushions):
- Soil: Needs to be very gritty and fast-draining, with a high mineral content (our recipe above is perfect).
- Water: Use the soak-and-dry method. They need their soil to go completely dry and stay that way for a while.
- Light: They crave direct sunlight, ideally 4-6+ hours a day.
Jungle Cacti (like Christmas or Orchid Cacti):
- Soil: They want a richer, but still well-draining, mix that mimics the organic debris found on jungle trees. A good starting point is one part of our desert mix, one part orchid bark, and one part perlite.
- Water: They prefer to stay more consistently moist, but not soggy. Water when the top inch or two of soil is dry.
- Light: They will burn in direct sun. They thrive in bright, indirect light, like what they’d get under a jungle canopy.

The Long Game: Feeding, Pruning, and Repotting
Once you’ve got the basics down, a little maintenance goes a long way.
Feeding: Cacti are light feeders. Use a special low-nitrogen cactus fertilizer (look for a ratio like 2-7-7) and dilute it to quarter-strength. Only feed during the spring and summer growing season, maybe once a month. No food in the fall and winter.
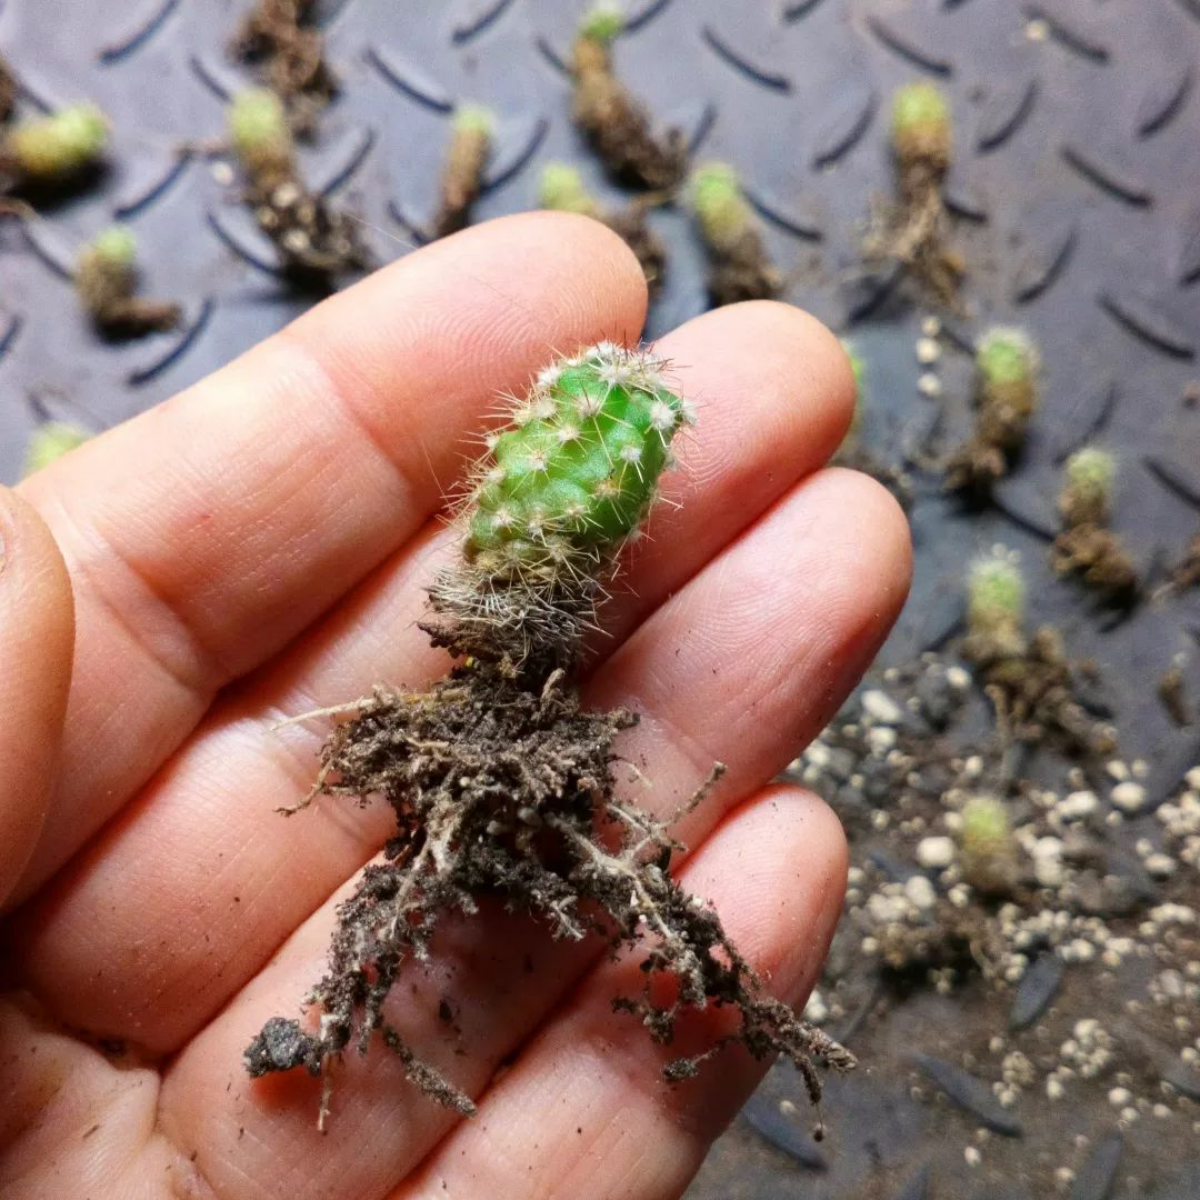
Pruning & Cuttings: Sometimes you need to prune a damaged piece or take a cutting to make a new plant. Always wear thick gloves and use a clean, sharp knife (I wipe mine with rubbing alcohol before every cut). After you take a cutting, you HAVE to let the cut end dry out and form a hard callus. This can take a week or even a month. Let it sit in a dry, shady spot until the cut is completely sealed over. Then, just stick it an inch deep into dry cactus mix. Don’t water it for at least two weeks! This encourages it to send out roots looking for water.
Repotting: Cacti like being a little snug in their pots. Repot every 2-4 years, or when it’s getting top-heavy. Choose a new pot that’s only 1-2 inches wider. After you repot, do not water it for at least a week. Trust me on this. Early in my career, I bruised some roots while repotting and watered immediately. The whole plant turned to mush. Giving it a week to heal any tiny wounds before introducing water is a crucial safety step.
Winter Is Coming: The Importance of a Cool Rest
Many desert cacti need a cool, dry winter rest to trigger flowering in the spring. From late fall to early spring, I move my collection to a bright but cool room (around 45-55°F) and reduce watering drastically. For many, this means no water at all for 3-4 months. They might shrivel a bit—that’s normal. When spring comes, they’ll plump right back up and often reward you with a stunning show of flowers.
Troubleshooting the Inevitable
Even with the best care, problems pop up. Here’s how to fight back.
- Mealybugs: The most common pest. They look like tiny white cottony fluff. For a few bugs, just dip a Q-tip in 70% rubbing alcohol and touch each one to dissolve it. For a bigger issue, you’ll need a spray of insecticidal soap.
- Scale: These look like hard little brown bumps on the plant. You can scrape them off with a fingernail or treat them with horticultural oil.
- Root Rot: The base of the plant is soft, brown, and smelly. This is an emergency. Unpot it, and with a clean knife, cut away every last bit of rotted tissue until you see only healthy, clean plant flesh. Let the healthy top part callus over like a cutting and try to re-root it. Success isn’t guaranteed, but it’s the only chance you’ve got.
A final thought: the best defense is a good offense. A healthy, well-cared-for cactus is much better at resisting pests and diseases. Check on your plants often. Catching a problem when it’s just one or two little bugs is a whole lot easier than fighting a full-blown war.
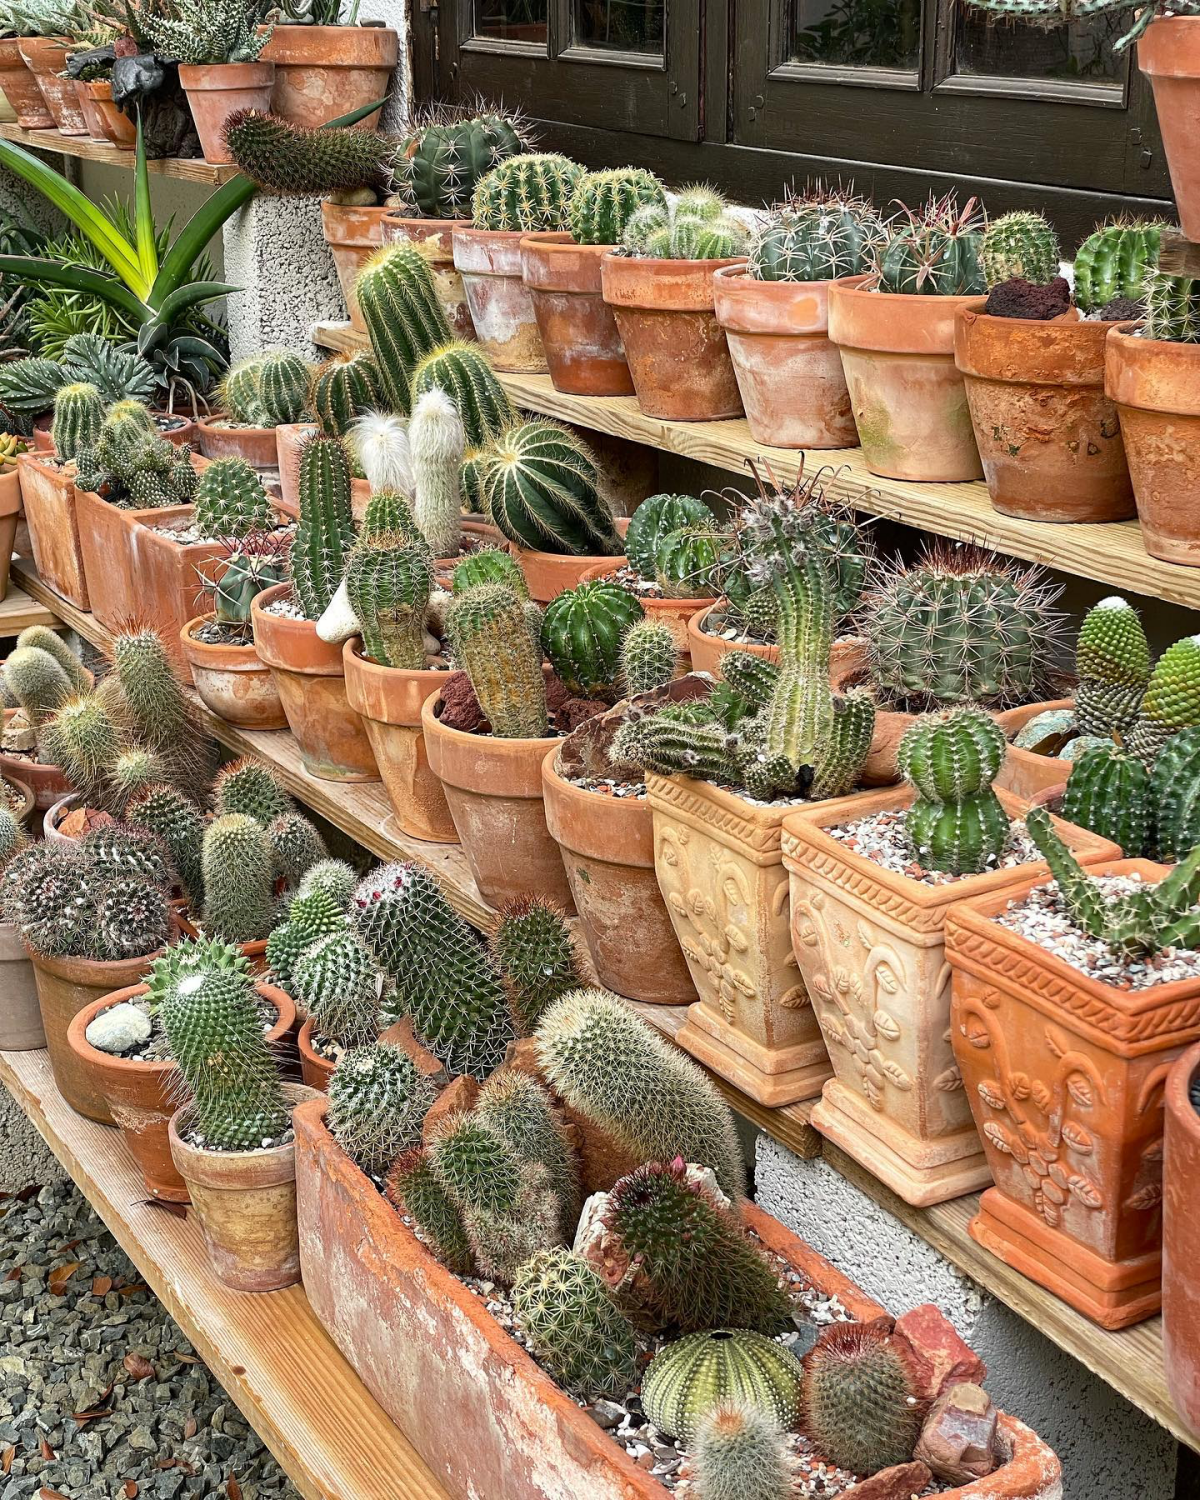
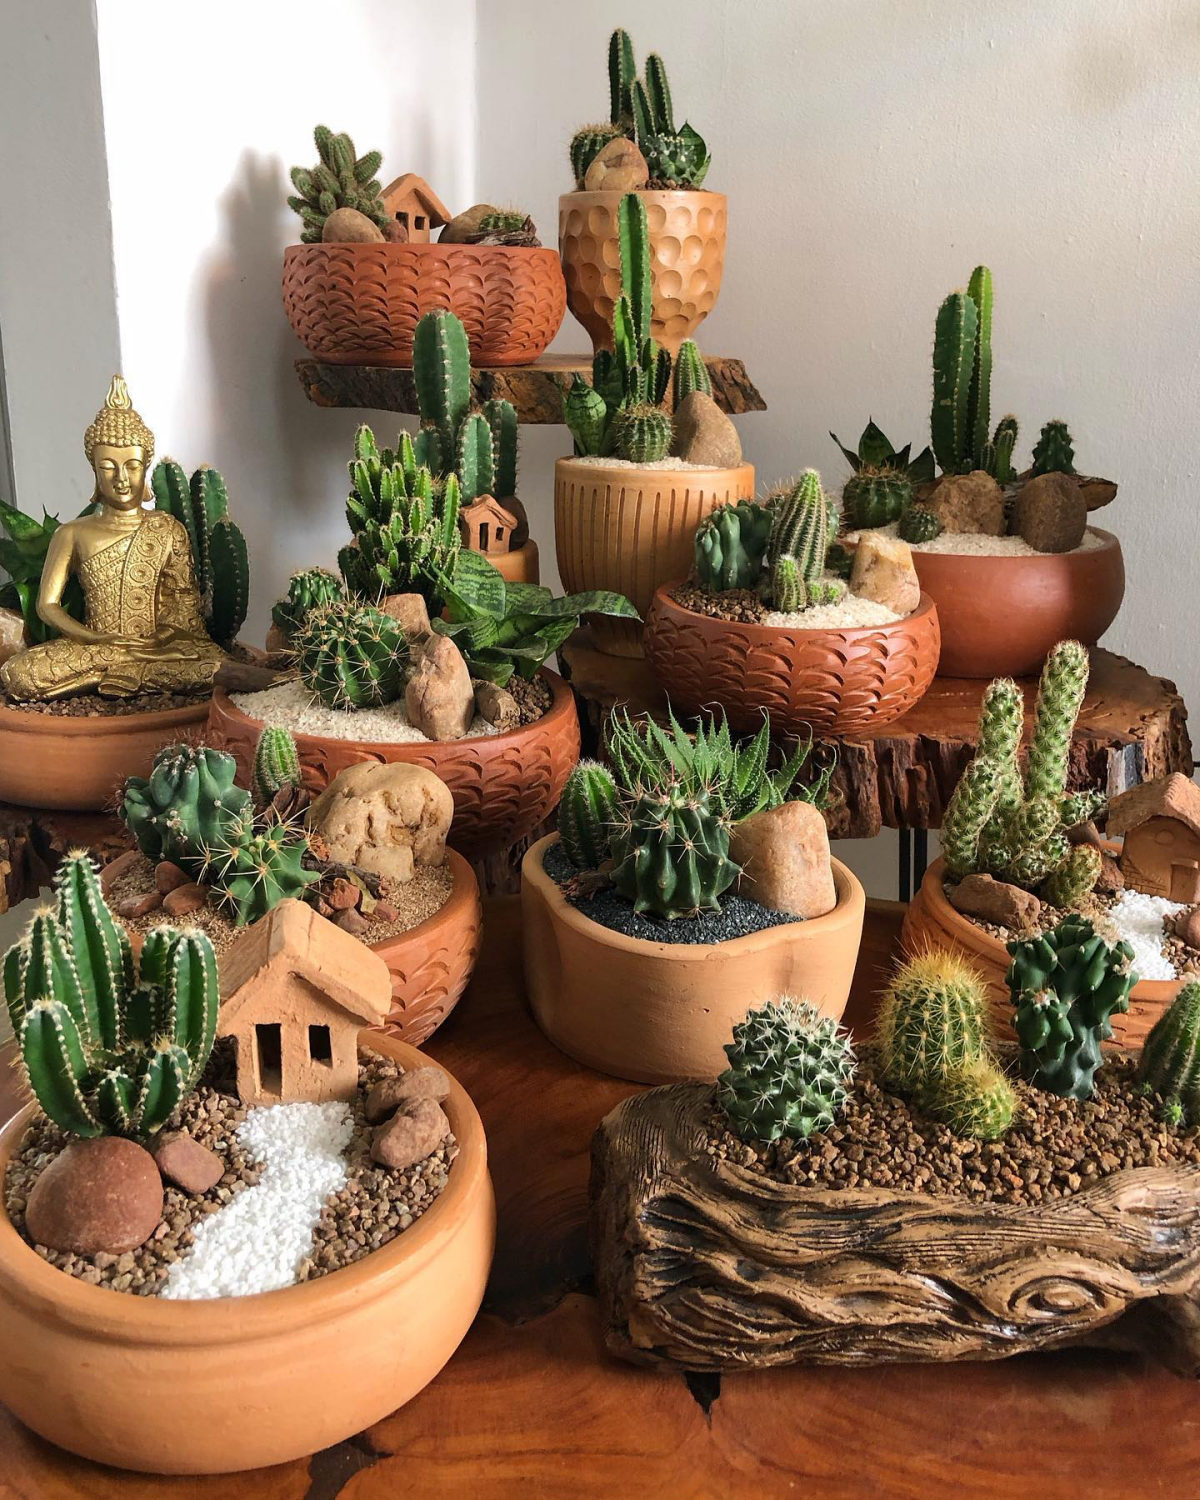
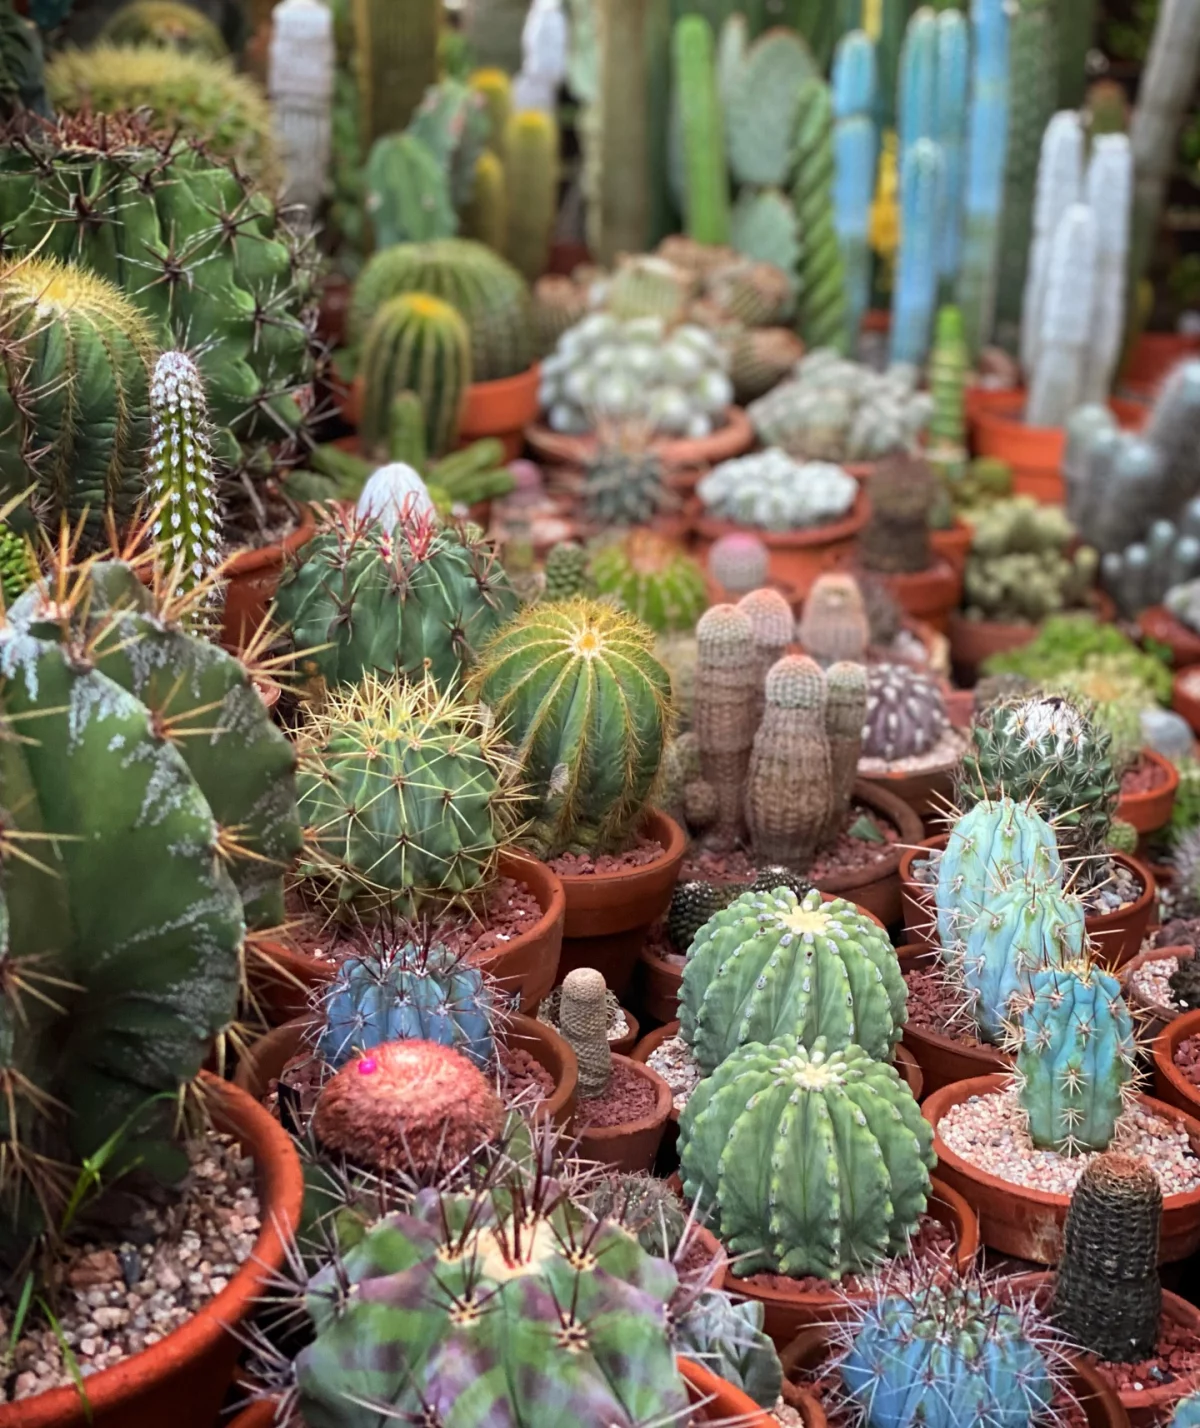
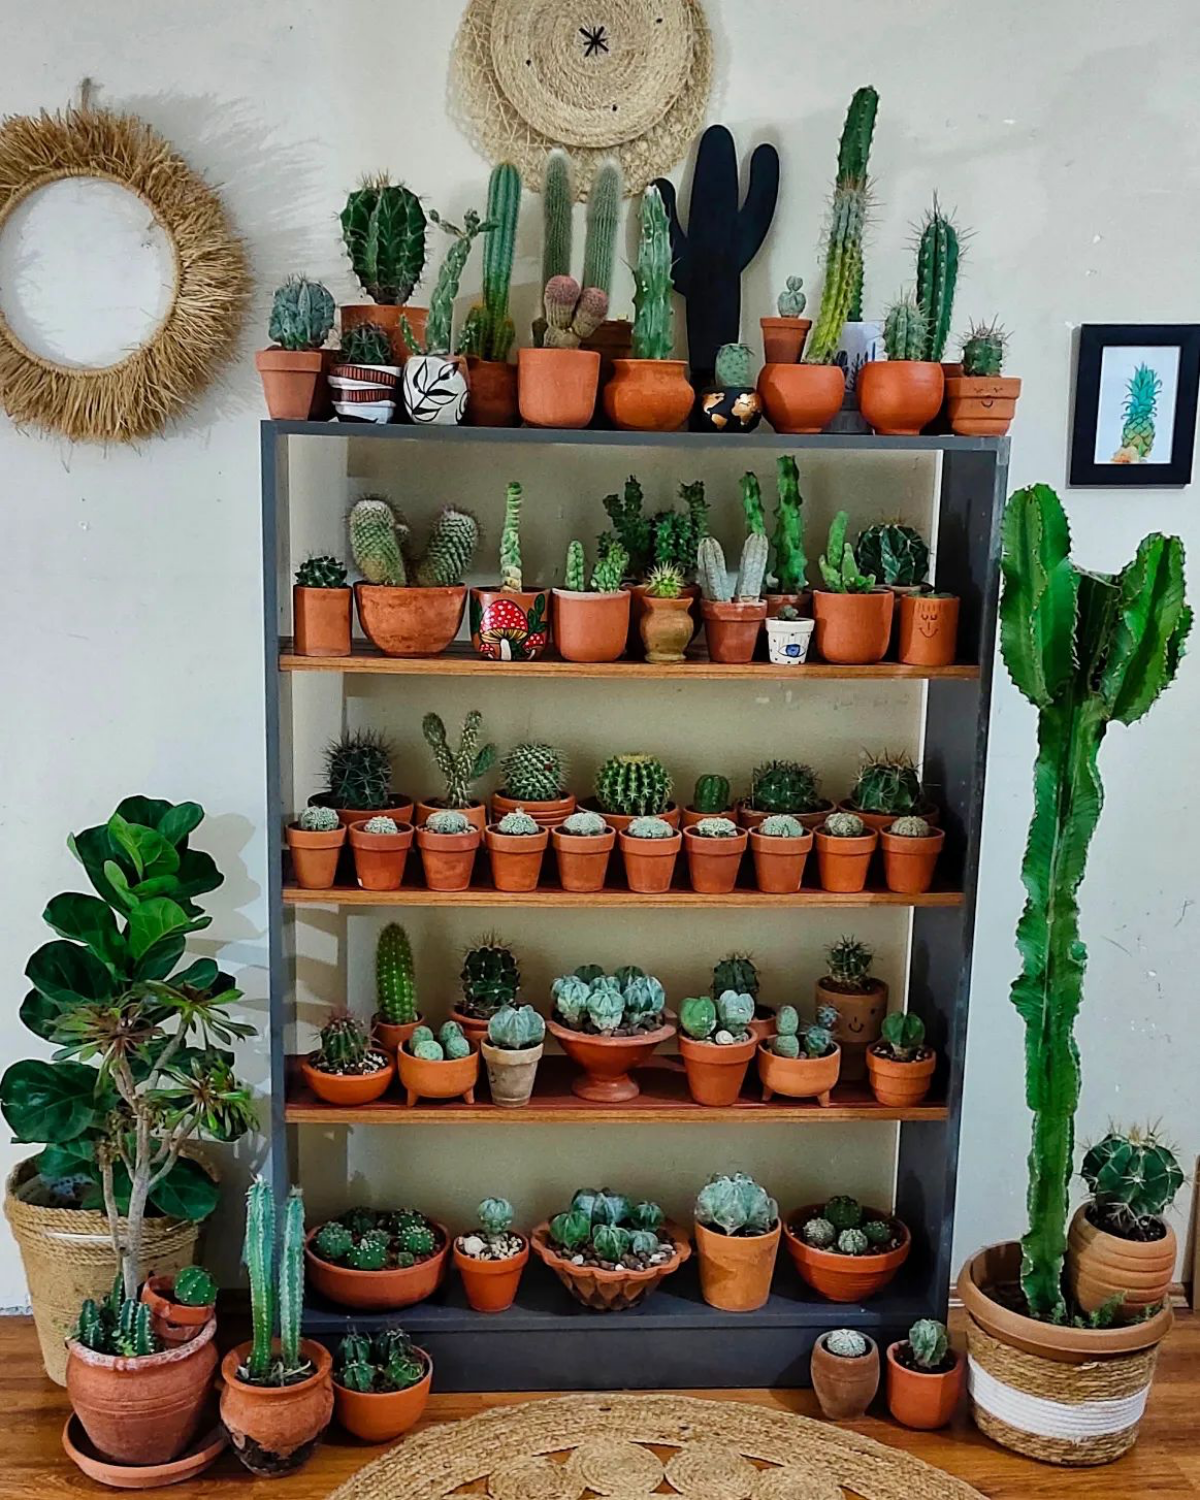
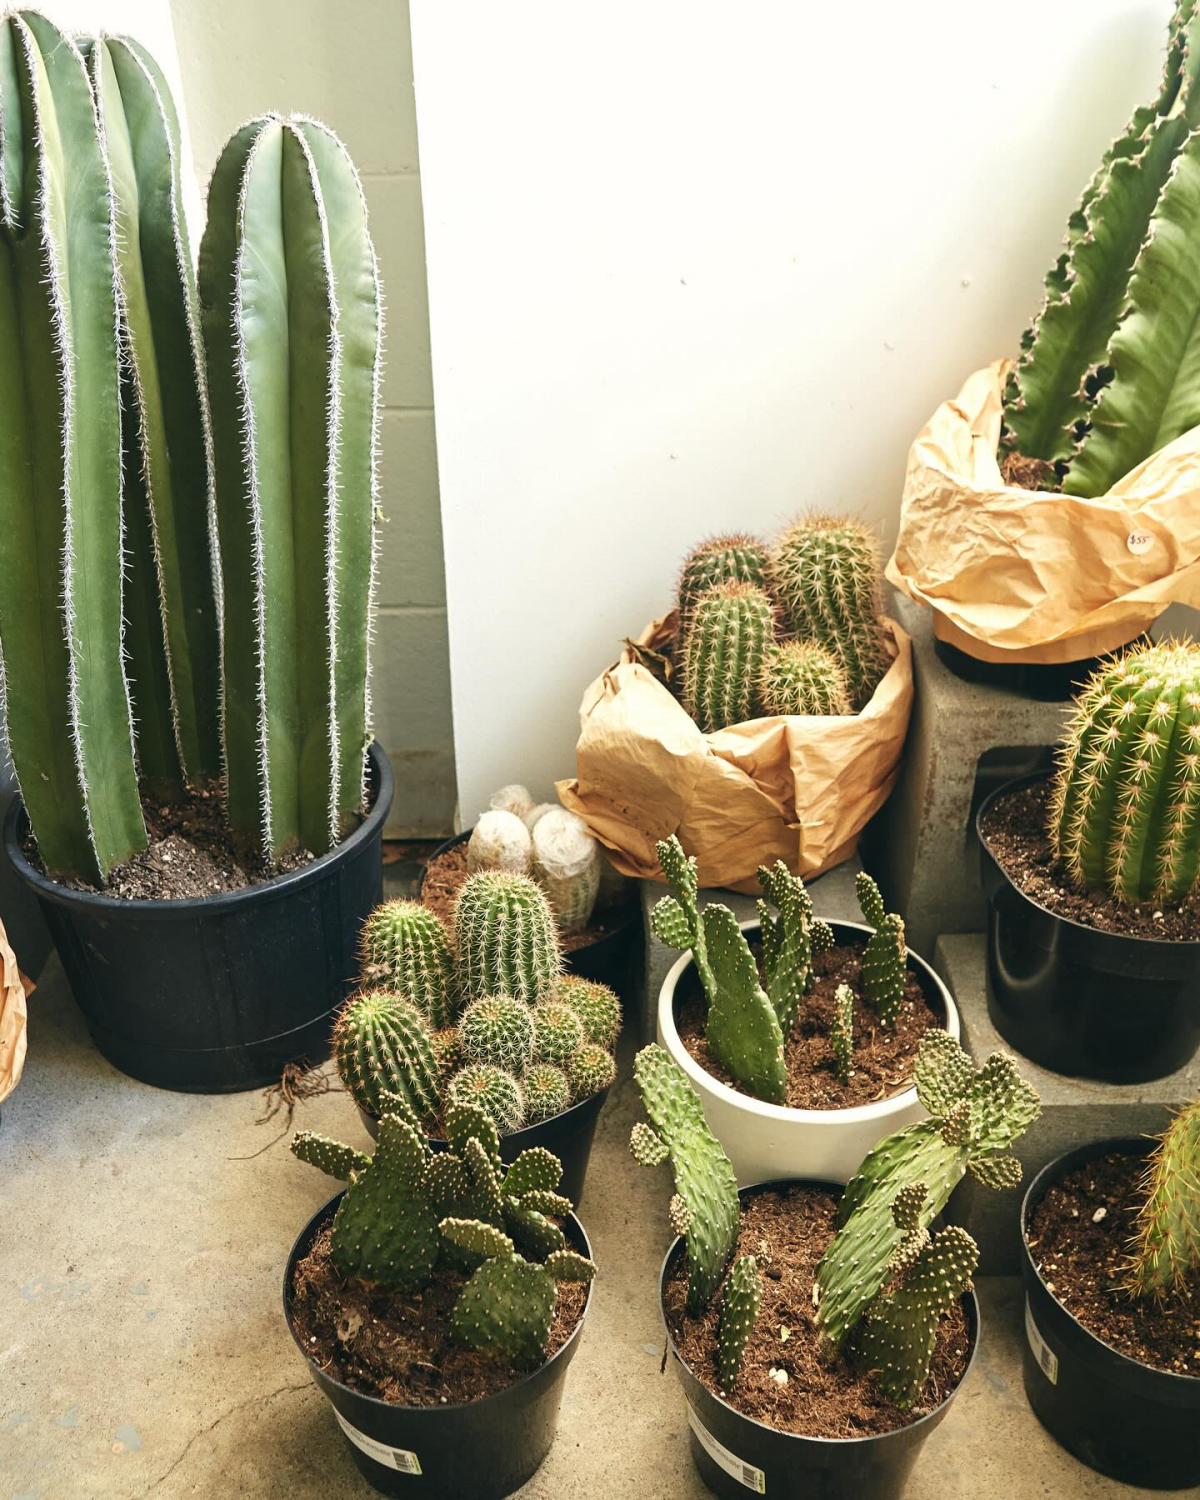
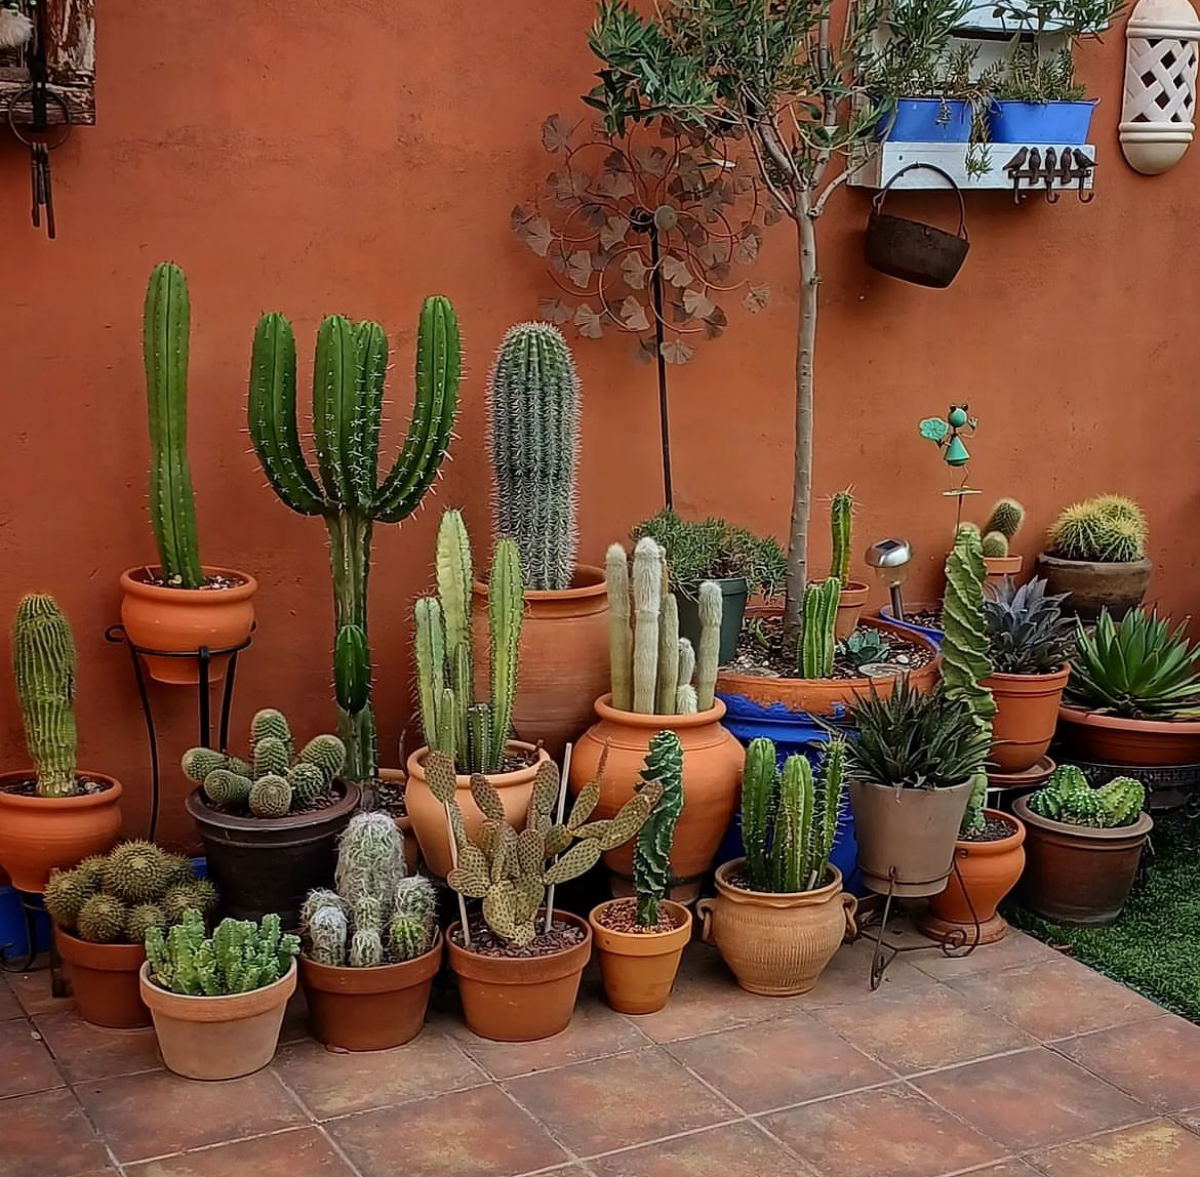
Galerie d’inspiration
The iconic Saguaro cactus can take up to 10 years just to grow its first inch.
This incredible slowness isn’t a flaw; it’s a survival strategy perfected over millennia. When you look at your own slow-growing cactus, don’t see a lack of progress. See a masterpiece of patience and resilience, a living sculpture that measures time in seasons, not weeks. Its steady, quiet pace is part of its unique charm.
My cactus has stopped growing all winter. Is it dying?
Almost certainly not! It’s just sleeping. Most desert cacti enter a dormant period in the cooler, darker months to conserve energy. This is a natural and healthy cycle. During this time, you must drastically reduce watering—perhaps once a month or even less, just enough to keep it from shriveling. Hold off on all fertilizer until you see the first signs of new growth in spring.
Top Watering: The classic method of pouring water on the soil until it runs out the drainage hole. It’s fast and helps flush mineral salts. The risk? It’s easy to miss spots, leaving some roots dry, or to drench the cactus body.
Bottom Watering: Placing the pot in a saucer of water and letting it soak moisture up through the drainage hole for about 15-20 minutes. This ensures deep, even hydration for the entire root ball and keeps the plant’s body dry, a major plus for rot-prone species.
While pre-made cactus mixes from brands like Black Gold or Espoma are great, creating your own is simple and gives you total control. For a superior blend that mimics their natural arid habitat, combine these three ingredients:
- One part standard potting soil (for nutrients)
- One part coarse horticultural sand (for drainage)
- One part perlite or pumice (for aeration and to prevent compaction)
Found a fuzzy white spot? Act fast. That’s likely a mealybug, a common sap-sucking pest. Don’t panic. Dip a Q-tip or a small artist’s brush in 70% isopropyl alcohol (rubbing alcohol) and touch it directly to the pest. The alcohol will dissolve its protective waxy coating. Check carefully in the plant’s crevices and at the base, as they love to hide.

Did you know? To truly thrive and potentially flower, most desert cacti need light levels of over 20,000 lux. A bright, sunny room might only provide 2,000 lux.
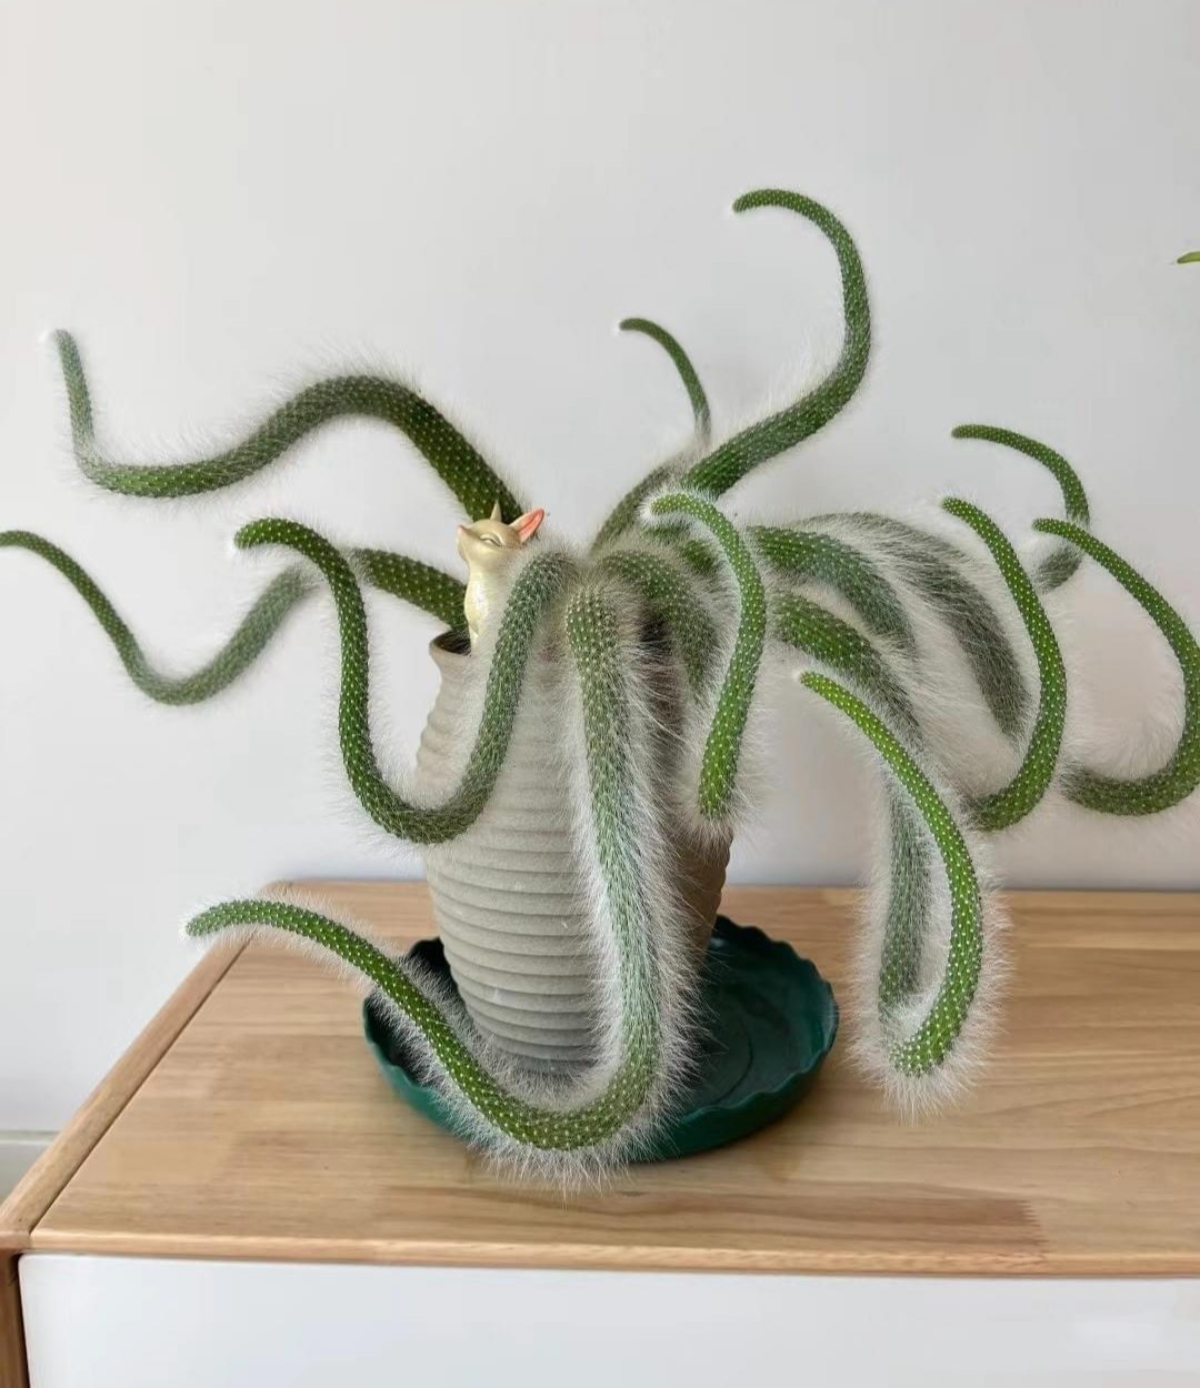
Once you’ve mastered the basics, a whole world of weird and wonderful cacti awaits. Look beyond the familiar columns and paddles to discover the living geometry of an Astrophytum asterias (Sand Dollar Cactus), the rock-like camouflage of an Ariocarpus, or the brain-like texture of a Mammillaria elongata ‘Cristata’. They are the next step for a truly captivating collection.