Your Yard is Wasting Water. Here’s How to Build a Garden That Lasts.
I’ve spent years designing, digging in, and fixing gardens, and if there’s one thing I’ve learned, it’s this: trends are fun, but resilience is what really matters. I remember when everyone wanted those perfect, golf-course-green lawns that drank water like it was going out of style. And oh yeah, the brief obsession with finicky exotic plants that stood no chance outside their native zip code. It was a lot of work for a temporary look.
In this article
Honestly, the whole conversation has changed for the better. We’re not just trying to make things look pretty anymore. We’re building living, breathing systems that can handle the real world. We’re thinking about how to use less water, how to support the local birds and bees, and how to create a space that’s genuinely enjoyable without demanding all your free time and money.
This is about working with nature, not constantly fighting it. It’s about creating a garden that actually gets better over time. So, let’s get into the nitty-gritty of how you can do this yourself. We’ll cover the stuff that really works, from smart water use to making even a tiny patio feel like a lush escape.
First Things First: Let’s Talk About Water
The single biggest shift in landscaping is the focus on water. A gorgeous garden that needs an unsustainable amount of water to survive a dry spell? In my book, that’s a design failure. The first conversation I have with any client now is about water strategy.
The Pro Secret: Hydrozoning
This sounds technical, but it’s just common sense: group plants together based on how thirsty they are. It’s called hydrozoning, and it’s the most effective way to save water, hands down. You wouldn’t plant a water-loving fern next to a desert-loving succulent, right? One would always be parched, or the other would be drowning. Applying this idea to your whole yard is a game-changer.
Here’s how to think about it:
- Zone 1 (High-Water): This is your small, high-impact area, usually right by the patio or front door. Think a few containers of colorful annuals or a little herb garden that’s easy to water. You get a lot of bang for your buck here without wasting water on a huge area.
- Zone 2 (Moderate-Water): This is your garden’s workhorse zone. It’s for established shrubs and perennials that are pretty self-sufficient but appreciate a deep drink during a long, hot dry spell.
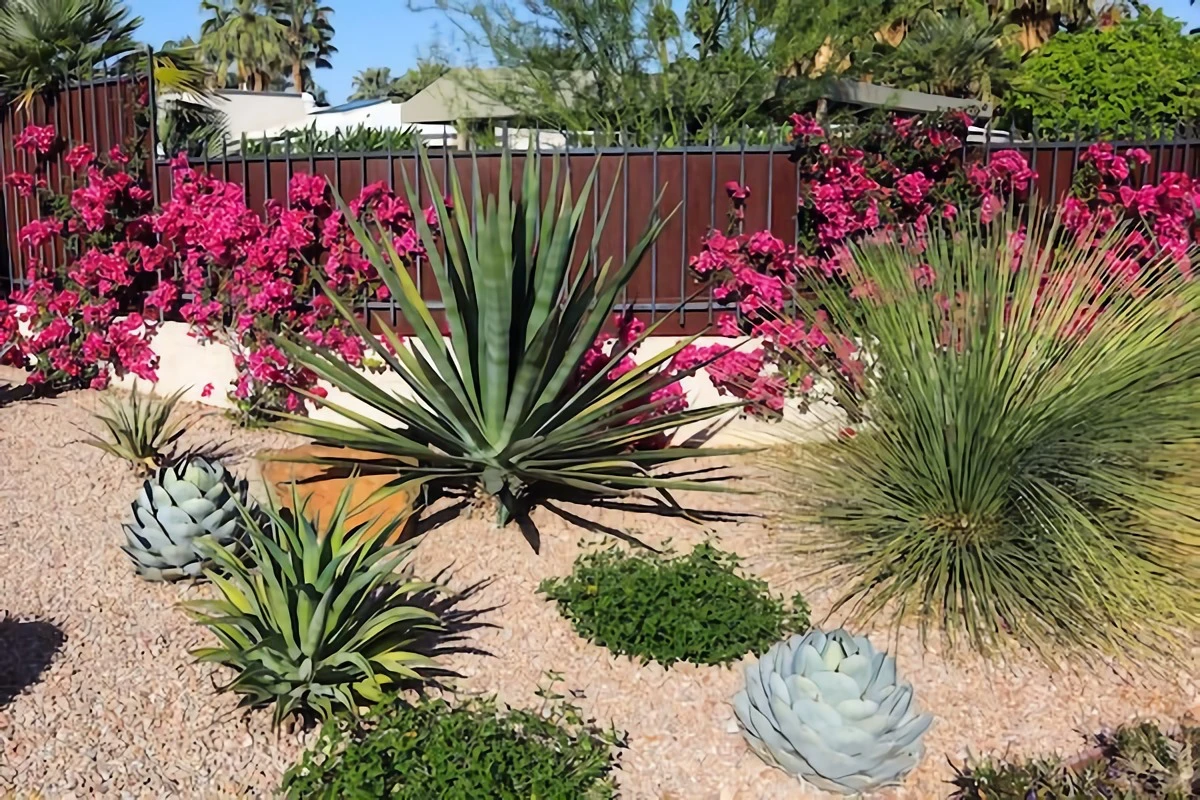
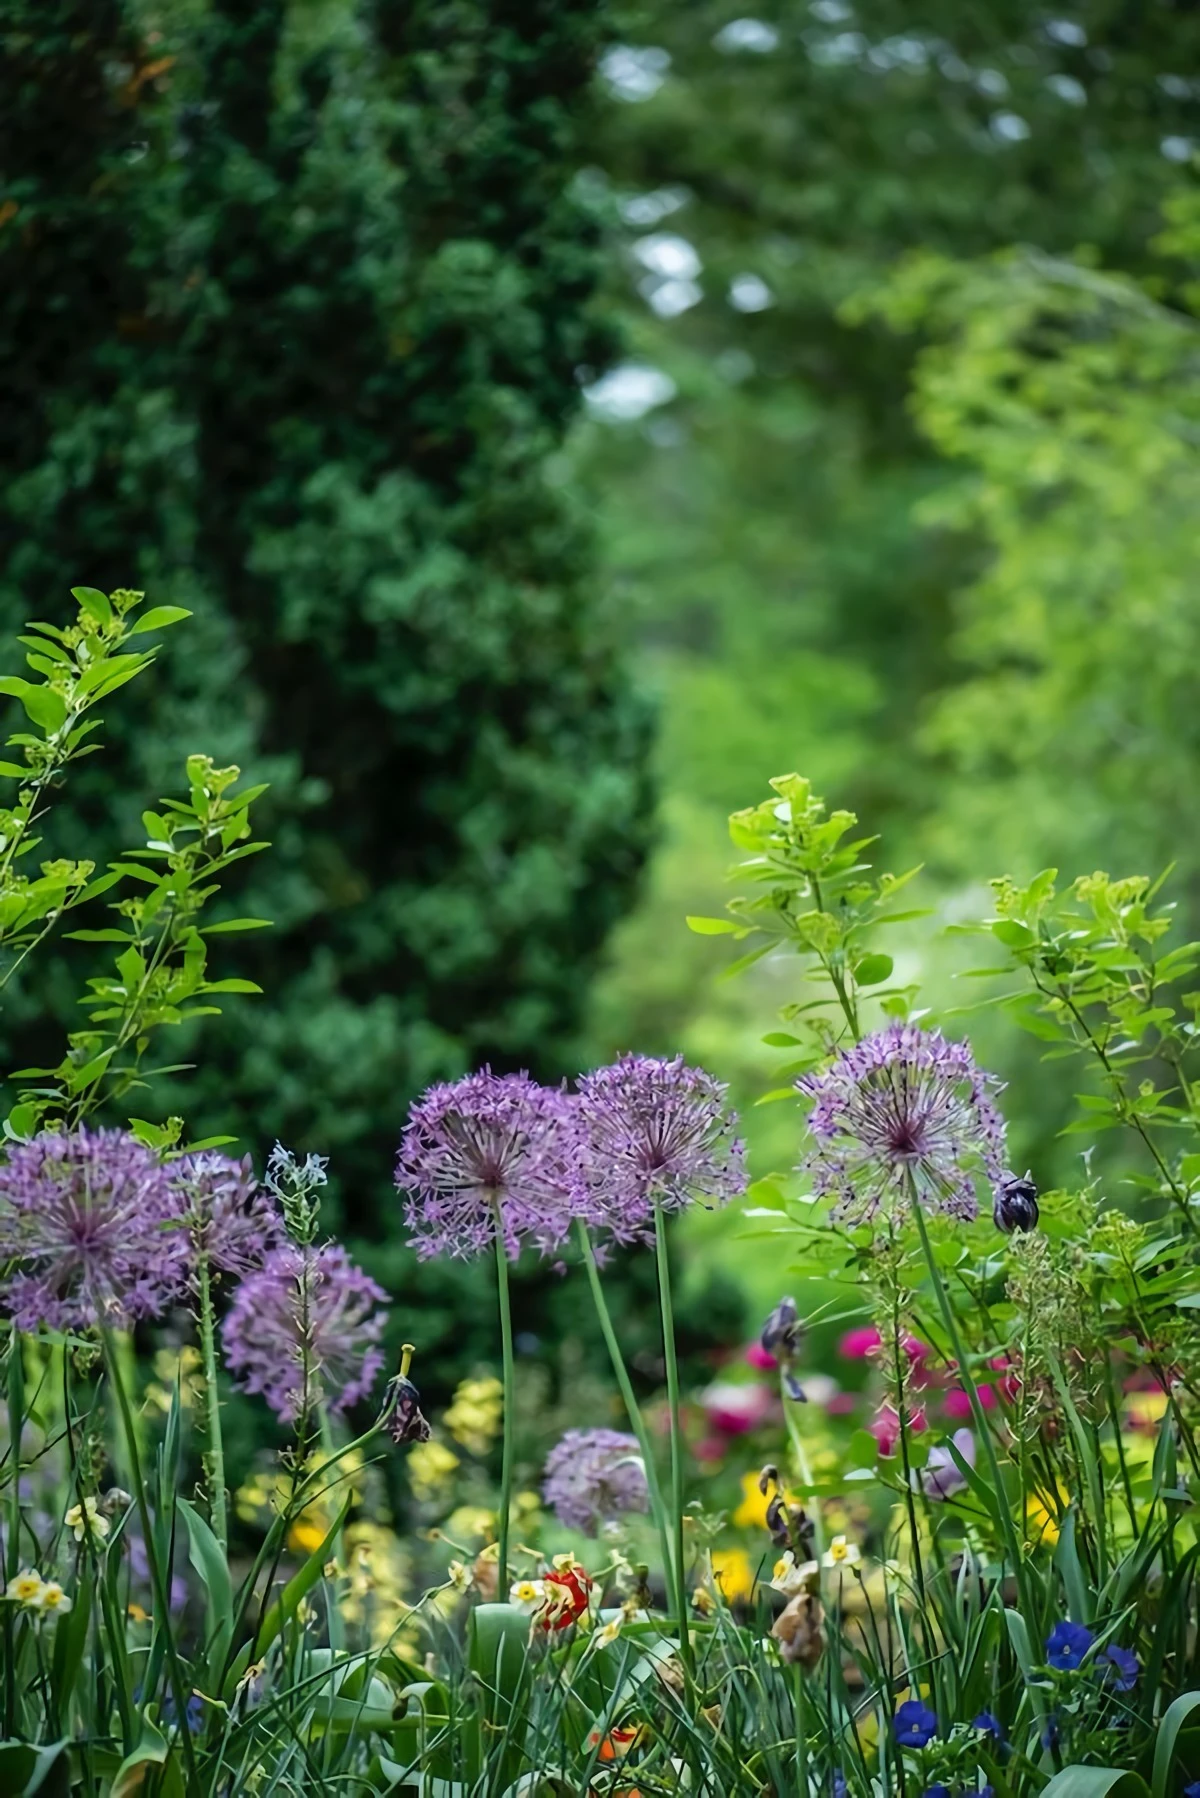
- Zone 3 (Low-Water/Xeric): These are the tough guys. Think lavender, rosemary, and other plants adapted to your climate that can thrive on just rainfall once they’re established. This zone is perfect for that hot, sunny strip along the driveway or the far corners of your yard.
Quick Win: Go outside right now. See that sunny, baked spot that’s tough to keep watered? That’s your future Zone 3. Now find the area near your hose spigot that stays a little damp. That’s your Zone 1. Boom. You just started hydrozoning.

Drought-Tolerant Doesn’t Mean “No Water”
Heads up! This is the most common mistake I see. People hear “drought-tolerant” and think they can just plant it and walk away. But here’s the deal: nearly all plants, even the toughest ones, need regular water for their first one to two growing seasons. You’re helping them grow a deep, resilient root system. The real water savings kick in later, once the plant is mature enough to handle dry periods on its own.
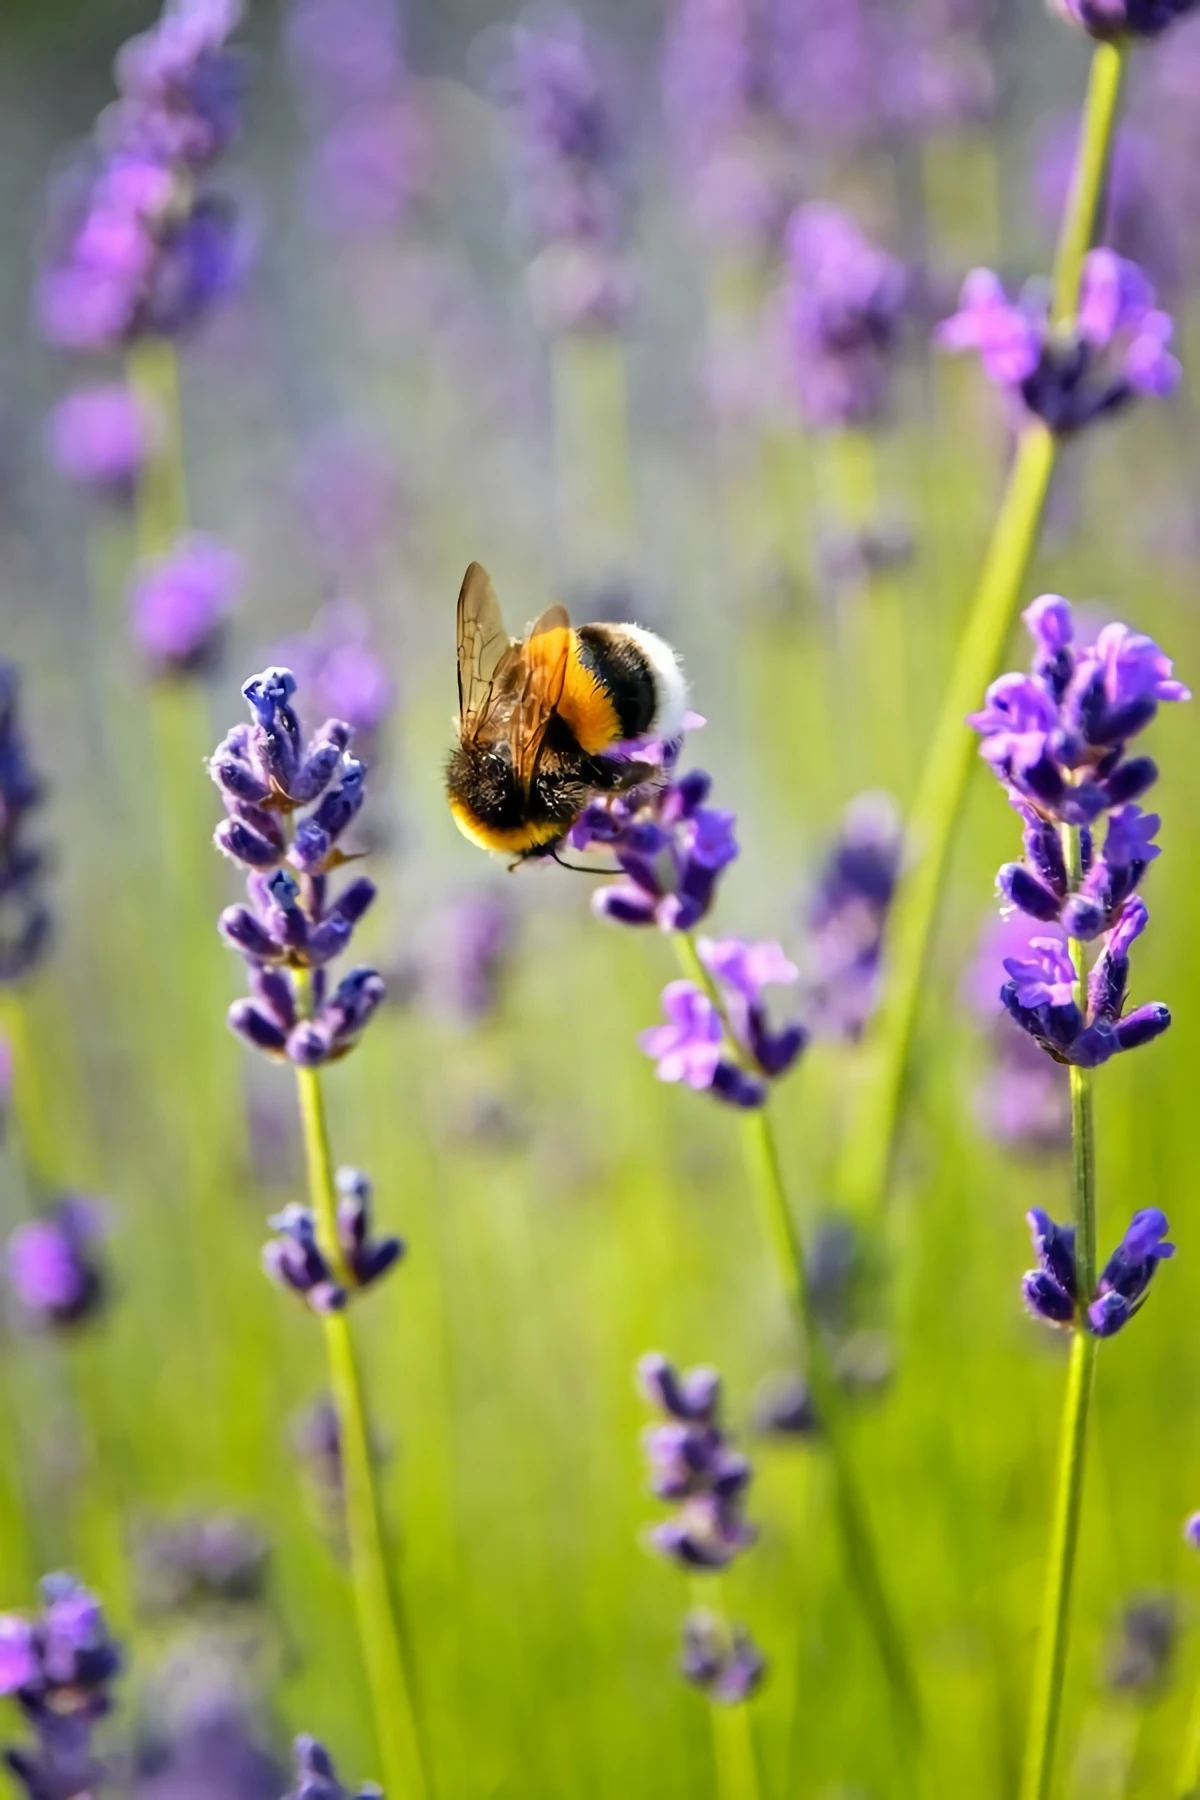
Your Garden Can Be More Than Just Pretty
A truly great garden gives back. It’s a mini-ecosystem that provides food and shelter for birds, butterflies, and bees. Creating a space that hums with life is about more than just planting a few flowers; it’s about creating layers, just like in a natural forest.
- The Canopy: Even a small native tree provides high-level shelter.
- The Shrub Layer: Shrubs offer nesting spots and berries for birds, creating a sense of privacy.
- The Flower Layer: This is where your perennials and grasses come in. Mix up bloom times to have a nectar source from spring through fall. A pro tip: Include host plants for butterflies, like milkweed for monarchs.
- The Ground Layer: A living groundcover of something like wild ginger or low sedges keeps the soil cool and moist, creating habitat for beneficial insects.
Quick Tip on Spacing: Beginners often plant things too close together or too far apart. A good rule of thumb is to look at the plant tag for its “mature width.” For a dense, massed look, plant your perennials about half that distance apart. For shrubs, respect the full mature width unless you want to be pruning constantly.
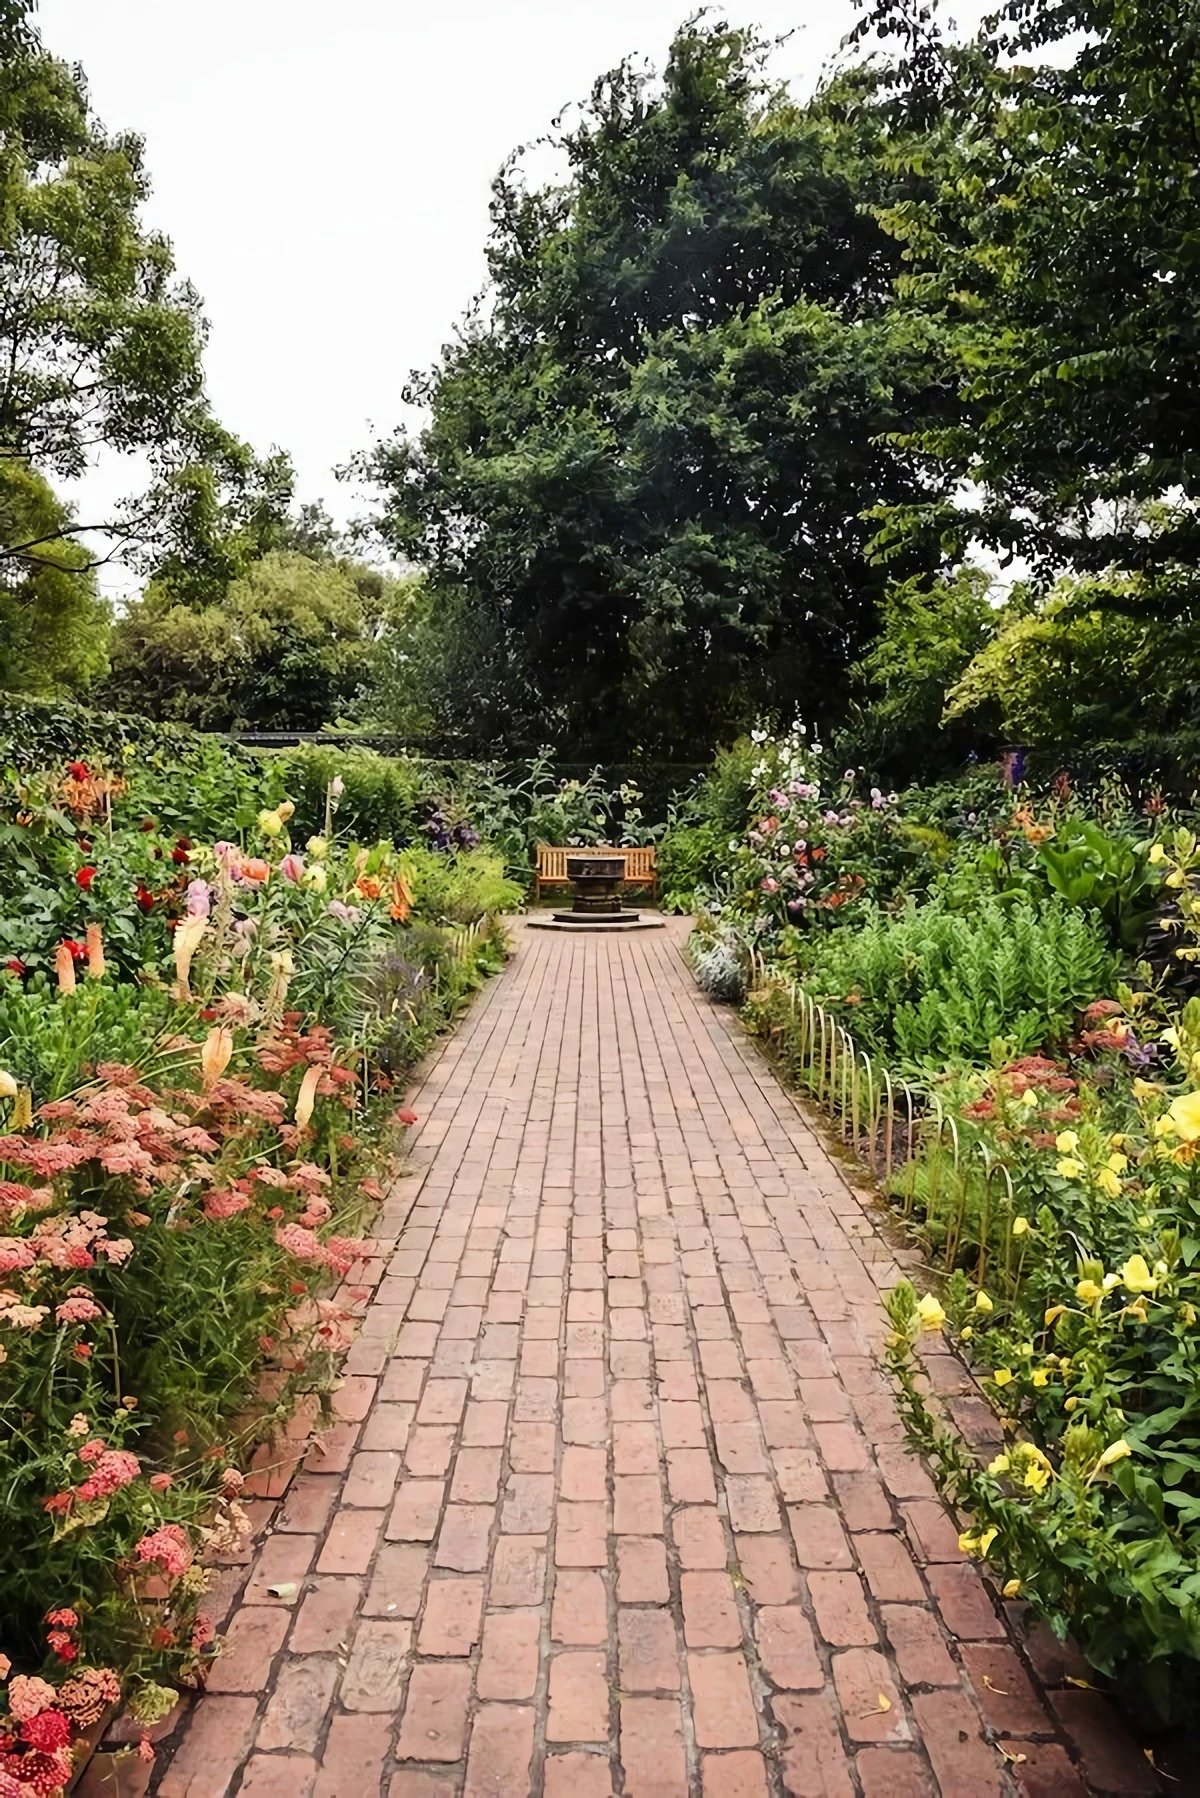
Keeping it Tidy, Not Sterile
I get it. The biggest fear with a more “natural” garden is that it will look messy, especially in a tidy neighborhood. The trick is using what designers call “cues to care”—signals that the space is intentional, not neglected.
My favorite story about this comes from a project I did for a strict homeowners’ association. We wanted to replace a big chunk of lawn with a native meadow. To get it approved, we framed the entire meadow with a three-foot-wide, neatly mown strip of turf. That crisp border was the “cue to care” that made the whole thing work. It looked like a piece of art.
You can do this with clean, defined edges on your garden beds, clear pathways, and by planting in groups of 3, 5, or 7 instead of scattering single plants around.
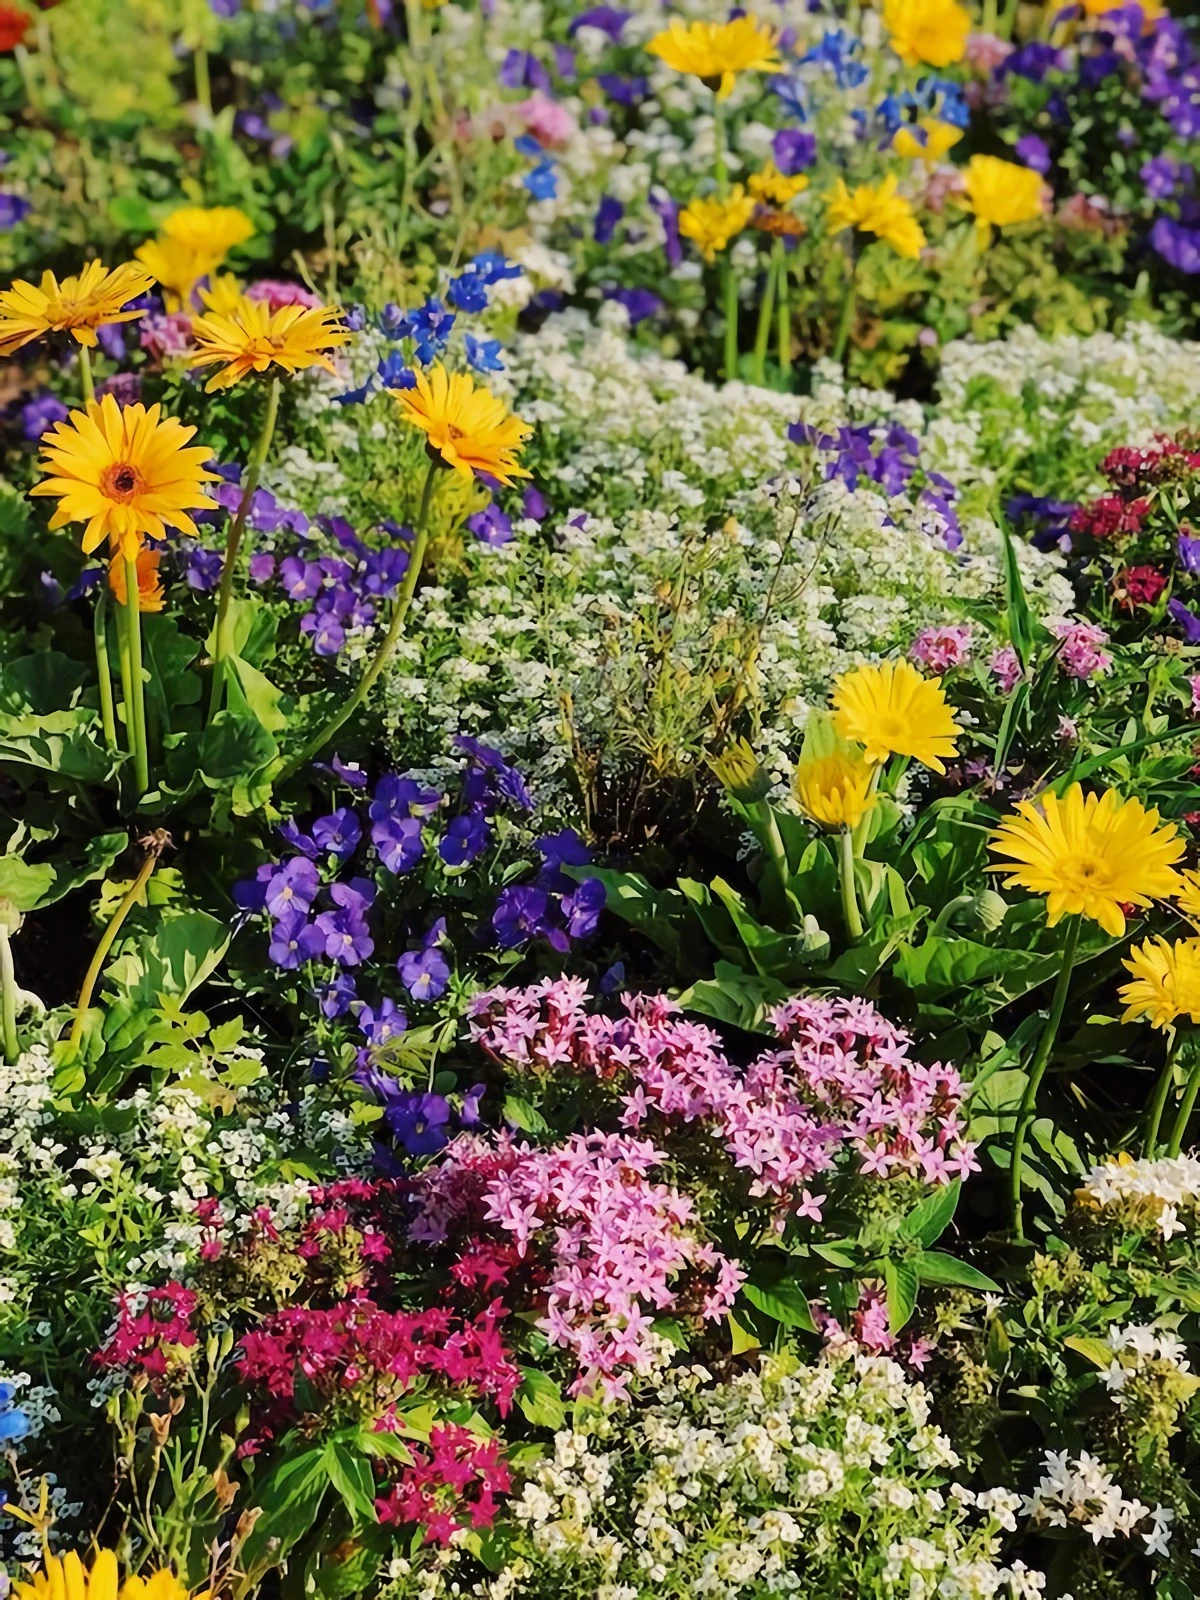
Using Color and Texture Like a Pro
While function is key, we all want a garden that’s beautiful. Here’s a secret the pros know: foliage color is more important than flower color. Flowers are fleeting, but leaves are there for the whole season. A garden built on interesting foliage will look good even when nothing is in bloom.
Think about using cool colors—blues, purples, silvers—to make a space feel larger and more calming. Hot colors like reds and yellows create energy and draw your eye; use them as a focal point. And don’t forget about texture! The contrast between spiky, upright grass and a soft, mounding geranium is beautiful all on its own.
By the way, don’t rush to “clean up” the garden in the fall. Leaving the seed heads on plants like coneflowers and sedums provides winter food for birds and creates gorgeous silhouettes in the frost.
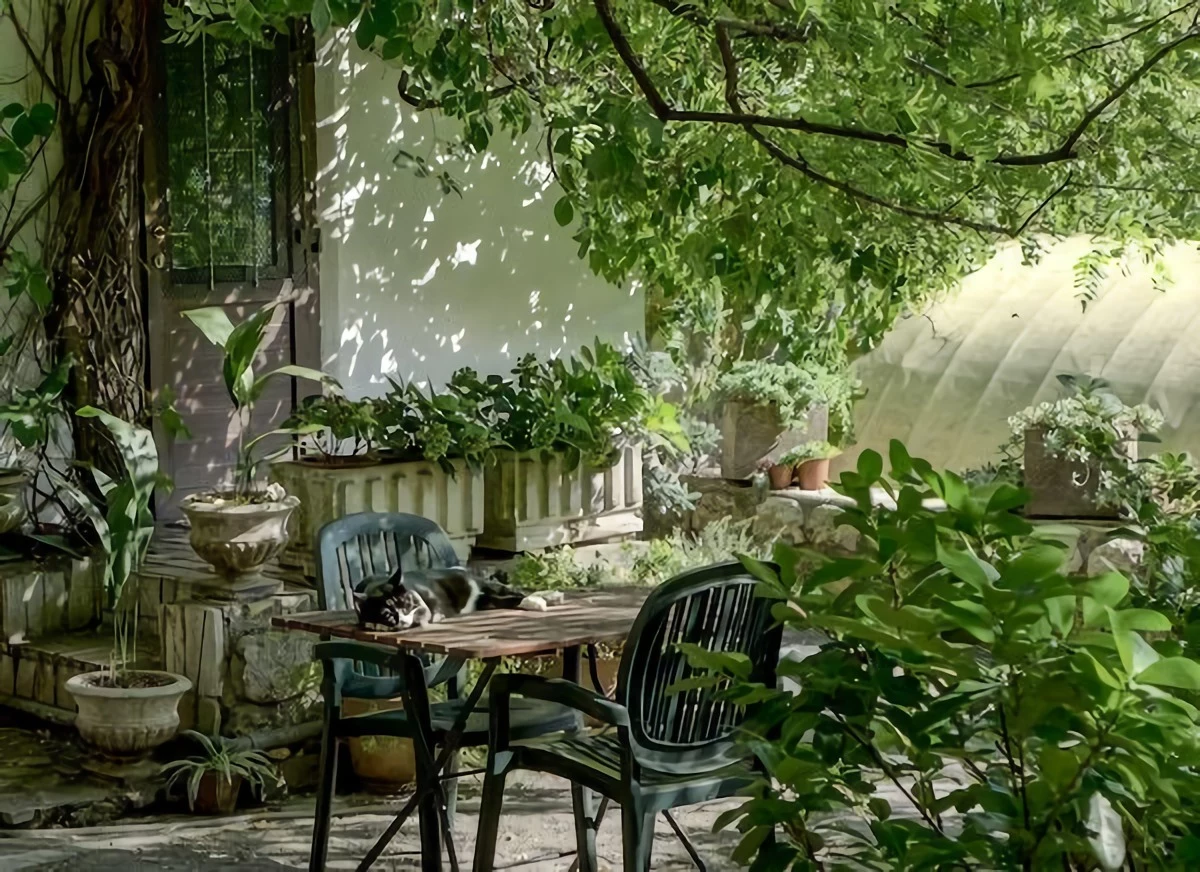
No Big Yard? No Problem.
Not everyone has a sprawling backyard. I’ve worked on tiny city balconies and narrow side yards, and the same principles apply—you just have to be more creative. Vertical gardening is all the rage, but let’s have an honest talk about it.
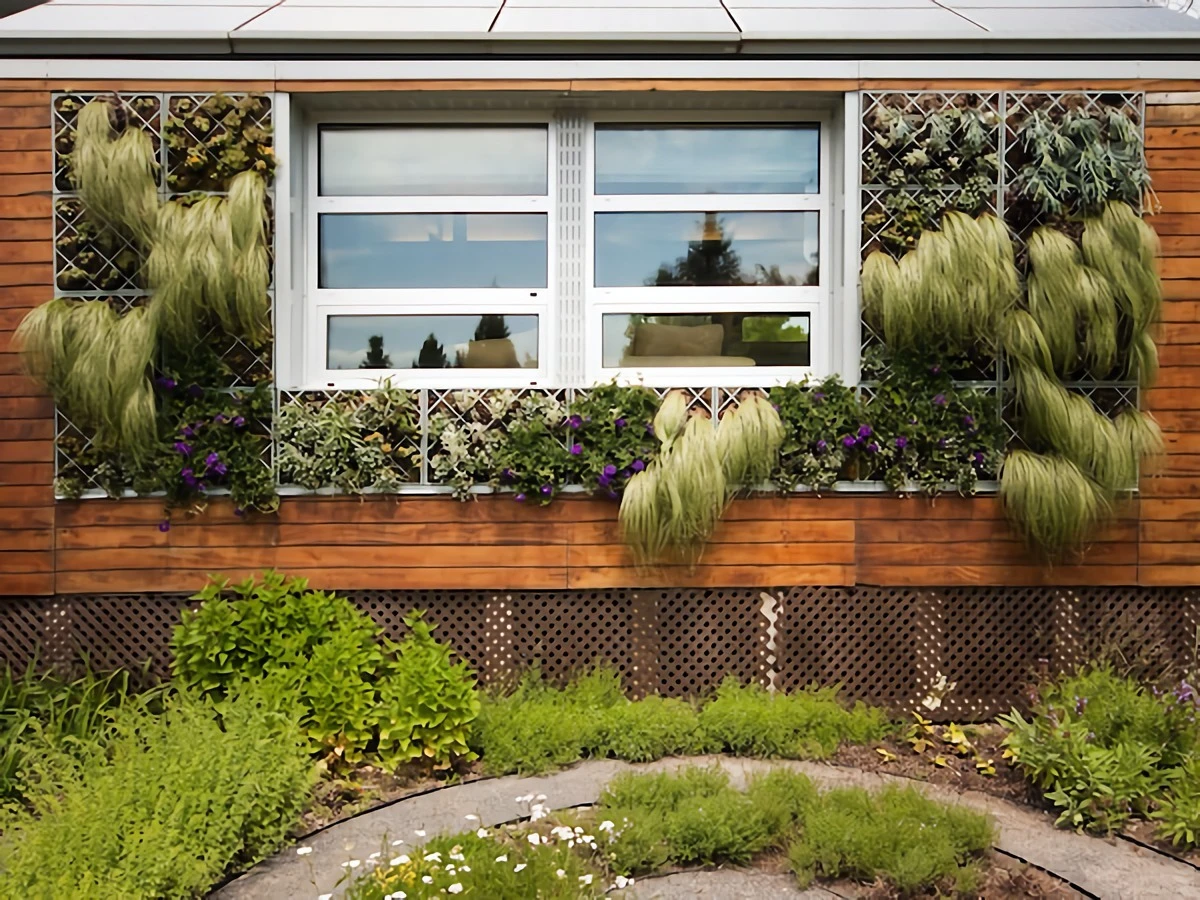
The Truth About Living Walls
Those green walls you see in magazines are stunning, but they are high-maintenance life support systems. I’ve been called in to fix a few, and the problem is almost always irrigation. The little pockets of soil dry out incredibly fast, so an automated drip system isn’t a luxury, it’s essential. A single clogged emitter can kill an entire patch.
And they are HEAVY. Before you even think about mounting a large system on a wall or balcony, you absolutely must consult a structural engineer. This isn’t a suggestion; it’s a non-negotiable safety step. I’ve seen what a failed, waterlogged wall can do to a building’s facade.
For most people, a simpler approach is better. A sturdy trellis with a beautiful climbing vine is far easier and just as effective. Growing fruit trees flat against a wall is another fantastic, productive way to use vertical space.
The Real Work Happens Underground
You can have the best design in the world, but if your soil is dead, your garden will fail. For years, we treated soil like dirt. We now know it’s a living ecosystem. Your number one job is to feed it.
The best way? Add organic matter. Compost is king. It improves both heavy clay and sandy soil, helps retain moisture, and feeds the microbes that feed your plants. Spreading an inch or two of quality compost over your beds each year is better than any chemical fertilizer.
And please, use mulch! A 2-3 inch layer of wood chips conserves water, smothers weeds, and slowly breaks down to feed the soil. Pro tip: Skip the dyed bark in plastic bags. Call local tree services or check out a service like ChipDrop online to get a load of arborist wood chips. They are a much richer food source for your soil’s ecosystem.
Watering Smarter: Sprinklers vs. Drip
That old-school sprinkler spraying water high into the air? It’s incredibly wasteful. A huge percentage of that water evaporates or gets blown away. Plus, wet leaves are an open invitation for fungal diseases.
For garden beds, drip irrigation is the way to go. It delivers water slowly, directly to the roots. You use 30-50% less water, your plants develop deeper roots, and you get fewer weeds because you’re not watering the empty spaces.
You can get a starter kit for a DIY drip system at Home Depot or Lowe’s for between $50 and $150. For a basic setup, you’ll need 1/2-inch poly tubing, emitters or soaker line, a 25 PSI pressure regulator (this is crucial!), and a hose filter. It’s a weekend project that pays you back for years.
Know Your Limits (And When to Call for Backup)
A garden should be a place of joy, not a trip to the emergency room. Knowing when to DIY and when to hire a professional is the smartest thing any gardener can do.
First, the big non-negotiable: Call Before You Dig. Just search “Call Before You Dig” or dial 811 in the U.S. a few days before you plan to put a shovel in the ground. It’s a free service that marks underground utility lines. I was on a job once where a contractor skipped this step and hit a water main. It flooded the entire site, cost thousands, and delayed the project for weeks. Don’t be that person.
So, when is it time to put down the tools and pick up the phone?
- Large Tree Work: Anything involving a chainsaw or a ladder. Hire a certified, insured arborist. Period.
- Major Drainage or Wall Construction: If water is pooling near your foundation or you need a retaining wall over three or four feet high, you need an insured landscape contractor or engineer. A failed wall or a flooded basement is a nightmare you don’t want.
- Complex Electrical or Irrigation: While a simple drip system is a great DIY, leave complex multi-zone systems and all low-voltage lighting to a specialist.
Hiring a pro isn’t a sign of failure. It’s a smart investment in the safety and success of your garden. Ultimately, building a resilient garden is about shifting your mindset. You’re not just decorating a patch of land; you’re nurturing a living system. And that partnership, with a little bit of know-how, will reward you for years to come.
Inspiration:
What if the best way to water is not to spray, but to drip?
It’s a fundamental shift in thinking. For years, the oscillating sprinkler was the icon of garden care, but it can lose up to 50% of its water to wind and evaporation. Drip irrigation, by contrast, is a targeted solution. Systems using emitters from brands like Rain Bird or Netafim deliver water slowly and directly to the plant’s root zone. This not only slashes water waste but also discourages weeds from sprouting in dry surface soil and promotes deeper, more resilient root growth for your plants. It’s the difference between shouting and whispering your instructions to the garden.


