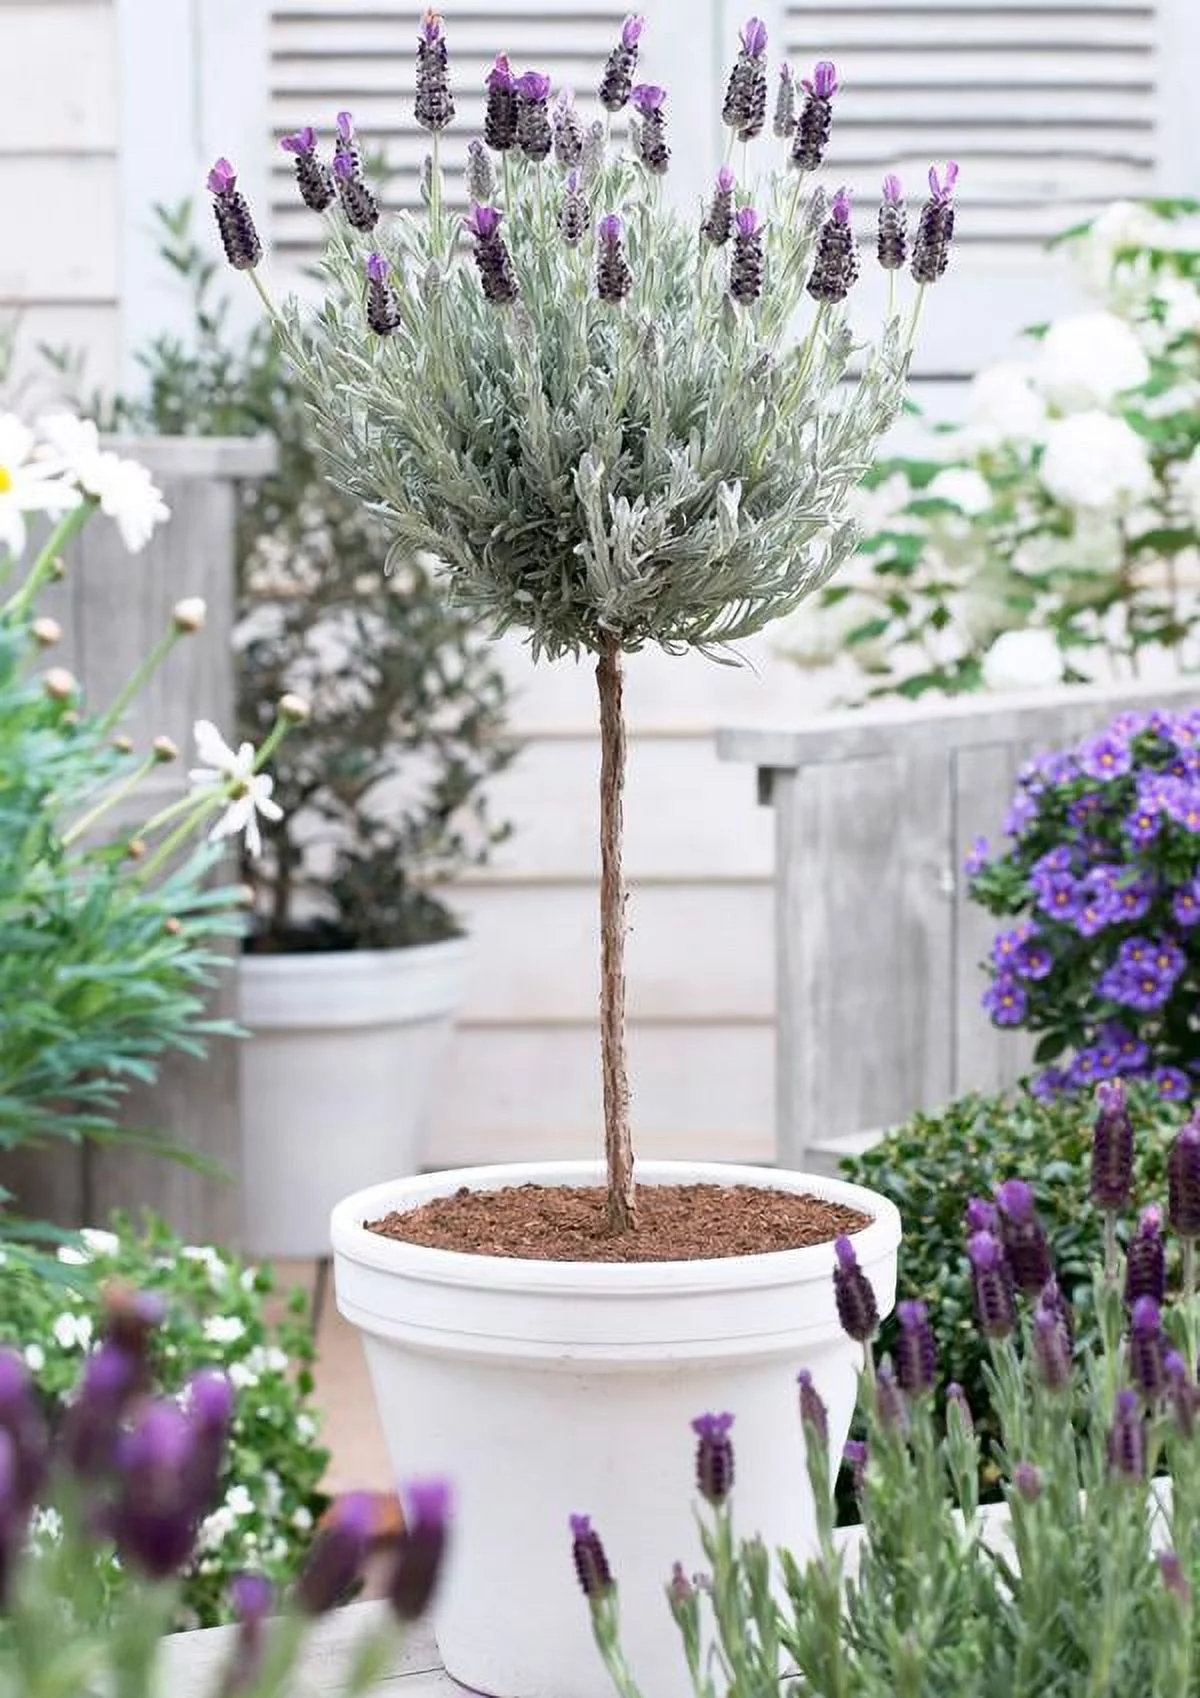
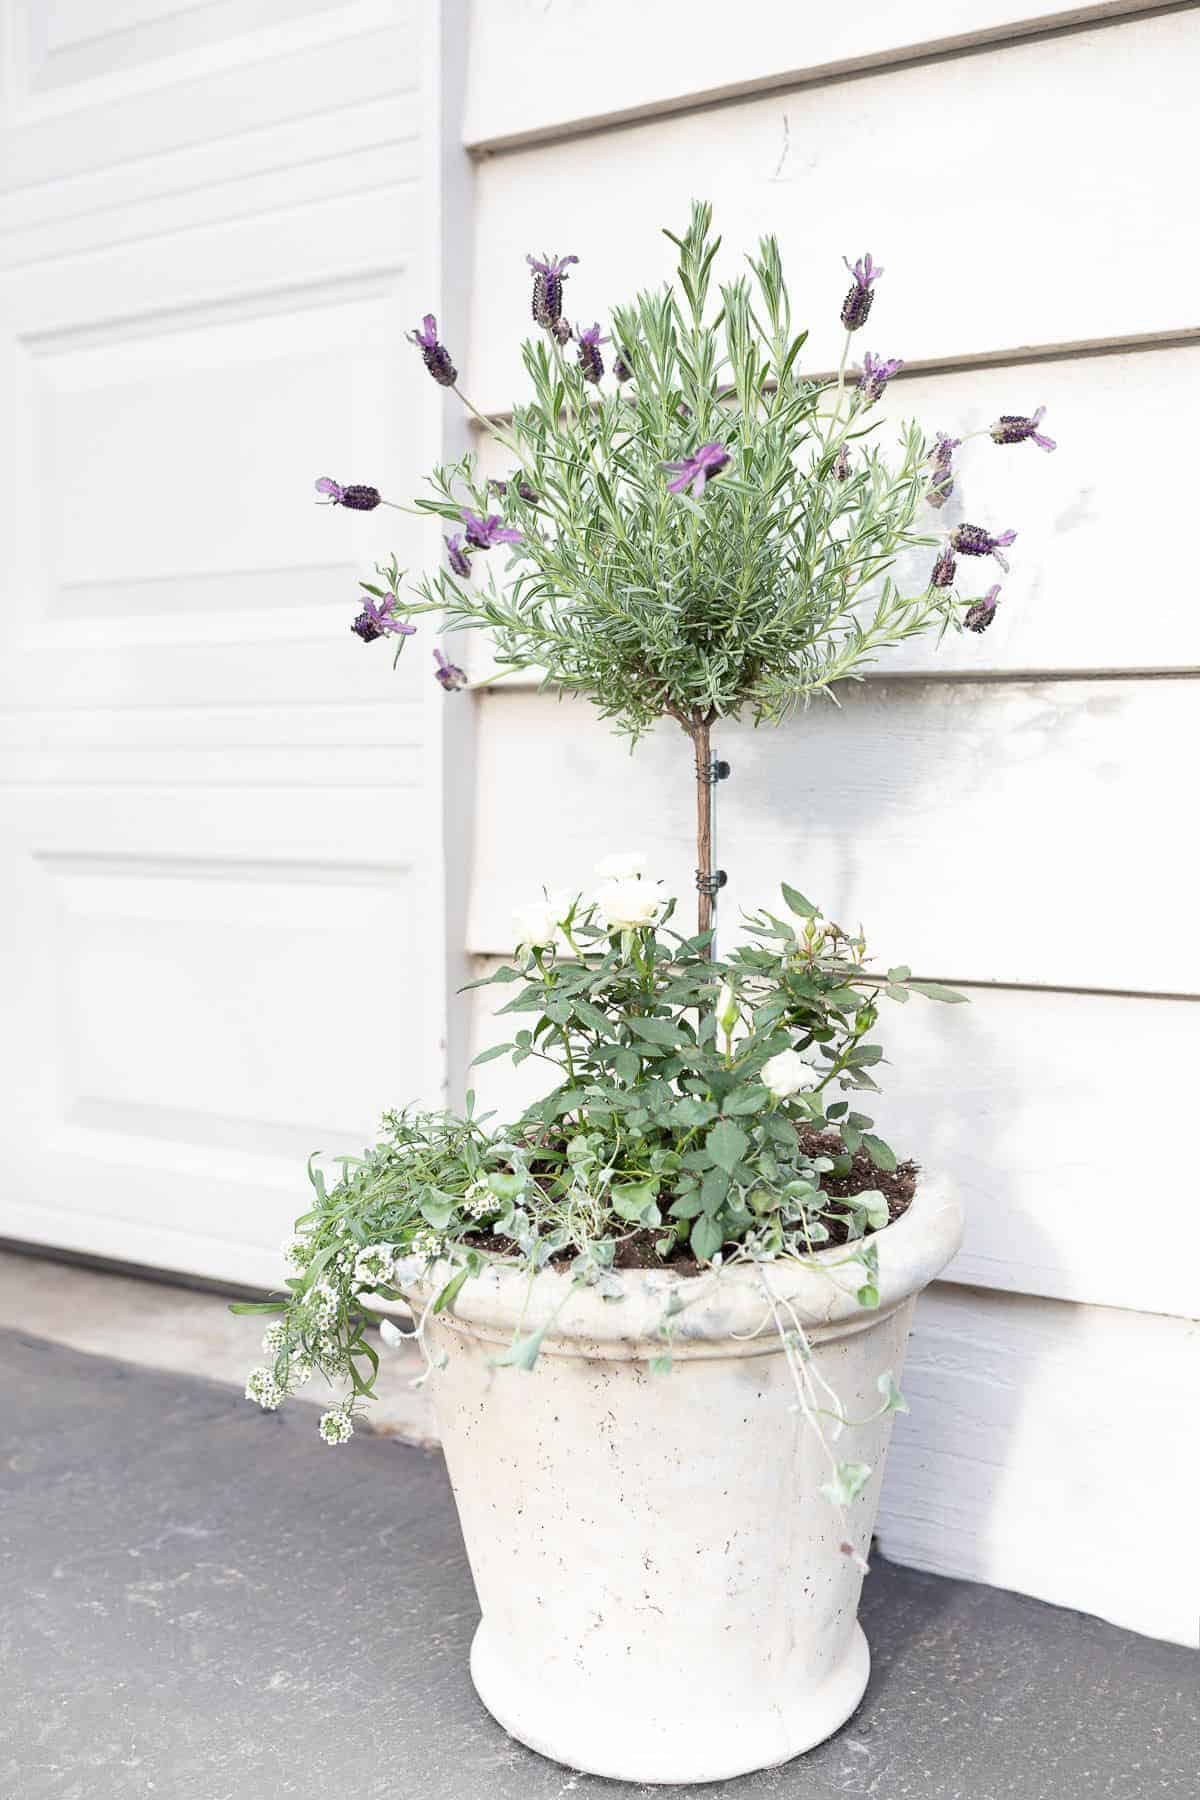
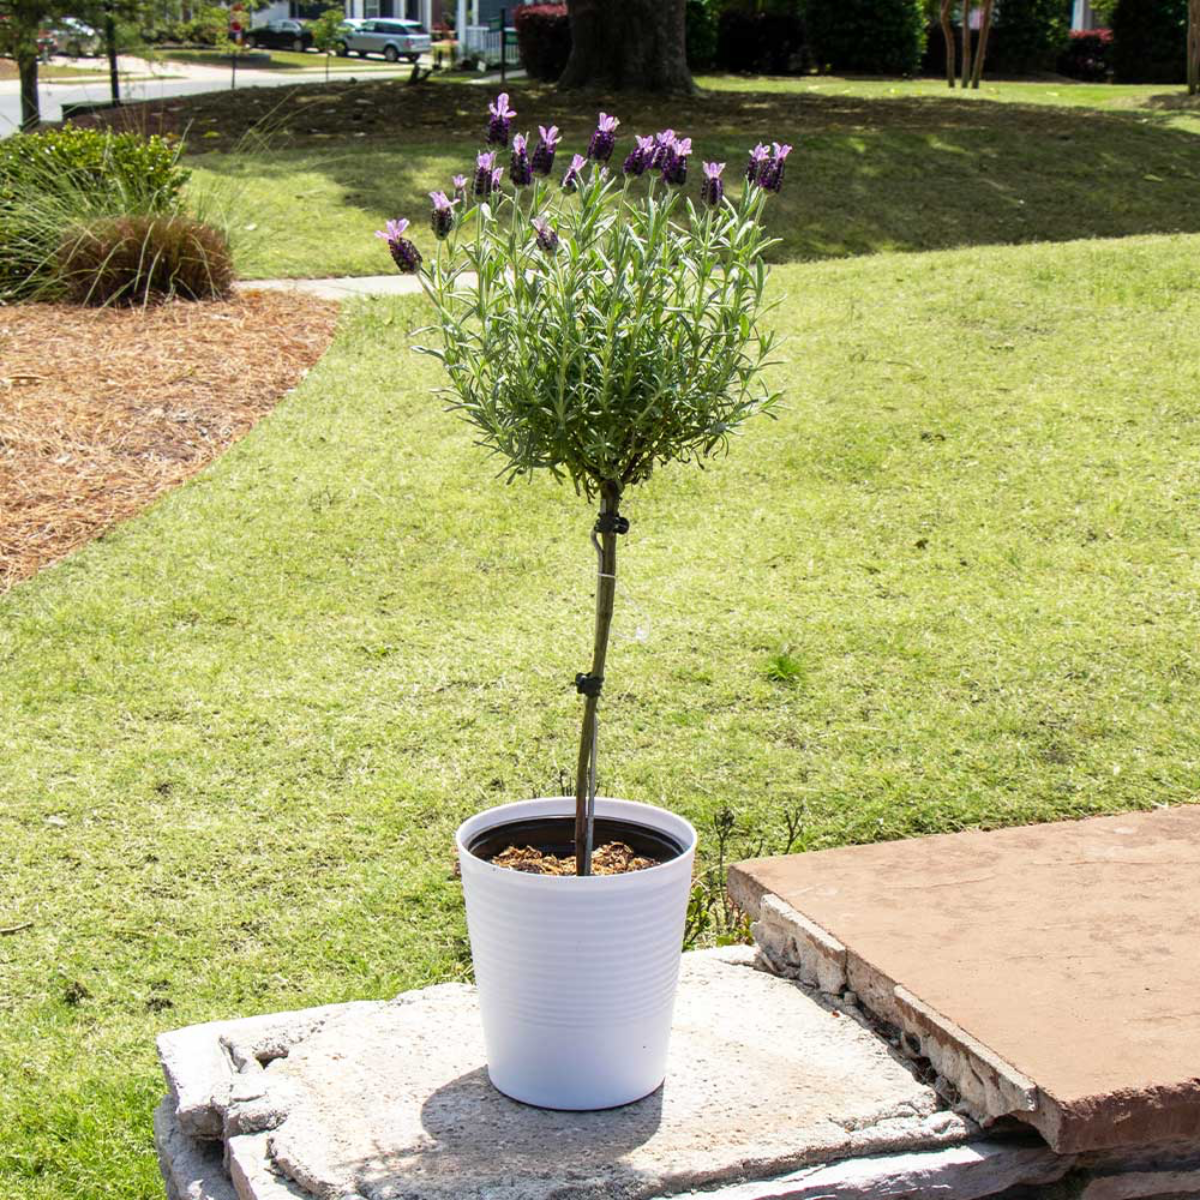
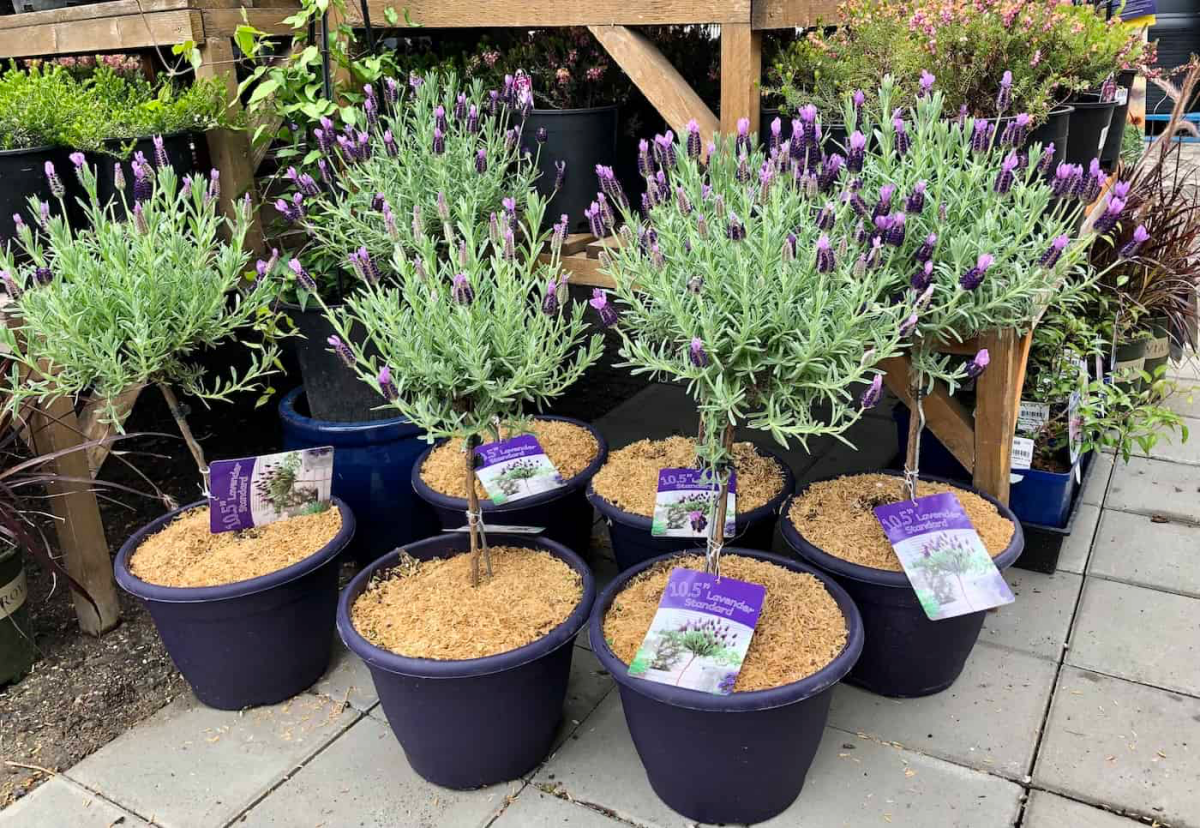
The Real Deal on Growing Those Gorgeous Lavender ‘Trees’ (Standards)
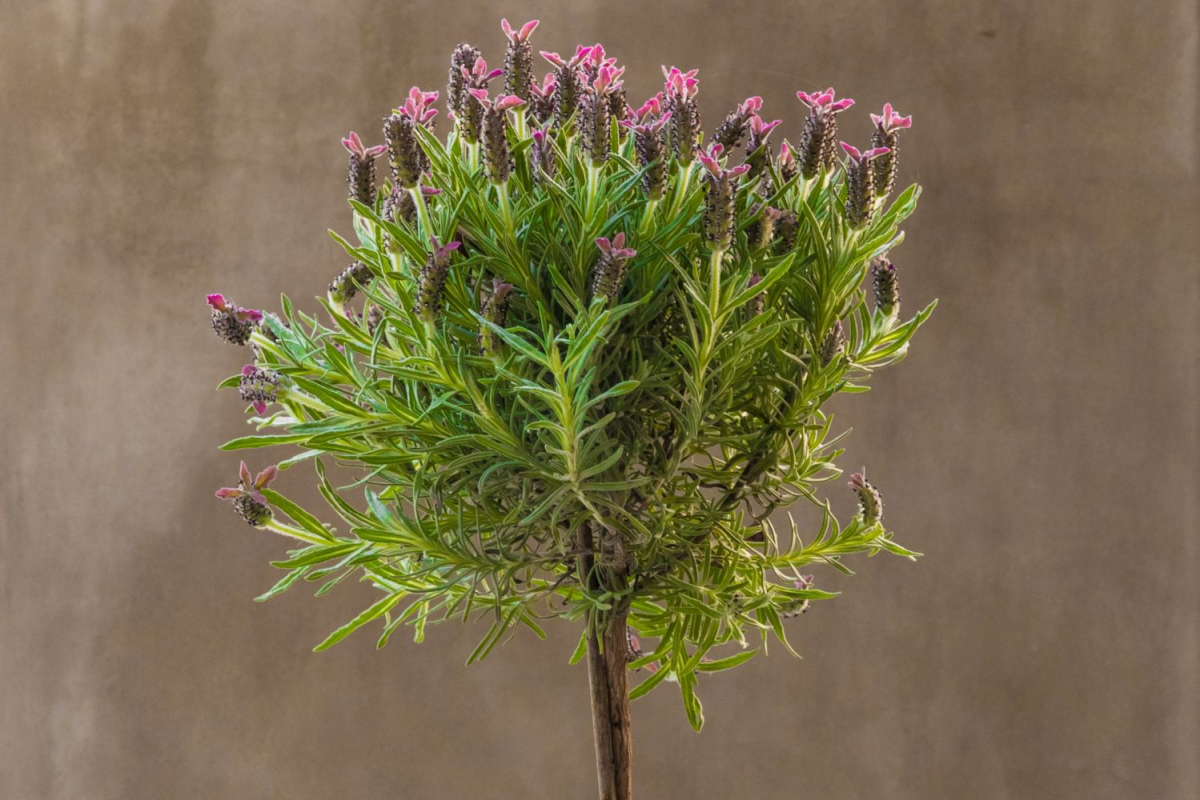
Let’s be honest, who doesn’t love the look of a lavender “tree”? That perfect, fragrant ball of silvery-green foliage on a single, elegant stem is a showstopper in any garden or patio. But here’s the first thing you need to know: it’s not actually a tree. In the gardening world, we call this a “standard,” and it’s a regular lavender plant that’s been painstakingly trained to grow in this unique shape.
In this article
Over the years, I’ve seen countless people fall in love with them at the nursery, only to have them struggle a few months later. But it doesn’t have to be that way! With a little know-how, your lavender standard can be a stunning feature for 5-10 years, not just a short-lived disappointment. Understanding their simple, but very specific, needs is the key.
Before you dive in, let’s talk budget and materials. This isn’t a huge investment, but getting the right stuff matters. A healthy lavender standard will typically cost between $40 for a smaller one and over $100 for a mature specimen. If you see one for $20 at a big-box store, be cautious—they often have weaker root systems. You’ll also want to budget for a good pot ($30-$80), some soil amendments like perlite or gravel ($10-$20 a bag), and maybe a simple soil test kit for about $15. It’s a small price to pay for success.
First Things First: Understand What Lavender Craves
To grow any plant well, you have to think like the plant. Lavender originally comes from the hot, dry, rocky hills of the Mediterranean. It’s tough, but it’s adapted to that specific environment. Your number one job is to mimic those conditions. Ignore this, and you’re setting yourself up for failure.
Drainage Isn’t a Suggestion—It’s a Commandment
This is the big one. The absolute most critical point. Lavender roots need oxygen to breathe, and in heavy, soggy soil, water fills all the air pockets, essentially suffocating them. This is the perfect breeding ground for root rot. Once that starts, the plant wilts and looks thirsty.
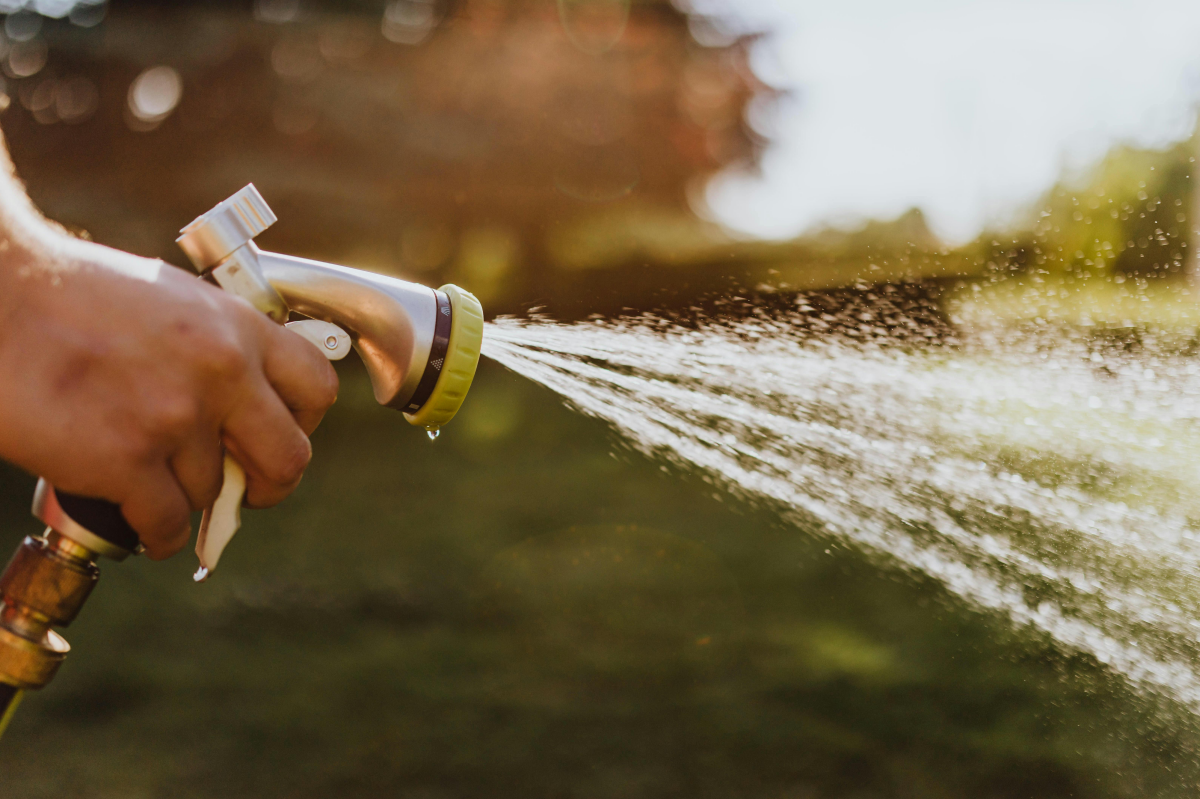
Heads up! A common rookie mistake is seeing a wilting lavender and immediately watering it. Before you EVER grab the hose, do this simple test: stick your finger two inches into the soil. Is it bone dry? Okay, it’s thirsty. But if it’s even slightly damp, you’ve likely got root rot, and more water is a death sentence. The plant can’t drink if its roots are dead. Proper drainage is everything.
The Dirt on Soil Chemistry (It’s Simpler Than It Sounds)
Lavender likes its soil neutral to a little on the alkaline side—a pH between 6.7 and 7.3 is the sweet spot. In many regions, especially places with lots of rain and pine trees, the soil is naturally acidic. In acidic soil, key nutrients get locked up, and the plant can’t absorb them, no matter how much fertilizer you use. A simple soil test kit from any garden center will tell you where you stand. If your soil is too acidic, you can mix in some garden lime to raise the pH. It’s an easy fix that makes a world of difference.
Let There Be Light (Lots of It)
This part is non-negotiable. Lavender needs at least six to eight hours of direct, full sun every single day to produce the energy for those beautiful, fragrant blooms. Just as importantly, all that sun helps keep the foliage and soil surface dry, warding off fungal diseases. I once had a client whose standard stopped blooming for no apparent reason. The soil was great, the watering was perfect… turns out, a neighbor’s new shed was casting a shadow on the plant from 2 PM onward. That loss of a few hours of afternoon sun was enough to stop the show. We moved it, and it was covered in blooms the next year.
Setting Your Plant Up for Success
A little planning before you even dig the hole will save you a world of headaches down the line. This is where a few pro tricks can make all the difference.
Choosing Your Champion
Not all lavender varieties are the same. Most standards are crafted from two main types:
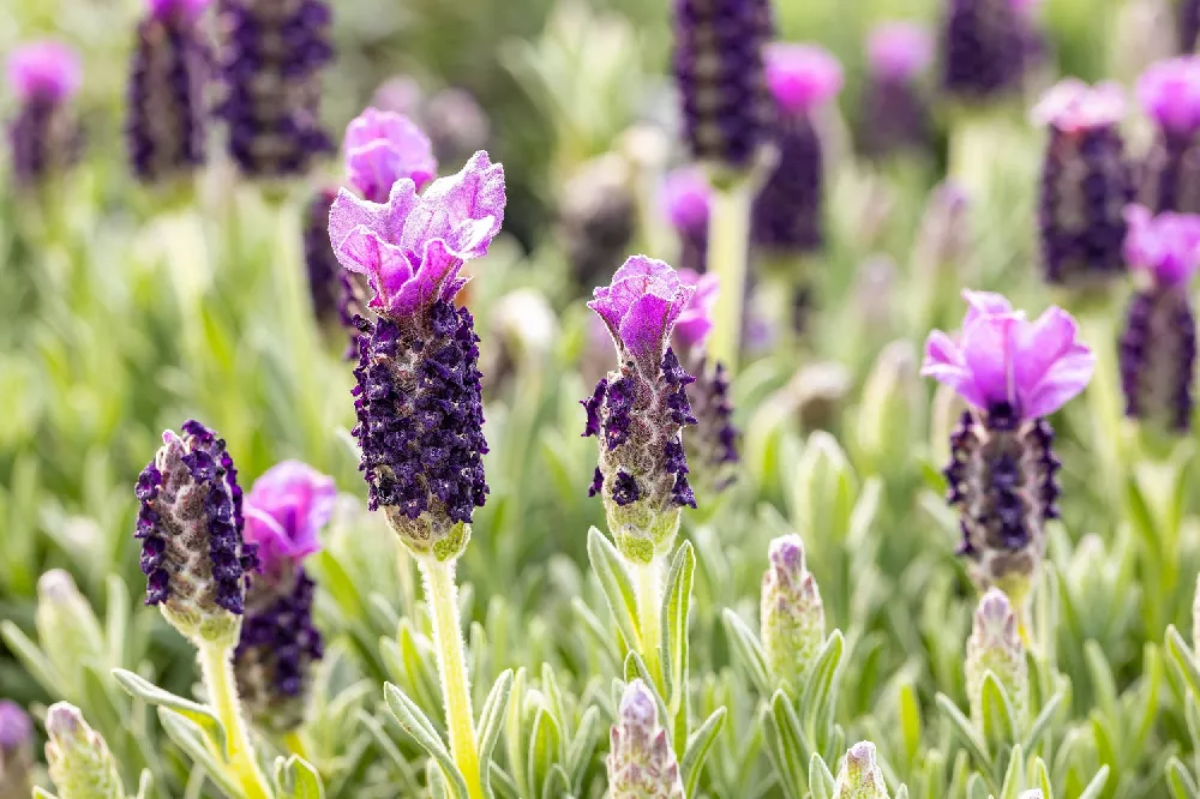
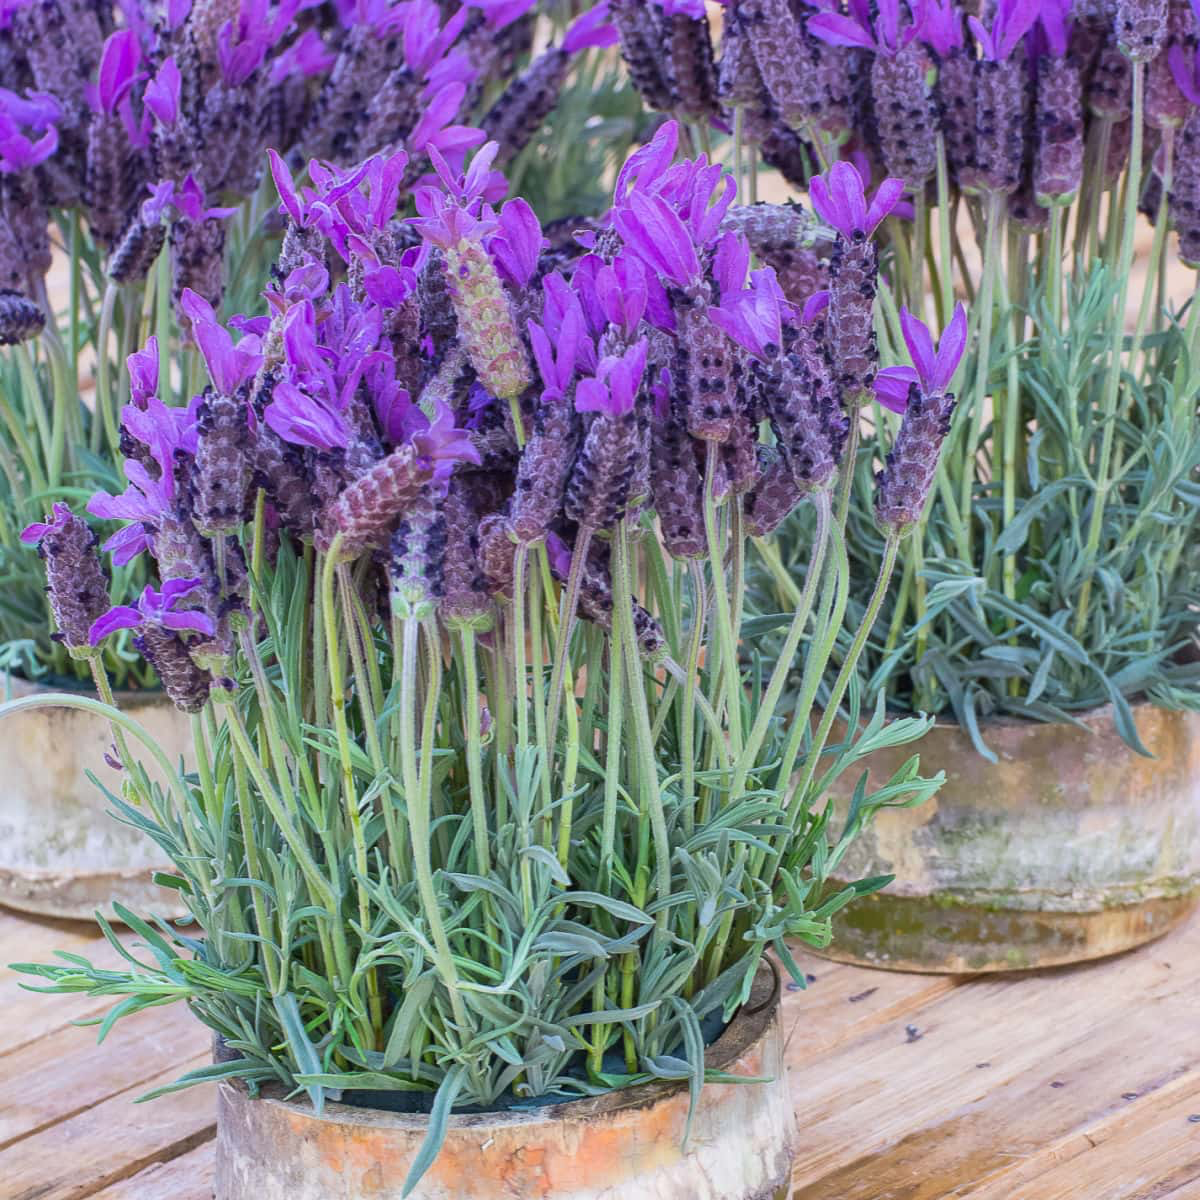
- English types: These are the hardier ones, often surviving colder winters. They’re a bit more compact with a sweeter scent, making them the top choice for culinary use. Their flower spikes are classic and beautiful, just a bit shorter.
- French hybrids (Lavandins): These are bigger, more robust plants with a very powerful, sharp scent (thanks to more camphor). They are fantastic for crafting or making scented sachets but are generally less cold-hardy, doing best in warmer climates.
When you’re at the nursery, inspect the plant. The trunk should feel sturdy, and the foliage should be a healthy silver-green, not yellow or droopy. Avoid any that look sad—they rarely recover.
How to Plant It Like a Pro
When I’m showing new landscapers the ropes, I have them follow these exact steps.
- Dig a Wide, Shallow Hole: Go twice as wide as the pot, but no deeper. A common mistake is digging too deep, which causes the plant to settle over time, burying its crown and inviting rot.
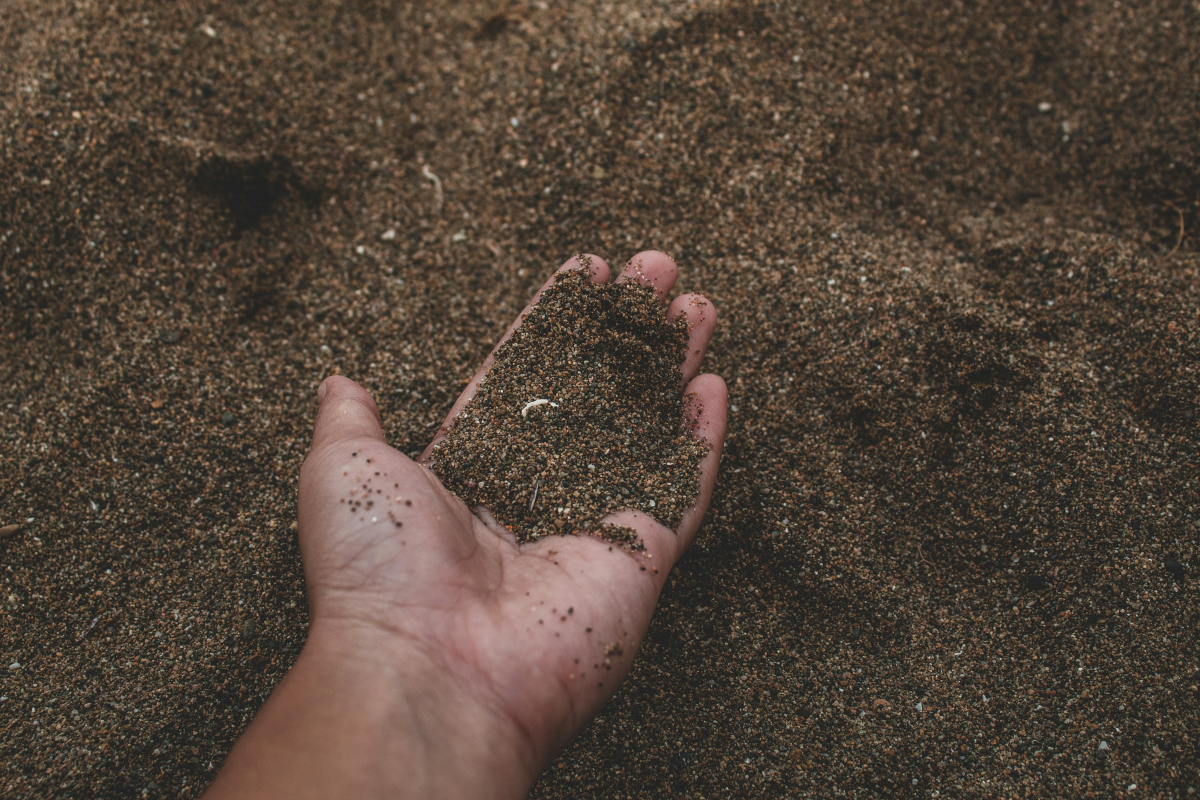
- Tweak Your Soil: If you have heavy clay, you must improve the drainage. Mix the soil you dug out with an equal amount of coarse material. I love using poultry grit or 1/4-inch crushed gravel. Don’t use fine sand, as it can mix with clay to make concrete-like soil, and avoid adding rich compost—lavender prefers lean soil.
- Plant It High: Gently place the plant in the hole so the top of its root ball sits about one inch above the surrounding ground level. This is probably the most important trick to prevent the crown from rotting.
- Backfill and Mulch Smart: Fill the hole with your amended soil, then apply the right kind of mulch. Do NOT use bark or wood mulch, which holds moisture against the stem. The best mulch for lavender is a one- to two-inch layer of pea gravel. It keeps the crown dry, suppresses weeds, and reflects heat up into the plant, which it loves.
Quick tip: If you only have five minutes to improve an existing lavender’s life, do this. Go outside and scrape away any wood or bark mulch from around its base. Replace it with a one-inch layer of pea gravel. This simple swap is the number one way to prevent crown rot!
Caring for Lavender in a Pot
Growing a standard in a container is a fantastic option, especially if your garden soil is heavy clay or you live in a very cold climate. It gives you total control.
- The Right Pot & Soil: Choose a heavy pot that’s at least 18-24 inches in diameter so it won’t tip over. Terracotta is great because it’s porous and lets the soil dry out. For the soil, never use garden soil. I mix up my own, and it’s super simple. For a typical 18-inch pot, I’ll use a ratio of 1:1:1—that’s about 1.5 gallons of a quality potting mix, 1.5 gallons of perlite for aeration, and 1.5 gallons of coarse sand or poultry grit for drainage.
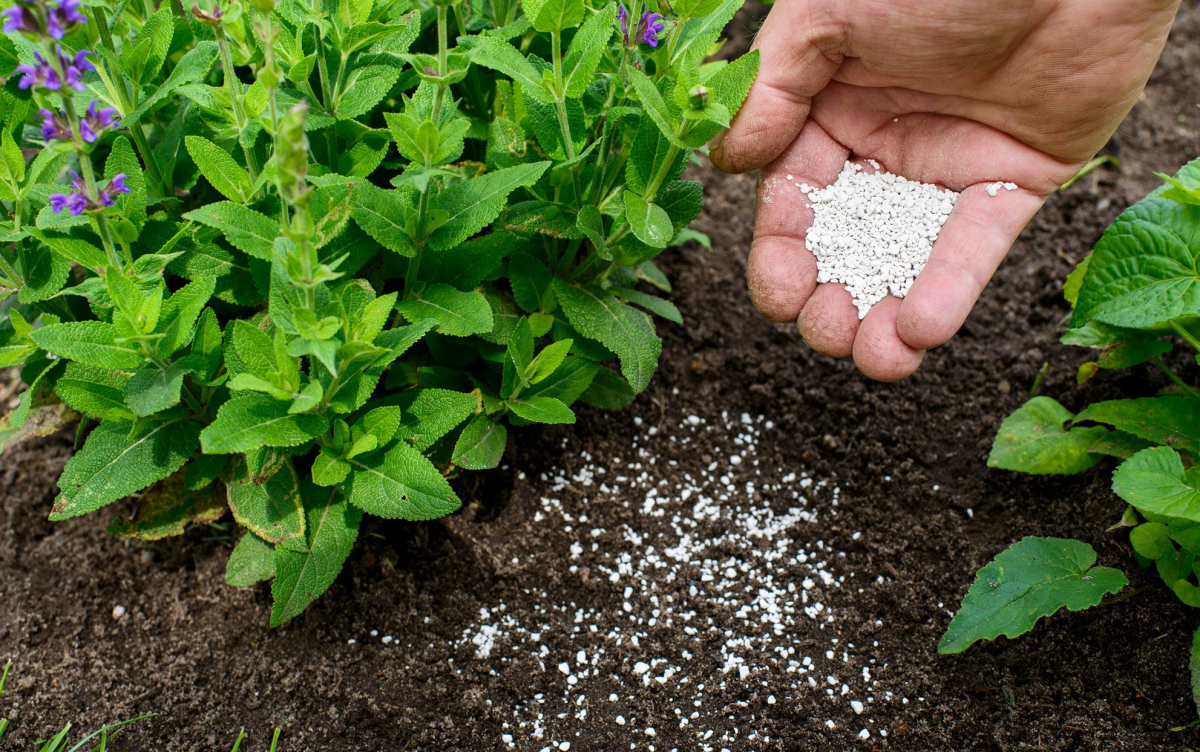
- Watering and Feeding: Pots dry out fast. In summer, you might need to water every few days. Always check the soil first! For food, less is more. I use a single dose of a slow-release tomato fertilizer in the spring. Why tomato food? Because it’s usually low in Nitrogen. Look for a ratio on the box like 5-10-10. Too much nitrogen (that first number) just gives you floppy green leaves and fewer flowers.
Overwintering a Potted Standard
If your winters get truly cold, you can’t leave a potted lavender outside. The roots will freeze solid. The best bet is to move it into an unheated garage or shed once it goes dormant. It needs to stay cold (ideally 30-45°F) but protected. Water it very lightly just once a month to keep the roots from completely desiccating. In spring, slowly reintroduce it to the outdoors to prevent shock.
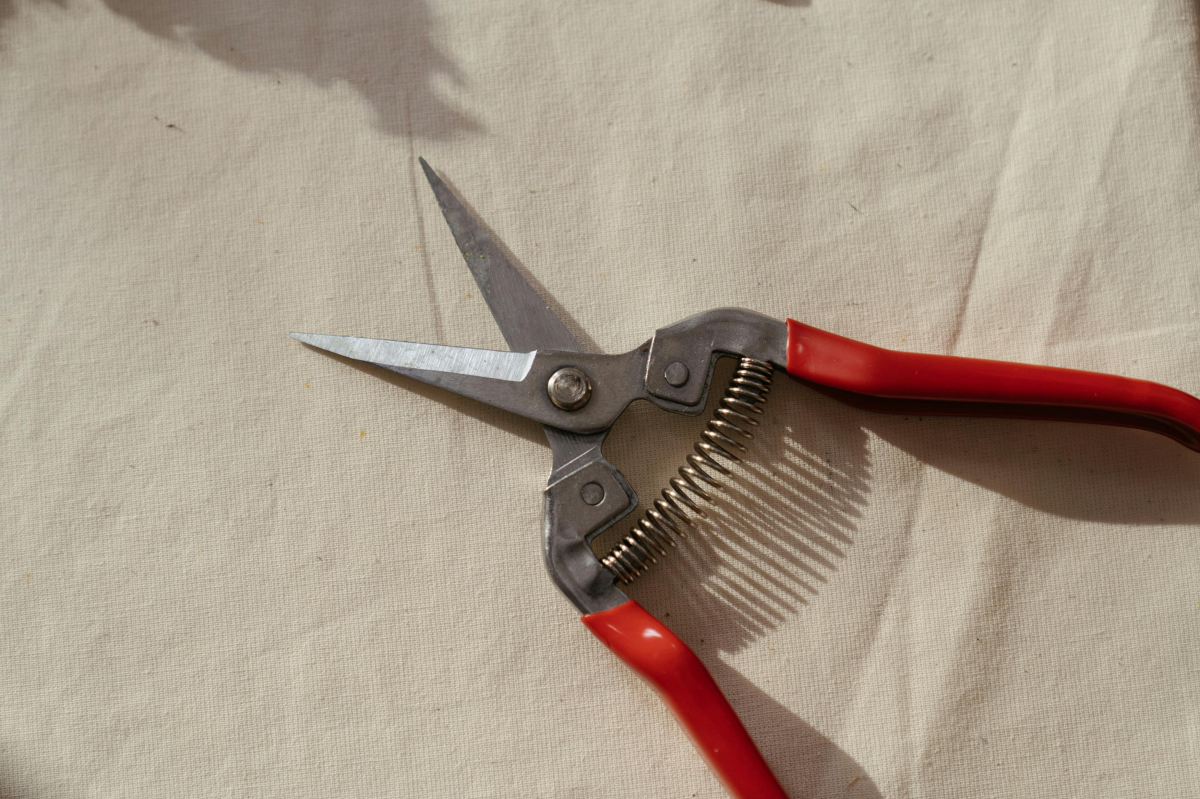
The Art of Pruning (Don’t Be Scared!)
Pruning is what keeps your standard looking like a tidy lollipop and encourages a riot of blooms. It’s easy once you know the rules.
Use sharp, clean pruners. After the first big wave of flowers fades in summer, give it a light “haircut,” snipping off the spent flower stalks and about an inch of leafy growth. This encourages a second, smaller bloom.
The main prune happens once a year. In warmer climates, do it in early fall. In colder zones, wait until early spring as new growth starts. The goal is to remove about one-third of the leafy ball, reshaping it and encouraging fresh, new growth.
And now for the golden rule of pruning. I mean it. Never, ever cut back into the old, brown, leafless wood. Lavender can’t sprout new growth from that old wood. I have seen beautiful plants ruined by a hard, aggressive prune right into the woody core. The result is always the same: permanent dead spots. That branch will never grow back, leaving an ugly, gappy hole that ruins the beautiful, tight ball shape you’ve worked so hard to maintain. So, always, always, always leave a little bit of green, leafy growth on every stem you prune.
Galerie d’inspiration
Terracotta Pots: Their porous clay wicks moisture away from the soil, making them a fantastic choice for preventing root rot—a lavender’s worst enemy. They breathe, keeping roots happy and airy.
Glazed Ceramic Pots: While often more decorative, they are non-porous and hold water much longer. If you choose one for its looks, be extra vigilant about your watering schedule and ensure the drainage hole is large and unobstructed.
For beginners, terracotta is the safer bet for a thriving lavender standard.
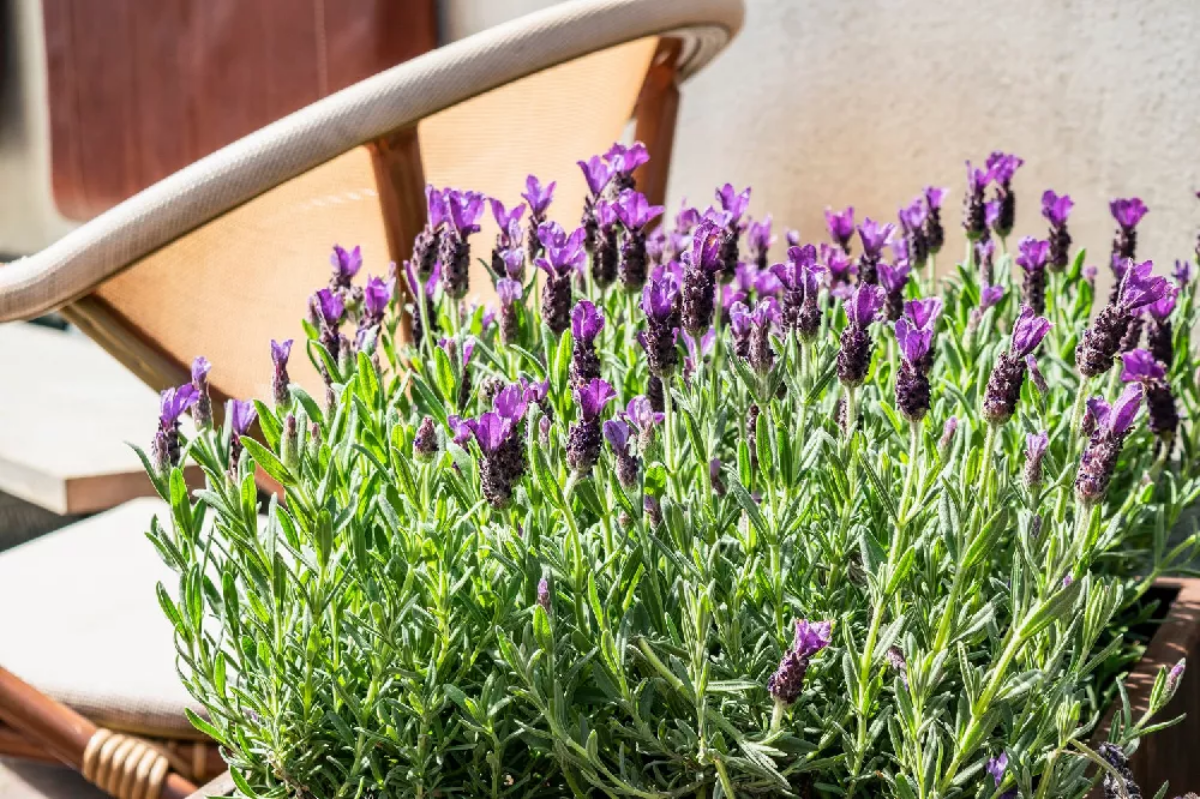
A lavender plant that is not pruned will become woody and splayed, with a bare patch in the center. Regular pruning is the secret to a long-lived, beautifully shaped plant.
Don’t be timid with your pruning shears. The goal for a standard is to maintain that tight, rounded globe. After the main flush of flowers fades, trim back the entire plant by about one-third, always making sure to cut above the woody, leafless stems. This encourages dense, silvery foliage and often a second, smaller bloom.
Can a lavender standard survive a cold winter?
It depends on your climate zone and the plant’s protection. The most vulnerable part of a lavender standard is the graft union—the spot where the bushy top joins the single stem. In zones colder than 7, it’s wise to move potted standards into a sheltered, unheated space like a garage or shed. If it’s planted in the ground, wrapping the trunk and graft point with burlap can offer crucial protection from freezing winds and moisture.
Create a stunning, low-water trio by pairing your lavender standard with complementary plants that share its love for sun and dry soil. Consider these options:
- Sedum ‘Autumn Joy’: Its fleshy leaves and broccoli-like heads provide a wonderful textural contrast.
- Lamb’s Ear (Stachys byzantina): The silvery, velvety leaves echo the lavender’s foliage but with a softer, broader form.
- Blue Fescue (Festuca glauca): This ornamental grass forms neat, spiky clumps of blue-green that look striking at the base of the lavender’s trunk.
- A richer, deeper purple color.
- A more compact and dense form.
- Greater resistance to wind and flopping.
The secret? Choosing the right variety from the start. While many lavenders can be trained, English lavenders (Lavandula angustifolia) like ‘Munstead’ and ‘Hidcote’ are prized for their naturally tight growth habit, making them the superior choice for a classic, robust standard.
One common mistake: killing your lavender with kindness. These plants evolved in poor, rocky Mediterranean soils. Resist the urge to enrich the potting mix with rich compost or feed it with all-purpose fertilizer. This leads to weak, leggy growth with fewer, less fragrant flowers. A lean soil is key to a happy plant.


