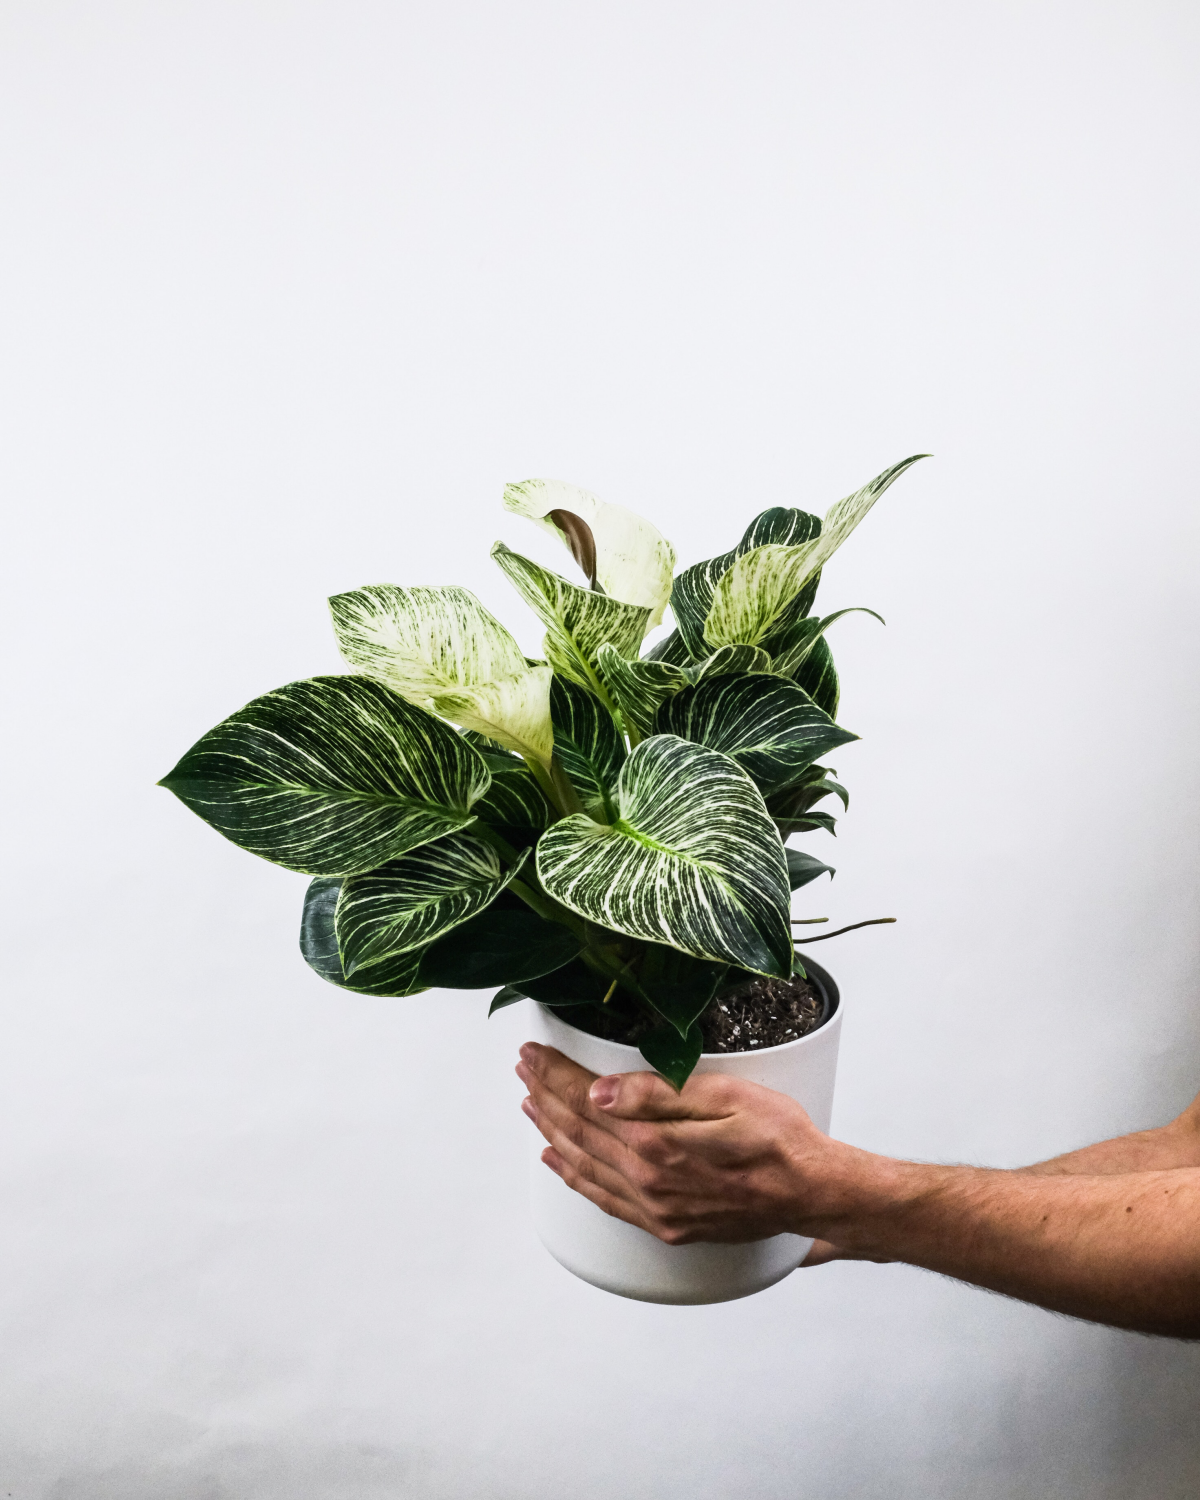
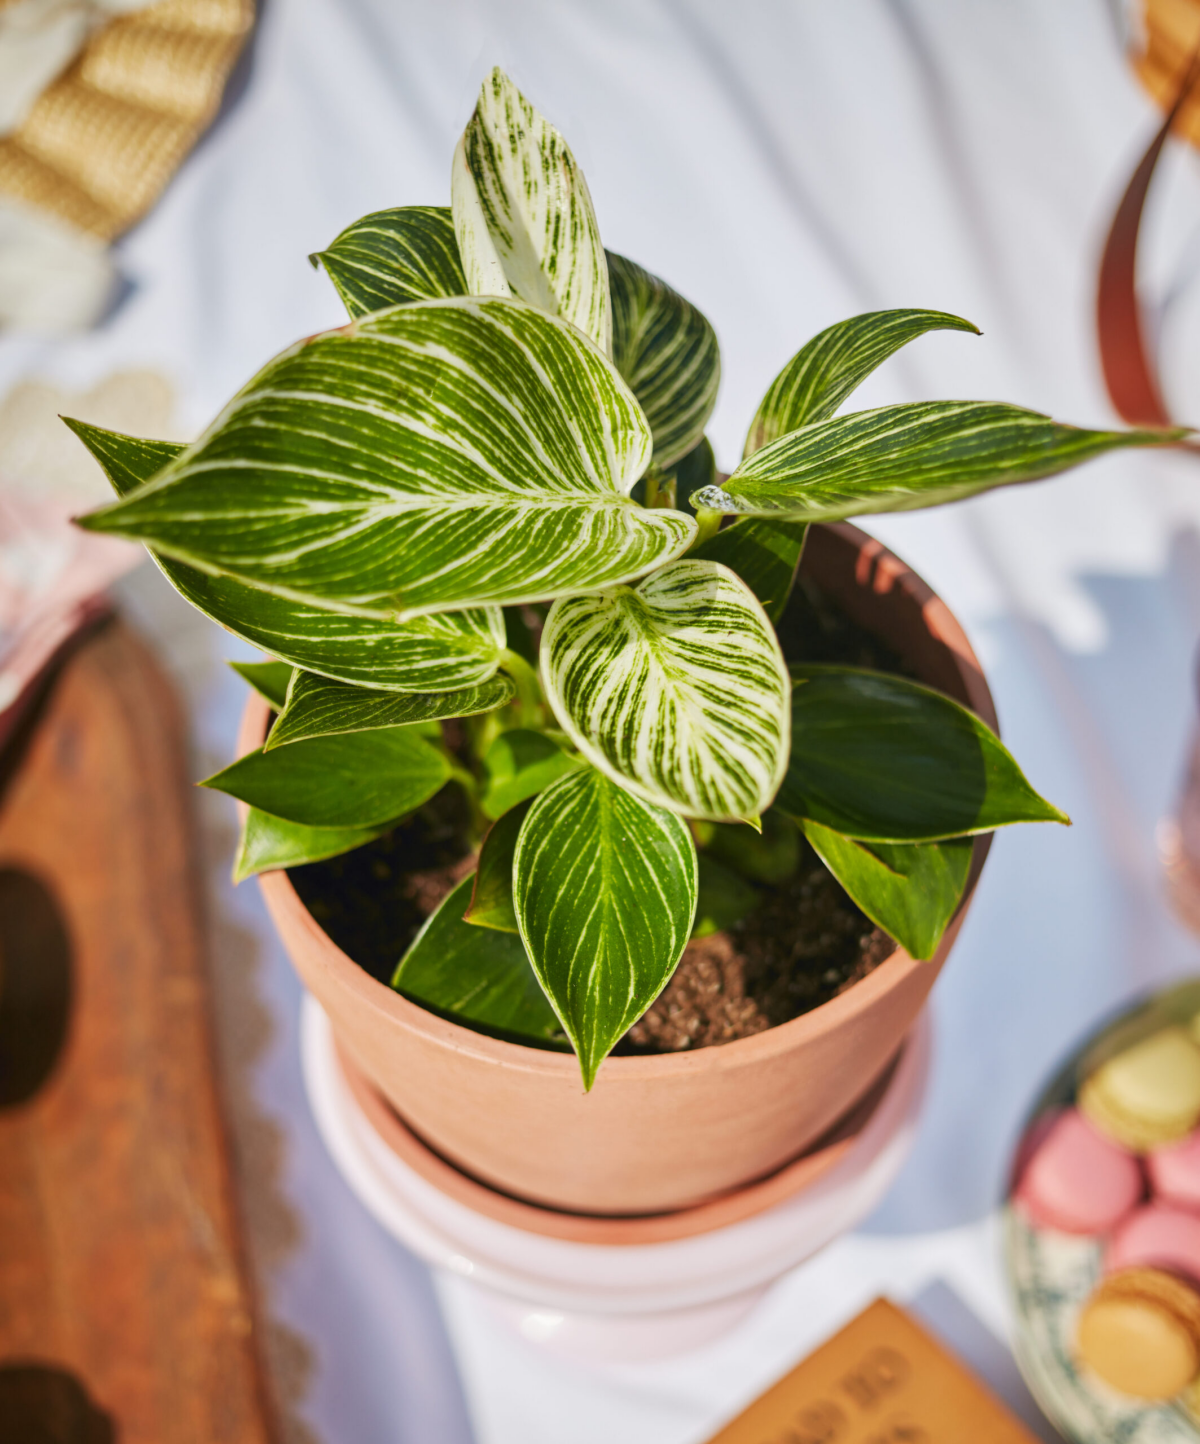
The Real Deal on Keeping Your Philodendron Birkin Beautifully Striped
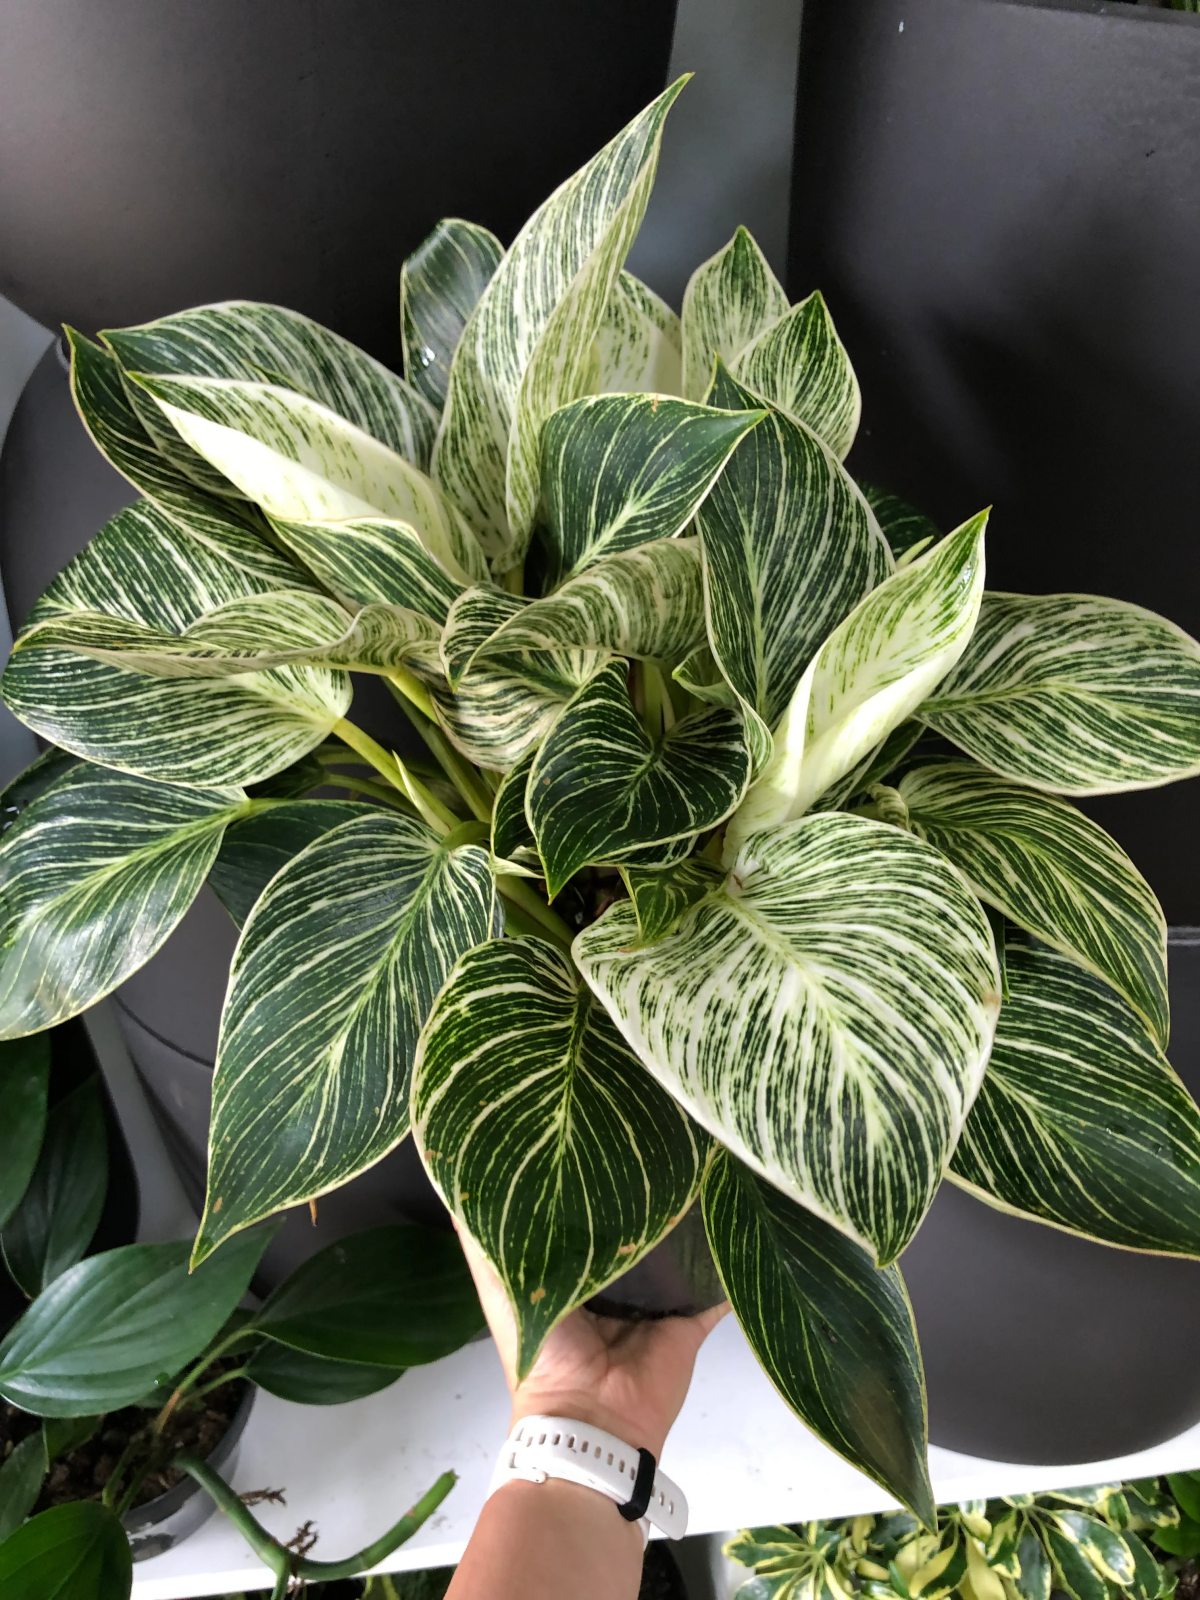
I remember the first time I got a big shipment of Philodendron Birkins at the nursery. The hype was real. Their shiny, dark leaves with those creamy, pinstriped lines looked like they were painted by hand. But I also saw the catch right away: some were absolutely stunning, while others were already pushing out plain green leaves. That’s when it clicked. Taking care of a Birkin isn’t just about water and sun; it’s about managing its beautiful, but kinda flaky, personality.
In this article
- First Things First: How to Pick a Winner at the Store
- Understanding What Makes a Birkin… a Birkin
- The Foundation: Soil That Actually Works
- Mastering Light for Maximum Variegation
- Watering: Stop Following a Schedule
- Feeding: The “Less is More” Approach
- Pruning: How to Manage Your Plant’s Look
- Troubleshooting Common Issues
- Galerie d’inspiration
So, this guide is more than just a basic care sheet. I want to pull back the curtain and share the real techniques we use in the biz. We’ll get into the ‘why’ behind everything, from mixing the perfect soil to pruning for those perfect stripes. My goal is to help you grow a Birkin that doesn’t just survive, but truly shows off.
First Things First: How to Pick a Winner at the Store
Before you even think about soil and water, let’s talk about picking the right plant. You can save yourself a lot of headaches by being picky at the garden center. A lot of Birkins are already on their way to reverting before they even hit the shelves.
Here’s what to look for:
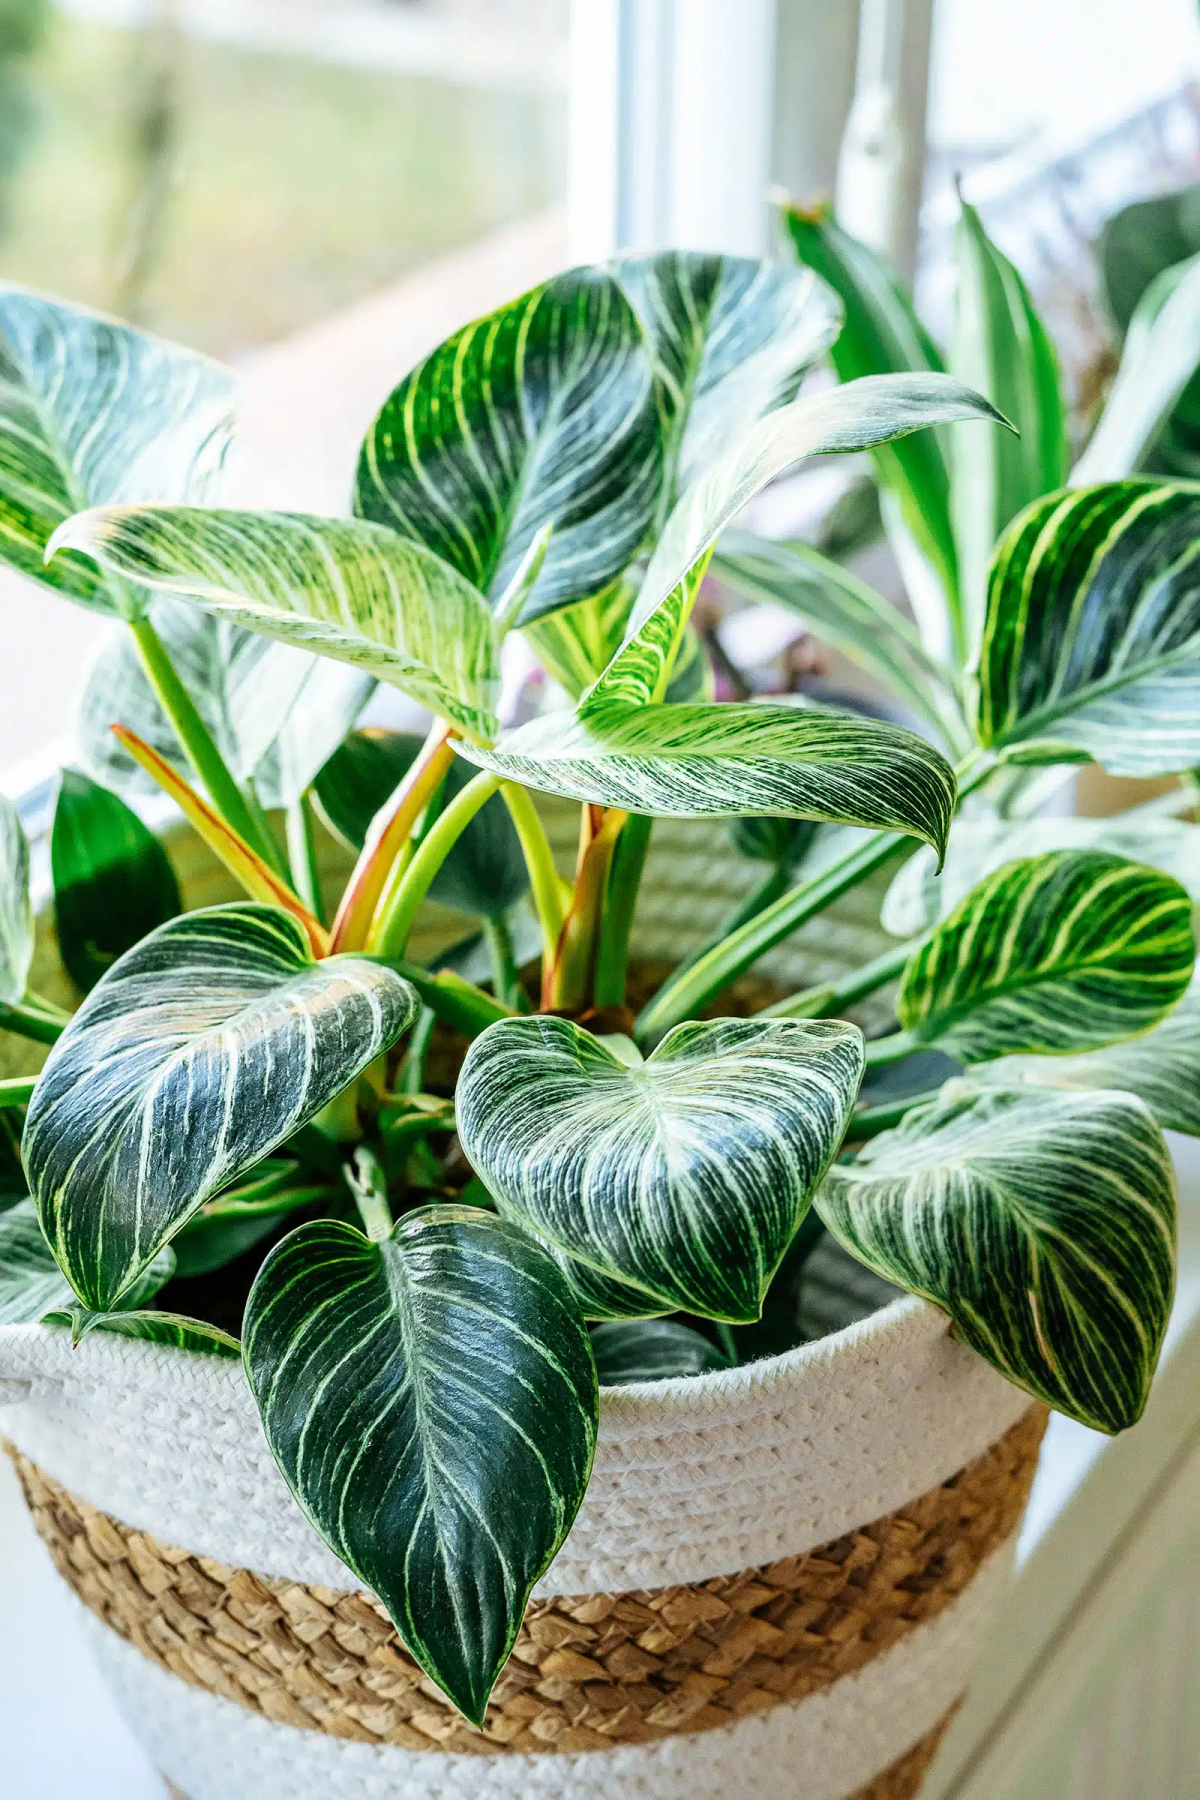
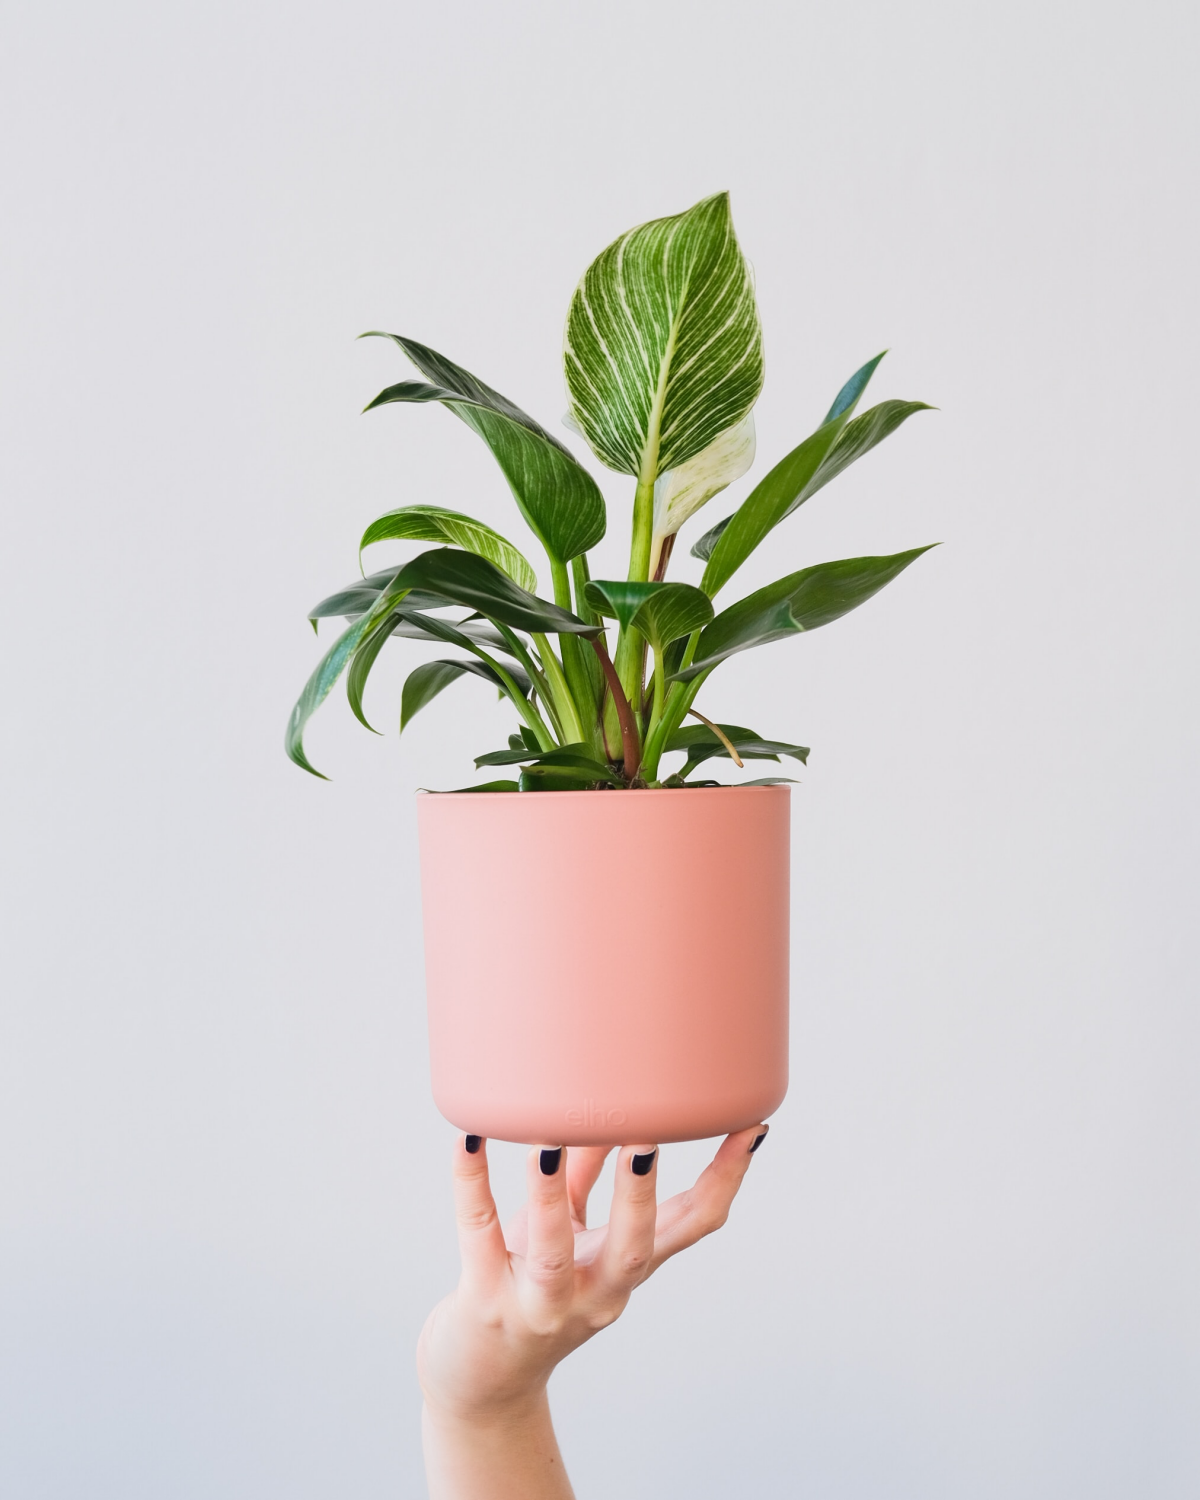
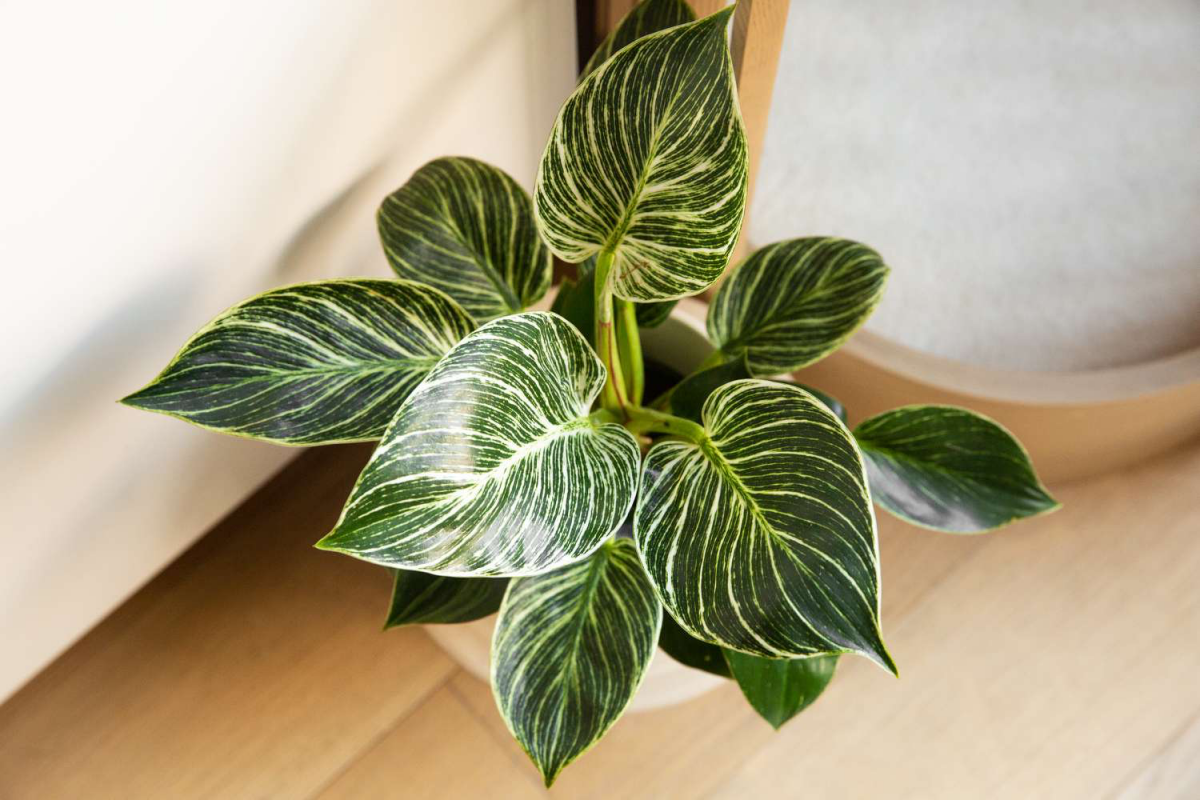
- Check the Newest Leaf: Look at the leaf that’s just unfurled or is about to. Does it have crisp, clear white or cream lines? That’s a great sign. If the newest growth is mostly green with faint, muddy-looking stripes, the plant might already be losing its variegation.
- Inspect the Whole Plant: Scan all the leaves. A few older, greener leaves at the bottom are normal. But if you see entire stems that are only producing solid green leaves, you’re looking at a plant that’s actively reverting. You can prune it, but you’re starting off with a project.
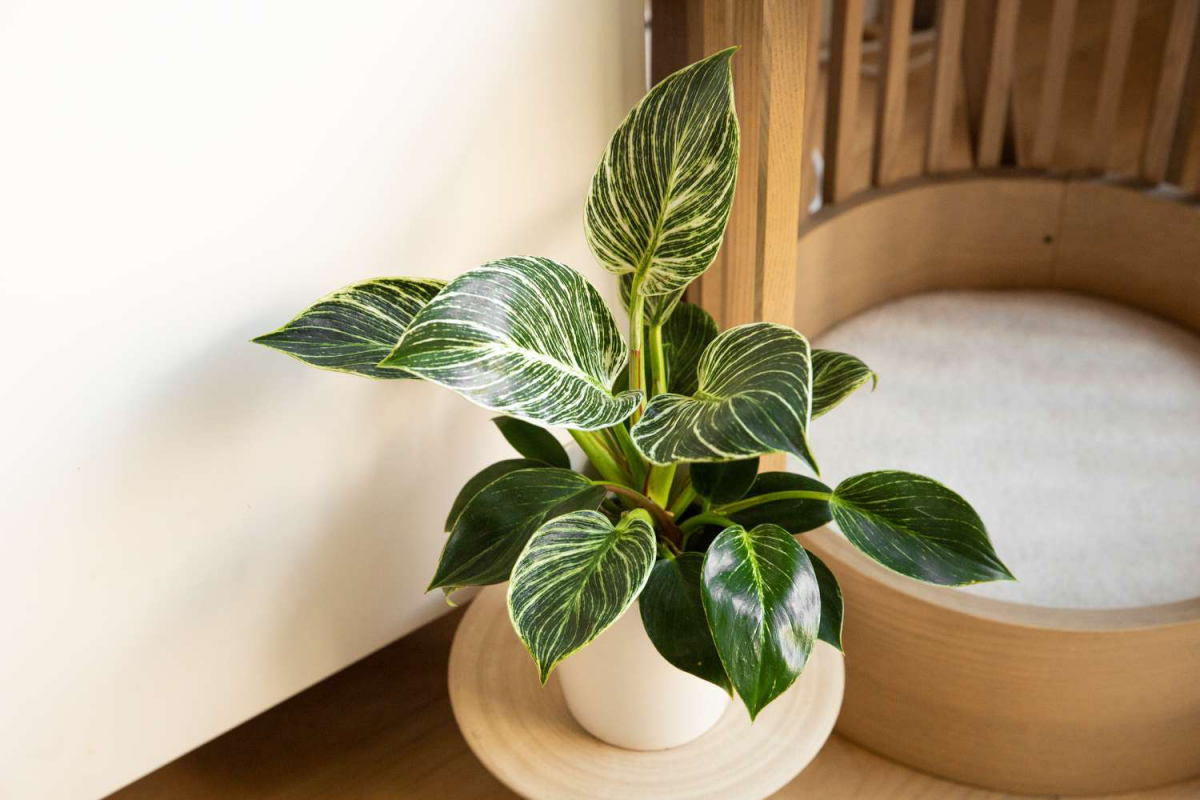
- Avoid the All-White Beauties: A plant with tons of pure white or cream leaves might look amazing, but it’s often a bad sign. Those leaves have no chlorophyll and can’t make energy. They are a drain on the plant, and it might be struggling. Balance is key.
- Price Check: A healthy, well-variegated 4-inch Birkin typically runs between $15 and $25 at most local nurseries or big box stores like Lowe’s. If you see one for $5, inspect it very carefully—it might be a low-quality one that’s already reverting.
Understanding What Makes a Birkin… a Birkin
Okay, so what is this plant, really? It wasn’t discovered in a jungle. The Birkin is what’s known as a spontaneous mutation of another Philodendron—a reddish-leafed variety. To get a little nerdy, it’s a chimera. In simple terms, this means the plant has two different sets of DNA mixed together. One set makes the normal green, energy-producing leaf stuff. The other set makes the mutated, white, non-pigmented stuff.
Those stripes are the result of this genetic mashup. But here’s the kicker: it’s unstable. The plant often tries to go back to its stronger, all-green parent form. This is why your Birkin might suddenly throw out a plain green leaf, a weird reddish leaf, or even a completely white one. You’re not just a plant owner; you’re managing a delicate balancing act. All the care tips that follow are designed to convince the plant to stick with its high-maintenance, variegated look.
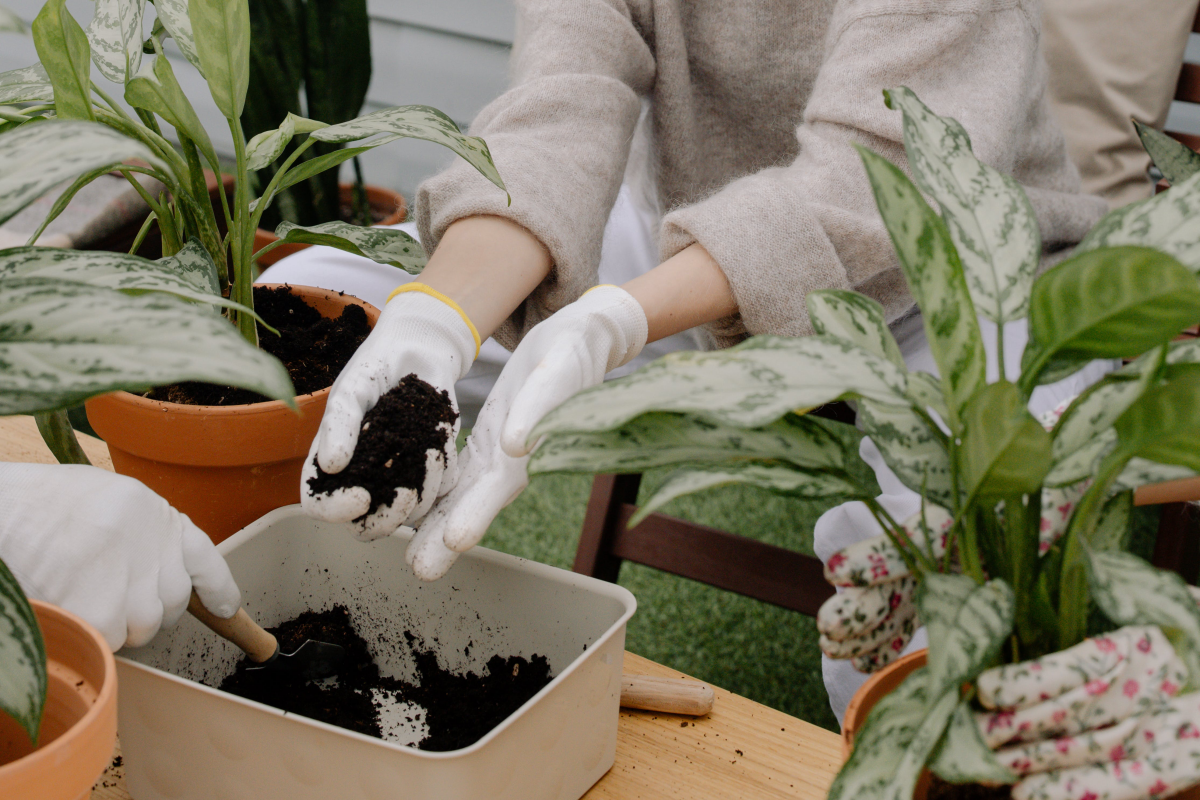
The Foundation: Soil That Actually Works
Honestly, the most common way people kill their houseplants is with bad soil. That bagged indoor potting mix you grab off the shelf is usually way too dense. It holds water like a sponge and suffocates the roots. Philodendrons need to breathe! In a pot, heavy soil leads straight to root rot, the number one killer.
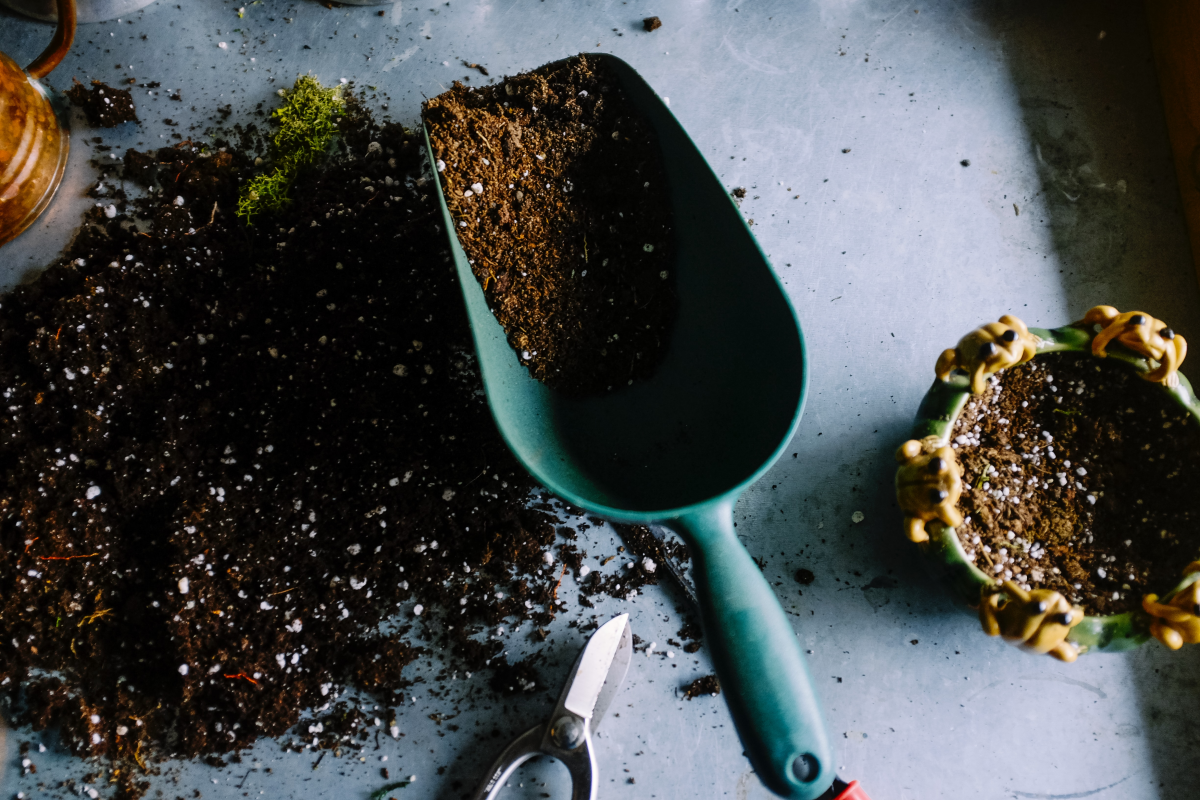
My Go-To Aroid Soil Mix
We mix our own soil for aroids, and you can, too. It’s easy and makes a world of difference. The goal is a light, chunky mix that drains fast but holds just enough moisture.
- 4 Parts High-Quality Potting Mix: This is your base. Think FoxFarm Ocean Forest or a similar quality brand, not the cheap stuff.
- 3 Parts Orchid Bark: Fine or medium grade is perfect. This creates air pockets so roots can breathe. You can grab a bag for about $10 at most garden centers.
- 2 Parts Coarse Perlite: Those little white rocks are your drainage heroes. They keep the mix from turning to mud. A bag is usually under $10 and will last you forever.
- 1 Part Horticultural Charcoal (Optional but great): This helps keep the soil ‘sweet’ by absorbing impurities. It can be a bit pricier, maybe $12-$15 for a bag online, but it’s a great addition if you can find it.
On a budget? A simpler mix of 50% regular potting soil and 50% orchid bark or perlite is a massive improvement over using the soil straight from the bag.
Choosing the Right Home (The Pot)
The pot you choose really changes your watering game. There’s no single “best” option; it’s all about your habits.
Terracotta (clay) pots are a great choice if you’re an over-waterer. They’re porous, meaning they breathe, which helps the soil dry out much faster. The downside? You’ll have to water more often, especially when it’s warm and dry.
Plastic or glazed ceramic pots, on the other hand, are non-porous and hold moisture for a lot longer. These are good if you’re a bit forgetful with watering or live in a very dry climate. Heads up! If you use a plastic pot, that chunky, airy soil mix we just talked about becomes non-negotiable to prevent a swampy situation.
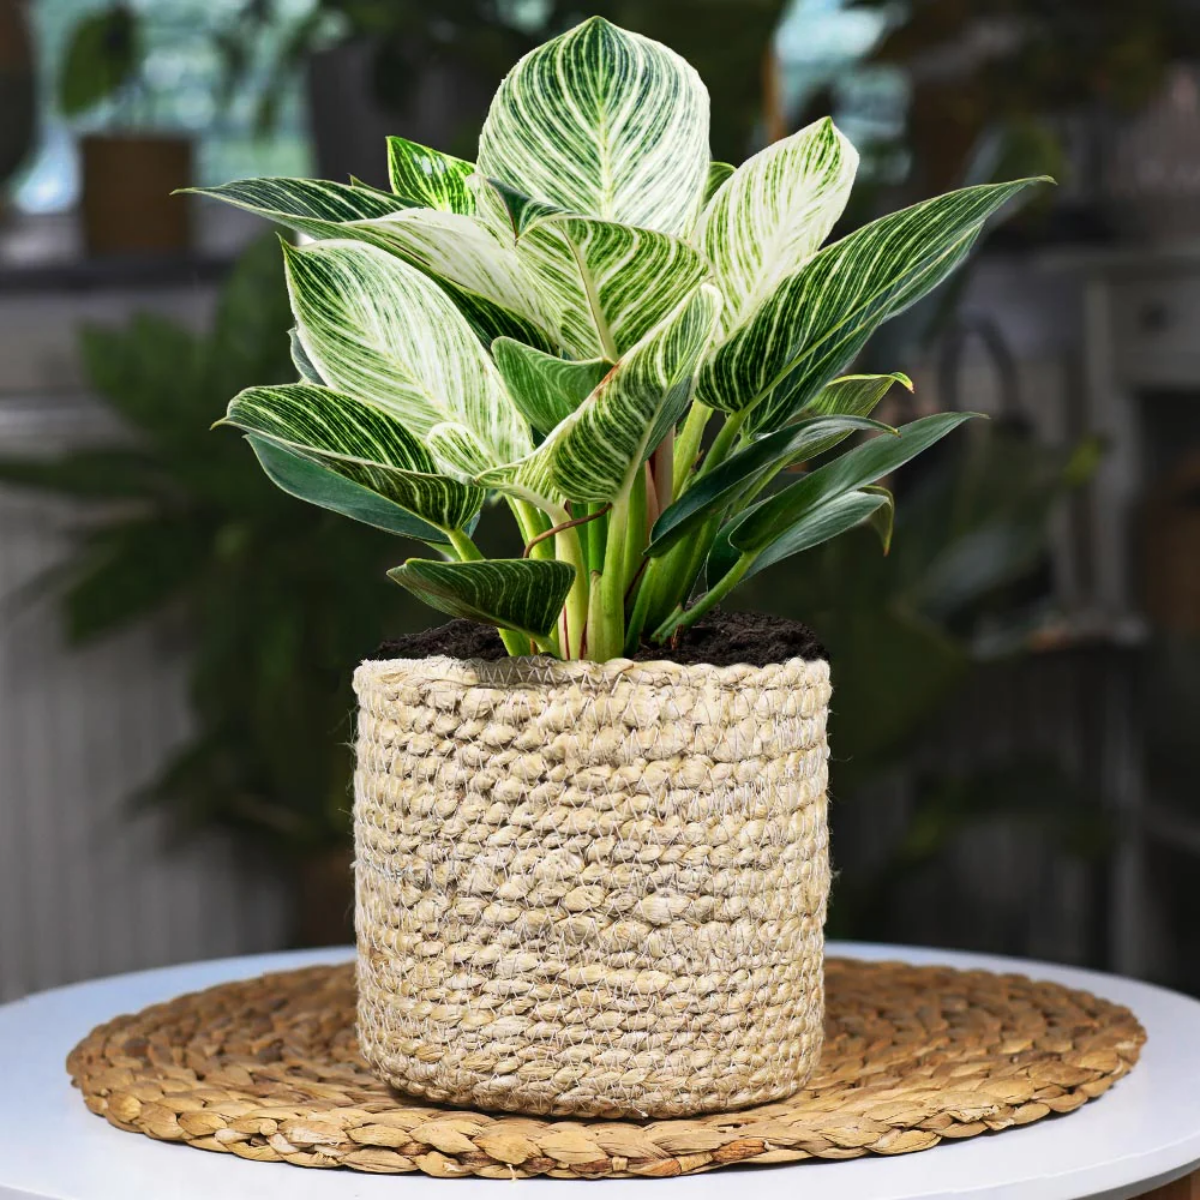
No matter what, the pot MUST have a drainage hole. If you find a cute decorative pot without one, use it as a cover pot (a cachepot). Just pop the plant, in its plastic nursery pot, inside the decorative one. After watering, pull it out and dump any excess water that’s collected at the bottom. Letting a plant sit in a puddle is a death sentence.
Mastering Light for Maximum Variegation
Everyone says “bright, indirect light,” but what does that even mean? For a Birkin, getting the light right is the single most important factor for keeping those stripes.
Too little light, and the plant panics. It thinks it can’t afford to support the freeloading white tissue, so it reverts to all-green to crank up energy production. New leaves will be lackluster and the plant might get leggy.
Too much direct sun, and you’ll scorch the leaves. The delicate white parts will be the first to go, turning brown and crispy.
So, where do you put it? An east-facing window is often the sweet spot, giving it gentle morning sun. A spot a few feet back from a south or west-facing window also works great. A north-facing window, to be frank, usually isn’t enough light to keep the variegation strong. The plant will live, but it’ll probably get greener over time.

Quick Tip: Give your plant a quarter turn every time you water it. This keeps it from leaning and ensures all sides get some light, promoting even growth.
Watering: Stop Following a Schedule
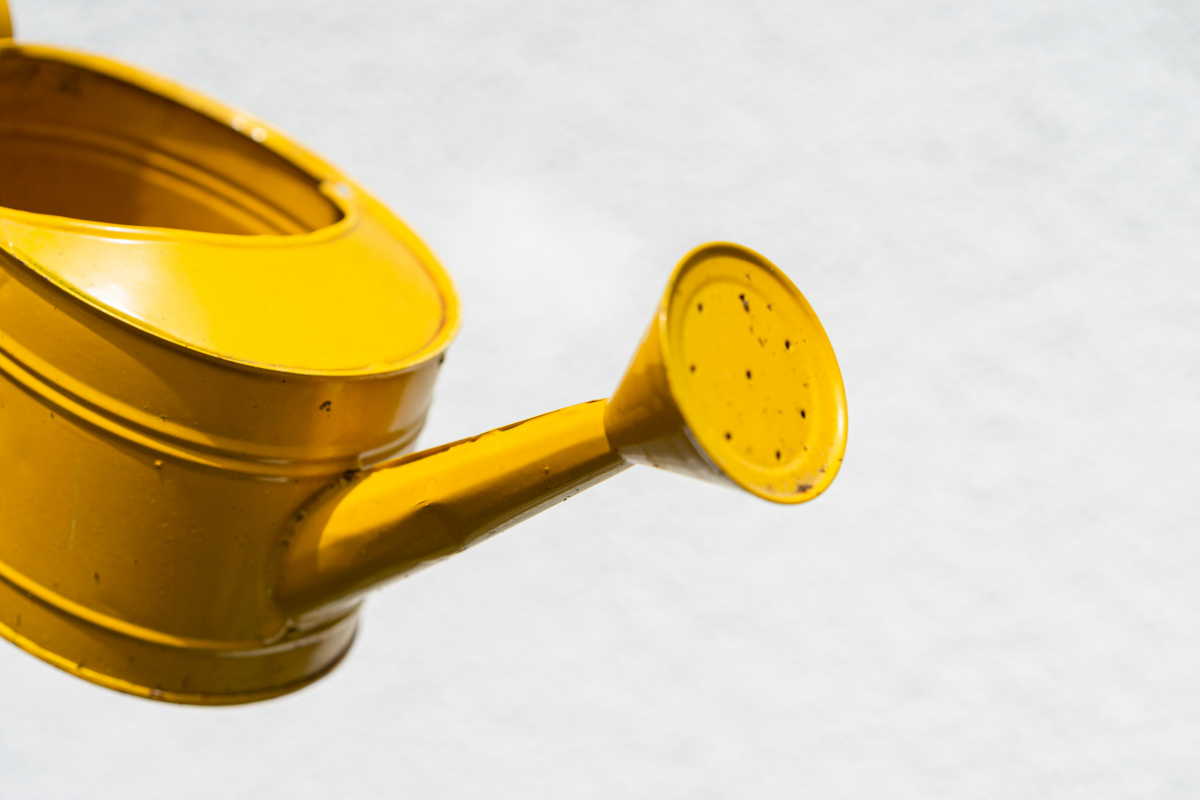
Watering every Saturday is a terrible idea. A plant’s thirst changes with the seasons, light, and humidity. The only way to know is to check. Stick your finger about two inches into the soil. If it feels dry, it’s time to water. If you feel any moisture at all, wait a few more days and check again. It’s always safer to be a little too dry than a little too wet.
When you do water, do it thoroughly. Pour water over the top of the soil until it streams out the drainage hole. This flushes out any built-up mineral salts and makes sure all the roots get a drink. Let it drain completely for 15 minutes before putting it back in its saucer.
Feeding: The “Less is More” Approach
This is where good intentions can go wrong. People think more food equals a happier plant, but for a Birkin, over-fertilizing is a fast track to losing variegation. High-nitrogen fertilizers scream “GROW GREEN!” to the plant, and it will listen.
To keep the stripes, feed your Birkin sparingly. Use a balanced liquid fertilizer (like a basic 10-10-10 or 20-20-20, a common one is the all-purpose Miracle-Gro liquid feed) and dilute it to half or even quarter strength. Feed it this weak solution once a month during spring and summer. In fall and winter, lay off the fertilizer completely.
Pruning: How to Manage Your Plant’s Look
Pruning your Birkin isn’t just for tidiness; it’s how you control the variegation. Grab a clean, sharp pair of scissors and wipe them with rubbing alcohol first.
- Snip the Reverts: See a stem putting out only solid green leaves? Follow it back to where it connects to the main stem and prune it off. This encourages new growth from the more variegated parts of the plant.
- Chop the All-White Leaves: I know, they’re gorgeous. But a pure white leaf is a parasite; it makes no energy. I once let one stay on a plant because it was so pretty, and the whole plant started to decline. Snipping it off felt wrong, but a month later, the plant pushed out two beautiful, healthy striped leaves. It’s a necessary sacrifice!
- General Cleanup: Cut off any yellow or dead leaves at their base to keep things looking clean and redirect energy.

Making More Plants (Propagation)
Propagating a Birkin is super rewarding. The best way is with a stem cutting. Find a healthy stem with good variegation, at least two leaves, and most importantly, a node. The node is that little bump or ring on the stem where a leaf grew from—that’s the magic spot where new roots will sprout.
Cut the stem about an inch below a node, pop it in a jar of water, and wait. Change the water every few days. You should see little white roots starting to form in 2 to 4 weeks. Be patient! It’ll take a couple of months for the root system to be strong enough to plant in soil.
Troubleshooting Common Issues
- Yellow Leaves? This is almost always overwatering. The finger test is key: if the leaves are yellow and the soil feels wet, you’re overwatering. If the leaves are yellow and droopy and the soil is bone dry, it’s thirsty.
- Brown Crispy Tips? The air is too dry. This is super common in winter when the heat is on. Grouping plants together helps, or you can run a small humidifier nearby.
- Losing Its Stripes? 9 times out of 10, it needs more light. Move it to a brighter spot. The other culprit is too much fertilizer, so cut back if you’ve been feeding it heavily.
- Pests? Look for tiny webs (spider mites) or white fluffy spots (mealybugs). Isolate the plant ASAP. Wipe them off with a cotton swab dipped in rubbing alcohol. For bigger issues, a good spray-down with insecticidal soap or neem oil solution is in order.
Emergency Room: Root Rot Surgery
If your plant is wilting and yellowing but the soil is wet, you have to check for root rot. It’s scary, but it’s the only way. Gently slide the plant out of its pot. Healthy roots are white and firm; rotted roots are brown, mushy, and might smell bad. If you see rot, it’s time for surgery.
1. With a sterile blade, cut off every single piece of black, mushy root. Be ruthless.
2. Rinse the healthy roots that are left.
3. Repot into a clean pot with fresh, mostly dry, airy soil mix.
4. DO NOT water it for at least a week. Let the cut roots callous over and heal.
Success isn’t guaranteed, but this is its only chance.
A quick final note: Philodendrons are toxic if eaten by pets or people. The leaves contain sharp little crystals that cause pain and swelling in the mouth. I’ve seen some sad cases at vet clinics, so please, keep this beauty out of reach of curious cats, dogs, and kids. It’s easy to do, and ensures everyone stays safe and happy.

Galerie d’inspiration
Is there a trick to getting those perfect, crisp stripes?
Yes, and it’s all about the light. The Philodendron Birkin’s variegation is unstable. In light that’s too low, the plant will produce more green tissue (chlorophyll) to compensate, causing the stripes to fade or disappear. Give it consistent, bright, indirect light—like near an east-facing window or several feet from a south-facing one. Avoid direct sun, which will scorch the leaves and turn them yellow.
The Philodendron Birkin is a spontaneous chimeric mutation of the Philodendron ‘Rojo Congo’.
This means its beautiful variegation isn’t a stable, natural trait. The plant retains the genetic ‘memory’ of its all-green parent and can easily revert if stressed. Your job as a plant parent isn’t just to keep it alive, but to provide an environment so perfect it ‘forgets’ its urge to go back to basic green.
That standard, dense potting soil from the bag is a recipe for root rot. A Birkin’s roots need to breathe. For a happy plant with vibrant leaves, create a custom chunky mix.
- One part quality indoor potting mix: Use a base like Espoma Organic Potting Mix.
- One part coarse orchid bark: This creates essential air pockets for the roots.
- One part coarse perlite or pumice: Guarantees the mix drains quickly and doesn’t stay waterlogged.
The Wrong Way: Misting. It provides only a few minutes of humidity and can encourage fungal spots to form on those gorgeous leaves.
The Right Way: Grouping. Place your Birkin near other tropical plants like ferns or Calatheas. As they all release moisture through transpiration, they create a naturally humid microclimate that benefits the whole group, helping new leaves unfurl perfectly.


