Your Houseplant Is Trying to Tell You Something: A No-Nonsense Guide to Happy Plants
I’ve spent more time than I can count with my hands in the soil, from my early days in a family nursery to managing huge commercial greenhouses. And in all that time, the most common thing I’ve seen is people walking in feeling totally defeated, holding a sad-looking plant and asking, “What on earth did I do wrong?”
In this article
Honestly, the whole “green thumb” idea is a myth. It’s not about some magical gift; it’s about learning to observe. Your plant is a living thing that’s constantly communicating its needs. That yellowing leaf? The wilting stem? That’s not you failing. That’s your plant sending you a message. This guide is all about teaching you how to read those signals, from the roots up.
First, a Little Science (The Not-So-Scary Part)
Before we can fix anything, we need a basic idea of what’s going on inside that pot. Your houseplant isn’t just pretty decor; it’s a little biological machine running on three key processes: photosynthesis, respiration, and transpiration. Trust me, understanding this will change everything.
Photosynthesis is just how a plant eats. It uses sunlight to turn carbon dioxide and water into sugar (its food). This all happens in the leaves, which is why good light is non-negotiable. Not enough light, and your plant is basically starving.
Then there’s respiration, which is how the plant burns that sugar for energy to grow and bloom. This happens 24/7. So if a plant is stuck in a dark corner, it’s constantly burning more energy than it’s creating, leading to a slow decline.
Finally, transpiration is how a plant breathes and moves water. Tiny pores on the leaves, called stomata, open up to take in CO2, and water evaporates out. This evaporation acts like a straw, pulling water and nutrients up from the roots. It’s the engine behind your watering and humidity routine. When a plant is struggling, one of these three things is almost always out of whack.
Water & Soil: The Foundation of Everything
If there’s one thing that kills more houseplants than anything else, it’s improper watering. That old advice to “water once a week” is probably the worst tip out there. A plant’s needs change constantly depending on the season, its growth, the pot it’s in, and the light it gets.
How the Pros Really Know When to Water
Ditch the schedule. The best way to know is to check the soil. The classic finger test works—stick your finger two inches deep. If it feels damp and soil sticks to you, wait. If it’s dry and comes out clean, it’s probably time.
But a better method, especially for small to medium plants, is what I call the “lift test.” Get a feel for how heavy your plant is right after you’ve given it a good, thorough soak. Then, just pick it up every few days. You’ll be amazed at how much lighter it gets as the soil dries out. It’s faster and more accurate than anything else.
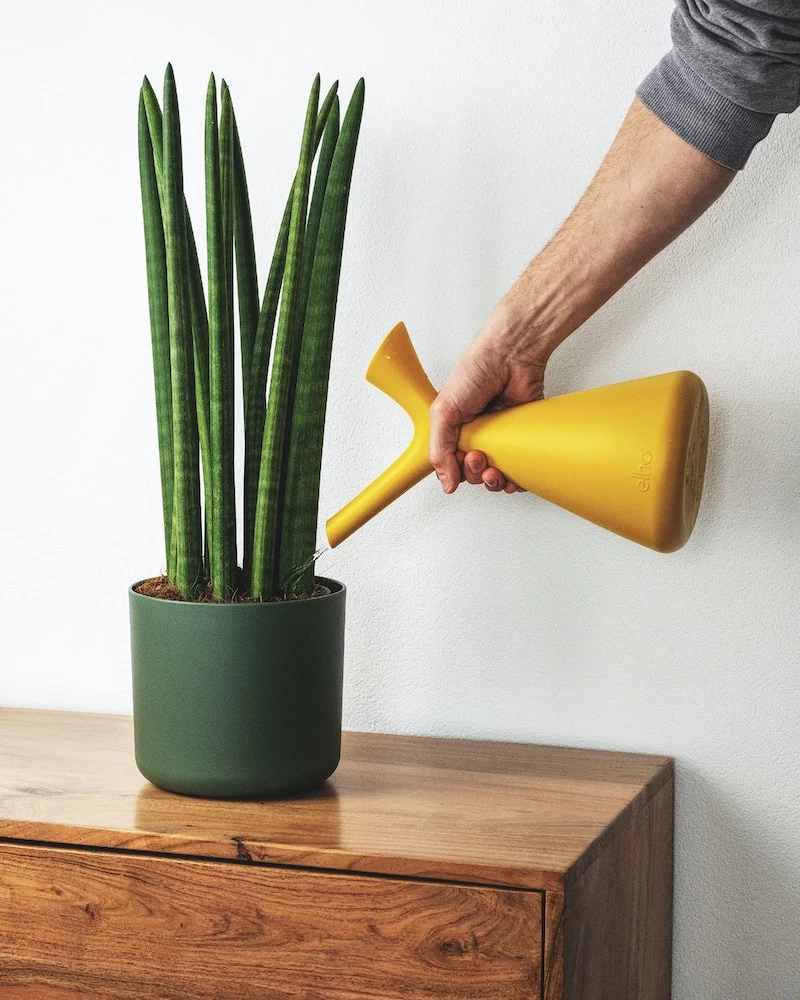
And when you do water, do it properly. Drench the soil until water flows freely from the drainage hole. This ensures the entire root ball gets wet and, as a bonus, flushes out mineral salts from tap water that can build up. Just be sure to dump out any excess water from the saucer. Leaving a plant sitting in a puddle is the fast track to root rot.
The Secret Weapon: Bottom Watering
Most of us water from the top, and that’s fine. But bottom watering is a fantastic technique, especially for plants with fussy leaves like African violets. Just place the pot in a sink or tray with a few inches of water for 30-60 minutes. The soil will soak up exactly what it needs through the drainage holes. This encourages roots to grow downward, building a stronger system, and helps prevent fungus gnats, which love to lay eggs in the moist top layer of soil.

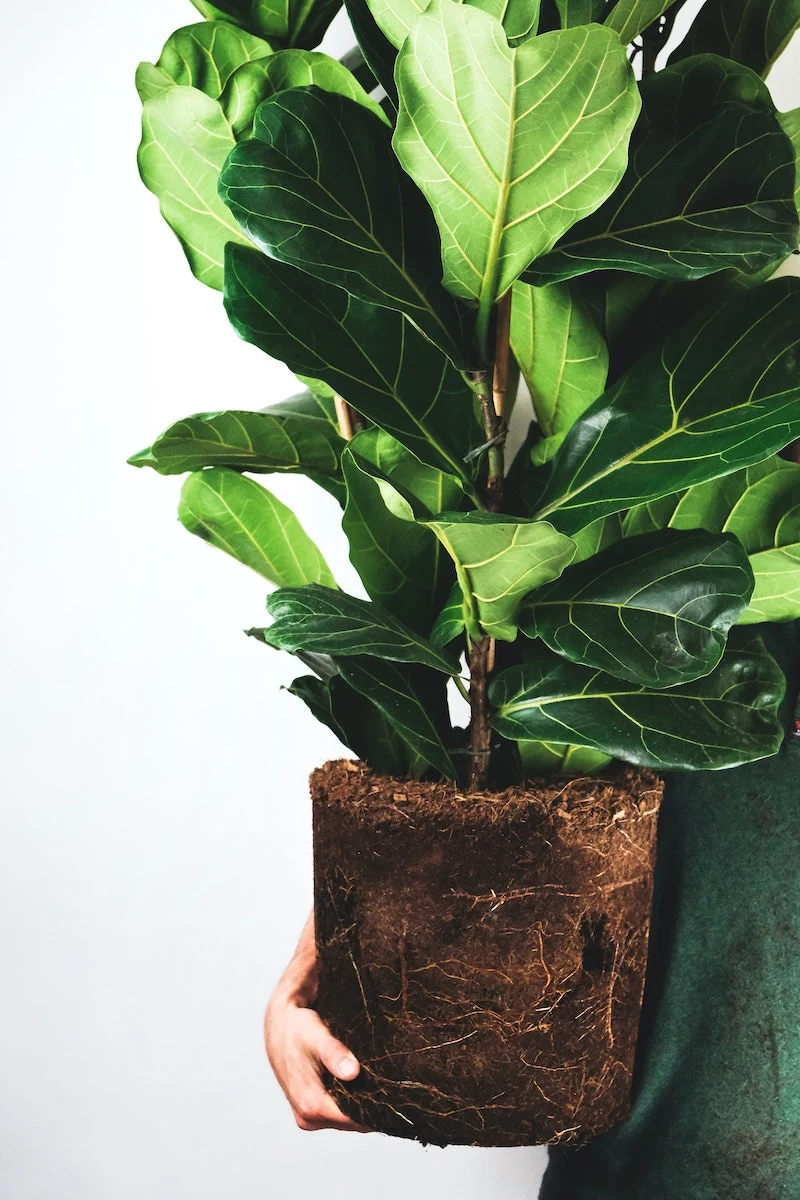
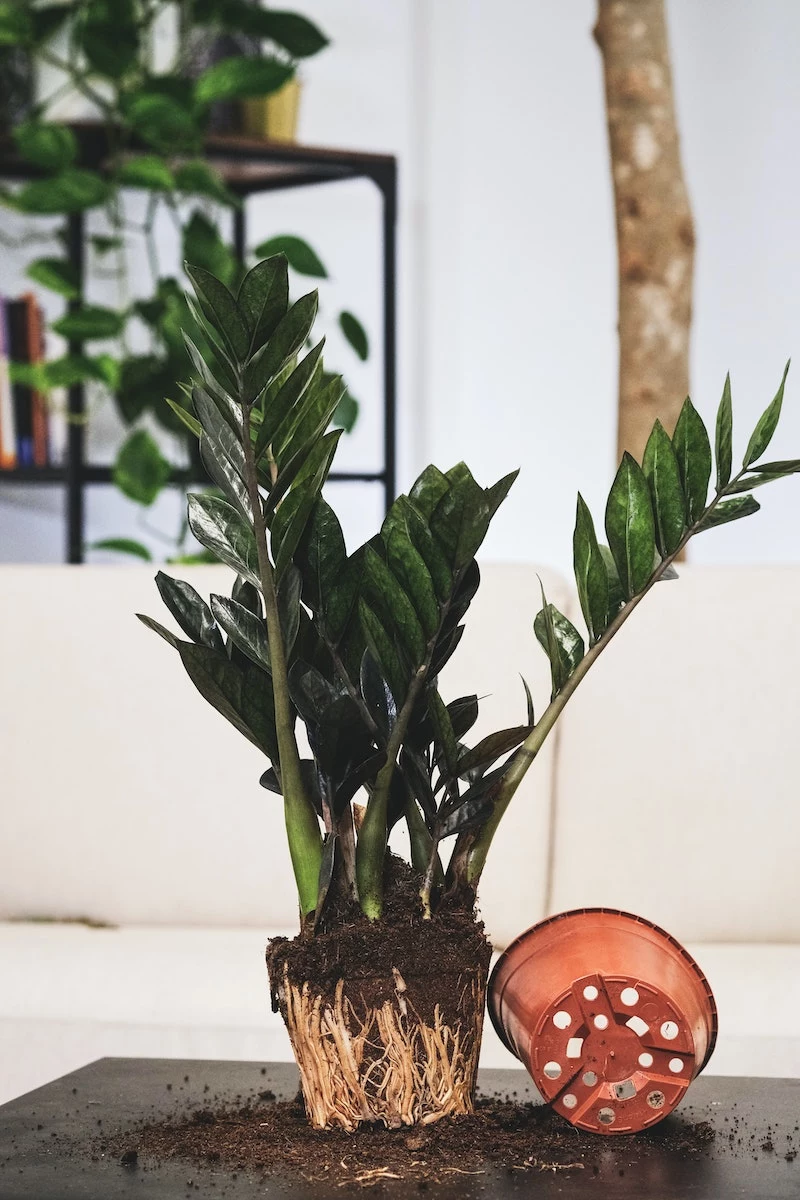
What Root Rot Actually Is (And How to Fix It)
Heads up! Overwatering doesn’t drown roots; it suffocates them. When soil is constantly soggy, there are no air pockets left for the roots to breathe. They die, start to decay, and attract nasty bacteria and fungi. The plant wilts and turns yellow, which people often mistake for being thirsty, so they water it again and make it worse.
If you suspect root rot, you have to investigate. Tip the plant out of its pot. Healthy roots are firm and white or tan. Rotted roots are brown, mushy, and might even smell swampy. You need to take clean scissors, cut off ALL the mushy parts, and repot it in fresh, mostly dry soil.
Crucial Tip: After repotting a plant you’ve treated for root rot, wait several days before you water it. This gives the cut roots time to heal and callus over, preventing the rot from starting all over again.
Soil Is More Than Just Dirt
The potting mix you use is a huge deal. That generic, heavy “potting soil” from the store often holds way too much water. A simple DIY mix can make a world of difference.
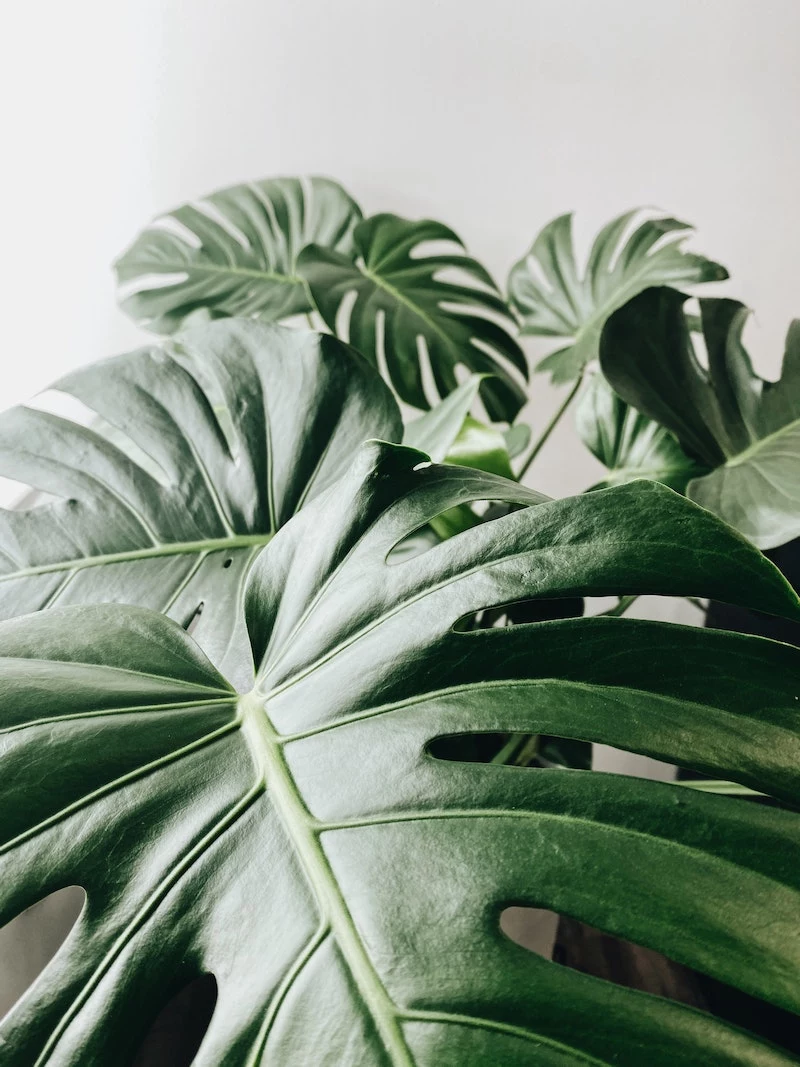
For most houseplants like Monsteras or Pothos, start with a good quality indoor potting mix. (When you’re at the store, look for bags that feel lighter and already have some white specks of perlite in them, not the dense, heavy stuff that feels like a bag of mud). Then, amp up the drainage by adding perlite. A ratio of about 60% potting mix to 40% perlite is a great start. A small bag of perlite usually costs under $10 at any garden center or hardware store and will last you ages. For chunkier mixes that aroids love, throw in some orchid bark. It’s all about creating air pockets for happy roots.
Light: The Most Misunderstood Ingredient
Light is food for your plant. Simple as that. But the term “bright, indirect light” has confused just about everyone.
A Super Simple Way to Measure Your Light
Let’s make this easy. Forget guessing and use the “hand shadow test.” It’s a classic for a reason. Go to the spot where you want to put your plant and hold your hand up about a foot above the surface.
- Sharp, clearly defined shadow? That’s direct light. Great for cacti, but it will scorch most tropicals.
- Soft, blurry shadow? Bingo! That’s the “bright, indirect light” everyone talks about. This is the sweet spot for most common houseplants.
- A very faint, barely-there shadow? That’s medium to low light. A Snake Plant or ZZ plant might tolerate it, but they won’t thrive.
Remember, “low light tolerant” doesn’t mean “no light.” It just means the plant will die very, very slowly. No plant can survive in a windowless bathroom without a grow light.
When You Just Don’t Have the Light
If your home is on the darker side, a grow light is your best friend. Don’t be intimidated! For most people, a simple full-spectrum LED bulb works wonders. You can find one for between $15 and $25 online or at a store like Home Depot. Just look for a color temperature between 5000K and 6500K (it will say on the box) to mimic daylight. Screw it into a regular lamp, place it a foot or two above your plant, and run it for 12-14 hours a day on a cheap timer. Problem solved.
The Pot, The Roots, and When to Repot
A plant’s health starts below the surface. So many people are in a rush to repot, thinking they’re doing their plant a favor. But hold on a second…
Many plants, like Hoyas and Spider Plants, actually enjoy being a bit snug in their pots. Being slightly root-bound can even encourage them to flower or produce babies. Repotting too soon or into a pot that’s way too big is a classic mistake. All that extra soil holds moisture for too long, creating a perfect storm for root rot.
So, When Is It Actually Time?
Look for a combination of these signs: 1. The plant is top-heavy and tips over easily. 2. Water seems to run straight through the pot without soaking in. 3. Growth has completely stopped during the spring or summer. 4. When you slide it out, you see more roots than soil, often circling in a dense mat.
When you see these together, it’s go-time. Choose a new pot that is only one to two inches wider in diameter. This is a critical rule! Gently tease the bottom of the root ball to encourage the roots to grow outward into the new soil. After repotting, water it lightly and hold off on fertilizer for at least a month to let it recover.
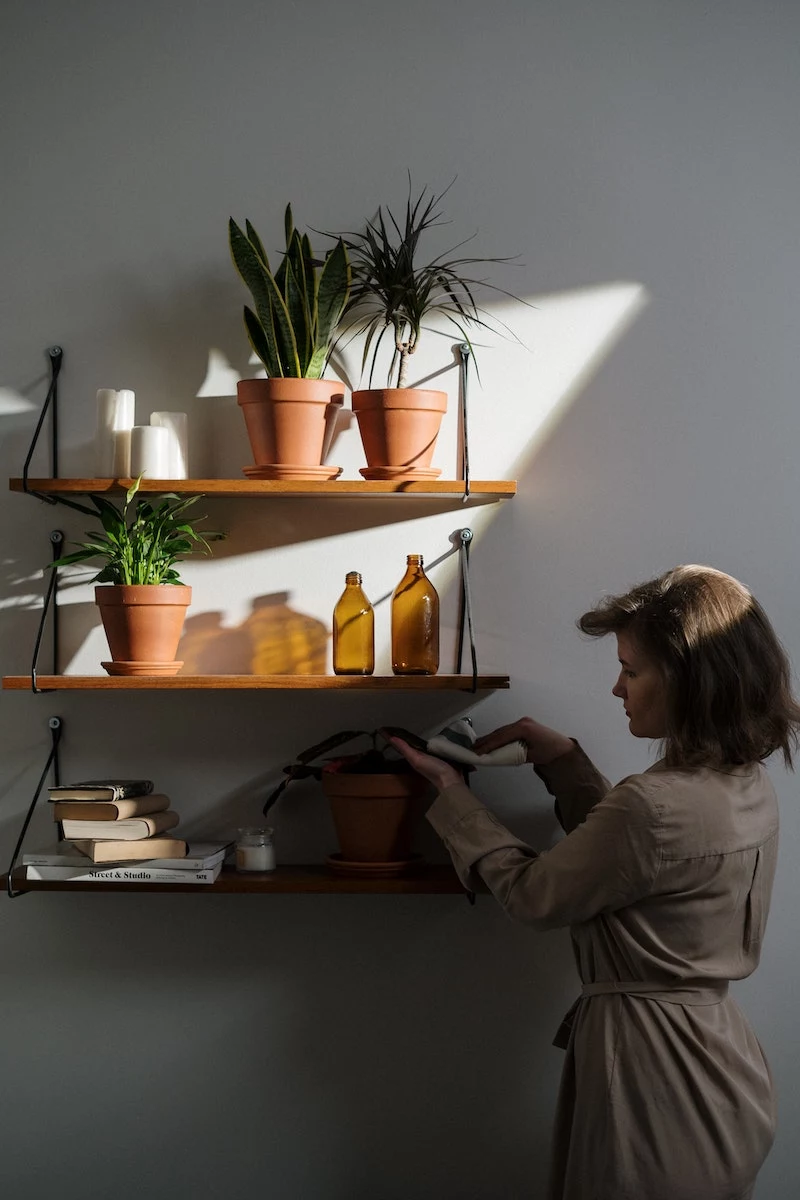
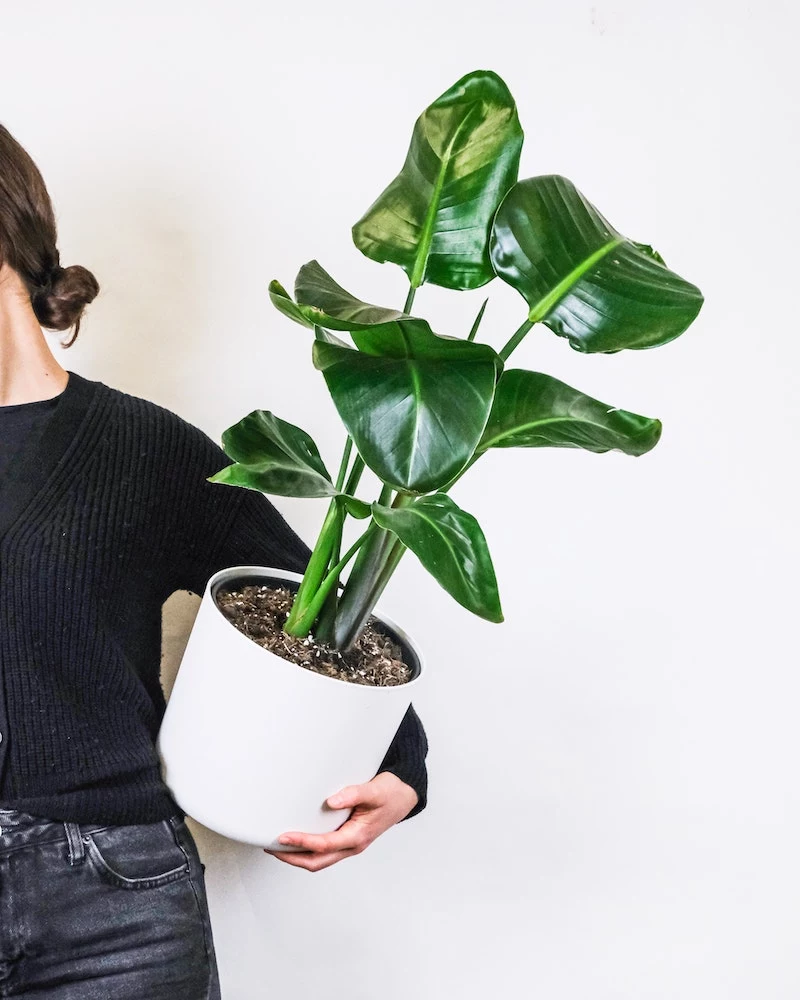
Why Your Pot’s Material Matters
The type of pot you choose directly impacts your watering routine. It’s not just about looks.
The Deal with Terracotta (Unglazed Clay): This is my top pick for beginners. These pots are porous, meaning they breathe. They allow air and water to pass through the walls, which is a massive help in preventing overwatering. They’re perfect for succulents, snake plants, and anyone who tends to be a little too generous with the watering can. The only downside is that you’ll need to water more often.
The Lowdown on Plastic & Glazed Ceramic: These pots are non-porous, so they hold moisture for much longer. This makes them a solid choice for plants that like to stay consistently moist, like ferns and Calatheas. If you’re a bit forgetful about watering, these can be more forgiving. But, you have to be extra careful not to overdo it, as the risk of root rot is much higher.
Pests, Cleaning, and Other Annoyances
Finding pests on your plant doesn’t make you a bad plant parent. It just makes you a plant parent. The key is to catch them early. Make it a habit to inspect your plants when you water—check under leaves and in the little nooks and crannies.
Your Most Wanted List
In my experience, you’re most likely to run into spider mites (look for fine webbing and tiny dots on leaves), mealybugs (they look like tiny white cotton fluff), or thrips (tiny, slender insects that leave silvery patches on leaves). As soon as you spot one, isolate that plant immediately to protect the others.
A Pro’s No-Fuss Pest Control Plan
First, try to remove them physically. A cotton swab dipped in rubbing alcohol kills mealybugs on contact. A strong spray of water in the shower can knock off spider mites. If that’s not enough, it’s time to spray.
You can buy insecticidal soap, but it’s easy to make your own. My go-to emergency spray is a mix of 1 teaspoon of pure neem oil and 1/2 teaspoon of mild dish soap in a quart of warm water. Shake it up really well in a spray bottle and you’re ready. A bottle of neem oil will run you about $10-$15 at a garden center and will last forever. When you spray, be sure to coat the entire plant—top and bottom of every leaf. Repeat every 5-7 days for a few weeks to break their life cycle. And always do this in a well-ventilated area, away from pets and kids until the leaves are dry.
By the way, please stop using those “leaf shine” sprays. They’re usually silicone-based and clog the plant’s pores, effectively suffocating it. A dusty leaf blocks light, so just wipe them down with a damp cloth. It’s better for the plant and gives you another chance to spot pests.
Creating a Happy Environment
Finally, remember that plants are sensitive. When you bring one home from the perfect greenhouse environment, it’s going to experience some shock. It’s normal for it to drop a leaf or two as it adjusts to the lower light and drier air of your home. Find a good spot for your plant and try to leave it there. Constantly moving it around just causes stress.
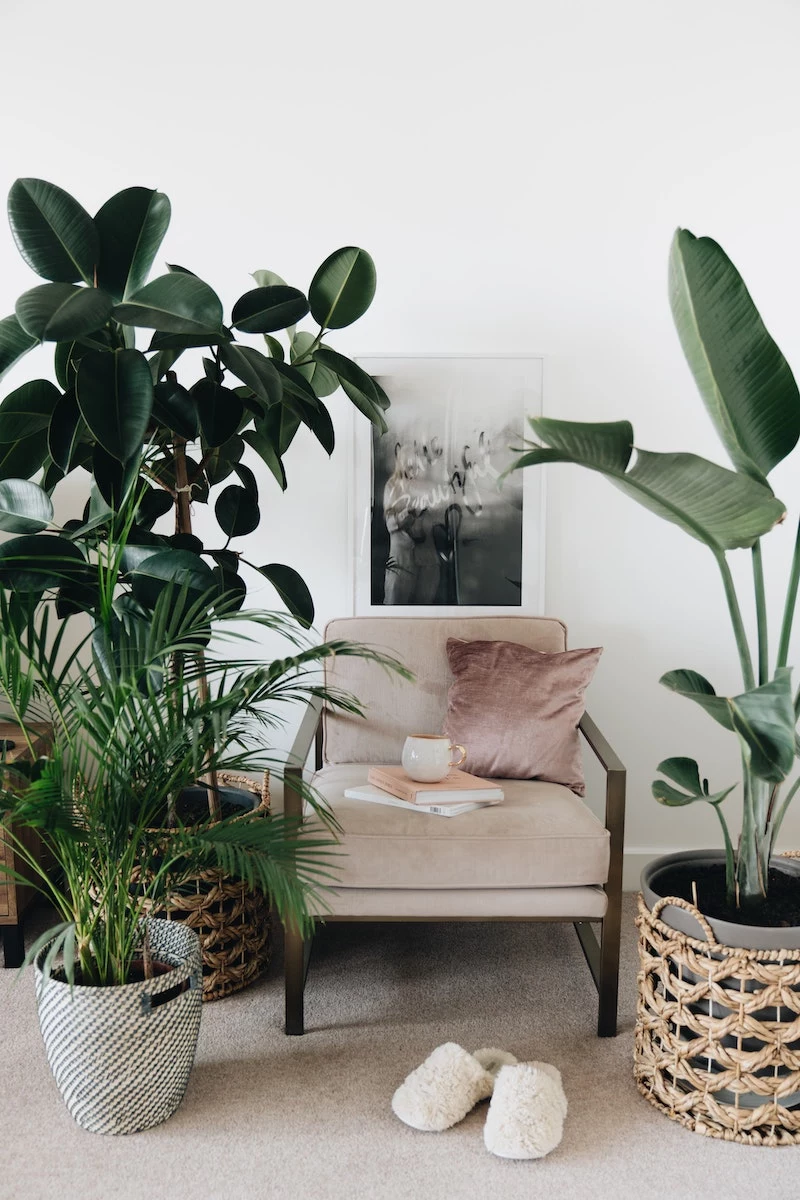
Most of our favorite houseplants are tropicals, and our homes are like deserts to them, especially in the winter. Misting is a nice thought, but the effect lasts for about five minutes. A better, super-easy fix you can do right now is to group your plants together. They create a little humid microclimate for each other.
Even better? Create a pebble tray. Just grab a shallow tray, fill it with pebbles, and add water until it’s just below the tops of the rocks. Set your plant on top of the pebbles—voila, an instant humidity boost! The key is that the pot sits on the rocks, not in the water. If you’re serious about your tropicals, a small humidifier (usually $25-$40) is the absolute best investment you can make.
Look, caring for plants is a journey. I’ve been at this for decades, and I’m still learning. The best skill you can develop is simply paying attention. Your plant will tell you what it needs long before it’s in real trouble. Be patient with it, and be patient with yourself. The reward is a home that feels alive, and the incredible satisfaction of knowing you made it that way.


