The Honest Guide to Hummingbird Feeders (That They Should’ve Included in the Box)
I’ve been hanging hummingbird feeders for what feels like forever, and let me tell you, getting these little jewels to show up is the easy part. The real work—and the most important part—is keeping them safe and healthy once they arrive. A poorly kept feeder can, unfortunately, do a lot more harm than good by spreading disease or offering junk food that makes them sick.
In this article
But my goal here isn’t to scare you off! It’s to share what I’ve learned from years of trial and error in my own garden. We’re going to get into the nitty-gritty of their diet, the right way to clean (and how often), and how to solve those annoying problems like ants and bigger birds.
Think of this as the real-deal instruction manual for being a responsible hummingbird host. It’s a small effort that pays off big time when your yard is buzzing with happy, healthy birds.
First Things First: Getting the Food Right
The absolute most important piece of this puzzle is the food. Hummingbirds have a metabolism that’s off the charts, so they need a constant, reliable source of clean energy. Getting this wrong is, frankly, the most common mistake I see people make.
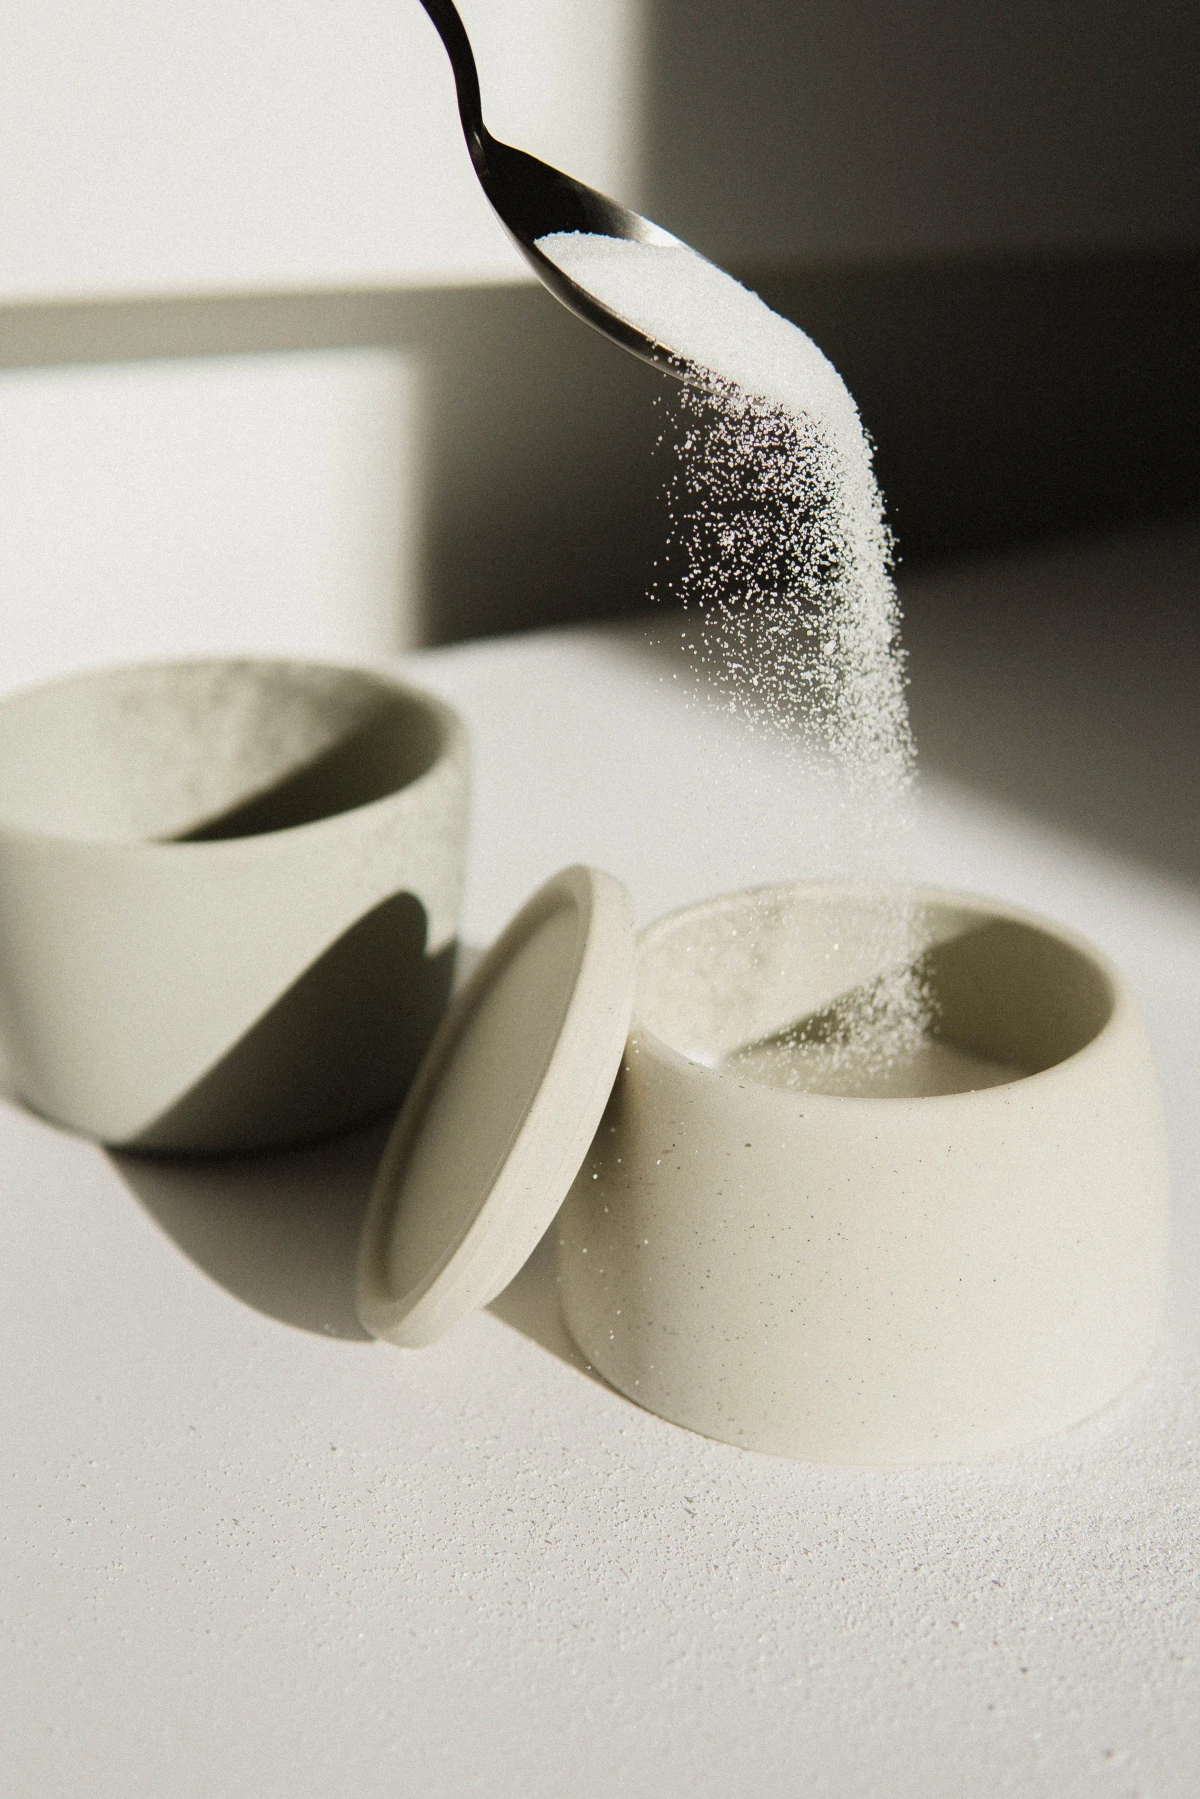
The Only Recipe You’ll Ever Need
The gold standard for hummingbird nectar is a simple ratio: 1 part plain white sugar to 4 parts water. That’s it. It’s that simple. To make it even easier, think of it as 1/4 cup of sugar for every 1 cup of water. This creates a solution that’s about 20% sugar, which is a perfect match for the nectar they find in their favorite flowers.
I’ve seen some chatter online about using a stronger 1:3 ratio, but honestly, I’d stick with 1:4 for general feeding. It provides the perfect balance of energy and hydration without putting extra stress on their tiny systems. The experts at birding organizations all agree on this one.
To make it, bring your water to a boil first—this helps kill off any funky bacteria or mold spores hanging around. Then, remove it from the heat, stir in your sugar until it’s completely dissolved (no crystals at the bottom!), and let it cool completely. And I mean completely cool. Hot nectar can warp your feeder and will seriously harm the birds.
Good to know: You can absolutely make a larger batch and store it in a covered container in the refrigerator for up to a week. It’s a huge time-saver!
Why Only Plain White Sugar Works
This is the part where I get on my soapbox, so please listen up. You have to use plain, granulated white cane sugar. The cheap stuff is actually the best stuff. Many people think a “healthier” or more “natural” sugar is better, but for hummingbirds, it’s the opposite and can be incredibly dangerous.
- No Honey, Ever: Honey can contain spores that cause a fatal type of botulism in birds. It also has complex sugars their bodies just can’t process.
- No Brown, Raw, or Turbinado Sugar: These sugars contain molasses, which has iron. While we need iron, it’s toxic to hummingbirds. Their little bodies can’t get rid of the excess, leading to a slow, fatal poisoning.
- No Artificial Sweeteners: Things like stevia or aspartame offer zero calories. The birds will drink it, think they’re getting energy, and literally starve to death.
- No “Organic” Sugar: This one surprises people, but many organic sugars are less refined, which means they can still have trace amounts of that iron-rich molasses. Just stick to the basic, refined white sugar. It’s the purest and safest option.
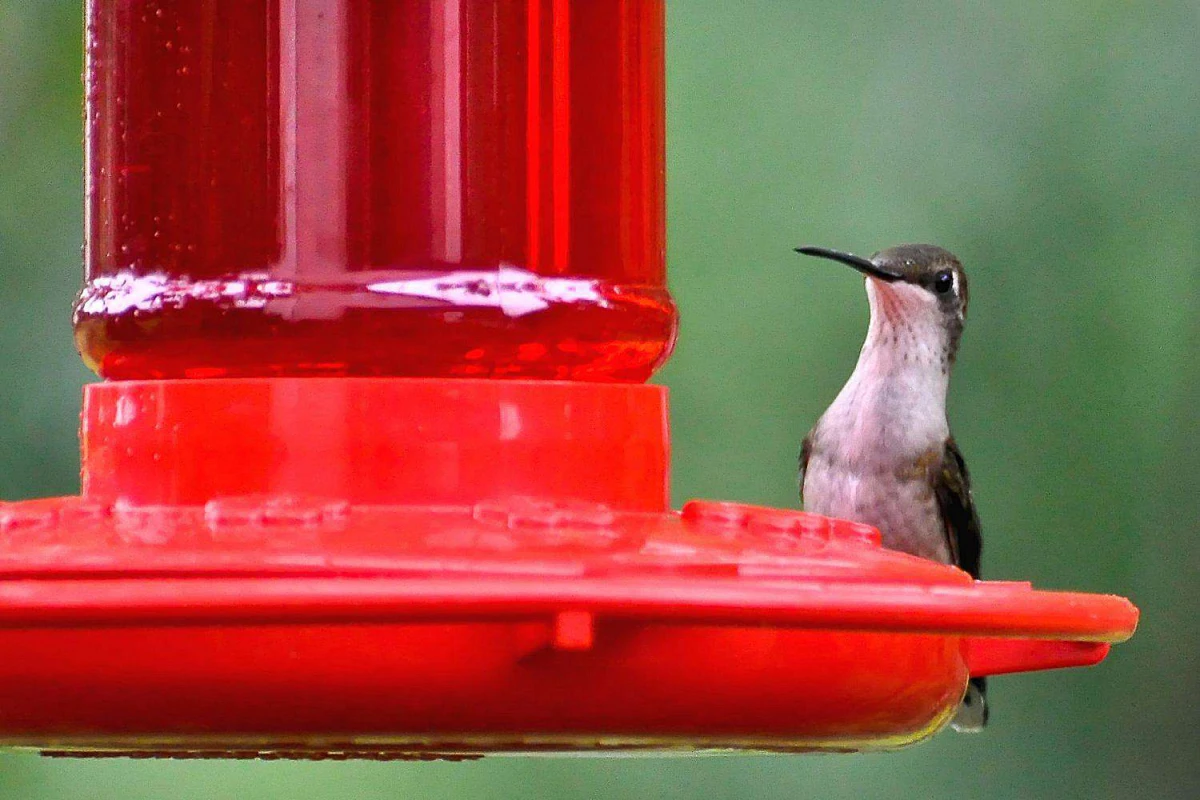
A Quick Word on Red Dye
You’ll see a lot of pre-made nectar at the store that’s bright red. Don’t buy it. It’s totally unnecessary and potentially harmful. Hummingbirds are attracted to the color red on the feeder, not the liquid inside. That’s why almost every feeder you can buy has red parts. We have no idea what the long-term effects of artificial dyes are on their tiny organs, and since it offers zero benefit, it’s just not worth the risk.
Quick Win: Do This Today!
The easiest thing you can do right now to make your feeder safer is to check your sugar. Is it plain white granulated sugar? Awesome. If not, make a note to grab the right stuff on your next grocery run. That five-minute check could literally save a bird’s life.
Choosing Your Gear and a Good Spot
Alright, you’ve got your perfect nectar cooling on the counter. Now, what do you put it in, and where do you hang it? These decisions are more important than you might think.
A Beginner’s Shopping List
If you’re just starting, it can feel overwhelming. But you really only need a few things to get set up properly:
- A Saucer-Style Feeder: This is my number one recommendation. They are a breeze to clean and don’t leak as much.
- An Ant Moat: This is a non-negotiable accessory. It’s a little cup that hangs above your feeder that you fill with water to stop ants.
- A Set of Feeder Brushes: You’ll need these to scrub the nooks and crannies, especially the feeding ports.
Glass vs. Plastic, Saucer vs. Bottle
When it comes to feeders, you’re mainly looking at two materials and two styles. Let’s break it down.
For materials, it’s a choice between glass and plastic. I’m a big fan of glass feeders. They don’t scratch easily, which means fewer places for bacteria to hide, and they hold up way better in the sun. They are a bit pricier, though. Expect to pay around $20 to $35 for a good glass saucer-style feeder. A basic plastic feeder might only run you $15 or less. If you go with plastic, just be prepared to replace it every few years once it gets scratched or cloudy.
For styles, you have saucer or bottle. Saucer-style feeders, which look like a little dish, are my top pick because they are ridiculously easy to take apart and scrub clean. They also keep the nectar level below the ports, which helps keep bees and wasps out. The more traditional bottle-style feeders work fine, but they’re a pain to clean properly, and they tend to drip when the temperature changes, creating a sticky mess that attracts pests.
Honestly, the extra ten bucks for a glass saucer feeder is worth it in the long run. It’ll save you so much time and frustration.
Strategic Placement for a Happy Yard
Where you hang your feeder matters. A lot.
- Window Safety: To prevent tragic window collisions, place your feeder either super close (less than 3 feet from the glass) or pretty far away (more than 15 feet). In that middle zone, a bird can build up enough speed to get seriously hurt if it hits the window.
- Predator Watch: Hang the feeder in an open area, at least 10-15 feet away from dense bushes or fences where a neighborhood cat could hide. It should also be at least 5 feet off the ground.
- Beat the Bullies: Hummingbirds are feisty and territorial. If you have a dominant male chasing everyone away, the solution is more feeders! Put a second, smaller feeder in a different part of the yard, ideally out of the line of sight from the first one.
- Find Some Shade: Direct sun is the enemy. It will heat up the nectar and make it spoil incredibly fast. A feeder in a shady spot will stay fresh much longer.

The Most Important Job: Cleaning Your Feeder
If you take away only one thing from this guide, please let it be this: a dirty feeder is a death trap. The nectar can ferment and grow a nasty black mold that is fatal to hummingbirds. It can cause a fungal infection on their tongue that swells up and makes it impossible for them to eat.
Your Cleaning Schedule
How often you need to clean depends entirely on the temperature outside. The warmer it is, the faster the nectar spoils. This is not optional.
- Above 90°F (32°C): Clean every 1-2 days.
- 80-90°F (27-32°C): Clean every 3 days.
- 70-80°F (21-27°C): Clean every 4-5 days.
- Below 70°F (21°C): Clean at least once a week.
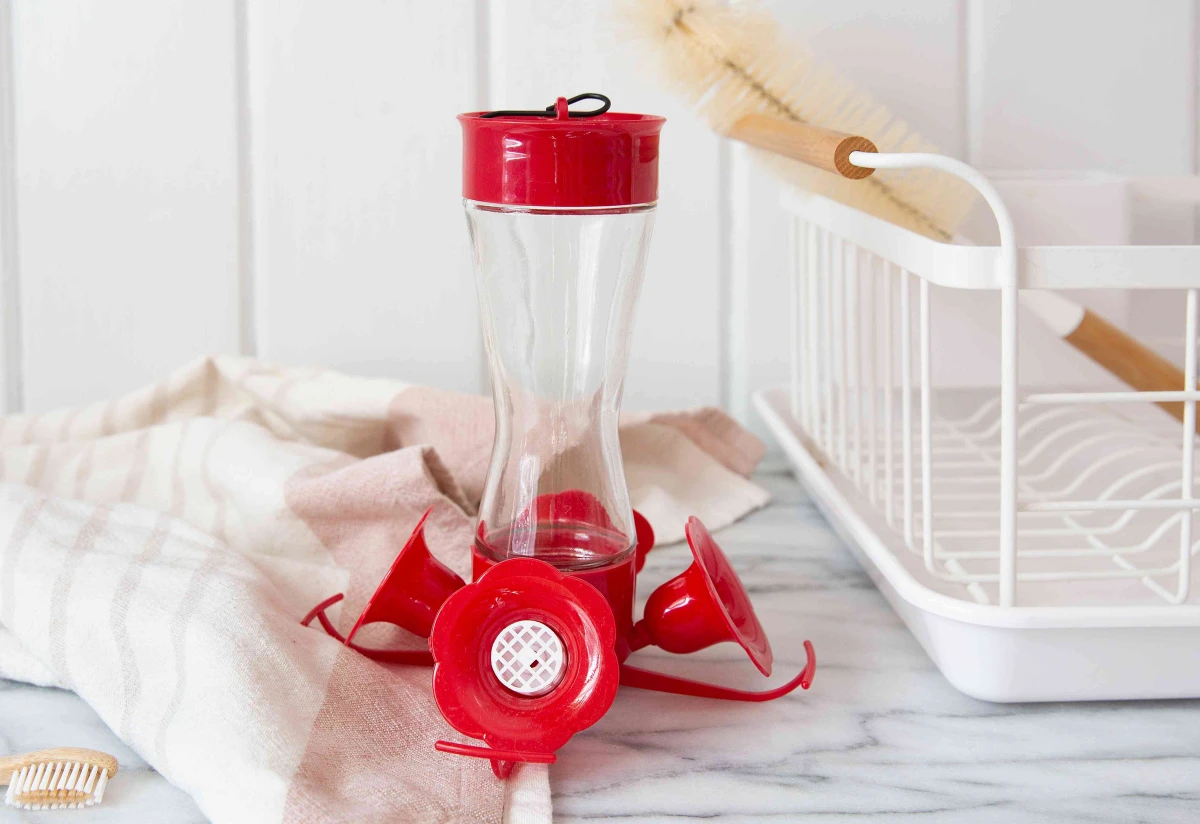
How to Clean It Right: A Step-by-Step Guide
A quick rinse isn’t enough. You have to scrub. A great pro tip is to own two feeders so you can put a fresh one out while the other is being cleaned. This ensures the birds always have a safe spot to eat.
- Disassemble the feeder completely. Every single part comes apart.
- Scrub all parts with a dedicated brush and hot water. Pay extra attention to the little feeding ports, as that’s where mold loves to start.
- For a deep clean, especially if you see any black residue, soak all the parts for 15-20 minutes in a solution of 1 part distilled white vinegar to 4 parts water before you scrub.
- Rinse everything thoroughly with plain water. I avoid dish soap because it’s really hard to get all the residue off, which can be bad for the birds. Vinegar is safer and works just as well.
Troubleshooting Common Problems
Even with a perfect setup, you’ll run into challenges. Here’s how to handle them.
- Ants: The solution is a simple ant moat. You can find them for a few bucks at any hardware store or online. Just fill the little cup with water, and the ants can’t cross it to get to the nectar. A heads up: never, ever put oil, grease, or Vaseline on the pole! I once saw a picture of a poor hummer with oil on its feathers, and it was heartbreaking. It ruins their ability to fly and stay warm. Just use water. It’s simple and 100% safe.
- Bees & Wasps: First, make sure your feeder doesn’t have any yellow on it—bees love yellow. Saucer-style feeders also help because the nectar is harder for them to reach.
- What if Birds Don’t Show Up? Sometimes it just takes patience. But if weeks go by, try planting some native, tube-shaped flowers like salvia, bee balm, or columbine nearby. These are like a giant, natural neon sign that says “Good food here!” and will help draw them to your yard.
When to Get Help
If you find a bird that seems lethargic, has a growth on its beak, or is unable to fly, your first and only move should be to contact a licensed wildlife rehabilitator. A quick search for the National Wildlife Rehabilitators Association website will help you find one in your area. They have the permits and training to give the bird proper care.
Feeding hummingbirds is a real joy. When you take these steps, you’re not just an admirer—you become a true caretaker. And the reward of a yard full of these amazing, vibrant little creatures is more than worth the effort.
Inspirational Gallery
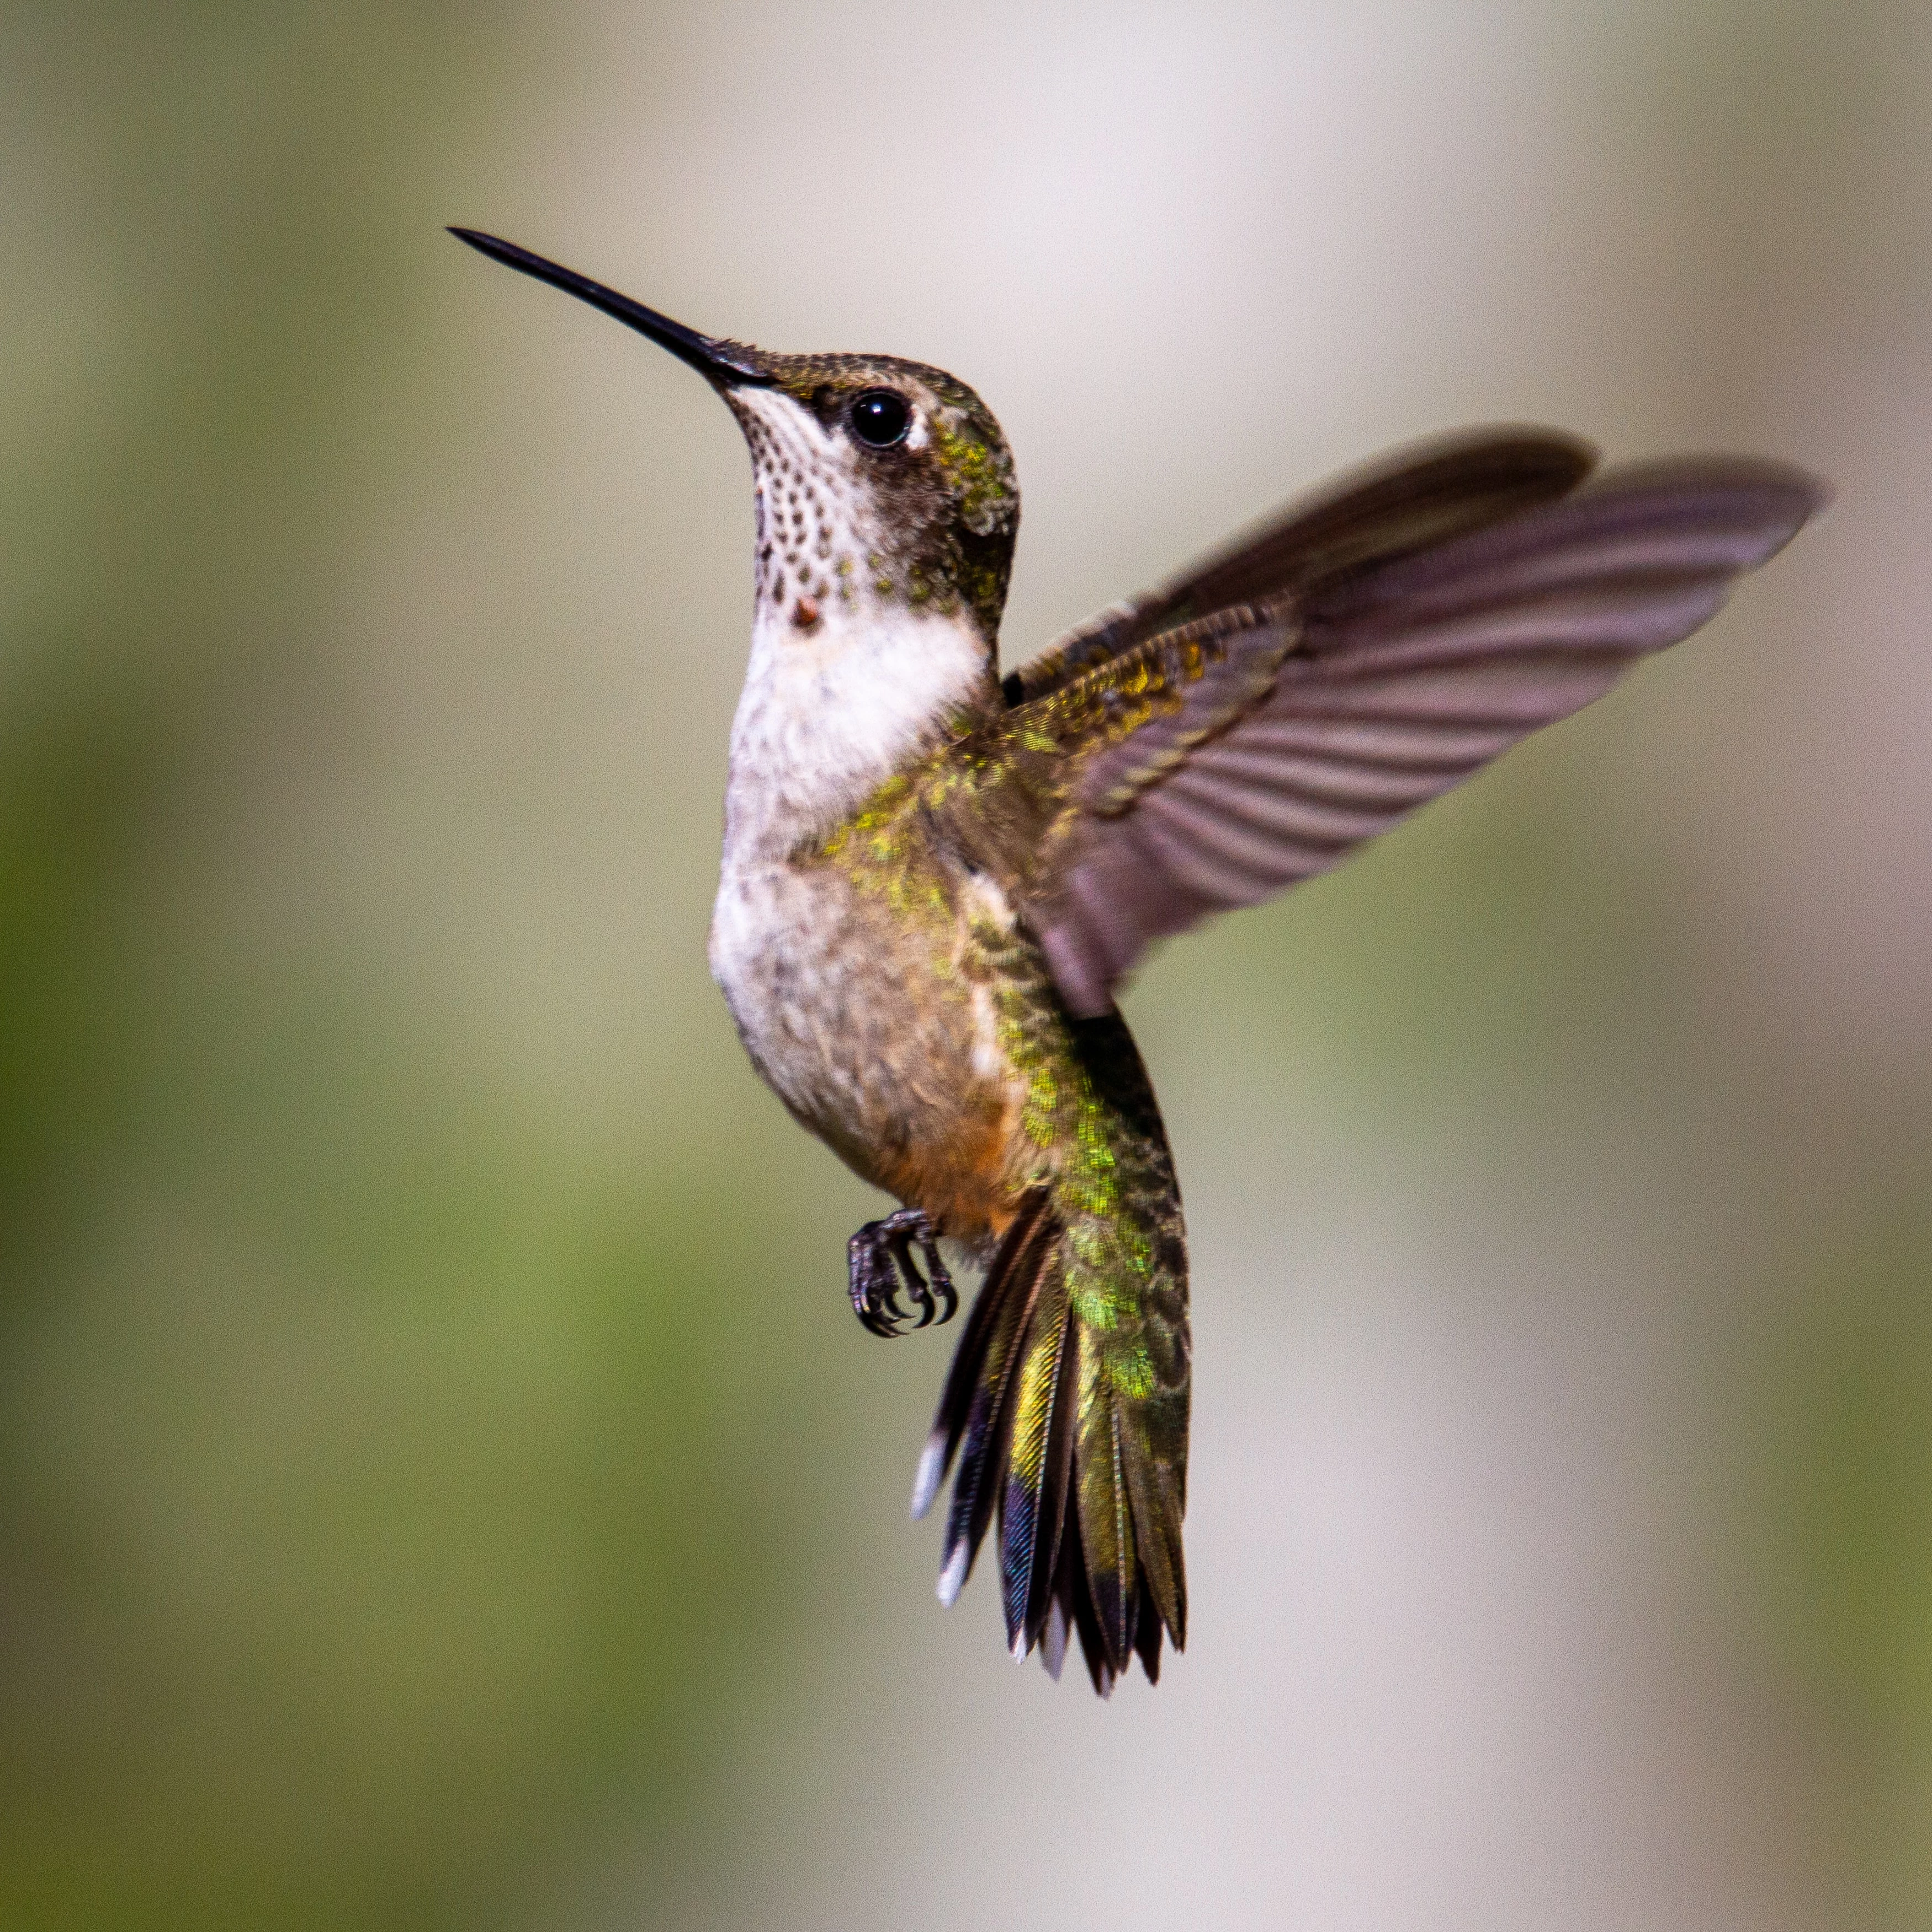
A hummingbird’s heart beats up to 1,260 times per minute, and its wings flap 50 to 80 times per second.
This incredible metabolism is precisely why a constant source of clean, easily digestible energy is not just a treat, but a lifeline. Your simple sugar-water solution is a vital fuel stop that helps them sustain this frenetic pace, especially during long migratory journeys.
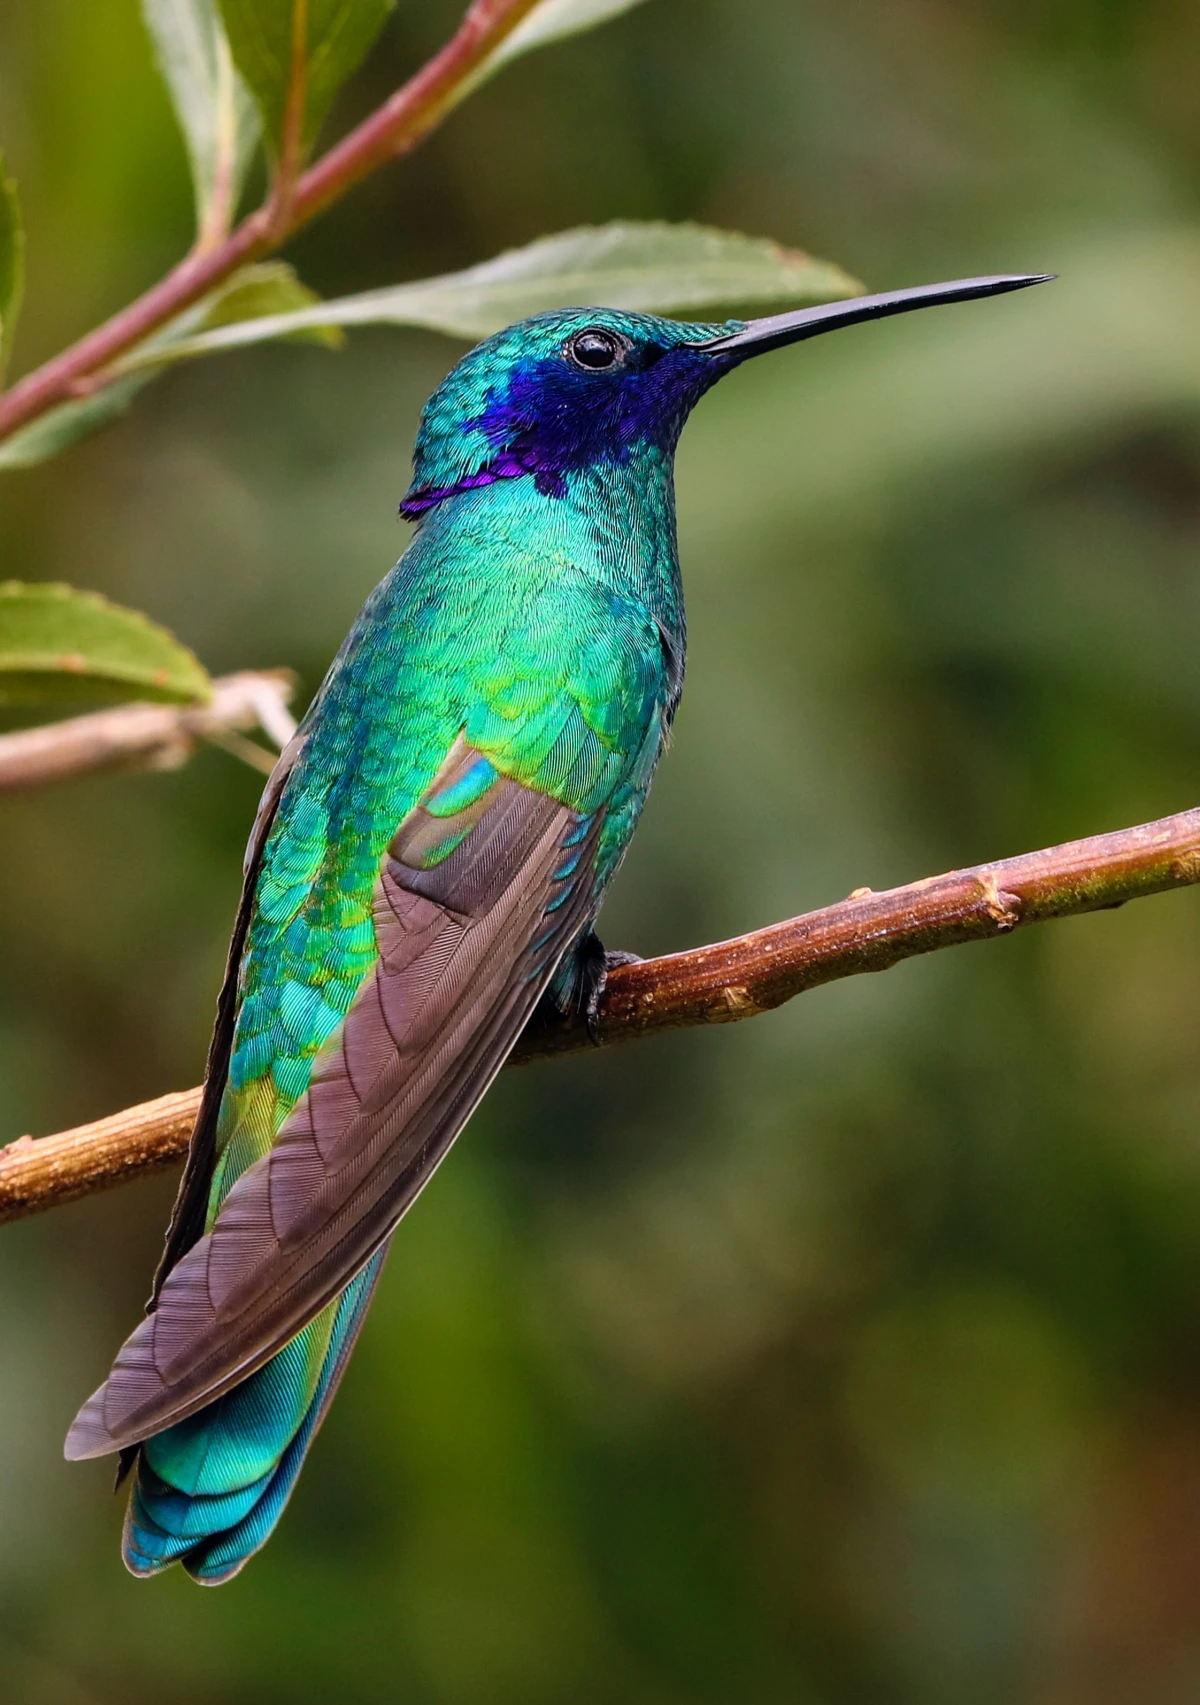
Wondering where to hang your new feeder for maximum traffic?
Location is everything. Aim for a spot that offers a mix of visibility and safety. Place it about 10-15 feet from a window to prevent collisions, but close enough for you to enjoy the show. A nearby tree or shrub offers a safe place for them to perch and survey their territory between sips. Finally, partial shade is ideal, as it helps keep the nectar from spoiling too quickly in the hot sun.
Glass Feeders: Often considered the premium choice. Glass is non-porous, making it easier to clean thoroughly and less likely to harbor bacteria. It won’t warp or discolor in the sun, ensuring longevity. The downside? It’s heavier and more fragile.
Plastic Feeders: These are lightweight, affordable, and less likely to break if dropped. However, plastic can degrade and develop microscopic scratches over time that can trap mold. Look for high-quality, BPA-free plastic models like those from Perky-Pet.
For dedicated enthusiasts, glass is often worth the investment for its hygiene and durability.
- Deters bees and wasps from accessing the nectar.
- Keeps the sugar solution cleaner and fresher.
- Discourages larger, bullying birds from taking over.
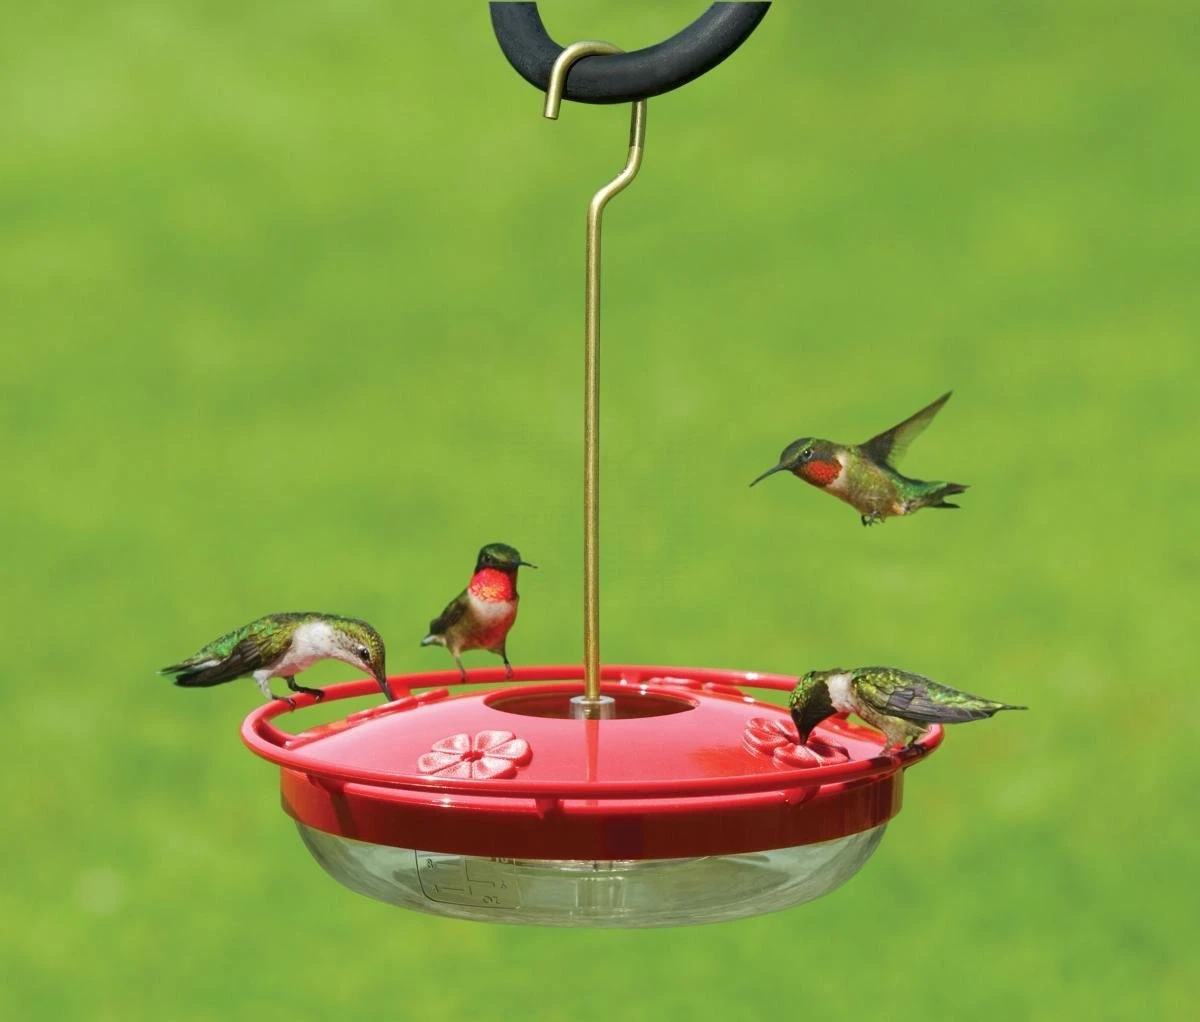
The secret? A saucer-style feeder. Unlike inverted bottle designs, saucer feeders like the popular Aspects HummZinger HighView keep the nectar level below the feeding ports. This means hummingbirds can easily reach it with their long tongues, but insects and birds with shorter beaks can’t.
A frustrating sight: A line of ants marching straight for your carefully prepared nectar. The simple, non-toxic solution is an ‘ant moat.’ This small cup hangs between the hook and the feeder itself. Filled with plain water, it creates an impassable barrier for crawling insects. You can find them at any birding store, or easily fashion one from a recycled plastic bottle cap and some sturdy wire.
Don’t panic if your feeder isn’t an instant success. Hummingbirds are creatures of habit and it can take time for them to discover a new food source. To catch their eye, try tying a few strips of bright red, surveyor’s tape to the feeder or a nearby branch. Their exceptional color vision is highly attracted to red, signaling a potential food source from a distance.
Never use honey, brown sugar, or artificial sweeteners. And please, skip the red food dye.
While well-intentioned, these additions are dangerous. Honey can ferment rapidly and grow a deadly fungus. The iron in brown sugar is toxic to their tiny bodies. Red dyes are unnecessary chemicals that can cause harm. A simple 1:4 ratio of plain white table sugar and water perfectly mimics natural flower nectar and is all they need to thrive.
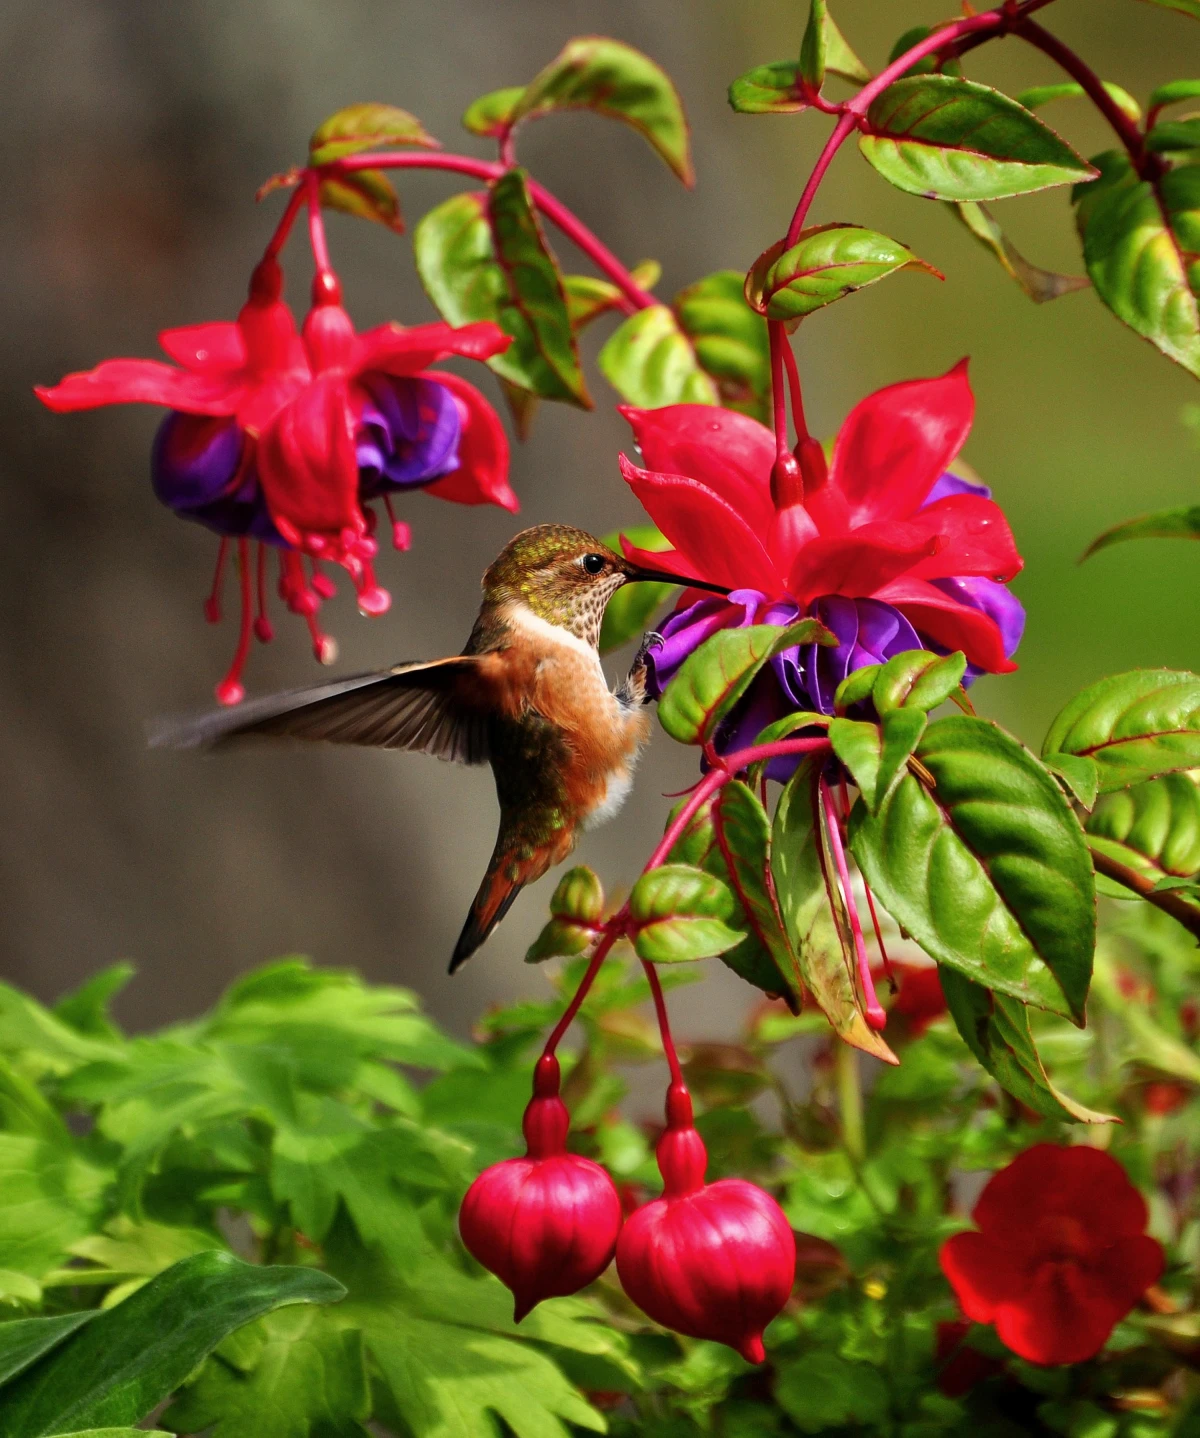
Beyond the feeder, planting a hummingbird-friendly garden creates a true haven. They are particularly drawn to tubular-shaped flowers in shades of red, orange, and pink. Consider adding these to your garden beds or pots:
- Bee Balm (Monarda): A fluffy, vibrant perennial that’s a hummingbird magnet.
- Cardinal Flower (Lobelia cardinalis): Its brilliant red spikes are irresistible.
- Trumpet Vine (Campsis radicans): A vigorous climber with large, orange, trumpet-shaped blooms.
That buzzing sound you hear isn’t just their wings—it’s often the sound of fierce territorial disputes. Hummingbirds are incredibly feisty and will aggressively defend what they consider ‘their’ feeder. If you notice one dominant bird chasing all the others away, the best solution is to add another feeder. Place it out of the line of sight of the first one to give shyer birds a chance to feed in peace.
The most overlooked cleaning spot: The feeding ports. Simply rinsing the feeder body isn’t enough. Black mold can build up inside the tiny openings where the birds drink. Use a specialized port brush or a simple pipe cleaner dipped in a solution of water and white vinegar to scrub these crucial areas thoroughly during every cleaning. This single step is one of the most effective ways to prevent the spread of disease.


