Why Your Manicure Hates Winter & What to Do About It (A Pro’s Guide)
I’ve been a nail tech for a long, long time, and I can tell you one thing for sure: winter is the absolute worst for our nails. It’s not just about swapping your summer coral for a deep burgundy. The cold, dry air wages a silent war on our hands, and if you’re not prepared, your manicure doesn’t stand a chance.
In this article
It’s funny, right? We’ll drop serious cash on a warm coat and good boots, but our hands are often an afterthought. Then, people walk into the salon with chipped polish and cracked, angry-looking cuticles, wondering what they did wrong. Honestly, the secret to a gorgeous, long-lasting winter manicure is all in the prep and the aftercare. So let’s get into the good stuff—the tips and tricks I share with my apprentices to get professional results that actually last through the coldest months.
First, Why Is Winter So Tough on Nails?
Let’s start with a quick science lesson, I promise it’s painless. The root of all evil here is a lack of moisture. Cold air just doesn’t hold much humidity, and when you crank up the indoor heating, you’re basically living in a desert. This dry environment sucks moisture out of everything, including your skin and nails.
Your nail is made up of layers of a protein called keratin. When those layers get dehydrated, they lose their flexibility and become brittle. Think of it like a healthy, green leaf versus a dry, crunchy one. You can bend the green leaf, but the dry one just crumbles. That’s literally what’s happening to your nails—they’re more likely to split, peel, and break under pressure.
And here’s the kicker: your polish, whether it’s regular or gel, needs a stable surface to stick to. If your natural nail is peeling away underneath, the polish on top has nothing solid to hold onto. It’s going to chip and lift, no question. It’s why a manicure that lasts three weeks in July might barely make it one week in January if you don’t change your routine.
Oh yeah, and the temperature messes with your products, too. A bottle of nail polish stored in a cold room will get thick and sludgy, making it impossible to apply thin, even coats. Gels can get so stiff they won’t level out properly. Quick tip: Always let your polishes sit at room temperature (around 70-72°F) for at least an hour before you use them. It makes a world of difference.
Your Winter Nail Survival Kit
Before we even talk about painting, let’s talk about your toolkit. Having the right stuff on hand is half the battle. You don’t need a ton of expensive gear, just a few key items.
- A Jojoba-Based Cuticle Oil. This is your holy grail. Jojoba oil molecules are super small, so they can actually penetrate the nail plate to moisturize it from the inside out. Coconut or olive oil will soften your skin, but they mostly just sit on top of the nail. Look for brands like CND SolarOil or OPI ProSpa. A bottle will run you between $10 and $15 and last all season.
- A Gentle Cuticle Remover. Something like Blue Cross brand, which you can find at Sally Beauty for about $5, is perfect. It softens dead skin without being harsh.
- The Right File. Step away from the coarse, gritty files! For natural nails, you want a 180 or 240-grit file, or even better, a glass file. They seal the nail edge as they shape it, preventing snags. Expect to pay $5-$10.
- 99% Isopropyl Alcohol. You can get a huge bottle at any drugstore for like, $3. It’s the best and cheapest way to dehydrate the nail plate right before you polish.
The Prep Work That Actually Matters
In the salon, prep is everything. Rushing this part is the #1 mistake I see people make at home. Let’s get it right.
First, let’s clear something up about cuticles. The “cuticle” is the little ridge of dead, flaky tissue stuck to your nail. The line of living skin at the base of your nail is called the eponychium, and you should NEVER cut it. Cutting this area is like opening a door for bacteria and can lead to nasty infections. Seriously, don’t do it.
Instead, apply a bit of that cuticle remover, let it sit for a minute, and then gently push the skin back. Then, you can carefully nip away any true, detached hangnails with clean, sharp nippers. But in winter, I’m extra cautious because the skin is already so dry.
When you shape your nails, always file in one direction. That back-and-forth sawing motion creates tiny fractures at the nail tip that lead to peeling. After shaping, give the nail surface a very light buff with a fine-grit buffer—just a few swipes to remove oils. The goal isn’t to thin the nail!
The final, can’t-skip step? Wipe each nail with a lint-free pad soaked in that 99% alcohol. This removes all dust and oil, which are the mortal enemies of long-lasting polish. This one little step can easily add days to your manicure’s life.
Choosing Your Winter Vibe: Colors & Pro Tricks
Okay, now for the fun part. You can wear whatever color makes you happy, but certain shades just feel right for winter, and they come with their own little quirks.
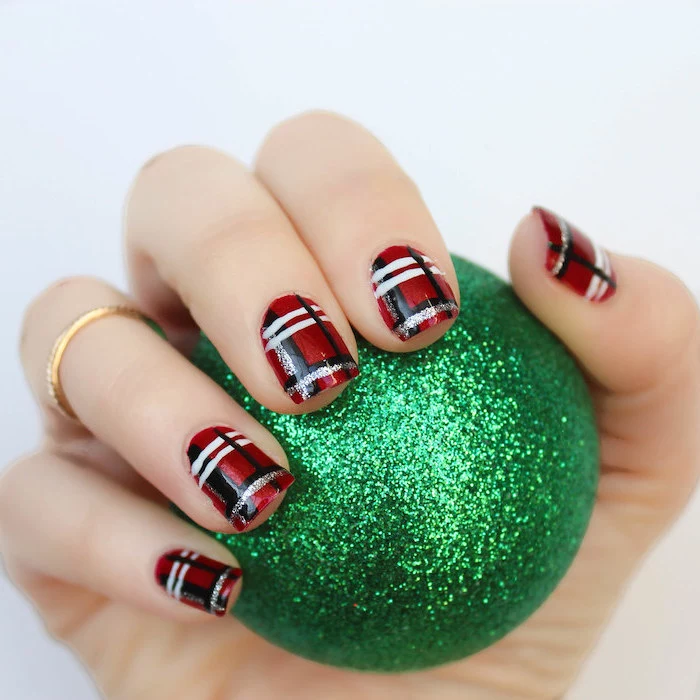
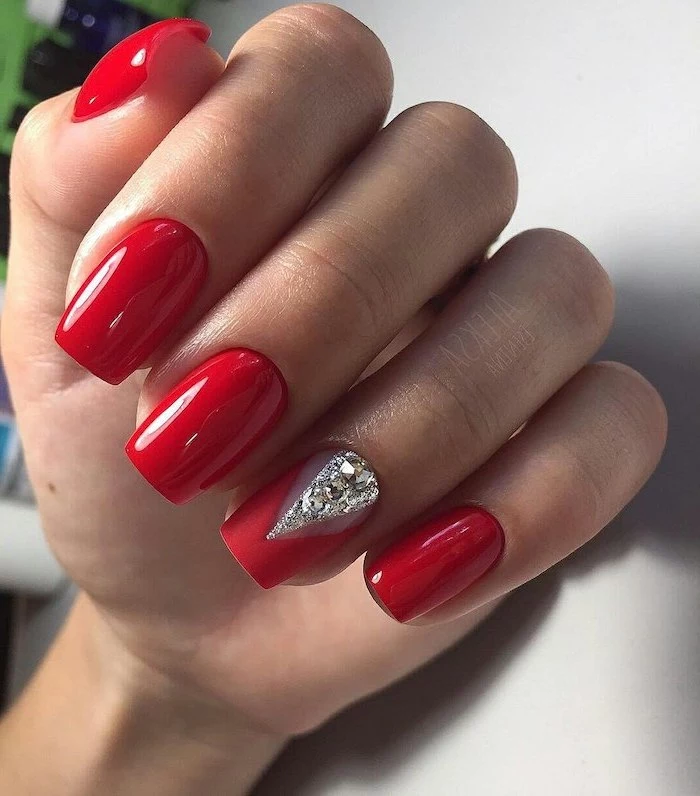
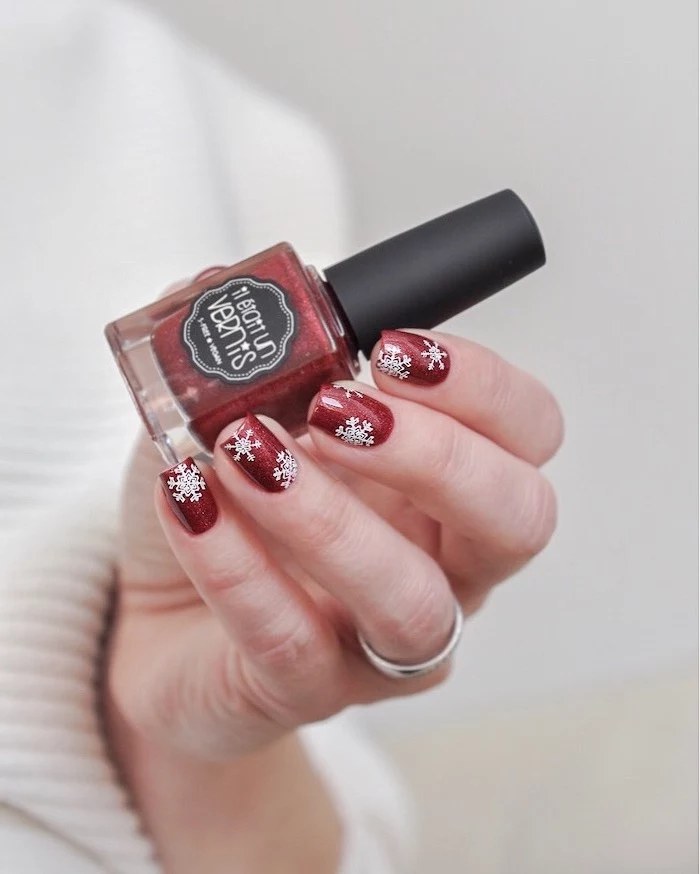
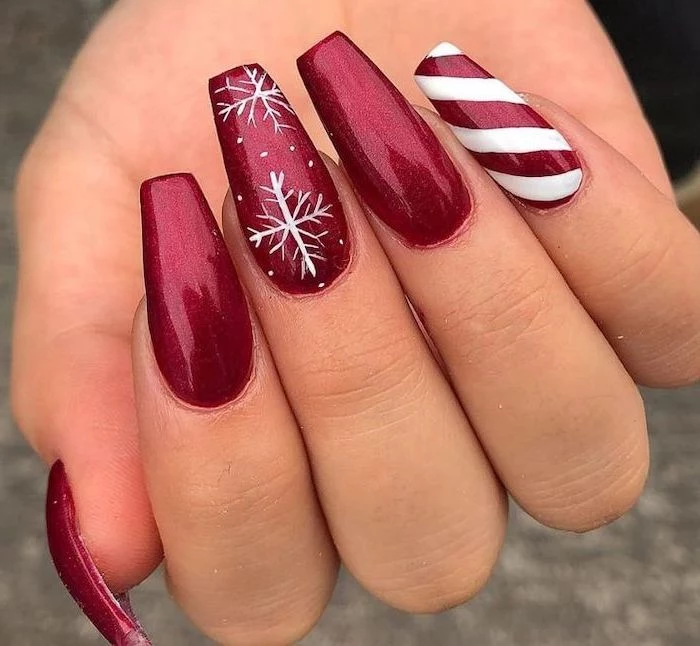
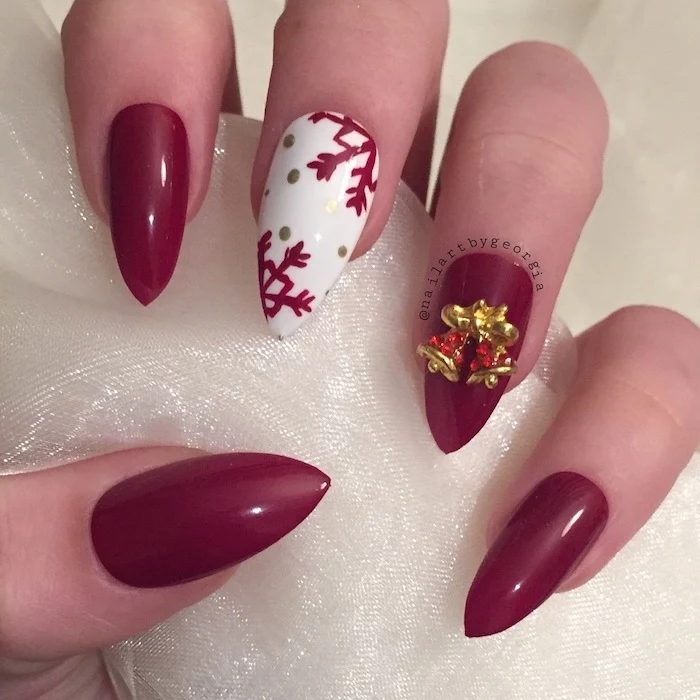
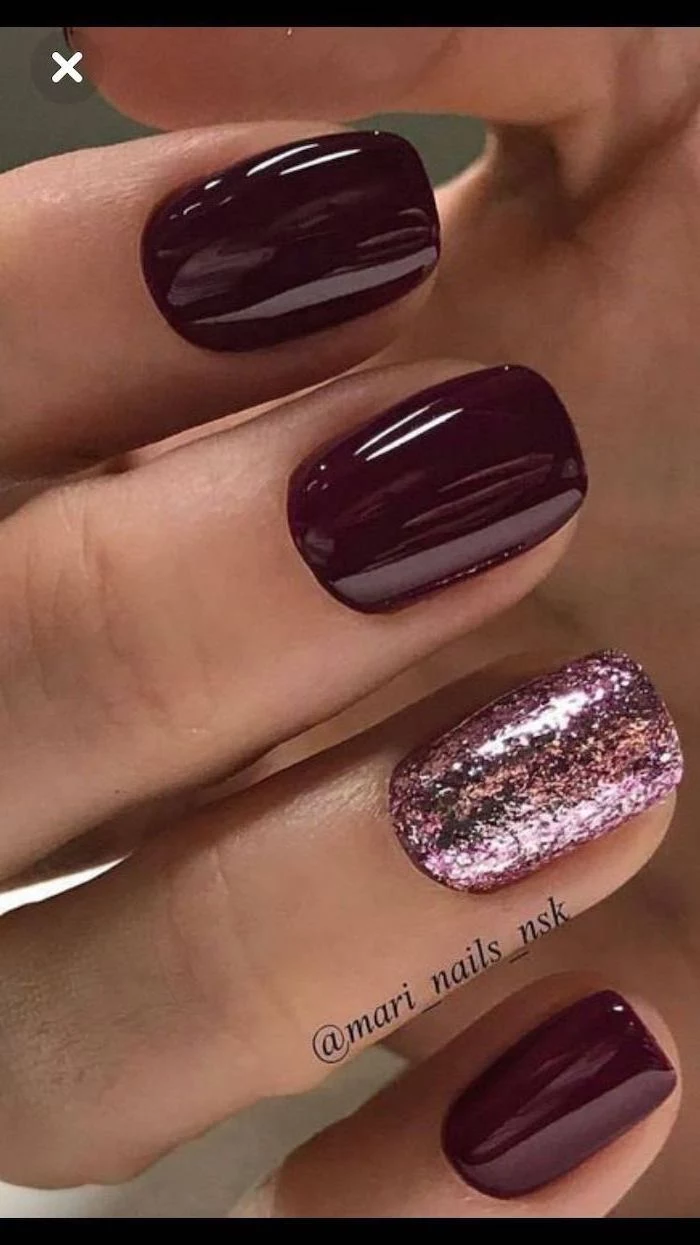
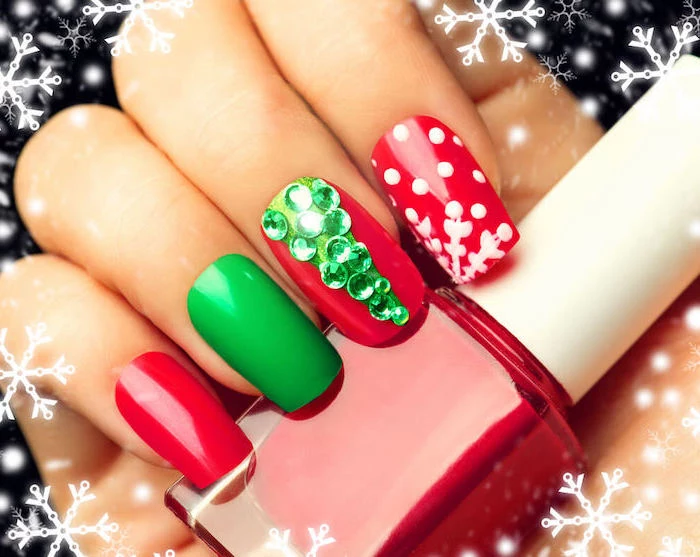
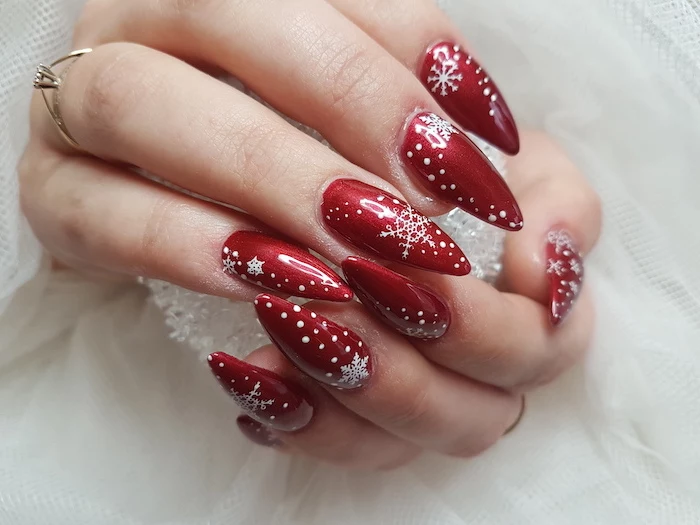
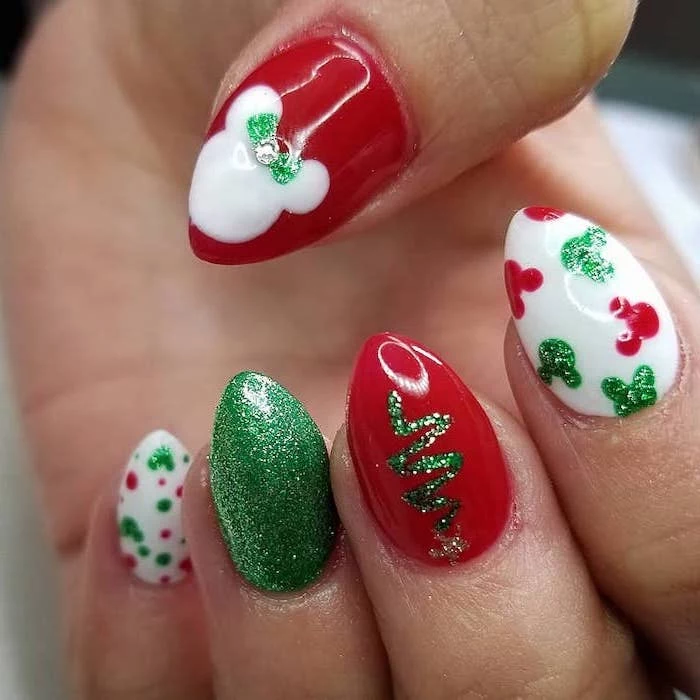
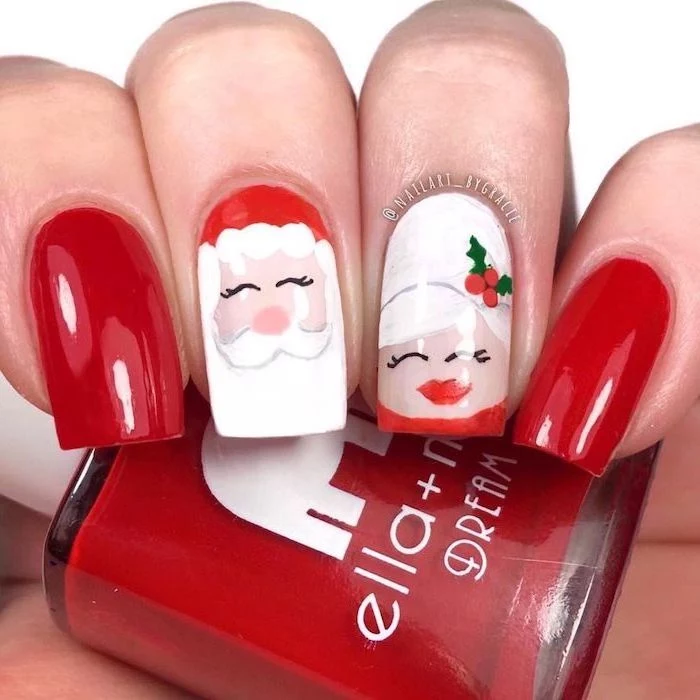
Deep Reds and Berries
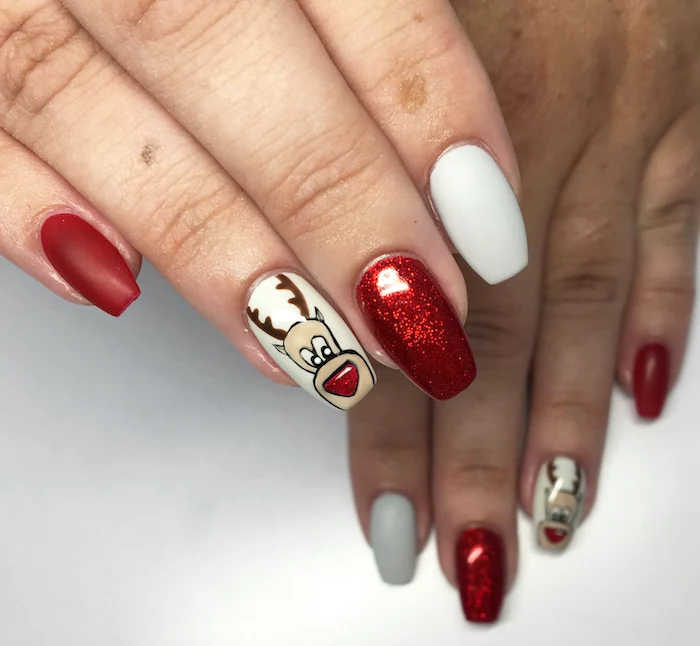
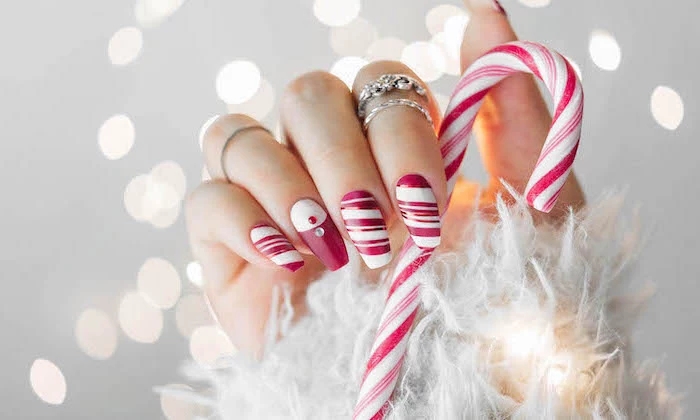
A classic oxblood or wine red is timelessly chic. But these super-pigmented colors are notorious for staining your nails and the skin around them. A good base coat is non-negotiable. But here’s a little secret from the pros: before you even open the polish, trace a thin layer of Vaseline or your cuticle oil on the skin around your nail with a Q-tip. It creates a barrier, so any smudges wipe right off. It’s way easier to prevent a mess than to clean one up.
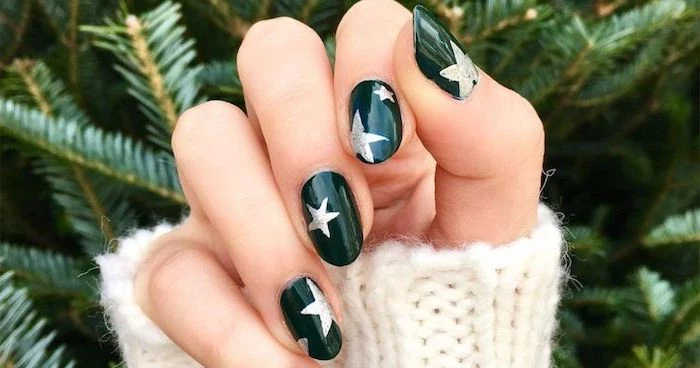
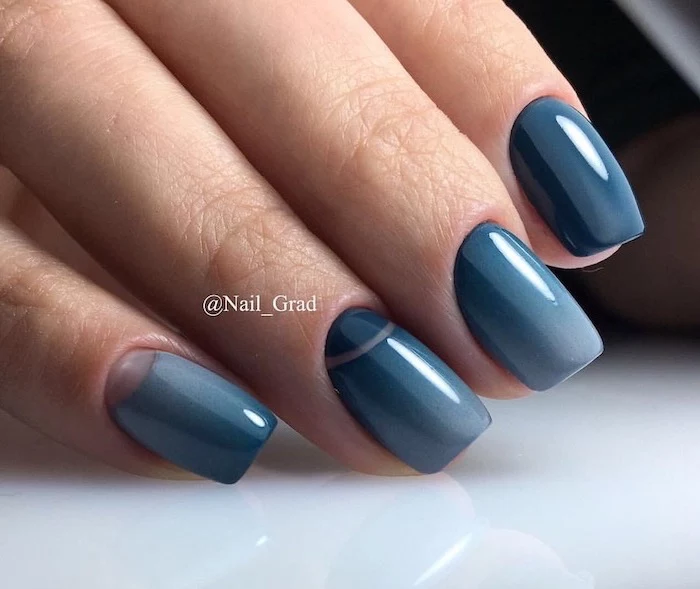
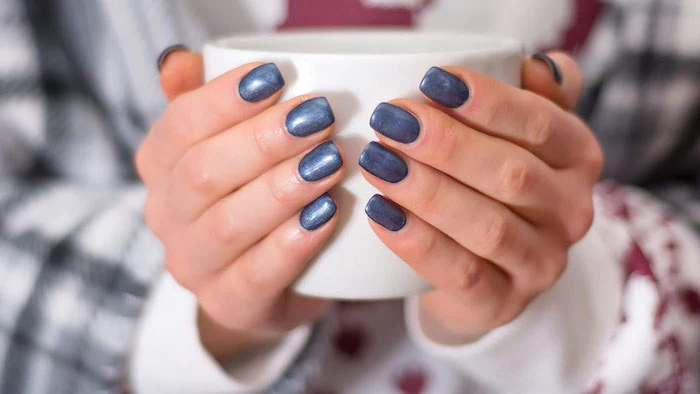
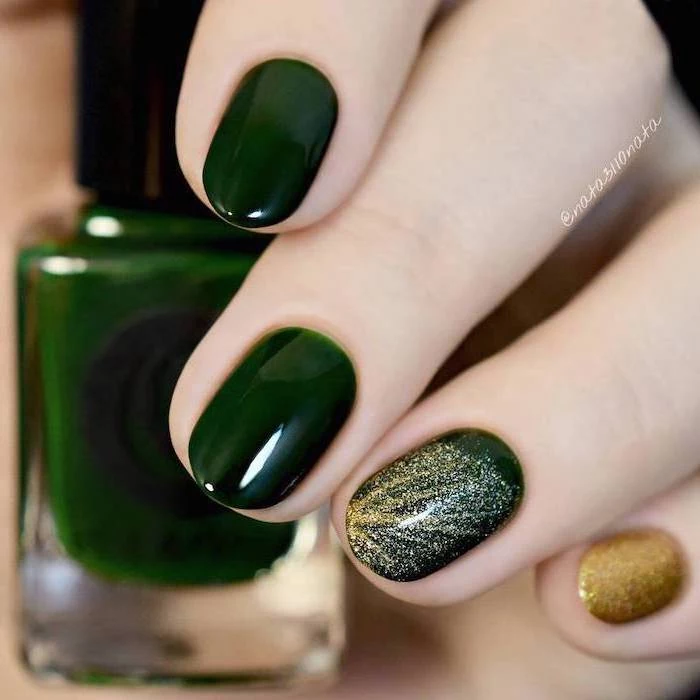
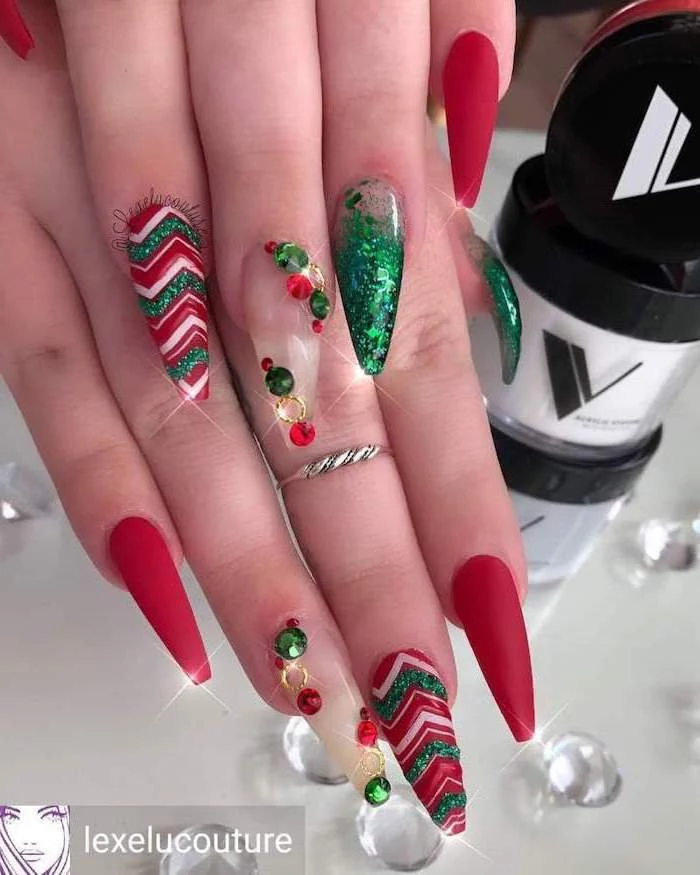
Rich Greens and Blues
Forest green, deep navy, and shimmering emeralds are stunning in winter. The challenge here is often opacity. A cheap polish might need three or four coats, leading to a thick, goopy manicure that never seems to dry. This is where investing in a professional-grade polish really pays off. A bottle of OPI or CND might cost you $12, versus $5 for a drugstore brand, but you’ll get full coverage in two coats. The thinner application is more durable and just looks better.
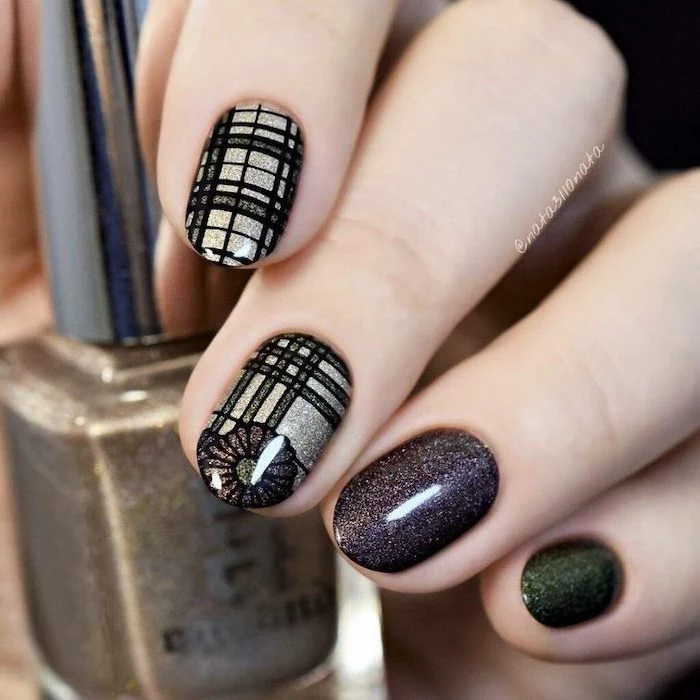
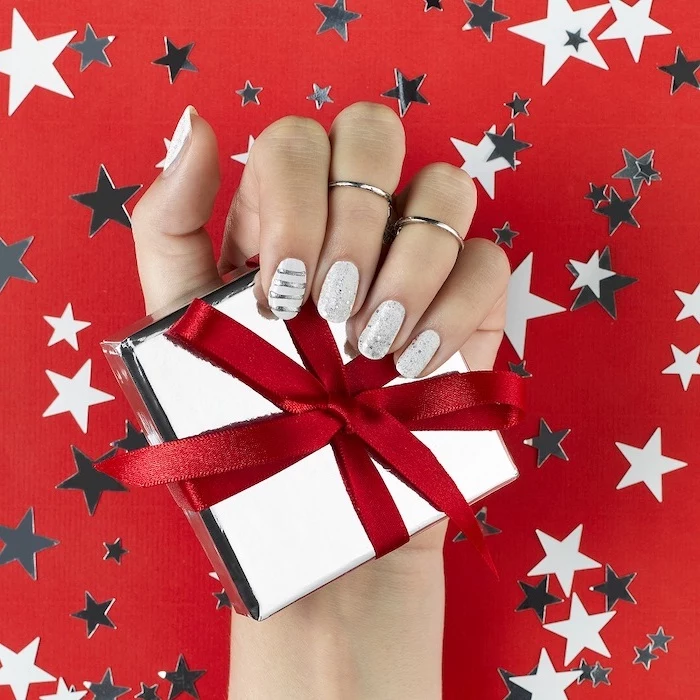
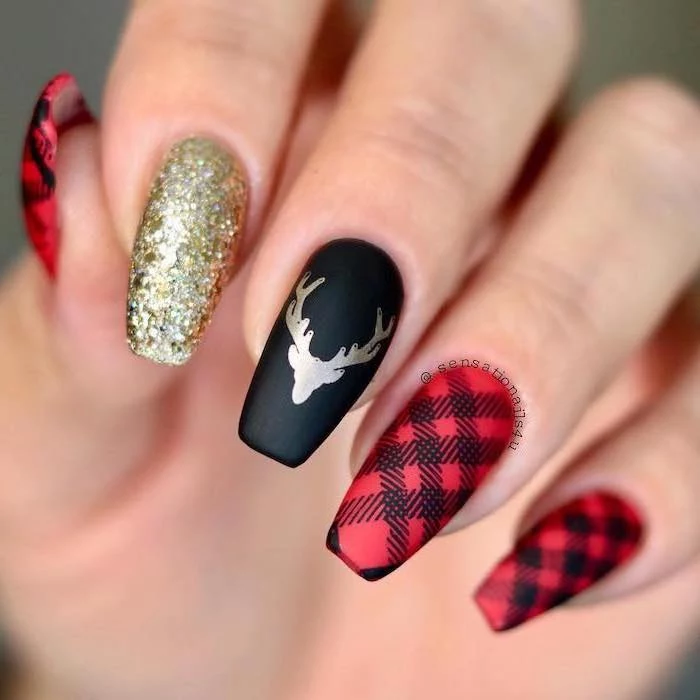
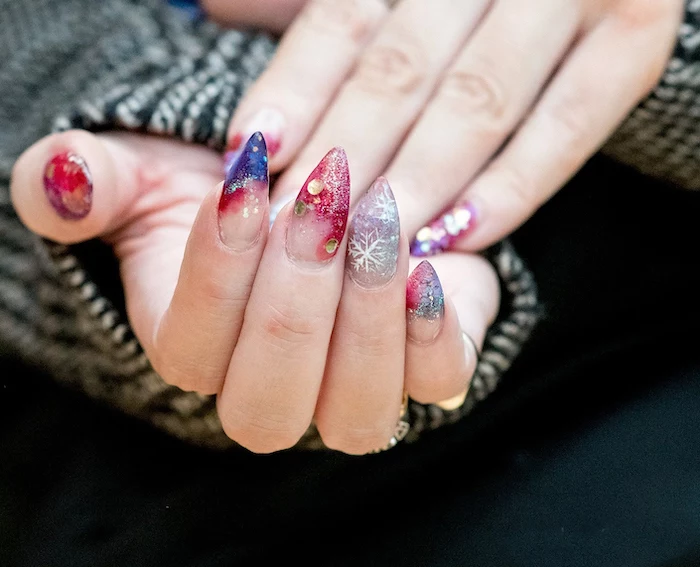
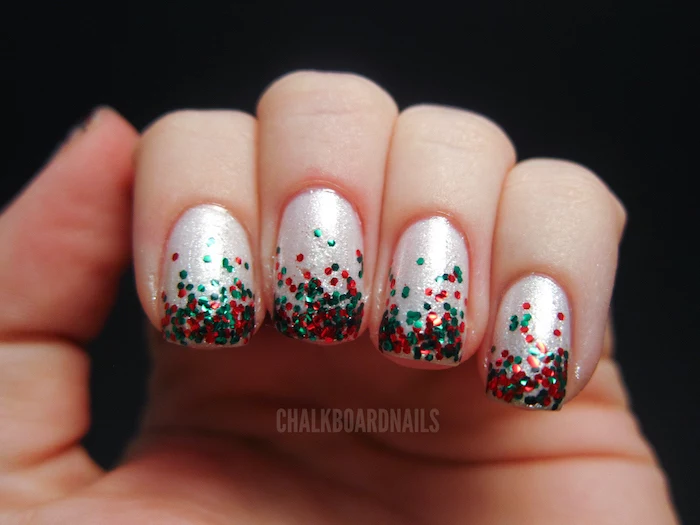
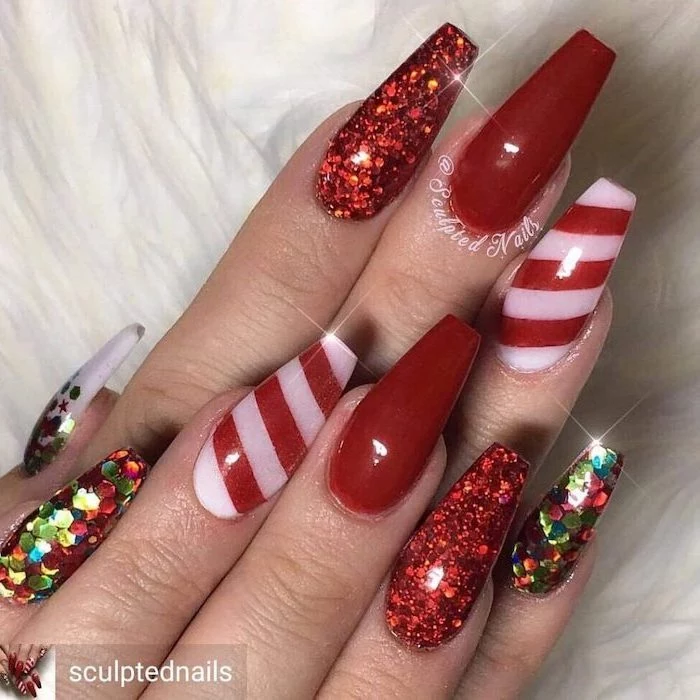
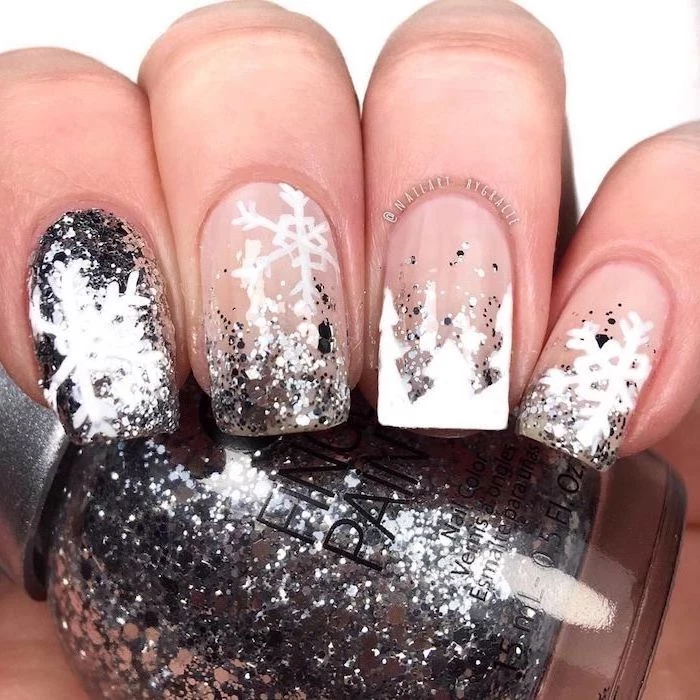
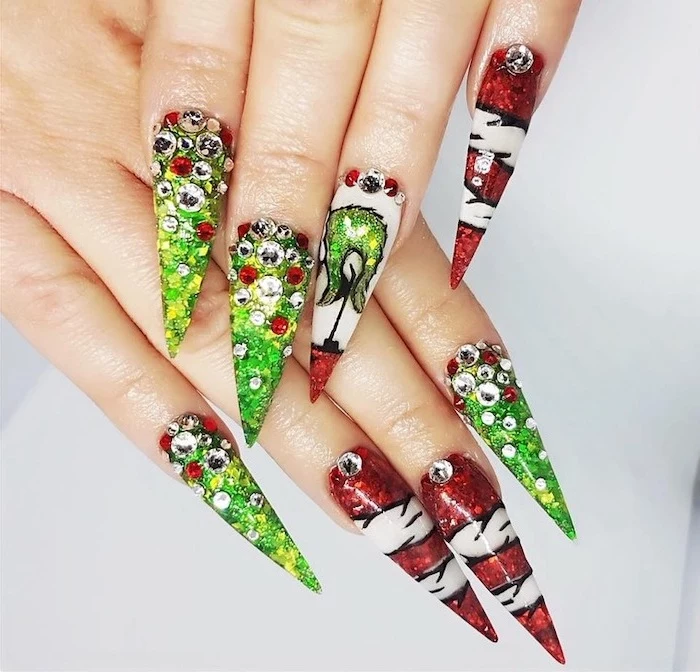
Metallics and Glitters
Winter is prime time for sparkle, but applying glitter polish can be a struggle. To get that dense, full-coverage look, don’t just paint it on. Use a dabbing or stippling motion to place the glitter where you want it. For a really concentrated effect, paint the glitter onto a makeup sponge wedge first, then dab the sponge onto your nail. The sponge absorbs the excess clear base, leaving behind pure sparkle.
Heads up, though: glitter removal is a nightmare. The best way to tackle it is with the foil method. Soak a cotton ball in acetone, place it on your nail, and wrap your fingertip in a small piece of foil. Wait 10 minutes. The glitter will slide right off—no scrubbing required.
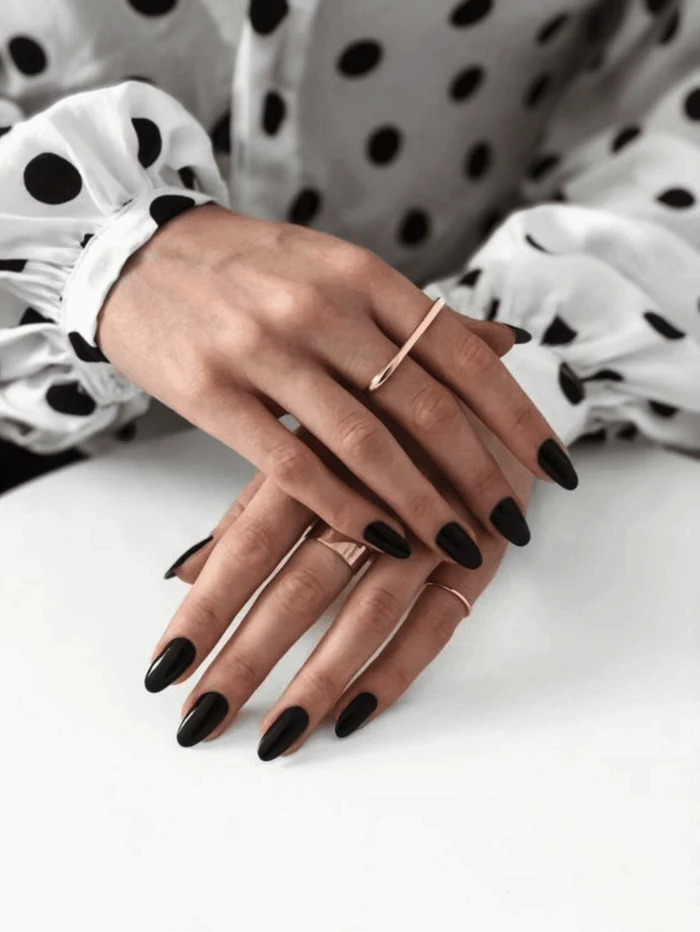
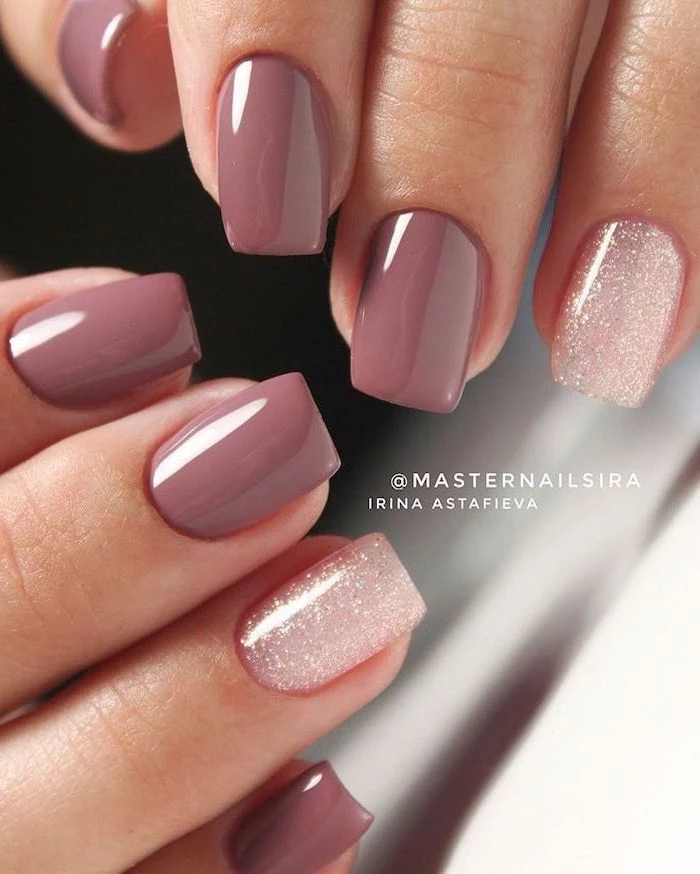
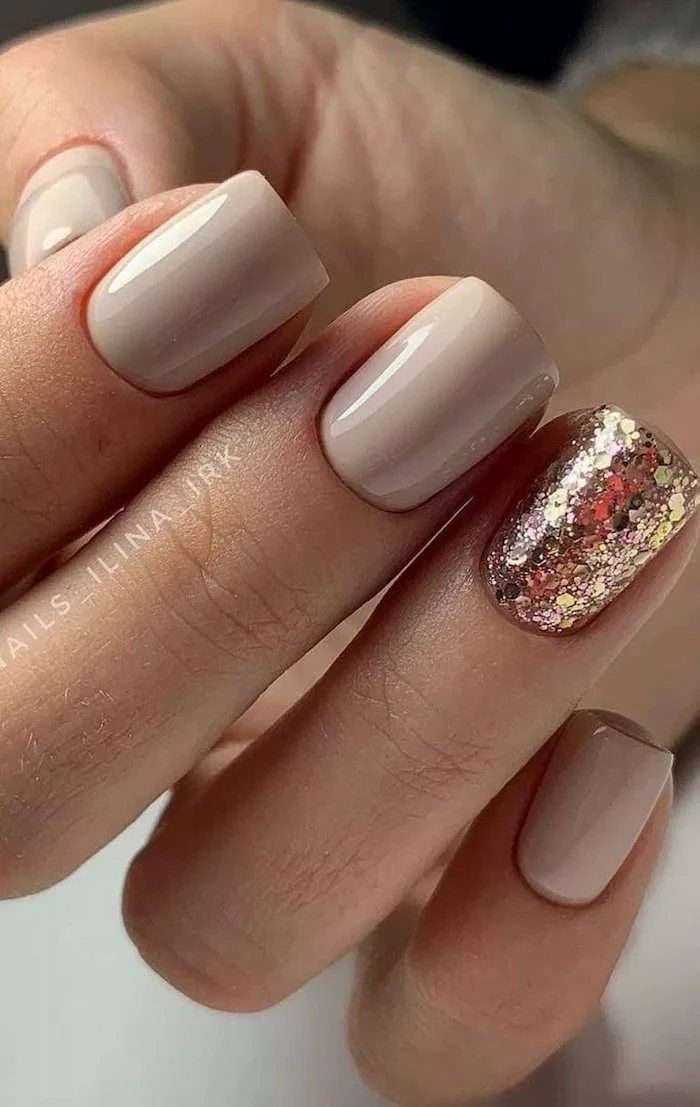
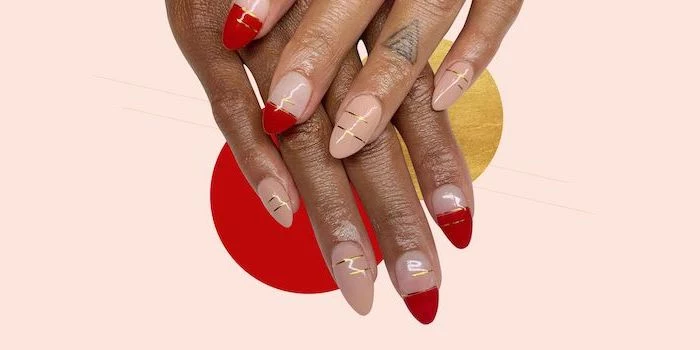
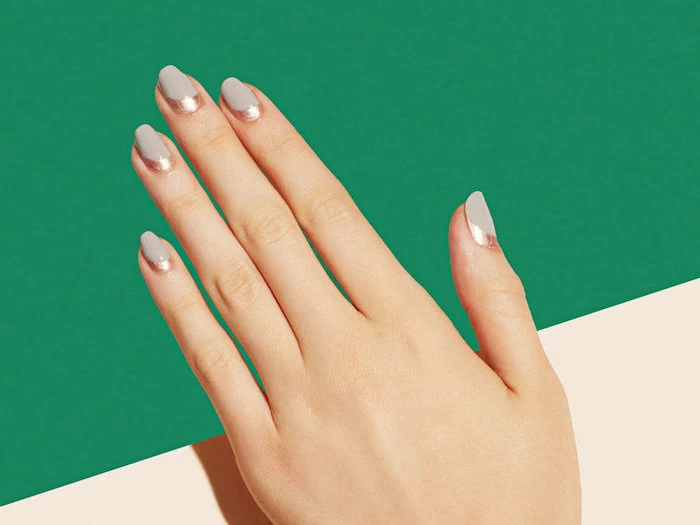
The Perfect Nude
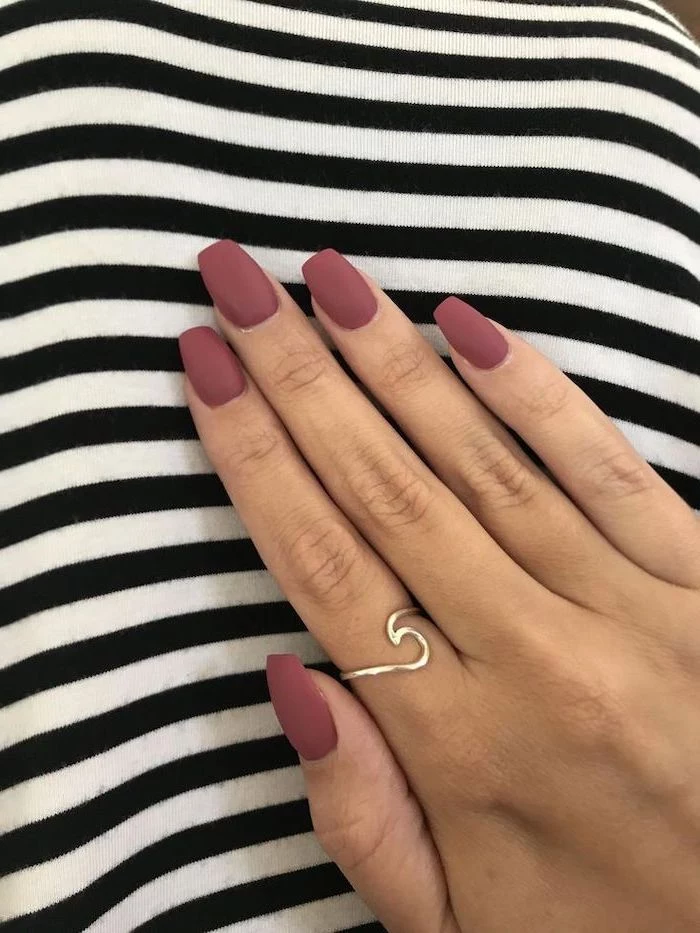
A flawless nude manicure is deceptively difficult. There’s no bold color to hide imperfections, so your prep work has to be perfect. Finding the right shade is also key. The goal is to complement your skin’s undertones. If you have cool, pinkish undertones, look for nudes with a hint of pink. If your skin is warmer or more olive, go for peachy or beige nudes. It can take some trial and error, but finding “the one” is so worth it.
The Most Important Part: Aftercare and Safety
A beautiful manicure is never worth risking your health, so let’s talk safety.
Gel allergies are on the rise, often linked to an ingredient called HEMA. The allergy usually develops from repeated skin contact with uncured gel. A trained tech is meticulous about keeping product off your skin, but if you’re doing gels at home, be incredibly careful. If you know you have sensitivities, look for HEMA-free brands like Madam Glam or Apres Gel-X. If you ever get red, itchy, or blistering skin around your nails, stop using the product and see a doctor.
And now for the most critical piece of advice I can give you: use your cuticle oil every single day. I tell my clients to keep it on their nightstand and make it the last thing they do before bed. It keeps your nails flexible and your skin hydrated, preventing all those winter issues we talked about.
Finally, let’s talk about removal. Whatever you do, DO NOT peel or pick off your gel polish. When you do that, you’re ripping off the top layers of your natural nail, leaving them thin, weak, and damaged. I had a client once who came in after picking off her gels for months. Her nails were so thin they were red and sore to the touch. It took us three months of patient, gentle care—short nails, regular oil treatments, and strengthening base coats—to get them back to health. It’s just not worth it.
The only safe way is to soak it off. File off the shiny top coat, saturate a cotton ball in pure acetone, place it on the nail, and wrap it in foil. Give it a solid 10-15 minutes. The gel should be soft enough to gently push off with a wooden stick. Be patient!
Your 7-Day Challenge
Feeling overwhelmed? I get it. If you only do ONE thing from this entire article, do this:
Go buy a bottle of jojoba-based cuticle oil. Put it by your bed, and for the next seven nights, massage it into your cuticles before you go to sleep. I promise, after just one week, you will see a massive difference in how healthy your nails and skin look and feel. It’s the easiest, most impactful thing you can do for a beautiful winter manicure.
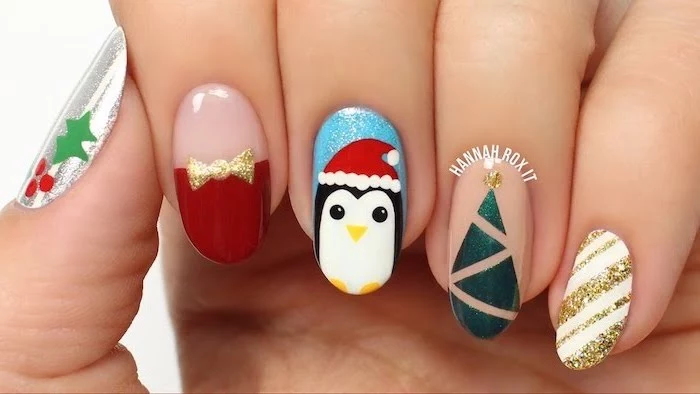
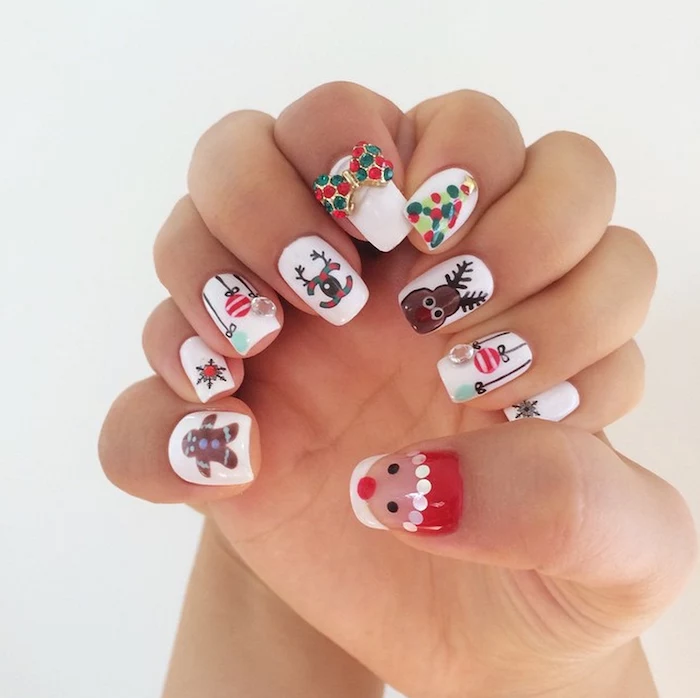
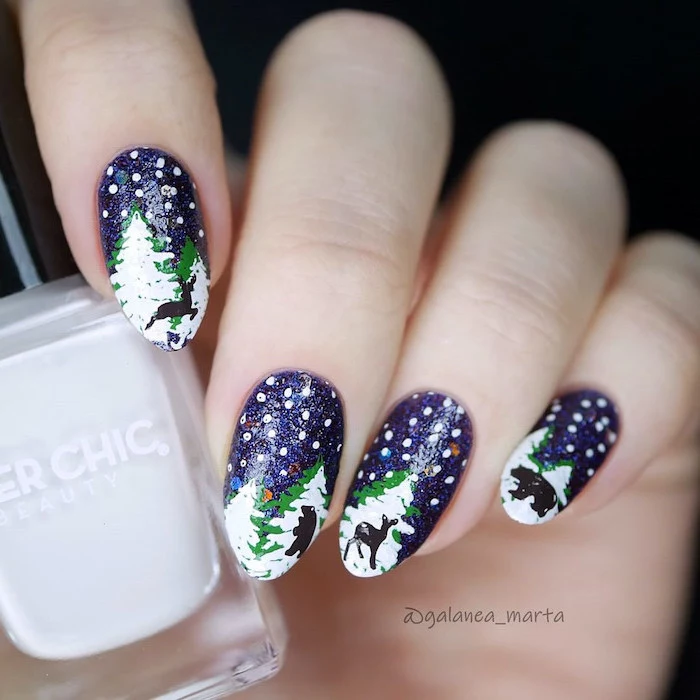
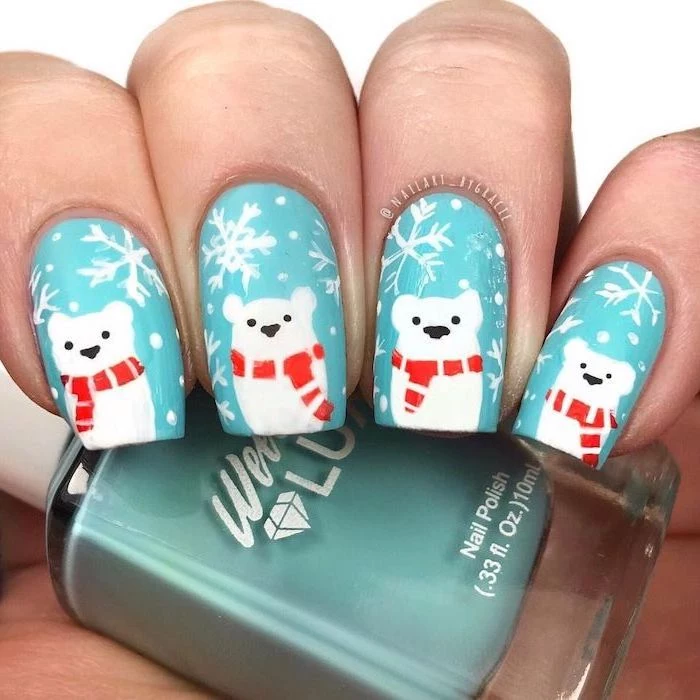
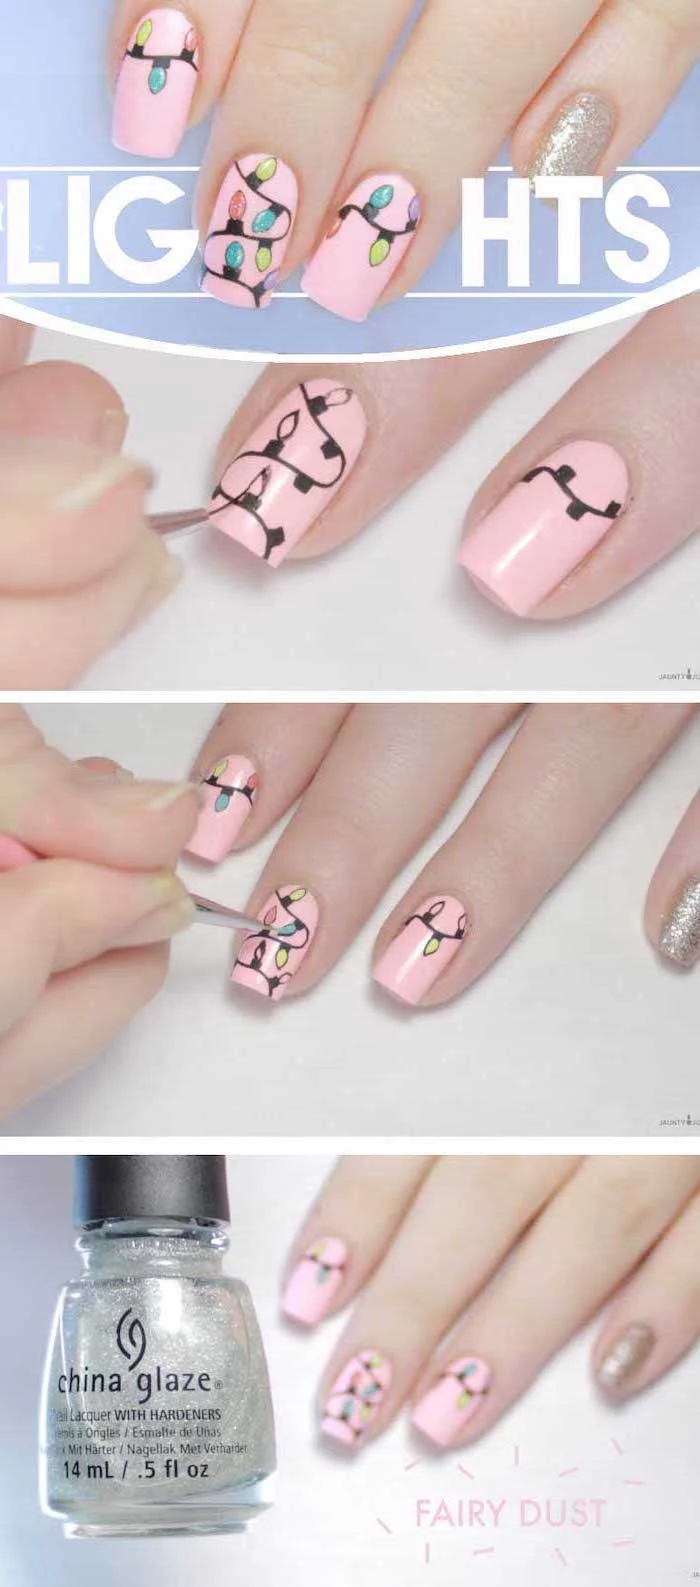
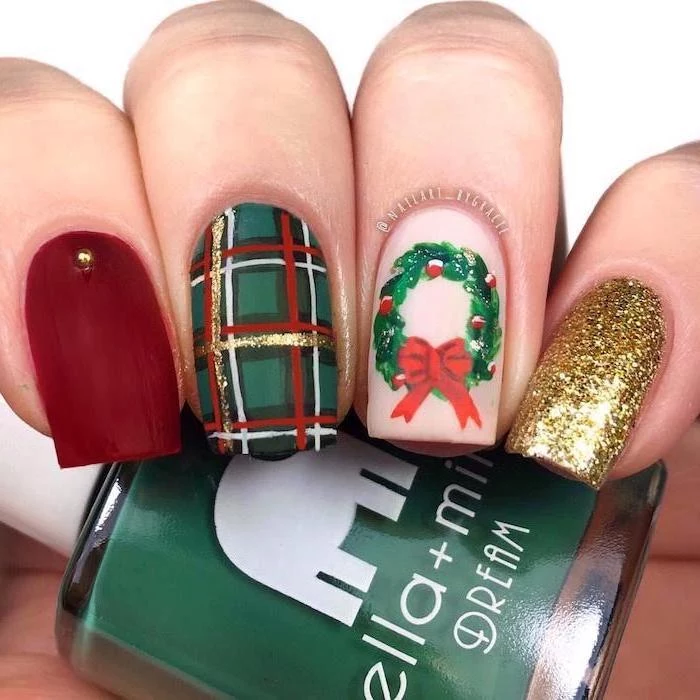
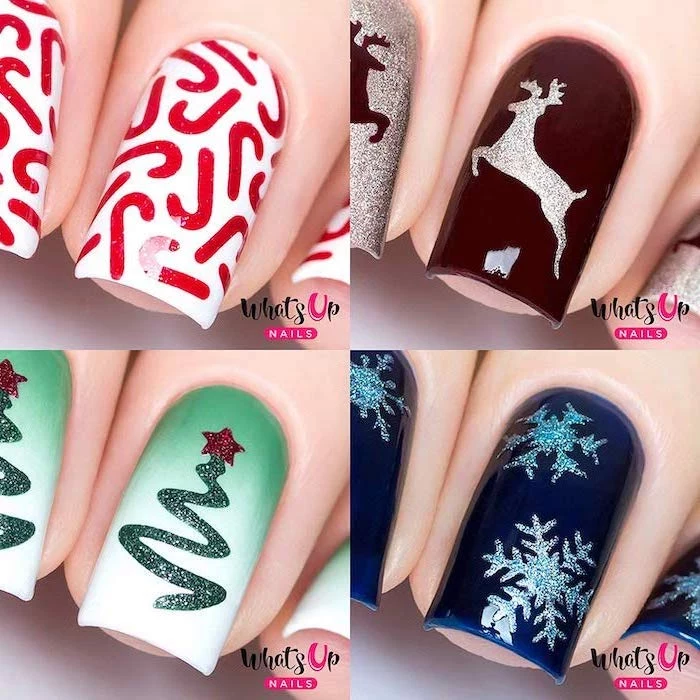
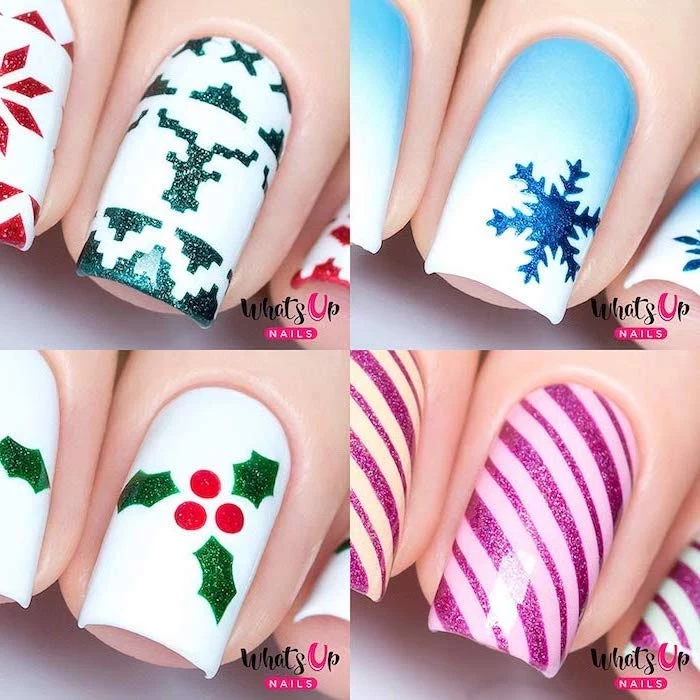
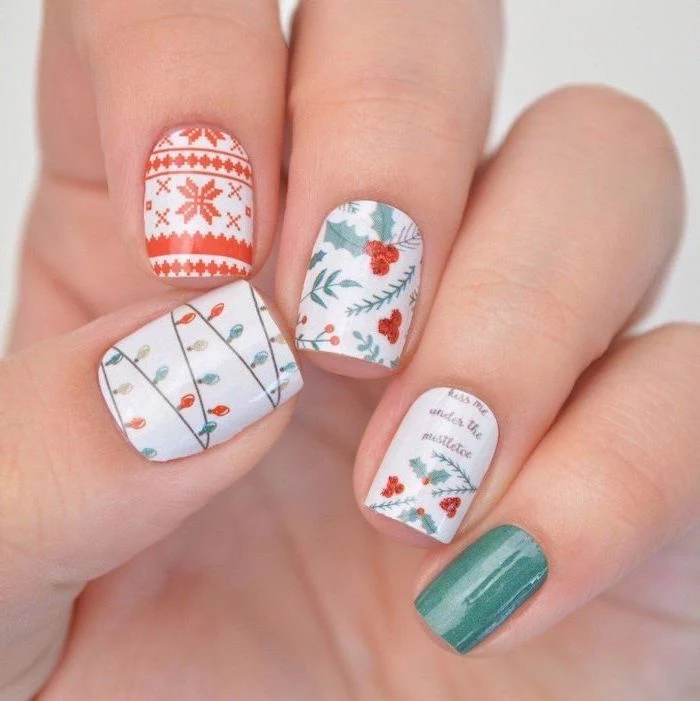
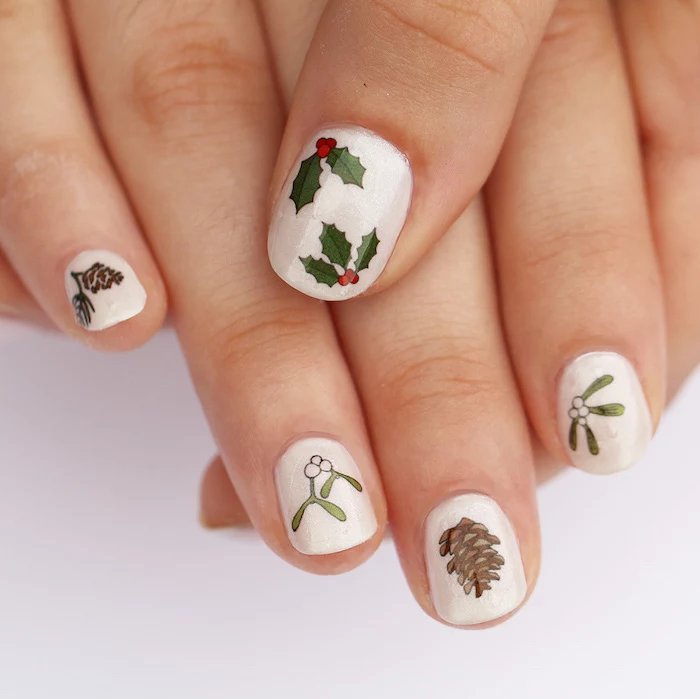
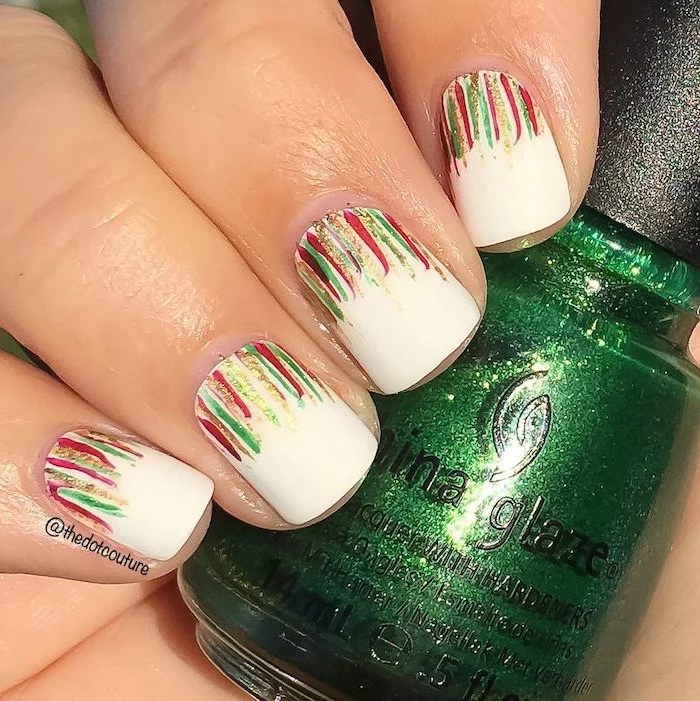
Inspiration Gallery

The Cuticle Oil vs. Hand Cream Debate: Think of them as a tag team. Cuticle oil, like the jojoba-based CND SolarOil, is made of smaller molecules that penetrate deep into the nail plate and surrounding skin to moisturize from within. Apply it directly to the cuticles. A thick hand cream, like L’Occitane’s Shea Butter Hand Cream, creates a protective barrier on top. Use oil first, let it sink in, then lock it all in with cream.
- Prevents snags on your favorite knit sweaters.
- Less surface area exposed to drying winds.
- Reduces the chance of painful breaks and tears.
The secret? Opting for shorter, rounded nail shapes like ‘squoval’ or ‘almond’ during winter. They are structurally stronger and more practical for the season.
Did you know that nails can absorb over 25% of their weight in water?
This is why wearing gloves while doing dishes is non-negotiable in winter. The cycle of water absorption (swelling the nail) and then rapid evaporation in dry, heated air is a primary cause of peeling and delamination.
Can I still wear my favorite bright colors in winter?
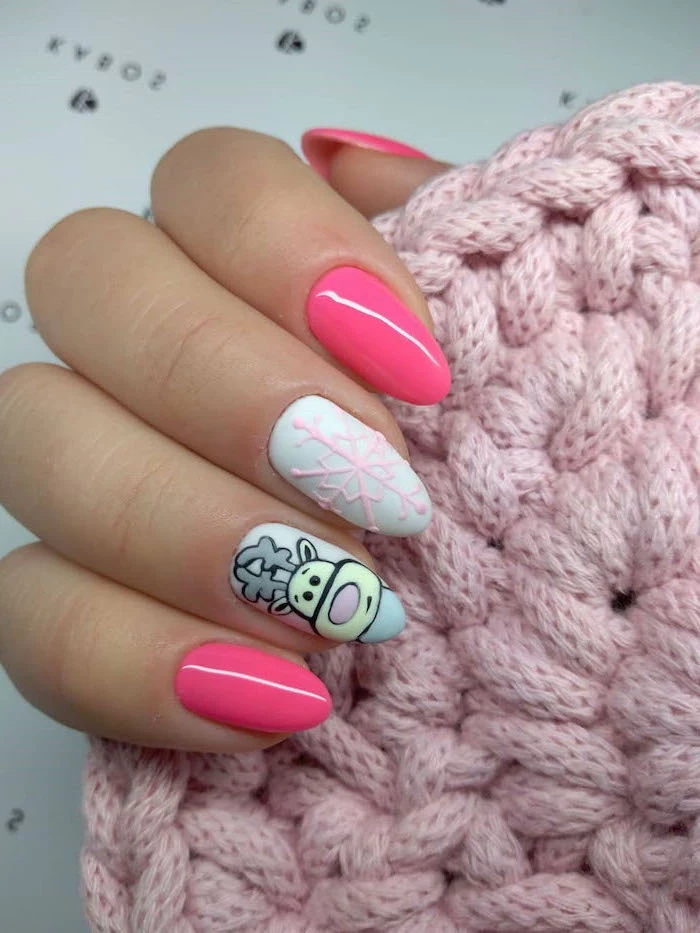
Absolutely! The trick is to deepen the context. Pair a hot pink with a charcoal grey accent nail. Add a coat of fine silver glitter over a bright coral to give it an icy, frosted finish. Or, choose a familiar bright shade but in a ‘crelly’ (creme-jelly) formula for a slightly more subdued, ‘frozen’ look.
Give your nails the ‘slugging’ treatment overnight. After applying cuticle oil and a rich hand cream, slather a thin layer of an occlusive ointment like Aquaphor or Vaseline over your nails and cuticles. Slip on a pair of cotton gloves and let the magic happen while you sleep. You’ll wake up to seriously hydrated, happy hands.

“Nails are the period at the end of the sentence. They complete the look.” – Prabal Gurung
The one product to invest in: A ‘ridge-filling’ base coat. Even if you don’t have prominent ridges, these base coats are slightly thicker and more flexible. They create a super-smooth, even canvas for your polish and, more importantly, provide a pliable, protective layer that helps your brittle nails bend instead of break. Orly’s Bonder Base Coat is a cult classic for a reason.
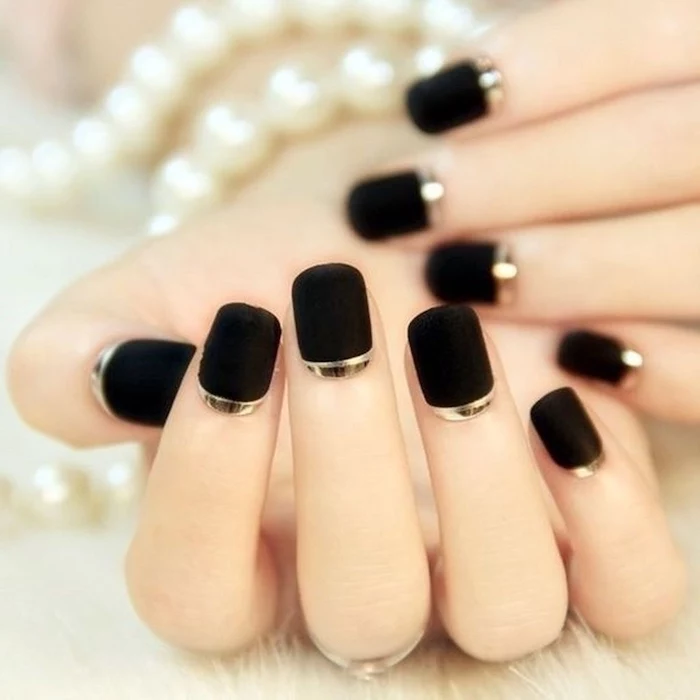
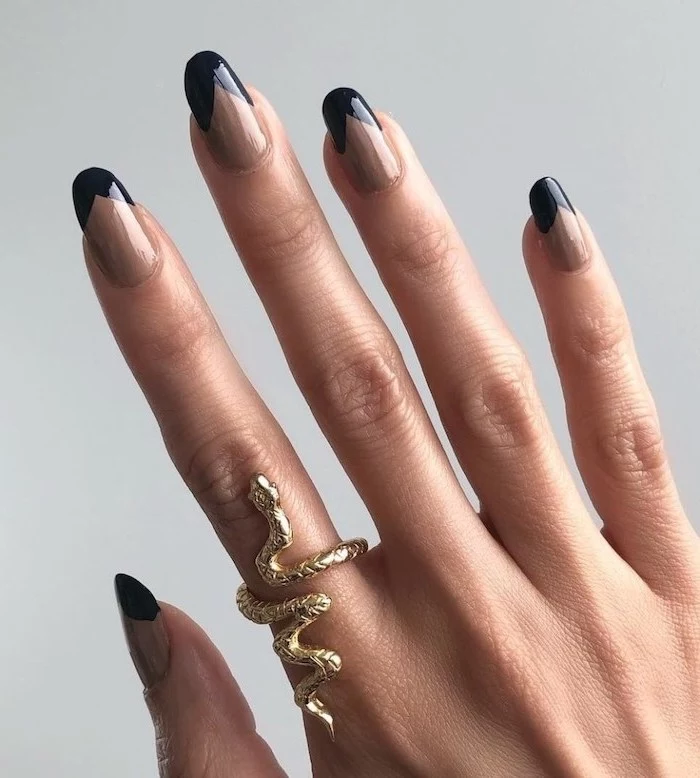
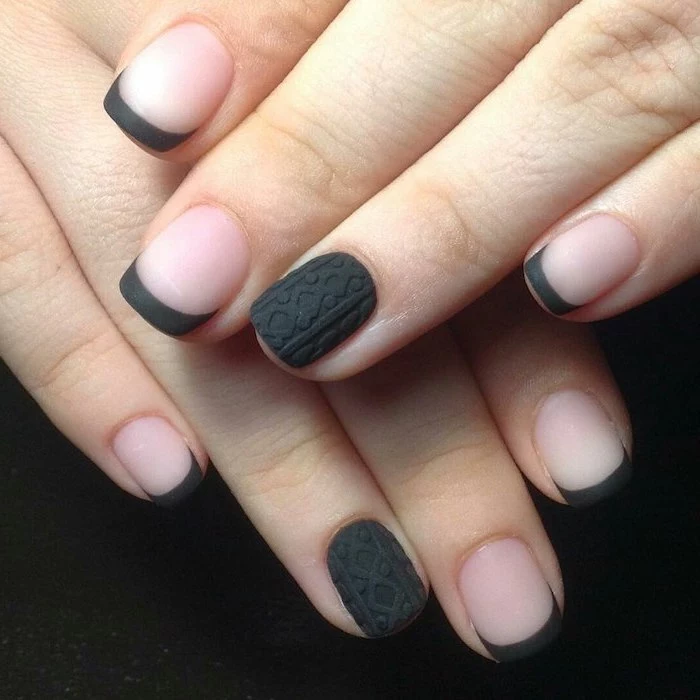
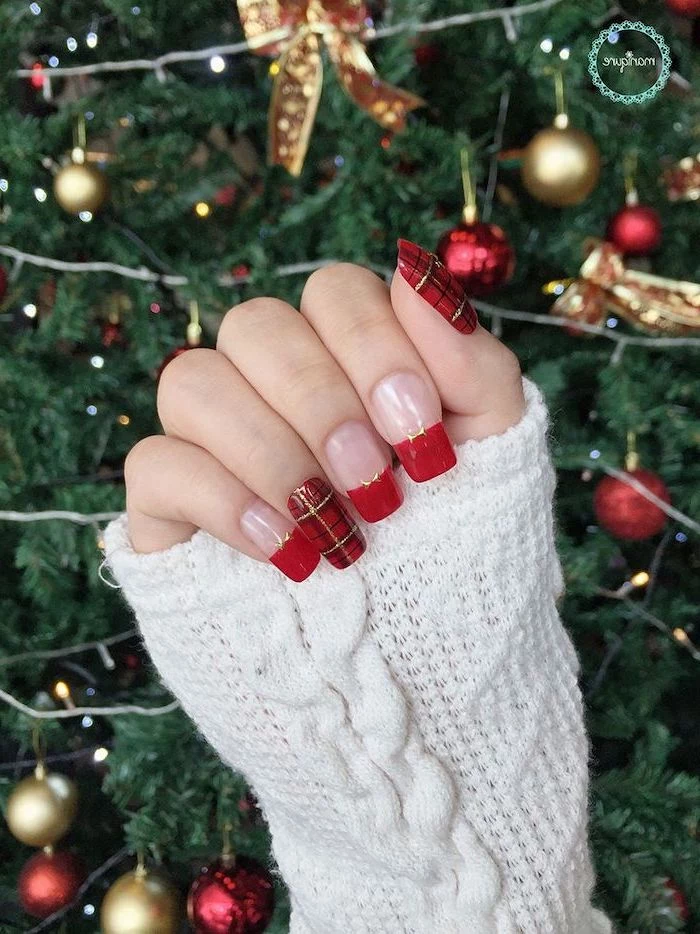
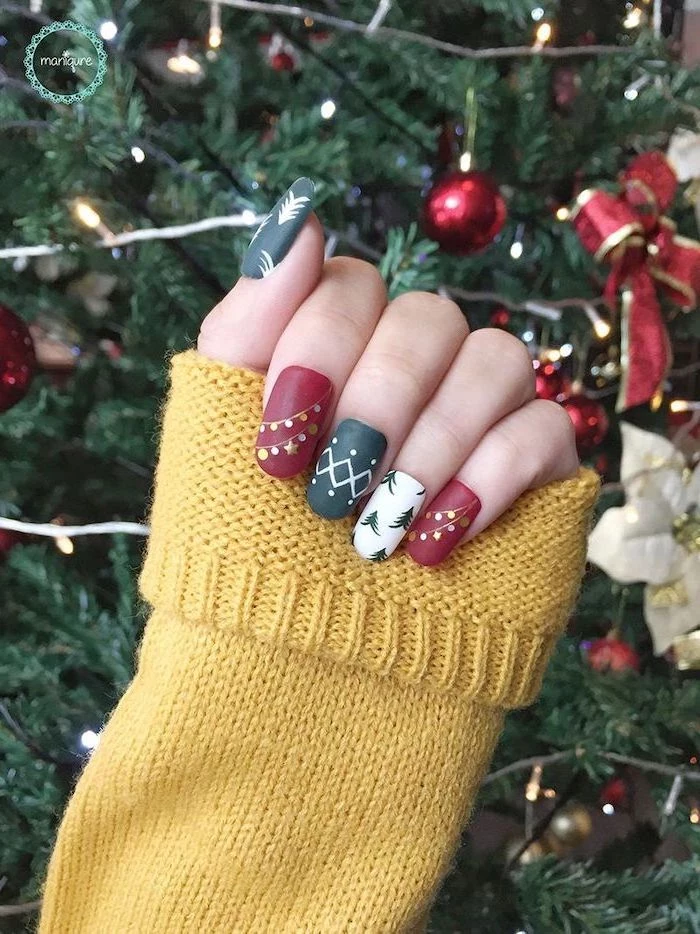
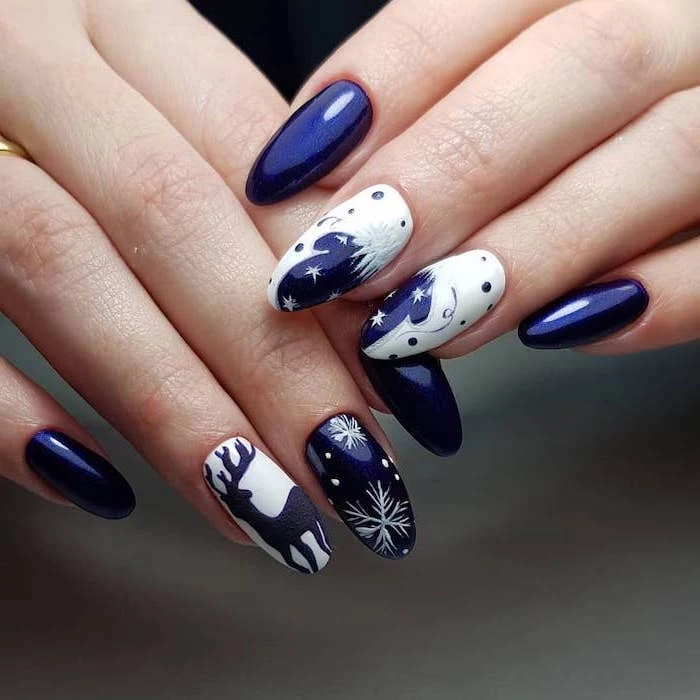
The ‘dark french’ is winter’s chicest manicure trend. Instead of a classic pink and white, this style pairs a sheer, neutral base with a fine tip of deep color—think burgundy, forest green, or even black. It’s minimalist, sophisticated, and less prone to noticeable chips than a full-color manicure.
- A gentle, crystal or glass nail file.
- A bottle of high-quality cuticle oil (keep it sealed!).
- A travel-sized, intensive hand cream.
- A pair of soft nail buffer blocks.
Keep this simple kit on your bedside table. A quick minute of care before you fall asleep makes a world of difference over the winter months.

A common mistake: Vigorously filing your nails back and forth. This ‘sawing’ motion shreds the keratin layers at the tip of your nail, leading to splits and peels. Always file gently from the outer edge toward the center in one direction.

Is gel polish a better choice for winter?
It can be a double-edged sword. On one hand, a gel manicure provides a hard, protective shell over your natural nail, which can prevent breakage. However, the removal process, which involves soaking in acetone, is extremely drying. If you opt for gel, be extra diligent with daily cuticle oil to replenish lost moisture and never, ever peel it off.
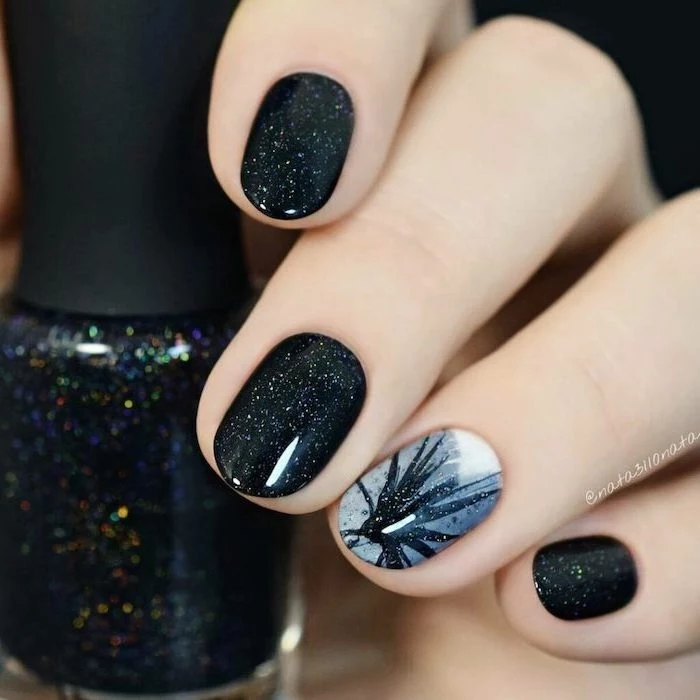
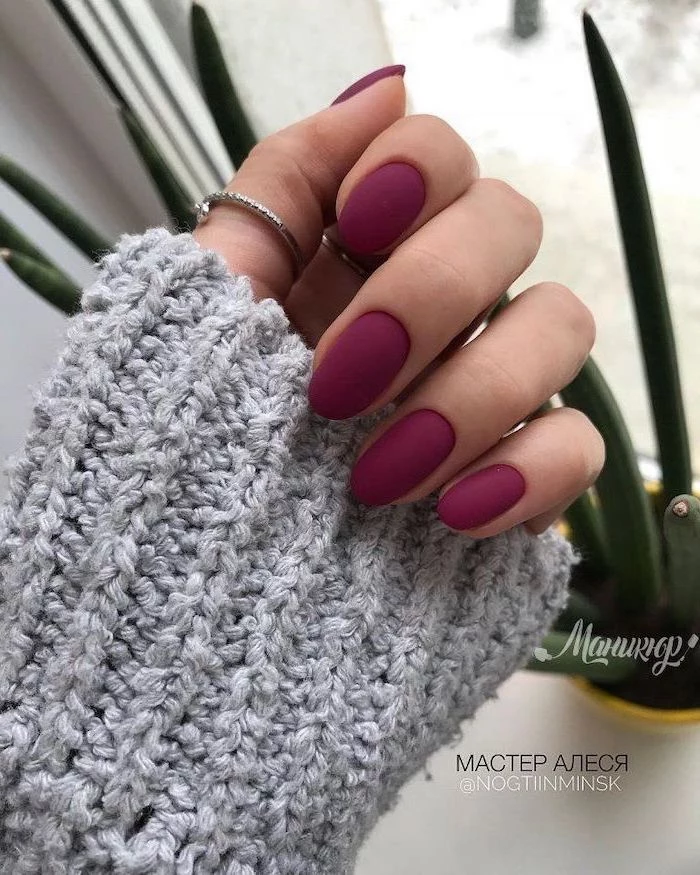
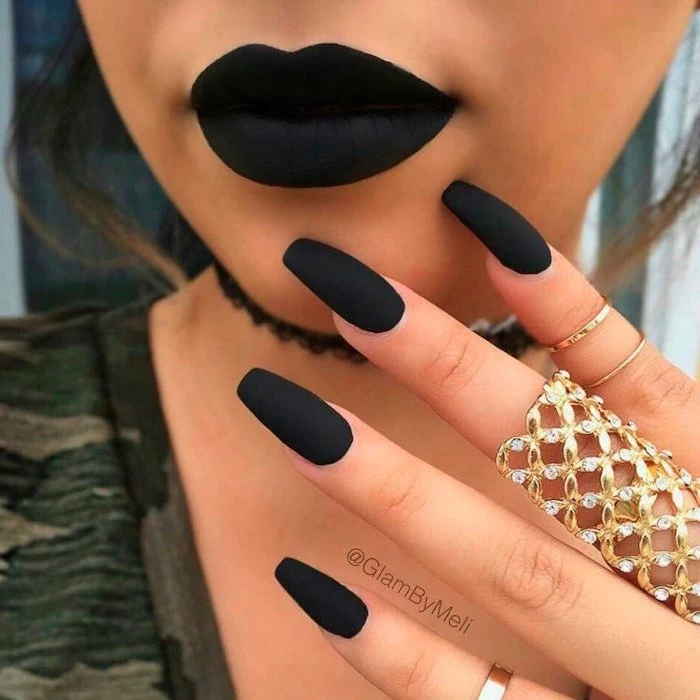
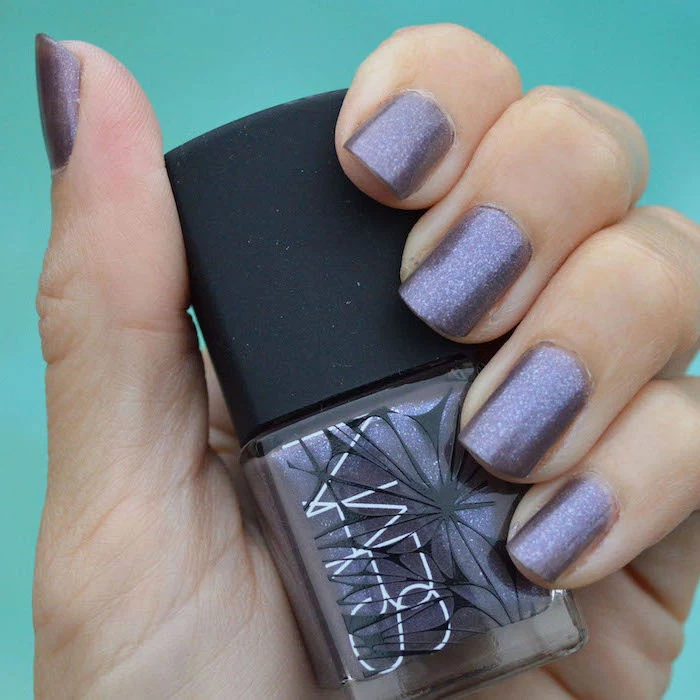
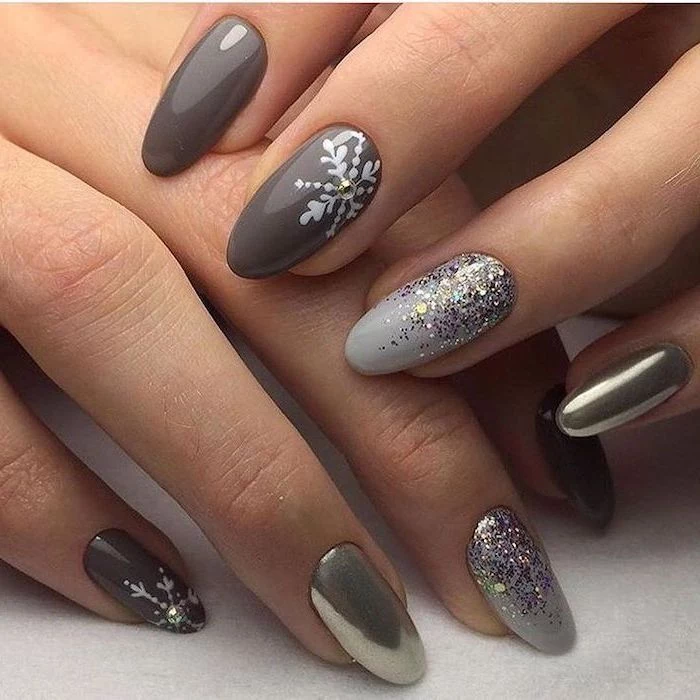
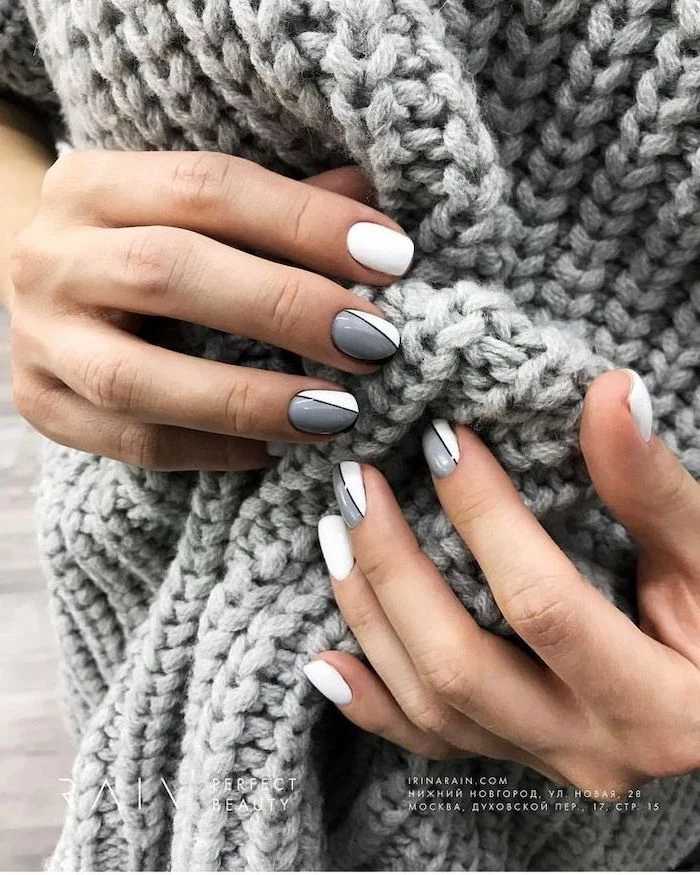
Matte Finish: Gives a cozy, cashmere-like texture to deep colors like navy or plum. It can, however, show oils from your skin, so a quick wipe with a cloth may be needed to refresh the look.
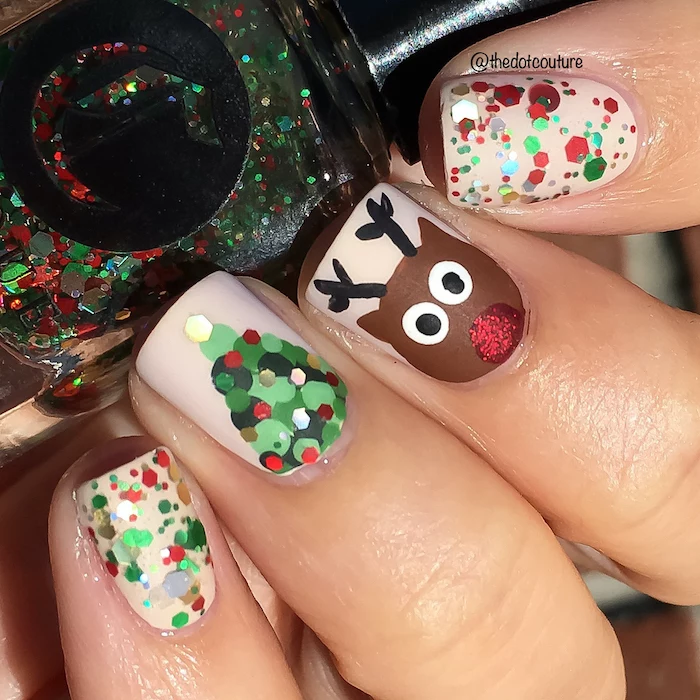
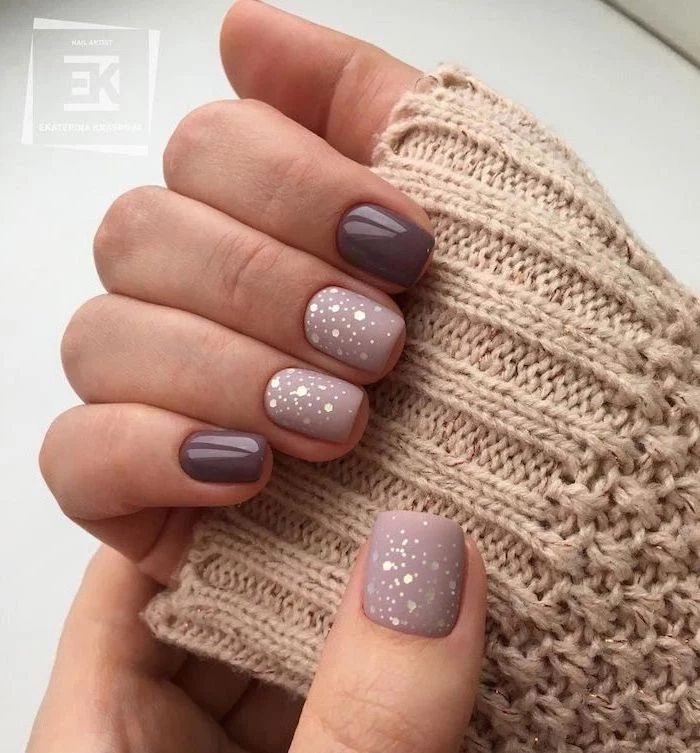
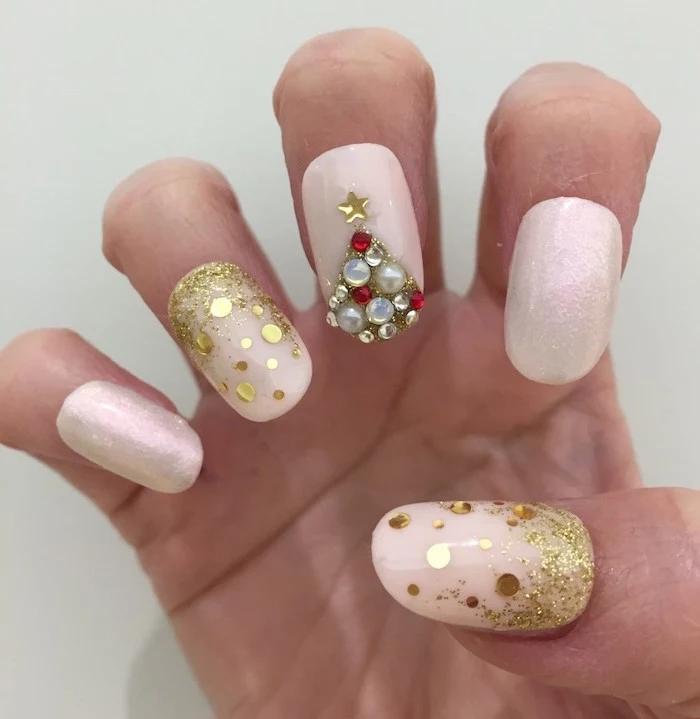
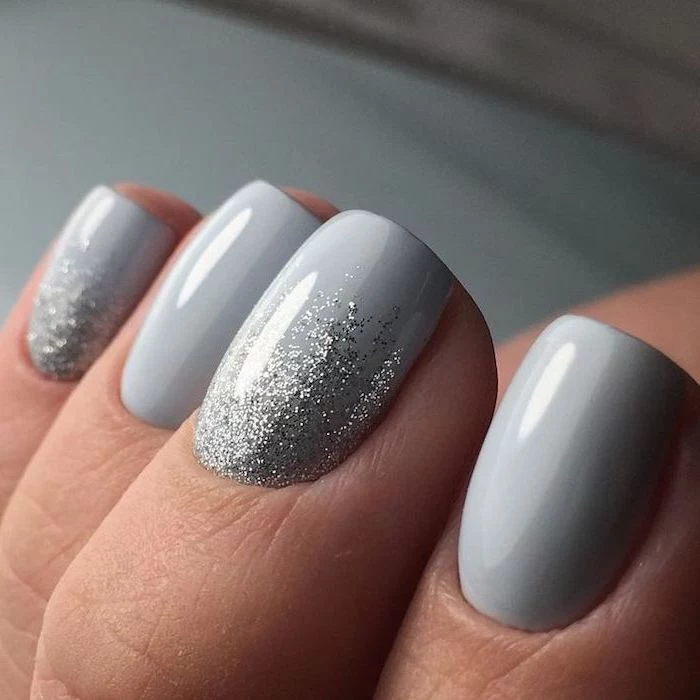
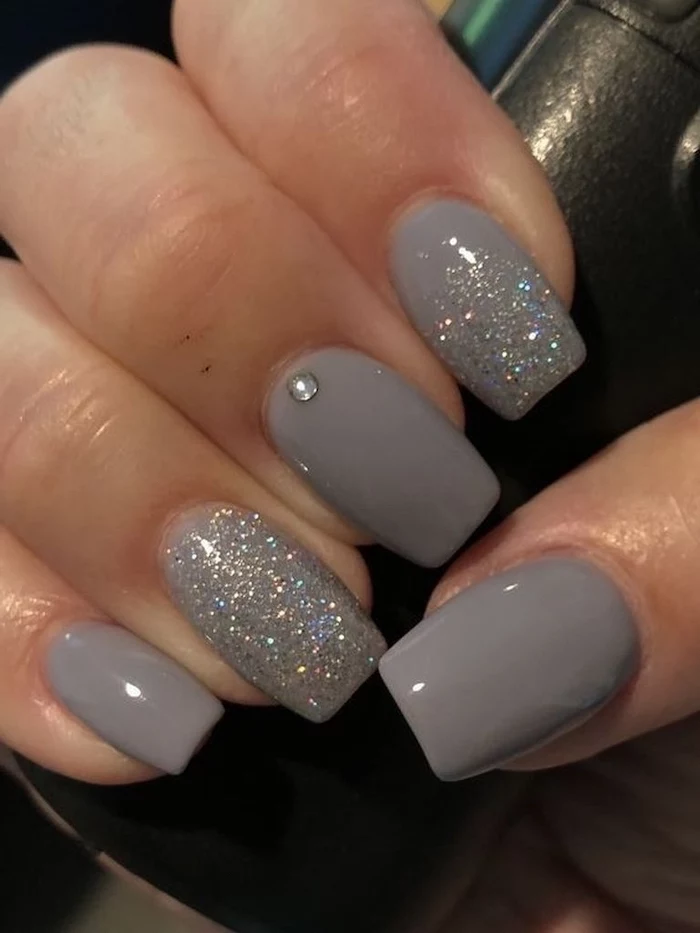
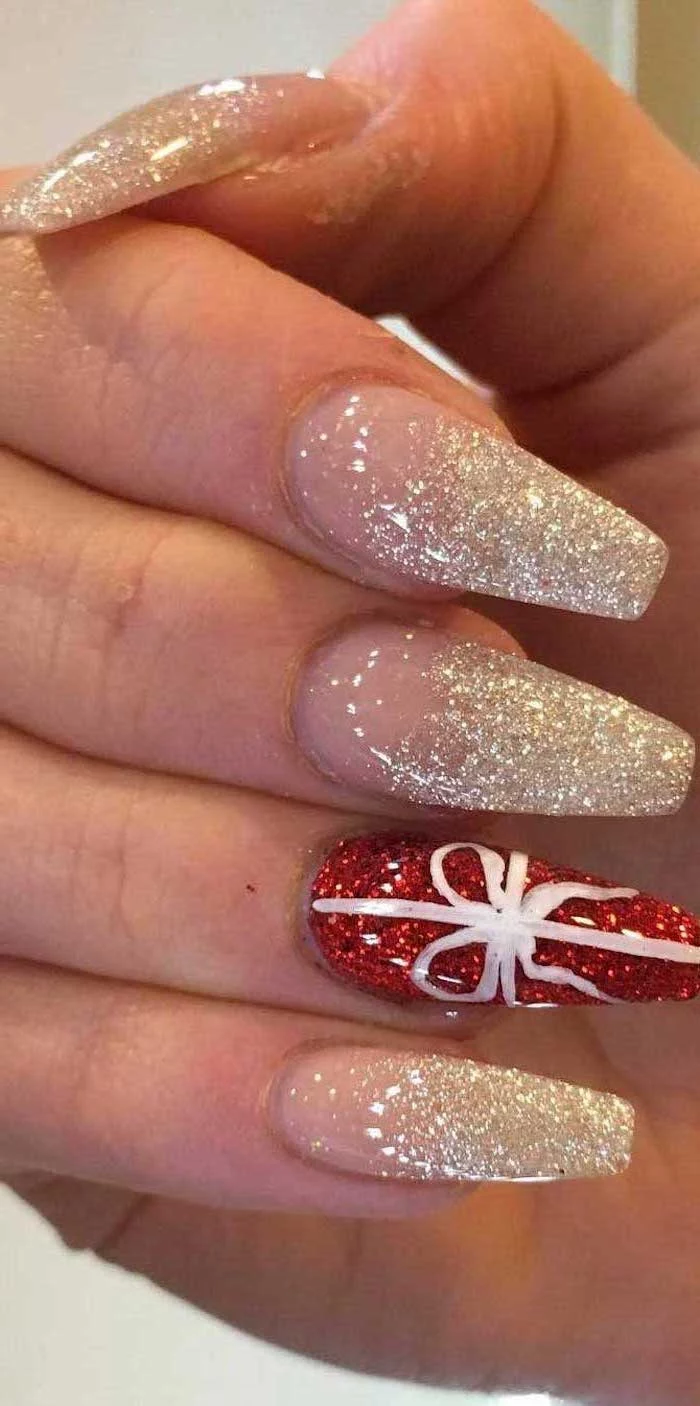
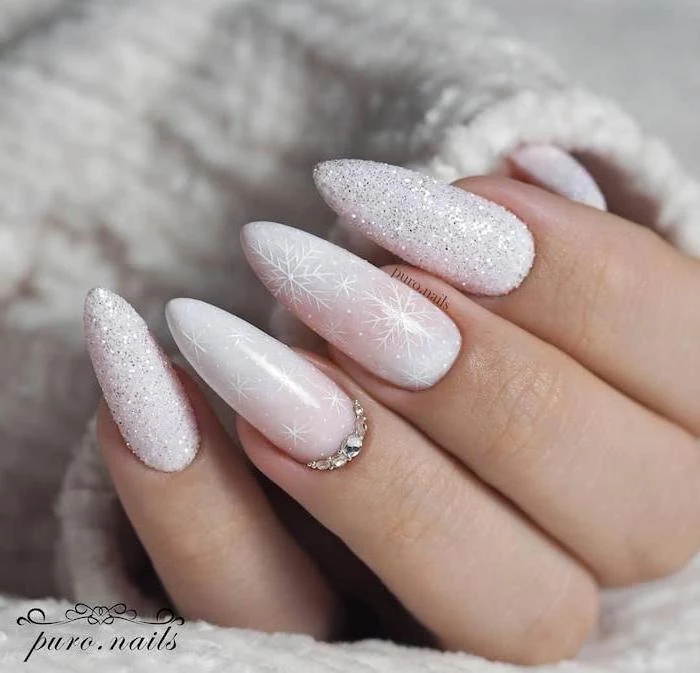
Glitter Finish: Perfect for the festive season, it distracts from minor imperfections and can last longer without showing chips. A brand like ILNP (I Love Nail Polish) offers stunning holographic glitters that catch the low winter light beautifully.
Your fingernails grow, on average, about 3.47 millimeters per month, but this rate can slow down in colder temperatures due to reduced blood flow to the extremities.
Don’t neglect your toes! Just because they’re hidden in boots doesn’t mean they’re immune to winter dryness. A pedicure with a focus on exfoliation and a deep-hydrating foot cream will prevent cracked heels and keep toenails from becoming brittle. Plus, it’s a great mood-booster on a dreary day.
Create your own intensely nourishing cuticle balm. Gently melt one tablespoon of shea butter with one teaspoon of coconut oil. Remove from heat and stir in 5-6 drops of vitamin E oil. Pour the mixture into a small, clean pot or tin (an old lip balm container works perfectly). Let it solidify. It’s a rich, preservative-free treatment for desperate cuticles.
- It won’t chip as you search for your keys.
- It strengthens nails against the cold.
- It extends the life of your color for days.
The secret? Applying a high-quality, fast-drying top coat like Seche Vite or Essie’s Gel Setter. Re-apply a thin layer every two to three days to refresh the shine and add a new layer of armor to your manicure.
That goopy polish problem: If your favorite winter shade has thickened in the cold, do not add acetone or nail polish remover! This will ruin the polish formula. Instead, use specialized nail polish thinner. Just two or three drops from a brand like OPI or Orly, followed by a good shake, will restore it to its original consistency without compromising its performance.
Consider giving your nails a ‘holiday’ with a ‘naked manicure’. This doesn’t mean leaving them completely bare. Instead, shape them neatly and apply one or two coats of a nail strengthener, like Sally Hansen’s Hard As Nails, and finish with a high-shine buff. It gives nails a clean, healthy, and polished look while allowing them to breathe and recover.
Removing glitter polish can be a nightmare, but the foil method saves your nails from excessive scrubbing and drying acetone exposure.
Soak a small piece of a cotton ball in remover, place it on your nail, and wrap the fingertip tightly in a small square of aluminum foil. Let it sit for 5-10 minutes. The glitter will slide right off with the cotton when you remove the foil.

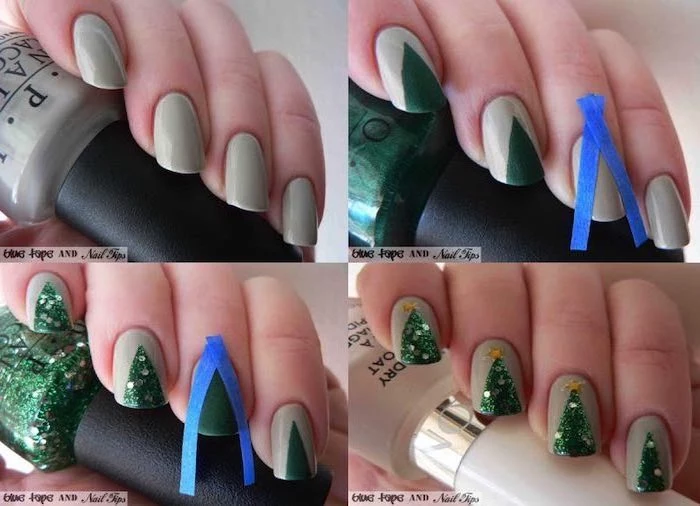

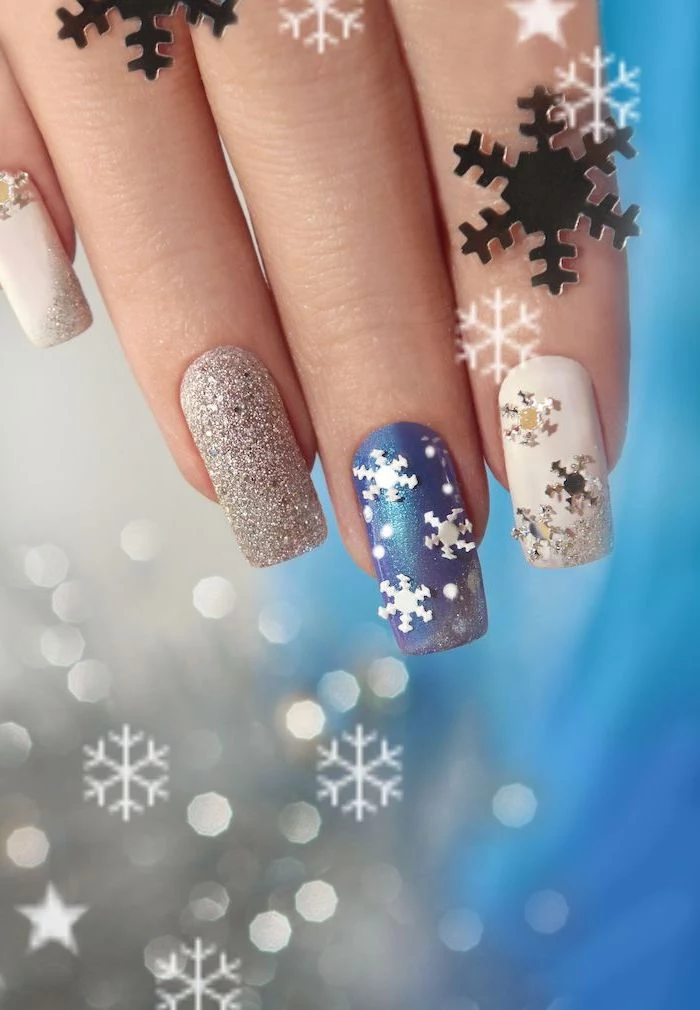
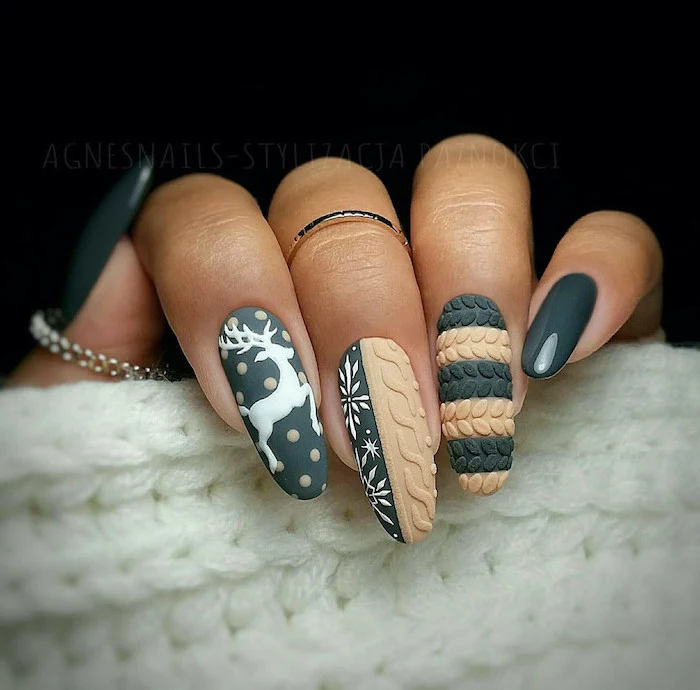
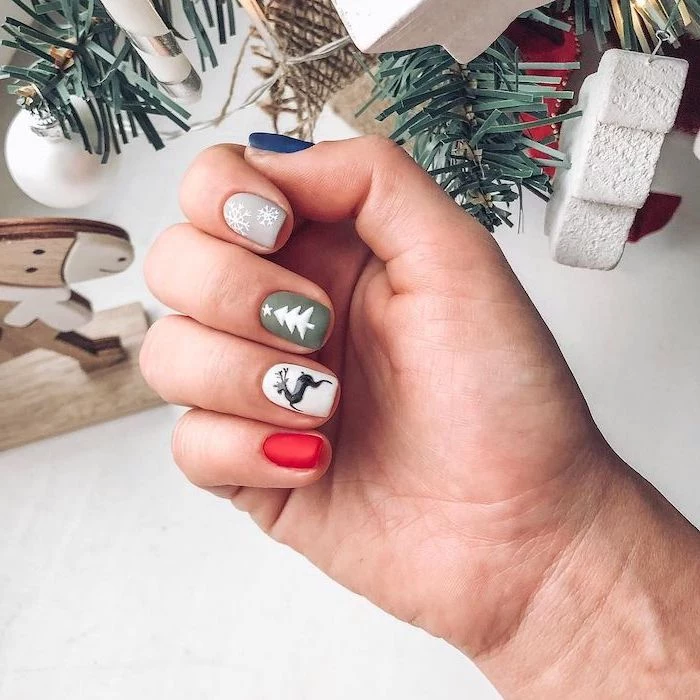
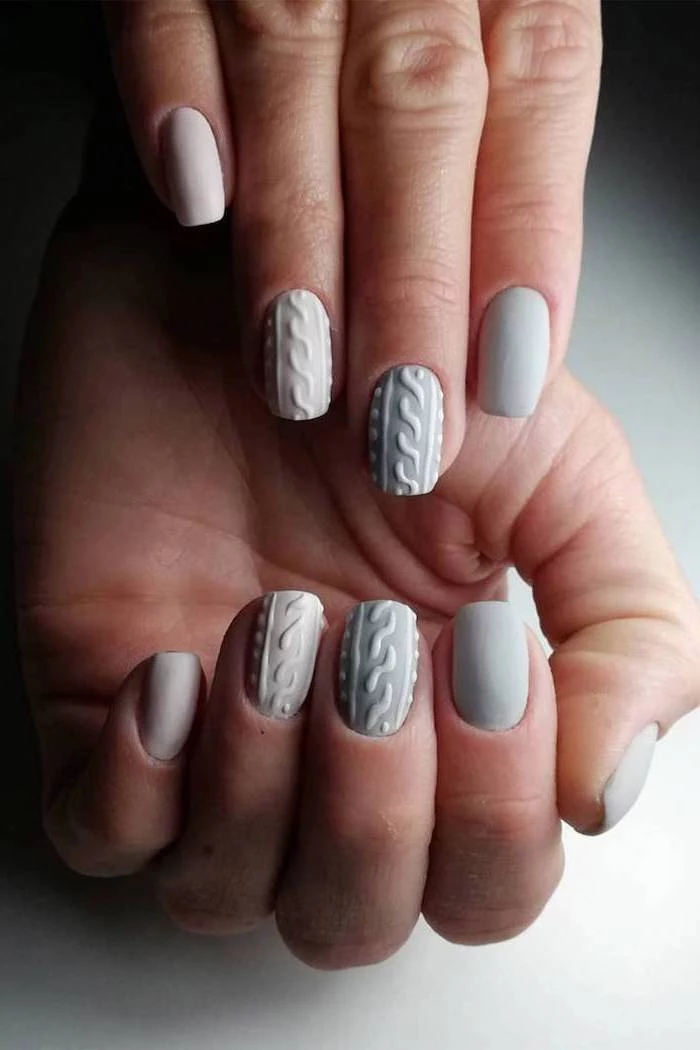
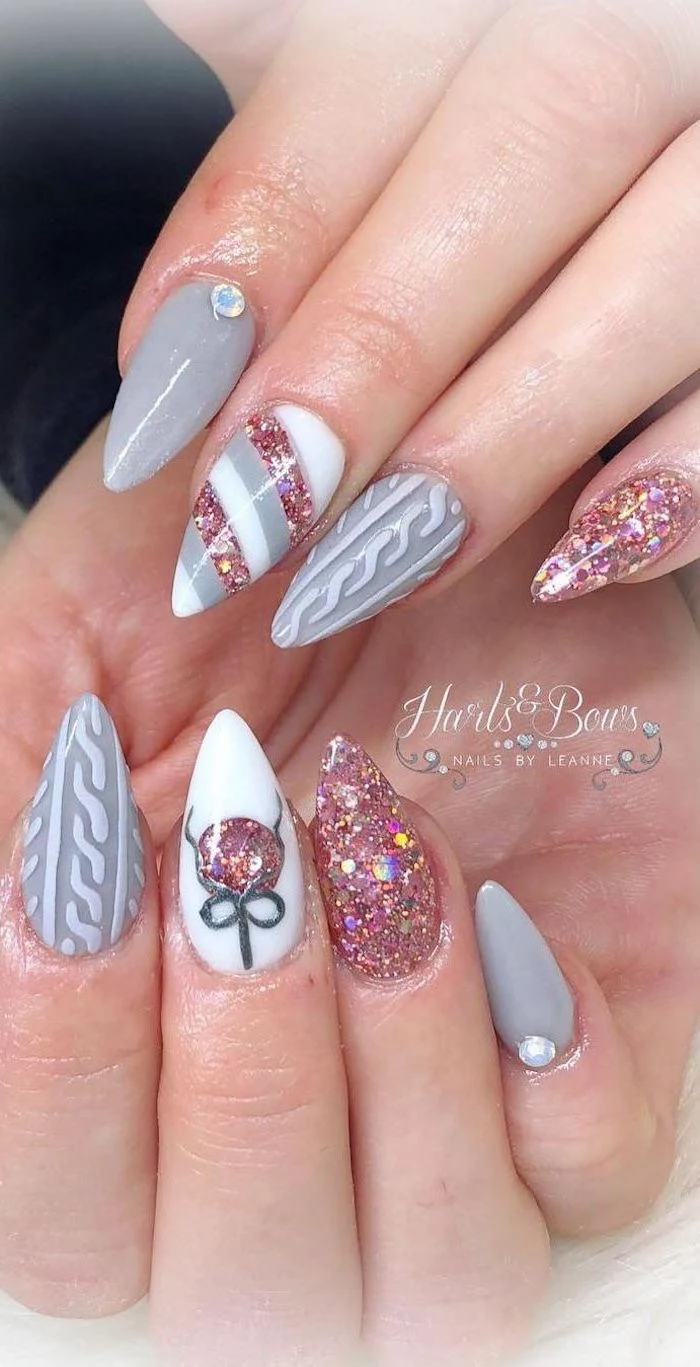
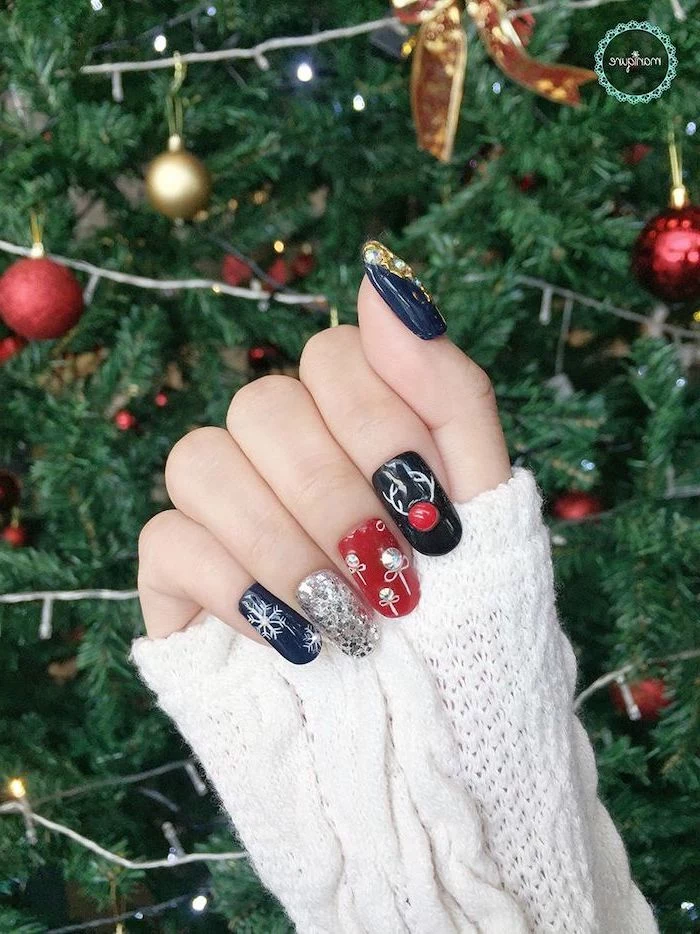
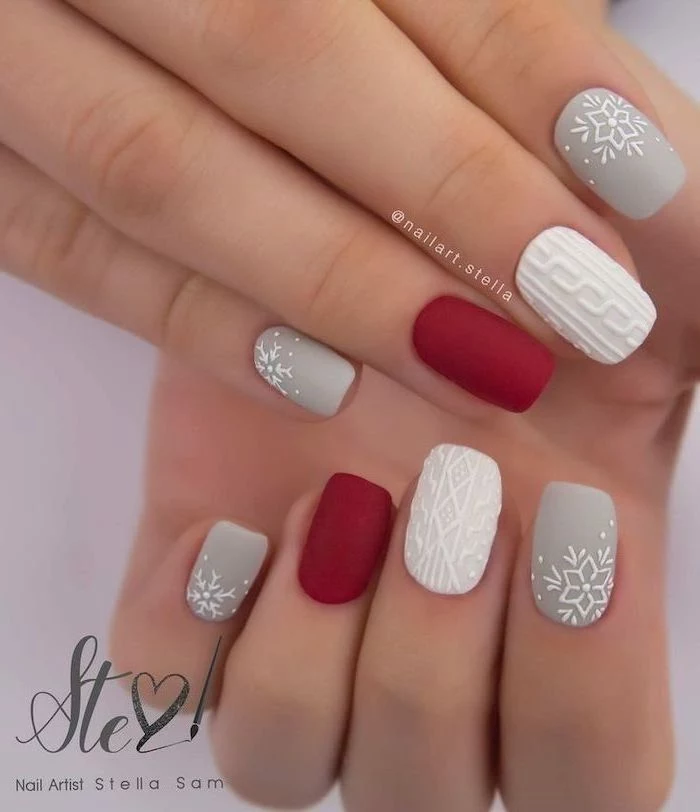
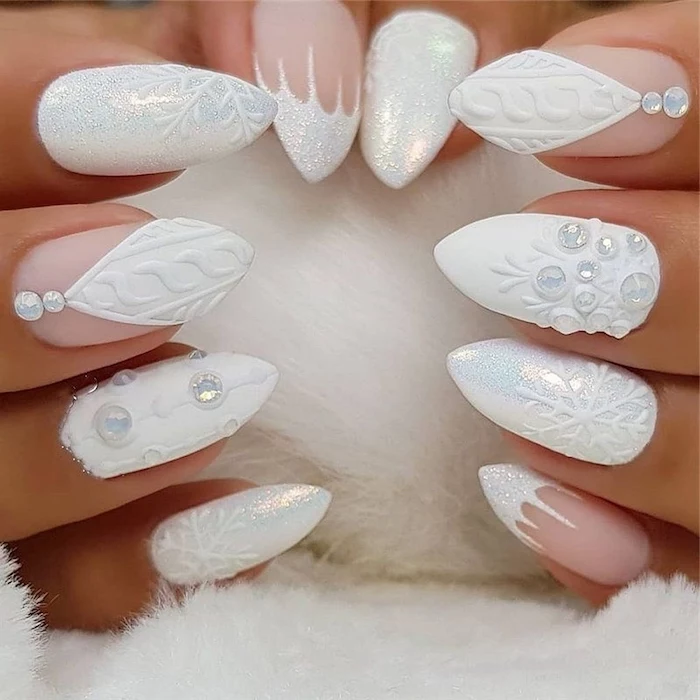
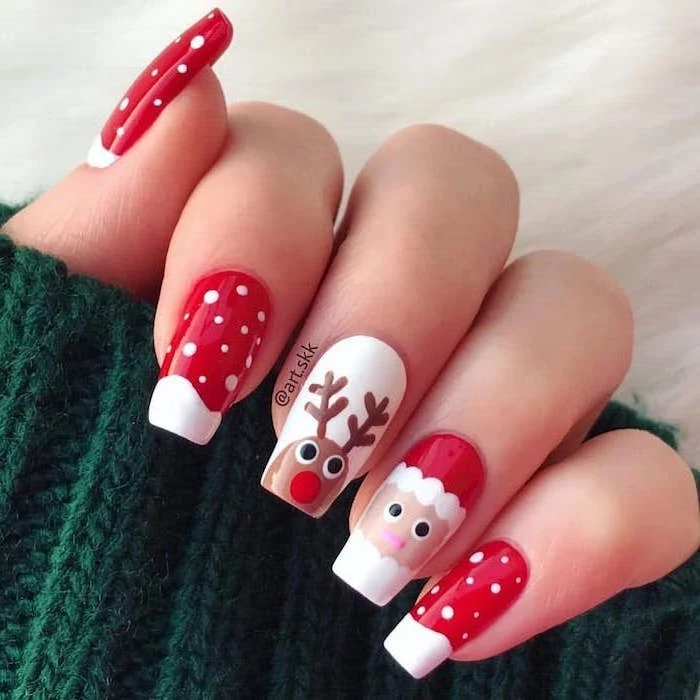
Winter nail art doesn’t have to be cliché. For a subtle nod to the season, try a ‘sweater nail’ accent. After your color coat, use a fine nail art brush to draw a cable-knit pattern with a matching 3D gel or a thicker polish. Curing it or letting it dry before applying a matte top coat creates a stunningly tactile effect.
- Use a polish remover that’s acetone-free and contains nourishing ingredients.
- Hydrate immediately after removing polish, before you do anything else.
- Never buff the surface of a weak, peeling nail.
Important point: Your vitamin intake matters. Nutrients like biotin, iron, and vitamin E are crucial for building strong keratin. While supplements can help, ensure your winter diet includes nail-friendly foods like eggs, spinach, nuts, and sweet potatoes to fortify your nails from the inside out.
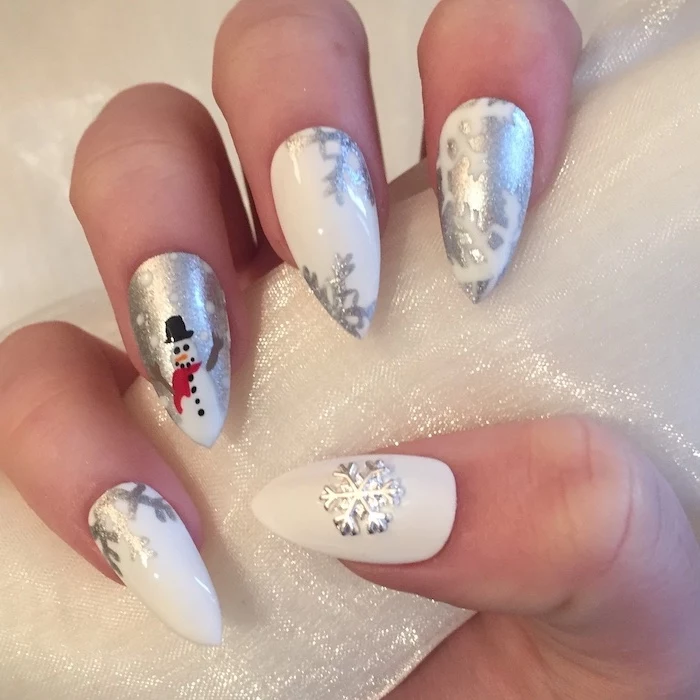
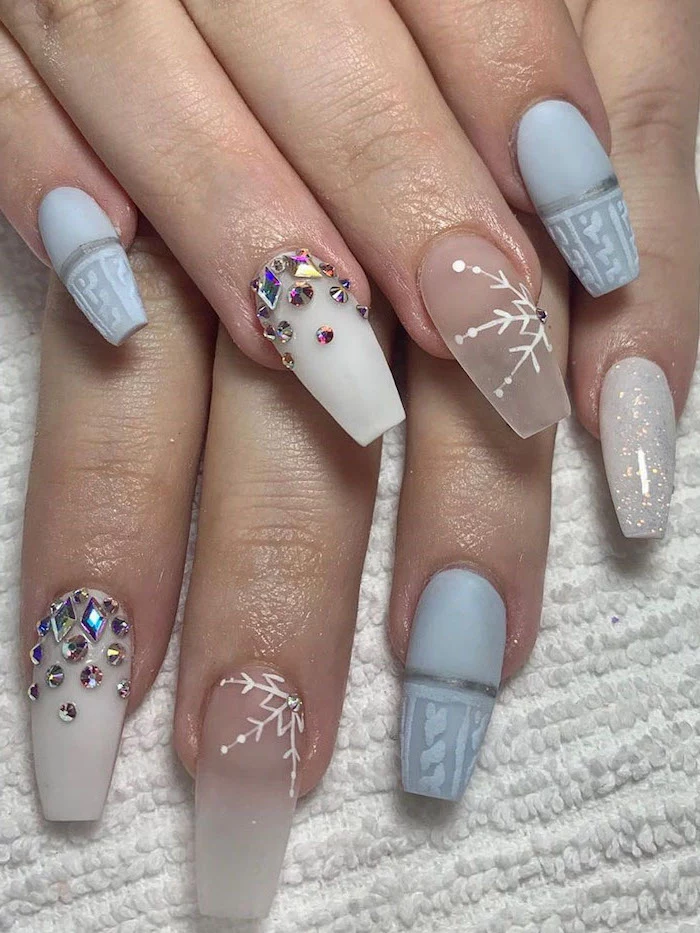
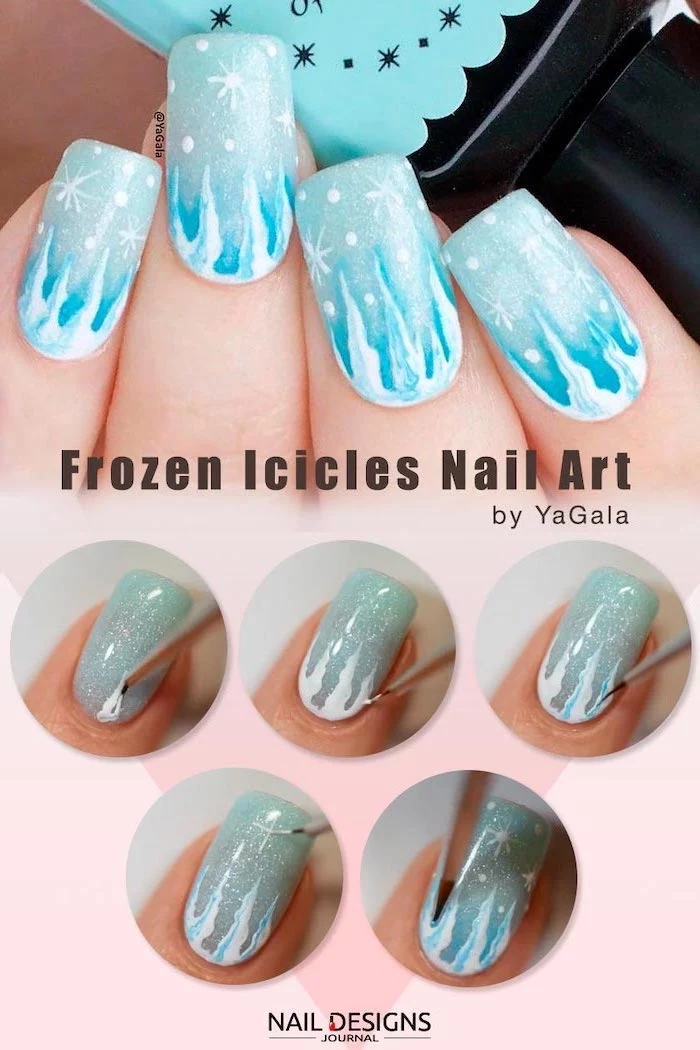
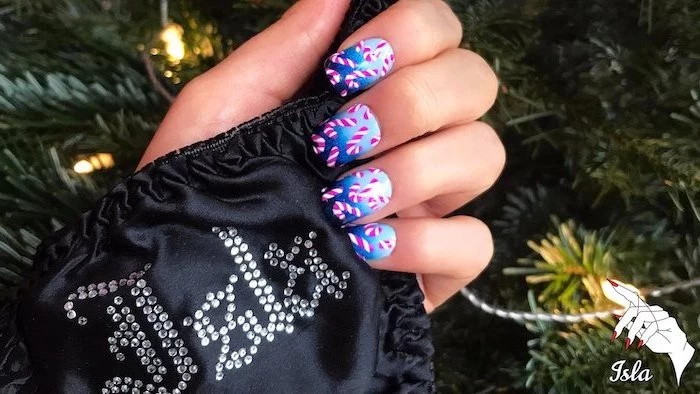
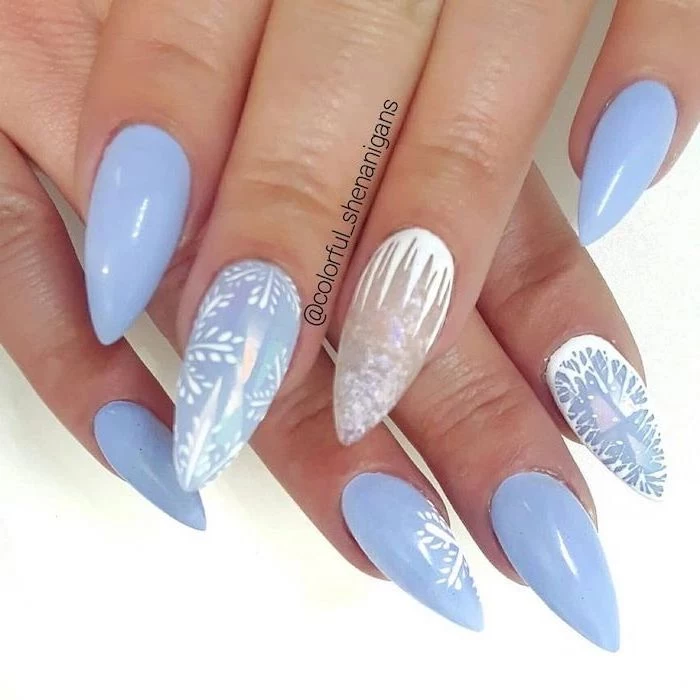
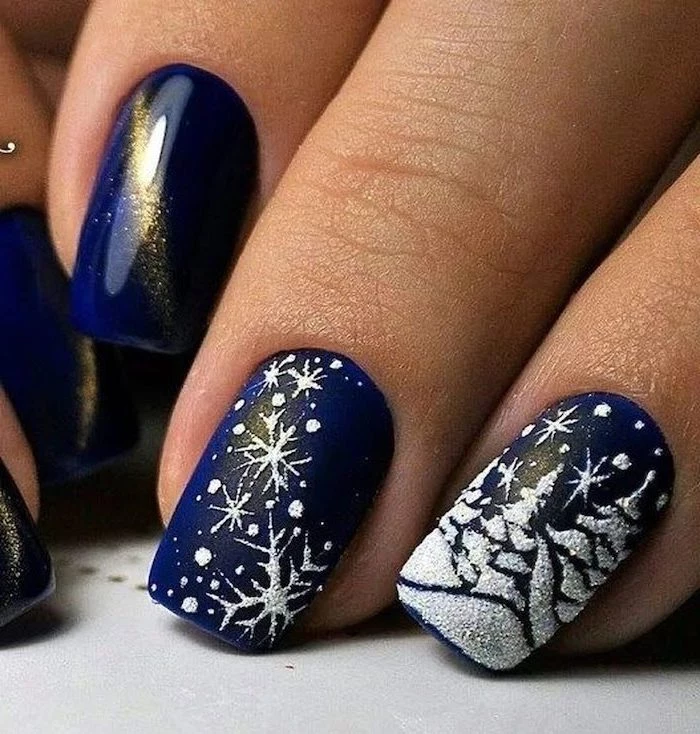
The power of icy pastels. While deep jewel tones are a winter staple, don’t overlook the chic impact of a pale, frosty color. A sheer baby blue, a milky lavender, or a soft mint green with a pearlescent finish can look incredibly modern and evoke a ‘snow queen’ vibe against pale winter skin.


Are my nails getting enough sun?
Probably not, and that can affect Vitamin D synthesis, which plays a role in nail health. While you should always wear sunscreen on your hands during prolonged exposure, allowing your bare nails 10-15 minutes of sun a few times a week can be beneficial. It’s a good excuse for a brisk, glove-free walk on a sunny winter day.
Think about your polish’s ‘wardrobe’. A deep, glossy oxblood like Essie’s ‘Wicked’ feels luxurious and classic, while a shifty, multichrome polish that moves from green to purple captures the magic of the Northern Lights. Changing your nail color is the easiest way to shift your mood and accessorize for the season.


