Your Guide to Flawless Red Chrome Nails (The Kind That Actually Lasts)
I’ve been doing nails for a long, long time, and I’ve seen trends come and go. Some are fun for a season, but others just hit differently. Red chrome nails are definitely in that second category. They aren’t just metallic—when done right, it’s a true, liquid-metal mirror finish that makes your nails look like little pieces of jewelry. The way clients’ eyes light up when they see that perfect reflection is still one of my favorite things.
In this article
But let’s be honest, achieving that flawless look isn’t as simple as just rubbing some shiny powder on your nails. There’s a science to it, and the difference between a stunning, liquid-metal finish and a streaky, glittery mess comes down to technique. I’ve spent years troubleshooting chrome in my salon, and I’m going to walk you through the whole process, from the gear you need to the little secrets that make all the difference.
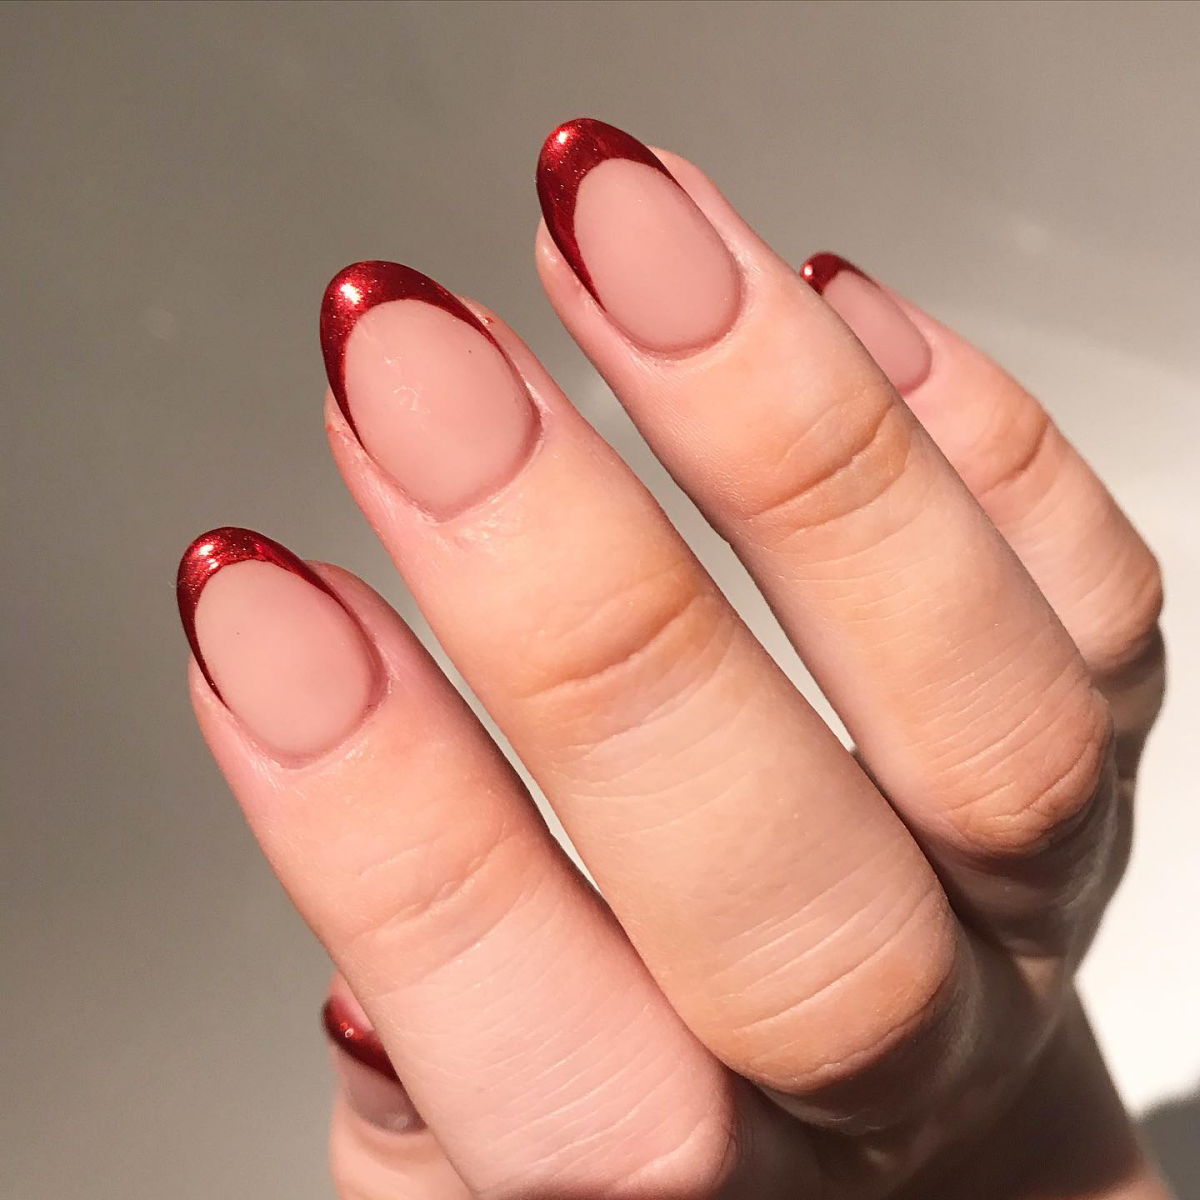
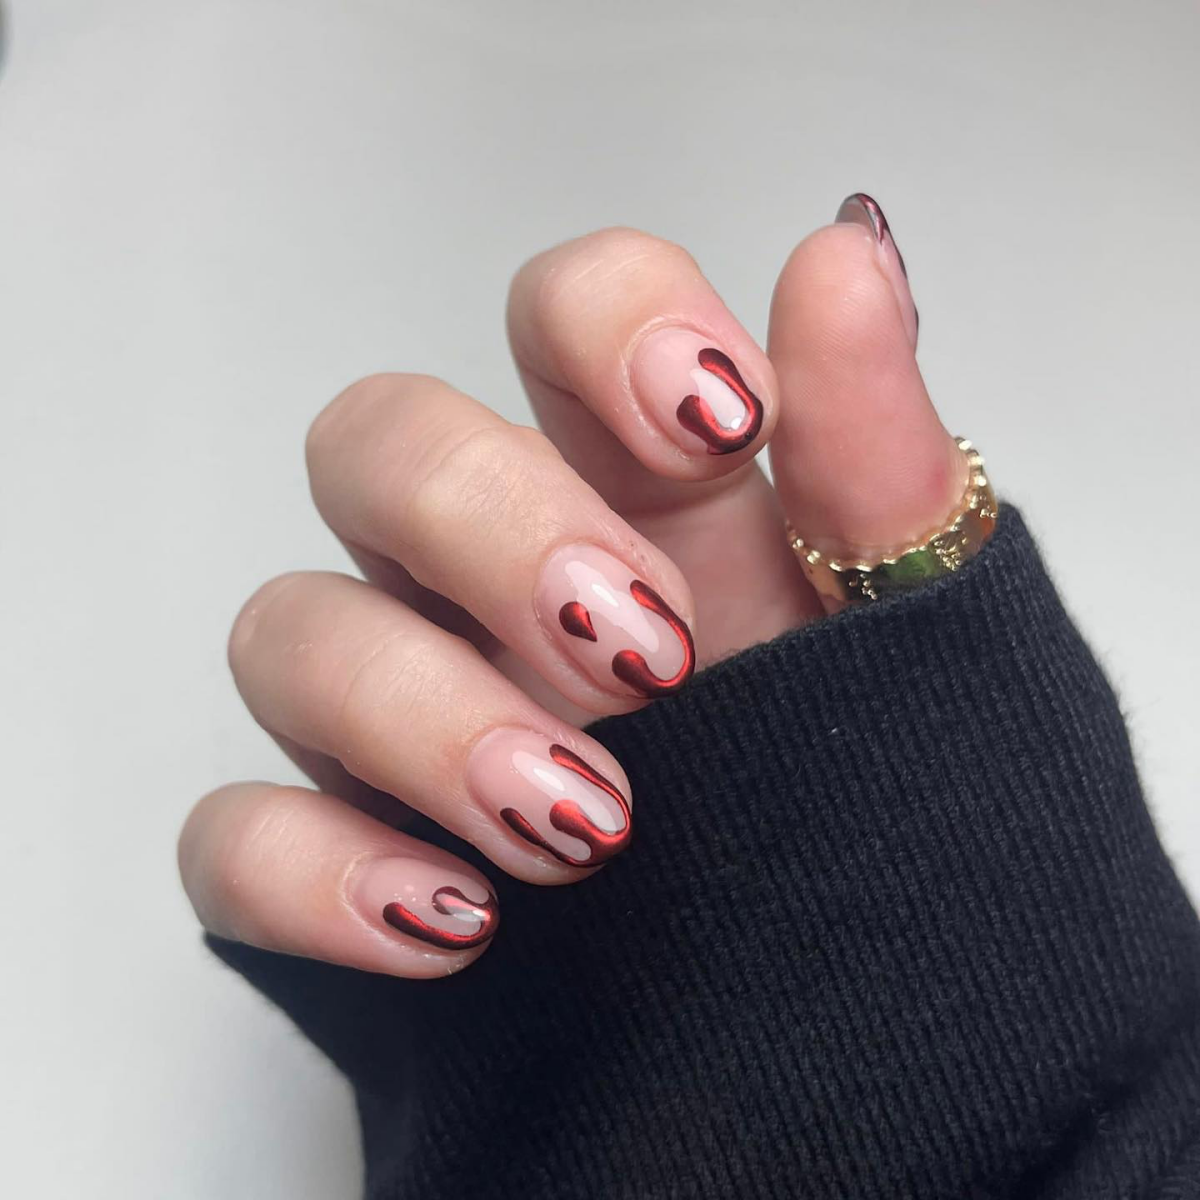
Heads up: This is a more advanced manicure. Plan for about 1.5 to 2 hours for a full set. If you’re new to this, maybe try an accent nail first to get the hang of it without the pressure!
First, Why Does Chrome Even Work?
To get a great result, you have to know what you’re working with. Chrome powder isn’t glitter. It’s made of impossibly fine metallic flakes, basically microscopic mirrors. The whole magic trick of a chrome finish is getting millions of these tiny flakes to lie perfectly flat and uniform against the nail.
When they’re all aligned, light bounces off in a single direction, creating that jaw-dropping mirror effect. If the flakes are jumbled up or sitting on a bumpy surface, light scatters everywhere. That’s what gives you a dull, grainy look instead of a true chrome reflection.
Oh yeah, and the powder itself needs a special partner: a “no-wipe” gel top coat. A regular gel top coat leaves a sticky layer after it cures, which would turn your chrome powder into a clumpy nightmare. A no-wipe top coat cures to a hard, slick surface, creating the perfect canvas for the powder to be polished—or “burnished”—onto. Getting this part right is the first major key to success.
The Gear: Your Chrome Nail Shopping List
Thinking of trying this at home? It’s totally doable, but you need the right tools. Cutting corners here is a recipe for frustration. Here’s a rundown of what you’ll need, which you can find at pro nail supply stores or online.
- A Decent LED Lamp: This is a non-negotiable. You need a lamp that’s at least 36-48 watts to cure the gel properly. Weaker lamps just won’t cut it.
- Cosmetic-Grade Chrome Powder: You get what you pay for. The super cheap powders on sites like Amazon or Temu are often craft-grade and won’t give you a true mirror effect. Expect to pay between $15 and $30 for a small pot of high-quality powder from a reputable nail brand.
- No-Wipe Gel Top Coat: Make sure the bottle specifically says “No-Wipe” or “Tack-Free.” This is the magic liquid.
- Gel Base Coat & Base Color: A standard gel base coat and your chosen color (we’ll get to that!).
- Silicone Applicator: Ditch the fuzzy eyeshadow applicators that come in cheap kits. A small, silicone-tipped tool is what the pros use. It doesn’t shed fibers and gives a much smoother polish.
- The Basics: You’ll also need 99% isopropyl alcohol, lint-free wipes, and a fine-grit buffer (220-grit or higher).
Quick budgeting tip: A good DIY starter kit with a solid lamp, a few essential polishes, and a pro-grade powder will probably run you about $150. In a salon, a full set of chrome nails usually costs between $70 and $100, which is typically a $20 to $40 add-on to a standard gel manicure. It costs more because of the extra time, skill, and specialized products involved.
The Step-by-Step to a Perfect Finish
In the salon, we follow this process religiously. Every single step matters. Rushing one will absolutely show up in the final product.
Step 1: The Prep Has to Be Perfect
You can’t get a mirror finish on a bumpy road. Chrome will highlight every tiny flaw. Start with a thorough dry manicure, pushing back and trimming any dead cuticle skin. Shape the nails and then gently buff the entire surface with a fine-grit buffer. You’re just removing the shine, not filing the nail down.
Then, scrub the nail plate with a lint-free wipe soaked in 99% isopropyl alcohol. This removes all dust and oils. And from this moment on, no touching your nails or running your hands through your hair!
Step 2: Choose Your Base Color
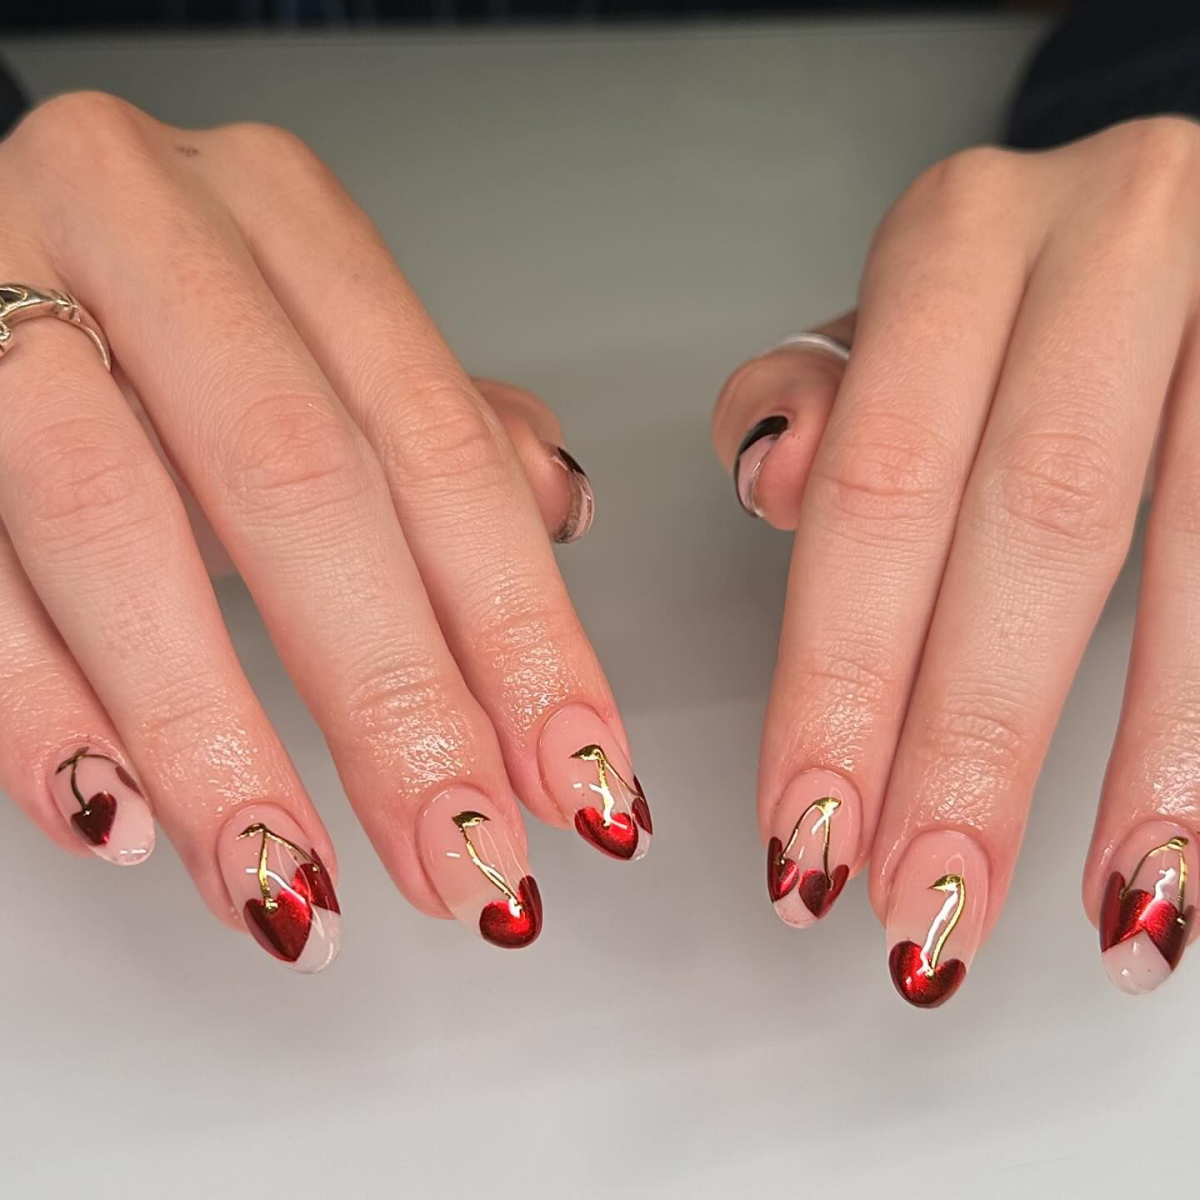
Chrome powder is semi-sheer, so the color underneath dramatically changes the final look. This is where you can get creative.
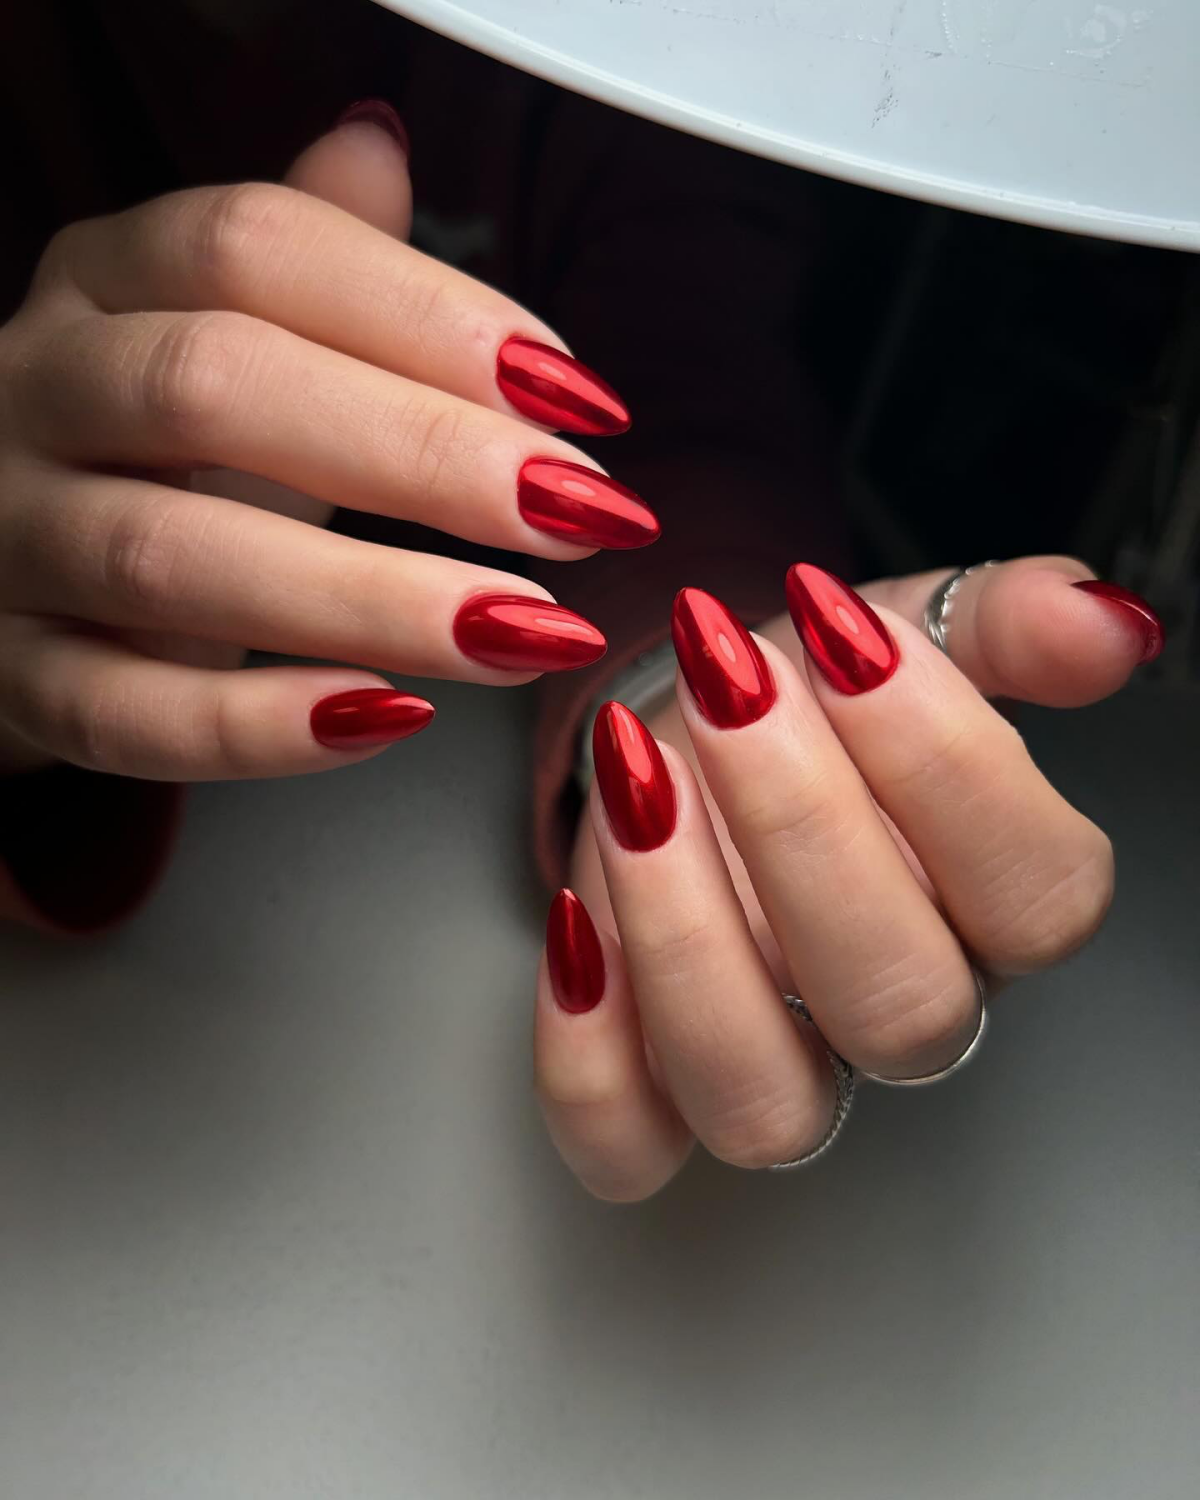
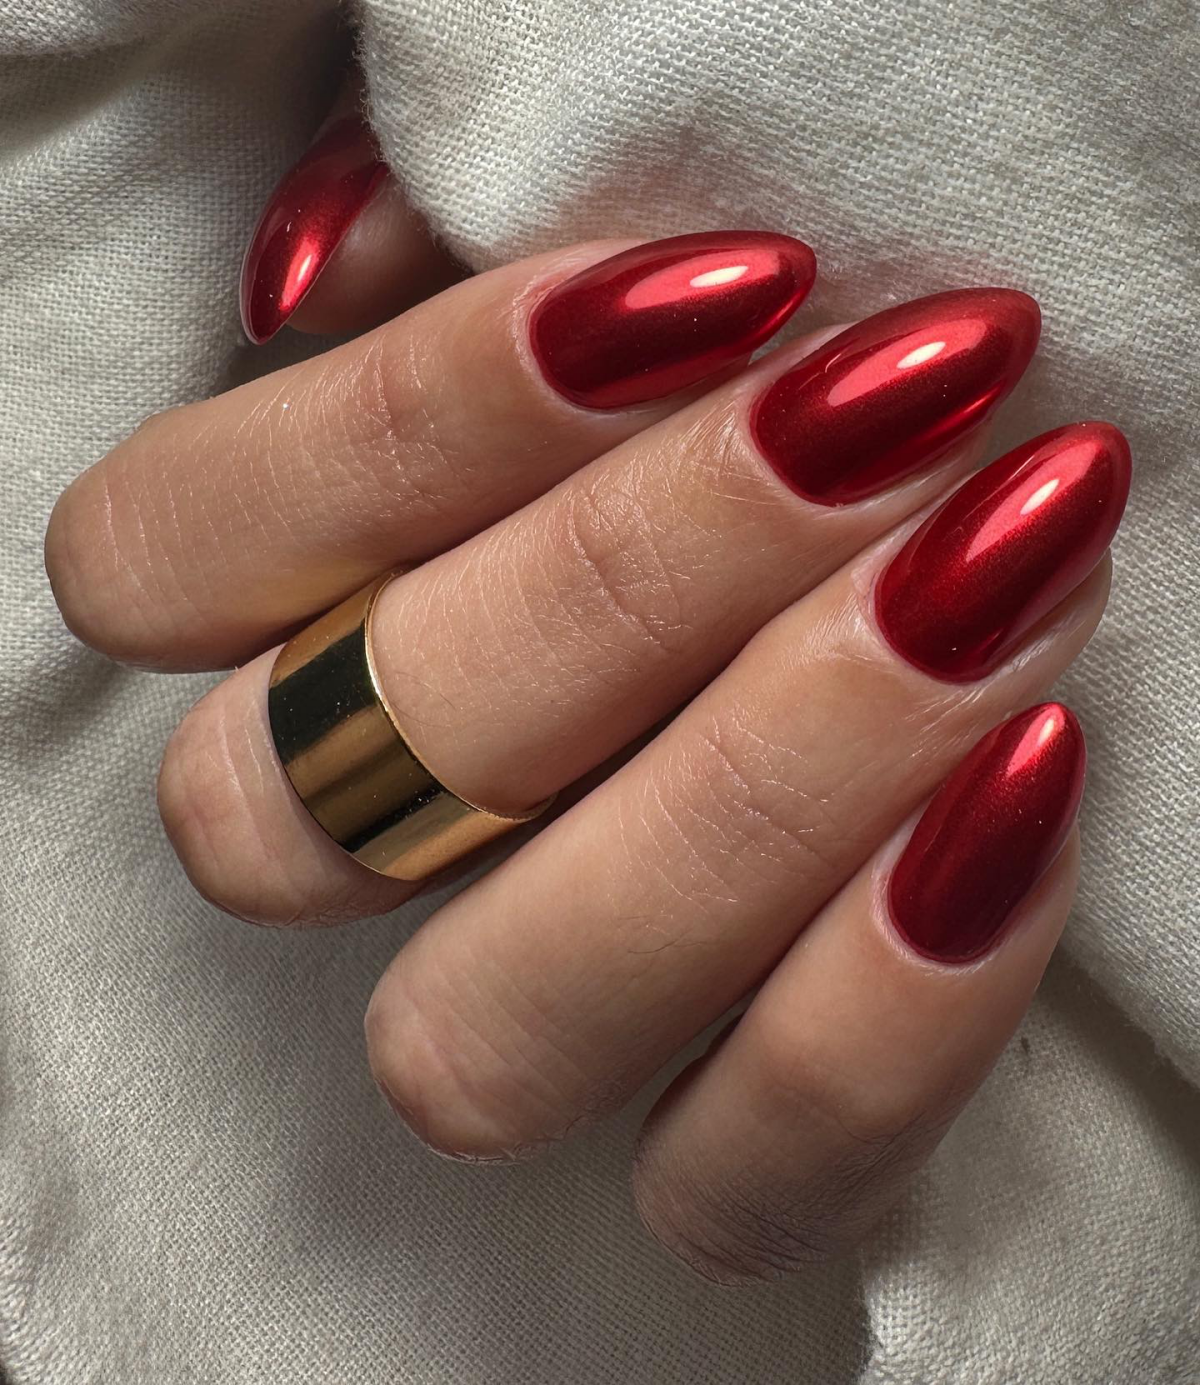
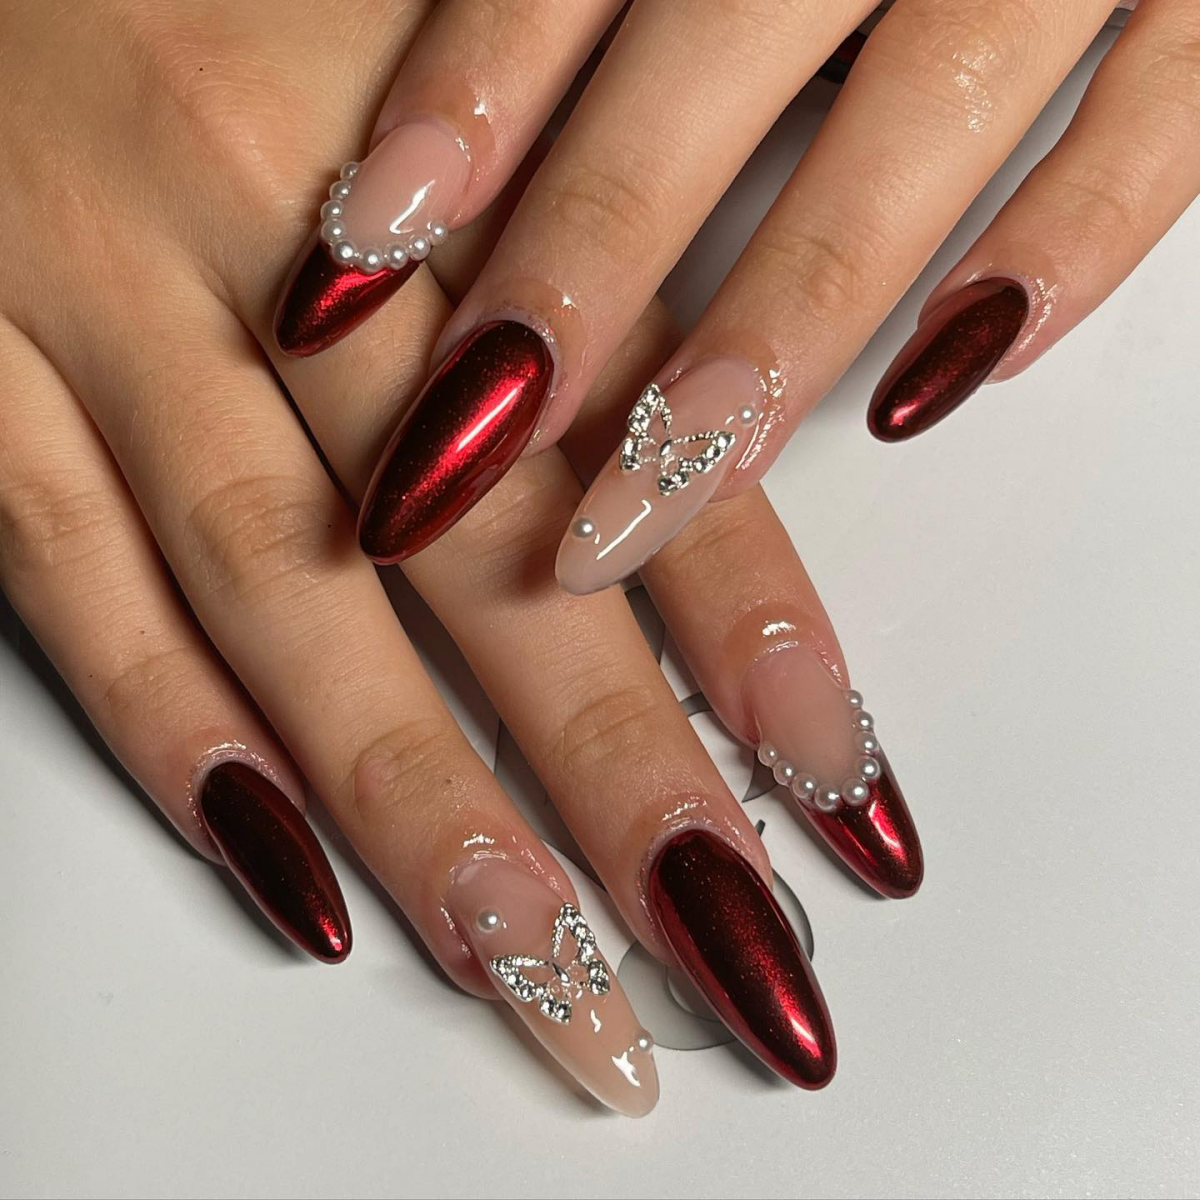
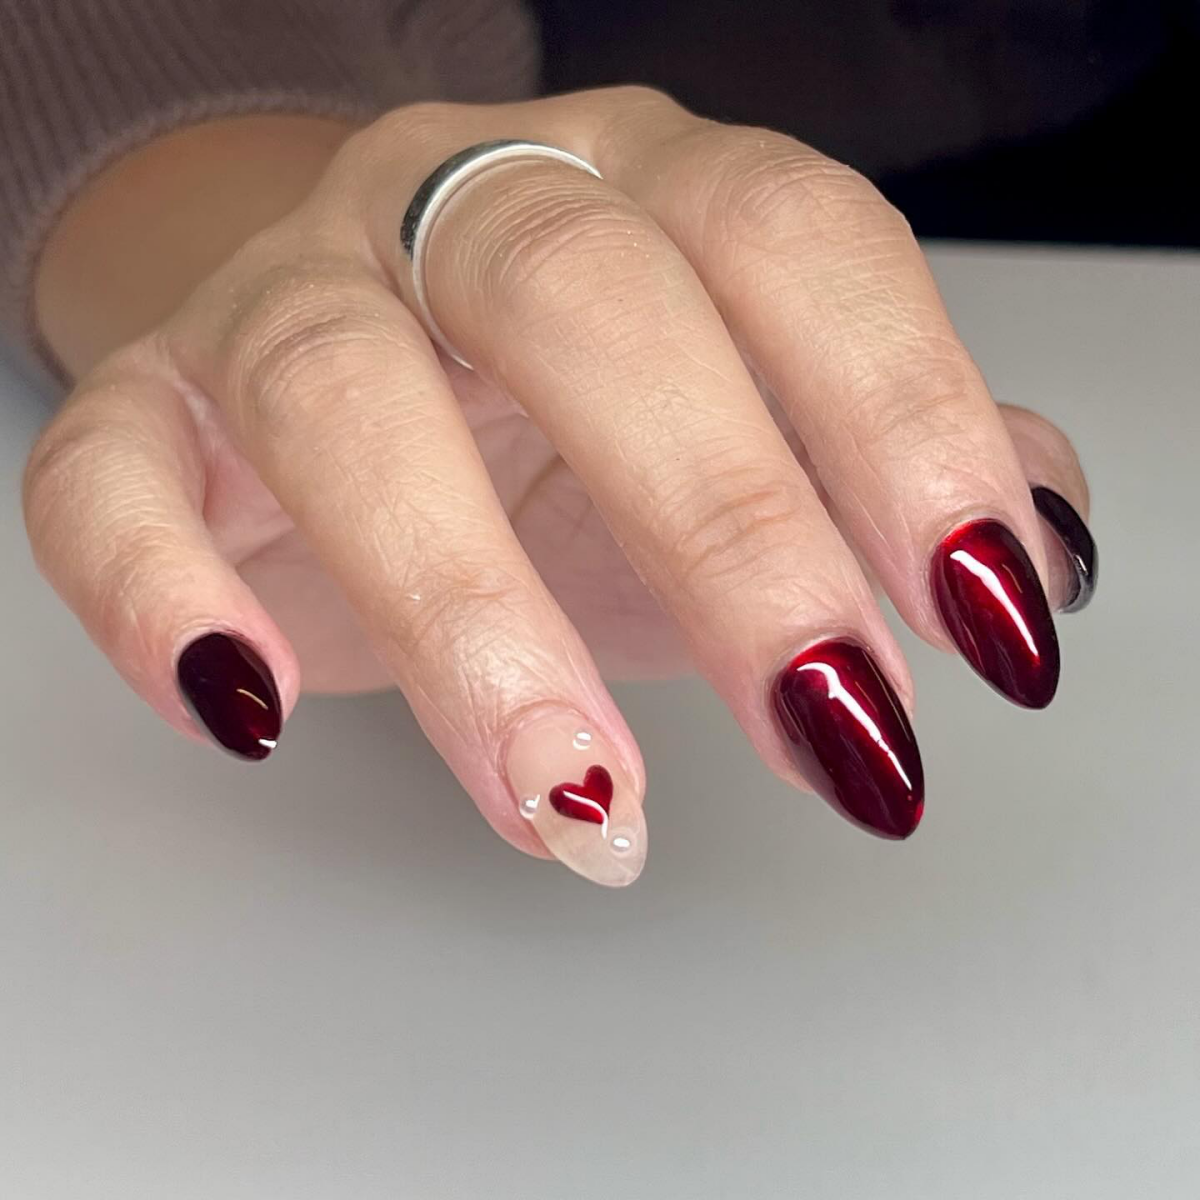
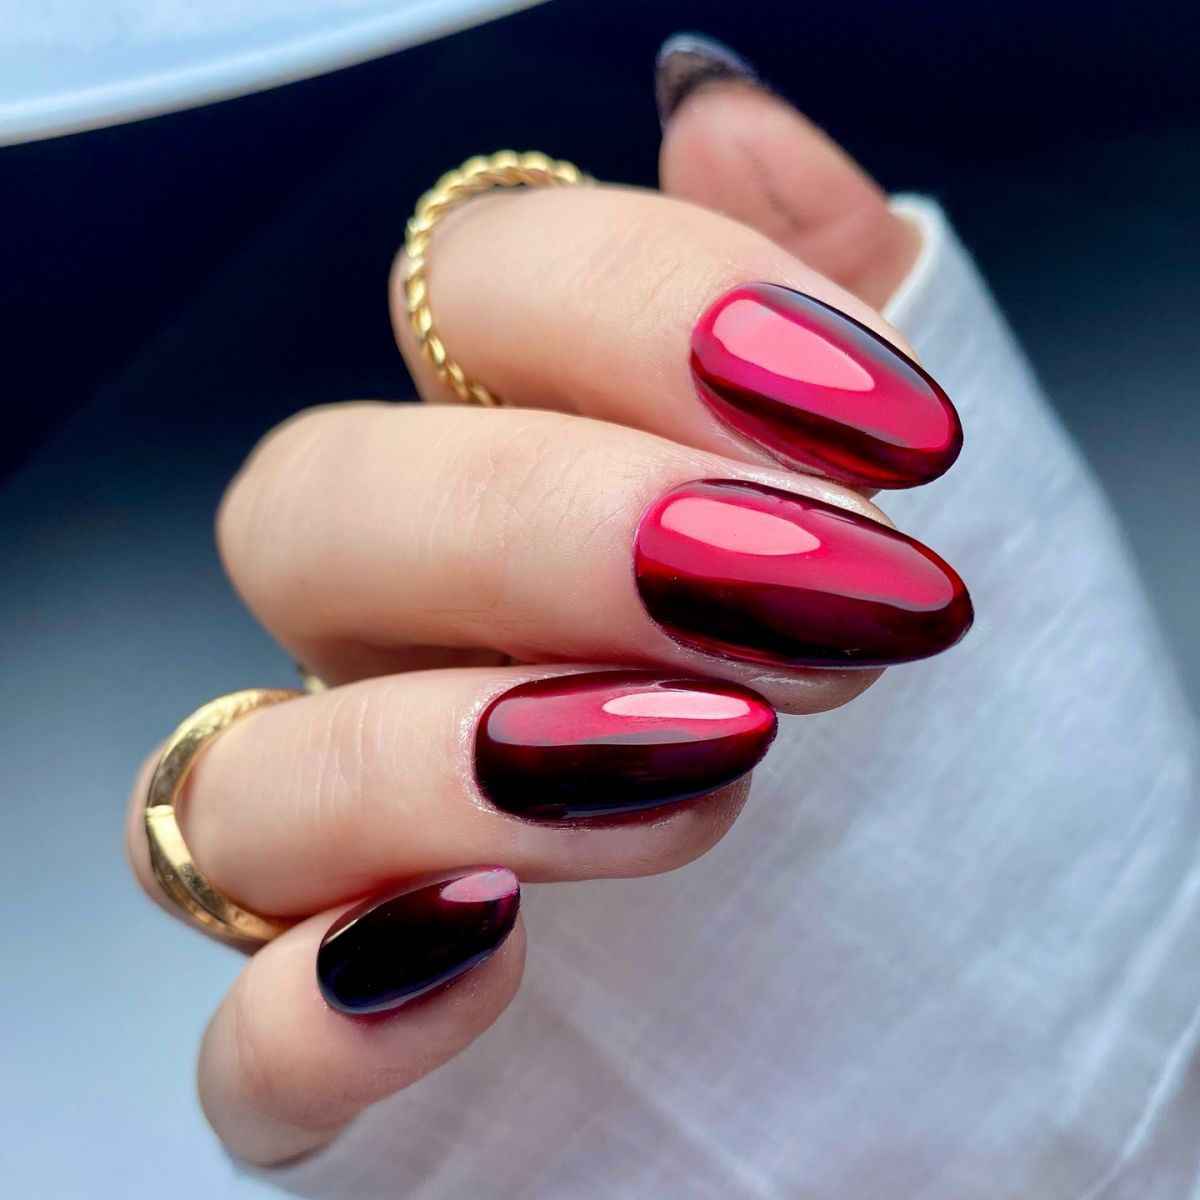
- For a deep, rich ruby red: A black gel polish base is the industry standard. It creates an incredible depth that looks like liquid metal. Apply two thin coats, curing each one fully.
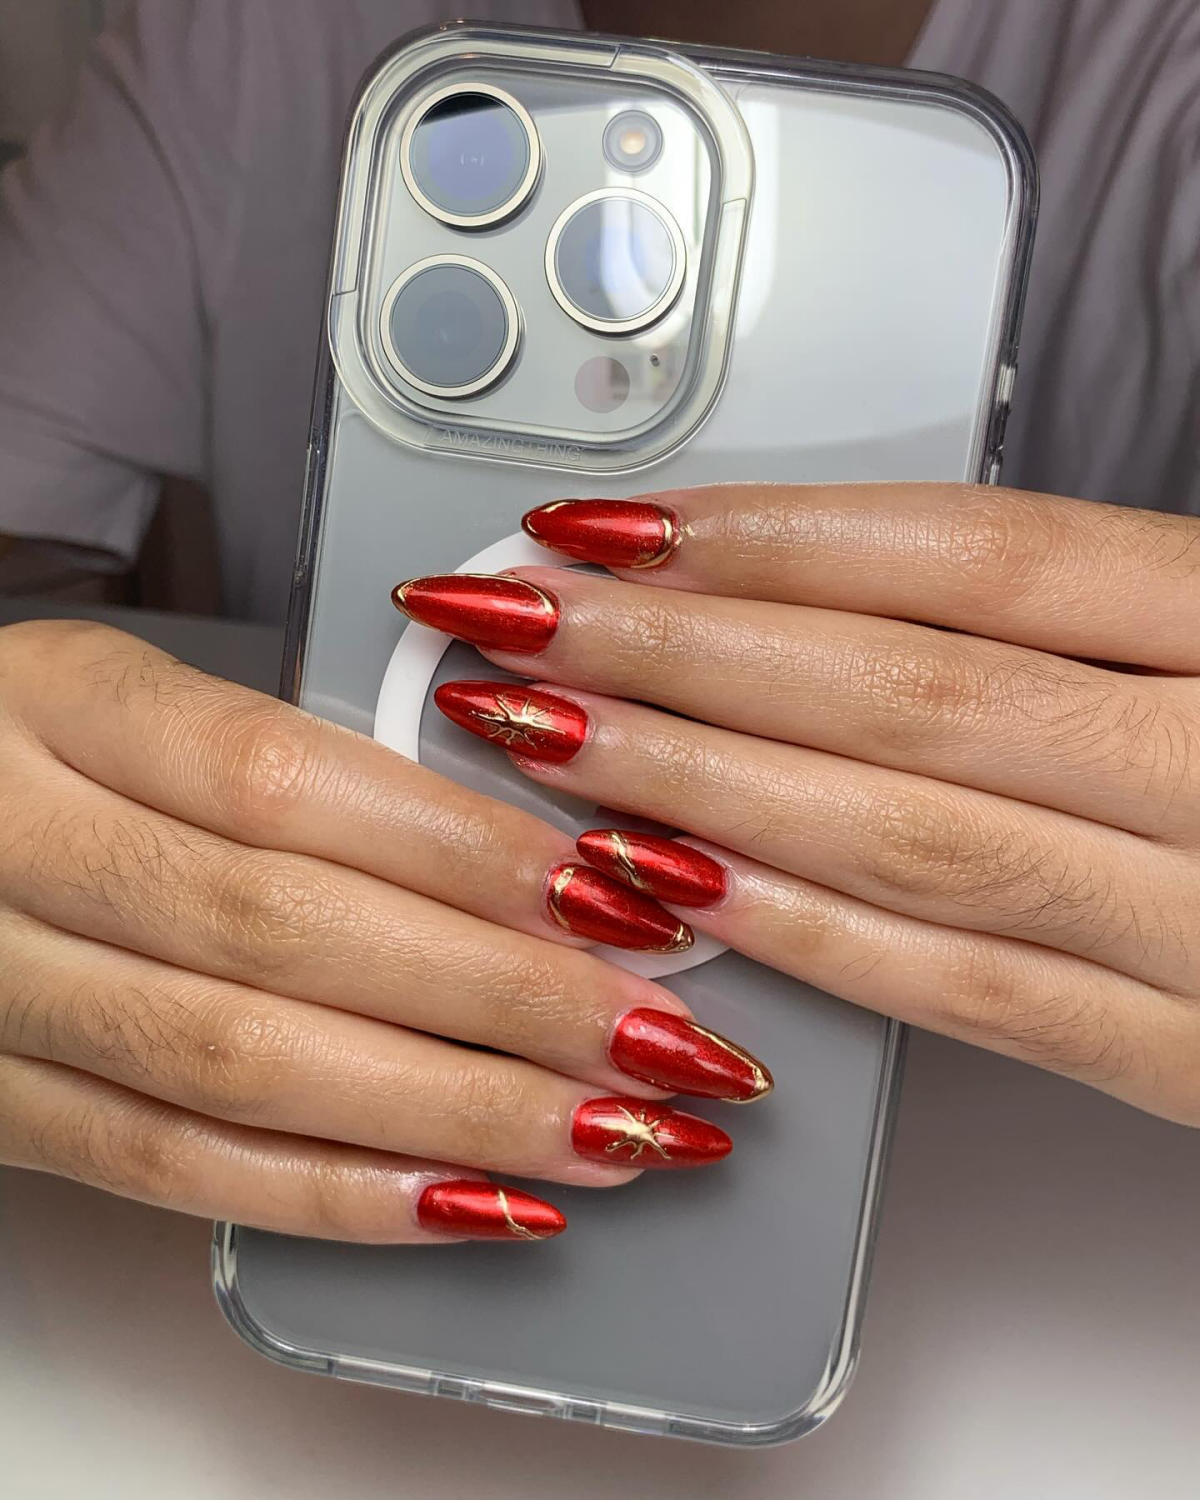
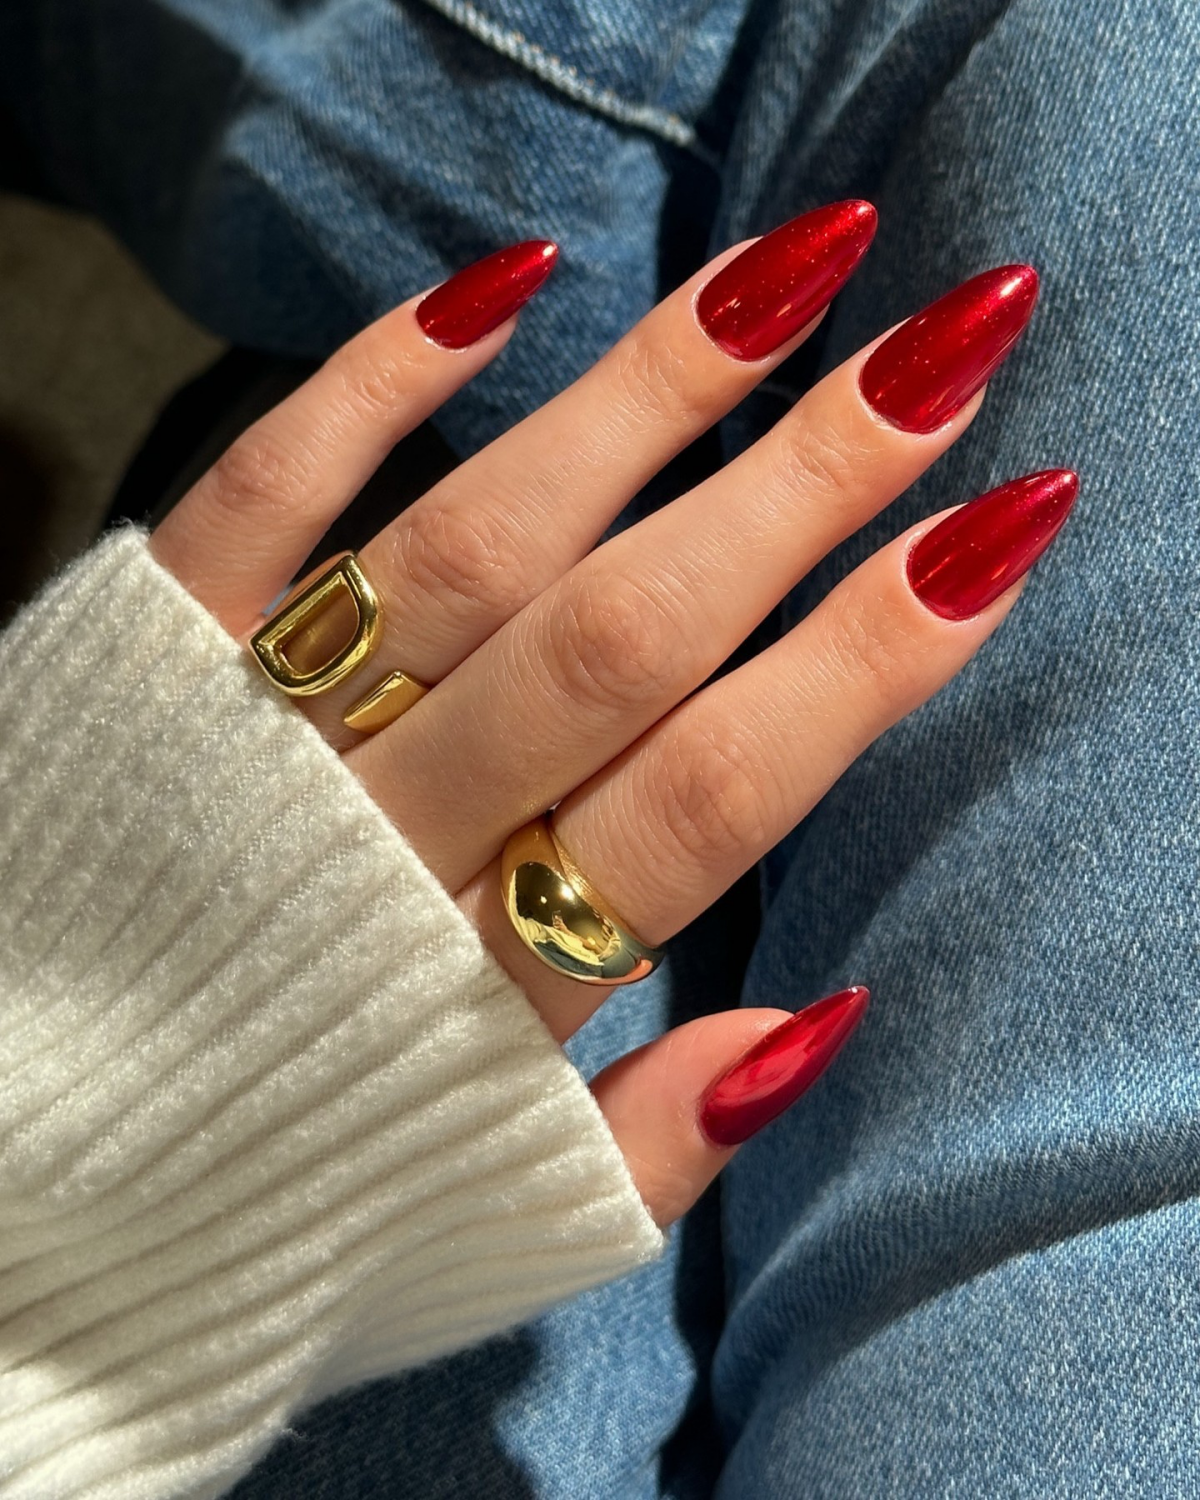
- For a bright, true fire-engine red: Use a red gel polish that matches your powder. The result is super vibrant and intense.
- For a softer rose-gold vibe: Try a nude or light pink base. The lightness underneath will give the red chrome a delicate, pinkish hue.
Whatever you choose, make sure the application is smooth and even. No streaks!
Step 3: The Critical No-Wipe Top Coat Cure
Alright, this is the make-or-break moment. Apply a thin, even layer of your no-wipe top coat, making sure to run the brush along the tip of the nail to “cap the free edge.” Now for the cure time… this is everything.
- Under-cure it, and the surface will be too soft. The powder will dig in and look patchy.
- Over-cure it, and the surface becomes too hard and glassy. The powder won’t stick at all.
So how do you find the perfect time? You have to test it. I learned this the hard way once when I tried a new top coat brand. I cured it for my usual 30 seconds and the powder just slid right off! It was a good reminder to ALWAYS test on a swatch stick first.
Quick Tip: How to Find Your Magic Cure Time
Grab a plastic swatch stick and apply your base color and no-wipe top coat. Cure it for 15 seconds under your lamp. Try rubbing a little chrome on it. Is it patchy? Wipe it off, re-apply the top coat, and cure the next section for 30 seconds. Test again. Still not right? Try 45 seconds. For most pro lamps, the sweet spot is between 15-45 seconds. Once you find it for your specific lamp and top coat combo, write it down!
Step 4: Burnishing the Chrome Powder
Once the top coat is perfectly cured, it’s go-time. Dip your silicone tool into the powder—a tiny bit goes a very long way. Gently start rubbing the powder onto the nail, starting near the cuticle and working your way down. At first, it’ll look like a simple shimmer. But as you keep rubbing with light-to-medium pressure, you’ll see it transform into a solid mirror. That’s the burnishing process in action.
After the entire nail is a perfect mirror, take a very soft, fluffy brush and gently dust away all the excess powder. Any loose bits will get trapped in the final top coat and ruin your smooth finish.
Step 5: The Two-Step Seal for a Chip-Free Manicure
If you just throw a top coat over chrome, it will likely chip within a couple of days. The slick surface is tough for gel to stick to. Here’s the professional two-step sealing method that actually works.
- First, take a gel base coat (yes, a base coat!) and carefully paint a thin line just along the free edge of the nail. This creates a sticky foundation where chips happen most. Cure this for a full 60 seconds.
- Second, apply two thin layers of your no-wipe top coat over the entire nail. Be gentle with the first layer to avoid streaking the chrome. Cap the free edge well. Cure, then apply the second layer for extra durability and shine, and give it a final full cure.
This double-seal method is the secret to a manicure that lasts two to three weeks.
Troubleshooting Common Chrome Disasters
I’ve seen it all. Here are the most common problems and how to fix them.
- Problem: The finish is dull or sparkly, not a mirror.
Cause: You most likely over-cured the no-wipe top coat. Or, your nail prep wasn’t smooth enough.
Solution: Reduce your cure time. And always, always start with a perfectly smooth, buffed nail. - Problem: The powder looks patchy and clumpy.
Cause: You under-cured the no-wipe top coat, leaving it too soft.
Solution: Make sure you’re using a true no-wipe formula and increase the cure time slightly. The surface should feel slick, not at all sticky. - Problem: My chrome chipped in just a few days!
Cause: Improper sealing of the free edge.
Solution: Use the two-step sealing method I described above. Sealing that free edge first with a base coat is the game-changer for longevity. - Problem: There are tiny specks or hairs trapped in the finish.
Cause: Dust and lint are the enemies of a perfect manicure.
Solution: Work in a clean area. After the final alcohol wipe, the nails are off-limits. Use a clean, dedicated brush to dust off excess powder.
Safety First & The All-Important Removal
As a pro, safety is everything. Uncured gel can cause skin allergies, so be very careful to keep all gel products off your skin. Use a small brush with alcohol to clean up any smudges before you cure.
By the way, that chrome powder is an extremely fine airborne particle. I always recommend wearing a simple dust mask during the burnishing step to avoid breathing it in. It’s a small precaution for your long-term health.
So, how do you get this stuff off?
Good news! It’s not cemented on forever. The removal process is the same as for a standard gel manicure. You’ll need to gently file off the shiny top coats to break the seal. Once the shine is gone, you can do a regular acetone soak-off just like you would with any other gel polish. Easy peasy.
And yes, this whole process works beautifully on both natural nails (as long as they’re properly prepped) and extensions. So go ahead and give it a try—that stunning, liquid-metal look is well worth the effort.
Galerie d’inspiration
Help! My chrome powder isn’t creating a mirror finish; it just looks glittery and patchy. What’s wrong?
This almost always comes down to the cure time of your no-wipe top coat. It’s a true
That incredible mirror-like shine is precious, and protecting it is key to making your manicure last beyond the first few days. The biggest enemies of a chrome finish are abrasion and harsh chemicals.
- Always wear gloves when doing dishes or cleaning. Many household cleaners can dull the top coat or cause lifting.
- Apply a high-quality cuticle oil, like the iconic CND SolarOil, daily. This keeps the surrounding nail bed healthy, preventing the gel from drying out and chipping at the edges.
- Be mindful of rough surfaces. Think of your nails as jewelry—the chrome layer is delicate!
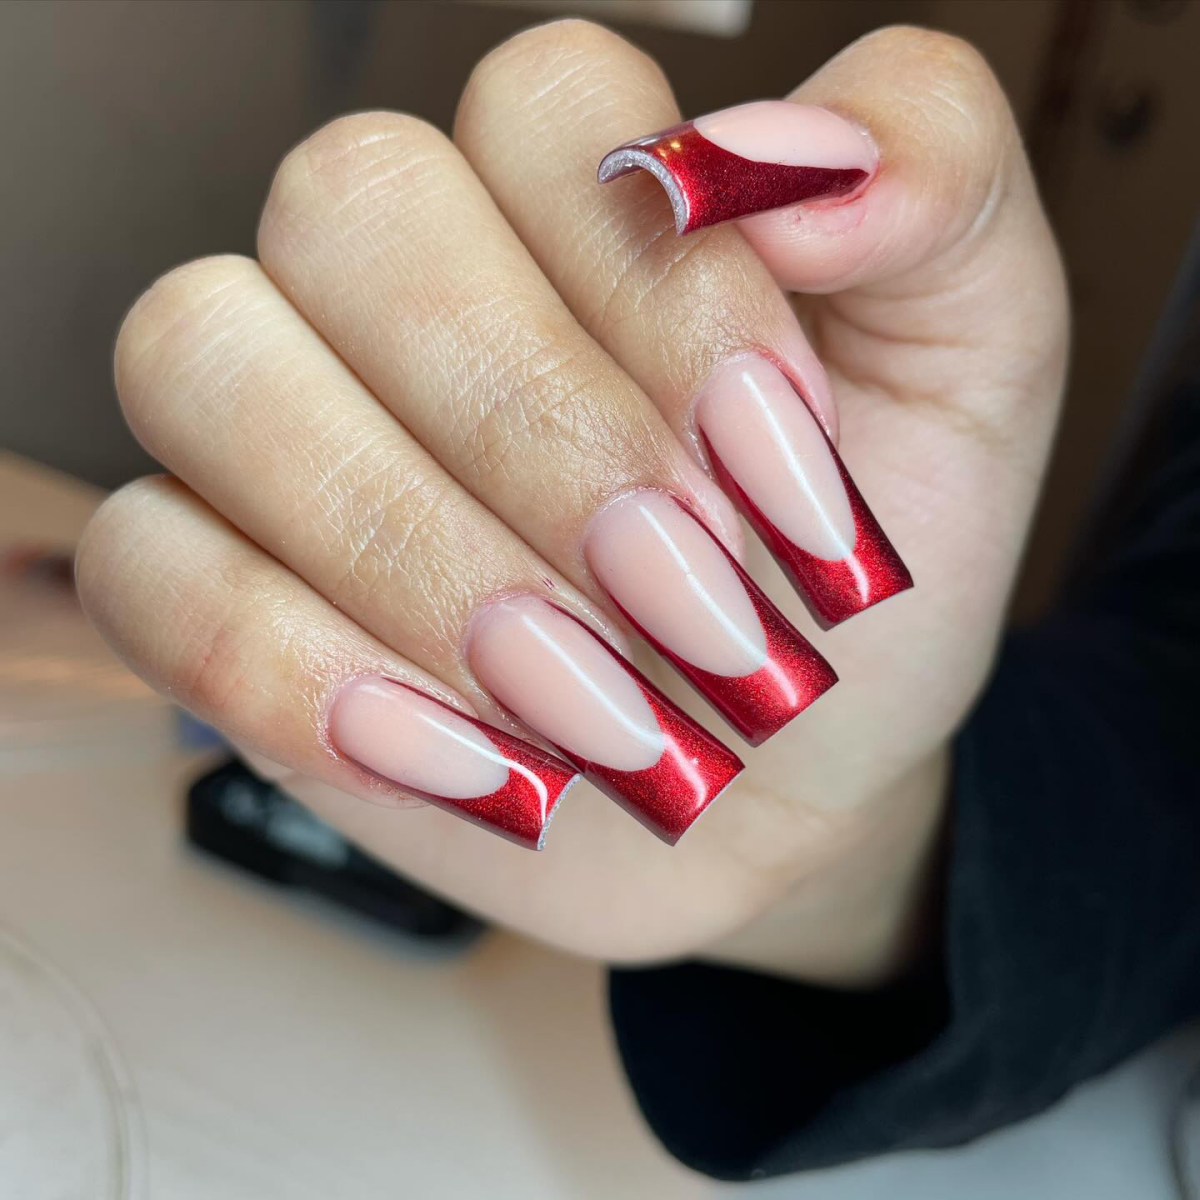
Did you know? The color of the gel base coat dramatically changes the final look of red chrome.
A true-red base, like OPI’s


