I’ve spent more than a decade working at a manicure table, and if there’s one thing I’ve learned, it’s this: the secret to an incredible manicure isn’t the color. It’s the shape. So many people sit in my chair believing their short nails are just a waiting game—a temporary phase before they can have ‘good’ nails. But honestly, I see it completely differently.
Short nails aren’t a problem to fix. They’re a canvas with their own set of rules and, frankly, their own unique superpowers. The goal isn’t just to grow them out; it’s to understand their structure and shape them with intention. By the way, when I say “short nails,” I’m talking about nails that are either flush with the fingertip or have just a sliver of white at the free edge. They are meant to be practical and chic.
So, let’s forget the flashy polish for a second. The real magic happens with the file. A well-shaped short nail looks clean, deliberate, and can make your whole hand appear more elegant. The wrong shape? It can make fingers look stubby and, even worse, lead to more snags and breaks. This is more than just about looks; it’s about nail health. I’m going to walk you through how a professional thinks about shaping short nails—the kind of stuff I teach my apprentices, learned from thousands of manicures.
First, Let’s Talk Physics (I Promise It’s Interesting)
Before you even think about picking up a file, you have to get what you’re working with. A nail isn’t just a flat, hard thing. It’s made of layers of keratin, and just like a piece of wood, it has a grain. If you sand against the grain, you get splinters and weakness. Your nails are exactly the same.
Filing aggressively back and forth like a saw is the number one nail crime I see. It tears at the keratin layers, creating tiny, invisible fractures that lead to peeling and splitting down the line. I can spot a ‘saw-filer’ from across the room by the frayed, weak look of their nail tips. So, here’s Rule
1, the one I drill into every new technician: Always file from the outer corner toward the center. Lift the file, bring it back to the corner, and stroke again. This smooths the keratin layers in one direction, basically sealing the edge of your nail.
The shape itself also dictates strength. Think about a square nail with two sharp 90-degree corners. Those corners are stress points. When you bump your hand, all the force zeroes in on that tiny corner, making it the first place to break. Now, picture a round nail. Any impact is spread out evenly along a smooth curve. There’s no single weak point. This simple principle is why round and oval shapes are naturally tougher and better for anyone who’s hard on their hands.
The Four Best Shapes for Short Nails (and How to Choose)
While trends come and go, four core shapes consistently deliver the best results for short, natural nails. They balance style with strength perfectly. Here’s my breakdown of each one, including who it’s best for and the little tricks to getting it right.
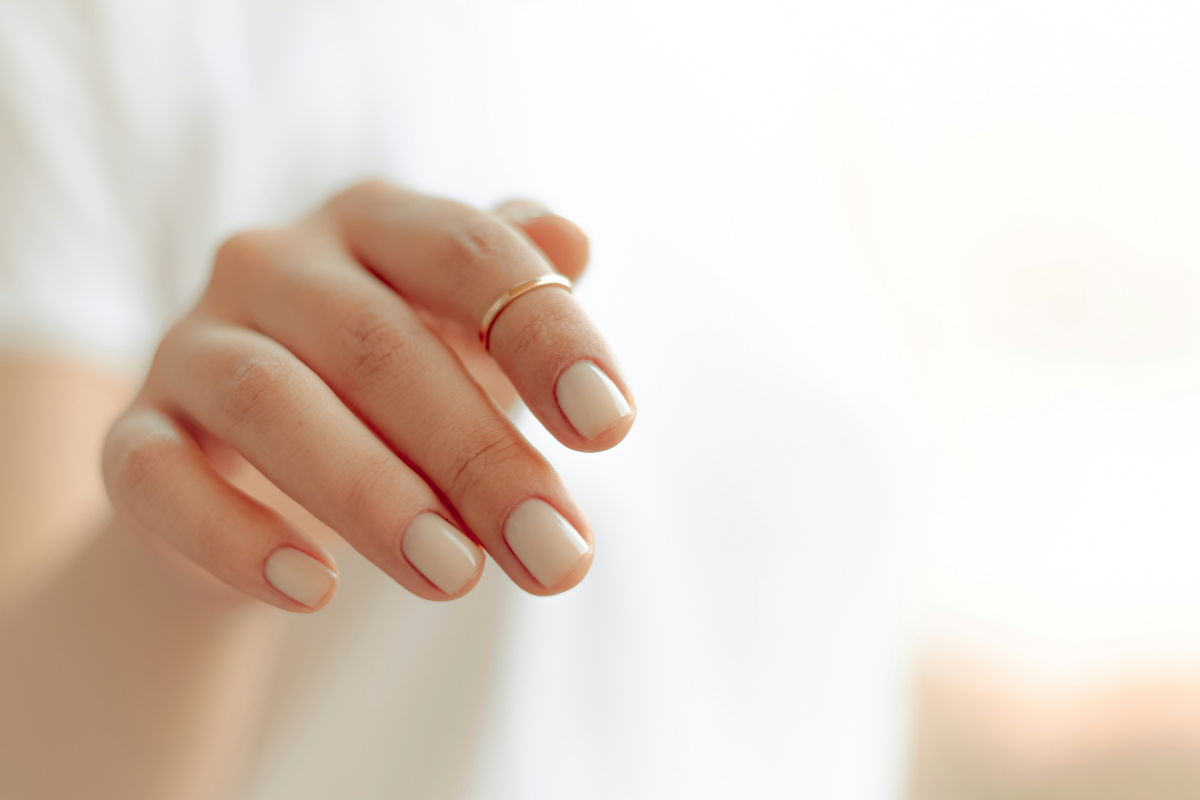
1. The Round Shape: The Unsung Hero
This shape is the workhorse of the nail world. It’s practical, incredibly durable, and looks good on everyone. It just follows the natural curve of your fingertip, creating a soft, clean, and understated look.
Best For: Anyone with an active lifestyle or weak nails. I recommend this for nurses, parents, gardeners, and anyone who types a lot. Its lack of corners means fewer snags and breaks. If a client comes to me with damaged nails needing some TLC, we always start with a short, round shape to build back strength.
Durability: The highest. This is your most chip-resistant and break-resistant option.
The Technique: Start by filing the tip flat just to get your length even. Then, using a 180 or 220-grit file, start at one outside edge and gently sweep toward the center. Lift, repeat. Do the same on the other side. You’re creating two soft angles that meet in the middle. The final, crucial step is to gently blend that center point into a seamless, soft arc. You’re aiming to mirror the gentle curve at the base of your nail.
Watch Out For: A common mistake is making the shape too pointy, accidentally creating a weak oval. A true round shape should be a gentle, consistent curve, like a soft hill, not a mountain peak.
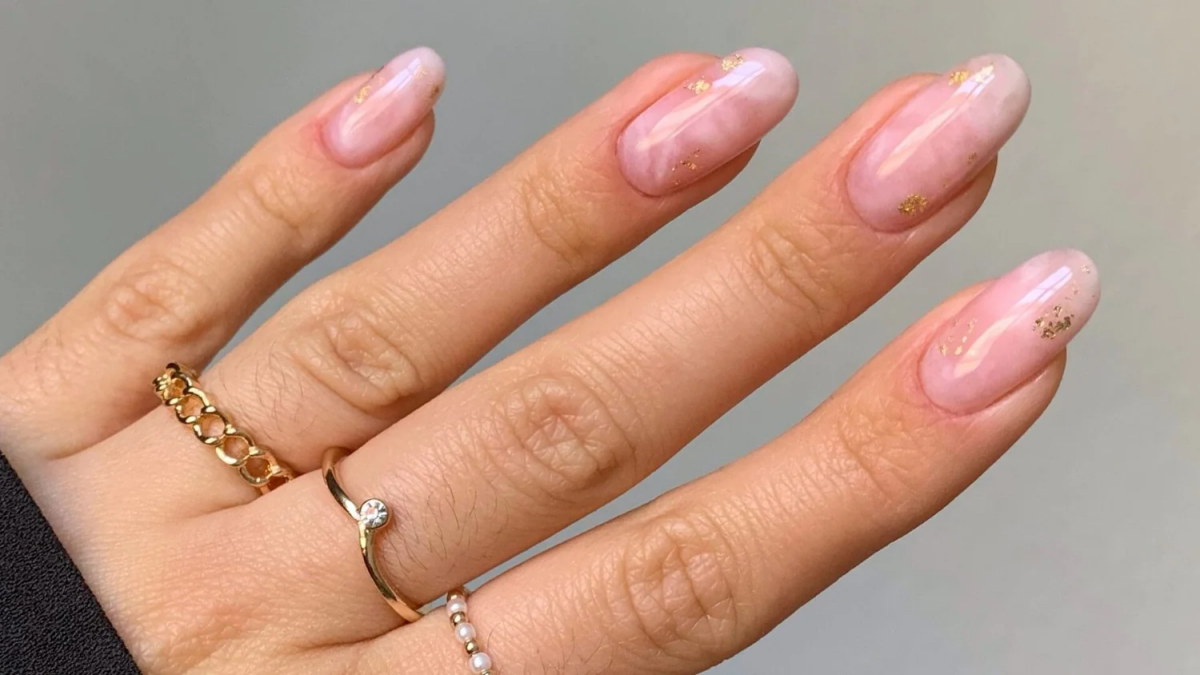
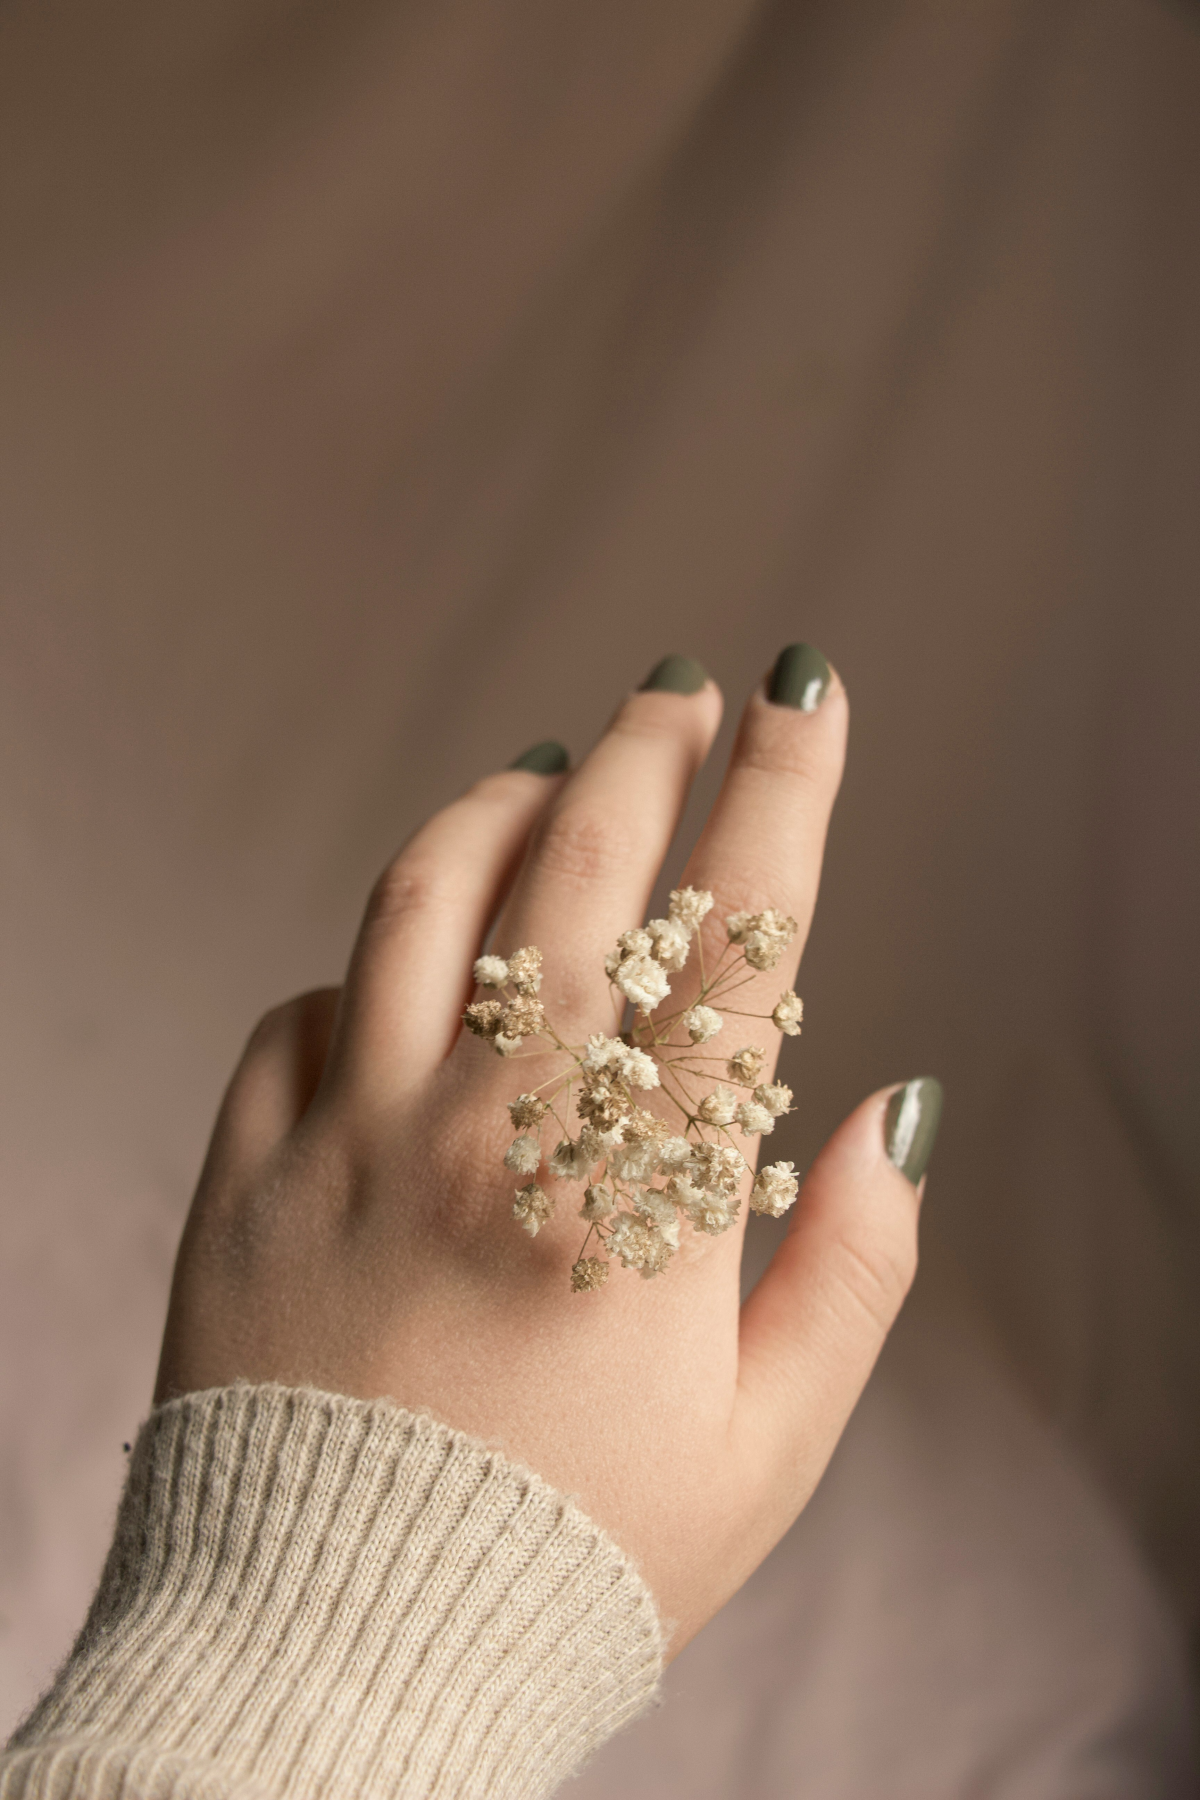
2. The Oval Shape: Effortless Elegance
The oval is the round shape’s more glamorous cousin. It’s filed a bit more slenderly on the sides, which creates a very flattering, elongating effect on the fingers. It’s a timeless, feminine classic.
Best For: This is a fantastic choice for making fingers and nail beds appear longer and more slender. It’s especially great on wider nail beds, as the tapering has a slimming effect.
Durability: Still very strong, but slightly less so than a round nail because the sides are narrowed. It’s the perfect ‘desk job’ or ‘special event’ nail.
The Technique: It starts just like a round nail, filing from the outside in. The difference is the angle of your file. To create that egg-like shape, you need to hold the file at a more pronounced angle to the nail—think about a 45-degree angle to the side of your nail, which is much steeper than you’d use for a round shape. It’s a game of millimeters. Pro tip: I often have clients flip their hands over, palms up, so I can check the symmetry from a different perspective. An unbalanced oval is really obvious.
Watch Out For: Oval shapes need good nail structure. I once filed perfect ovals on a client with very flat nail beds. With no natural C-curve for support, the slender sides were too weak and broke within days. Now, I always recommend a less dramatic oval or a squoval for flatter nails to keep them strong.
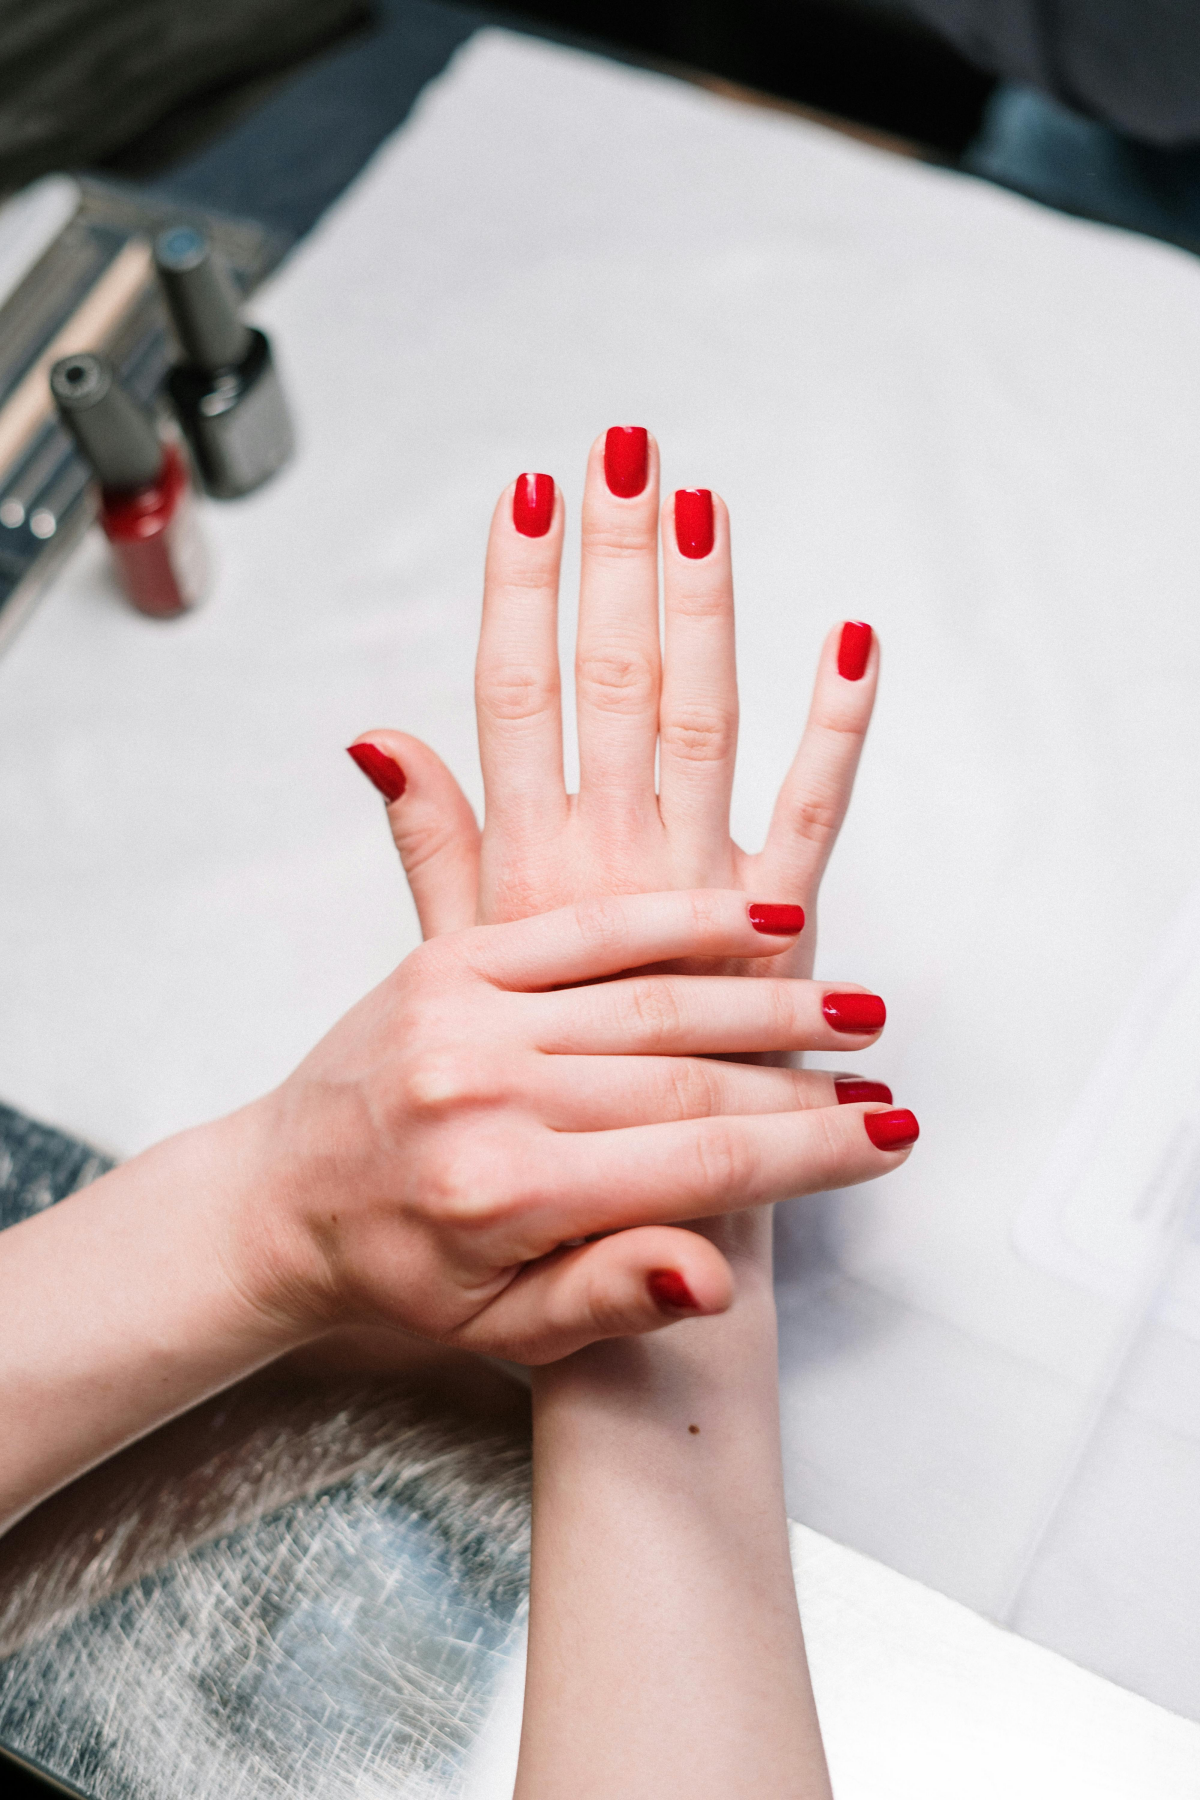
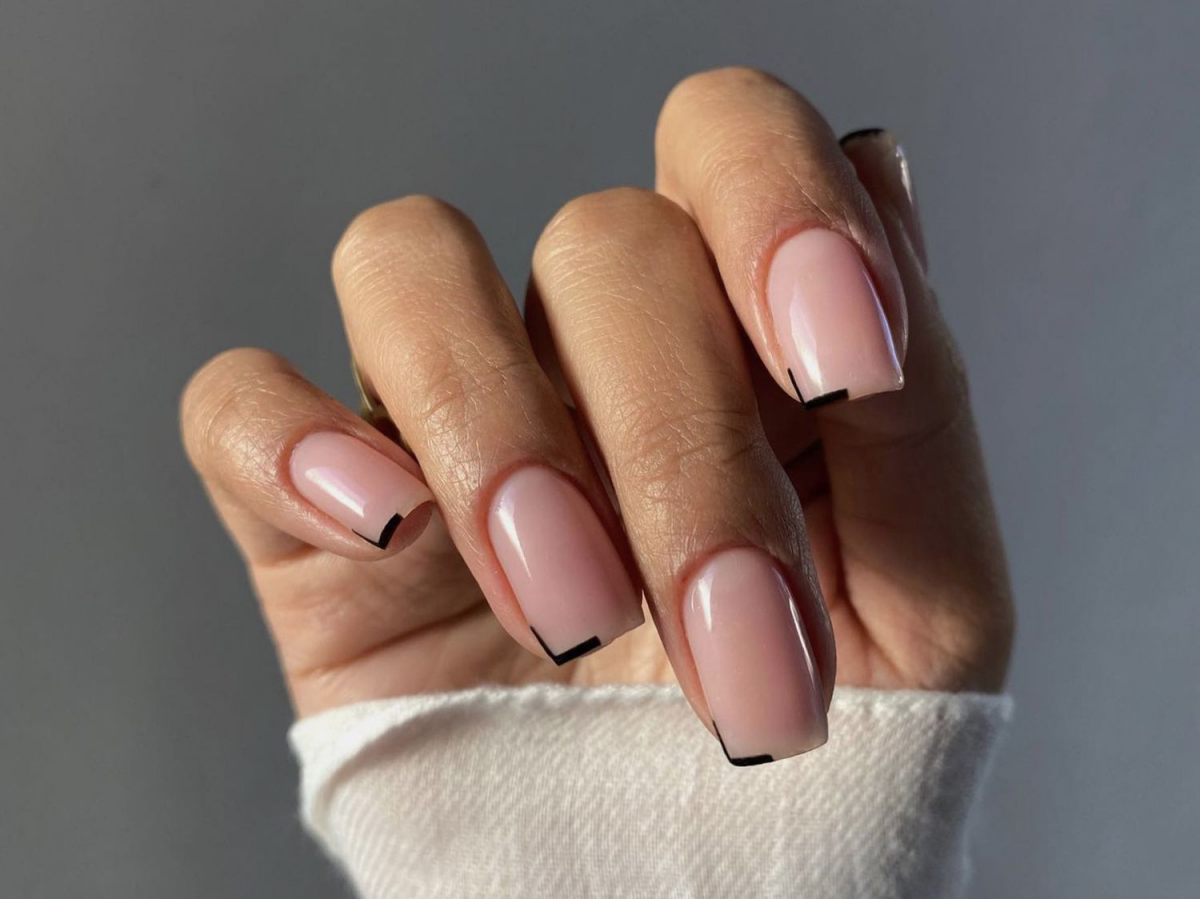
3. The Square Shape: A Modern Statement
A true square nail—sharp corners, flat top—is a bold, graphic look that really stands out. It became a huge hit alongside the classic French manicure and has stuck around ever since.
Best For: People with naturally long and narrow nail beds. The flat top creates an illusion of width, so if your nail beds are already wide, this shape can sometimes make fingers look a bit stubby.
Durability: The lowest. I have to be honest here, this shape is the most prone to snagging and chipping because of those sharp corners. I always have a frank conversation with clients who want this shape about their lifestyle. If they’re rough with their hands, they’ll be back for repairs.
The Technique: This is all about precision. File the free edge in a perfectly straight line across, making sure it’s perpendicular to your finger. Then, file the sidewalls straight out to create two crisp 90-degree corners. The secret is to not over-file the sides—they should be parallel. After that, I take a buffer and gently swipe each corner just once. Not to round it, but just to knock off that microscopic raw edge so it won’t immediately catch on your sweater.
Watch Out For: Those corners are genuinely sharp. I had a client years ago who insisted on razor-sharp square nails and accidentally scratched her child’s face. It was a wake-up call. Now, I always insist on ever-so-slightly softening the points for safety.
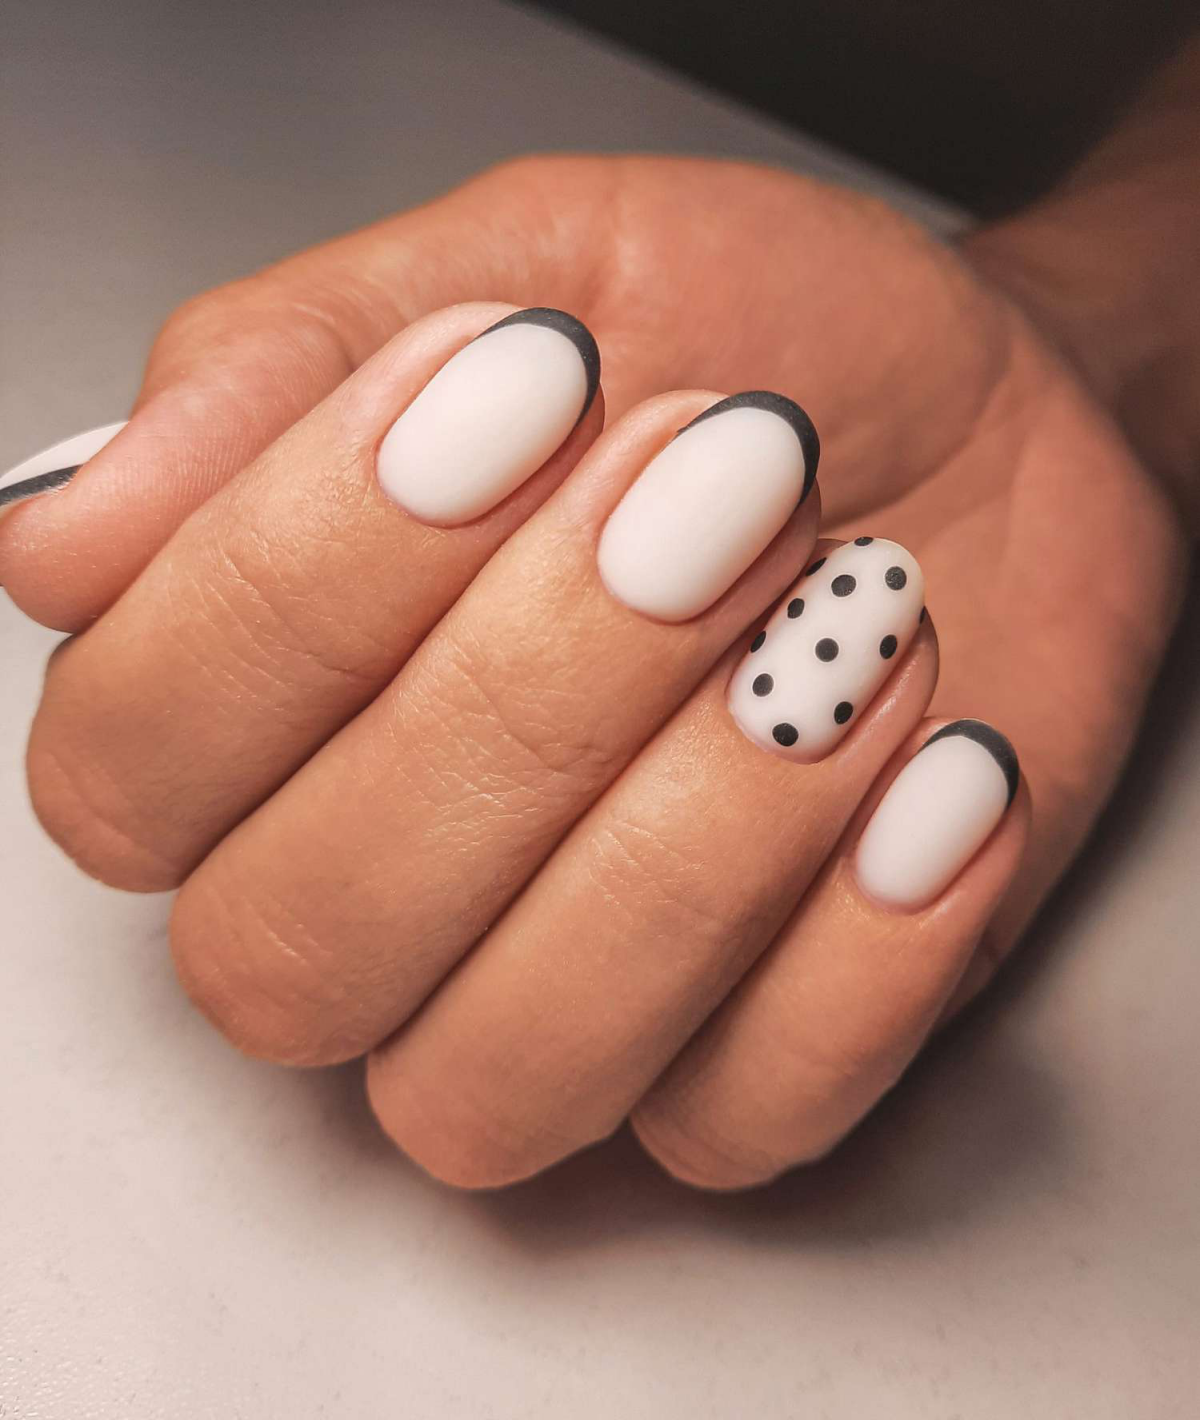
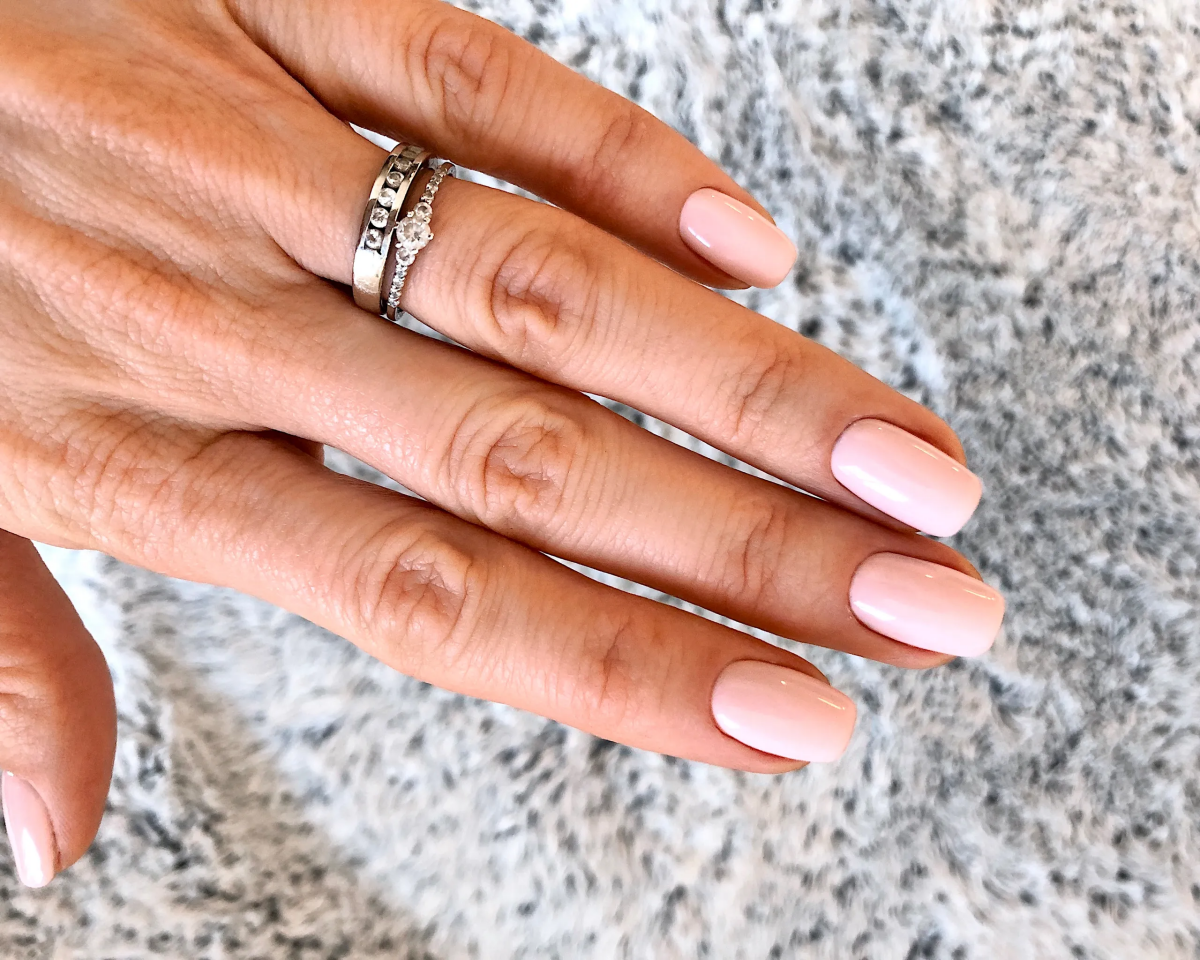
4. The Squoval Shape: The Best of Both Worlds
Squoval (square-oval) is exactly what it sounds like. It has the modern, flat top of a square nail but with the soft, rounded corners of an oval. It’s the ultimate compromise.
Best For: Literally everyone. This is, by a huge margin, the most popular shape in my salon. It’s flattering on nearly every hand type, giving you the stylish look of a square nail without the fragile, sharp corners.
Durability: Excellent. It’s almost as durable as a round nail but with a more contemporary look. A top-tier choice.
The Technique: First, file your nail into a perfect square—flat top, straight sides. Then, you just work on the corners. Take your file and sweep from the outer corner toward the center, just like you would for a round shape, but only do it a couple of times on each side. The goal is simply to erase the sharp point and blend the corner into the flat top. How much you round it is up to you.
Watch Out For: Honestly… not much! This shape is pretty bulletproof. If a new client sits down and has no idea what they want, I almost always suggest a squoval. It looks great, wears well, and is easy to maintain.
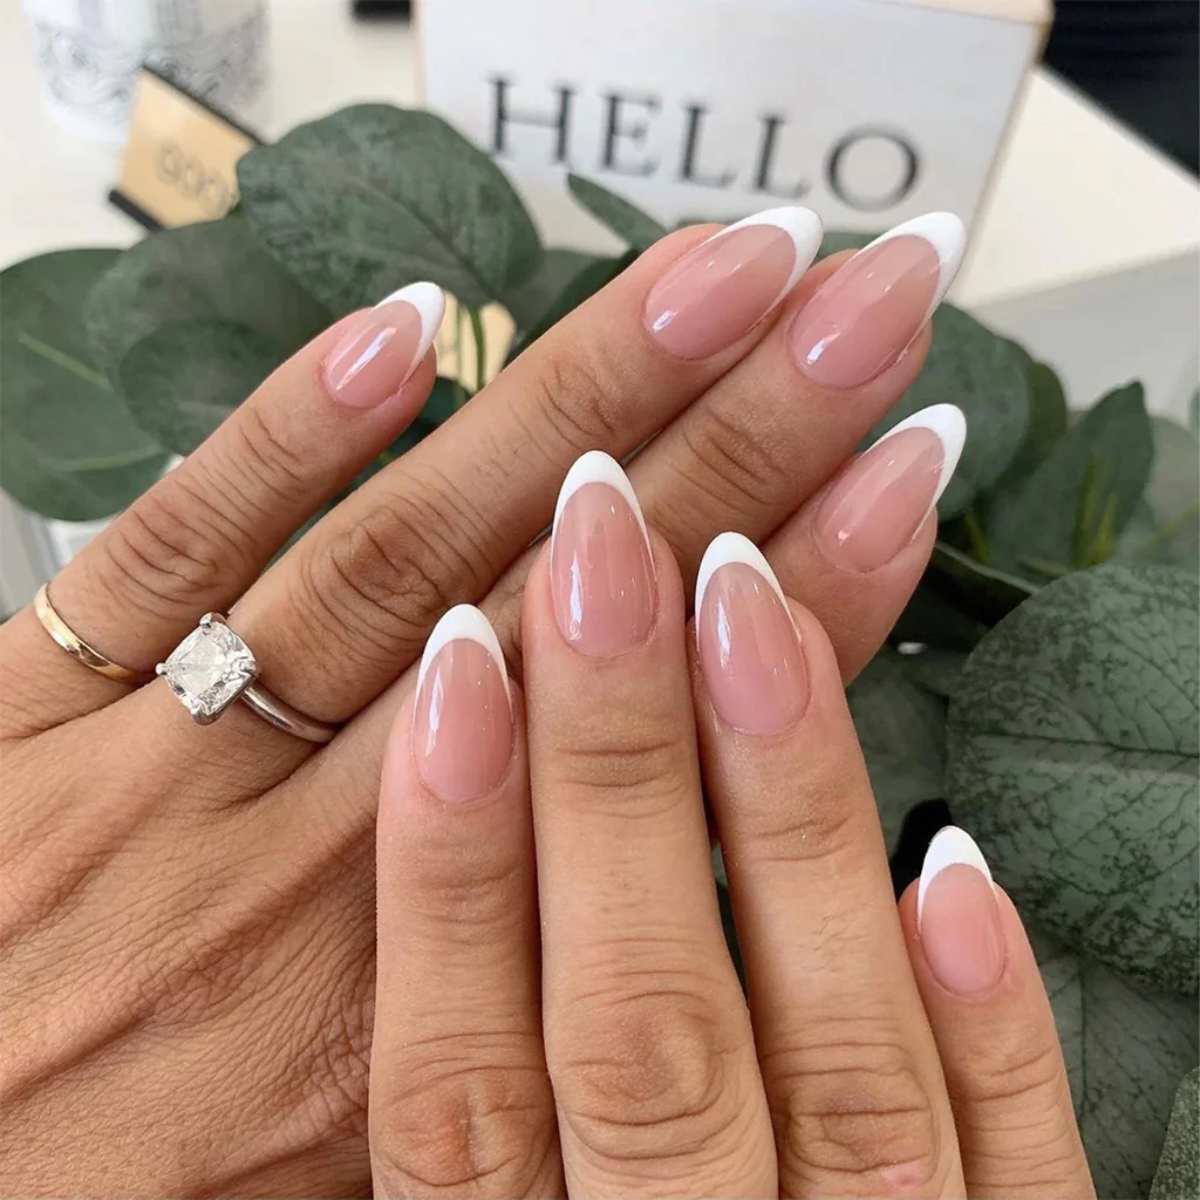
A Quick Word on the ‘Short Almond’ Shape
I get asked about almond nails constantly. This shape is very tapered and comes to a soft point. On long nails or enhancements like gel or acrylic, it’s gorgeous and totally stable. But on short, natural nails? It’s a structural nightmare.
To get that pointy tip, you have to file away a ton of material from the sides of the nail. Those sides are what provide support. When you remove them on a short nail, you’re left with a weak little point that’s begging to break. I generally advise against it unless your natural nails are exceptionally thick. For most of us, a well-shaped oval gives a similar elongating vibe without sacrificing the whole nail.
Your At-Home Toolkit & Maintenance Plan
You don’t need a professional setup to maintain your shape at home, but you absolutely need the right tools. Using a cheap, gritty file is one of the worst things you can do for your nails.
Your Essential Toolkit:
A Crystal or Glass File: This is my
1 recommendation. A quality one will set you back about $10 to $20, but it will last for years. Brands like Mont Bleu make excellent ones you can find online. Their fine grit seals the nail edge as you file, which is a game-changer for preventing peeling. Plus, you can wash them with soap and water.
A Good Board File (180/240-grit): If a glass file isn’t in the budget, this is your next best bet. You can grab a decent one for just a few bucks at a beauty supply store like Sally Beauty. Use the coarser 180-grit side for major shaping and the finer 240-grit side for refining the edge.
A Soft Buffer Block: Great for lightly smoothing ridges (don’t overdo it!) and bringing out a natural shine.
Cuticle Oil: This is non-negotiable. Healthy nails are flexible; dry nails are brittle and snap. Jojoba-based oils are fantastic because their molecules are small enough to actually penetrate the nail plate. Your quick win for today: go find some jojoba or even olive oil in your kitchen and rub it into your cuticles right now. Seriously. It takes five seconds and makes a huge difference.
Your Maintenance Schedule:
Don’t file your nails every day. A quick ‘touch-up’ shaping session once a week is perfect. Set aside a focused 15-20 minutes when you can sit at a table with good lighting. And apply that cuticle oil every single night before bed. It’s the best habit you can build for nail health.
Advanced Tips for Tricky Nails
Over the years, I’ve learned that not all nails play by the rules. Here are a few tricks for common issues.
For Crooked Fingers: Almost nobody has perfectly straight fingers. Sometimes a nail will grow pointing slightly to one side. If you file the nail to be perfectly symmetrical on its own, it can look even more crooked on the hand. The secret is to cheat the shape a little. For example, if the nail naturally veers to the right, I’ll file the left side just a fraction of a millimeter shorter and the right side a tiny bit longer. It creates the optical illusion that the nail is perfectly centered on the finger. It takes practice, but it’s a great trick.
For Fan-Shaped Nails: These nails grow wider at the tip than at the base. A square shape on these can look like a shovel. The best fix is an oval or squoval. By tapering the sides in, you create a much more balanced and graceful silhouette.
For Brittle, Peeling Nails: The prescription is always the same: a short, round shape and a strict diet of cuticle oil and gentle filing. We avoid any shape with a corner to eliminate stress points and let the damaged nail grow out safely.
A Final Word on Safety and Hygiene
This is the part I’m most serious about. Poor hygiene can lead to some truly nasty infections, so please take this to heart.
Never, ever share nail files. A file can harbor and transfer bacteria. Wash your glass file after every use, and if you use emery boards, they should be for your personal use only. As for cuticles, we are trained not to cut the live tissue around the nail (the eponychium). That ridge of skin is a protective seal. The ‘cuticle’ is actually the non-living, flaky skin stuck to your nail plate, which can be gently pushed back and nipped away. At home, just push them back gently after a shower and only snip away a true hangnail with clean nippers.
And of course, a little disclaimer: I’m a nail professional, not a doctor. If you see redness, swelling, or pain around your nail, please see a physician. Don’t try to DIY a solution for a potential infection.
Shaping your nails is a skill, but it’s one you can absolutely learn. Be patient, use the right tools, and focus on health over length. Your first challenge? For the next week, focus only on filing in one direction. Don’t even worry about the perfect shape yet. Just break that sawing habit and see how much stronger your nails feel. You’ve got this.
Galerie d’inspiration
Which file is best for delicate, short nails?
The Classic Emery Board: This is the familiar, flexible file you see everywhere. For natural nails, look for a fine grit (240 or higher) to avoid shredding. They’re affordable and disposable, but their rougher texture can sometimes cause micro-tears if you’re not careful, working against that perfect seal you’re trying to create.
The Crystal/Glass File: A game-changer for nail health. Brands like OPI and Le Mini Macaron offer versions made from etched glass that gently file while sealing the nail edge. This drastically reduces peeling and snags. While the initial cost is higher, they last for years and can be sanitized, making them a worthy investment for maintaining a flawless, healthy shape.
Jessica has spent 14 years in the fashion industry, starting as a stylist assistant and working her way up to Fashion Editor. A graduate of Fashion Institute of Technology, she has styled celebrities, worked backstage at Fashion Week, and contributed to major fashion publications. Jessica believes fashion should be fun, accessible, and expressive.
To provide the best experiences, we use technologies like cookies to store and/or access device information. Consenting to these technologies will allow us to process data such as browsing behavior or unique IDs on this site. Not consenting or withdrawing consent, may adversely affect certain features and functions.
Functional
Always active
The technical storage or access is strictly necessary for the legitimate purpose of enabling the use of a specific service explicitly requested by the subscriber or user, or for the sole purpose of carrying out the transmission of a communication over an electronic communications network.
Preferences
The technical storage or access is necessary for the legitimate purpose of storing preferences that are not requested by the subscriber or user.
Statistics
The technical storage or access that is used exclusively for statistical purposes.The technical storage or access that is used exclusively for anonymous statistical purposes. Without a subpoena, voluntary compliance on the part of your Internet Service Provider, or additional records from a third party, information stored or retrieved for this purpose alone cannot usually be used to identify you.
Marketing
The technical storage or access is required to create user profiles to send advertising, or to track the user on a website or across several websites for similar marketing purposes.