Your Ultimate Guide to Summer-Proof Nails (The Stuff Your Tech Wants You to Know)
I’ve spent a long, long time behind a nail desk. My world is a mix of the fine dust of acrylic, the unique smell of monomer, and the purple glow of curing lamps. And honestly? Summer is my absolute favorite time in the salon. It’s when everyone comes in buzzing with energy, holding up phones with pictures of wild, colorful manicures, ready for vacations and sunshine. But I’ve also seen the other side—the aftermath of a summer mani gone wrong. I’ve repaired nails chipped from hauling beach chairs and fixed stubborn yellow stains from sun and chlorine.
In this article
So, this isn’t just another gallery of trendy designs. Think of this as the conversation we’d have if you were sitting in my chair. It’s all about picking a style that not only looks incredible but actually holds up to your summer plans. We’ll get into the best materials for durability, the pro techniques for that flawless nail art, and the crucial stuff you need to know to keep your nails healthy. Let’s make sure you get nails you can enjoy without a single worry.
The Foundation: Picking the Right Manicure for Your Summer
Before we even get to the fun part—colors and art—we have to talk about the foundation. The type of manicure you get is the single biggest factor in how long it will last, especially with summer’s triple-threat of heat, sun, and water. Each system has its own trade-offs when it comes to cost, durability, and the time you’ll spend in the salon chair. Let’s break it down.
1. Gel Polish (aka Soft Gel)
This is the service most people know and love. It’s a liquid gel that’s painted on like regular polish but cured under an LED lamp to become hard and shiny. It’s a fantastic choice for a two-to-three-week manicure that looks super glossy.
Who it’s for: It’s perfect for someone with naturally strong nails who just wants chip-proof color for a typical vacation. Its flexibility is a real asset, as it can handle minor bumps without cracking.
Summer Reality Check: That flexibility is great, but it doesn’t add much strength. If your nails tend to break, gel polish alone might not be enough to survive opening a stubborn drink cooler. A new gel manicure will typically run you between $45 and $60 and takes about 45-60 minutes.
A little pro tip: If a client tells me they’re going to be doing a lot of hands-on activities, I often suggest adding a layer of strengthening gel (sometimes called structured gel) under the color. It gives you more support without the full commitment of an acrylic or hard gel set.
Oh, and about removal… Please, please, please don’t just peel or pick it off! You’re literally ripping off layers of your natural nail. The right way is to soak it. If you’re doing it at home, grab some 100% acetone, cotton balls, and small squares of foil. Soak a piece of cotton in acetone, place it on your nail, and wrap it tightly with foil. Let it sit for 10-15 minutes, and the gel should flake off easily with a gentle push from a wooden cuticle stick. No aggressive scraping!
2. Hard Gel
Hard gel is a much thicker, honey-like gel that we sculpt onto the nail to add length and serious strength. It’s also cured under a lamp, but here’s the key difference: it’s non-porous. That means you can’t soak it off with acetone. Upkeep involves filing the product down and applying a fresh layer, which we call a fill or a rebalance, usually every 2-4 weeks.
Who it’s for: This is my go-to for clients who want strong, long nails but are sensitive to the chemical smell of acrylics. Hard gel is completely odorless! It also has this beautiful, crystal-clear finish that’s amazing for encapsulating glitter or delicate art.
Summer Reality Check: Because it’s not porous, hard gel is incredibly resistant to staining from things like sunscreen, self-tanner, or even cooking spices. A huge plus for summer. However, if a hard gel nail does break, it’s a serious event that needs a professional repair. A brand new set of sculpted hard gel nails is an investment, usually costing between $80 and $150+ and taking around two hours.
3. Acrylic
Ah, acrylic. This is the powerhouse of the nail world. It’s a two-part system—a liquid monomer and a powder polymer—that we mix to form a durable little bead of plastic that air-dries. It’s incredibly strong and probably the most versatile product out there.
Who it’s for: Anyone who is really tough on their hands or wants dramatic length and shapes like stilettos or coffins. Acrylic provides a rigid, protective shell that can take a beating. Like hard gel, a new set can run from $80 to $150+ and take a couple of hours, with fills needed every 2-3 weeks.
Summer Reality Check: Its strength is both a pro and a con. It’s tough to break, but if you do manage to break it, the break can be pretty traumatic to your natural nail underneath. The application also has a very strong, distinct odor that some people find unpleasant.
Heads up! A serious safety warning: Be very cautious in salons where the acrylic liquid has a strong, fruity smell. This can be a sign of MMA (Methyl Methacrylate), a dangerous industrial chemical that’s not meant for nails. It’s extremely hard and difficult to file, so if your tech is wrestling to shape your nails, that’s a major red flag. True professionals only use EMA (Ethyl Methacrylate), which is designed to be safe for cosmetic use.
4. Dip Powder
Dip systems are a sort of hybrid between gel and acrylic. A resin base is applied to the nail, which is then dipped into a pot of colored powder. This is repeated a few times for coverage, then sealed with an activator that hardens it all. They’re tougher than gel polish but often feel lighter than acrylic.
Who it’s for: Clients who want durable color that lasts for weeks without the smell of acrylic or the need for a curing lamp. The process is relatively quick, often faster than a full acrylic set, and usually costs around $50-$70.
Summer Reality Check: The biggest concern here is hygiene. If a salon dips every single client’s finger into the same big pot of powder, it becomes a breeding ground for bacteria. Think about it. A tiny cut on one person’s finger can contaminate that pot for everyone who comes after. A sanitary salon will always pour the powder over your nail into a separate dish and toss the excess. Never, ever let a tech dip your finger into a shared community pot.
Keeping Your Color Bright & Your Nails Healthy
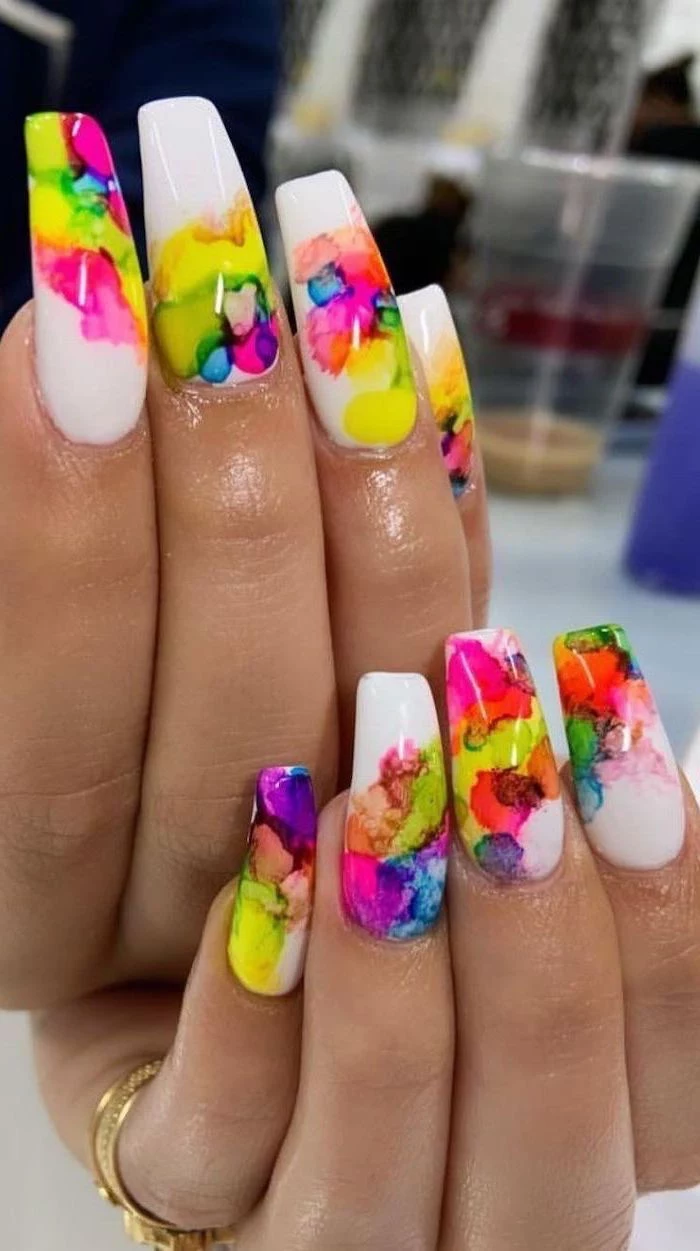
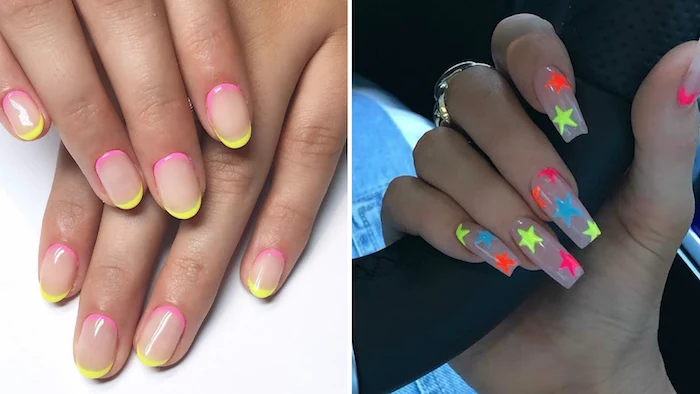
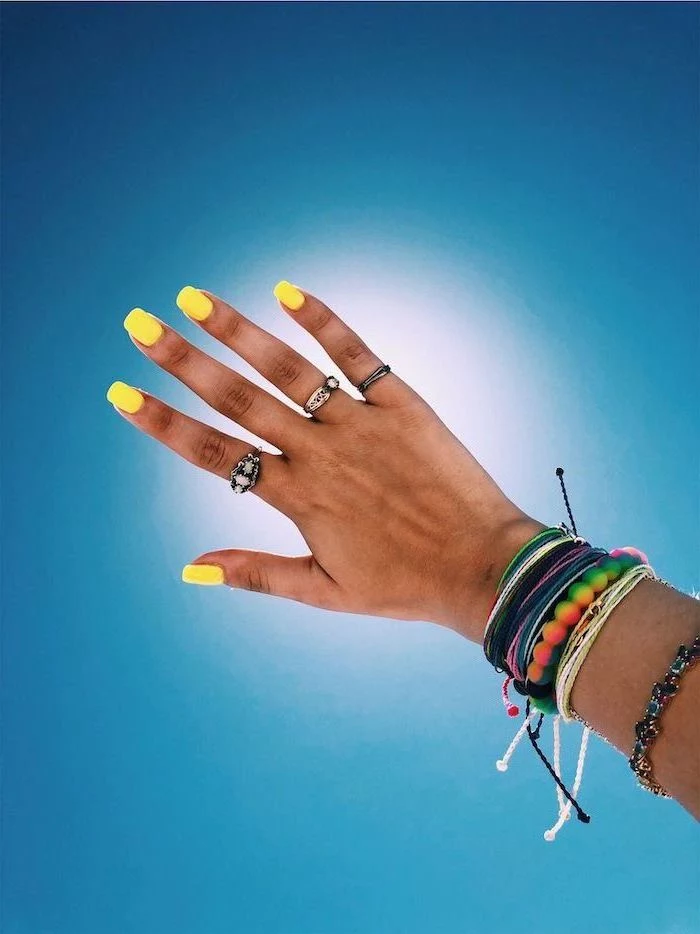
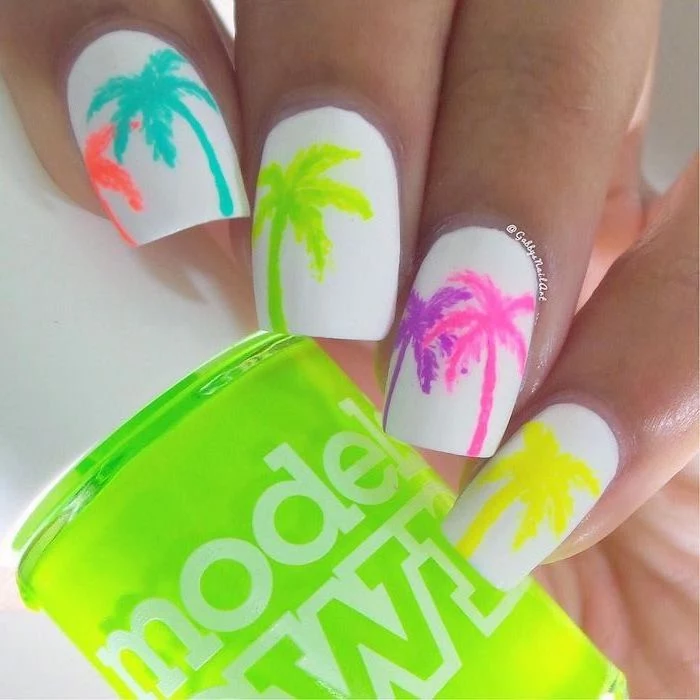
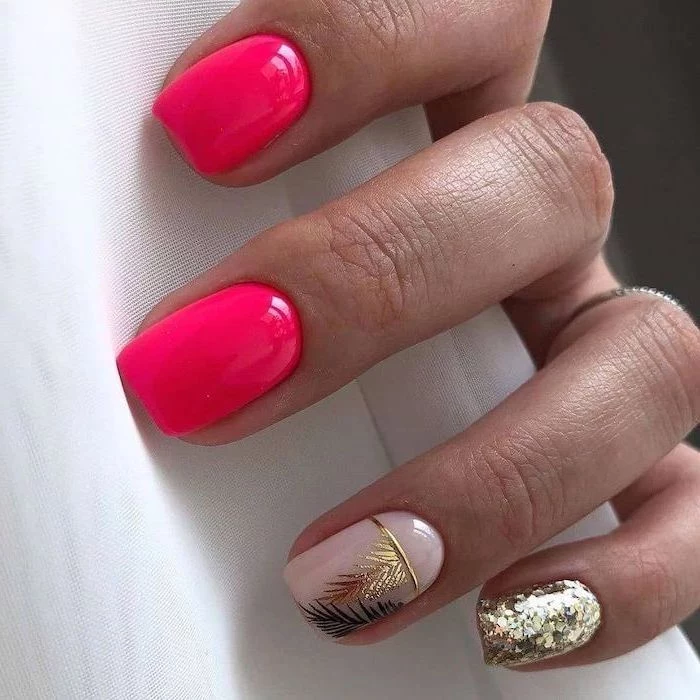
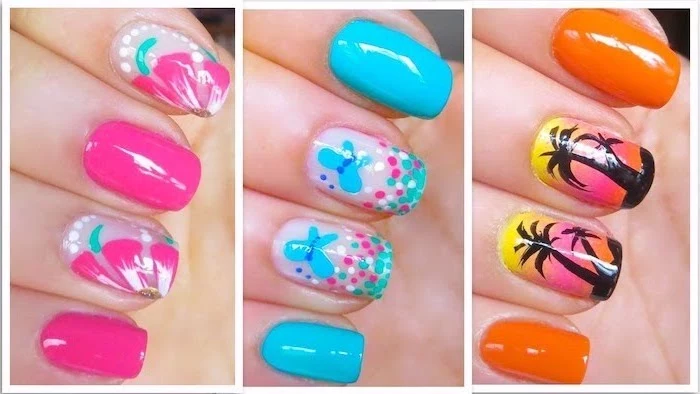
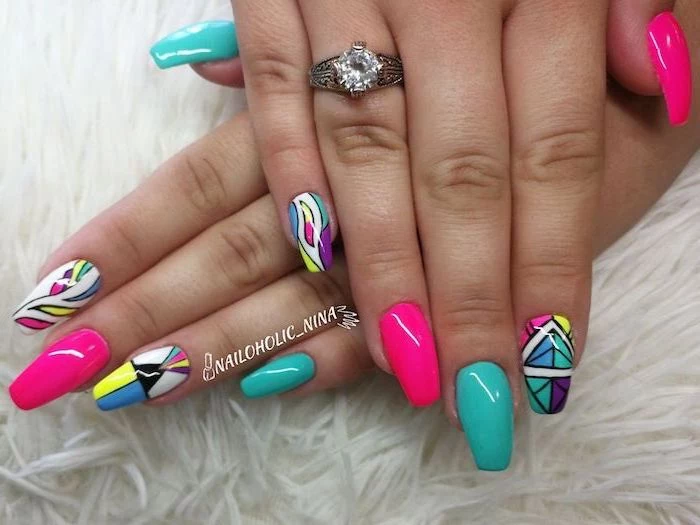
Okay, foundation is set. Let’s talk about the pretty stuff. Summer is all about neons, bright whites, and vibrant pastels that look amazing against sun-kissed skin. But the sun and pool are basically bullies to your fresh manicure.
Why Your Bright Pinks Turn to Sad Coral
The sun’s UV rays are the main reason colors fade. They break down the pigments in nail polish just like they fade the paint on a car. Neon pigments are notoriously unstable and will fade the fastest. This is why a high-quality, UV-blocking top coat is non-negotiable for summer. It’s like sunscreen for your nails and can mean the difference between your manicure staying vibrant for three weeks versus one.
Quick tip on sunscreen: Some sunscreens can react with gel top coats and cause them to turn yellow. To prevent this, try applying your sunscreen with the palms of your hands or a makeup sponge, doing your best to keep it off your nail plates. A quick wipe with an alcohol pad can also help if you get some on your nails.
The Most Important Product You’ll Own
Honestly, the best thing you can do for your manicure’s longevity is to use a good cuticle oil. Every single night. Saltwater and chlorine are incredibly dehydrating to your nails and skin. Dehydration leads to lifting and brittleness. A daily dose of cuticle oil keeps the nail enhancement and the surrounding skin hydrated and flexible, which can easily extend the life of your mani by a full week.
Good to know: You don’t have to break the bank. My personal favorite is CND SolarOil, but a simple bottle of pure Jojoba oil for around $10 from a health store or online works miracles, too. Its molecules are super similar to our skin’s natural oils, so it absorbs really well.

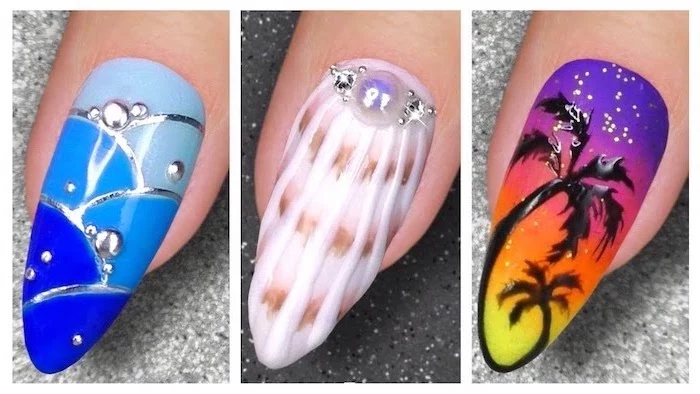
Pro Secrets for Those Popular Summer Designs
Ready for the fun stuff? A gorgeous design is all about skill, patience, and the right tools. Here’s how the pros get some of those looks you’ve been saving on your phone.
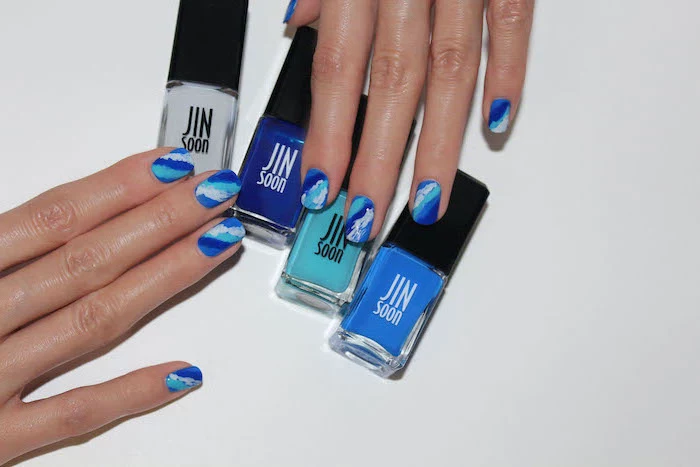
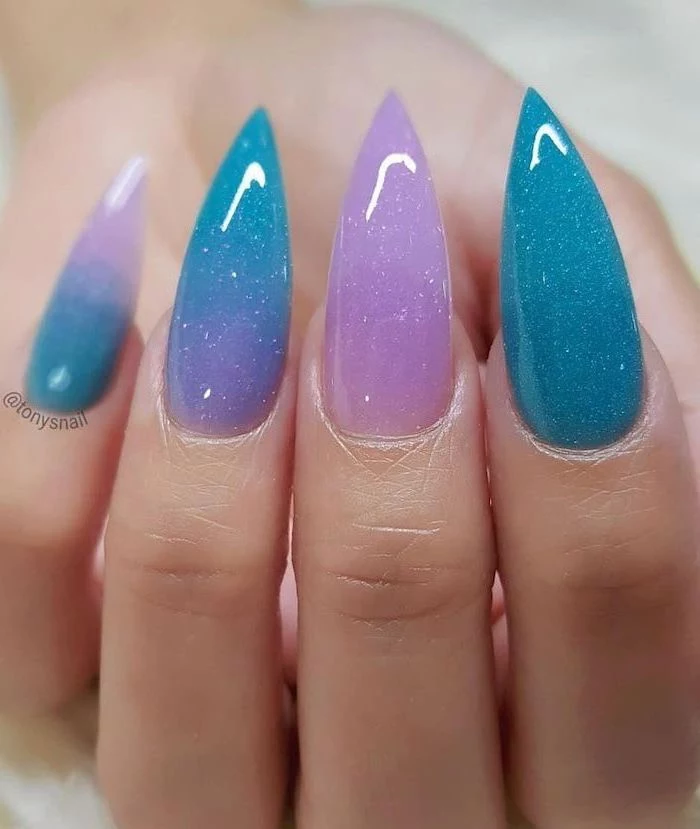
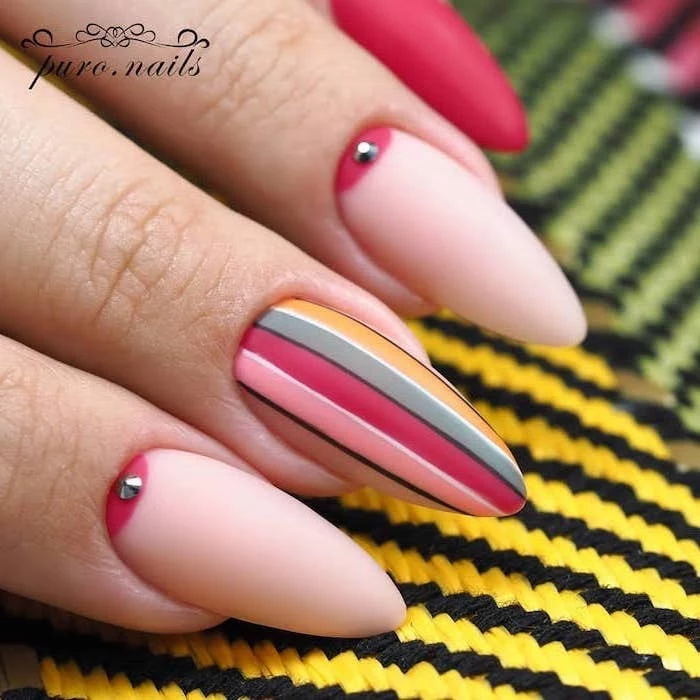
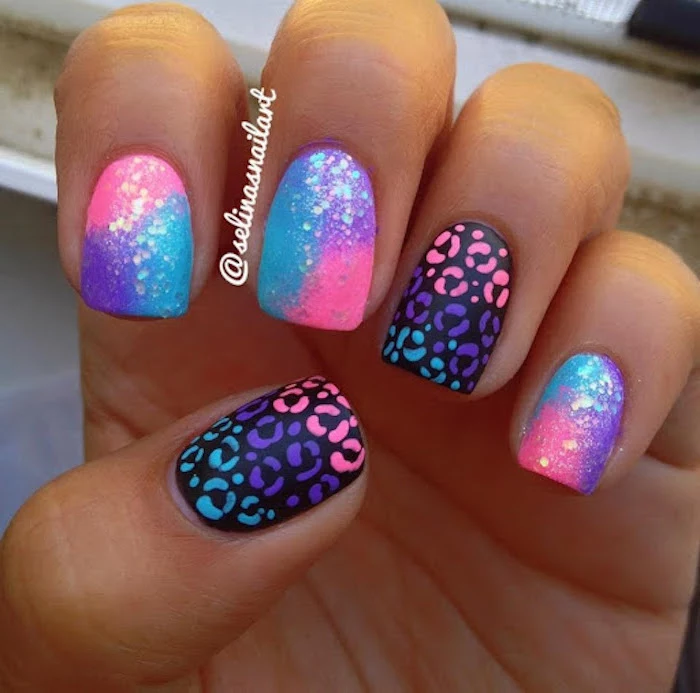
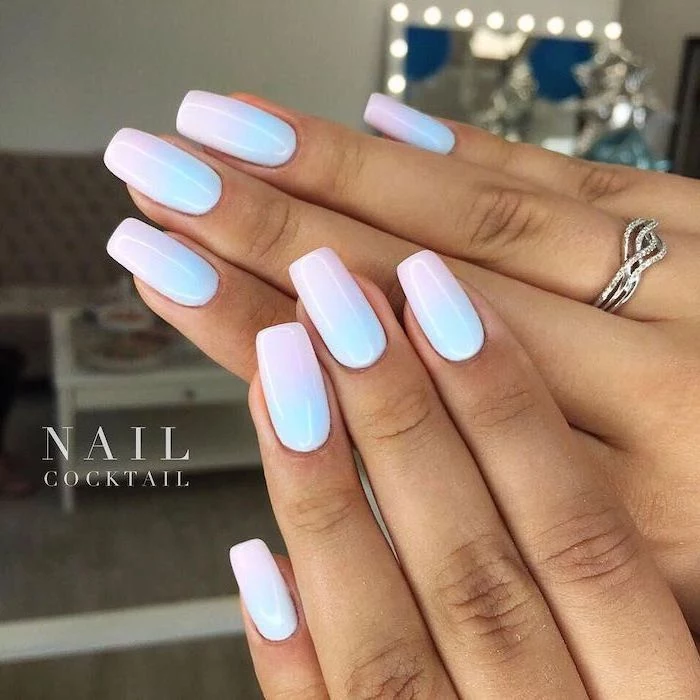
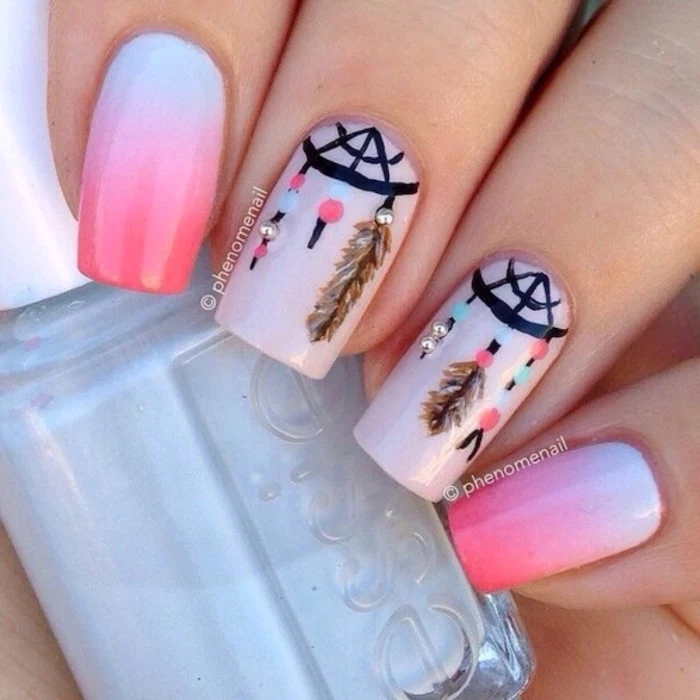
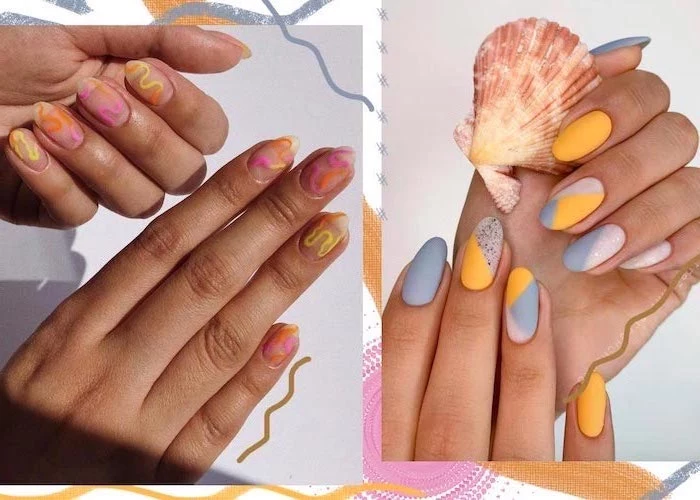
The Flawless Ombre Blend
A color gradient, or ombre, is a summer classic. A good one is a soft, seamless melt; a bad one looks patchy and striped.
The Technique: For a gel ombre, I’ll paint two colors side-by-side on the nail. Then I use a special, feathery ombre brush to gently tap, tap, tap where the colors meet. The key is a super light touch—you’re patting, not dragging. I learned the hard way early in my career that over-blending just makes a muddy mess. It’s better to do a little, cure it, and then add another thin layer to perfect the blend.
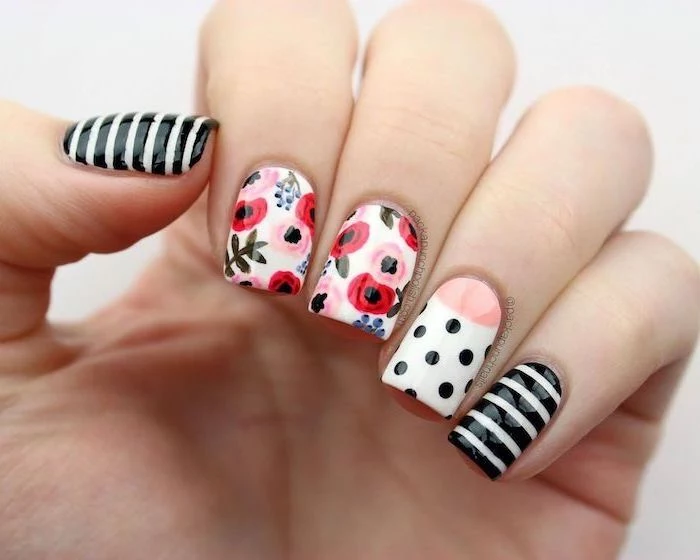
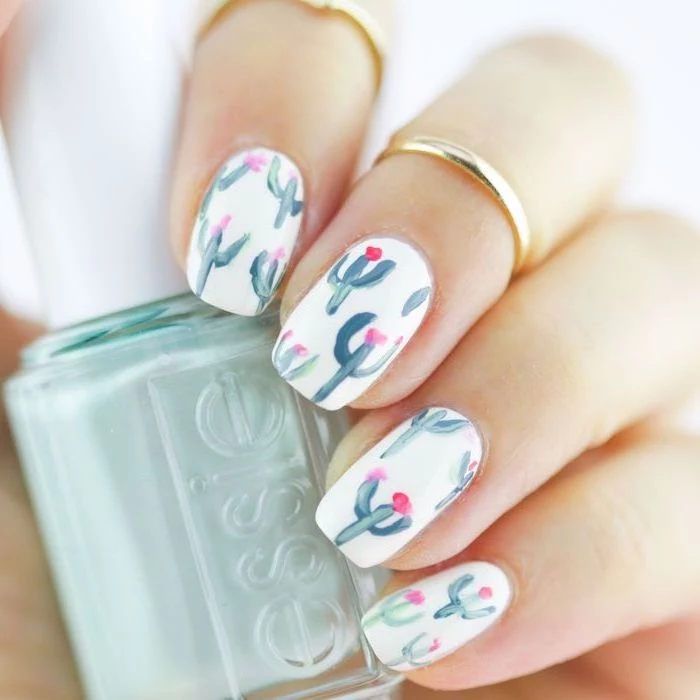
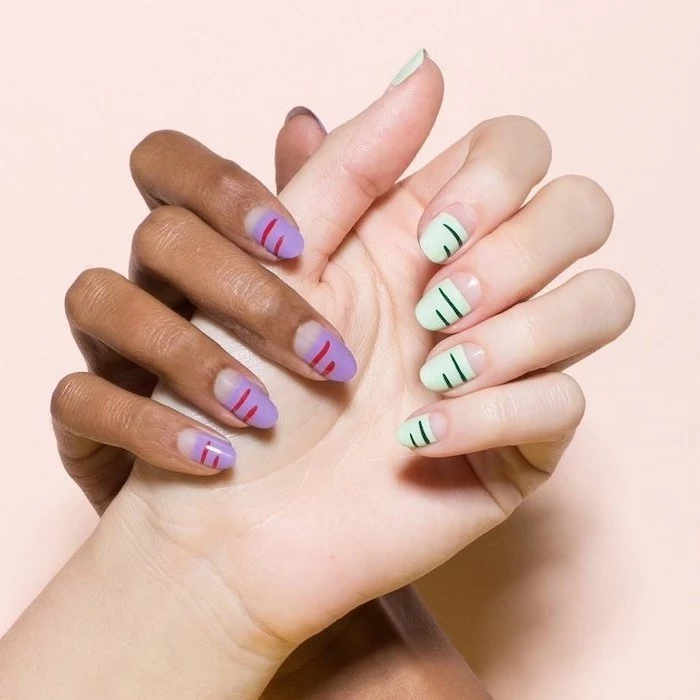
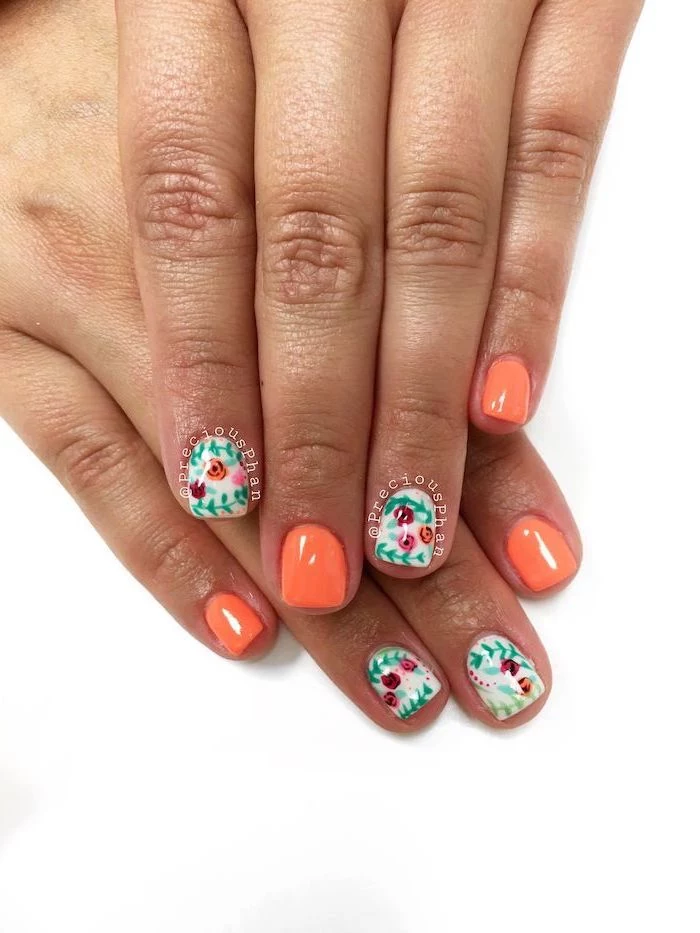
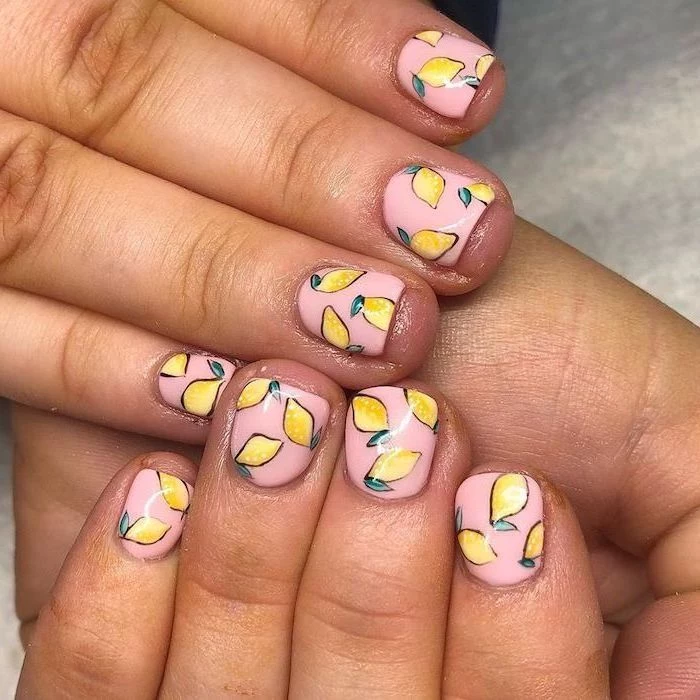
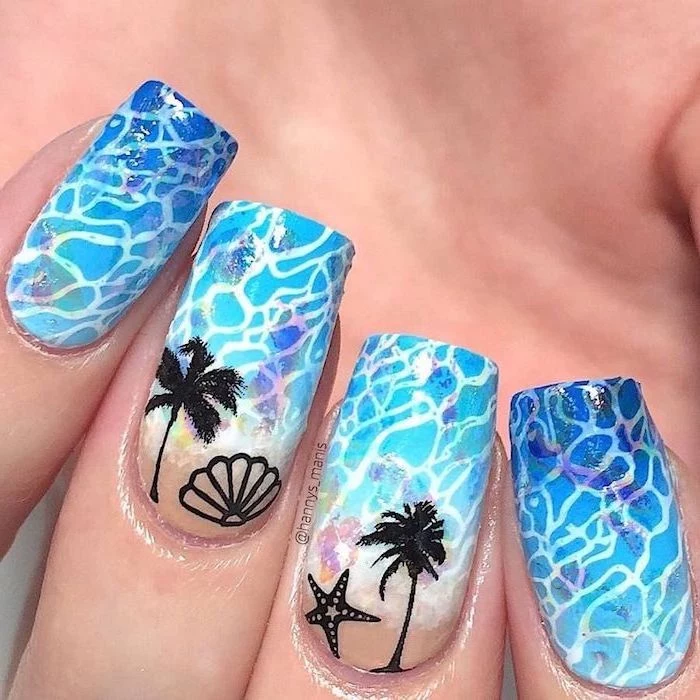
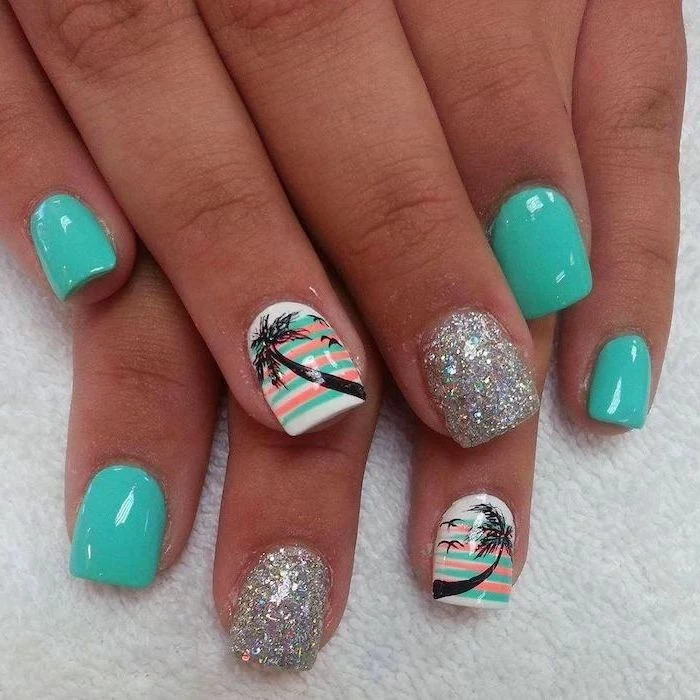
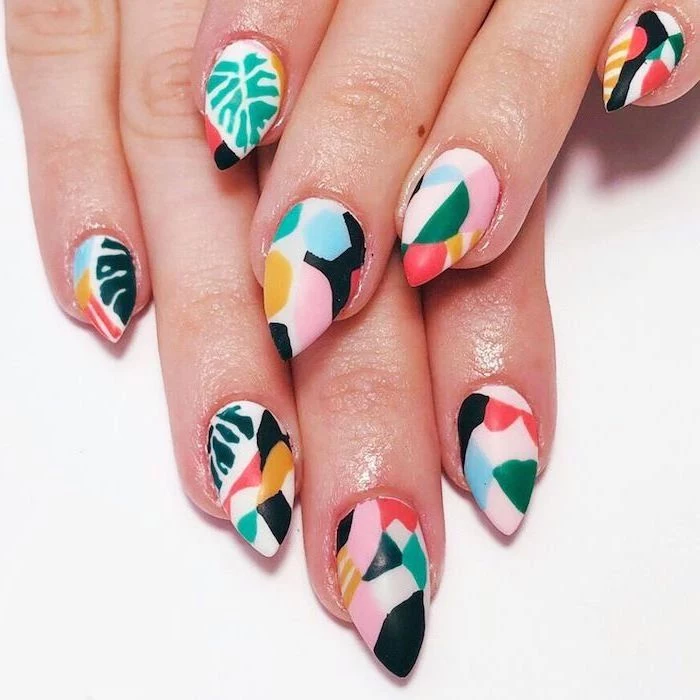
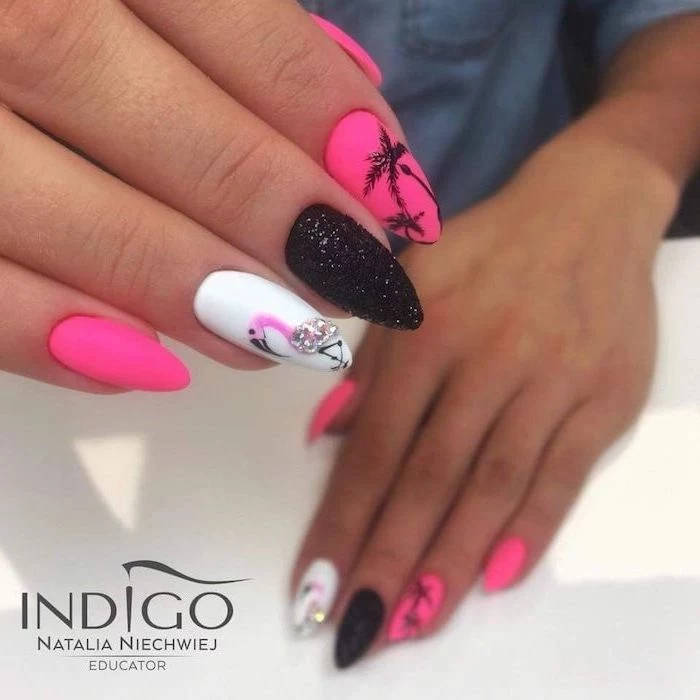
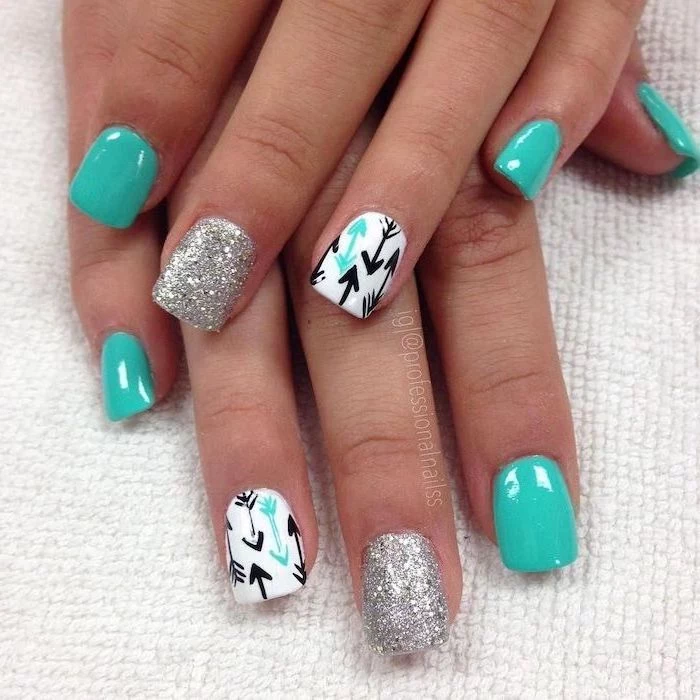
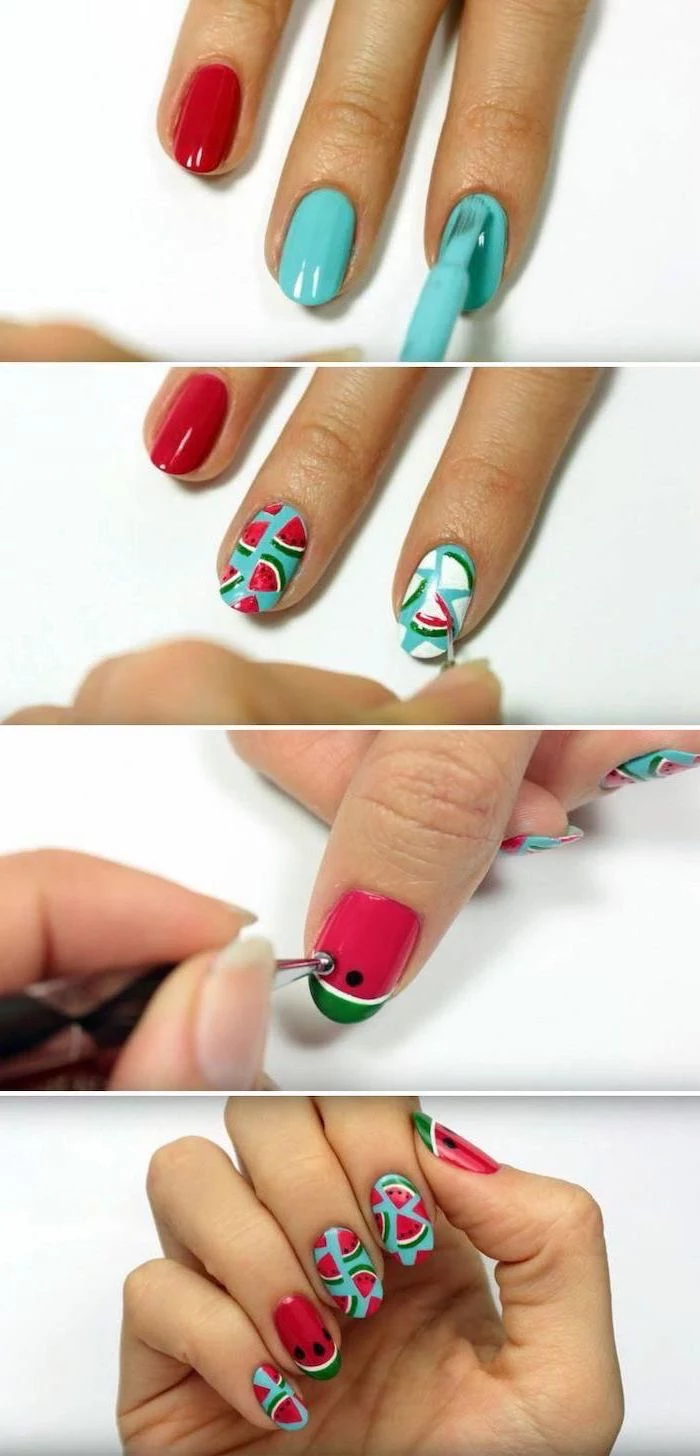
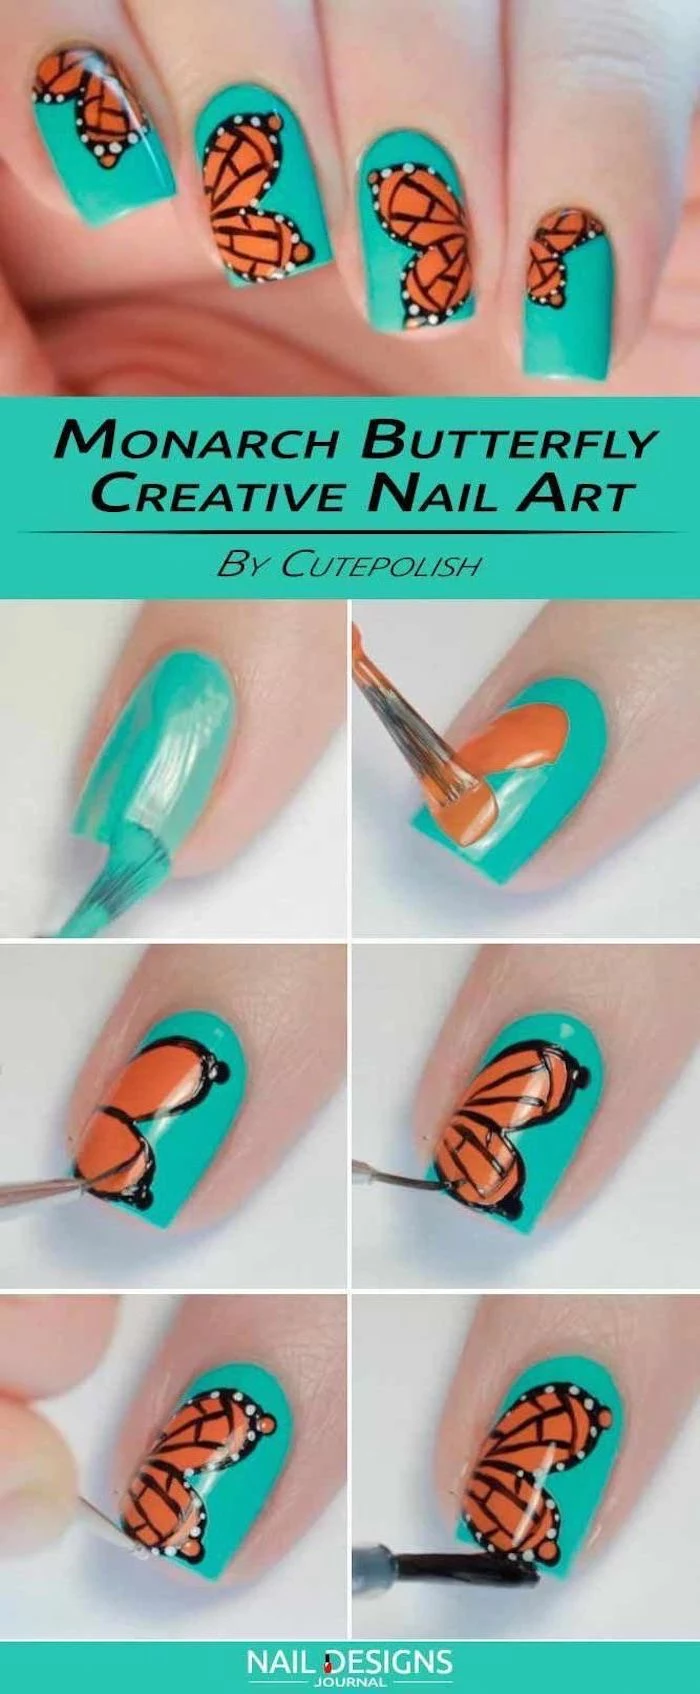
Crisp, Hand-Painted Art
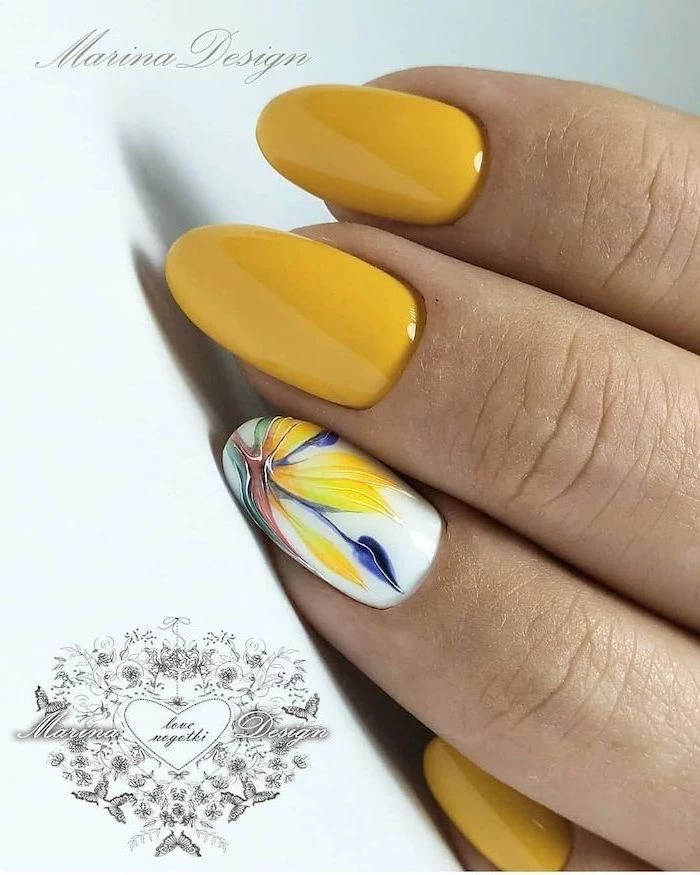
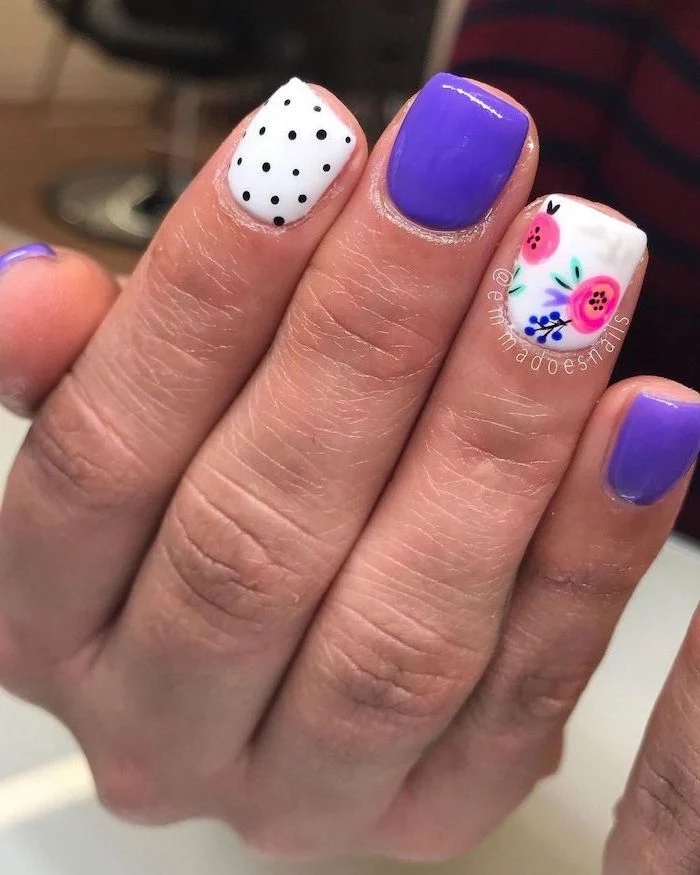
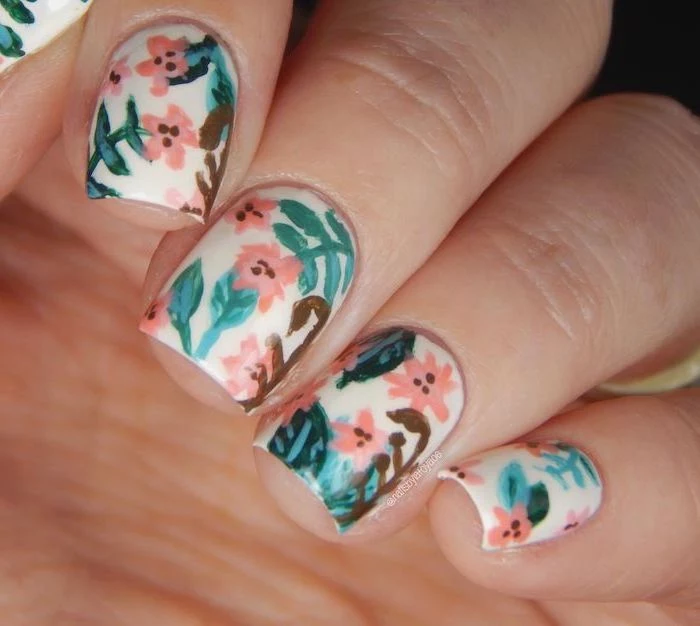
Palm leaves, tiny lemons, hibiscus flowers… the difference between amateur and pro-level art is all in the clean lines.
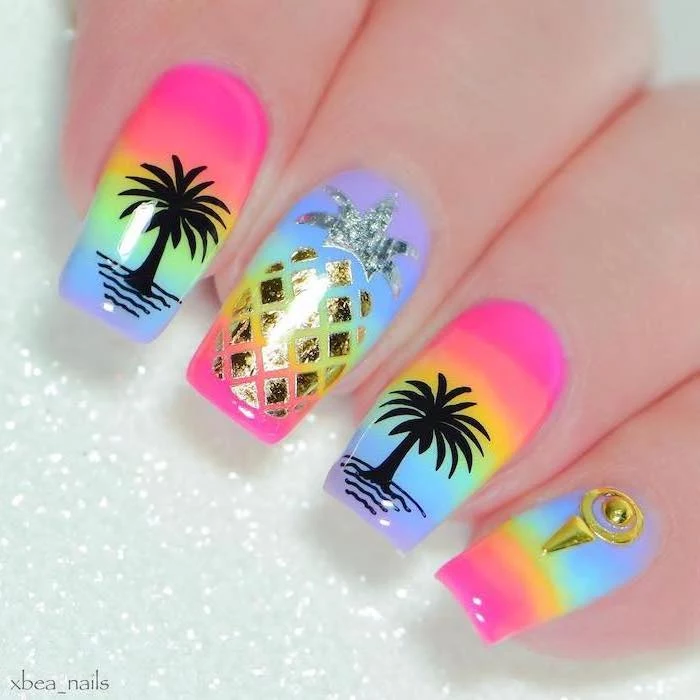
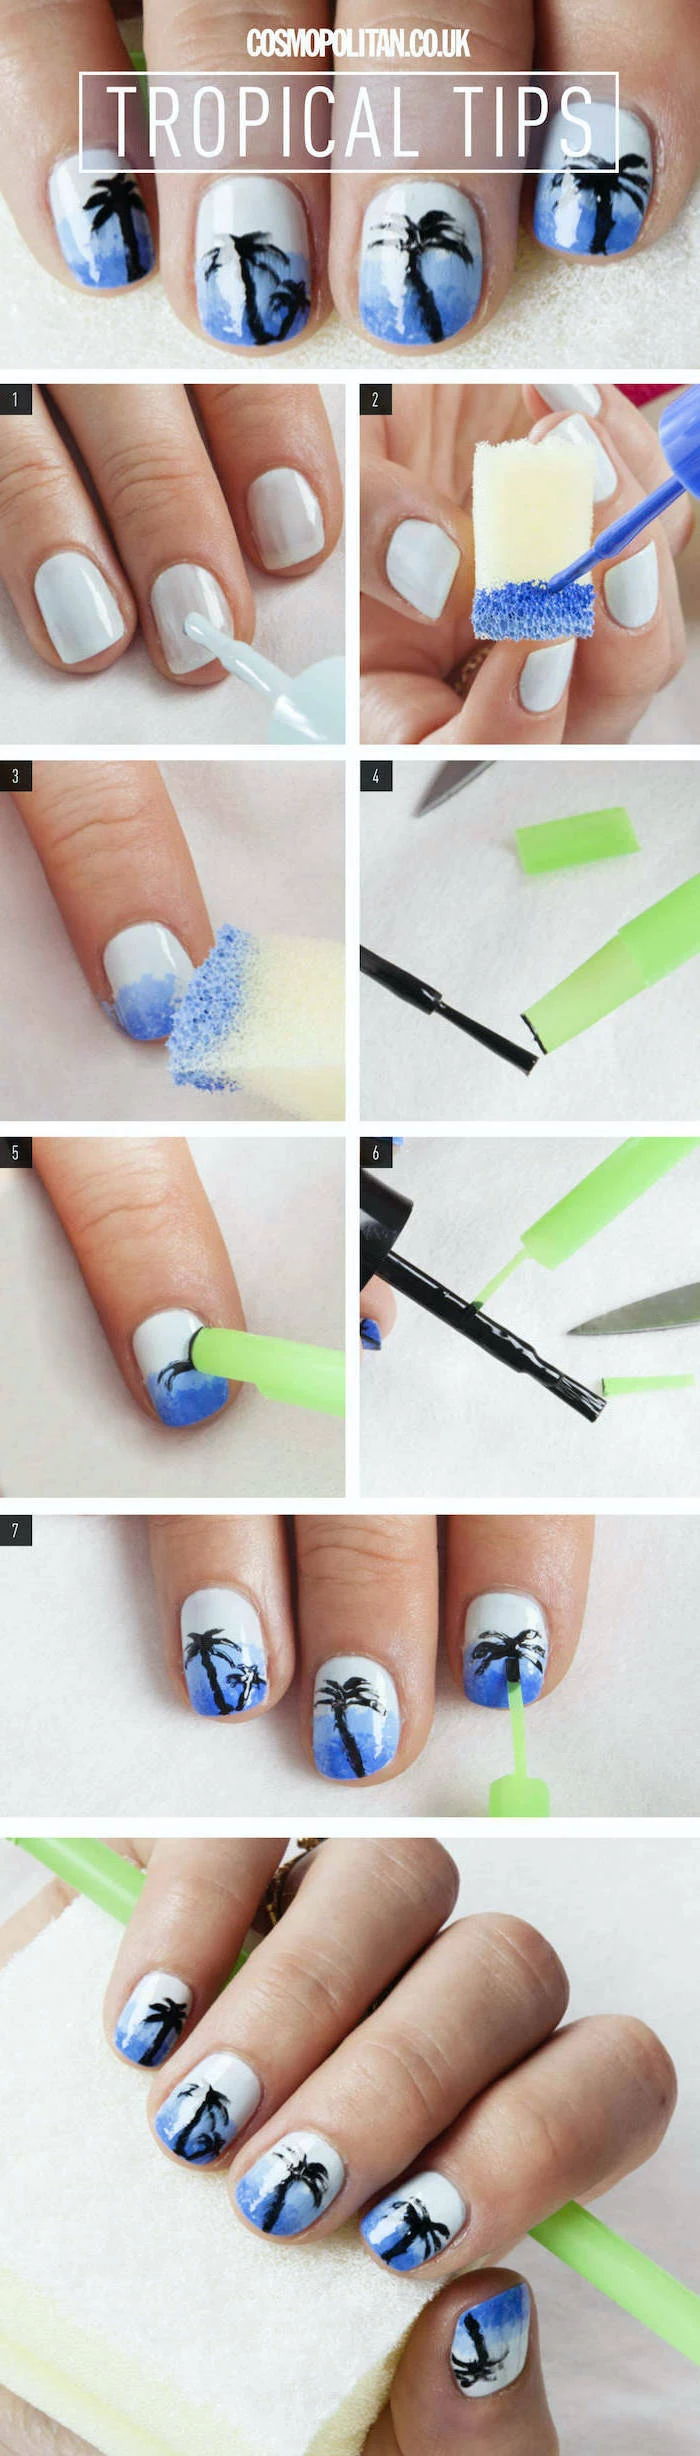
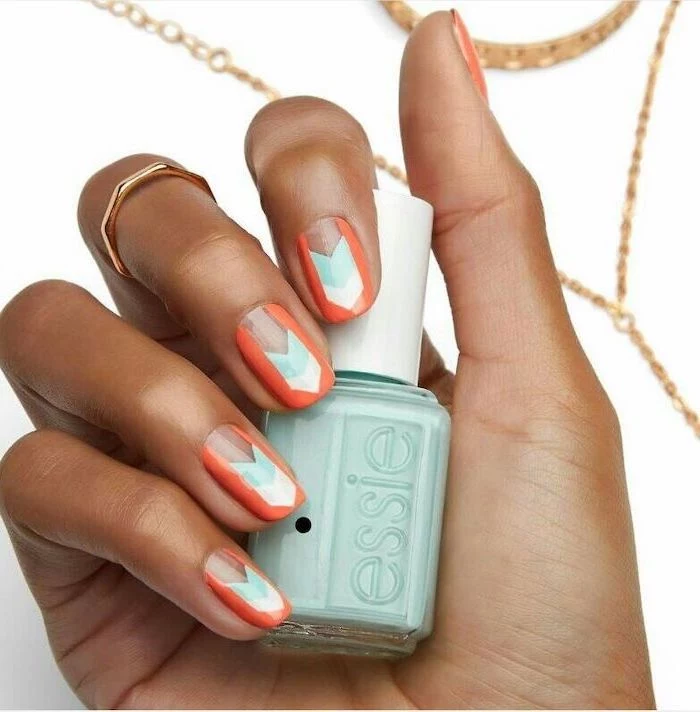
The Tools: My secret weapon is a set of high-quality liner brushes and something called gel paint. Gel paint is thicker and more pigmented than regular gel polish, so it stays put and gives you opaque lines in one stroke. For a palm leaf, I’ll paint the stem, then use the very tip of a tiny brush to pull the fronds outward. I’ll also “flash cure” for 5-10 seconds after a few strokes. This sets the gel just enough so I can’t smudge it, which is how you get those crisp, overlapping layers without everything bleeding together.
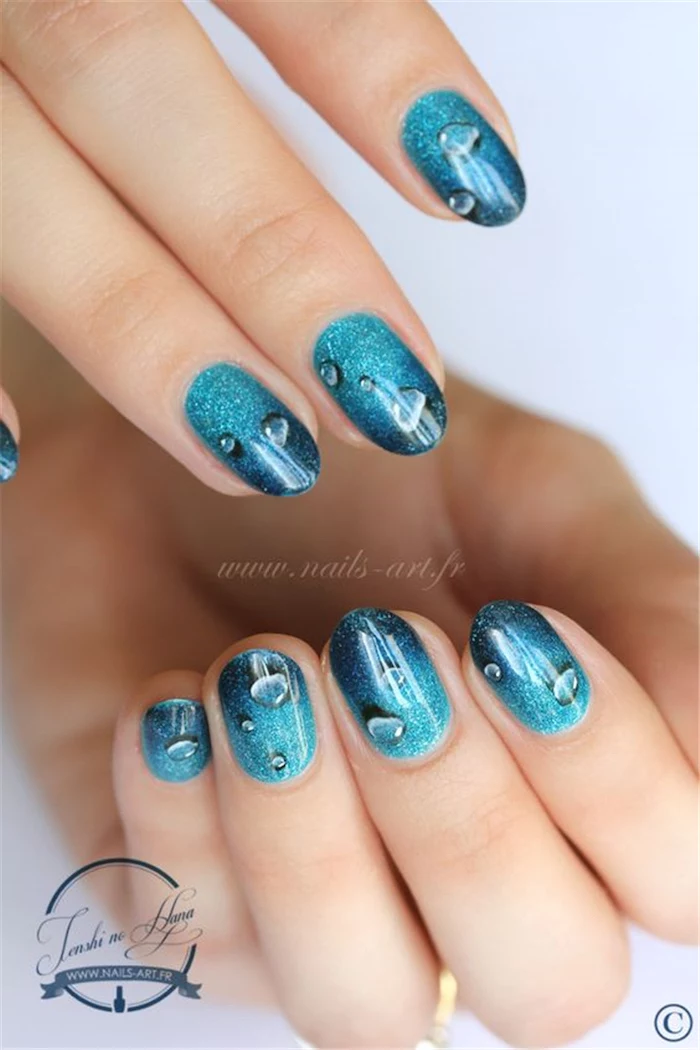
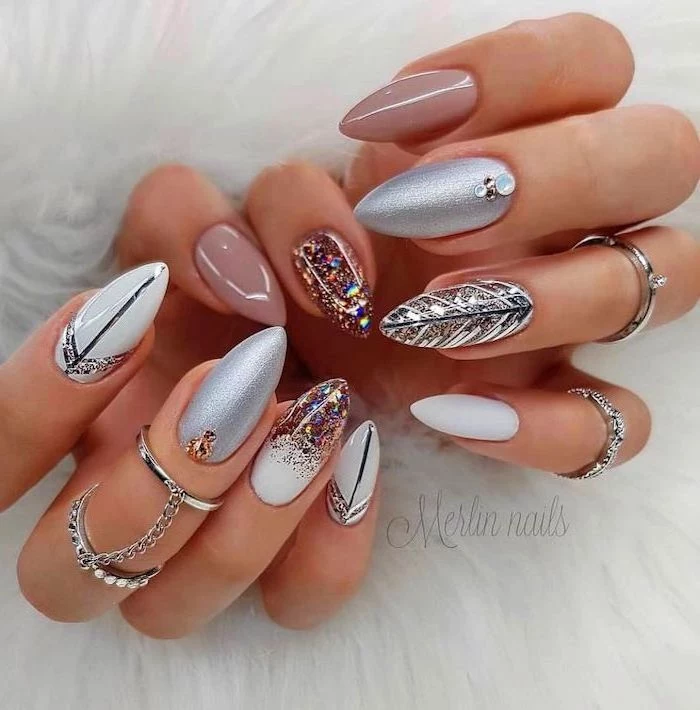
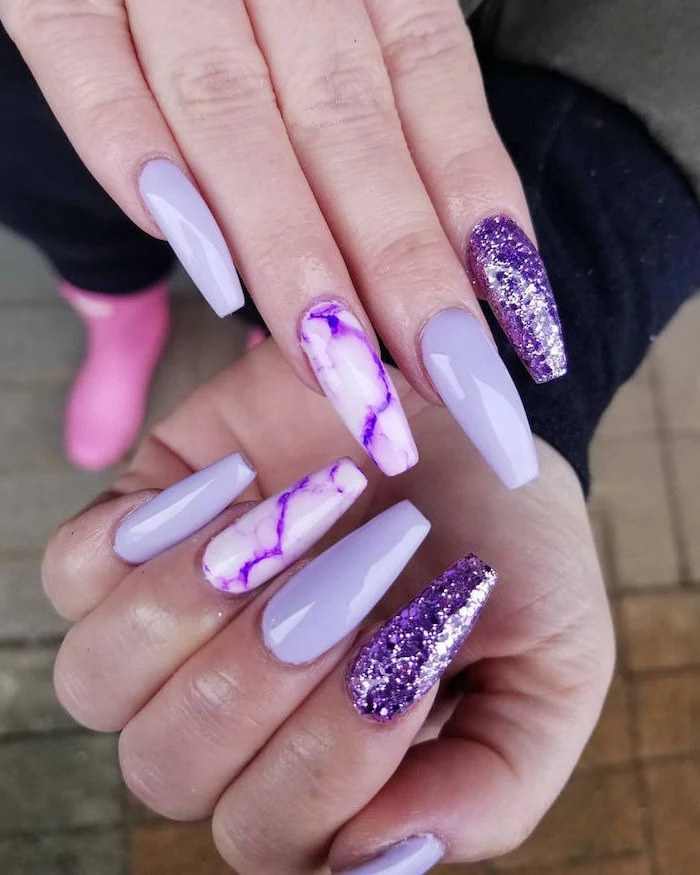
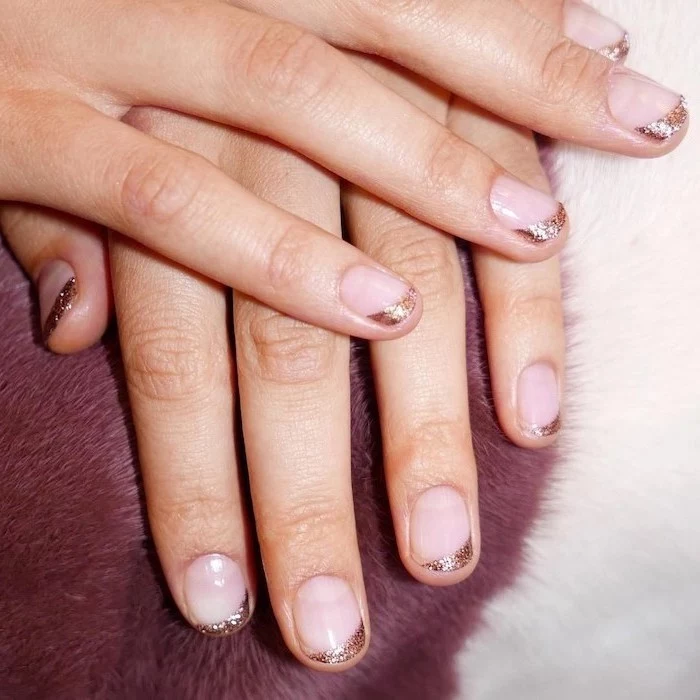
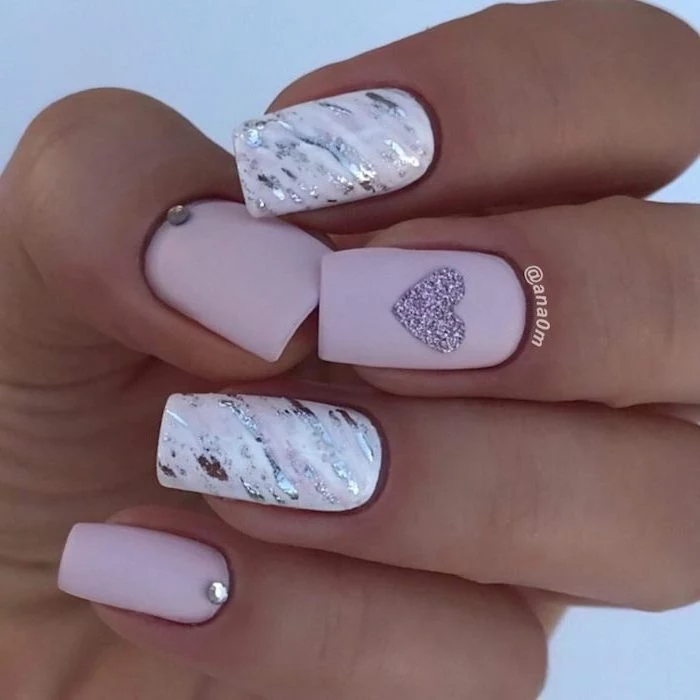
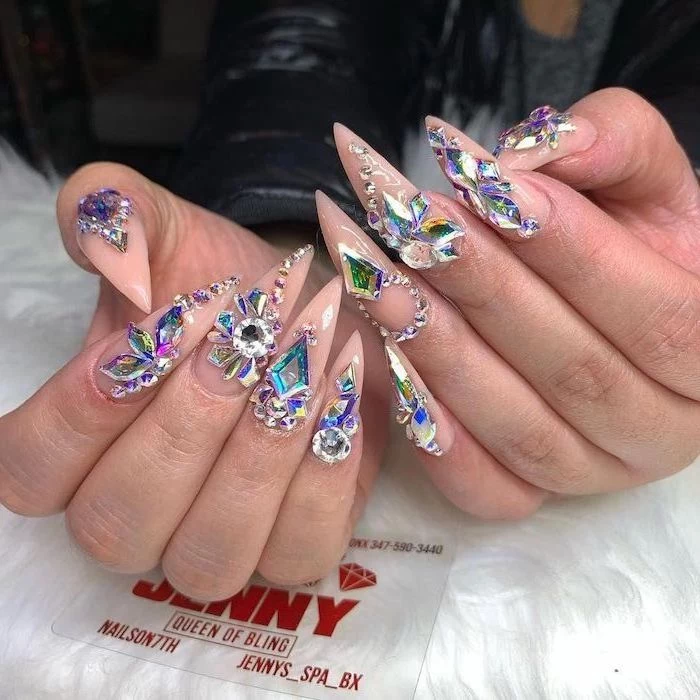
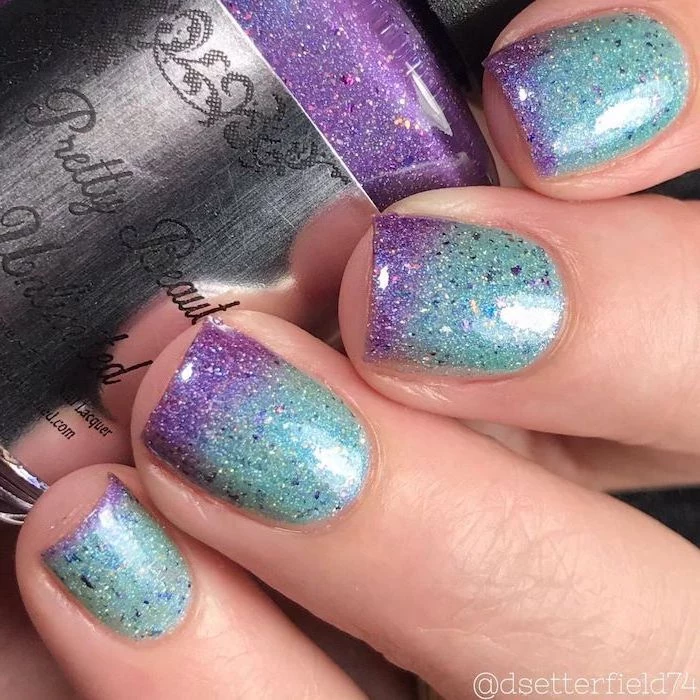
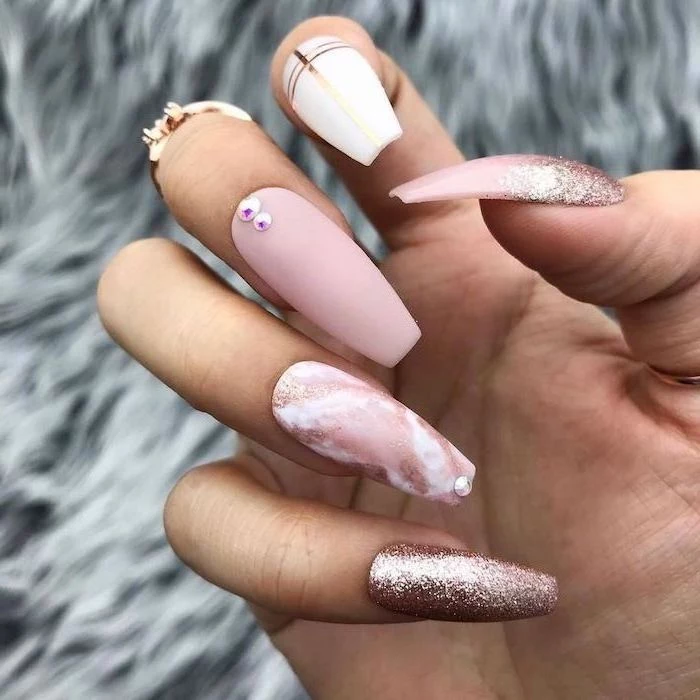
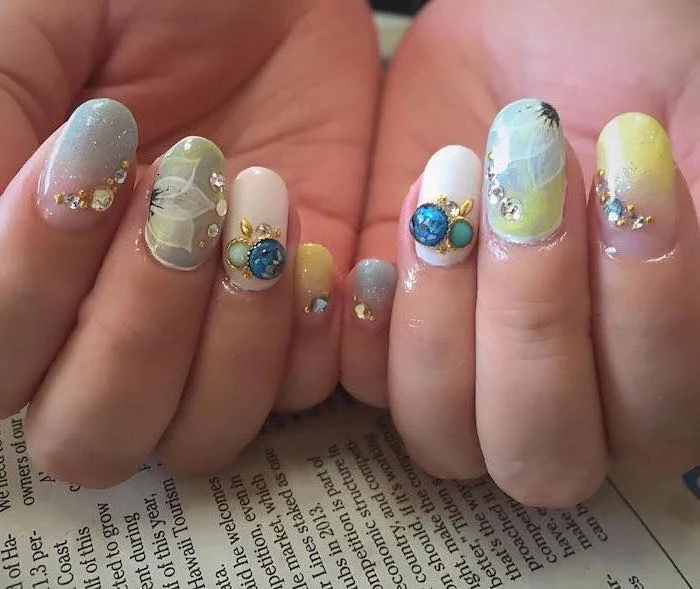
Perfectly Smooth Encapsulated Glitter
Glitter on top of the nail is fine, but it can feel gritty and chip off. Encapsulation is where we seal the glitter (or dried flowers, or foil) inside the acrylic or hard gel. The result is a design that’s glassy smooth and totally protected.
The Technique: I’ll put down a thin, wet layer of clear product, place the glitter, and cure it. The most crucial step is next: I cap it all with another layer of clear product, making sure to build a proper structure with an apex (that’s the thickest, highest point on the nail that provides all the strength) for durability. After curing, I file the nail to refine the shape and ensure the surface is perfectly smooth before the top coat goes on.
Your Guide to Nail Health and Salon Safety
A beautiful manicure means nothing if it messes up your health. As a pro, I follow strict sanitation rules, and you should be just as strict when choosing where to get your nails done.
What to Look For in a Salon
Walk in and play detective for a minute. Your health is worth it.
- Licenses on Display: The salon and the individual tech should have their licenses clearly visible. This is proof of proper training.
- Obvious Cleanliness: Does the place look and smell clean? Are workstations wiped down between clients?
- Tool Sterilization: This is huge. Metal tools (nippers, pushers, e-file bits) MUST be sterilized, ideally in a medical-grade machine called an autoclave. They should come out of a sealed pouch that’s opened right in front of you. A jar of blue liquid (Barbicide) is for disinfecting, not sterilizing. It’s good, but an autoclave is the gold standard.
- No Reusing Files: Nail files, buffers, and wooden sticks should be brand new for every single client. If you see a tech pull a dusty file out of a drawer, it’s time to walk out.
Summer-Specific Nail Problems
More sun and fun means a few extra risks to watch out for.
The Dreaded “Greenies”: If you see a greenish spot under your nail, it’s a bacterial infection, not mold. It happens when moisture gets trapped in a gap where the enhancement has lifted from the nail. This is exactly why you need to get lifting fixed ASAP.
So, what should you do? If you even think you see a green spot, call your technician right away. Whatever you do, don’t try to glue the lifting nail back down—that just traps more moisture and makes things so much worse. A pro needs to completely remove the product, clean the nail, and make sure it’s 100% dry and healthy before anything new is applied.
A Note on Curing Lamps: Yes, the lamps use UV light. But the exposure is very low and for a very short time. If you’re concerned, the Skin Cancer Foundation suggests applying a broad-spectrum sunscreen to your hands 20 minutes before your appointment. We just wipe the nail plate clean before we start. It’s a simple step for extra peace of mind.
My Final Thoughts
Summer nails should be pure joy. They’re a way to express yourself and get into the spirit of the season. The key to a fantastic experience is a partnership between a smart client (that’s you!) and a skilled, caring technician. Never be afraid to ask questions about products or sanitation. A true professional will be proud to tell you how they keep you safe.
Trends will change. One year it’s all about neon orange, the next it might be soft lavender. But the core principles of a durable, healthy, and gorgeous manicure never change. They’re built on quality, skill, and an absolute commitment to safety. So go ahead and pick your wild summer color, but more importantly, choose your technician wisely. Your hands will thank you.
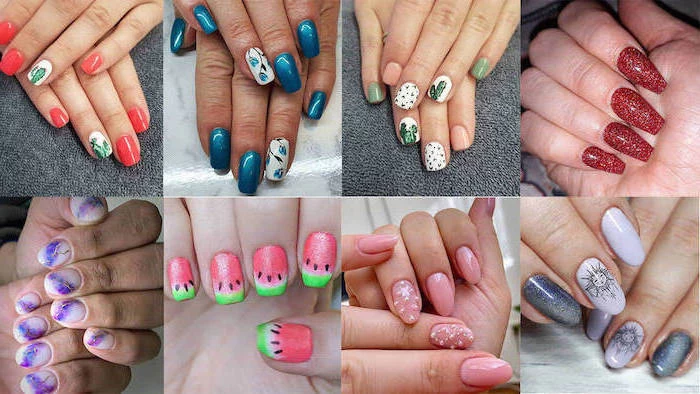
Inspirational Gallery

The Sunscreen Sabotage: Watch out for sunscreens containing Avobenzone. When this common UV filter comes into contact with gel top coats and then gets exposed to the sun, it can cause a chemical reaction that leaves a stubborn yellowish or brownish stain on your light-colored manicure. A quick wipe with rubbing alcohol can sometimes help, but the best defense is to apply sunscreen with your fingertips and wash your hands (avoiding your nails) right after.

Did you know? Natural nails can absorb up to 25% of their weight in water.
This is why prolonged exposure to pools or the ocean can be tough on your manicure. When your nail plate swells with water and then shrinks as it dries, it can cause the edges of your polish or enhancement to lift. Minimizing long soaks and thoroughly drying your hands are small habits that make a huge difference.
- A small file or buffer for snags
- A bottle of a quick-dry top coat to seal chips
- A nourishing cuticle oil pen
The secret to a worry-free vacation? A mini nail first-aid kit. Tossing these three items into your toiletry bag takes up almost no space and can save a manicure from a minor disaster, keeping your nails looking perfect from the beach to the bar.
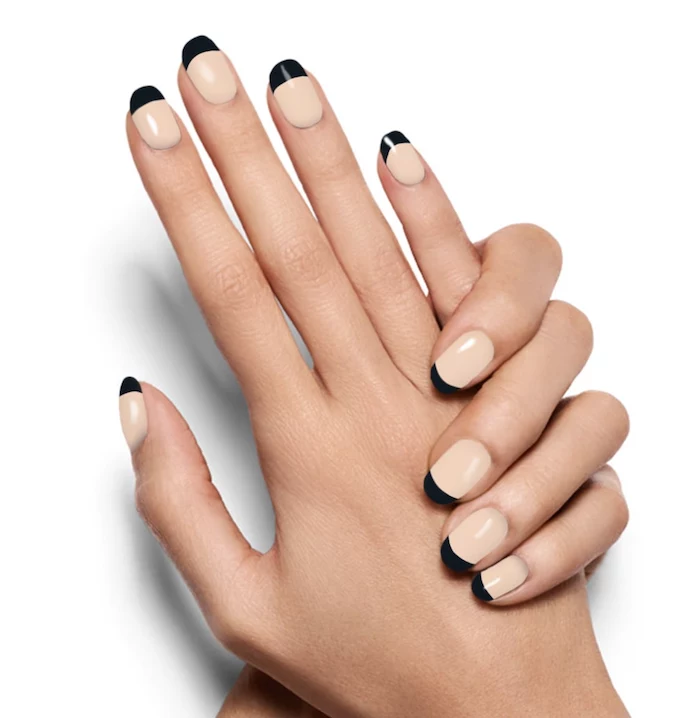
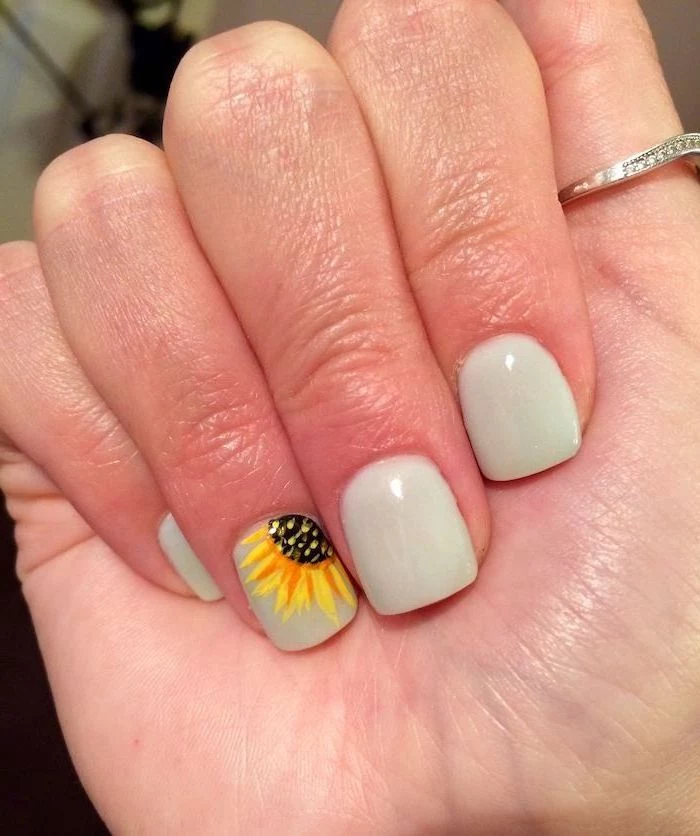
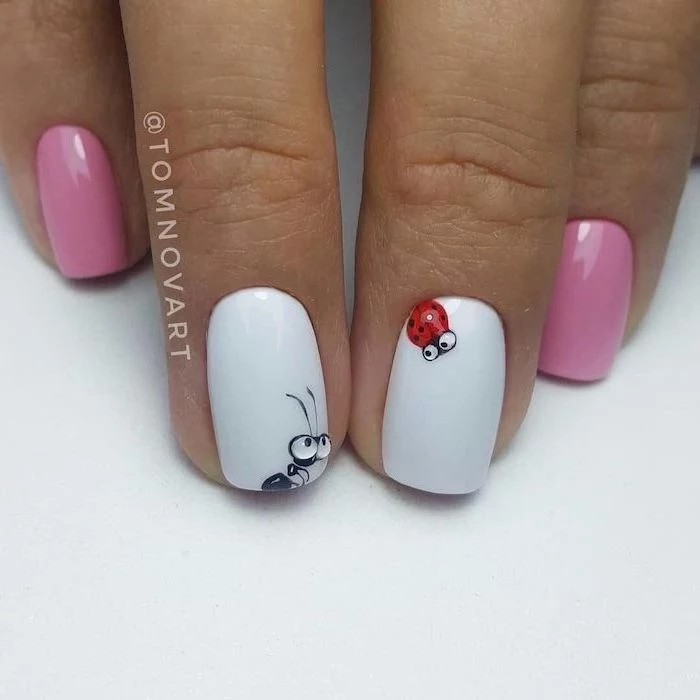
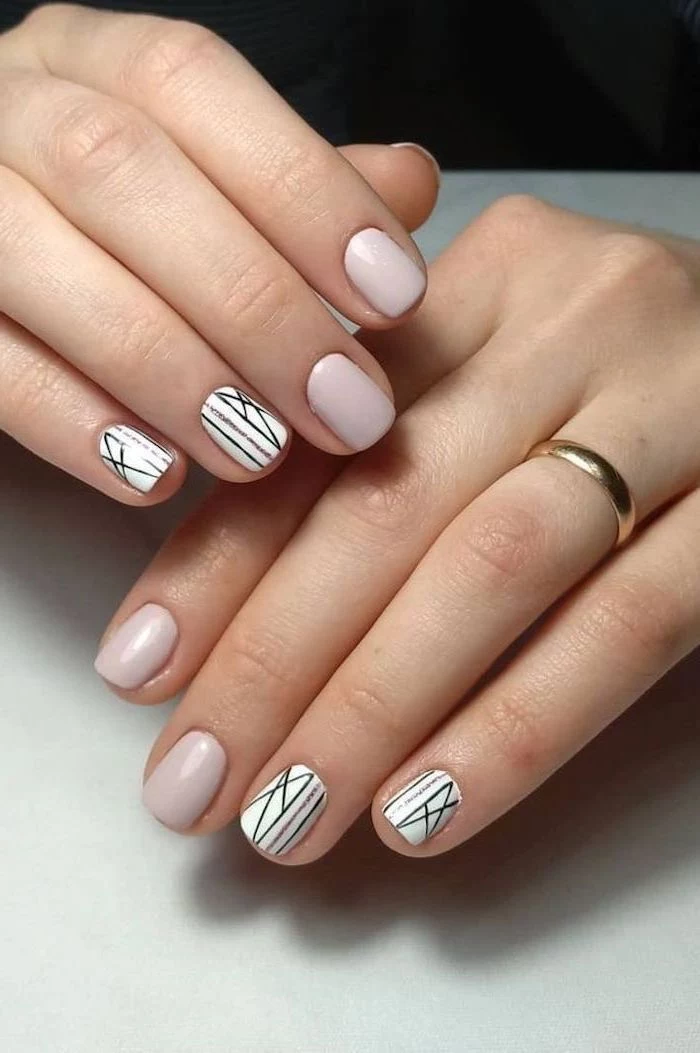
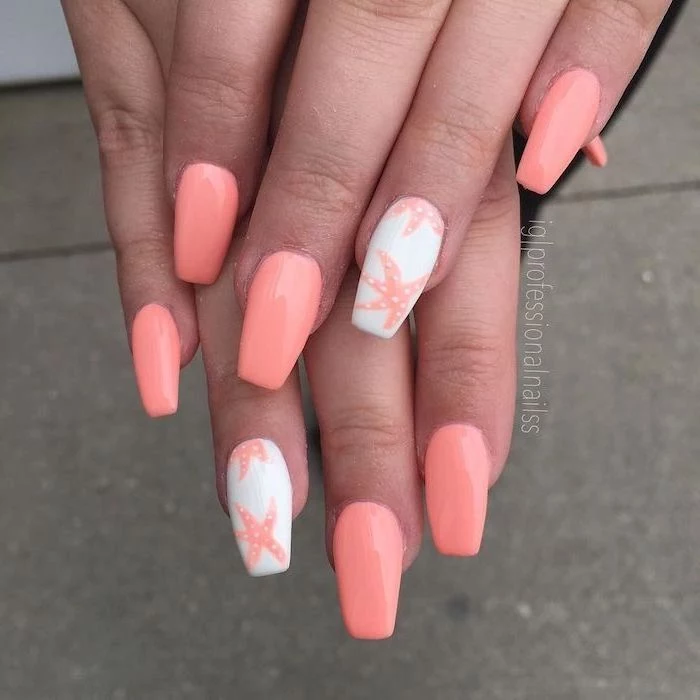
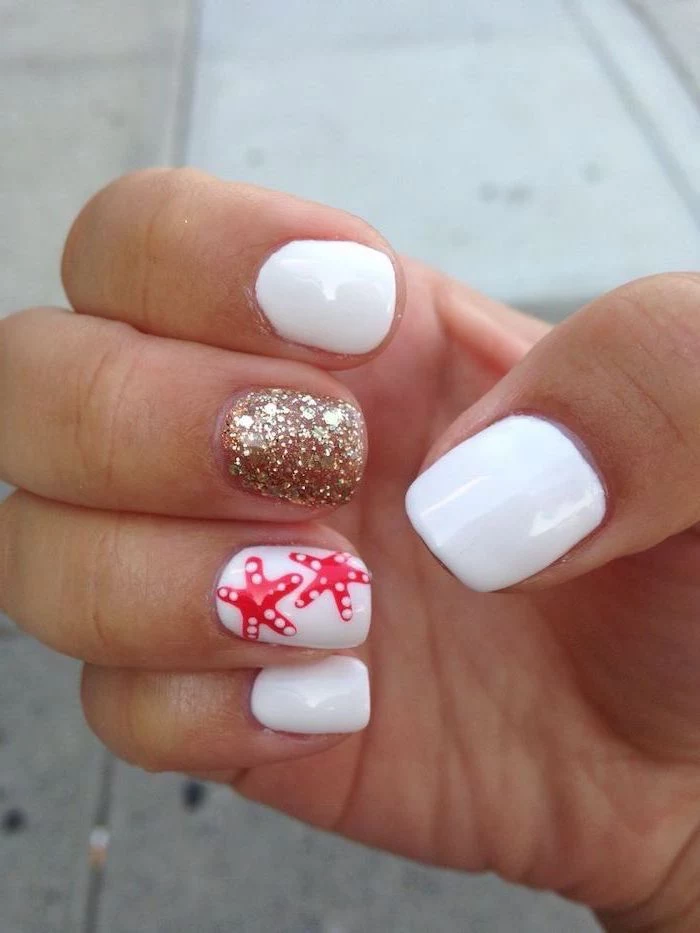
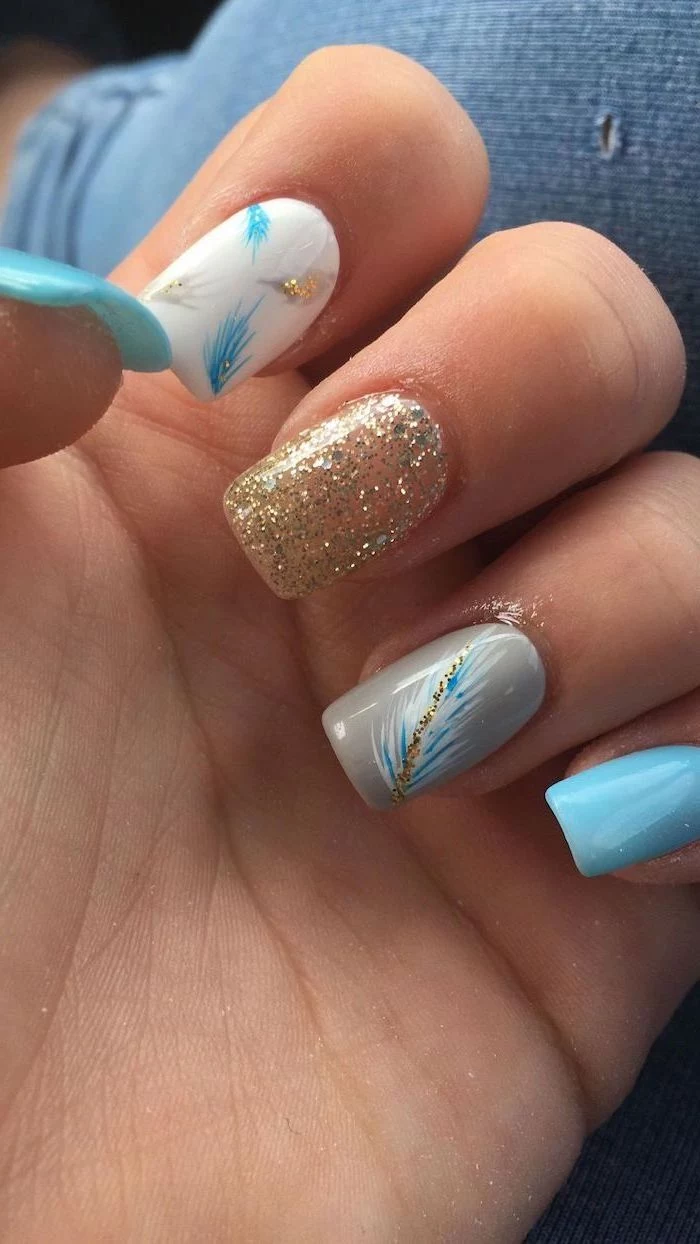
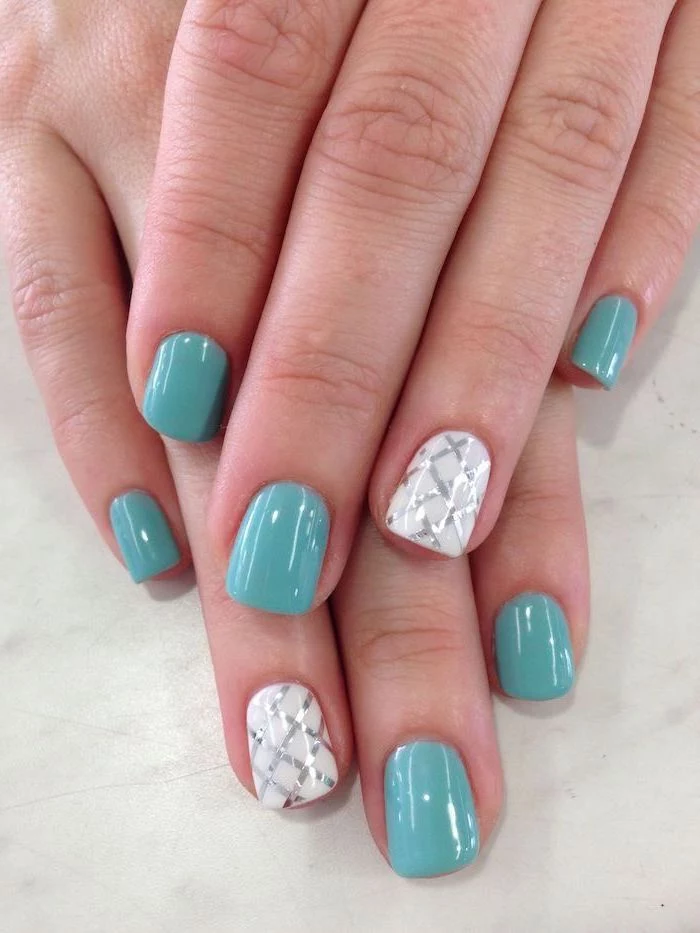
Thinking about white nails for your trip?
A crisp, opaque white manicure is the ultimate summer statement—it makes any tan pop and feels incredibly fresh. However, be warned: it’s the most susceptible to stains. Self-tanner, makeup, and even spices from cooking can discolor it. To combat this, ask your technician for an extra-durable, stain-resistant top coat, and be prepared to give them a gentle wipe with a cleanser daily.

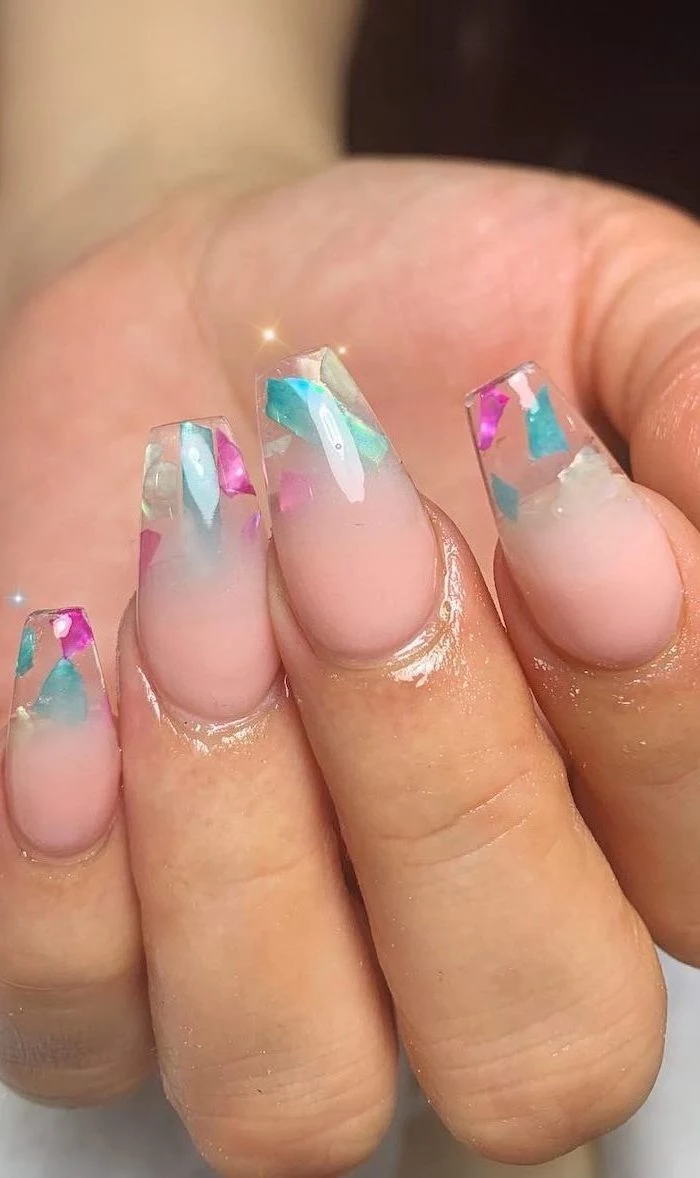
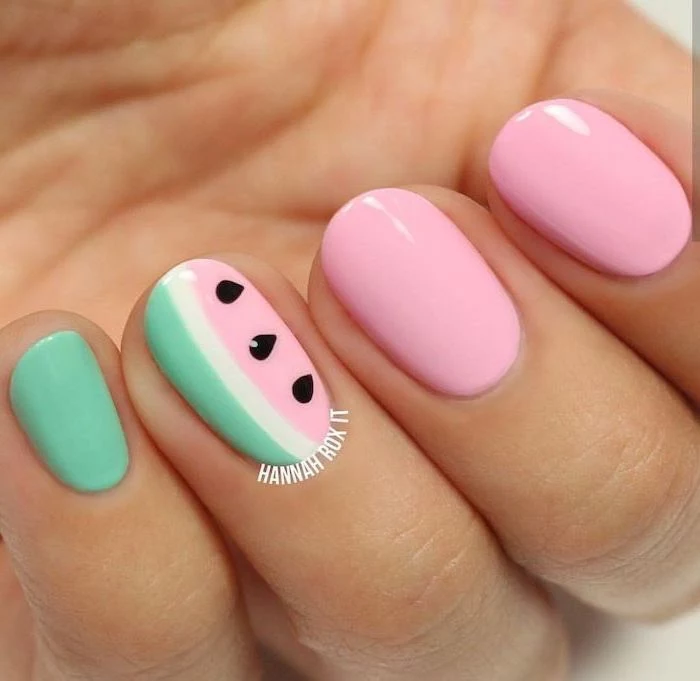
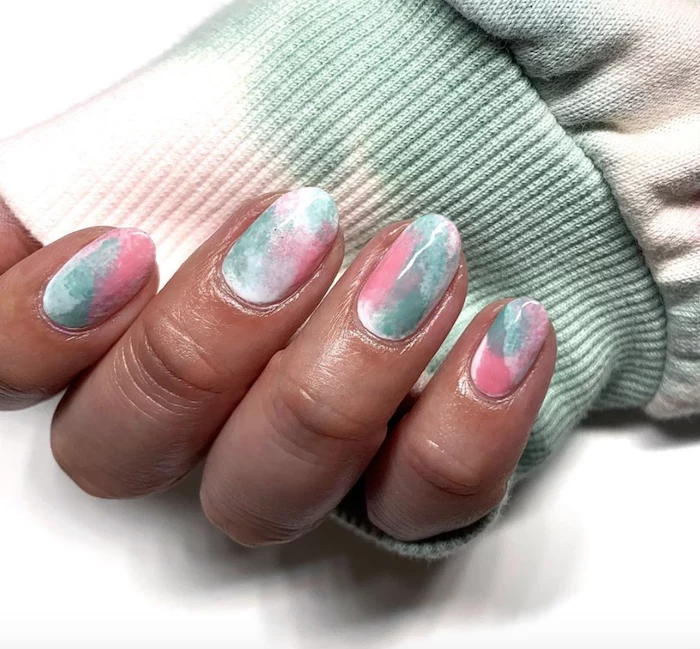
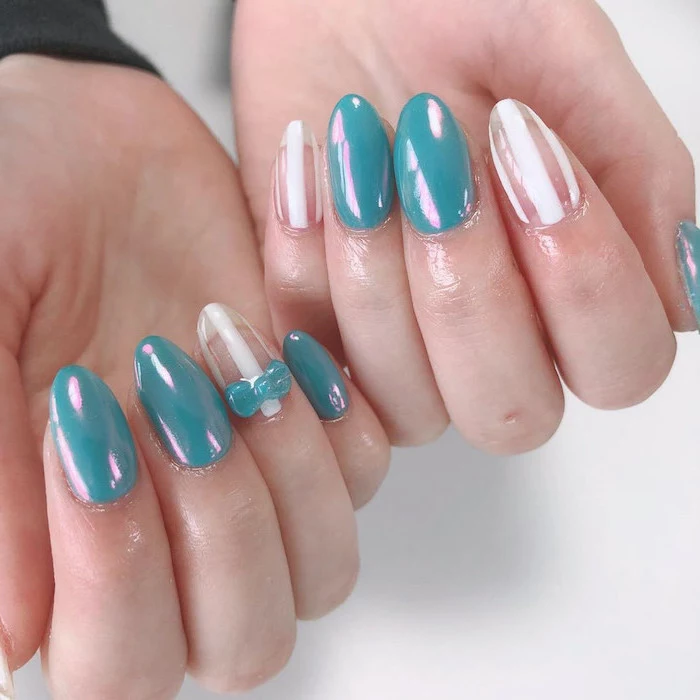
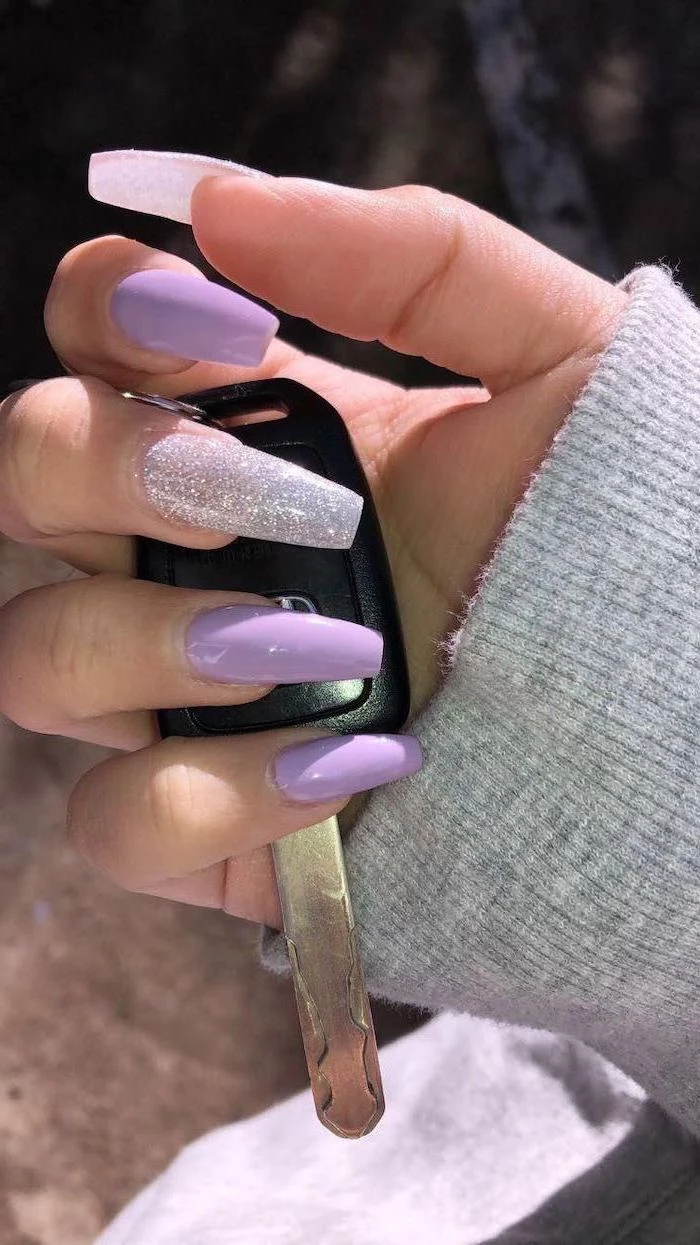
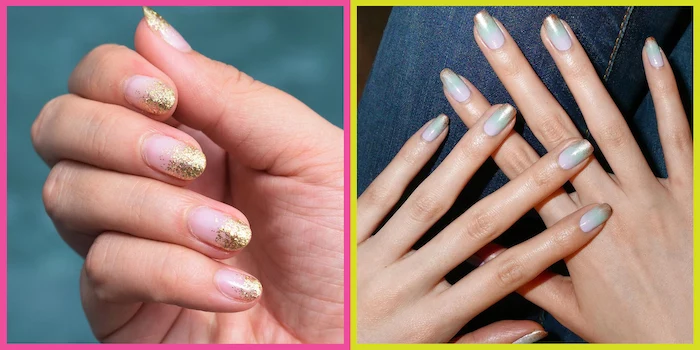
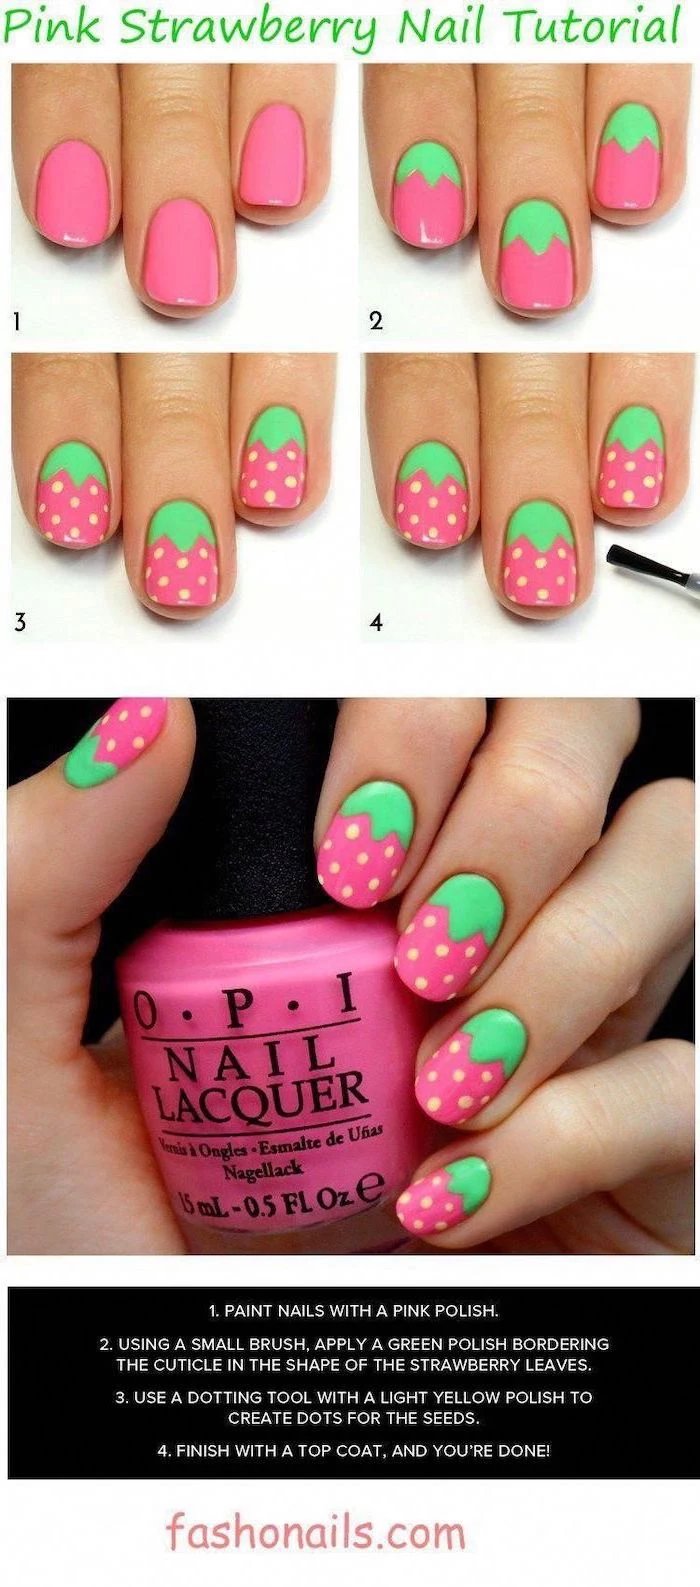
Embrace the translucent trend with “jelly nails.” This playful style uses a sheer, buildable gel polish to create a see-through, colored glass effect. It’s perfect for summer because it camouflages minor imperfections and looks amazing in the sunlight. Popular shades like strawberry pink or sea glass blue give a fun, almost edible look to your nails that’s less formal than an opaque color.
Cuticle Oil: Fast-absorbing and ideal for daily hydration. Brands like CND SolarOil are classics for a reason; their blend of jojoba and vitamin E penetrates deeply to keep the nail and surrounding skin flexible.
Cuticle Cream: Thicker and more intensive, perfect for an overnight treatment. L’Occitane’s Shea Nail & Cuticle Oil is a rich, travel-friendly option for rescuing parched cuticles after a day in the sun and salt.
For summer, use an oil daily and a cream a few times a week for maximum protection.

“The number one product I see ruin fresh nails in the summer is DEET-based bug spray. It can literally dissolve gel polish and acrylics on contact.” – A seasoned nail technician’s PSA
Give your pedicure a classic touch that never fails. While intricate art is fun for hands, feet often look most elegant with a single, powerful color that complements sun-kissed skin. Consider these timeless choices:
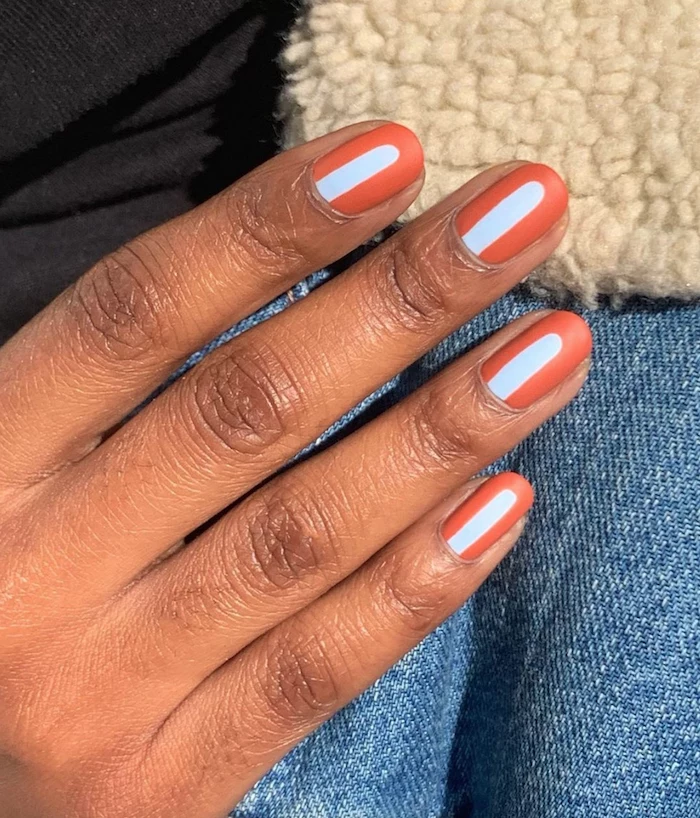
- Fiery Coral: A universally flattering mix of red and orange.
- Opaque White: The ultimate modern, crisp choice.
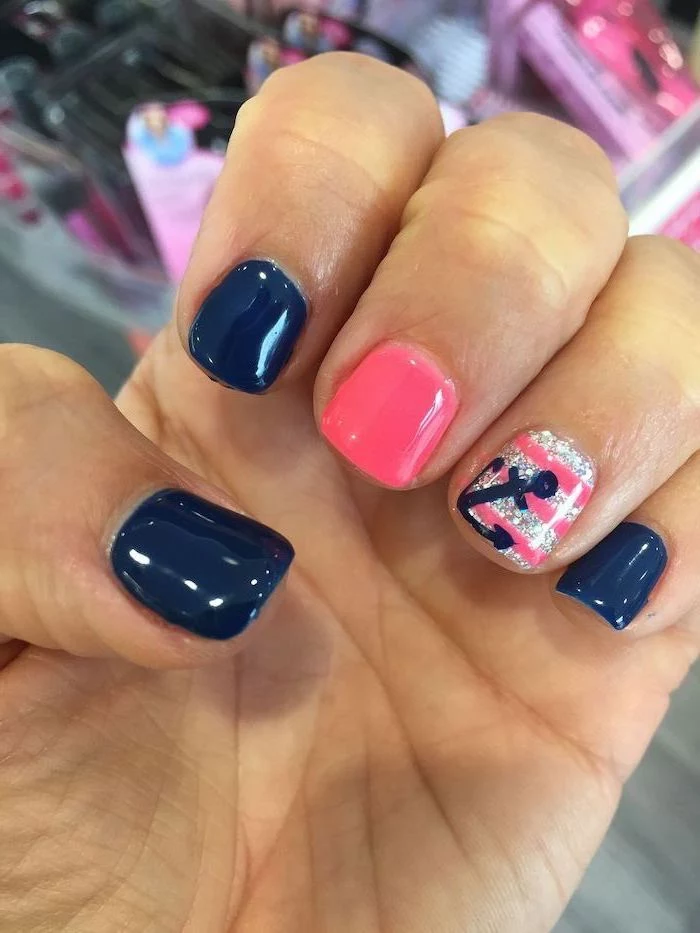
- Deep Cobalt Blue: Evokes the sea and feels incredibly chic.
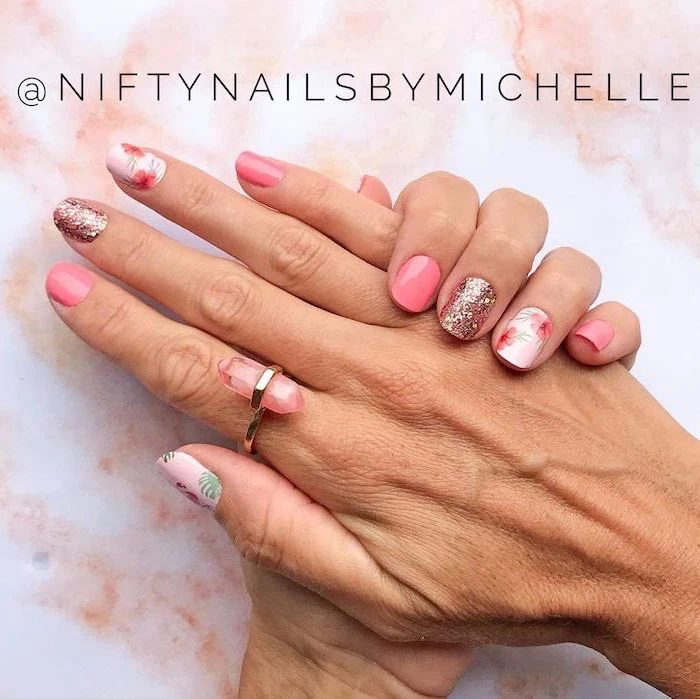
- Hot Pink: A playful, high-energy hue that screams summer fun.
Important: Not all top coats are created equal. For summer, a UV-blocking top coat is non-negotiable. It acts like sunscreen for your polish, preventing vibrant neons from fading and whites from yellowing in the sun. Ask your tech if their gel system, like OPI GelColor or The GelBottle Inc, includes a UV-protective top coat for lasting brilliance.

- Lasts a week or more with zero chipping.
- Offers intricate, professional-level art instantly.
- Can be applied in minutes before an event.
The trick? High-quality press-on nails. Forget the flimsy versions of the past. Brands like Static Nails or Glamnetic offer reusable, durable sets that are perfect for a special weekend or a short vacation when you don’t want to commit to a full salon service. They’re a fantastic, damage-free alternative.
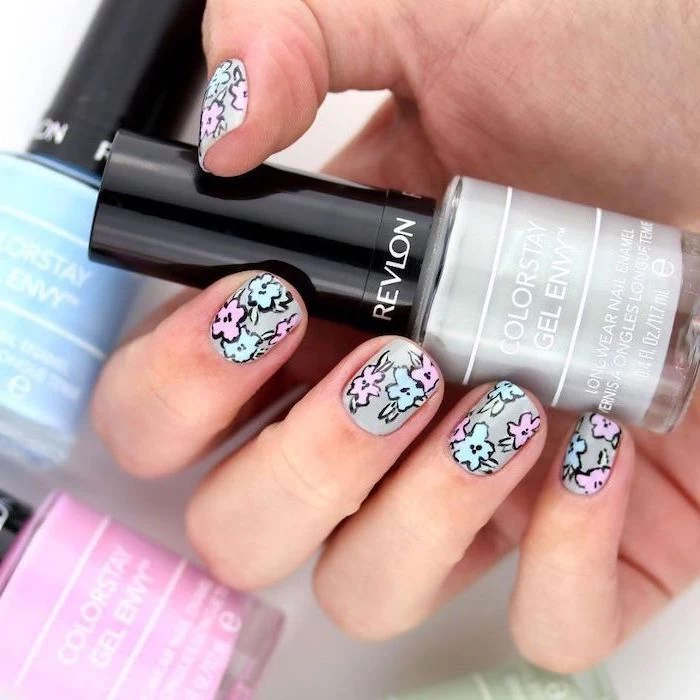

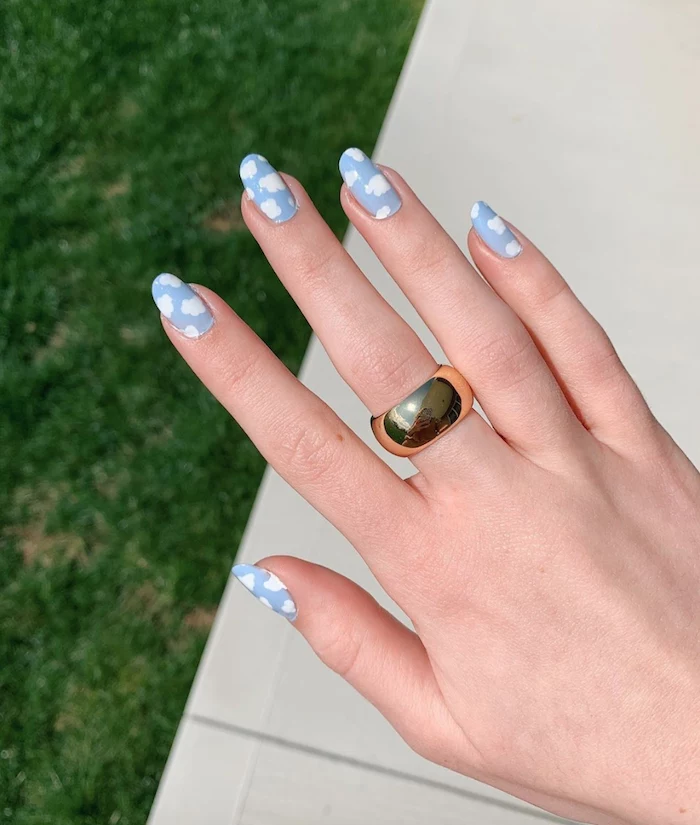
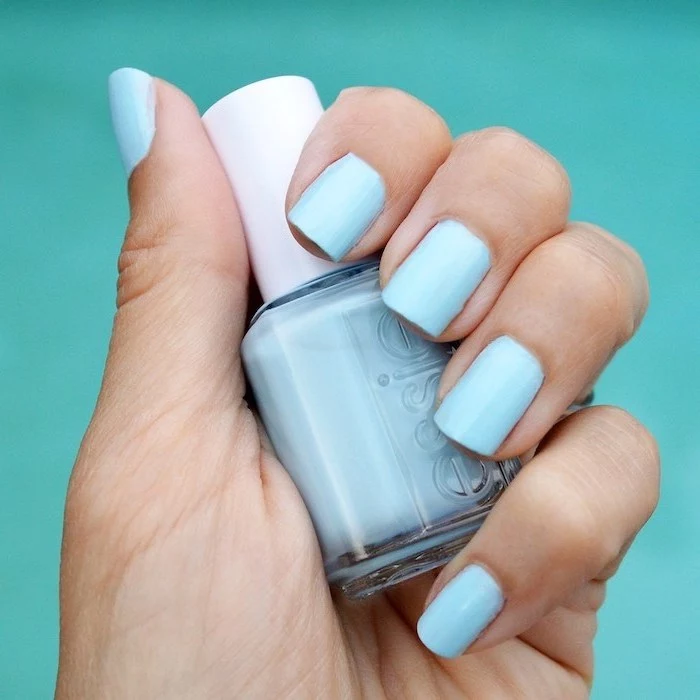
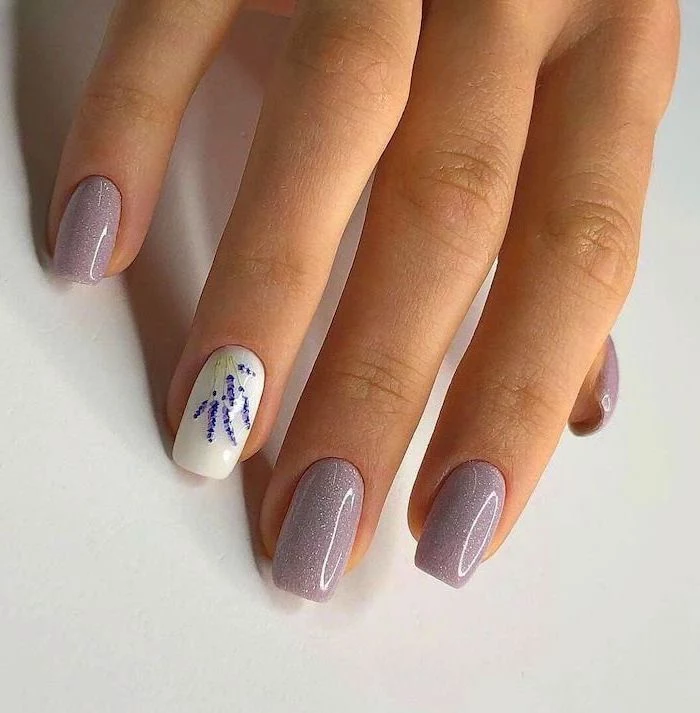
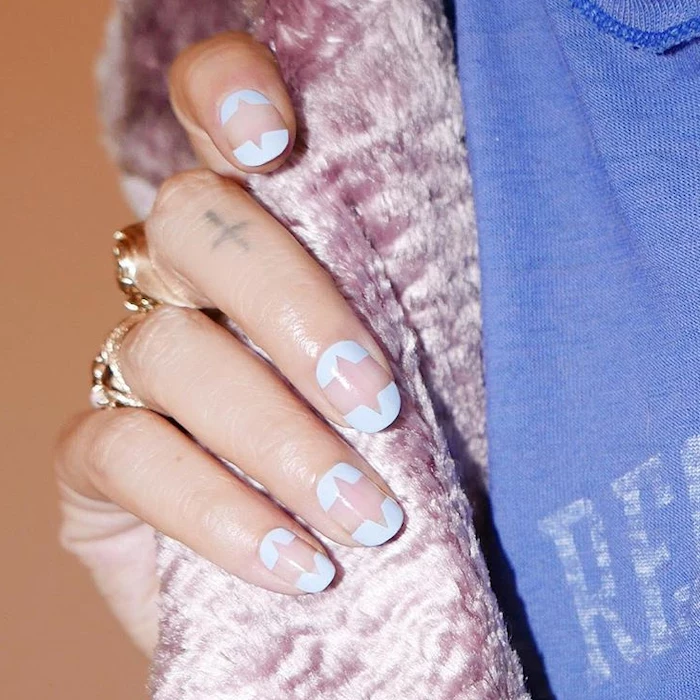
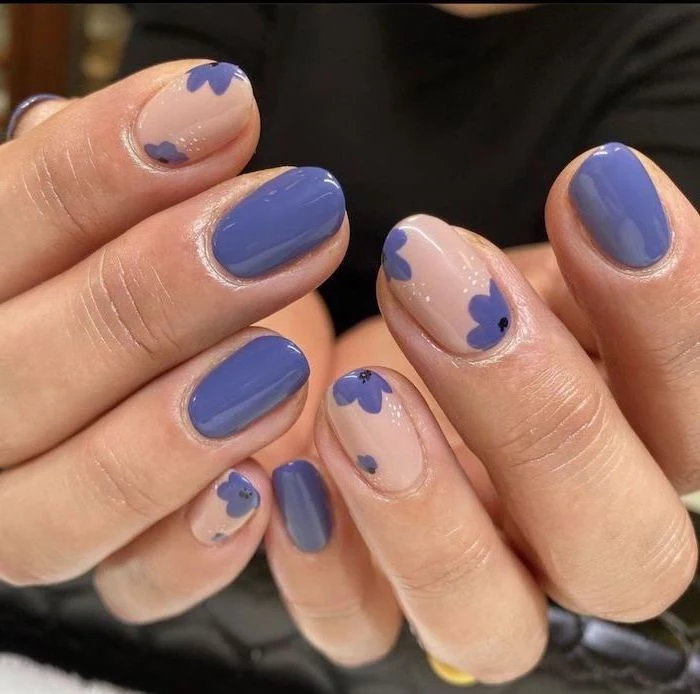
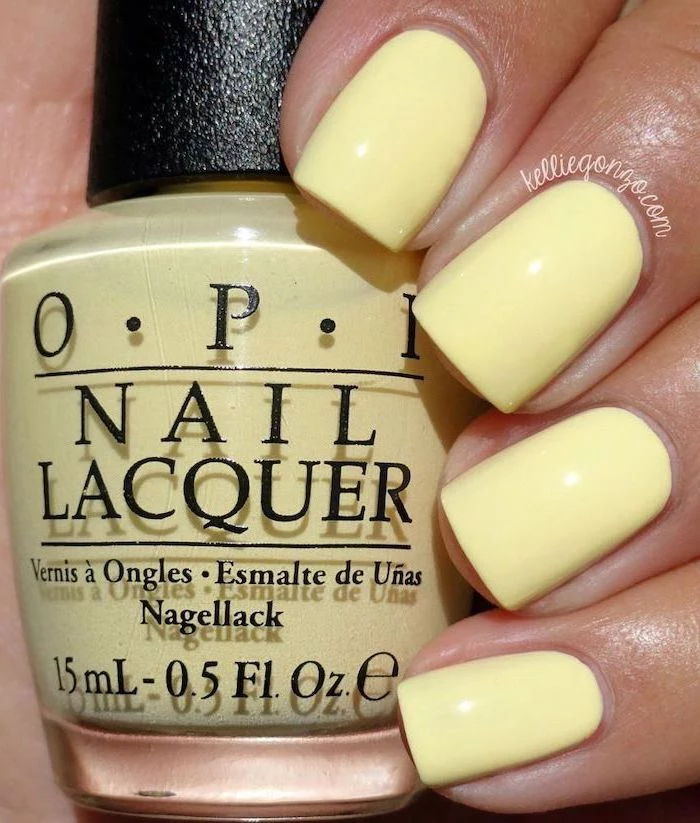
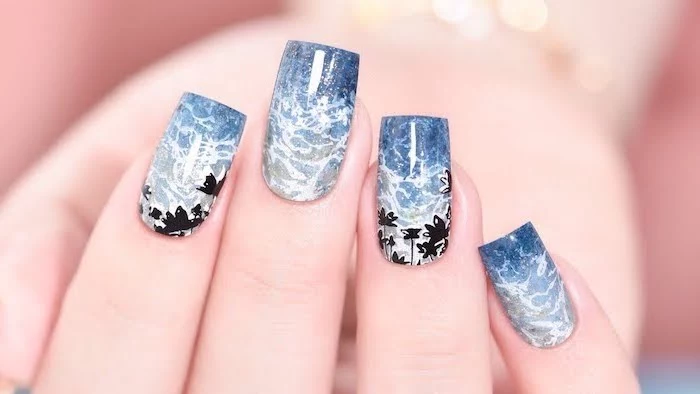
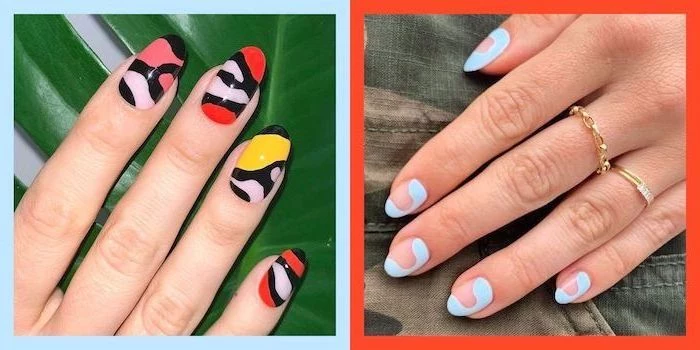
The “Blueberry Milk” nail trend is summer’s answer to quiet luxury. It’s a delicate, creamy, pale blue that offers a soft wash of color. The shade is subtle enough for any occasion but unique enough to feel special. It’s particularly stunning against a light tan and serves as a chic alternative to the classic nude or baby pink manicure. Try OPI’s ‘It’s a Boy!’ for a similar vibe.
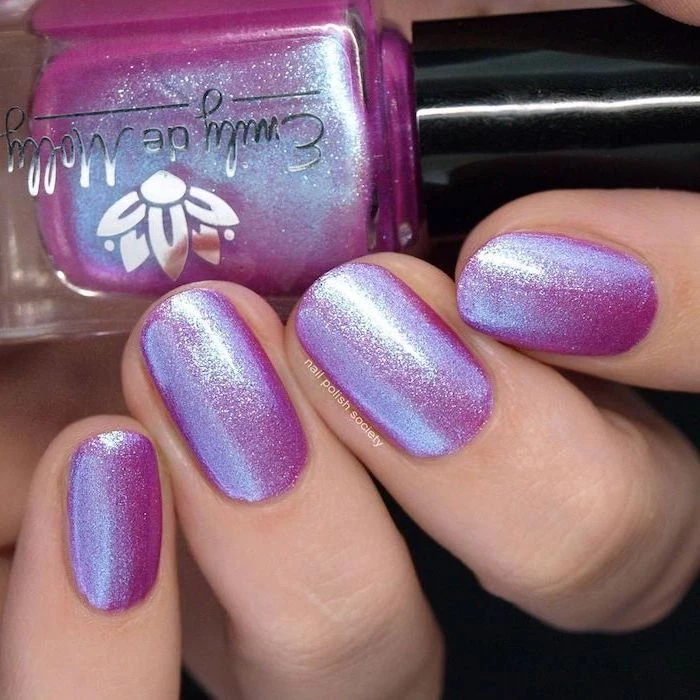
Don’t underestimate the power of chrome. While often associated with winter festivities, a chrome powder finish over a bright summer color is breathtaking. Imagine a hot pink base with a shimmering pink chrome, or a turquoise nail with an iridescent “mermaid” finish. It catches the light beautifully and adds an instant touch of glamour to any manicure.

To keep your manicure looking pristine, form a habit of rinsing your hands with fresh water after every dip in the pool or ocean. Chlorine is a chemical bleach that can dull your color, while salt is dehydrating and can weaken the bond of your polish. A quick rinse and pat dry is a 30-second step that significantly extends the life of your mani.
Can you add length without the commitment of acrylic?
Absolutely. Gel-X extensions are a fantastic summer option. They are full-coverage soft gel tips that are bonded to your natural nail with more gel. The system is lighter and more flexible than traditional acrylic, making it less prone to dramatic breaks with summer activities. Removal is also gentler, involving a soak-off rather than extensive filing.
Nail growth rates can increase by as much as 20% in the summer months.
This is due to increased Vitamin D from sun exposure and better circulation in warmer weather. While it’s great for nail health, it also means your manicure will show regrowth faster. You might want to book your fill or re-do appointment for the 2-week mark instead of stretching it to 3 or 4.
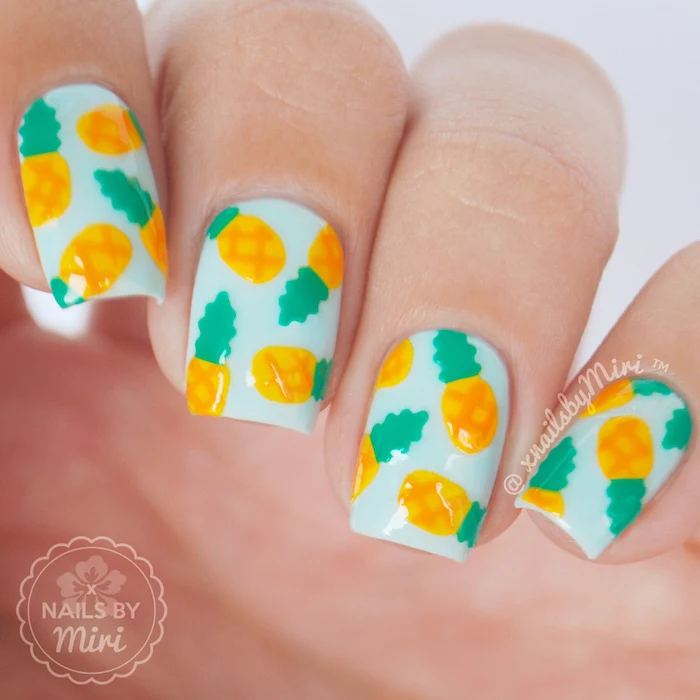
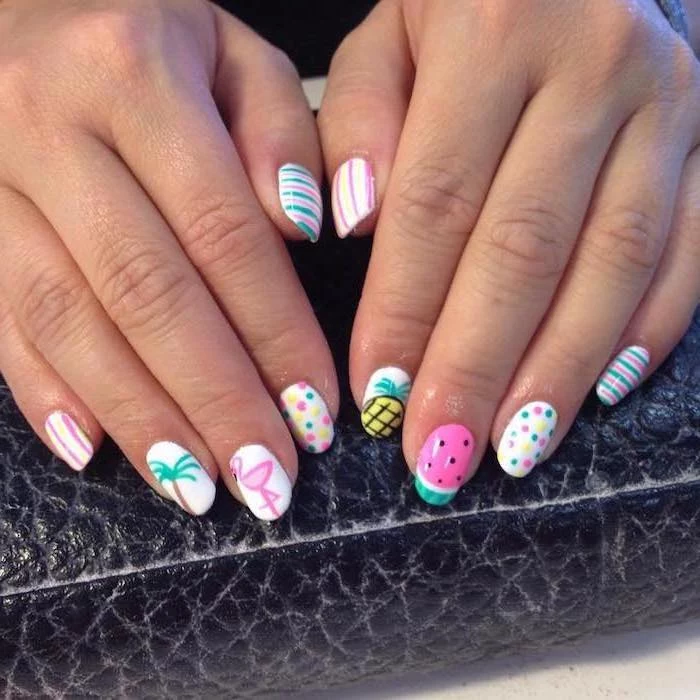
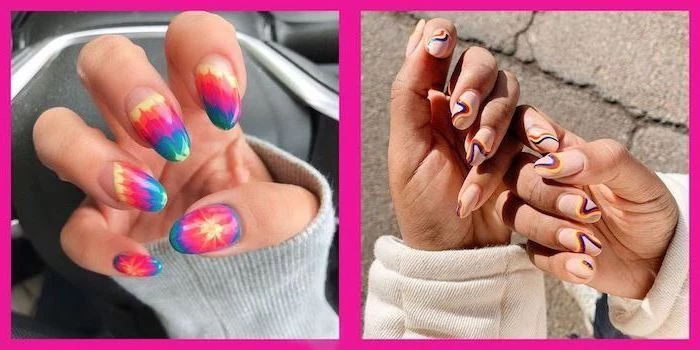
Your nails can be a canvas for your favorite summer drinks. Think beyond solid colors and get inspired by a cocktail menu:
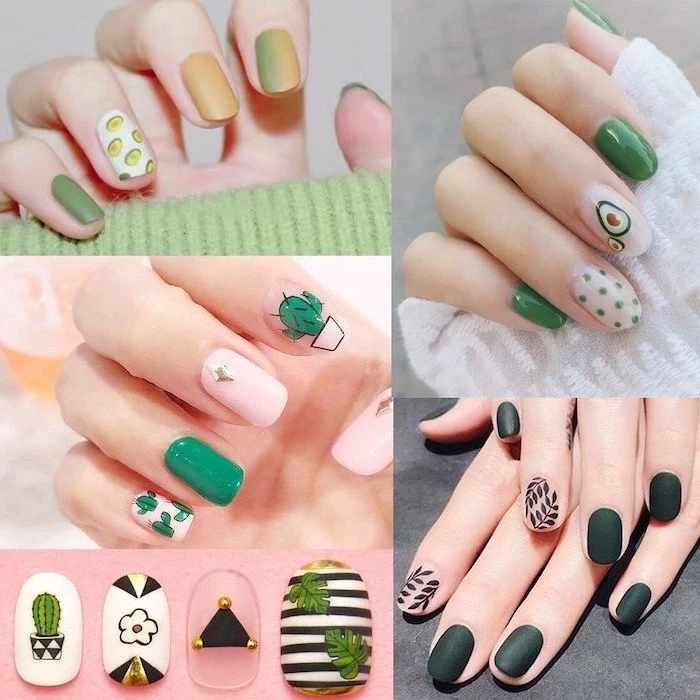
- Mojito: A pale, minty green base with delicate flecks of darker green glitter.
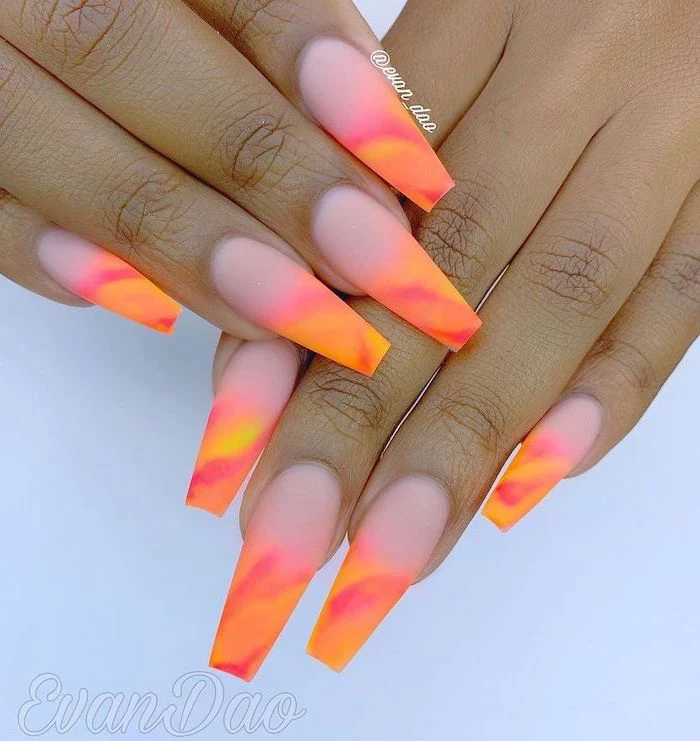
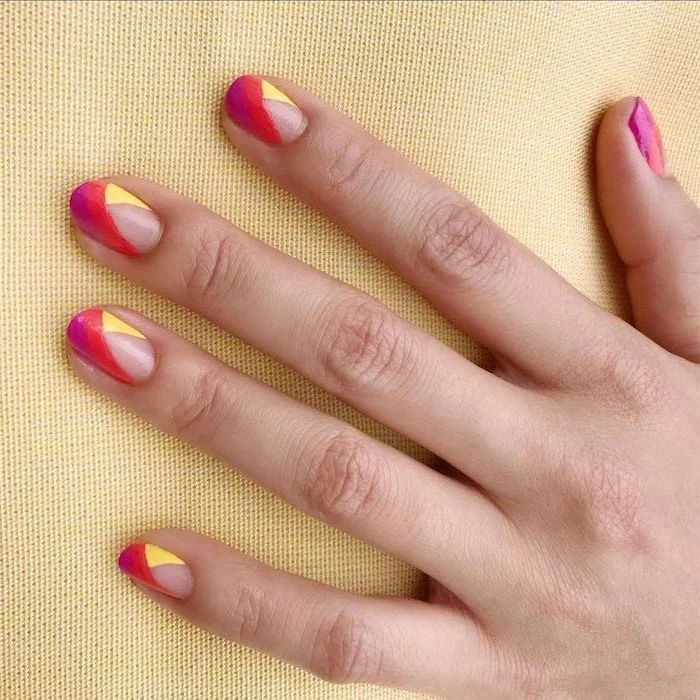
- Tequila Sunrise: A stunning gradient of yellow, orange, and fuchsia.
- Piña Colada: A creamy white with a subtle gold shimmer and maybe a single pineapple accent nail.
The secret to easy glitter removal: Don’t just attack it with a cotton ball and acetone. Instead, soak a small piece of a cotton pad in remover, place it on your nail, and wrap your fingertip in a small square of aluminum foil. Let it sit for 5-10 minutes. The foil traps heat and allows the remover to break down the polish. When you unwrap it, the glitter will slide right off with gentle pressure.
If you’re an at-home manicure enthusiast, try the “gel sandwich” method to make regular polish last through a vacation. Apply a gel base coat and cure it. Then, apply two thin coats of your favorite regular polish (like an Essie or Sally Hansen shade) and let it dry completely—and we mean *completely*. Finish with a gel top coat and cure. You get the longevity of gel with an infinite choice of colors.
Holographic Finish: A fine, silver-based glitter that creates a full rainbow effect in direct sunlight. It’s bold, futuristic, and mesmerizing.
Iridescent Flakes: Larger, transparent particles that shift between two or three colors (like pink to green). They look amazing layered over a solid base color, especially a dark one.
Holo is a full-on statement, while iridescent flakes offer a more ethereal, magical shimmer.
In humid summer weather, even a trace of natural oil or moisture on the nail plate can prevent polish from adhering properly, leading to premature lifting. Your tech will meticulously cleanse your nails with a dehydrating solution (often containing alcohol or acetone) right before applying the base coat. It’s the single most critical prep step for a long-lasting summer manicure.

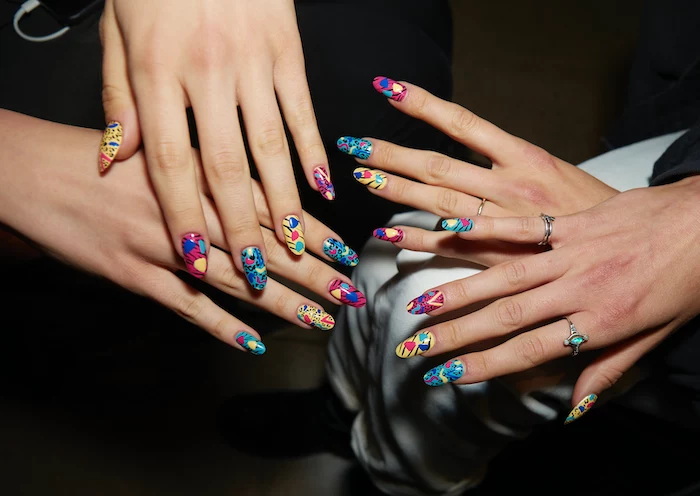
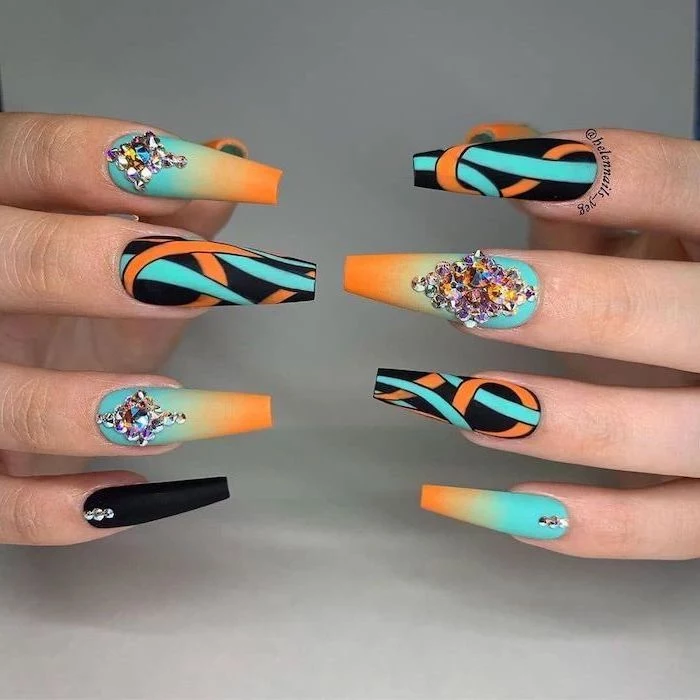
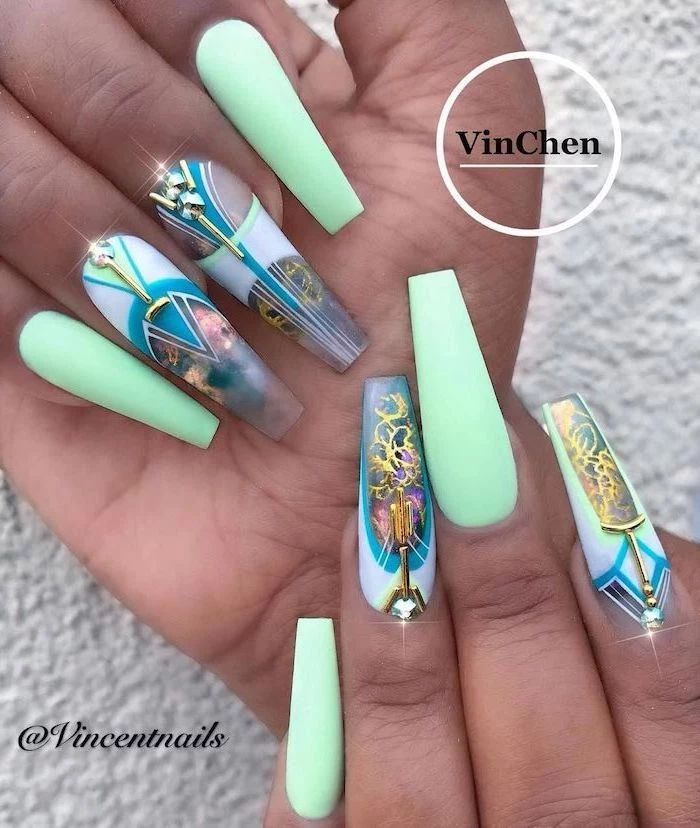
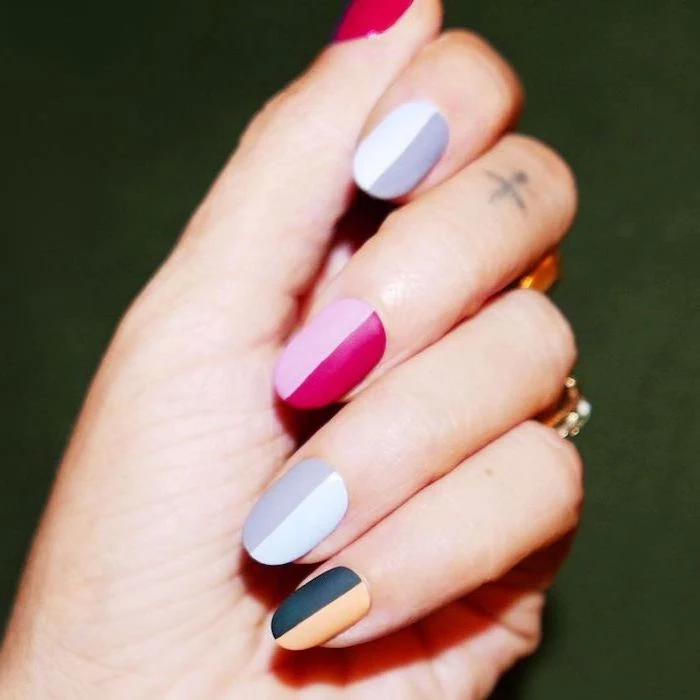
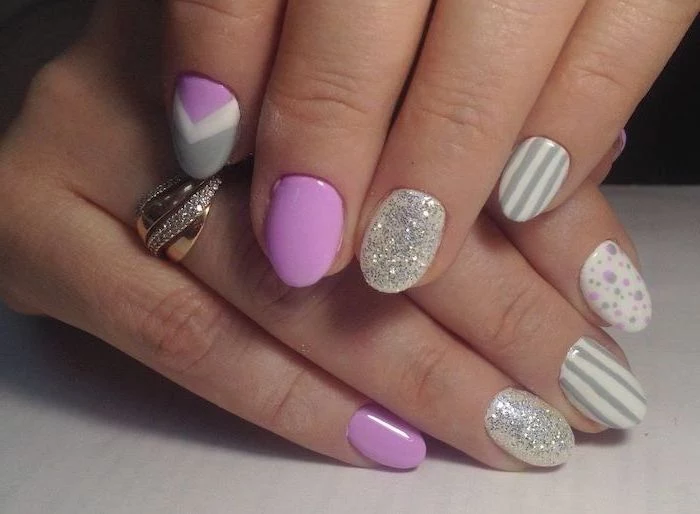
Don’t be afraid to mix and match your finishes. A single manicure can look incredibly dynamic with a variety of textures. Try pairing a glossy, cream-finish index finger with a matte-finish middle finger in the same color. Or, have four nails in a bright neon and an accent ring finger with a complementary glitter. This “texture blocking” adds depth and a custom feel to your set.
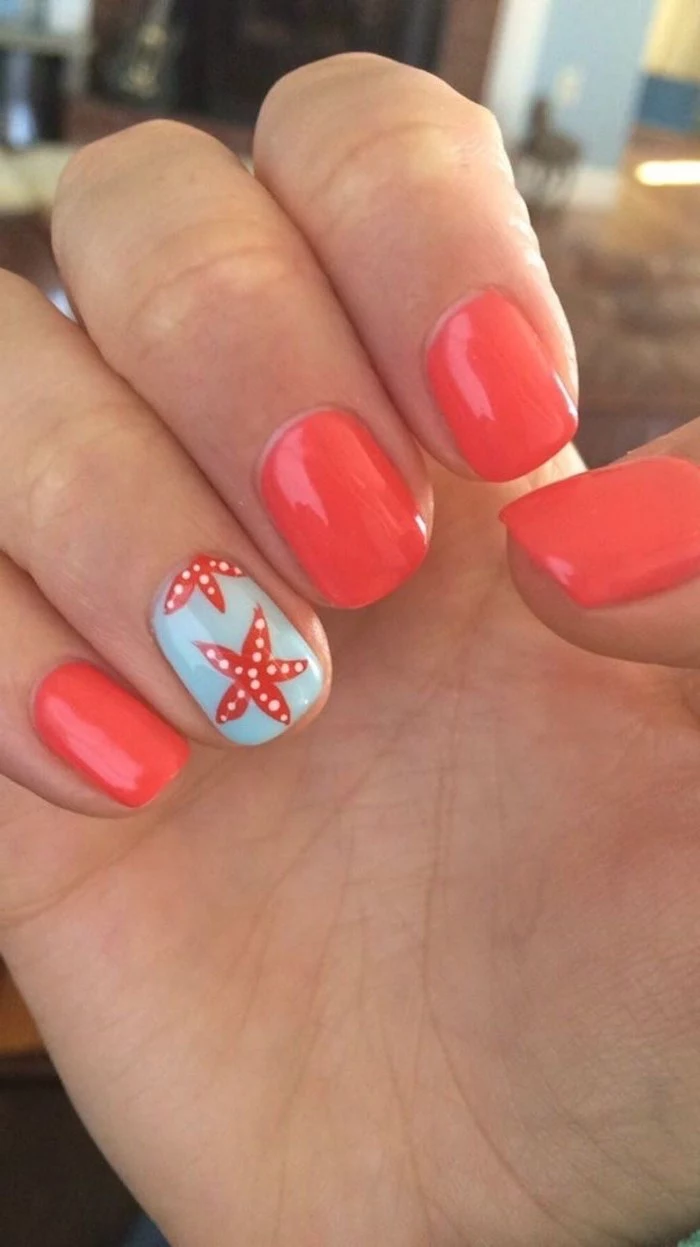
The color coral gets its name from marine invertebrates. Its natural, vibrant hue has been a symbol of protection and happiness in Mediterranean cultures for centuries, making it a psychologically perfect choice for a joyful summer manicure.

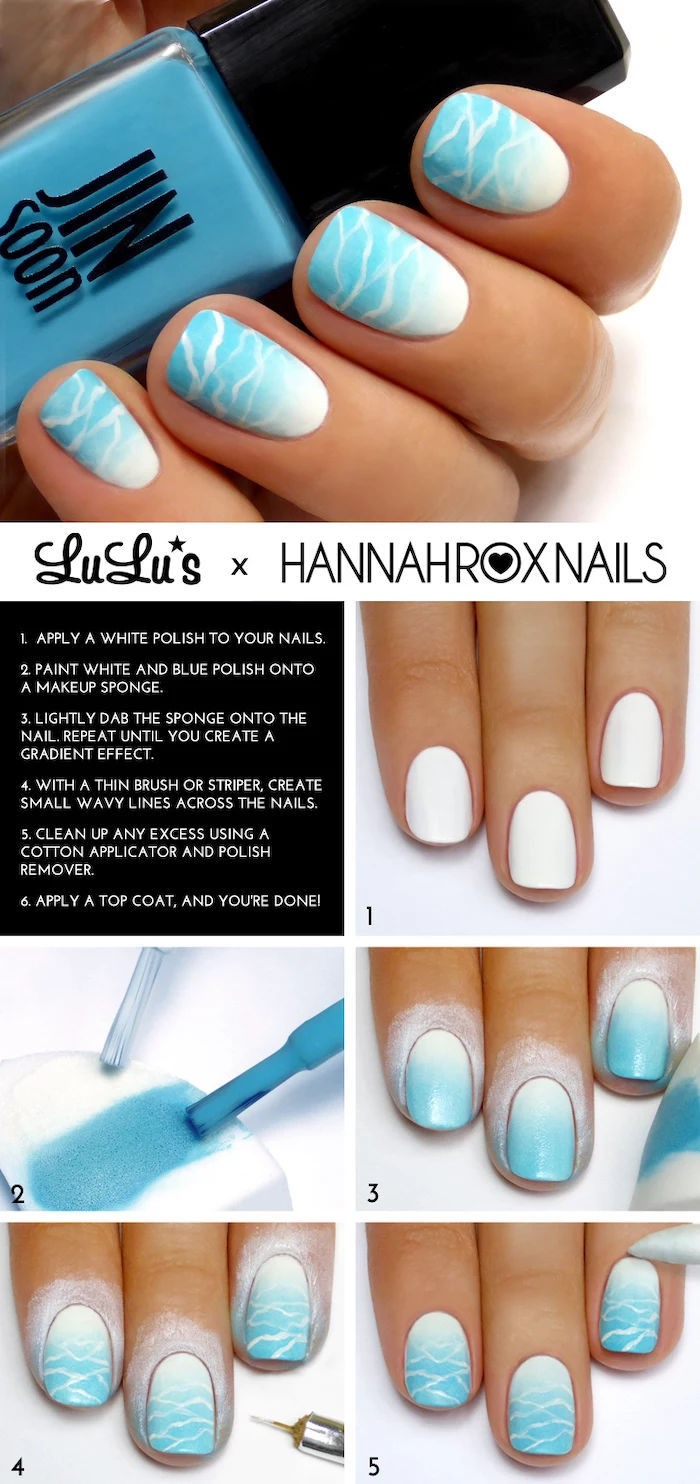
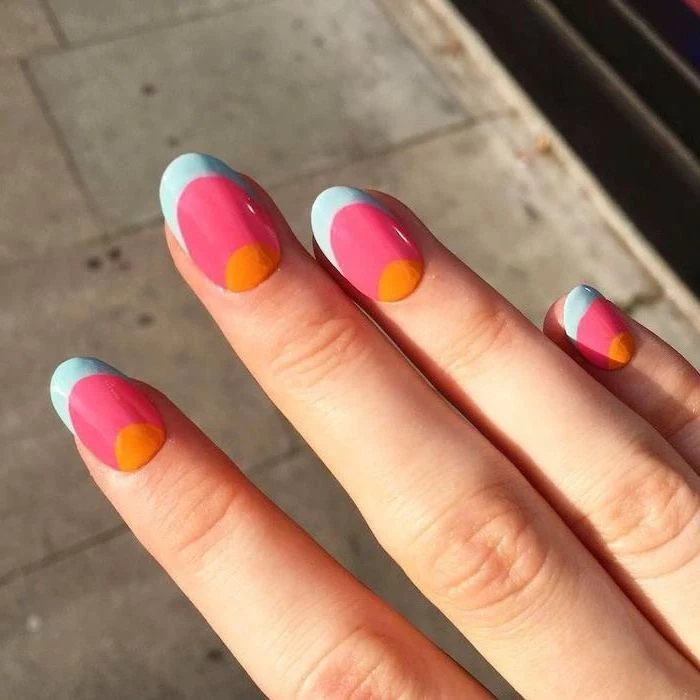
Want that pro-level ombré look at home? Use a disposable makeup sponge. Paint stripes of your chosen colors (e.g., light pink, hot pink, orange) directly onto the sponge, slightly overlapping them. Then, gently dab the sponge onto your nail, moving it slightly up and down to blend the colors. It’s messy, so protect the skin around your nail with liquid latex or tape, but the result is a flawless gradient.
- A vibrant, true-to-bottle color.
- A mirror-like shine that lasts for weeks.
- Minimal risk of chipping from daily activities.
The difference? A professional-grade polish system. While drugstore brands have improved, nothing beats the performance of salon-quality gel polishes like CND Shellac or Bio Sculpture. Their formulas are engineered for adhesion, durability, and a flawless finish that stands up to the rigors of summer.
Consider the shape of your nail for your summer adventures. Long, sharp stilettos or coffin nails are stunning, but they can be less practical for activities like gardening, swimming, or sports. A chic, medium-length almond or a clean, short squoval shape provides durability and style without getting in the way. They are far less likely to snag or break when you’re on the go.


