Your Guide to Getting Seriously Perfect Bright Summer Nails
You can always tell when summer is about to hit by looking at people’s hands. After countless seasons working with clients, I see the shift happen almost overnight. The deep, moody reds and classic navies get packed away, and suddenly, everyone wants color that screams sunshine and long weekends.
In this article
It’s a vibe I absolutely love. People come in ready to have fun, wanting nails that match a beach trip or just the simple joy of a sunny day. But let’s be real—working with those super-bright, saturated pigments is a whole different ball game than painting on a simple nude or a dark burgundy.
These vibrant colors are brutally honest. They’ll highlight every tiny flaw on the nail and demand a super steady hand. But oh, when you get it right? The result is absolutely stunning. A flawless set of neon or pastel nails is about more than just slapping on a fun color; it’s about understanding the polish itself, prepping the nail like a pro, and knowing how to keep them looking perfect. So, let’s get into how the pros get that flawless, long-lasting summer manicure.

The Real Scoop on Bright and Neon Pigments
First, you have to understand your materials. Bright polishes, especially the electric neons and creamy pastels, have some quirky properties. Knowing the why behind their behavior is the secret to taming them.
The Challenge with Neon Polish
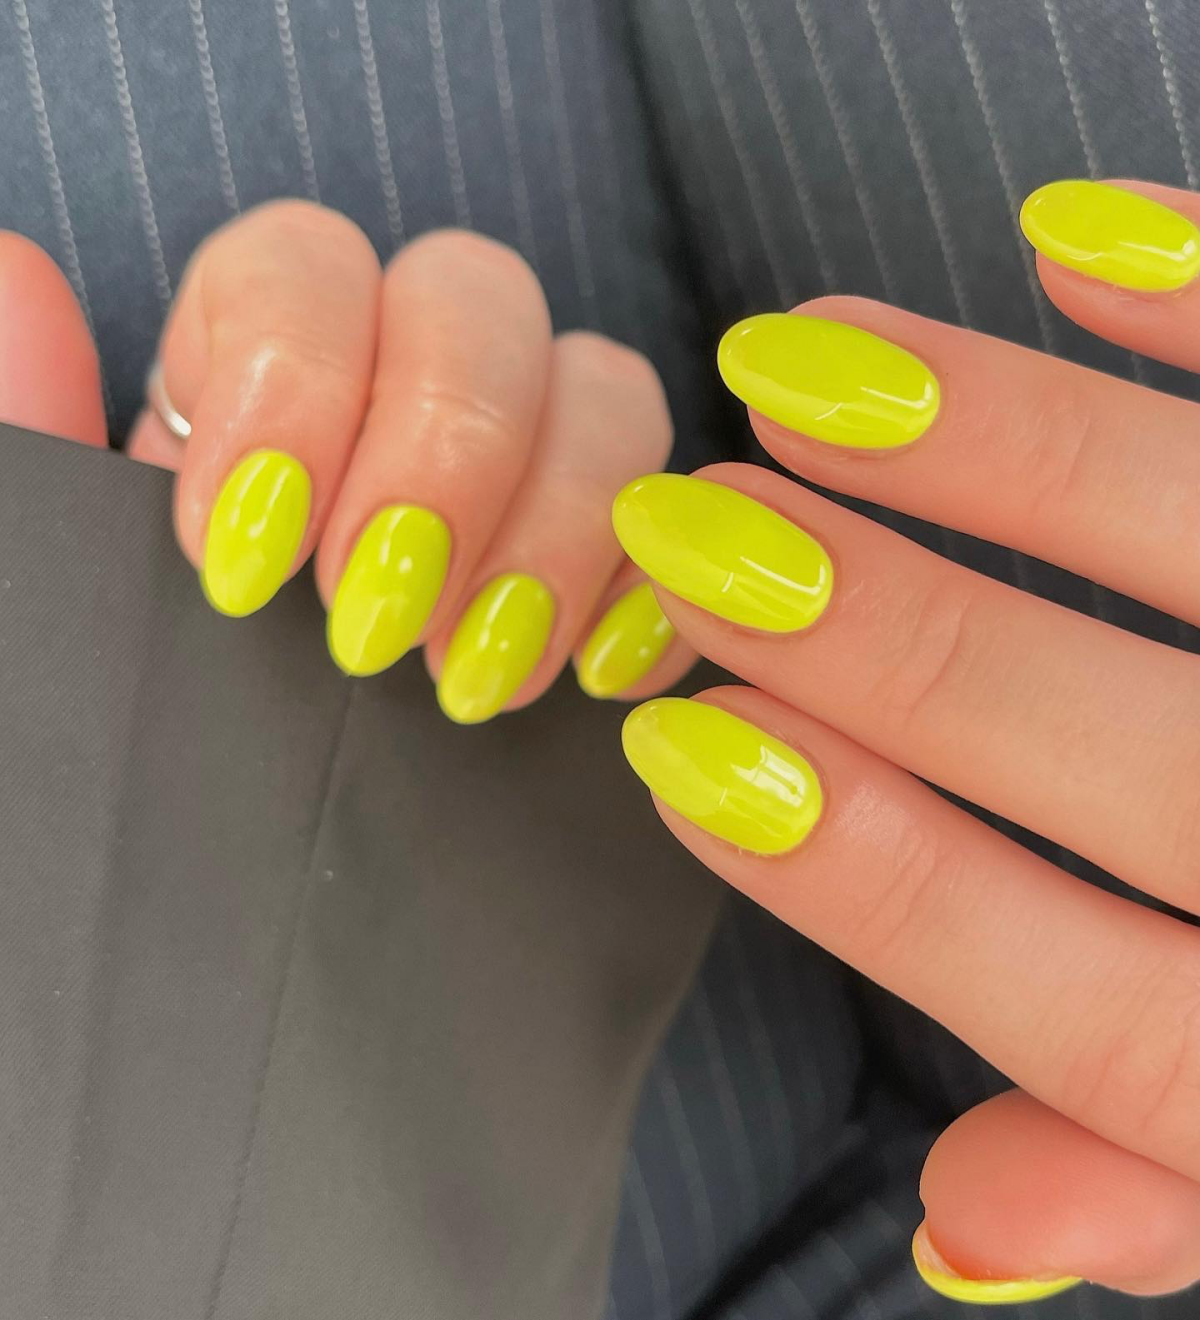
So, true neon pigments are fluorescent. This is what gives them that incredible, almost-glowing brightness in the daylight. They basically absorb UV light and spit it back out as a super-intense color. The problem? Those amazing fluorescent compounds can be a bit unstable, especially in gel polish.
Because they’re so highly pigmented, neons can actually block the UV light from your curing lamp. If you paint on a thick coat of neon gel, the top might feel hard, but the polish underneath can stay wet. This is called undercuring, and it’s a huge deal. It’s the number one reason for chipping and peeling. Even worse, exposing your skin to uncured gel is a primary cause of developing a lifelong gel allergy. Not good.
Quick Tip: Always, and I mean ALWAYS, apply neons in two or three paper-thin coats. Cure each layer for a full 60 seconds in a quality LED lamp (look for one that’s at least 48 watts). It takes a little more time, but it’s a non-negotiable for safety and getting a manicure that actually lasts.
The Deal with Dreamy Pastels
Pastel colors have a different issue. To get that soft, opaque, chalky look, polish makers add a ton of titanium dioxide—a white pigment. It’s what gives pastels their signature creamy vibe, but it’s also what makes them a streaky nightmare to apply.
If you’re not careful, the brush just drags the clumpy pigment around, leaving bald spots and thick patches. The key is to “float” the brush. After you get a bead of polish on your brush, you lay it on the nail and gently guide it with almost zero pressure. You’re letting the polish do the work and level itself out. A good ridge-filling base coat is your best friend here, as it creates a super smooth surface for the pastel to glide over.
A Pro’s Game Plan for Flawless Application
A gorgeous manicure is built on a solid foundation. With brights, the prep work is just as important as the painting itself.
Step 1: The Canvas Prep
This is the most critical part. First, focus on the cuticles. Use a good-quality cuticle remover (something you can grab at Sally Beauty for under $10) and gently push everything back. Only trim away the dead, non-living tissue. Leaving any cuticle on the nail plate is a guaranteed recipe for lifting.
Next, get the shape perfect and uniform on all ten nails. Clean, simple shapes like a soft square or an oval look amazing with bright colors because they don’t fight for attention. After shaping, lightly buff the nail plate with a fine-grit buffer (a 180 or 240-grit is perfect) to remove shine and give the base coat something to grab onto. The goal is a matte finish, not to thin the nail!
Step 2: The Secret Weapon Base Coat
Your base coat isn’t just a primer; it’s a strategic move. For almost all neons and sheer, bright jellies, I start with a thin, even coat of pure white or a milky-white polish first. It acts like a bright white canvas and makes the color on top pop like you wouldn’t believe. It’s the difference between a sad, dull neon and one that truly looks electric.
Step 3: The Art of Thin Coats
Patience is everything here. Rushing just gives you thick, goopy coats that won’t cure right or last more than a few days.
- Trust the Process: Your first coat of a bright color will probably look patchy and awful. That’s totally normal. Don’t panic and add more polish! The magic happens with the second coat, which will even everything out and give you that perfect, opaque coverage.
- Capping the Edge: After painting the nail surface, gently swipe the tip of the brush along the free edge of your nail. This little seal, or “cap,” is a game-changer for preventing chips.
Step 4: The Finishing Touches (Top Coat & Curing)
For gel, cure every single layer for the full time recommended by the manufacturer, usually 60 seconds. A high-quality, no-wipe top coat is essential to protect the color from scratches and—this is important—from sun damage. The sun’s UV rays can make bright colors fade or turn a weird yellowish color over time.
Heads up! Sunscreen is a known enemy of gel manicures. Certain ingredients, especially avobenzone, can react with the top coat and cause staining. After applying sunscreen, try to wipe your nails clean with a baby wipe or wash your hands if you can.
Making Your Amazing Manicure Last
Okay, so you’ve spent all this time creating the perfect nails. How do you keep them looking that way?
- Cuticle Oil is Your Best Friend: Honestly, if you do one thing, do this. Apply cuticle oil every single day. It keeps your nails and the skin around them hydrated, which prevents lifting and makes your manicure look fresh. You can get a bottle for $5-$10, and it’ll last you ages.
- Be Gentle: Your nails are jewels, not tools. Don’t use them to open soda cans or scrape labels.
- Emergency Chip Repair: If you get a small chip on vacation, don’t pick at it! Gently file the chipped area smooth, dab on a tiny bit of the color, let it dry, and then cover it with a clear top coat. It’s a temporary fix that can get you through.
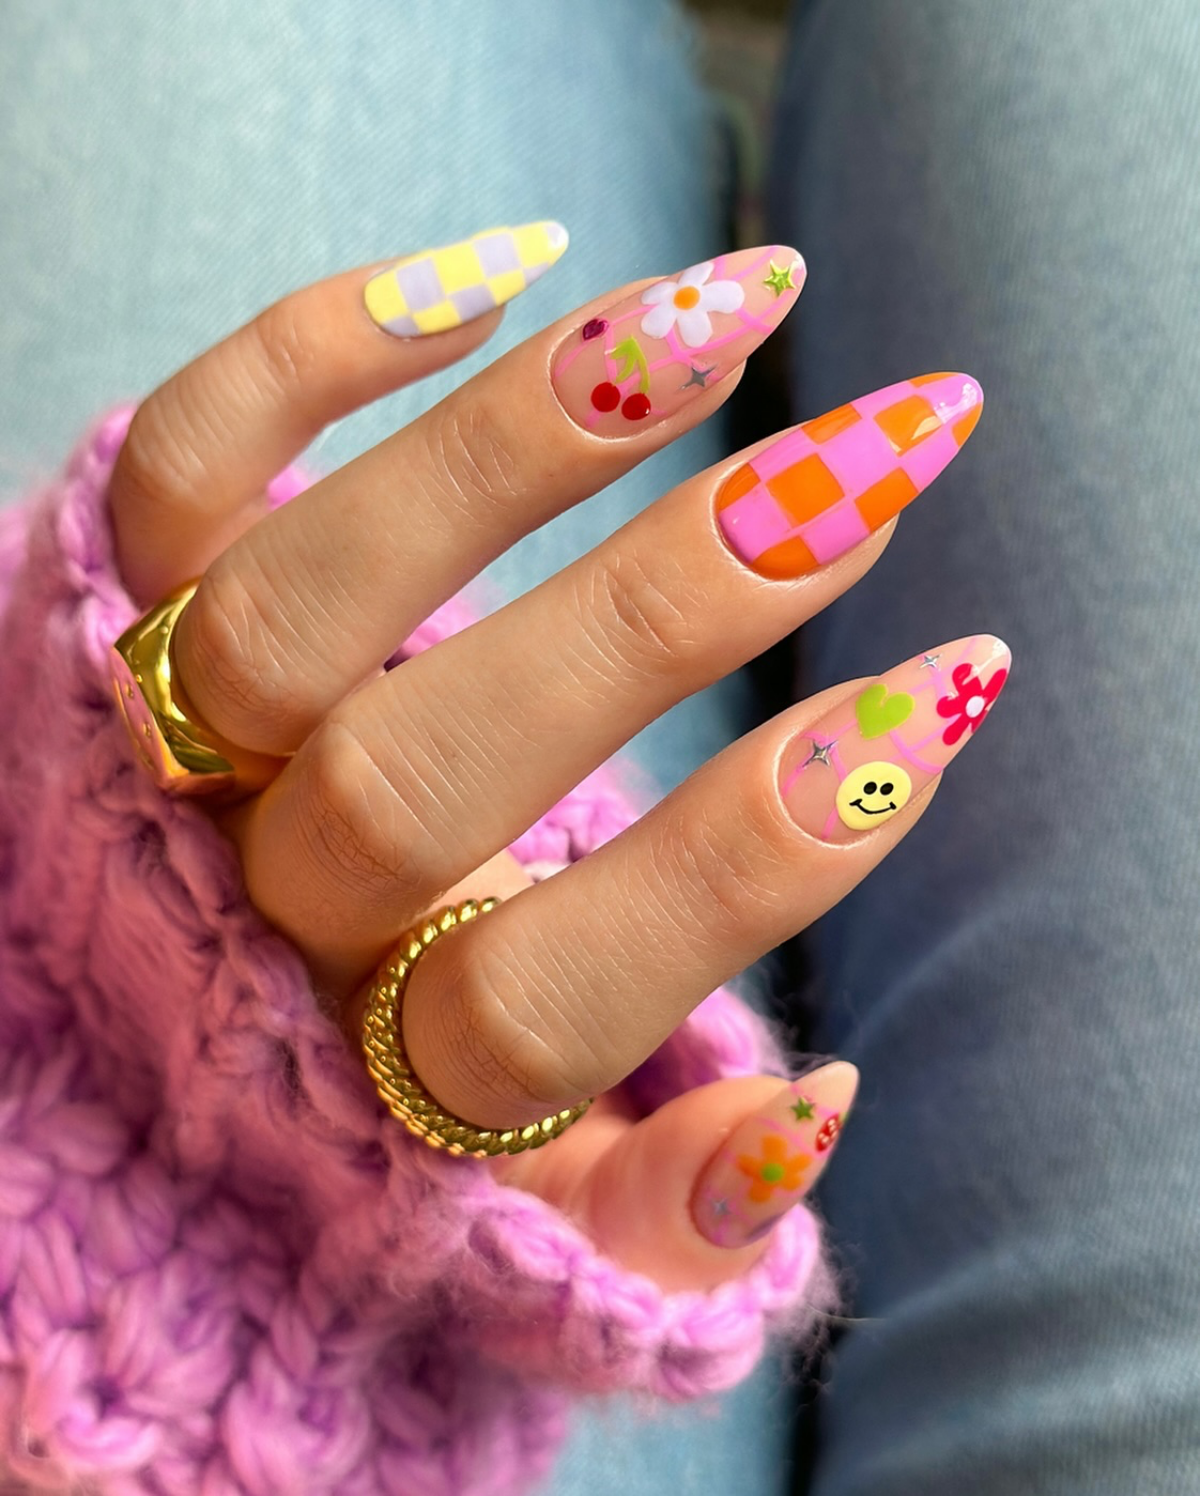
The Fun Part: Summer Designs & Ideas
Once you’ve got the technique down, you can have some real fun.
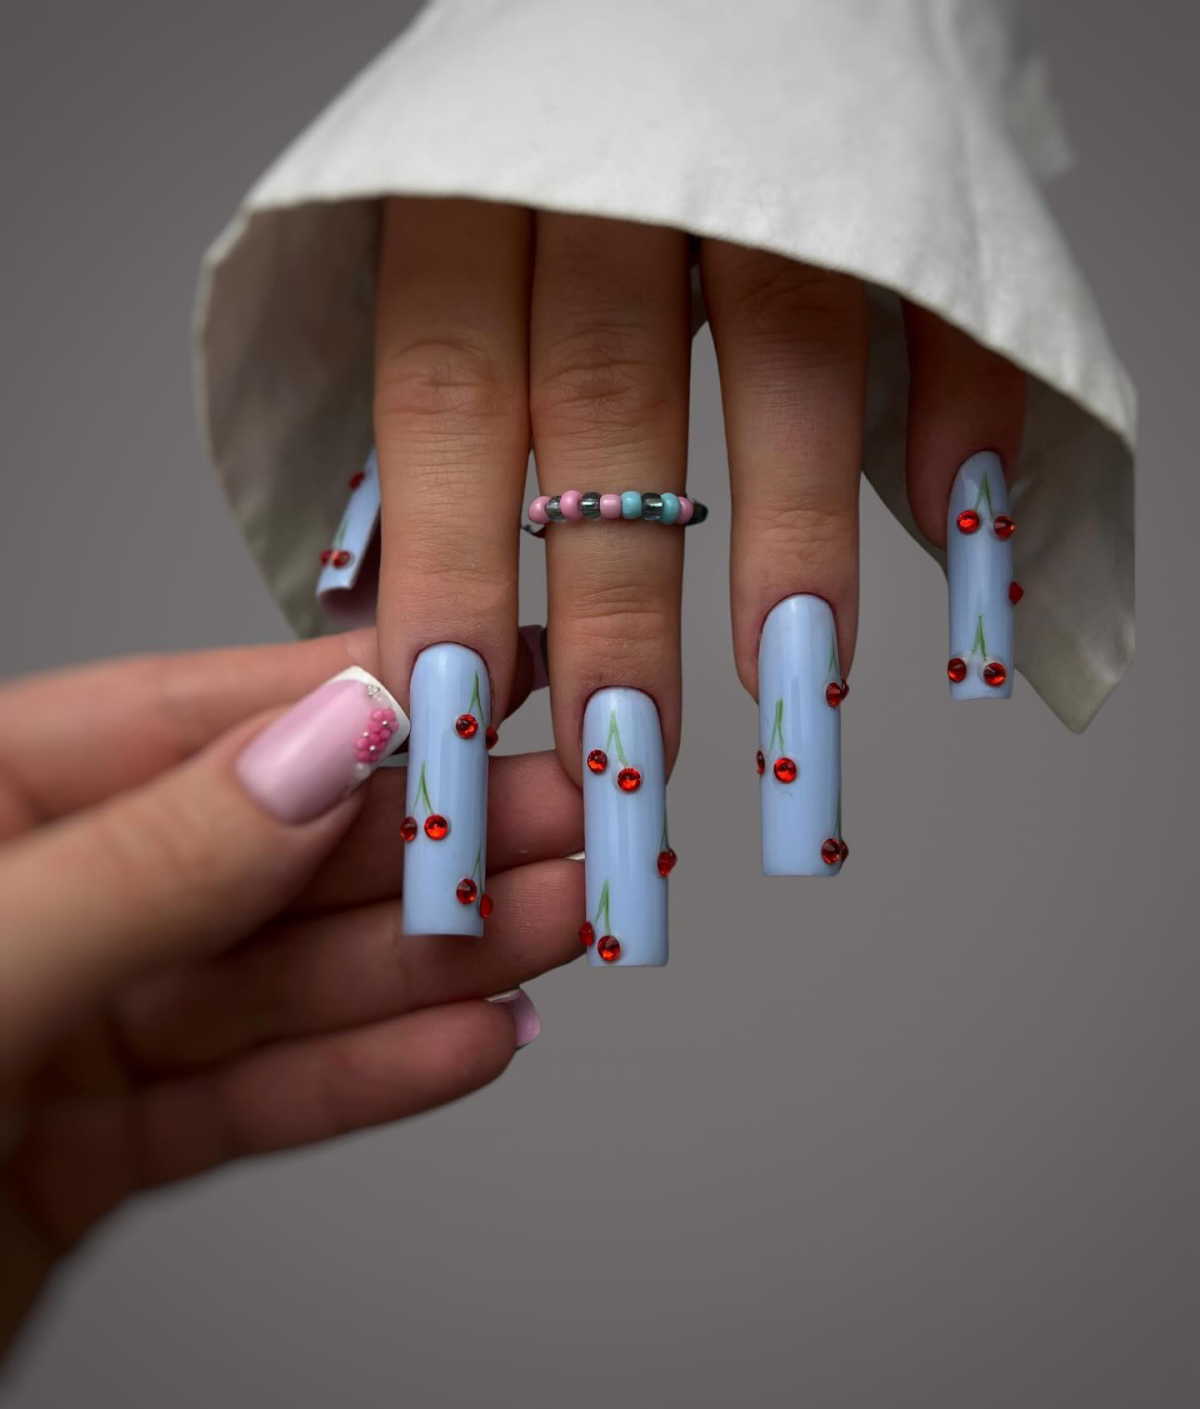
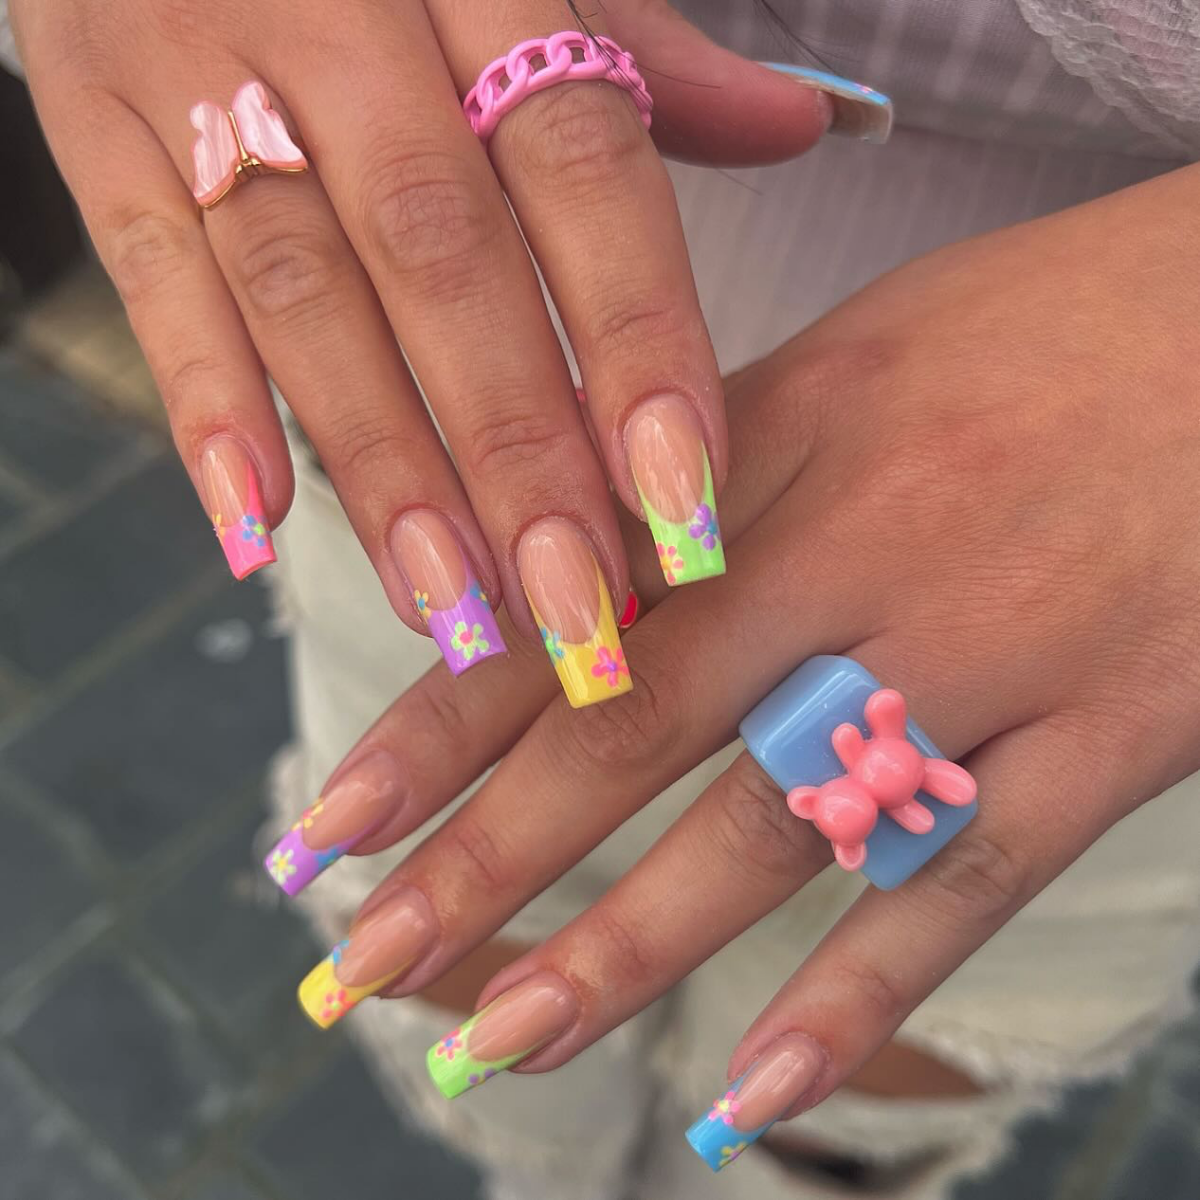
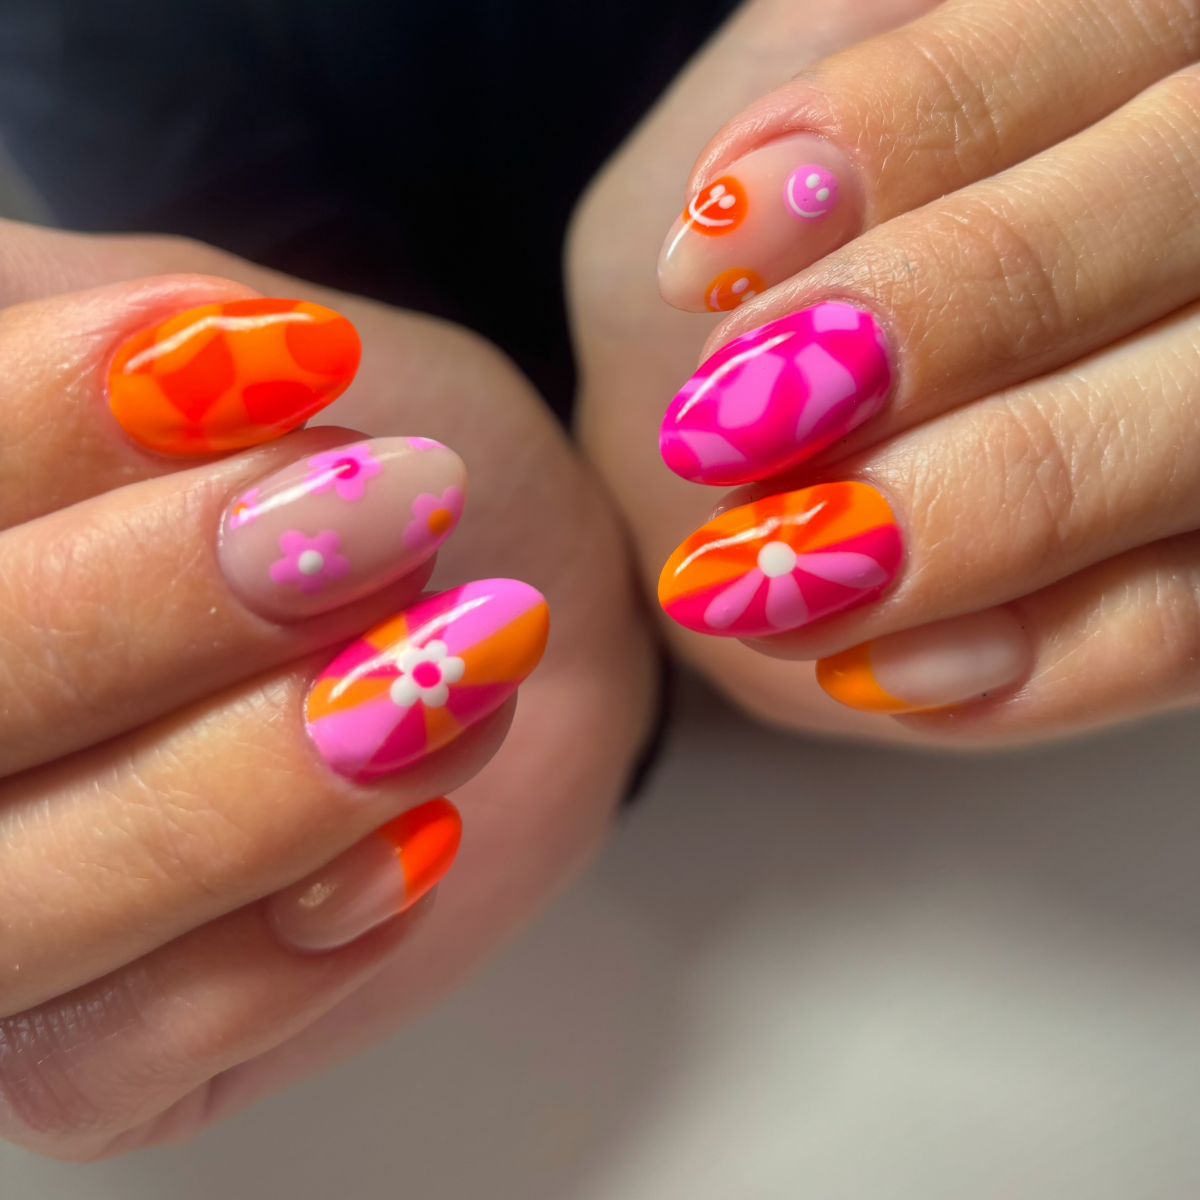
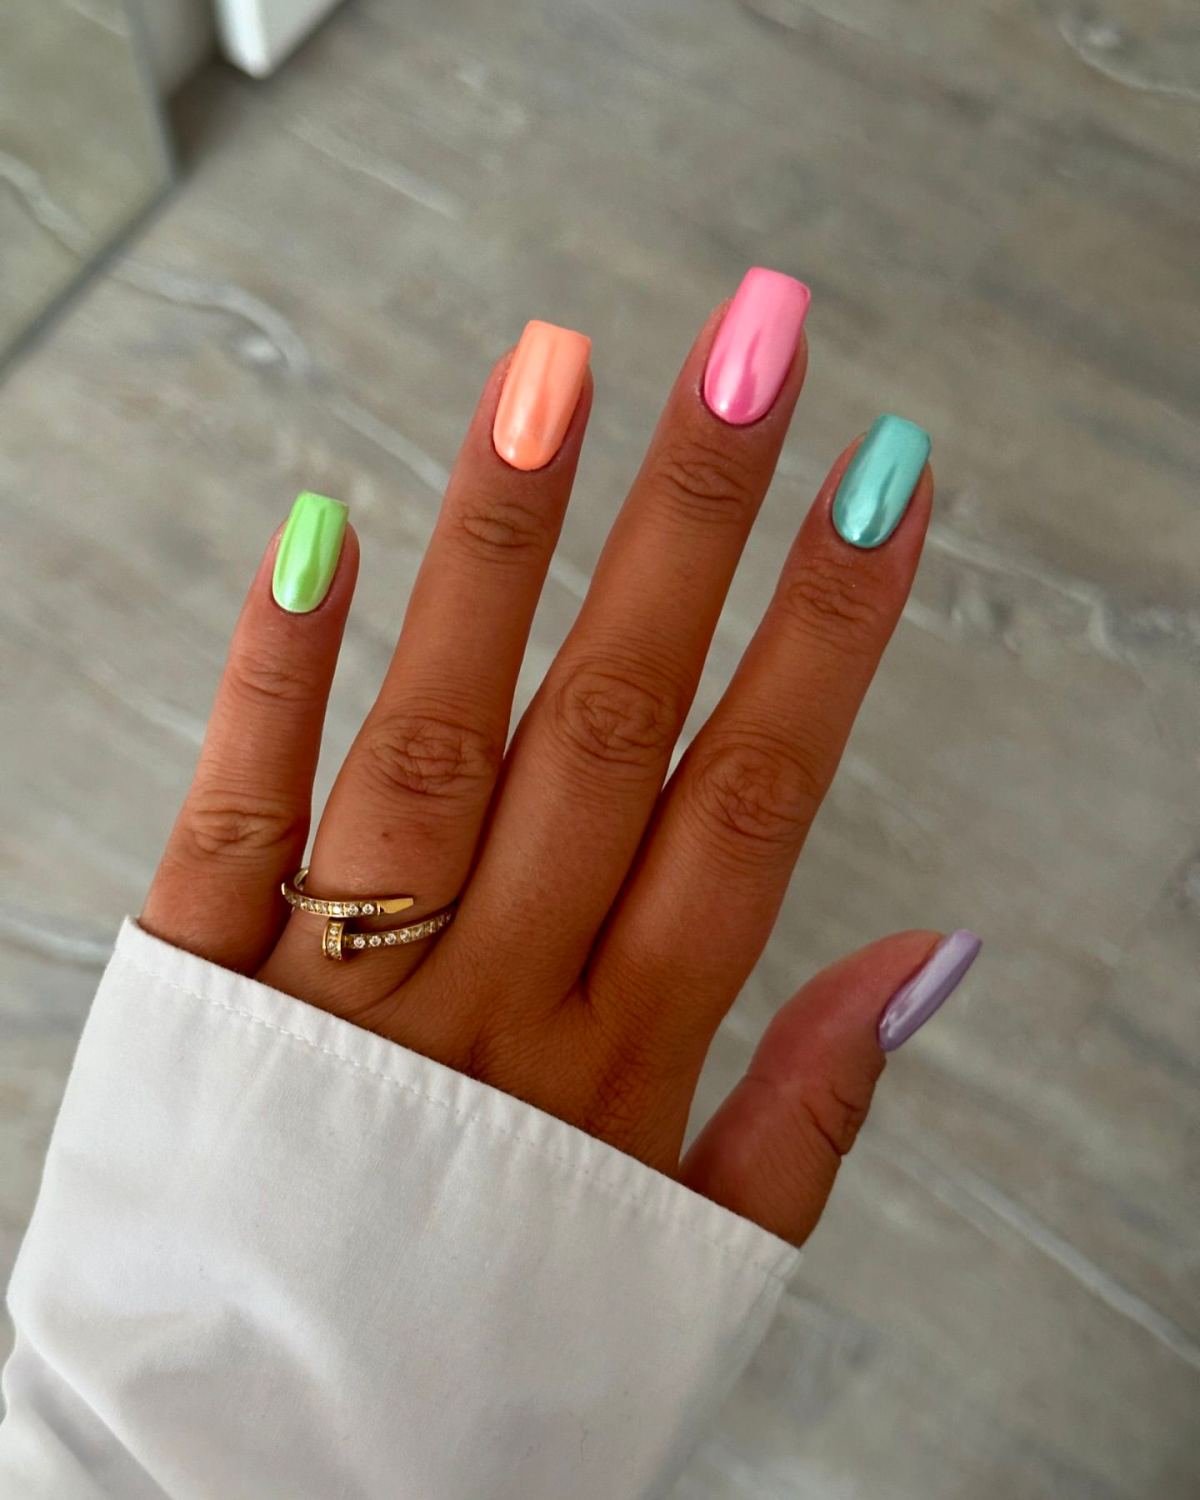
A multi-color French manicure, with a different pastel on each tip, is a huge favorite right now. For those super crisp lines, nail art pros often use a fine liner brush or a silicone stamper. You can also get creative with an ombré or gradient look. To do it at home, just paint two colors side-by-side on a cheap makeup sponge and dab it onto the nail. It’s messy, but the sunset-like fade is totally worth the cleanup.
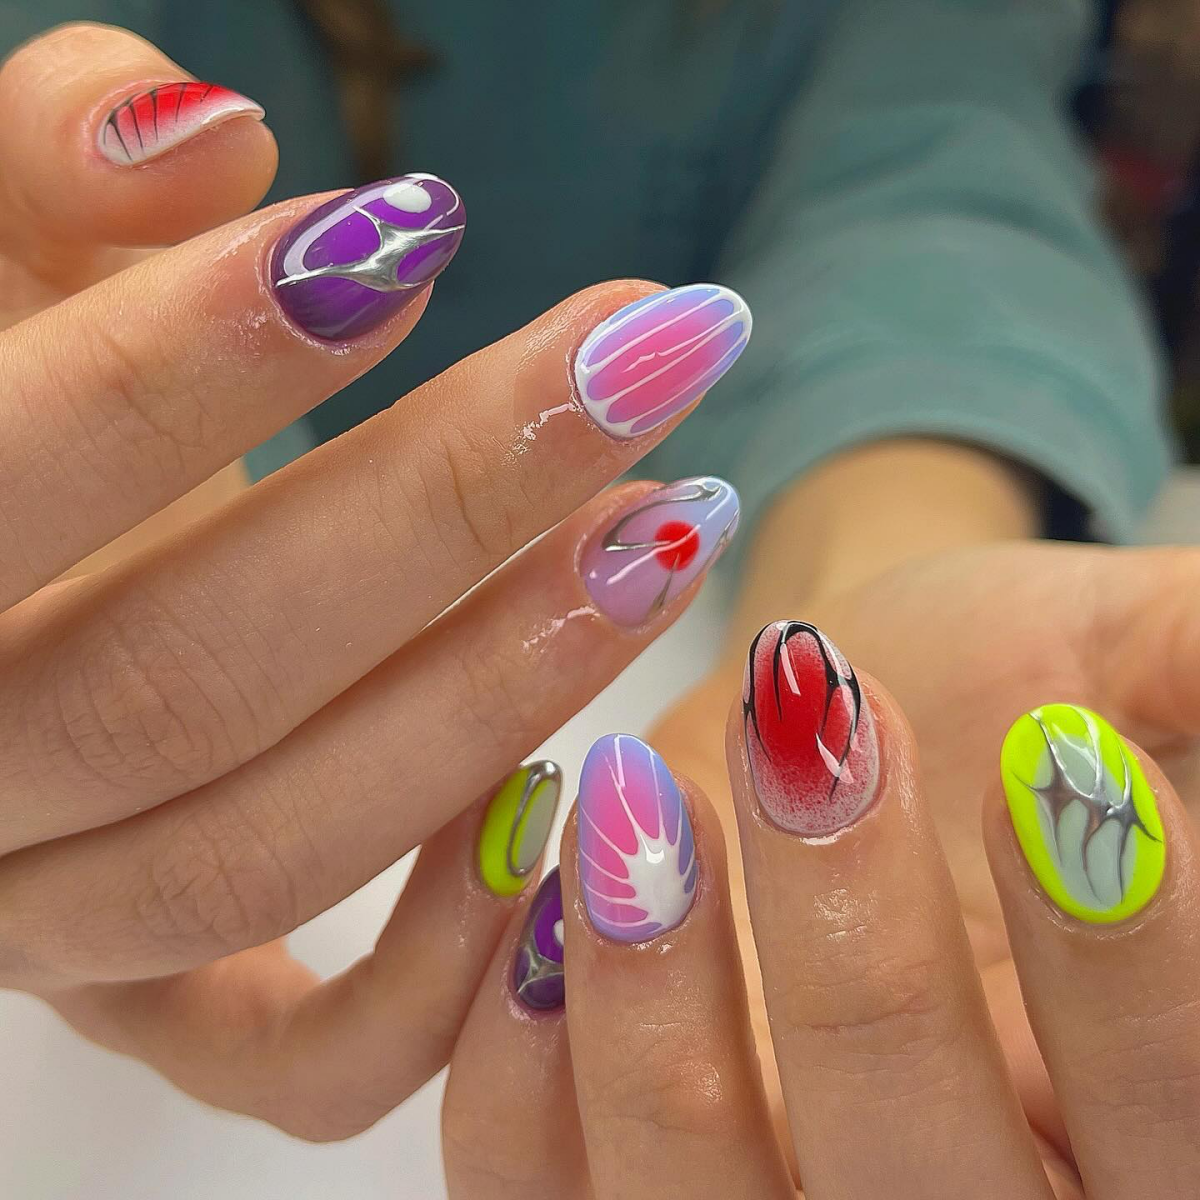
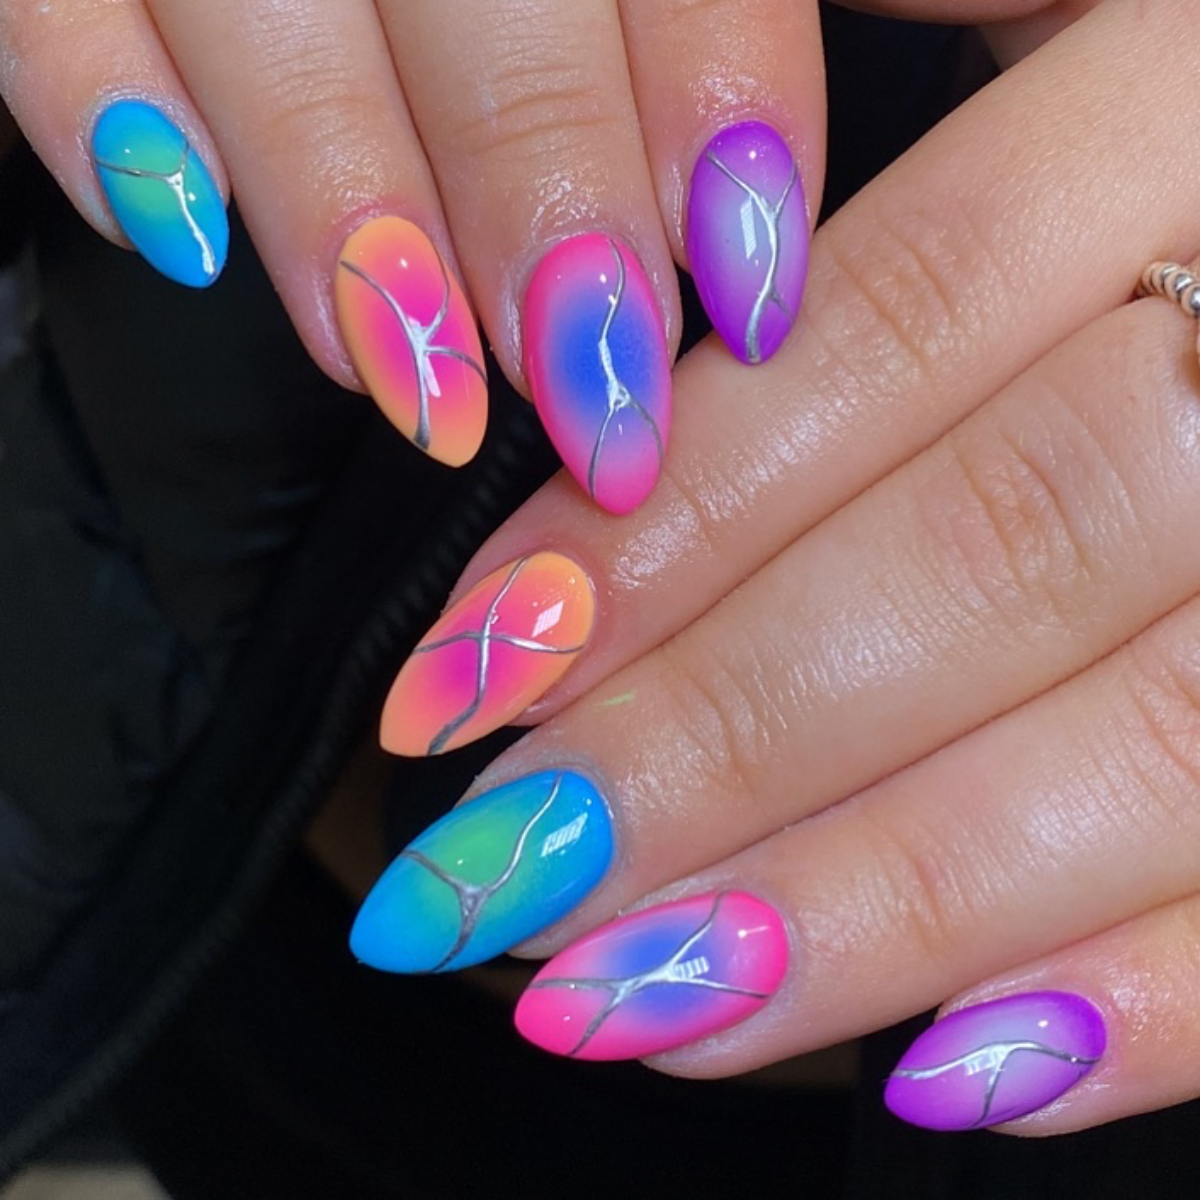
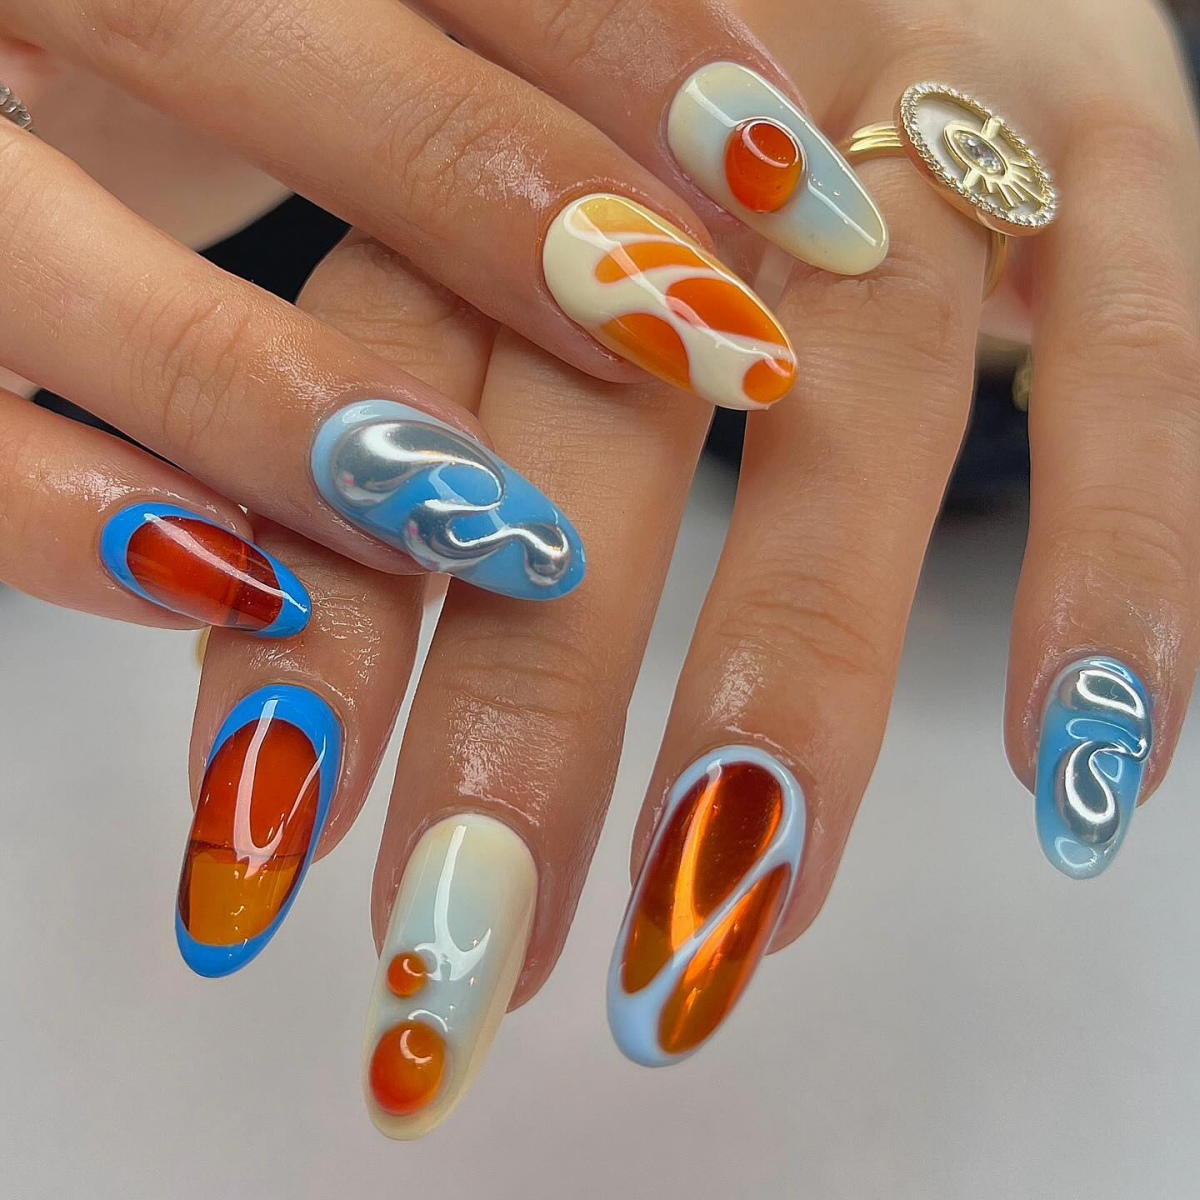
And what about those trendy “aura nails”? You can get a similar look without an airbrush. Just apply your base color and cure it. Then, apply a thin layer of “blooming gel” (don’t cure it!), add a dot of your aura color in the center, and watch it spread out into a soft, dreamy circle. Once you like how it looks, cure it and add a top coat!
Let’s Talk Money & Supplies: Your DIY Shopping List
Thinking of trying this yourself? Here’s a realistic breakdown of what you might need.
For a Home Gel Setup:
- LED Lamp (48-watt minimum): This is your biggest investment, but you can find great ones online for between $30 and $50.
- Gel Essentials: You’ll need a base coat, top coat, and your chosen colors. Pro-loved brands like Gelish or OPI can run $15-$20 a bottle, but you can find more affordable full kits on Amazon. Budget around $50-$70 for a starter set of polishes.
- Prep & Removal Tools: A good file, buffer, cuticle pusher, cuticle remover, isopropyl alcohol, lint-free wipes, acetone, and foils will probably set you back another $25-$30 from a place like Sally Beauty.
For a Regular Polish Manicure:
- This is way more budget-friendly! A good ridge-filling base coat, a fast-drying top coat (like Seche Vite), a bottle of white polish for your base, and a few bright colors from brands like Essie or OPI will likely cost you between $40 and $60 total.
Remember, a professional gel manicure of this quality can cost anywhere from $50 to $80+ depending on your location and any added nail art. So while the at-home setup has an initial cost, it can save you money in the long run.
How to Safely Remove Gel Polish (and Not Wreck Your Nails)
This is SO important. Please don’t ever peel or pick off your gel polish!
- Break the Seal: Gently file the shiny top coat off your nails. You don’t need to go crazy, just rough up the surface so the acetone can get in.
- Soak ‘Em: Soak a small piece of a cotton ball in 100% pure acetone. Place it on your nail.
- Wrap It Up: Wrap each fingertip snugly in a small square of aluminum foil to hold the cotton in place.
- Wait It Out: Now, be patient. Set a timer for 10-15 minutes.
- Gently Scrape: After the time is up, the gel should look like it’s lifting and flaking off. Use a wooden or plastic cuticle pusher to gently scrape it away. If it’s not coming off easily, re-wrap it and wait another 5 minutes. Never force it.
- Hydrate!: Once the gel is off, your nails will be very dry. Wash your hands and immediately apply a generous amount of cuticle oil and hand cream.
And there you have it. It might seem like a lot, but taking these extra steps is what separates a messy, chippy manicure from a stunning, professional-looking set of summer nails that you’ll be proud to show off.
Galerie d’inspiration
Did you know? The wrong base can make or break your bright manicure. The secret to making neons and pastels truly pop lies in what you put underneath.
An opaque white base coat, like OPI’s
Wondering how to find the perfect vibrant shade for your skin tone?
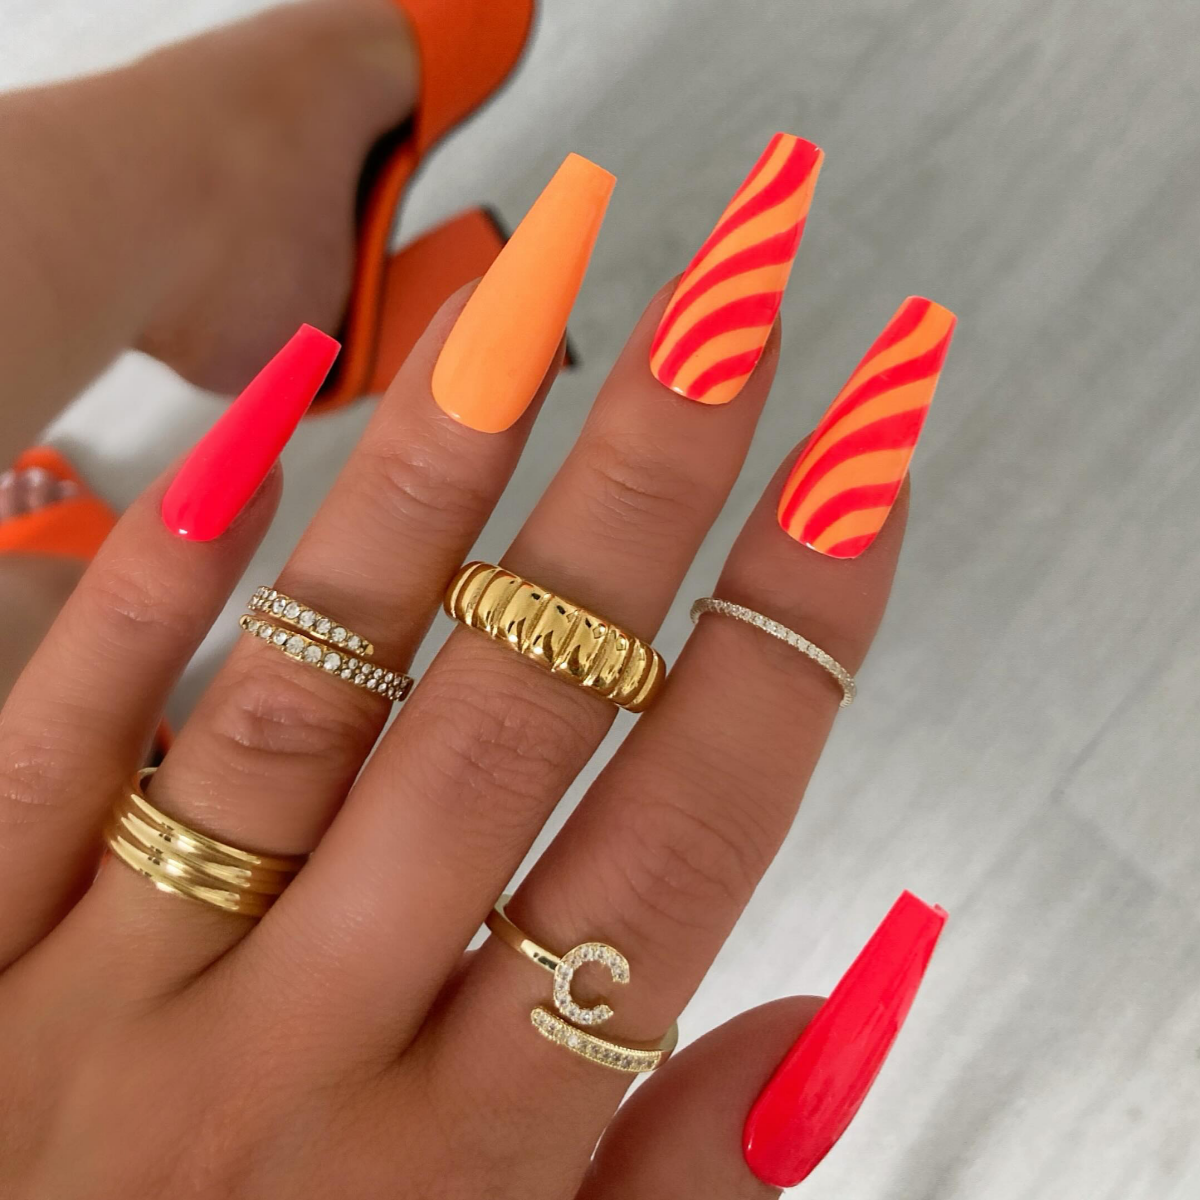
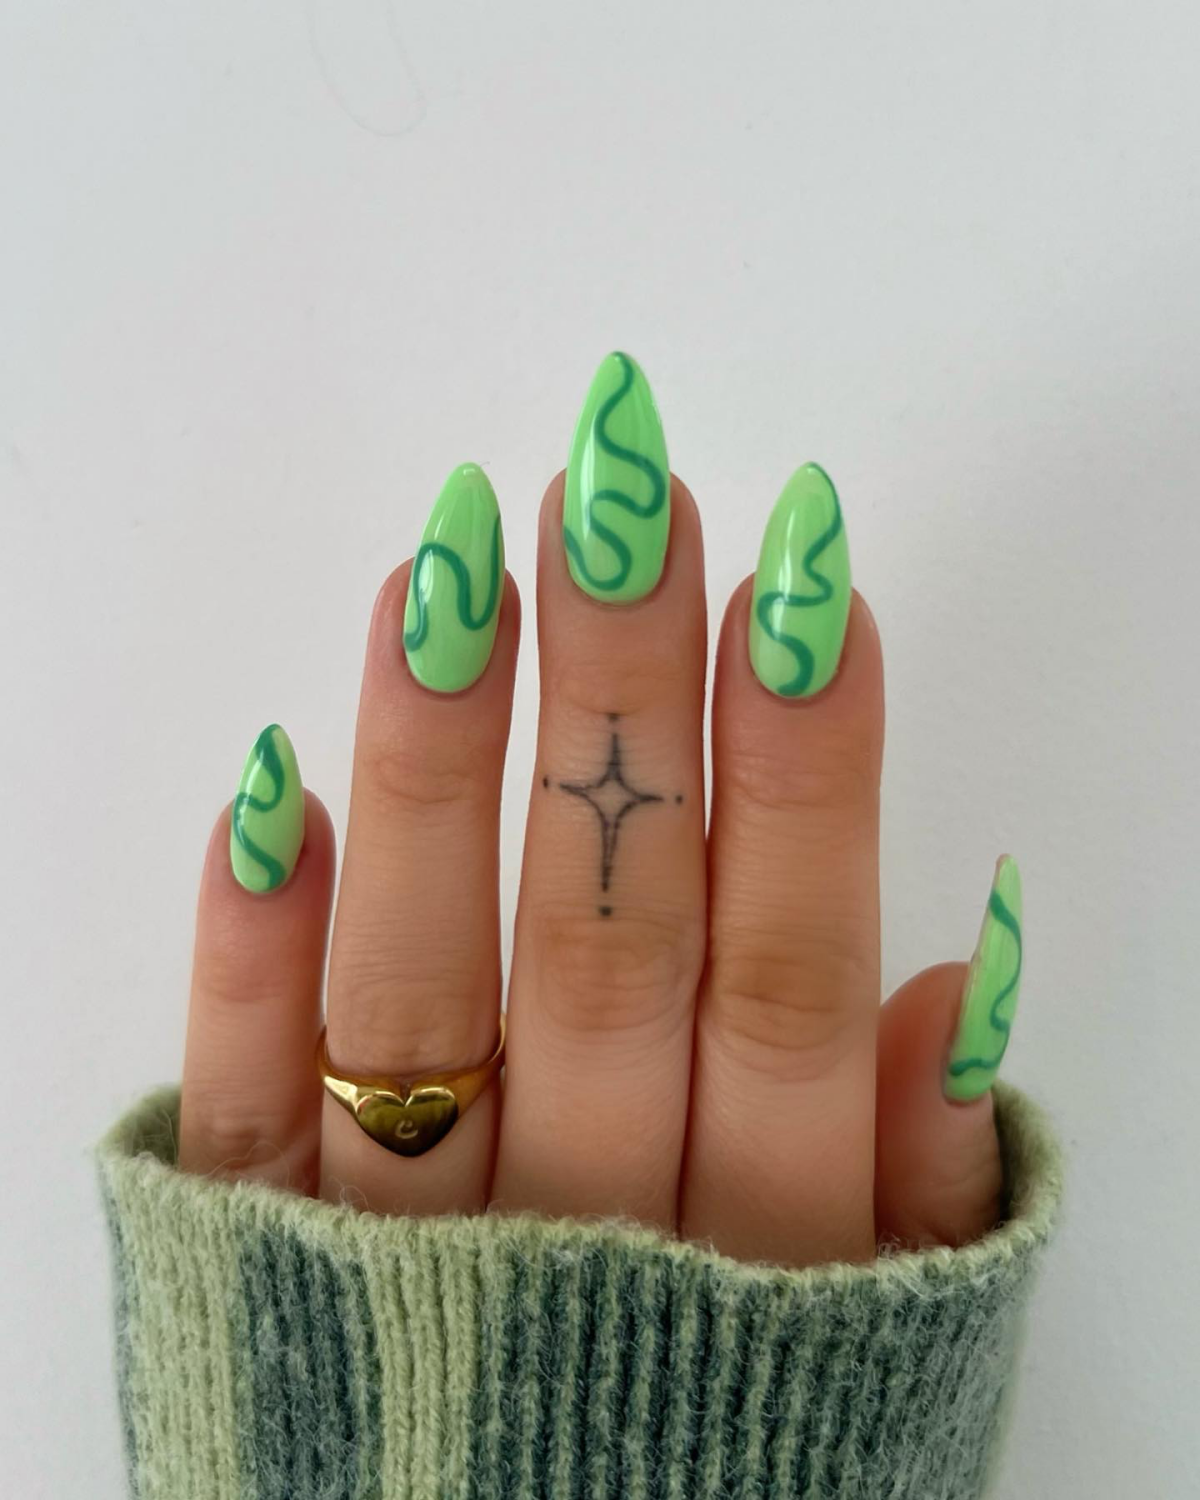
While confidence is your best accessory, some pairings are simply electric. Deeper skin tones are stunning with high-contrast colors like neon orange, lime green, and fuchsia. Fair skin is beautifully illuminated by punchy corals and vibrant pastels. For olive and medium skin tones, rich cobalt blues and bright canary yellows create a spectacular, sun-kissed effect.
Your Sunscreen Might Be Staining Your Mani: That trusty SPF you’re using to protect your skin could be the culprit behind your vibrant polish turning yellow or dull. Many chemical sunscreens containing avobenzone react with gel and lacquer top coats. To keep your brights bright, switch to a mineral-based sunscreen (with zinc oxide) for your hands, or apply carefully, avoiding direct contact with your nails.
- Give your nails a textured, crystalline finish.
- Prevent smudging while adding a unique effect.
- Catch the light in a completely new way.
The secret? The
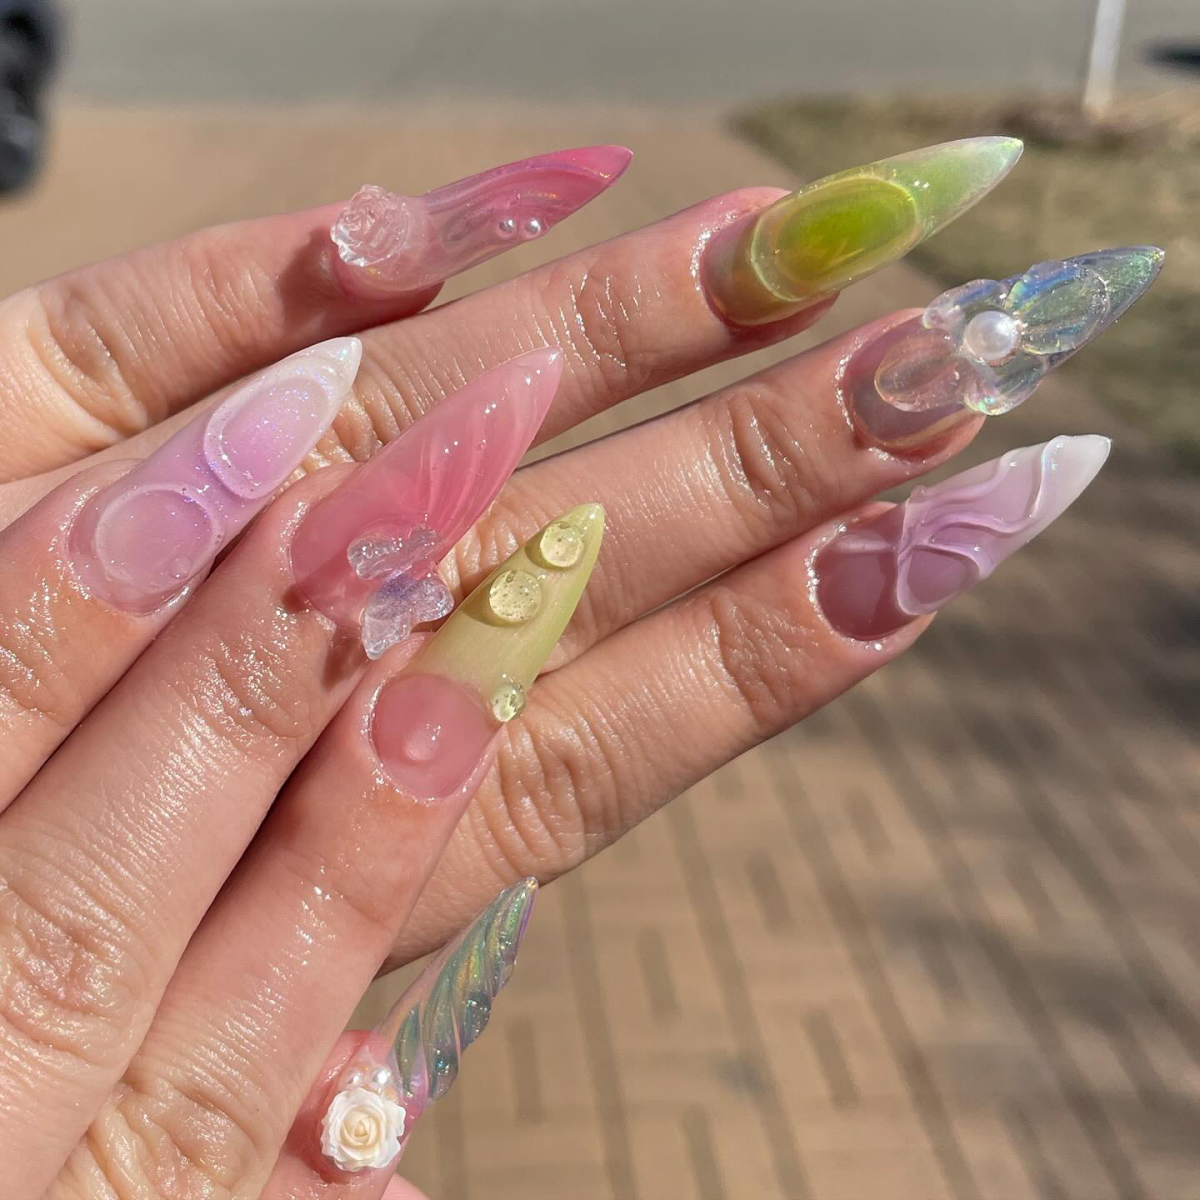
Jelly Polish: This translucent, high-shine finish gives nails a fun, squishy, candy-like appearance. It’s perfect for layering to create “aura” effects or “sea glass” manicures. Brands like Cirque Colors and Holo Taco are masters of this formula.
Chrome Powder: Applied over a no-wipe top coat, this ultra-fine powder transforms any base color into a liquid metal or pearlescent dream. Try a pink chrome over a bright orange for a sunset effect.
Choose jelly for a playful, sheer look and chrome for high-impact, reflective shine.


