I’ve been a professional nail tech for what feels like a lifetime, and in all those years, I’ve seen trends explode and then fizzle out. But neons? They’re a different beast entirely. They aren’t just a style that comes and goes; they’re a whole separate category of color with their own stubborn personality.
I’ll never forget the first time a client came in, clutching a little pot of loose neon pink powder she’d found online. She wanted the most electric, eye-searingly bright nails imaginable. And let me tell you, we both learned a lesson that day. Getting that brilliant glow wasn’t as simple as just painting it on. It was a streaky, sheer, frustrating mess that refused to cure properly under my lamp.
That day kicked off a long journey of figuring out what makes these wild colors tick. Honestly, you have to respect the science behind them and master a specific technique. When you get it right, the result is absolutely stunning—a level of vibrancy no other color can touch. But when you get it wrong… you end up with patchy, dull nails that chip and fade in just a few days.
So, this is everything I’ve learned from years of trial and error, talking to product chemists, and training new techs. We’re going to cover exactly how to get neon nails that are not only crazy bright but also strong and flawless.
First, Why Are Neons So Tricky?
To get good at neons, you have to understand why they’re so bright in the first place. It’s not just a ton of pigment. Normal colors work by absorbing some light and reflecting other light. A red polish looks red because it soaks up every color except red, which it bounces back to your eye.
Neons do something extra. They’re fluorescent.
This means they absorb light—including invisible UV light from the sun or a lamp—and then re-emit it as super-bright visible light. They are literally creating their own extra light, which is why they seem to glow in daylight and go absolutely wild under a blacklight. Pretty cool, right?
But this special power is also the source of our biggest headaches:
Sheerness & Streaking: The fluorescent dyes are often less opaque than regular pigments. This is the root cause of that dreaded streaky, thin look. They just don’t have the same coverage as a classic cream polish.
Fading: The very thing that makes them glow is also their undoing. All that UV light exposure, especially from the sun, breaks down the fluorescent molecules. This is why a client’s manicure can look amazing leaving the salon and disappointingly dull after a week at the beach.
Curing Problems: With gel, those dense, bright pigments can act like a shield, blocking the lamp’s light from reaching the bottom layers. If the gel doesn’t cure all the way through, you’re looking at lifting, wrinkling, and a total service breakdown.
Knowing this isn’t just trivia; it’s the foundation for every single step that follows.
Prep Is Everything (No, Really)
You can’t build a solid house on a shaky foundation, and with neons, this is a thousand times more true. Because they are so unforgiving, any little imperfection on the nail will be magnified. Meticulous prep isn’t just a good idea; it’s mandatory.
Always, always start with a dry manicure. Soaking nails in water makes them expand. If you apply polish while they’re swollen with water, it’s going to chip and lift as soon as the nail shrinks back to its normal size.
First, shape the nails. A 180 or 240-grit file is perfect for natural nails, as it’s gentle and prevents fraying. Then, it’s time for cuticles. Gently push back the living tissue (the eponychium). The most important part is to then remove the true cuticle—that’s the invisible, non-living tissue stuck to the nail plate. I use a fine-grit diamond bit on my e-file at a very low speed; it just buffs the tissue away safely. If you’re working by hand, a gentle curette or a soft buffer works too, but be careful. Polishing over that invisible layer is a guaranteed recipe for lifting.
After the cuticle work, lightly buff the nail plate with a 180-grit buffer block. The goal is just to remove the shine, not to file down the nail. Think of it as creating a slightly rough texture for the gel to grip onto, like using sandpaper on a wall before you paint.
The Million-Dollar Question: Do I Need a White Base?
YES. The answer is a resounding yes. If you want that true, brilliant, straight-from-the-bottle neon color, you need to lay down an opaque white base coat first.
Think of it like this: trying to paint a neon yellow onto a natural, semi-translucent nail is like trying to use a yellow highlighter on brown paper. It’s just not going to show up well. But if you paint it over a crisp white canvas? Bam! The color pops exactly as it should.
A layer of solid white gel polish completely cancels out the natural color and transparency of the nail plate, giving the sheer neon pigment the perfect, bright background it needs to shine. It also solves about 90% of the streaking and patchiness problems before you even open the neon bottle.
The Flawless Application: A Step-by-Step Guide
Alright, your prep is perfect. Now for the main event. Here’s how I get a flawless finish every time.
Step 1: The White Canvas After your regular base gel, apply one thin, even coat of a highly opaque white gel polish. A good one will cost between $15 and $25, but it’s worth every penny for the coverage. The key here is thin. A thick coat of white can be tricky to cure. Cure it fully, usually 60 seconds in a standard LED lamp.
Step 2: The First Neon Coat (Thin is IN) Now, grab your neon. Apply your first coat as thinly as you possibly can while still getting coverage. Don’t worry if it looks a little patchy or streaky—that’s normal! The goal here is just to get a sheer layer of color down. If you go too thick, the gel will almost certainly wrinkle in the lamp.
Quick tip: After applying the first coat, I always flash cure for about 10-15 seconds. This just sets the layer enough so it doesn’t shift around while you’re working on the other nails.
Step 3: The Second (and Perfecting) Coat This is where the magic happens. Apply a second thin coat of the neon. This coat will fill in any of the streaks from the first layer, creating that perfectly smooth, vibrant, and opaque finish. Because you have that solid white base and the first layer of neon down, you don’t need to apply this one thickly at all.
Then, do a full cure. I recommend 60 seconds in an LED lamp, or maybe even a little longer, just to be safe. Some lamps have a low-heat setting, which is fantastic for neons as it cures them a bit more slowly and gently, reducing the risk of wrinkling.
Step 4: Seal the Deal with the Right Top Coat Not all top coats are created equal! For neons, you absolutely need a non-yellowing top coat that offers UV protection. This helps fight that fading problem we talked about earlier. A good UV-blocking top coat acts like sunscreen for the manicure, preserving that brilliant color for much longer.
Troubleshooting Those Neon Nightmares
Even when you do everything right, neons can still throw you a curveball. Here’s how to handle common issues.
Problem: My gel wrinkled in the lamp! Solution: You definitely applied it too thick. The top surface cured instantly, but the light couldn’t get through to the bottom, causing it to shrink and wrinkle. You’ll have to file it off and reapply that layer. Next time, remember: two (or even three) super-thin coats are always better than one thick one.
Problem: It’s still streaky after two coats! Solution: Your coats might be a little too thin, or the polish itself is exceptionally sheer. Don’t panic. Just add a third, very thin coat. It’s better to add another layer than to try and fix it with a thick, goopy one.
My Go-To Pro Kit for Perfect Neons
If you’re looking to build a reliable kit, here’s what I’d recommend having on hand. You can find most of these items at a pro beauty supply store or online.
A good dehydrator and primer: Essential for making sure the surface is oil-free.
An opaque white gel polish: Look for one marketed as a “one-coat” white.
Your favorite neon gels: Some pro brands are just formulated better than others. It’s worth trying a few to see which ones you like working with.
A high-quality, non-wipe top coat with UV protection: This is non-negotiable for longevity.
A modern LED/UV lamp (at least 48w): A good quality lamp ensures a proper cure and is one of the best investments you can make for your business.
A Quick Word on Client Care
Finally, always manage your client’s expectations. I tell them straight up: “I’m using a special UV-blocking top coat to keep this color bright, but be aware that extreme sun exposure, like on a beach vacation, can still cause some fading over time. It’s just the nature of these awesome colors!”
For clients heading on sunny trips, I often recommend they buy a retail UV-protective top coat polish. They can apply a fresh layer every couple of days to give their manicure an extra shield. They usually appreciate the pro tip!
And that’s it! Neons might demand a little more work and precision, but once you master the technique, you’ll be able to deliver those stunning, vibrant results every single time. Happy painting!
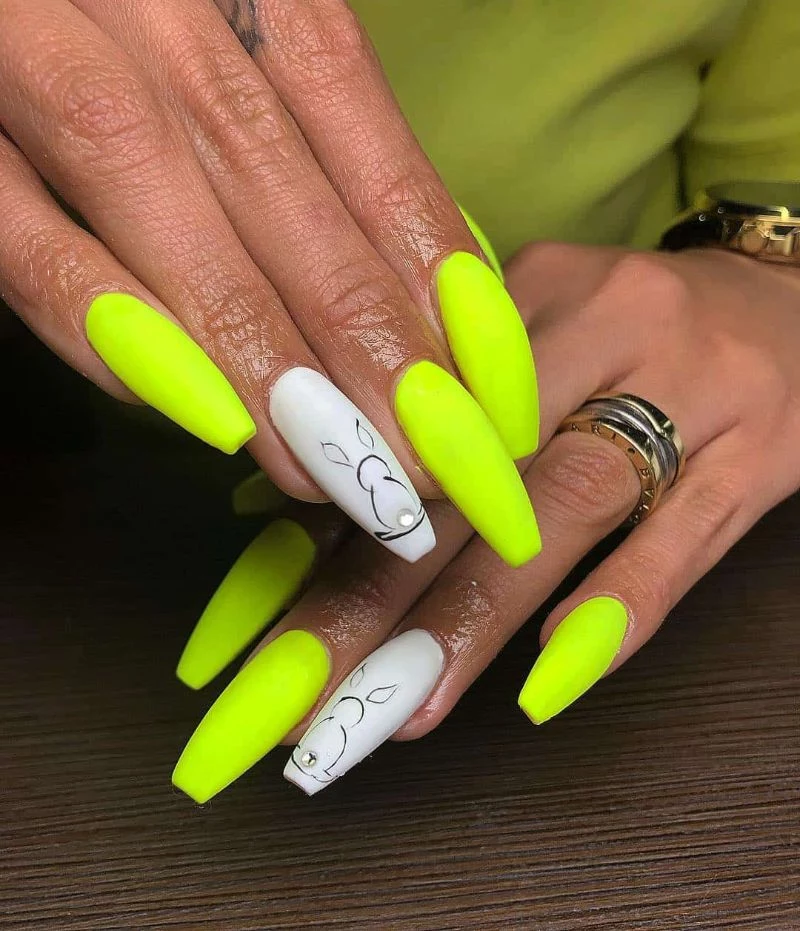
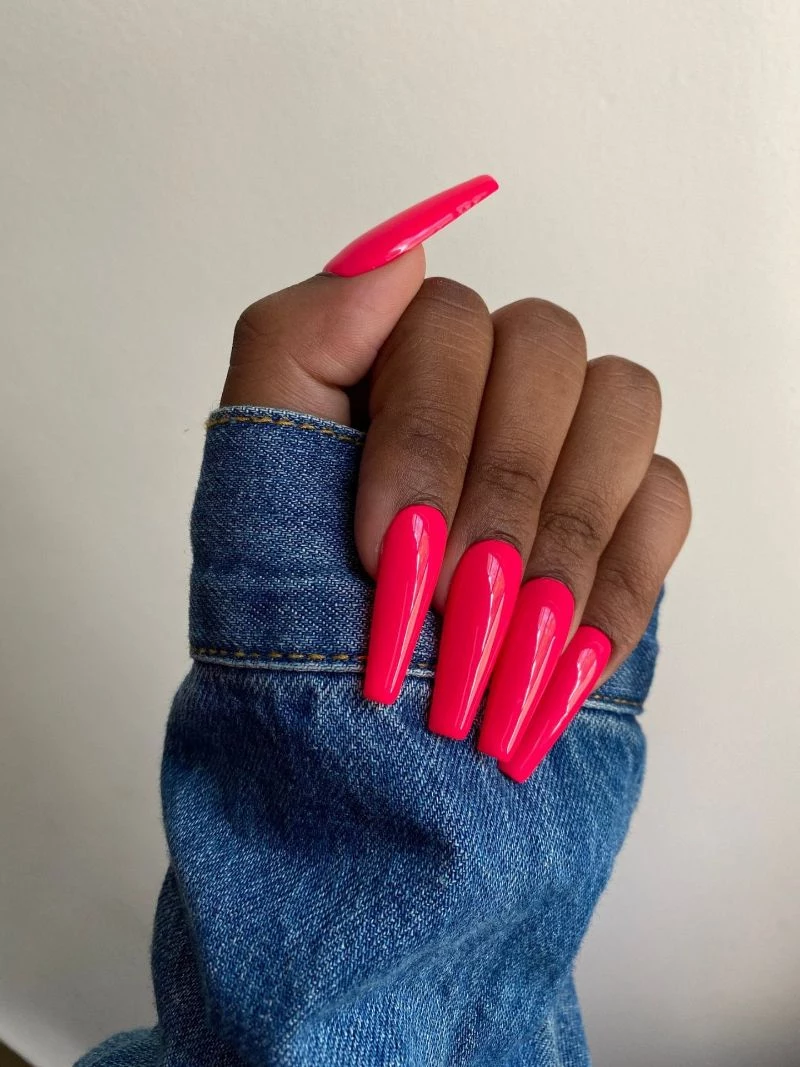
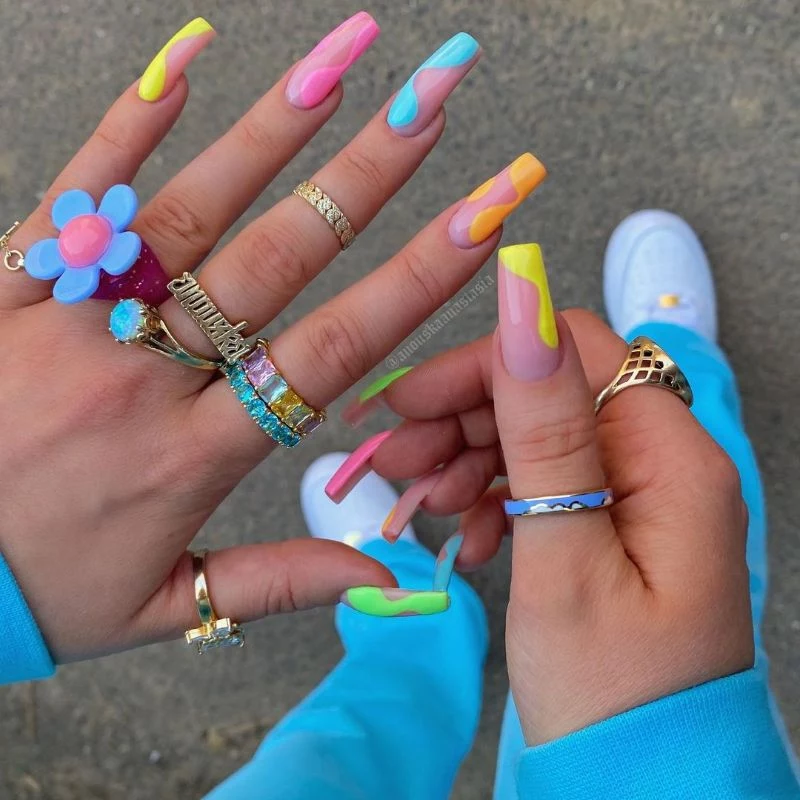
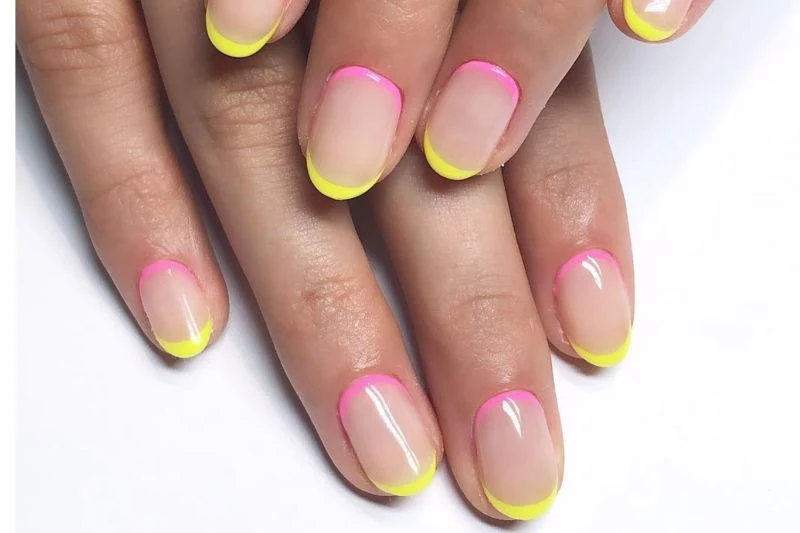
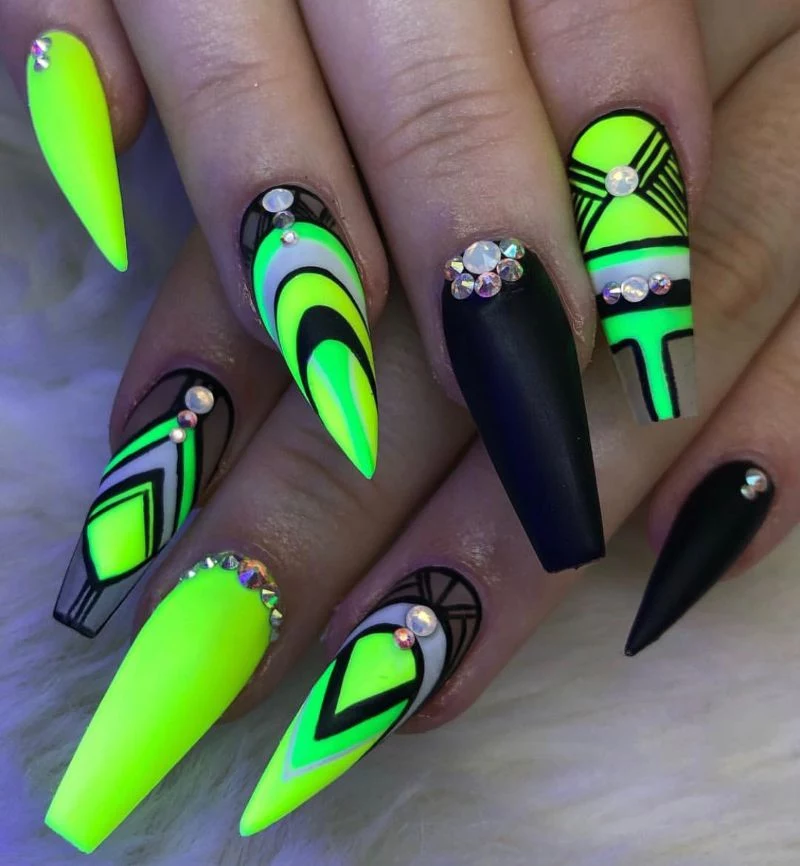
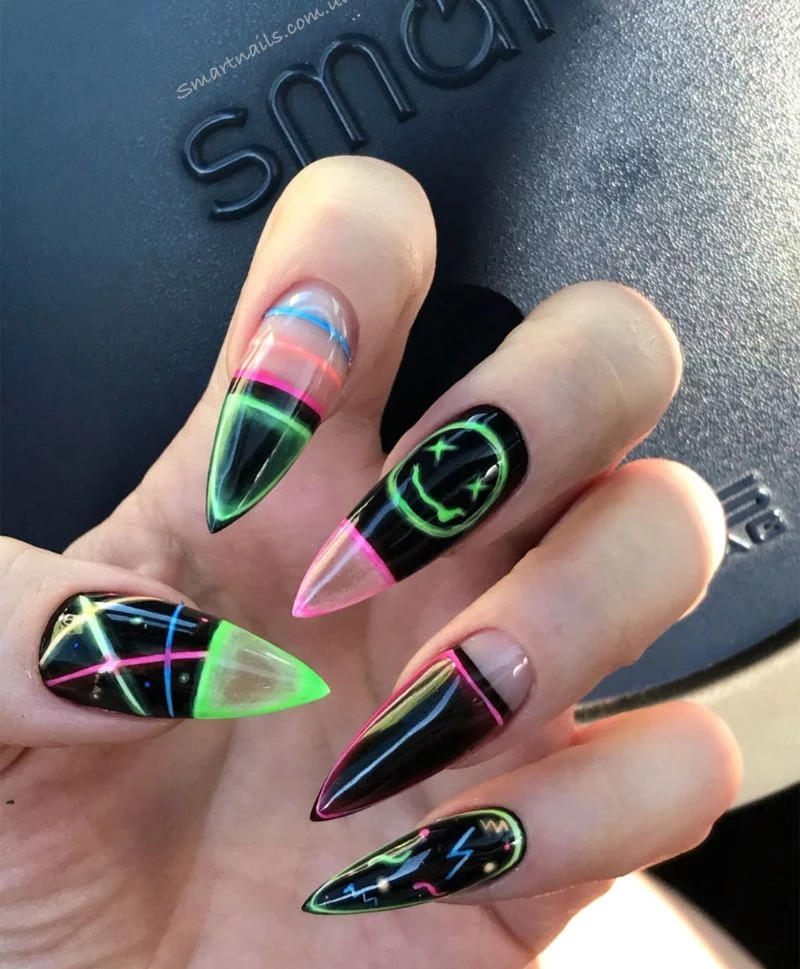
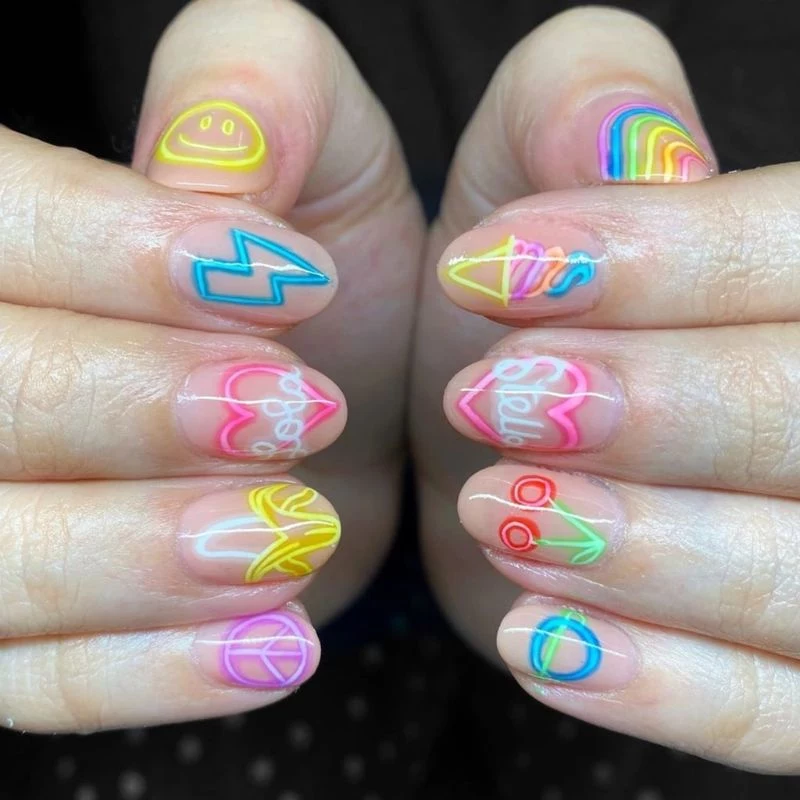
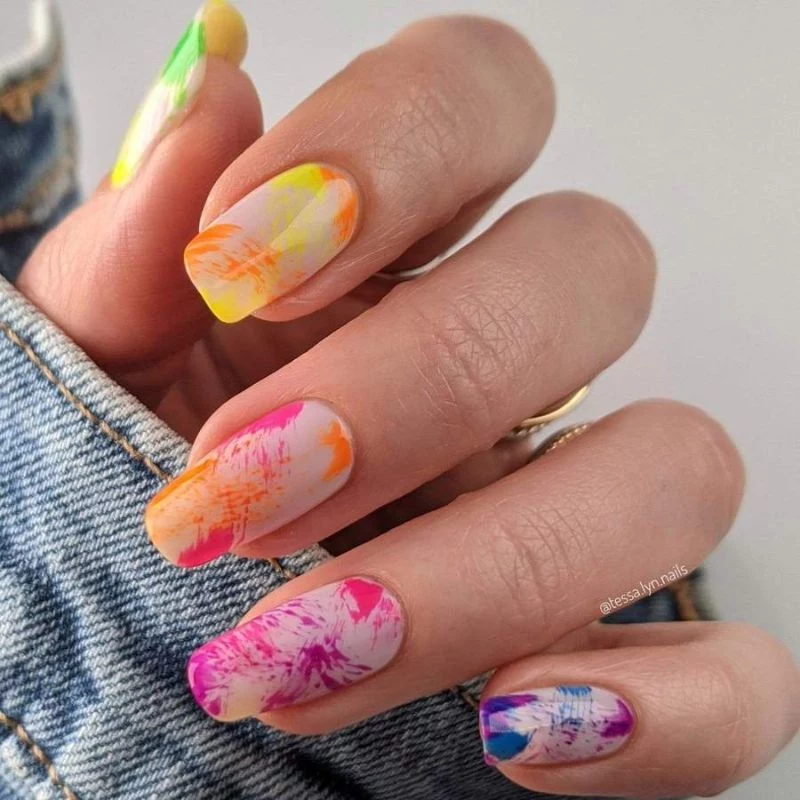
Inspirational Gallery
The absolute, non-negotiable first step for vibrant neons is an opaque white base. Don’t just grab any old white; you need one with excellent coverage to act as a blank canvas. Think of it like priming a wall before painting it a bright color. A solid choice is OPI’s
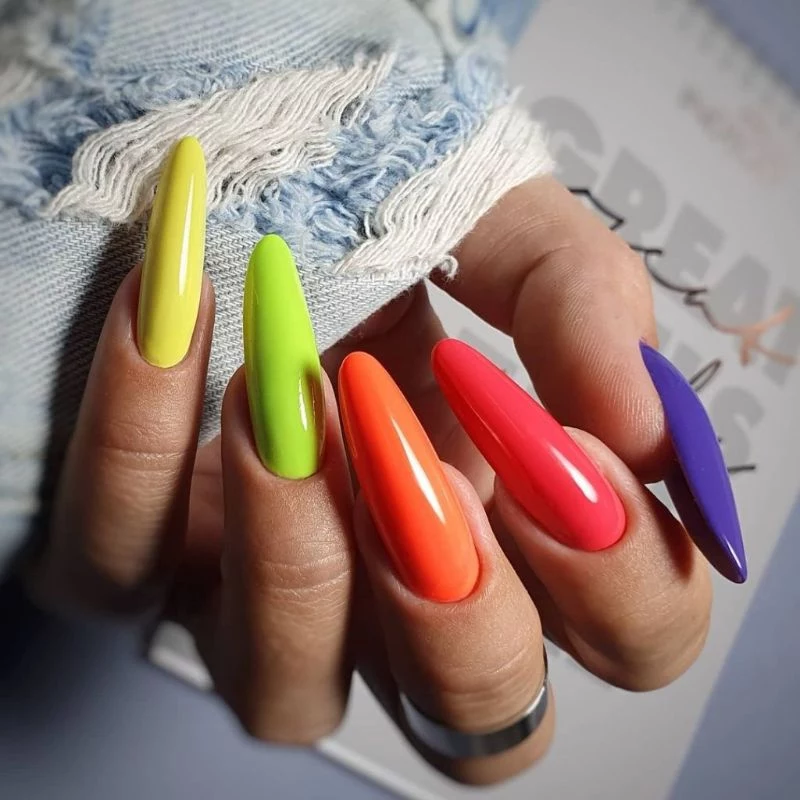
According to color scientists, the human eye is most sensitive to light at a wavelength of 555 nanometers, which corresponds to a bright, fluorescent yellow-green.
This explains why neon yellows and greens often appear the most ‘blindingly’ bright. They are hitting the sweet spot of our visual perception, literally demanding our attention more than any other shade in the spectrum. When you wear these colors, you’re tapping into pure visual science.
Tired of neons looking dull or flat after a few days?
The culprit is often UV light. The very same fluorescent pigments that make neons glow are sensitive to sunlight and can fade over time. The solution is a high-quality top coat with built-in UV protection. Products like Seche Vite’s
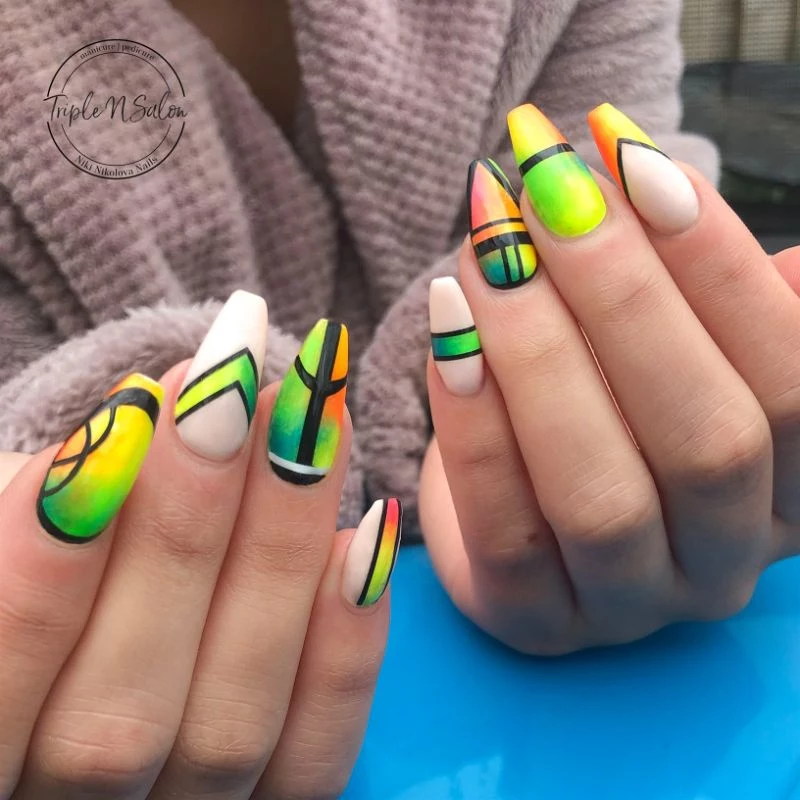
Flawless, sharp geometric lines.
Zero color bleeding or smudging.
Incredibly saturated color right to the edge.
The secret? For intricate nail art with neons, ‘flash curing’ is your best friend. After painting a line or filling a small section with a neon gel polish, cure it under your LED/UV lamp for just 10-15 seconds. This sets the gel enough to prevent it from moving, allowing you to work on adjacent areas without fear of smearing before you do the full 60-second cure at the end.
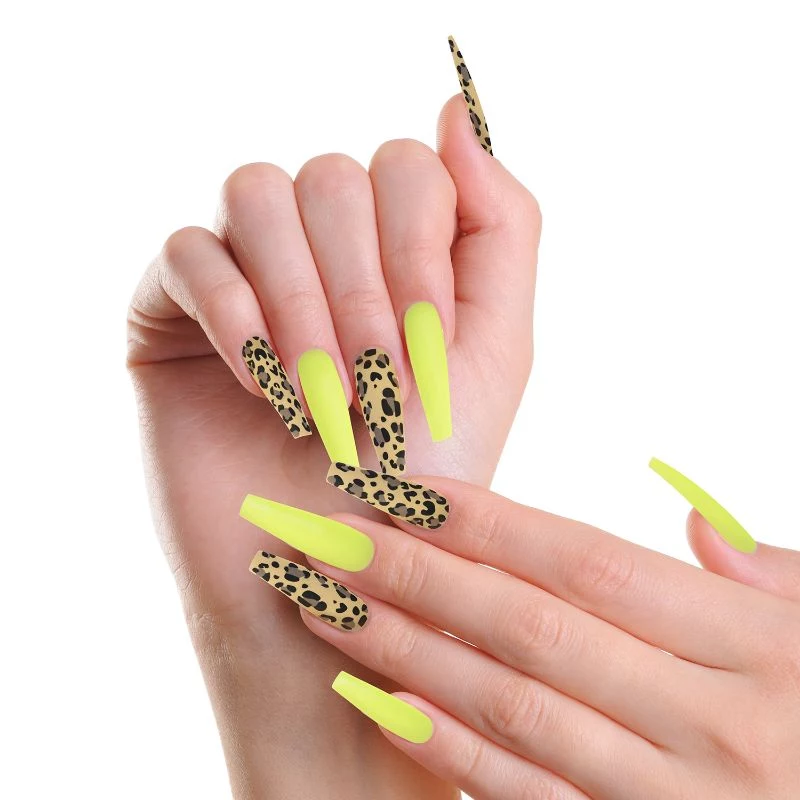
Neon Polish: The classic, all-in-one option. Brands like Orly and China Glaze are famous for their summer neon collections. It’s convenient and great for full-nail color, but can sometimes lack the punch of pure pigment.
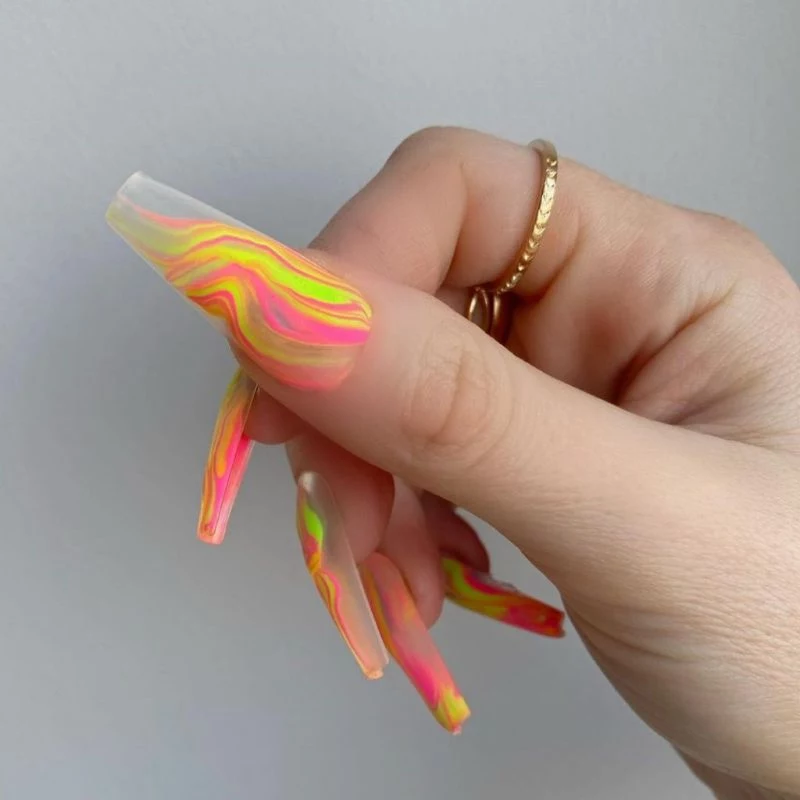
Neon Pigment Powder: For ultimate intensity. These are loose, ultra-concentrated powders you burnish into the tacky layer of a gel polish. They offer an unparalleled glow but require more steps and can be messy. Perfect for ombré effects or custom-blending shades.
For beginners, polish is easier. For pros or artists wanting maximum impact, powders are a game-changer.
Don’t be afraid to mix your finishes. A huge trend is pairing a matte neon with a glossy accent. Imagine electric pink nails with a matte finish, but the French tip or a single nail is left ultra-glossy. This contrast in texture makes the colors pop in a sophisticated, unexpected way. A good matte top coat, like one from Kiara Sky, is essential for achieving that velvety, non-reflective look that makes the glossy parts stand out even more.
A 2021 study on fashion trends noted a 120% increase in online searches for
The single biggest application mistake: Overloading the brush and flooding the cuticle. Neon pigments are notoriously difficult to clean up from skin and can look messy. Instead, use the ‘three-stripe’ method. Start with a stripe down the center of the nail, leaving a tiny gap from the cuticle. Then, paint a stripe on the left, and a final one on the right, meeting the center line. This controlled application prevents pooling and gives you a much cleaner finish.
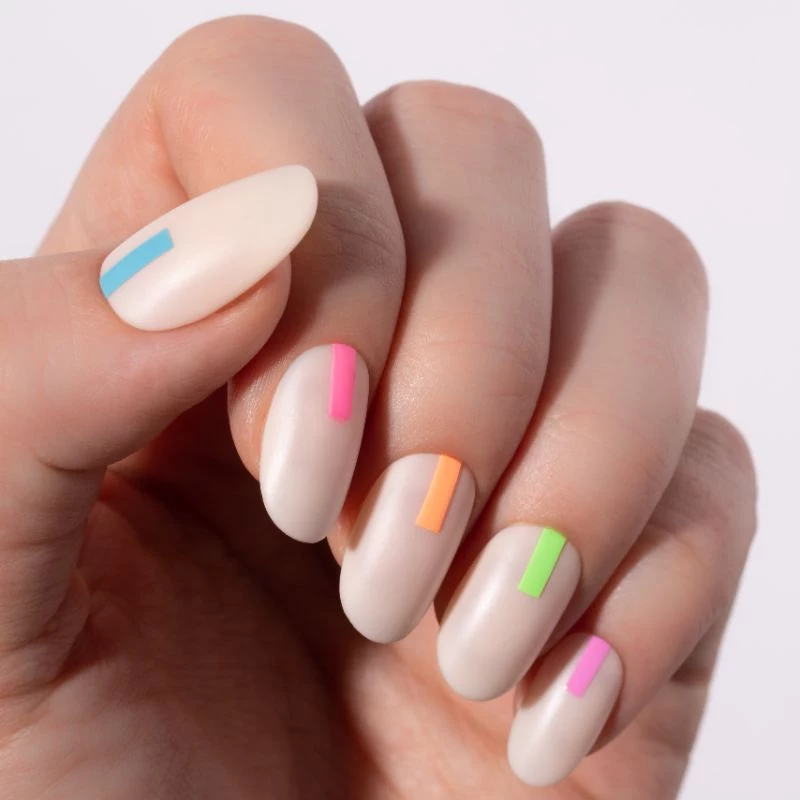
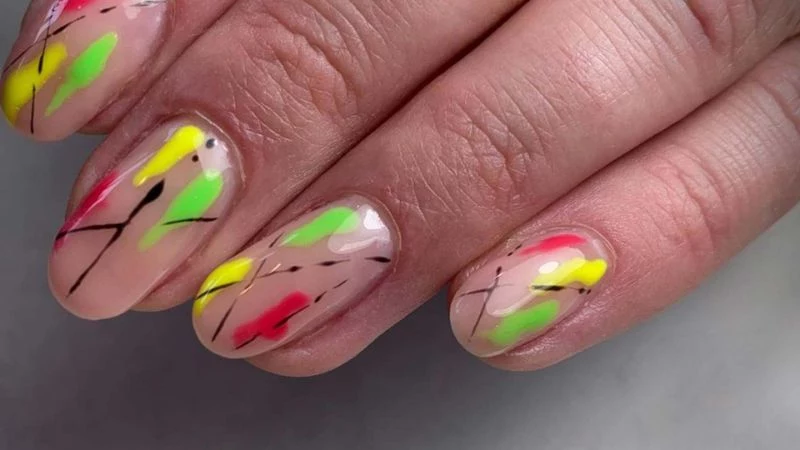
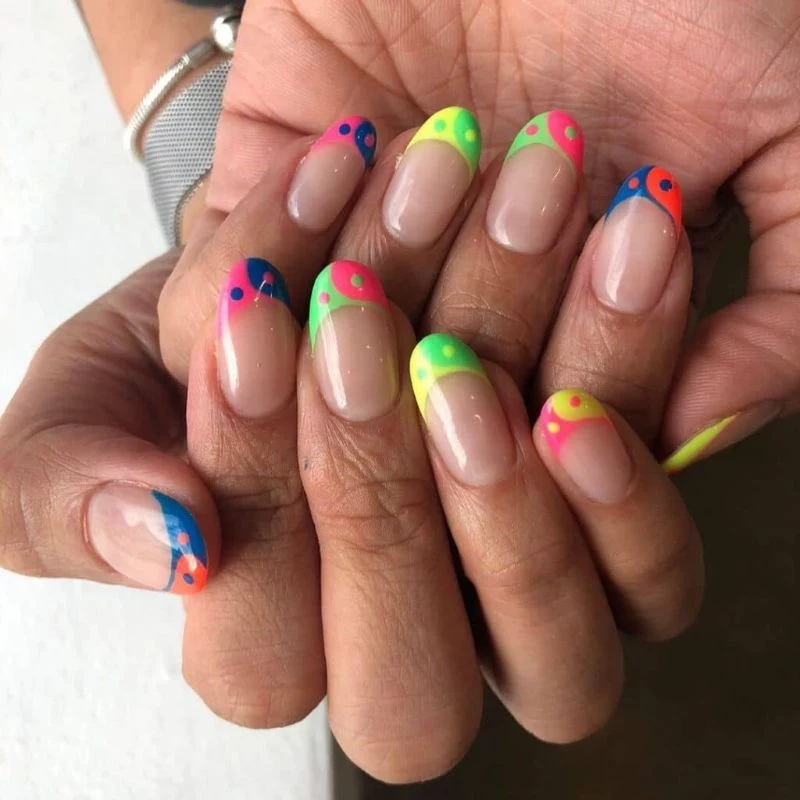
Ready to try a simple but stunning neon design? The ‘Negative Space Skittle’ is perfect.
Apply a clear base coat to all nails.
On each nail, use a fine nail art brush to paint a different abstract shape (a squiggle, a dot, a half-moon) near the cuticle or tip.
Use a different neon color for each nail—think neon pink, orange, yellow, green, and blue for a full ‘skittle’ effect.
Leave the rest of the nail bare to create that chic negative space. Finish with a glossy top coat.
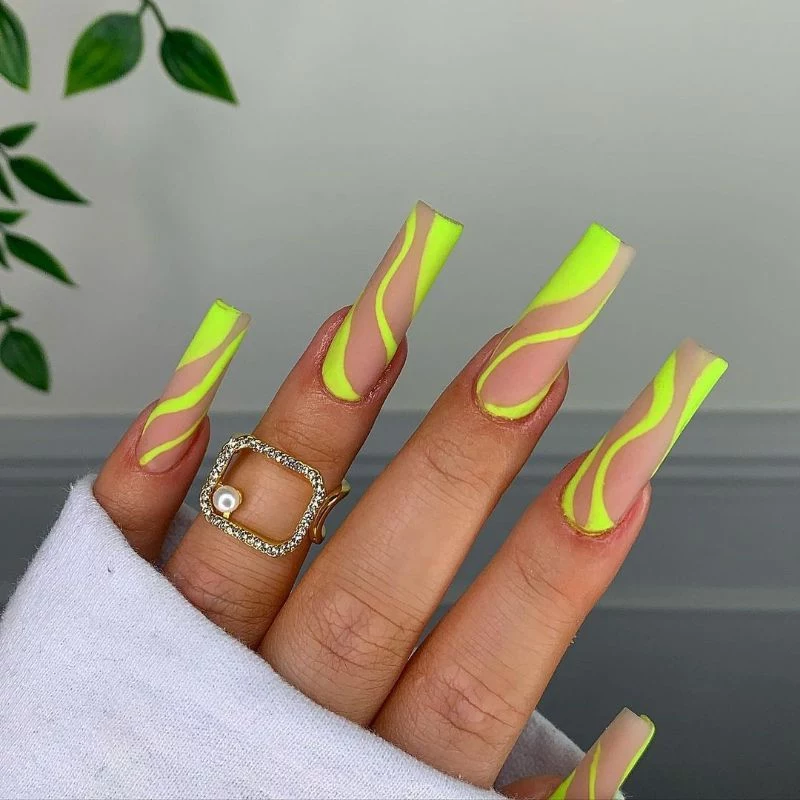
There’s an undeniable energy to neon nails. They’re not just a color choice; they’re a statement. It’s the feeling of summer concerts, late-night city lights, and pure, unapologetic fun captured on your fingertips. They have a way of making you feel bolder, more adventurous, and ready for anything. It’s a tiny detail that completely transforms your mood and becomes an instant conversation starter.
Removing a vibrant neon, especially a hot pink or orange, can leave a temporary stain on your natural nail. Here’s how to prevent it:
Never skip your base coat—it’s your first line of defense.
Instead of scrubbing, soak a cotton ball in acetone, place it on the nail, and wrap it in foil for 5-10 minutes. This lifts the pigment off the nail.
After removal, gently buff the nail surface and apply a nourishing cuticle oil like CND’s SolarOil to rehydrate the nail plate.
John combines 12 years of experience in event planning, interior styling, and lifestyle curation. With a degree in Visual Arts from California Institute of the Arts and certifications in event design, he has styled luxury weddings, corporate events, and celebrity celebrations. John believes in creating memorable experiences through innovative design and attention to detail.
To provide the best experiences, we use technologies like cookies to store and/or access device information. Consenting to these technologies will allow us to process data such as browsing behavior or unique IDs on this site. Not consenting or withdrawing consent, may adversely affect certain features and functions.
Functional
Always active
The technical storage or access is strictly necessary for the legitimate purpose of enabling the use of a specific service explicitly requested by the subscriber or user, or for the sole purpose of carrying out the transmission of a communication over an electronic communications network.
Preferences
The technical storage or access is necessary for the legitimate purpose of storing preferences that are not requested by the subscriber or user.
Statistics
The technical storage or access that is used exclusively for statistical purposes.The technical storage or access that is used exclusively for anonymous statistical purposes. Without a subpoena, voluntary compliance on the part of your Internet Service Provider, or additional records from a third party, information stored or retrieved for this purpose alone cannot usually be used to identify you.
Marketing
The technical storage or access is required to create user profiles to send advertising, or to track the user on a website or across several websites for similar marketing purposes.