Your Ultimate Guide to Short Coffin Nails (And How to Not Mess Them Up)
Over the years I’ve been doing nails, I’ve seen countless trends come and go. But some styles just stick around, and for good reason. The short coffin nail is definitely one of them. It’s hands-down one of the most requested shapes in my salon, and I totally get why. It has that chic, intentional structure of a longer nail, but it’s practical enough for real life. You can actually type an email, open a can of soda, or do dishes without constantly worrying about a catastrophic break.
In this article
- So, What Exactly Is a Short Coffin Nail?
- The Structure: Why This Shape Is Surprisingly Strong
- Coffin vs. Ballerina: It’s a Small Detail, But It Matters
- How to Get the Perfect Shape (The Pro Way vs. The DIY Way)
- Your Foundation: What Should Your Nails Be Made Of?
- The Art of Nail Art on a Smaller Canvas
- Keeping Them Perfect: Fills, Maintenance, and Safe Removal
- Galerie d’inspiration
Honestly, it’s the perfect middle ground. It evolved from the super long, dramatically tapered coffin nails that were popular a while back, but it’s scaled down for everyday wear. The result is a shape that instantly makes your hands look more elegant and put-together. It can even make your fingers look a bit longer and slimmer, and it’s a fantastic base for all kinds of nail art.
This guide is basically everything I’ve learned from working on thousands of hands. We’re going to get into what makes this shape so sturdy, how to get those lines just right, and how to keep them looking amazing. Forget the generic advice—let’s talk about the real techniques the pros use.
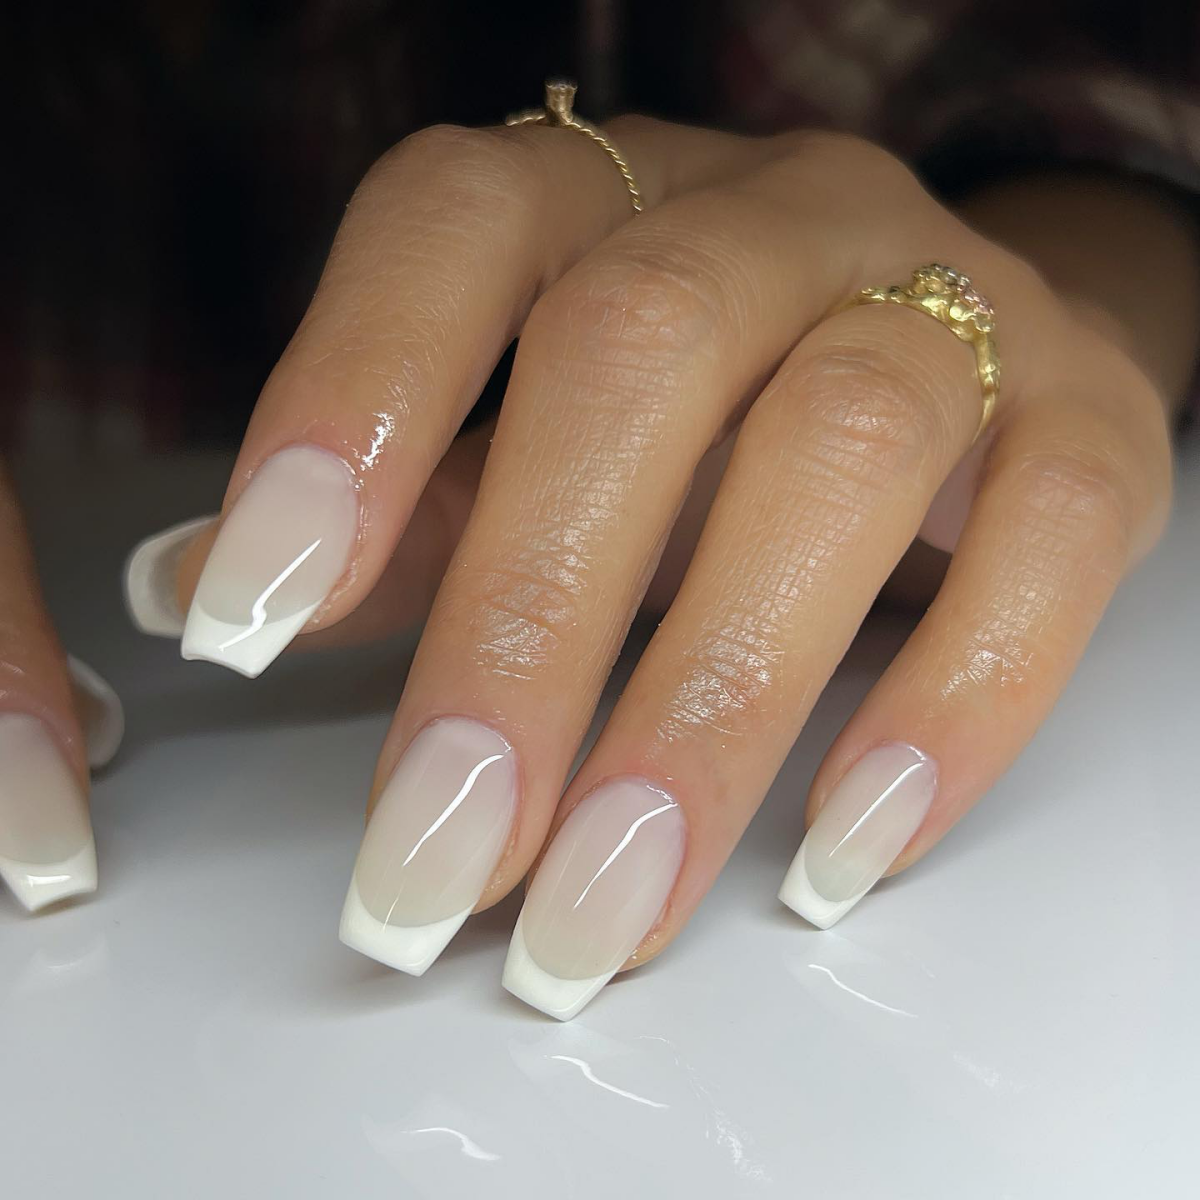
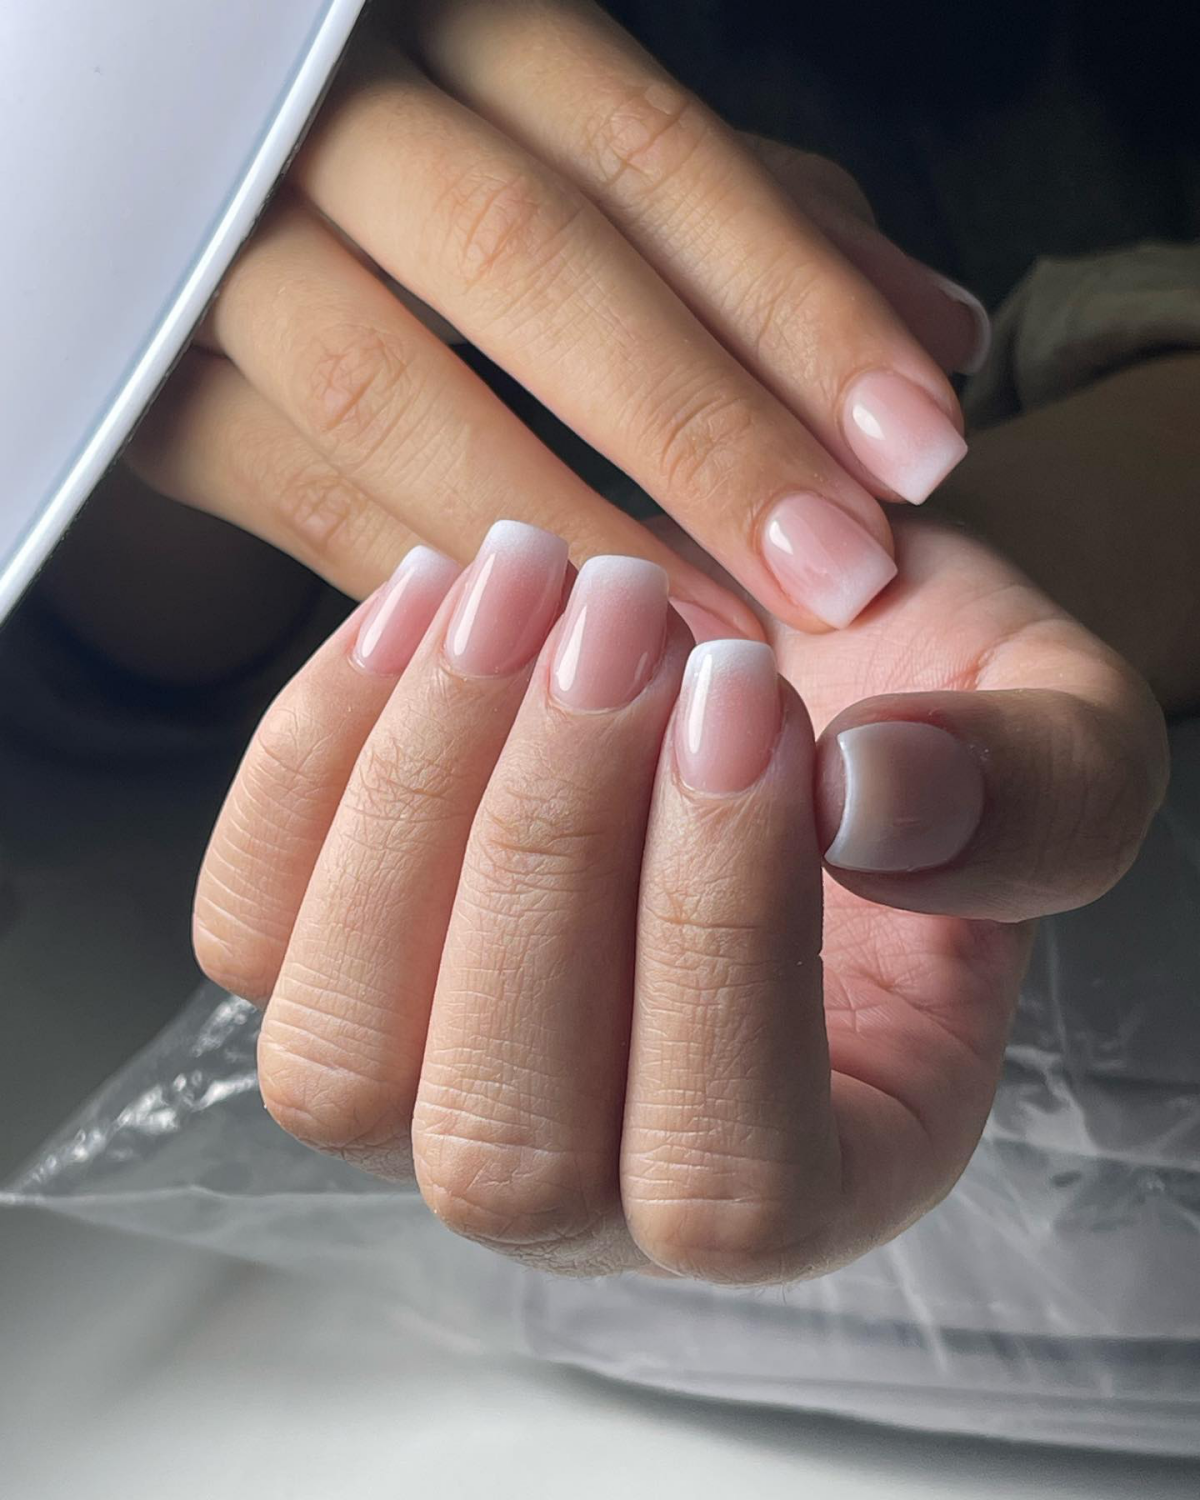
So, What Exactly Is a Short Coffin Nail?
Before we go any further, let’s define “short.” It’s subjective, right? A good rule of thumb is that the free edge—the part of the nail that extends past your skin—is anywhere from just a couple of millimeters to about a quarter-inch long. It’s long enough to establish the tapered shape, but short enough that it doesn’t get in your way.
Oh, and if you’re hesitant to commit, here’s a quick tip: try it out with press-on nails first! You can find awesome short coffin press-ons online or at stores like Ulta for about $10-$20. Wear them for a weekend to see how you like the feel and look before you invest in a professional set. It’s a perfect, low-risk way to test the waters.
The Structure: Why This Shape Is Surprisingly Strong
Let’s geek out for a second on nail anatomy, because it’s the key to everything. Your nail has a stress area, which is right around where it grows past your fingertip. This is the spot that takes the most impact and is most likely to break. Different nail shapes handle that pressure in different ways. A classic round nail is super durable because it has no corners to snag, while a pointy stiletto focuses all the force on one fragile tip.
A coffin nail is basically a tapered square. It has straight sidewalls that angle in toward a flat, squared-off tip. This design is actually a clever bit of engineering. The angled sides help distribute any impact or pressure back toward the nail bed, which is the strongest part of your nail. A traditional square nail, by contrast, can put a lot of pressure on its sharp corners, making them prone to snagging and breaking.
The shorter length is a huge advantage here. Think about it in terms of basic physics: less length means less leverage. When you bump the tip of a long nail, it creates a lot of force on that stress area. A short nail minimizes that force, making it way less likely to lift or snap. This is exactly why I recommend this shape for clients who are new to nail enhancements or are pretty tough on their hands.
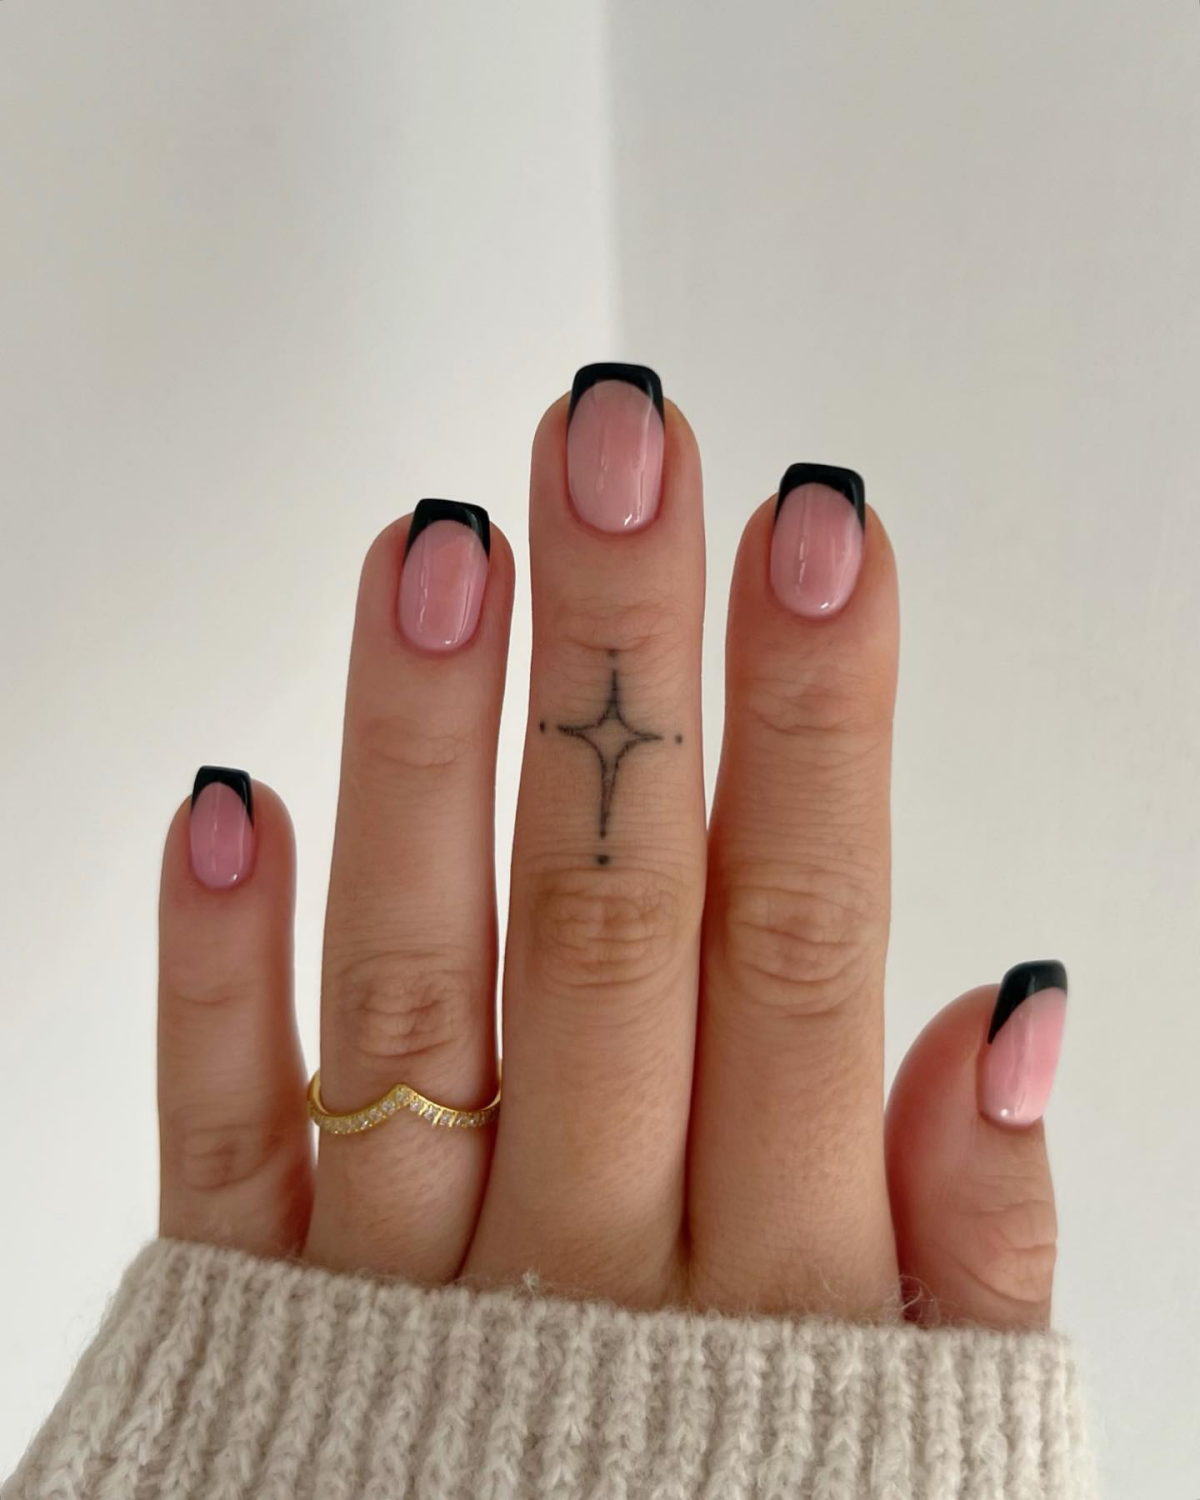
Coffin vs. Ballerina: It’s a Small Detail, But It Matters
People often use “coffin” and “ballerina” interchangeably, but for a nail tech, there’s a subtle but distinct difference.
- A true coffin shape has perfectly straight, sharp lines. Imagine drawing two straight diagonal lines from the sides to the tip. It’s geometric and very modern.
- A ballerina shape has a slight curve to its sides. It’s named after a pointe shoe, and the sides gently curve inward before squaring off. This creates a softer, slightly more delicate taper.
So why should you care? The coffin shape often looks a bit bolder and more assertive. The ballerina shape, with its gentle inward curve, can have a really nice slimming effect, especially on wider fingers. If you’re not sure, ask your tech to file a practice tip in each style so you can see them against your own skin. It’s a personal choice, but knowing the lingo helps you get exactly what you want.
How to Get the Perfect Shape (The Pro Way vs. The DIY Way)
Creating ten perfectly symmetrical coffin nails is an art form. This is where a lot of at-home attempts can go a little sideways, literally.
In the salon, the process is meticulous. We start by choosing the right foundation, like a pre-tapered tip, which we then perfectly fit to your nail to prevent any gaps. If we’re sculpting from scratch, we angle the form just right to create a strong internal structure. For filing, we use a professional 100/180 grit file—the coarser side for bulk removal and the finer side for refining. We check the nail from every conceivable angle, including from your point of view, to ensure it’s perfectly centered and balanced.
Heads Up for the DIY Shapers!
If you’re shaping your own nails at home, the number one mistake is over-filing the sidewalls. Those sides are where your nail gets its strength. Filing them away can lead to painful breaks deep in the nail bed. I’ll never forget a new client who came to me with red, throbbing fingers after a DIY shaping attempt went wrong. We had to take her nails all the way down to short and round for a month just to let them recover!

To do it safely, here’s a quick guide:
- Start Long: Always begin with more length than you think you need. It’s easy to file more off; it’s impossible to add it back.
- File Directionally: Use a gentle 180 or 240-grit file. Instead of sawing back and forth, file in ONE direction, from the outer corner toward the center of the tip.
- Alternate Sides: Do a few strokes on the right side, then a few on the left, checking constantly to make sure your angles are symmetrical.
- Check Your Work: Look down the barrel of the nail. Is the tip centered? Are the lines straight?
- Square it Off: Once the taper is right, gently file the very tip straight across to create that flat edge.
By the way, a decent DIY kit doesn’t have to be expensive. You can get a good quality 180/240 grit file for about $3-$5, a buffer block for $2, and a bottle of cuticle oil for $5-$10 at places like Sally Beauty or even online.
Your Foundation: What Should Your Nails Be Made Of?
The short coffin shape works with a few different products, and the best one for you depends on your nails, lifestyle, and budget. It’s not one-size-fits-all.
Acrylic: The Heavy-Duty Workhorse
Acrylic is a mix of a liquid and powder that creates an incredibly hard, durable plastic. It’s the industry standard for strength, making it fantastic for creating those sharp, crisp coffin lines. The downside? The strong chemical smell. A full set of acrylics from a skilled tech will typically run you between $60 and $95, with rebalances every 2-3 weeks costing around $45-$70.
Hard Gel: The Flexible Powerhouse
Hard gel is a thick, honey-like gel that’s cured under a lamp. It’s just as strong as acrylic but has more flexibility, meaning it’s more likely to bend a little on impact instead of snapping. It’s also odorless, which is a huge plus! A word of warning: during curing, you might feel a “heat spike,” a quick zap of heat. If you do, just pull your hand out of the lamp for a second. Hard gel sets are priced similarly to acrylics.
Builder Gel (BIAB): Your Nails, But Better
This is probably the most popular service in my salon right now. Builder In A Bottle (or BIAB) is a type of thick gel applied directly over your natural nail to add strength and durability. It’s the perfect choice if you have some natural length but your nails are prone to bending or breaking. It protects them, allowing you to rock a short coffin shape on your own nails. An overlay service usually costs a bit less than a full set of extensions, often in the $55-$75 range.
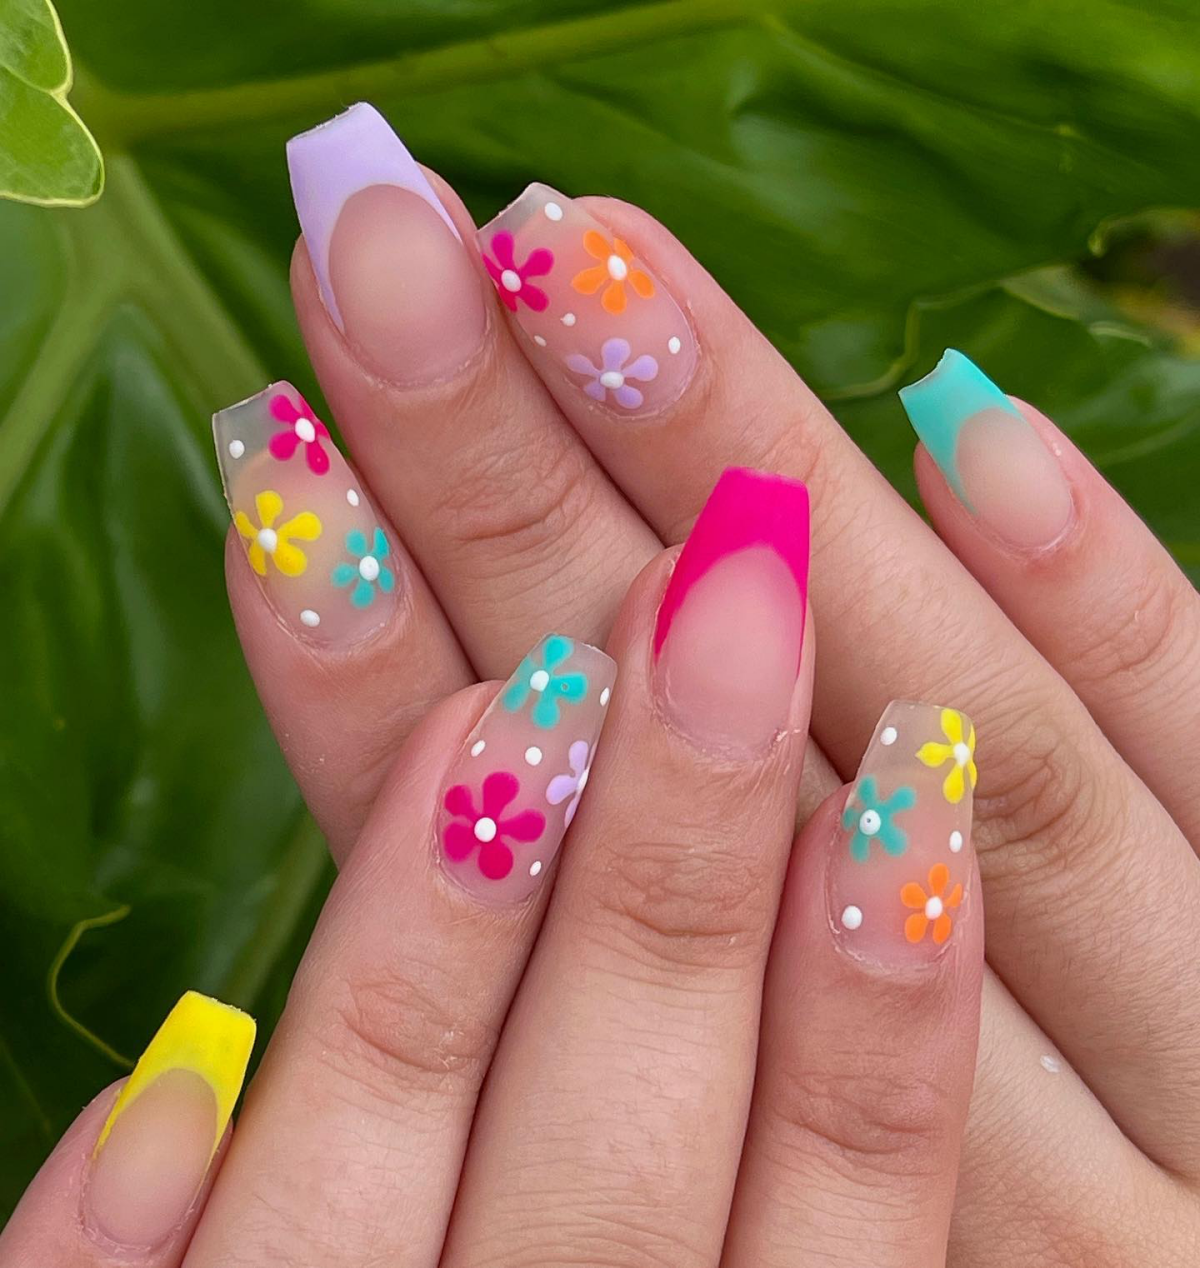
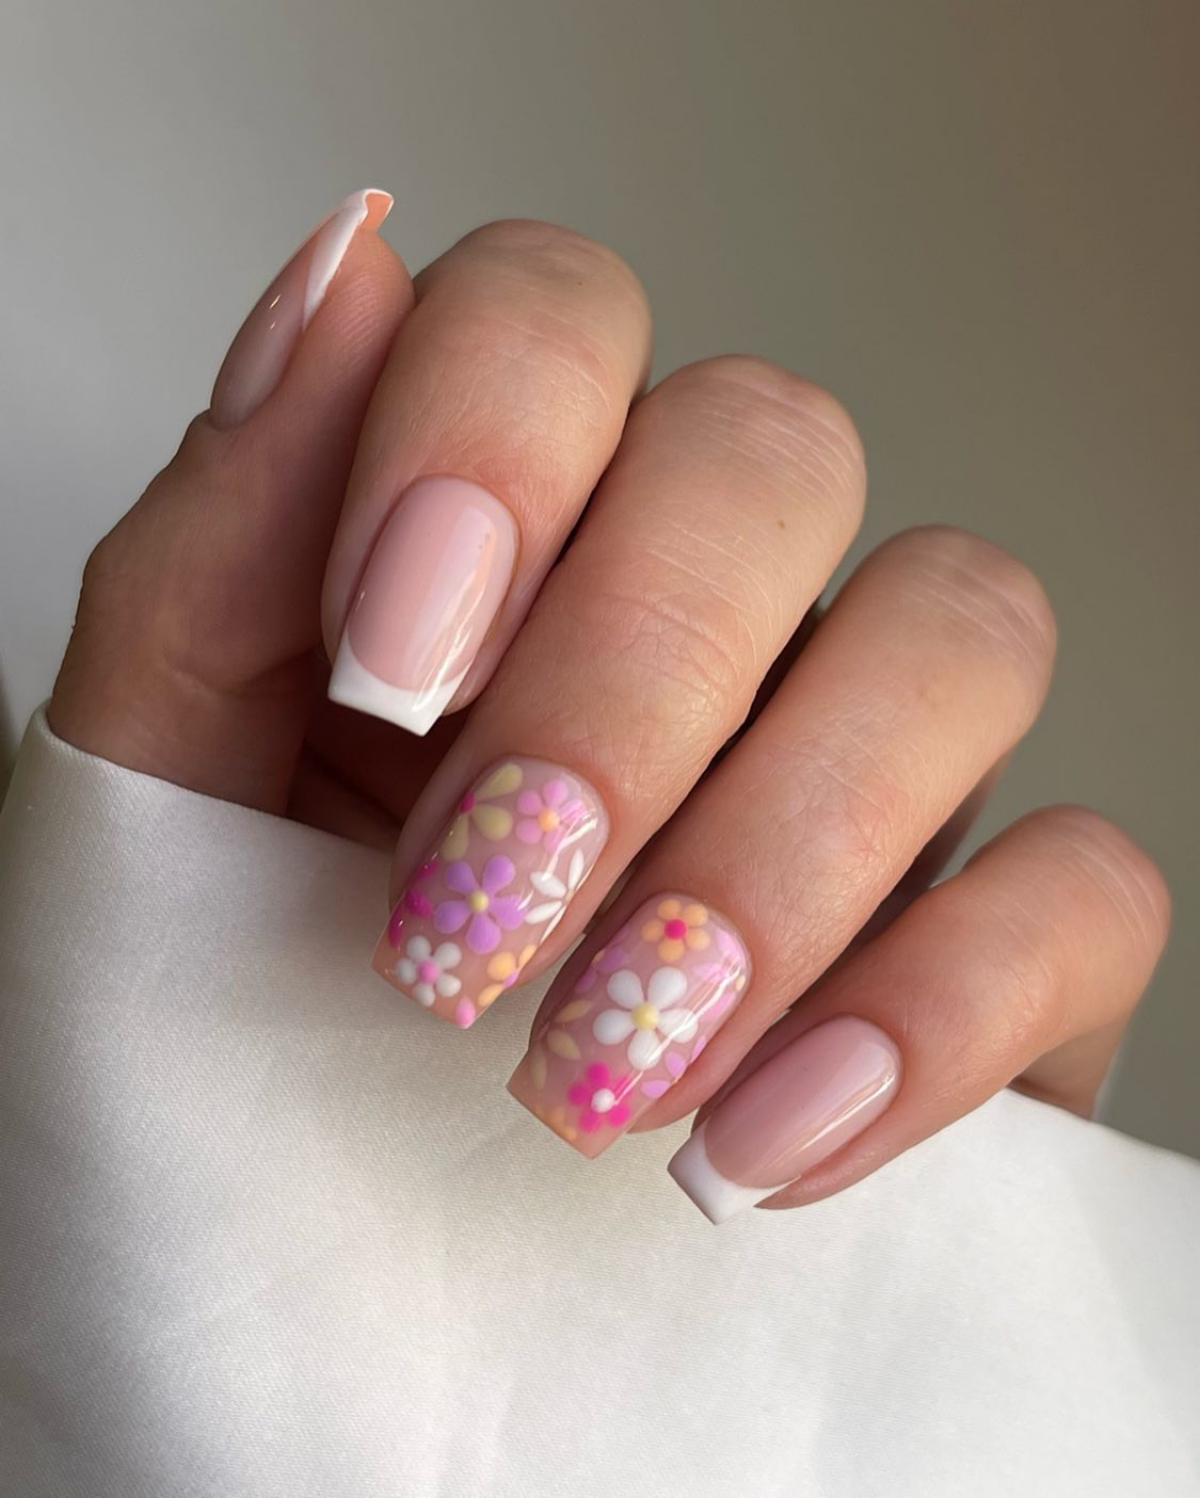
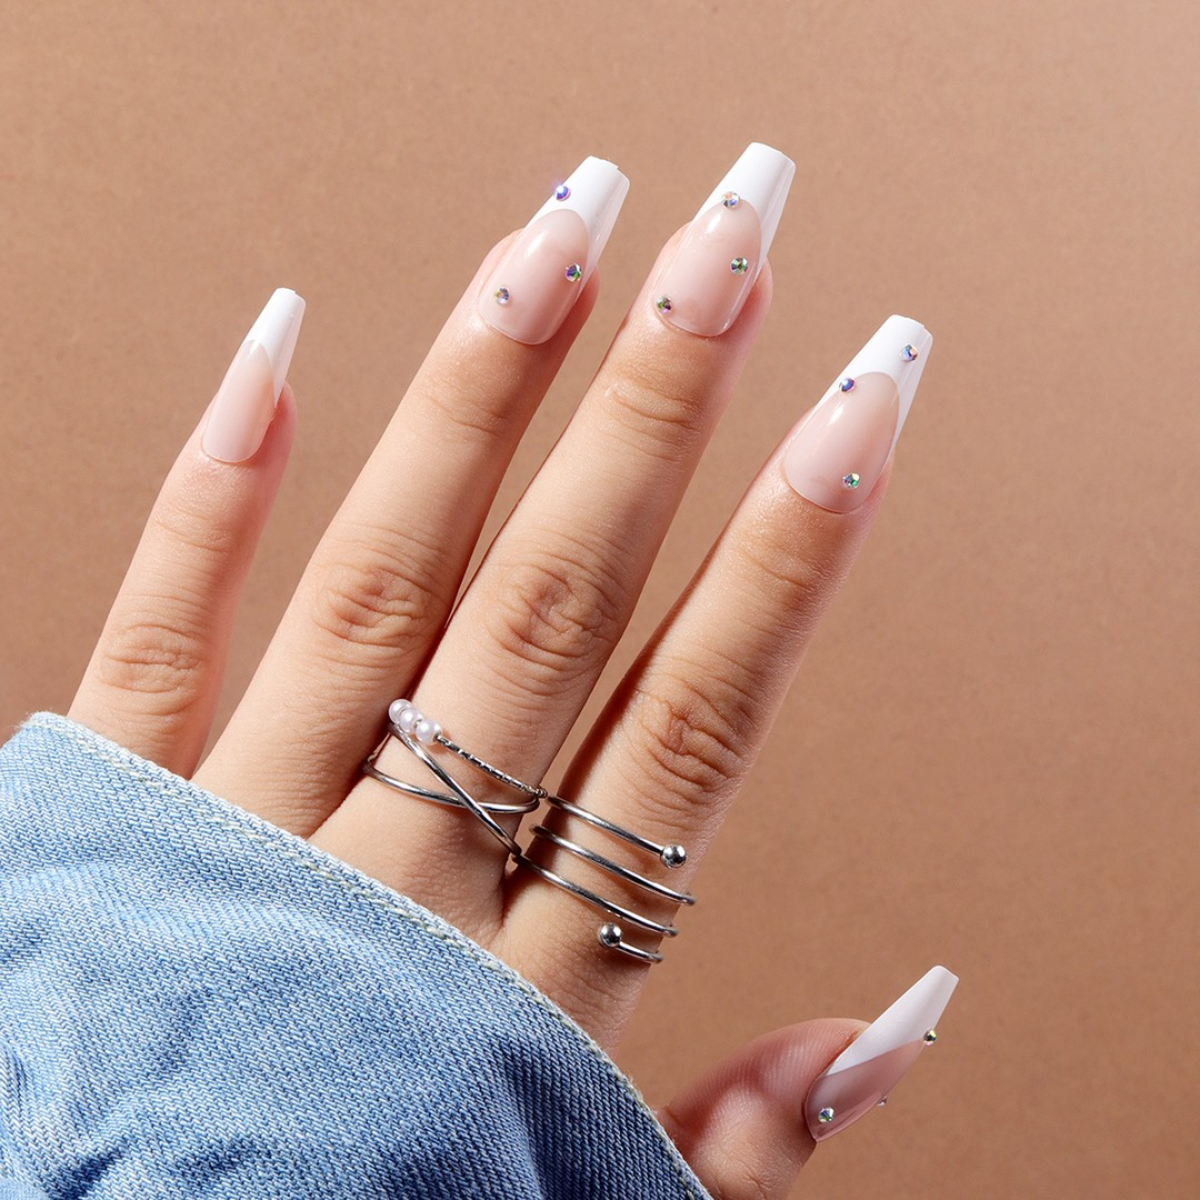
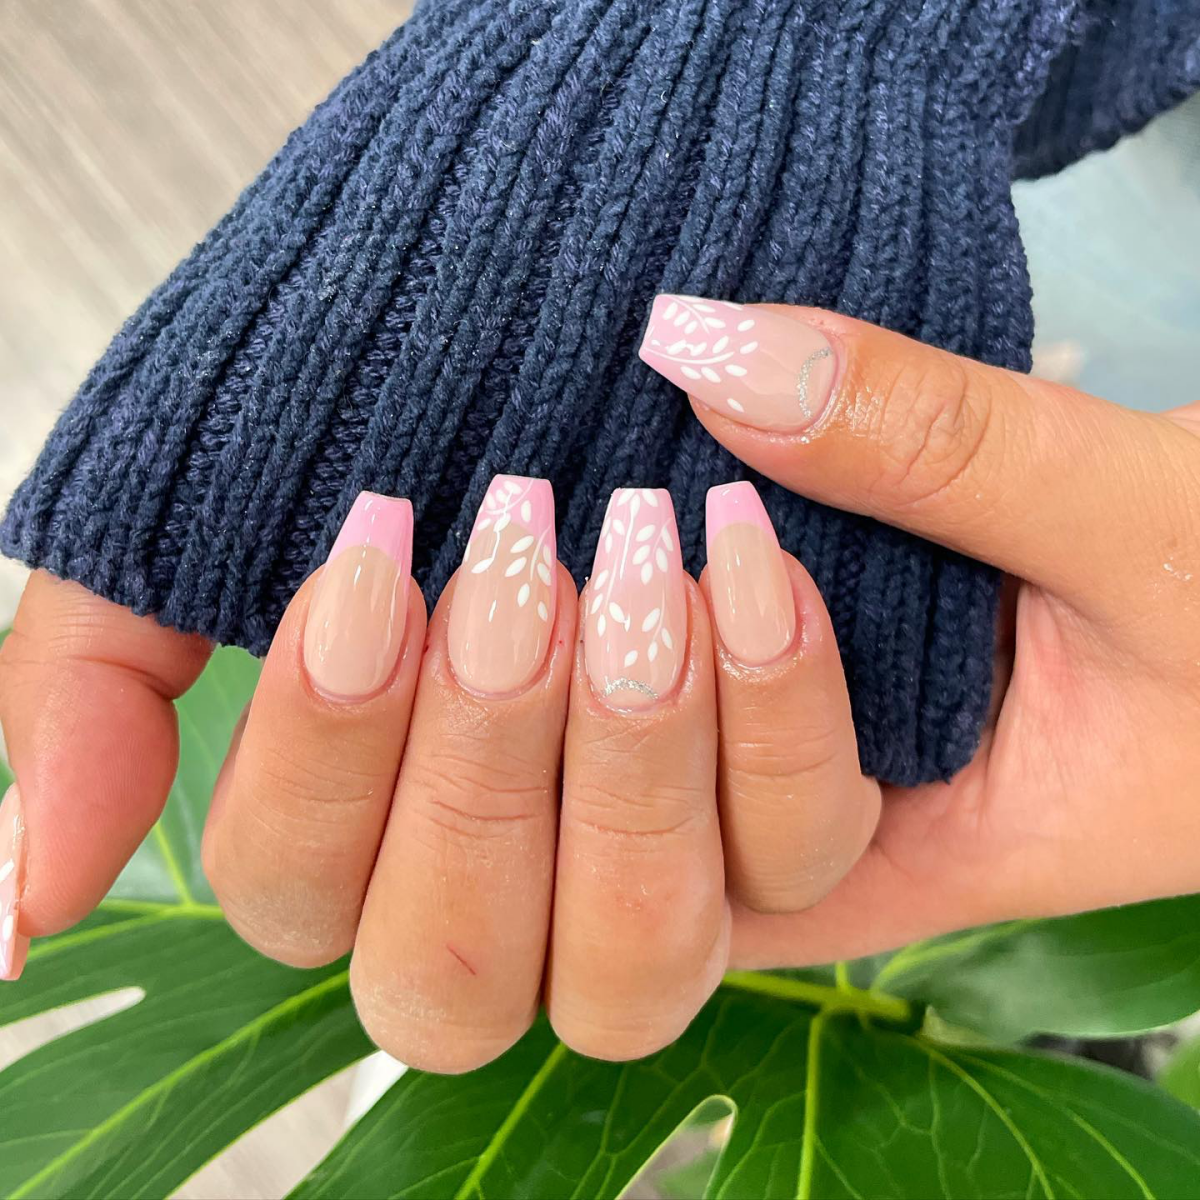
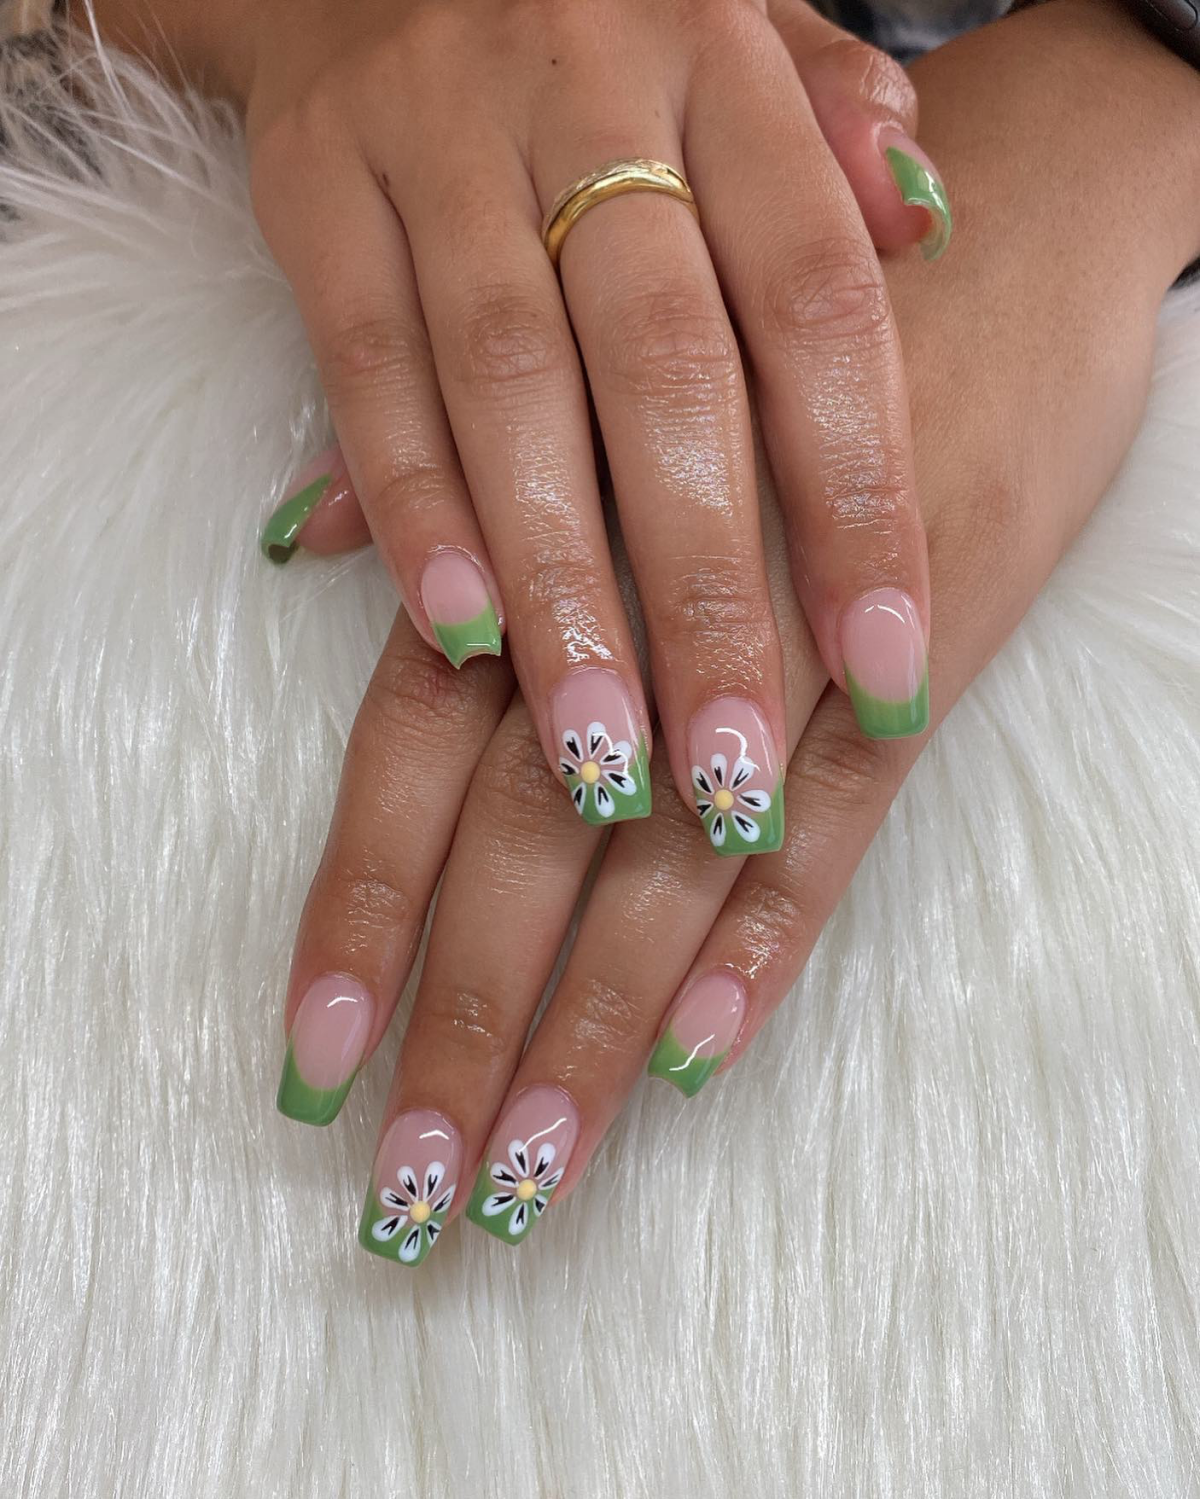
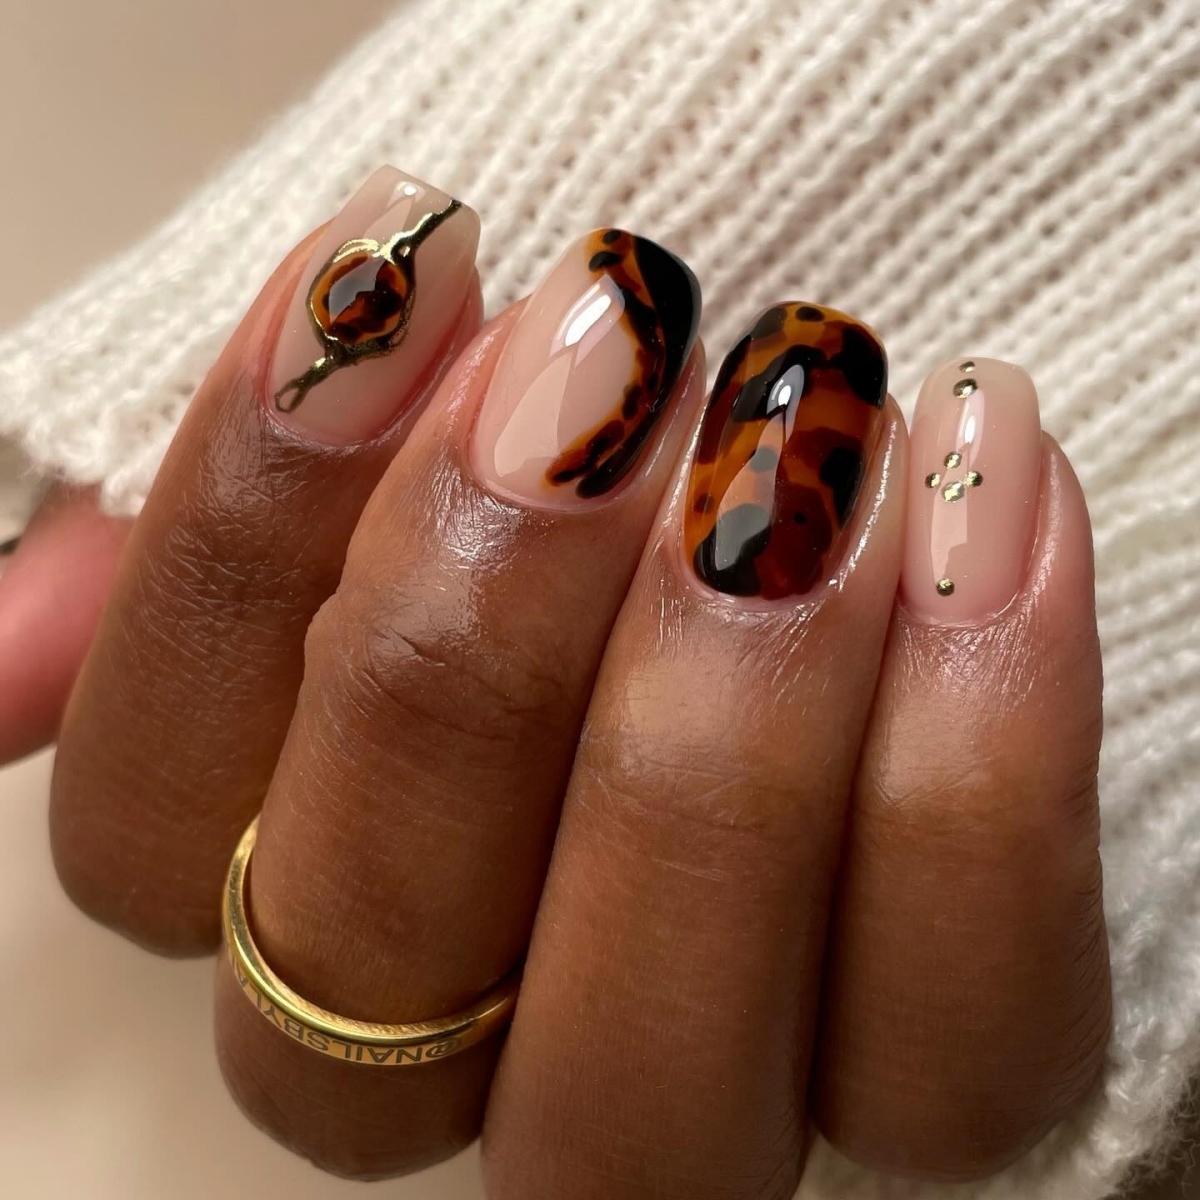
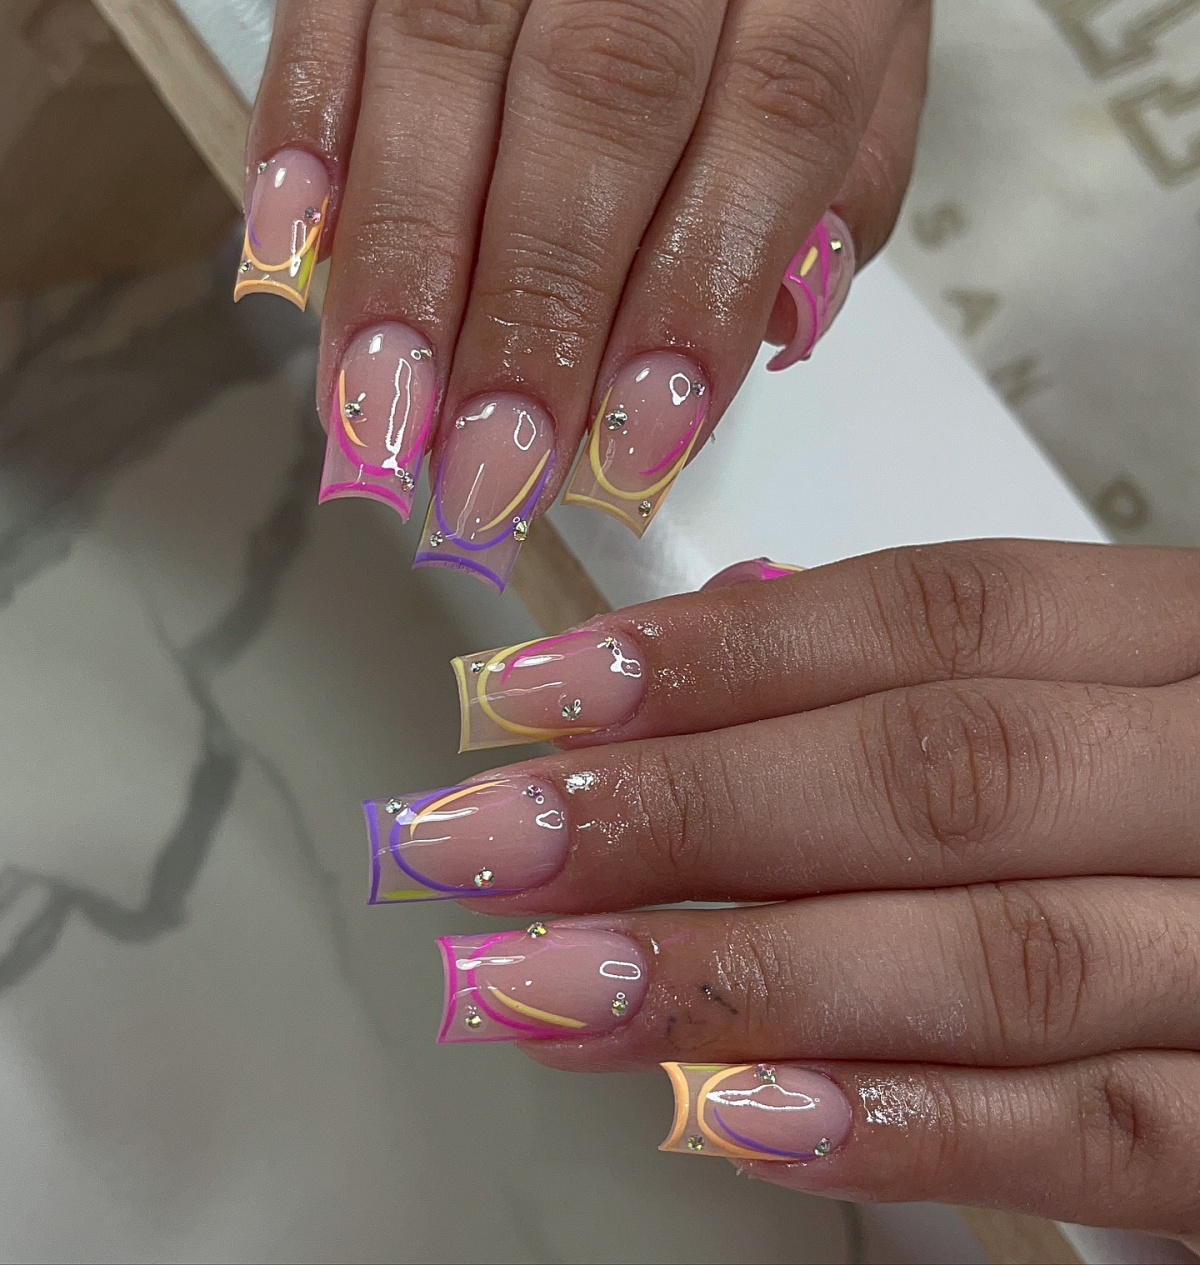
The Art of Nail Art on a Smaller Canvas
You absolutely do not need long nails to have fun with art. A short coffin shape is a great platform, you just have to be smart about the design.
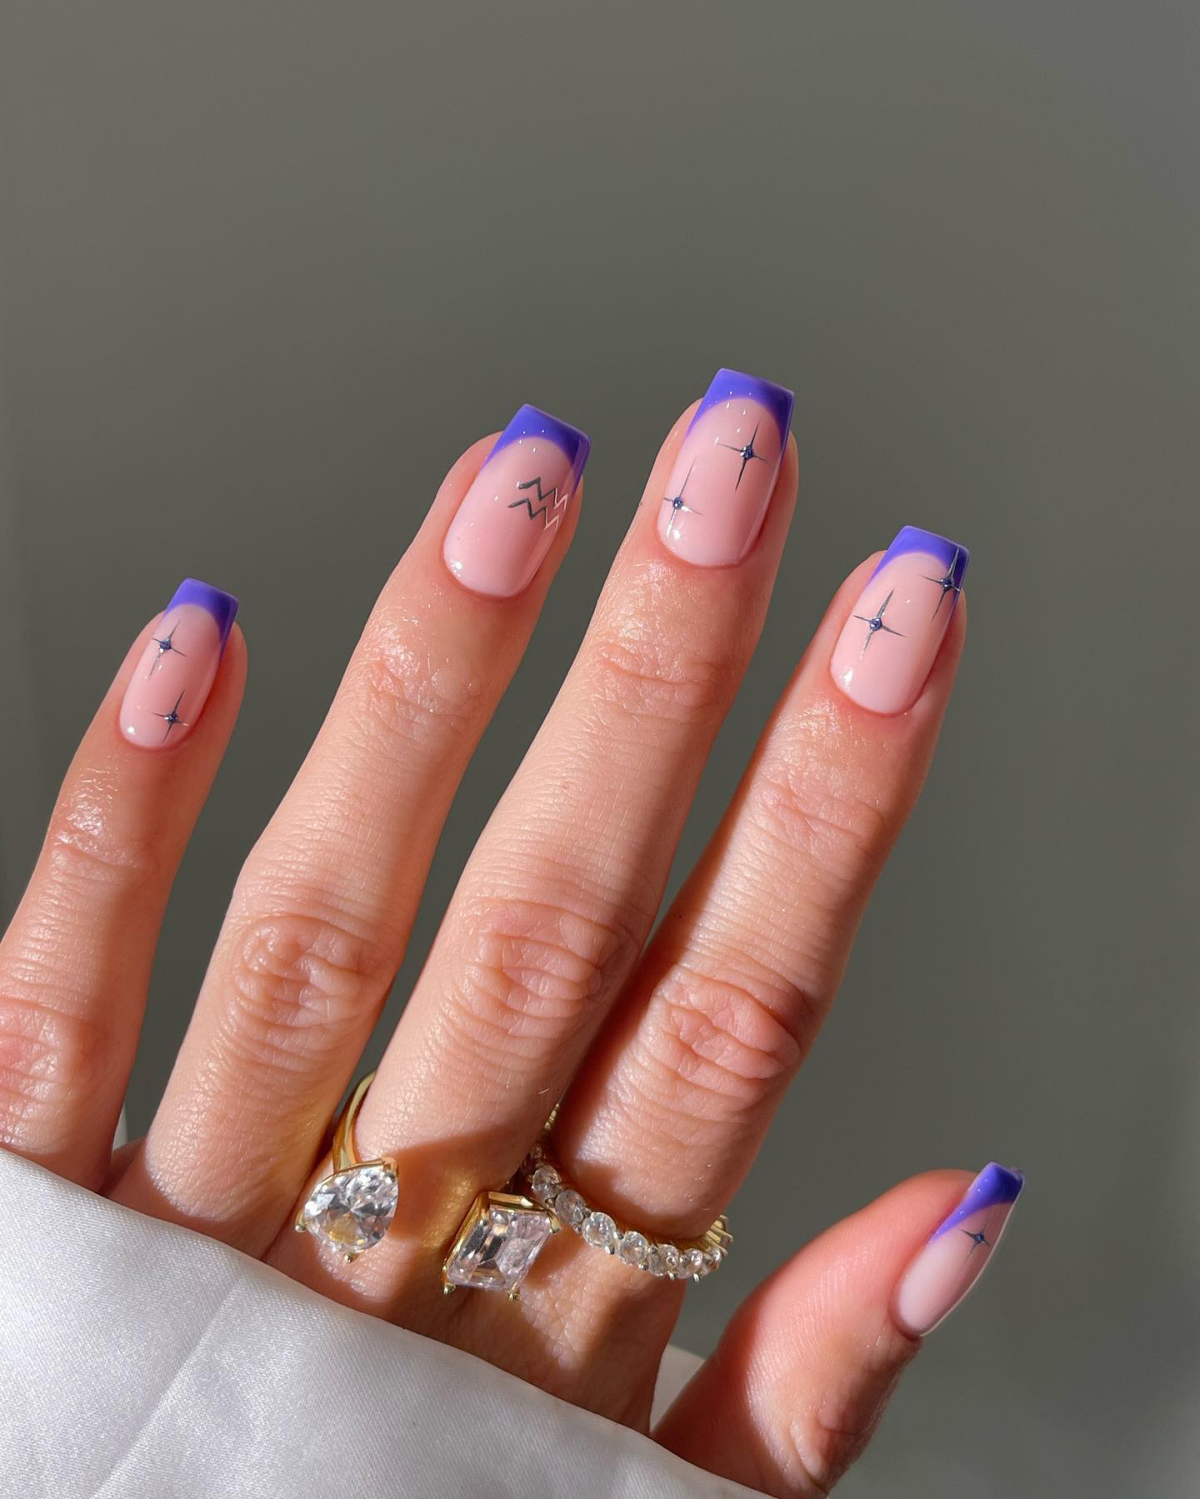
- The Modern French: This looks SO good on a coffin nail. Instead of a classic rounded smile line, ask for a deep, sharp V-shape. It dramatically accentuates the nail’s lines.
- Negative Space: Leaving parts of the nail bare with just a clear coat is incredibly chic. Think clean swirls or simple geometric lines. It keeps the nail from looking cluttered.
- Vertical Lines: Anything that draws the eye up and down the nail—like a thin vertical stripe or a subtle glitter fade from the cuticle—will enhance the elongating effect.
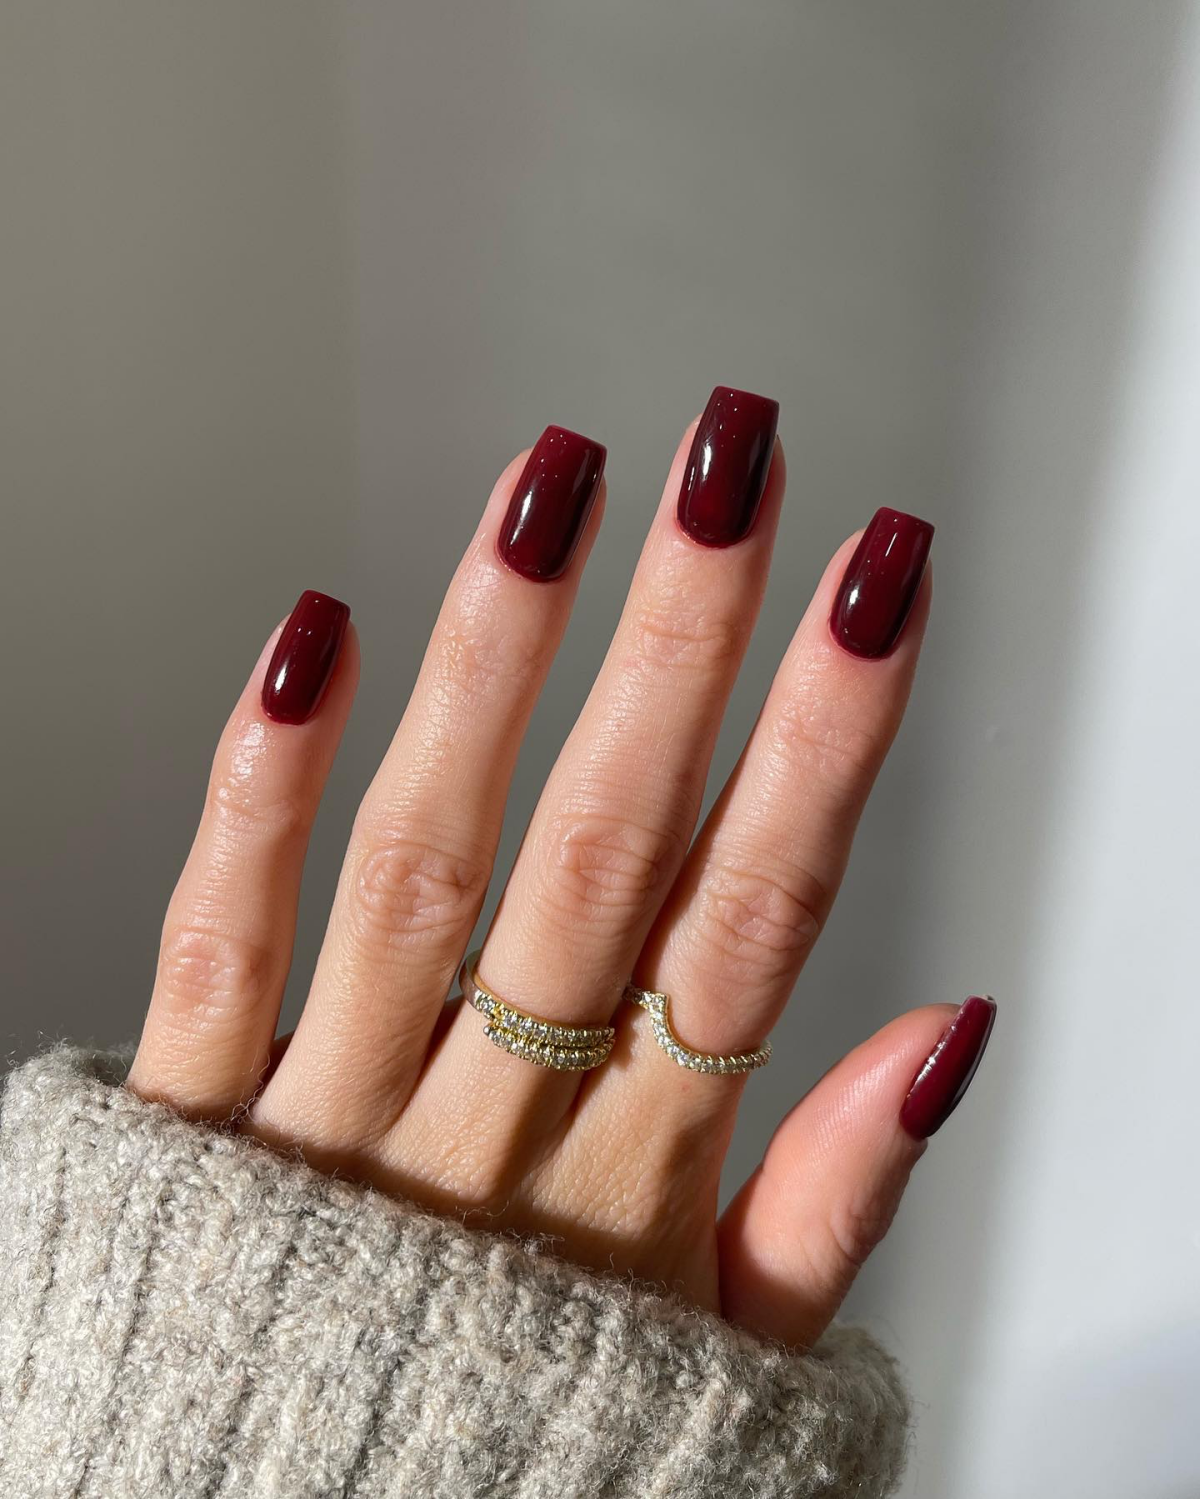
- Full-Coverage Finishes: Don’t underestimate the power of a solid color. Reflective chrome powders and mesmerizing cat-eye gels look absolutely stunning on this sharp, clean shape.
Keeping Them Perfect: Fills, Maintenance, and Safe Removal
To keep your nails healthy and looking great, you’ll need a fill—or what we techs call a “rebalance”—every two to three weeks. This isn’t just about filling in the gap at your cuticle. A proper rebalance involves filing down the old product, correcting the structure, and re-establishing the apex (the high point that gives the nail strength) to keep it balanced as it grows.
And now for the most important rule of all: NEVER, EVER PRY OR PICK OFF YOUR NAILS. I cannot say this enough. Picking them off rips layers of your natural nail plate away with it, leaving them thin, weak, and painful.
Professional removal involves filing down most of the product and then soaking the rest off with acetone-soaked cotton wrapped in foil. The product will turn soft and gummy, allowing it to be gently scraped away. If a salon ever tries to rip your nails off with a tip or grind them aggressively down to your natural nail with a coarse drill bit, get up and leave. That is not the right way to do it, and it will cause serious damage. A proper, safe soak-off is the only way to go.
Galerie d’inspiration
The #1 Mistake to Avoid: Over-filing the sides. It’s tempting to keep tapering to get that perfect coffin shape, but filing too deep into the sidewalls (where the nail meets the skin) critically weakens the nail’s stress area. This is the fastest way to a snap or a chip, even on a short nail. Keep the lines leading from the cuticle straight, and only begin to taper as you approach the tip.
The clean lines of a short coffin nail make it a perfect canvas. But what style suits it best?
The Micro-French: This minimalist take on the classic French manicure uses a razor-thin line of color on the flat tip. It highlights the sharp, geometric shape of the coffin nail, creating an incredibly chic and sophisticated look.
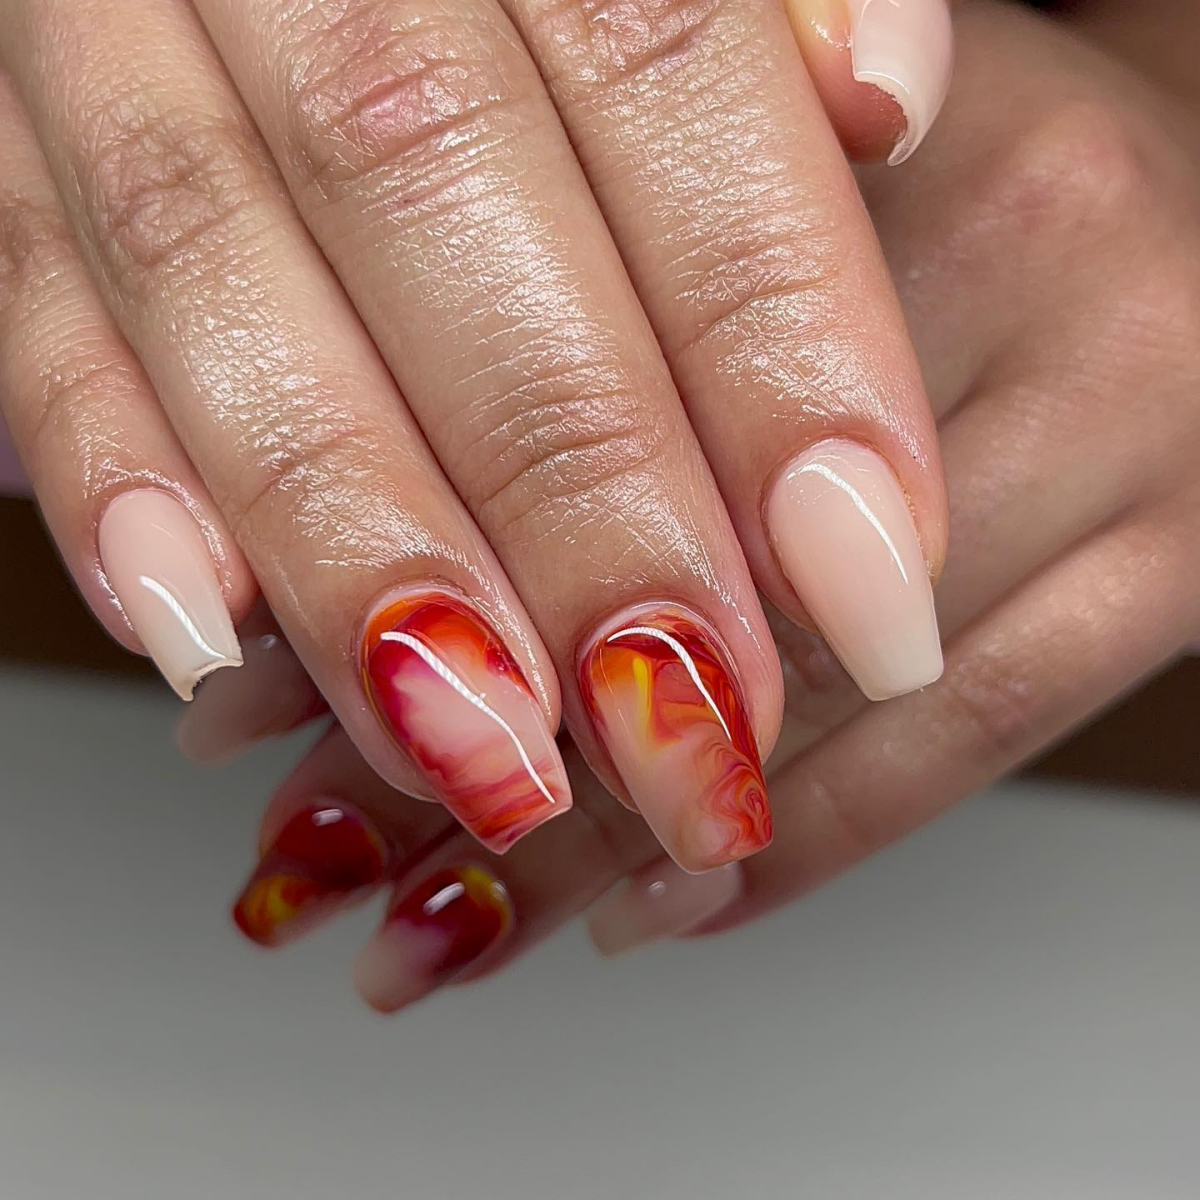
The Abstract Swirl: Using the full nail bed for soft, flowing lines or vibrant marble effects creates a beautiful contrast with the nail’s angular structure. It adds a touch of organic artistry to a very intentional shape.
Ultimately, the choice depends on your mood: crisp geometry or soft movement.
Nearly 70% of at-home nail damage comes not from major accidents, but from improper filing techniques.
This is especially true for maintaining a precise shape like the short coffin. To keep your edges crisp without causing micro-fractures, swap your coarse emery board for a glass or crystal nail file. They seal the keratin layers as you file, leading to a smoother edge that’s far less likely to snag or peel. For shaping, a 180-grit file is ideal, but for finishing, a glass file is a true game-changer.

To truly get that elegant, elongated look the article mentions, color choice is key. Deep, opaque colors like a rich burgundy (think OPI’s
How do I make my short coffin manicure last, especially with gel?
The secret isn’t the color, it’s the base. Ask your technician for a ‘structured gel manicure’ or ‘builder in a bottle’ (often called BIAB). Brands like The GelBottle Inc or Orly’s Builder In A Bottle create a stronger, slightly thicker base than regular gel polish. This adds rigidity and a perfectly smooth apex to the nail, providing the structural support needed to prevent the flat tip from bending or chipping, ensuring your coffin shape stays flawless for weeks.


