Beyond the Polish: The Real Secret to Nails That Don’t Break
I’ve been doing nails for a long time—long enough to see all kinds of fads sparkle and fade away. But one thing is absolutely timeless: the foundation of a great manicure is a nail that’s properly structured to fit your hands and your life. Honestly, a lot of my job isn’t just painting pretty designs; it’s engineering tiny, durable structures on your fingertips. The most important lessons aren’t about the newest chrome powder, but about the simple physics of the nail itself.
In this article
So, this isn’t going to be just another gallery of nail trends. Think of this as a peek behind the curtain into how a pro really thinks about your nails. We’re going to get into why some shapes seem to snap if you just look at them wrong, while others can survive just about anything. My goal? To arm you with the knowledge to have a better chat with your tech, or even just to understand your own nails on a whole new level. Because a beautiful nail starts with being a healthy and strong nail.

First Things First: Let’s Talk Nail Health
Before we can even think about building a gorgeous nail enhancement, we have to look at the ground it’s sitting on. Your natural nail’s health and shape pretty much dictate everything that follows. When you sit down at a pro’s table, the first thing they should be looking at isn’t your old polish; it’s the condition of your nails and the skin around them.
By the way, let’s clear up a huge misunderstanding right now. That little rim of skin at the base of your nail? That’s not the cuticle. That’s your eponychium, and it’s living tissue. Its entire job is to protect the nail matrix, which is like the command center where your nail cells are born. We should never, ever cut this skin. It’s not just against regulations in many places, but it’s like leaving the front door wide open for infections. The true cuticle is the invisible, non-living layer of tissue that rides on top of your nail as it grows out. That’s the stuff we gently buff away to make sure your manicure lasts.
The health of your nail plate is everything. Is it thin and bendy? Does it peel? Or is it naturally tough? These things help a tech decide what service is best for you. For instance, slapping a super-rigid acrylic onto a very thin, flexible nail can feel weirdly tight and often leads to lifting because the two materials just don’t move together. In cases like that, a more flexible option like a hard gel or a structured gel manicure is usually a much better fit.
I’ve seen it all—from “ski-jump” nails that curve up at the tip to “spoon” nails that dip in the middle. These require some serious skill to correct. A good tech won’t just follow the nail’s natural flaws; they’ll build a new, balanced structure on top to create a look that’s both strong and beautiful.
The Big Secret: It’s All About Architecture
The key to a long-lasting manicure isn’t the brand of polish. It’s the architecture. The most vital part of this structure is called the apex. The apex is the highest, thickest point of the enhancement, strategically placed right over your nail’s stress area—that spot where it naturally wants to bend and break. A proper apex creates a shock-absorbing curve that spreads any pressure out evenly.
A completely flat nail has zero structural support. Any tap on the tip creates a powerful lever effect that snaps it right at the stress point, often taking a piece of your natural nail with it. Ouch.
Want to see what I mean? Go on, turn your hand and look at your nail from the side right now. Does it have a gentle, graceful curve that’s highest somewhere over the middle of your nail bed? Or is it totally flat from your cuticle to the tip? That little curve is what’s saving you from a world of painful breaks!
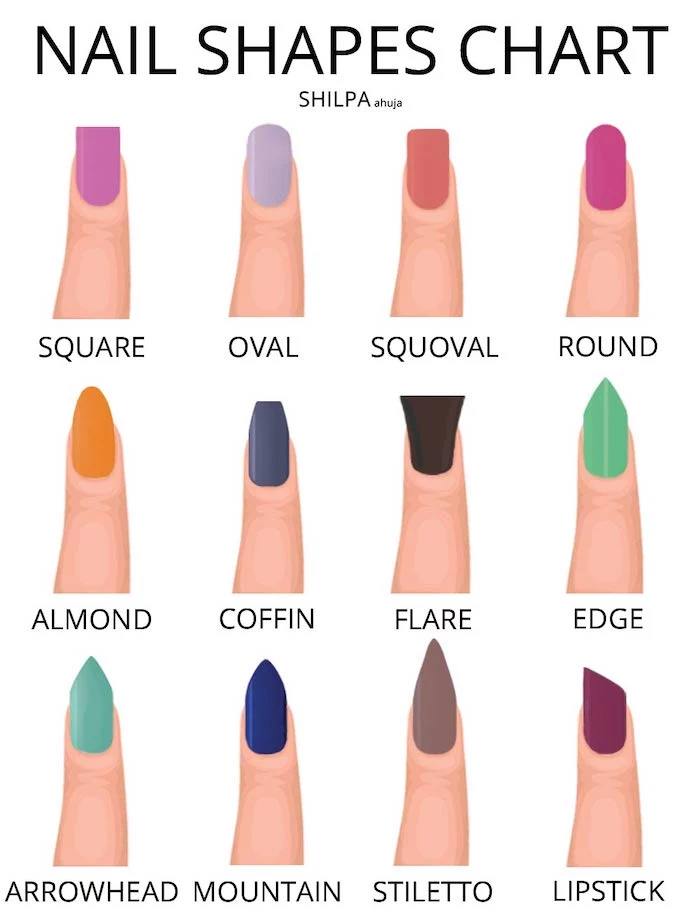
A Quick Look at Popular Shapes:
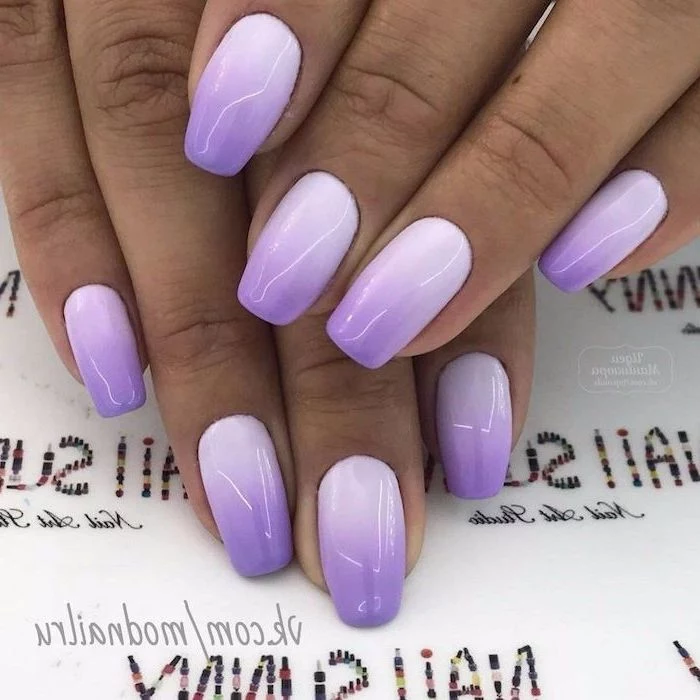
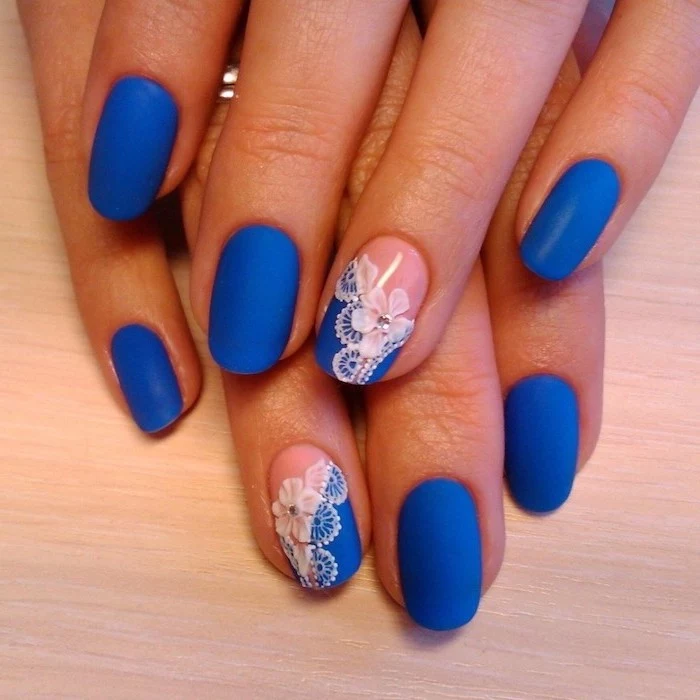
Square & Squoval: These are classics for a reason—they’re sturdy. The straight sides and wide tip distribute force really well, especially on wider nail beds. The secret to a strong square nail is keeping the side walls straight. If a tech gets too aggressive with the file and tapers the sides in, they’re literally filing away the nail’s support system, making the corners weak and prone to breaking.
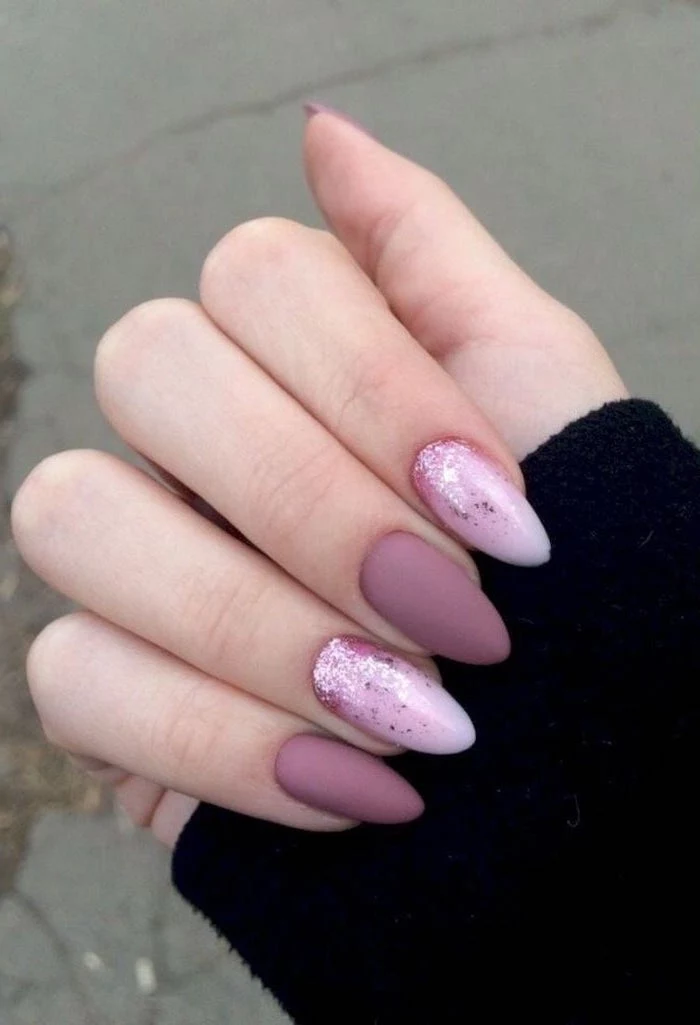
Round & Oval: If you work a lot with your hands, I almost always suggest a round or oval shape. There are no sharp corners to catch on things, so they are incredibly durable. The gentle curve of the tip just deflects impacts. They’re structurally forgiving, too, and don’t need a super high apex to be strong.
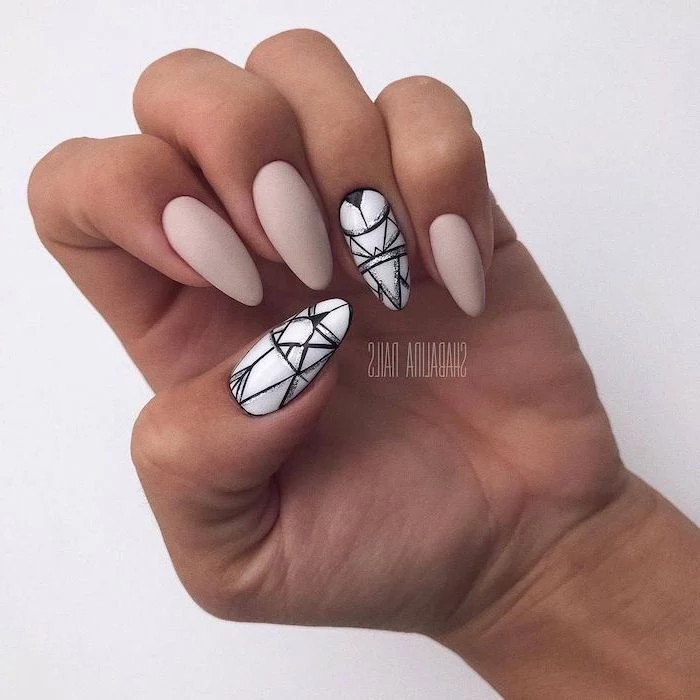
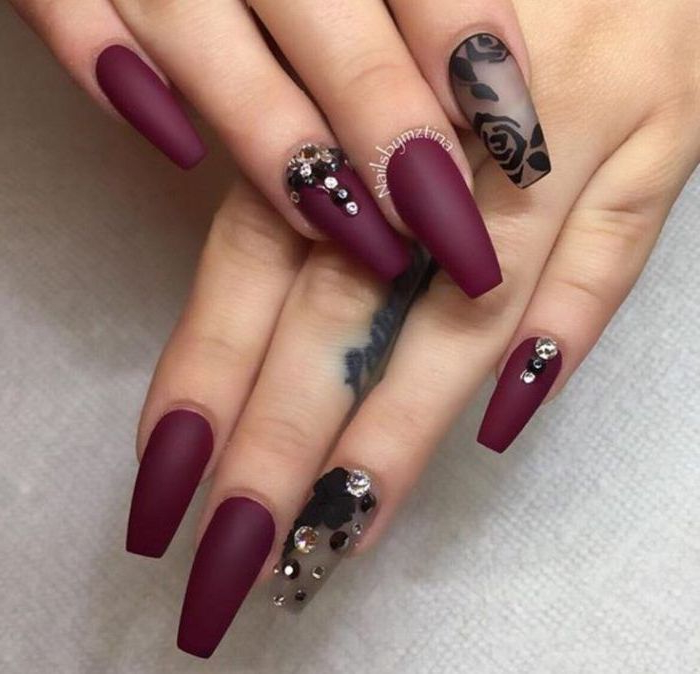
Almond: Oh, the elegant almond. It’s beautiful, but it’s also structurally compromised by design. To get that taper, we have to file away the side walls that provide support. This makes the apex absolutely critical. I learned this the hard way once when a client returned with two broken nails just days after her appointment. I’d made her almond nails too flat, underestimating the force of her daily typing on those narrow tips. It was a physics lesson I never forgot.
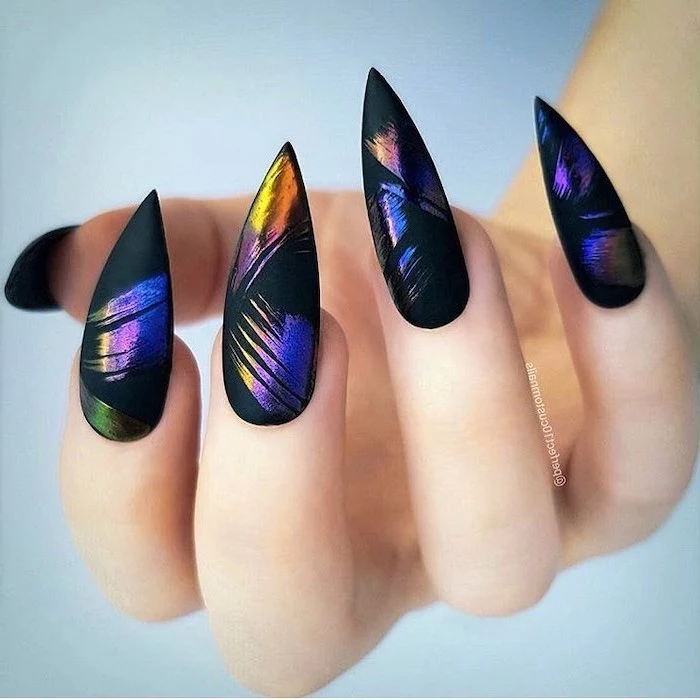
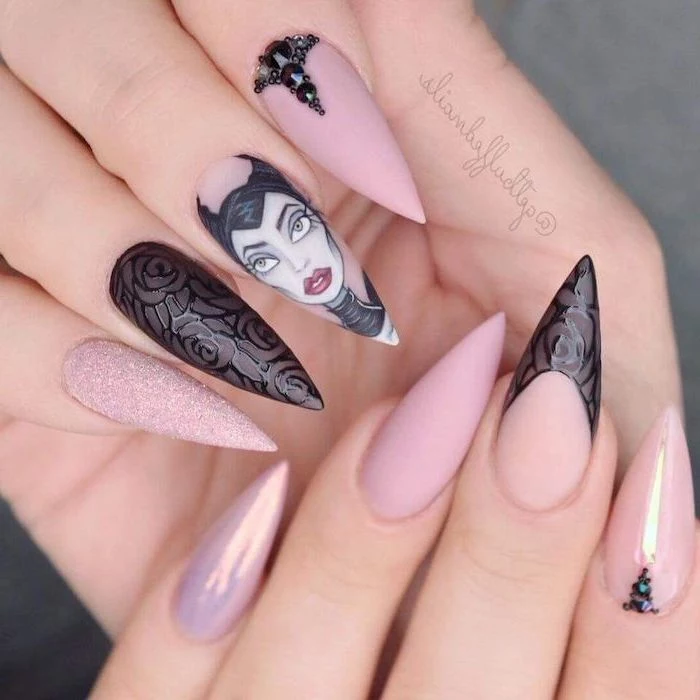
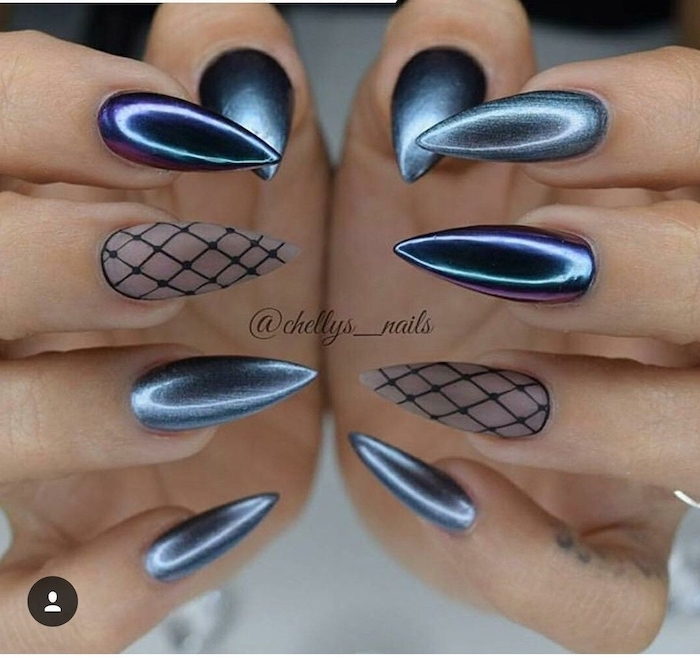
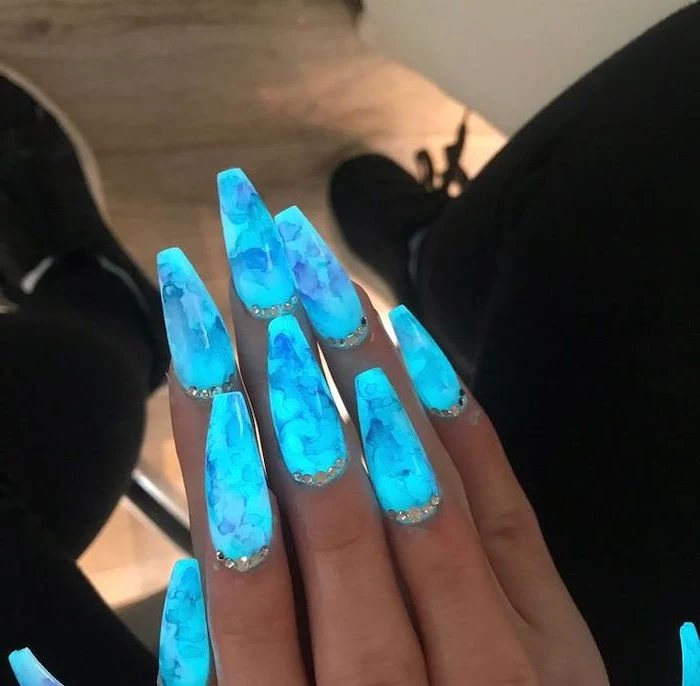
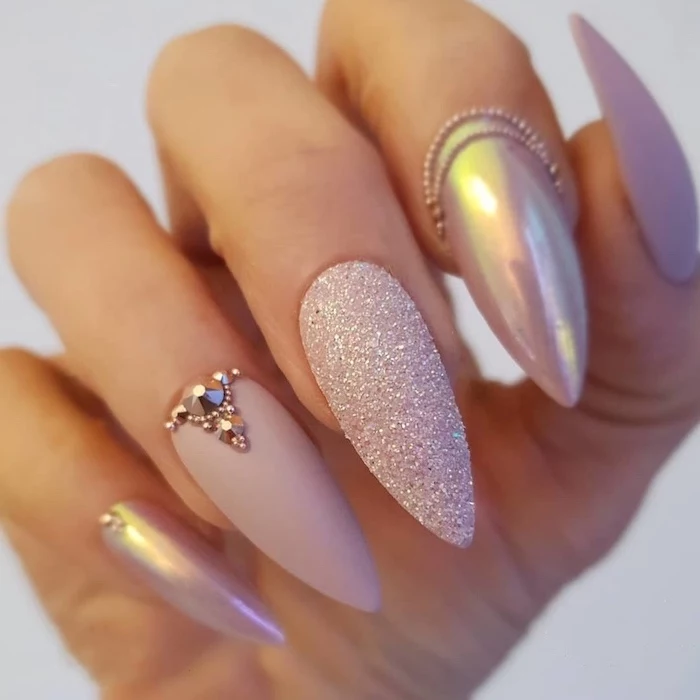
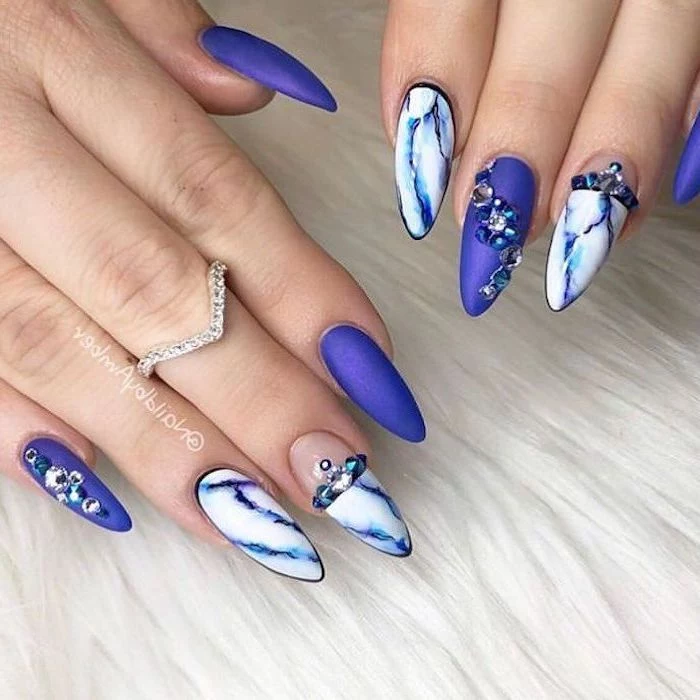
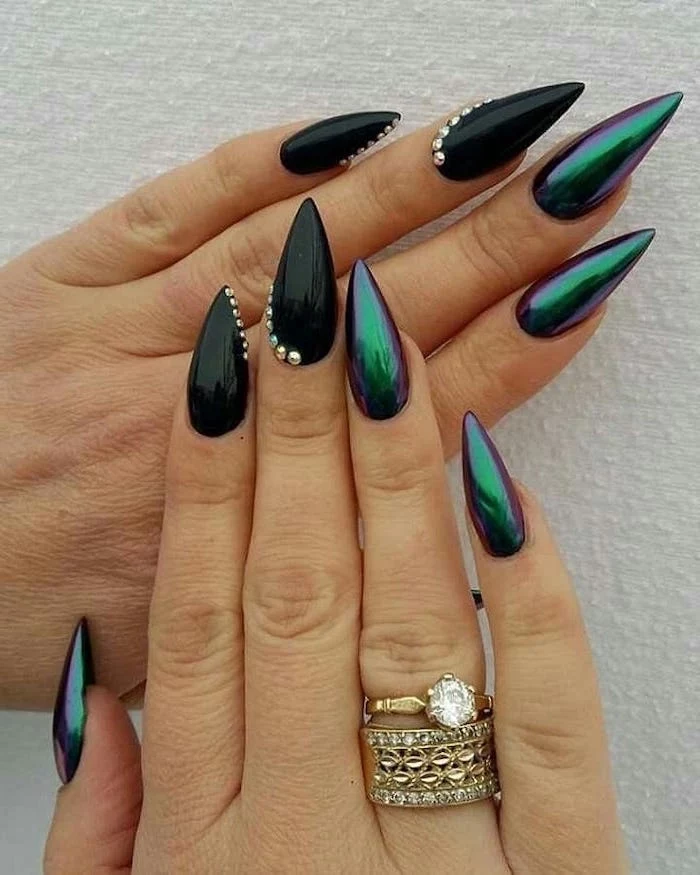
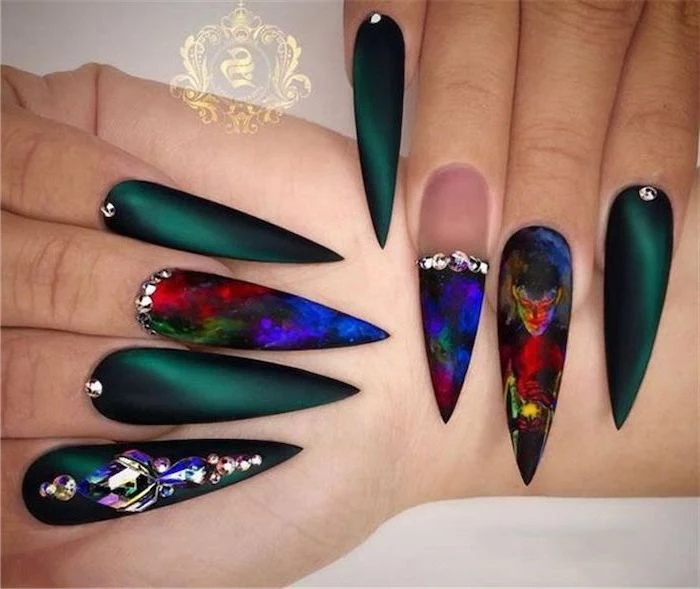
Stiletto: This shape is the ultimate drama queen of nails and the most structurally demanding. That long, sharp point has almost no support underneath. To make a stiletto last, the apex has to be high and perfectly defined, tapering flawlessly to the tip. These are almost always built with acrylic or hard gel because anything else just won’t cut it. Heads up! This is not the shape for gardening or intense typing. It’s a statement piece that requires care.
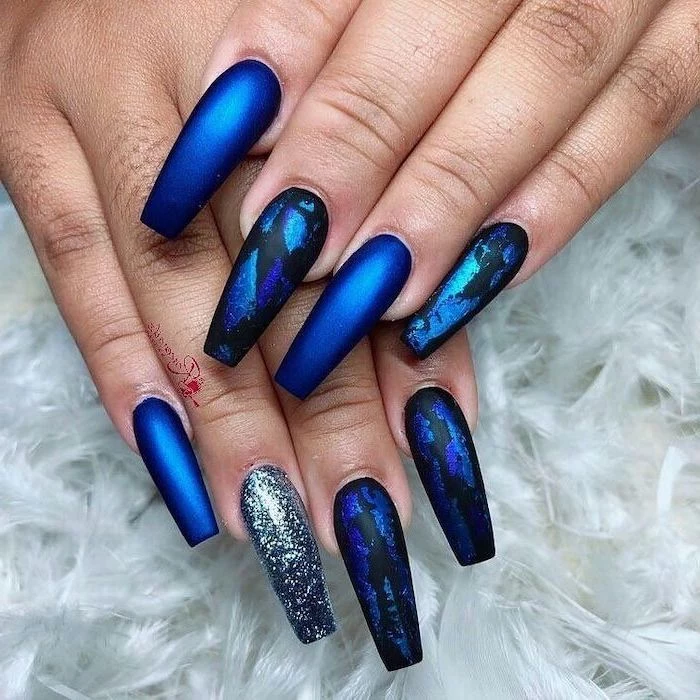
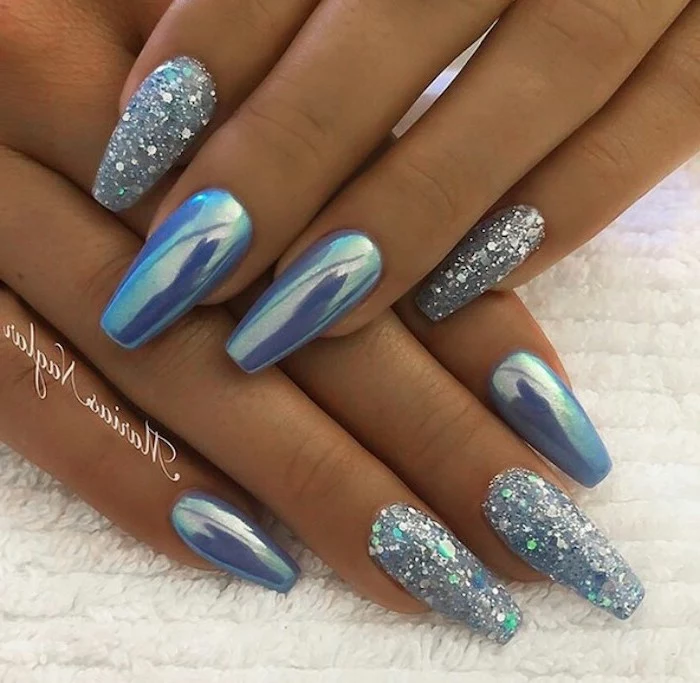
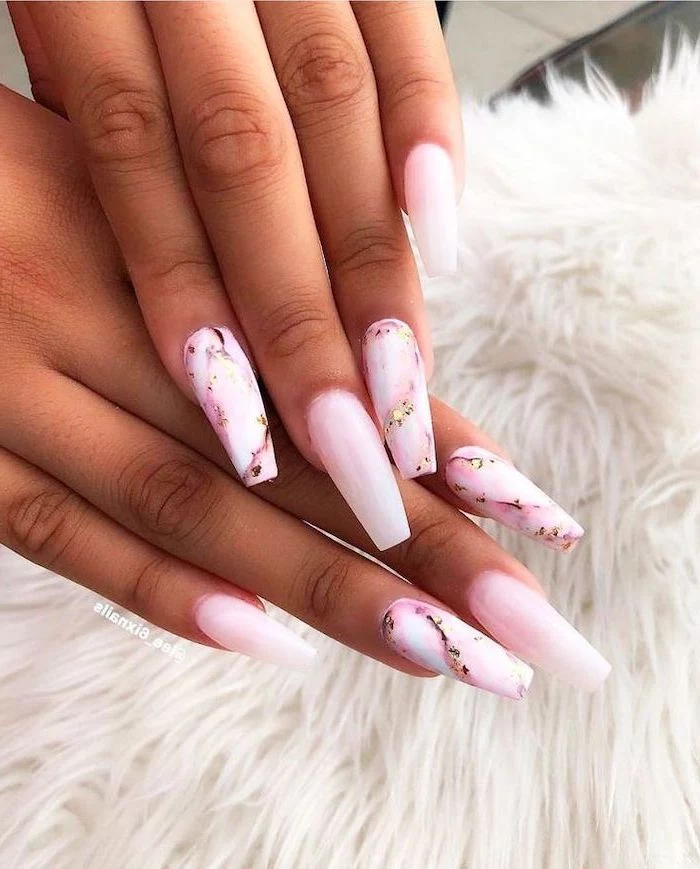
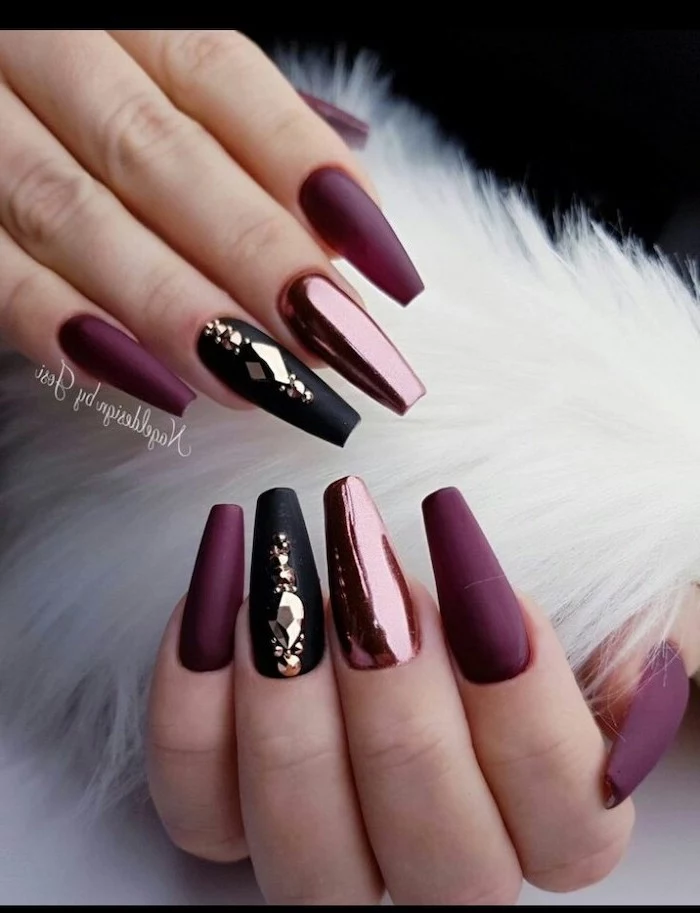
Coffin & Ballerina: This is basically a stiletto with the tip squared off. That flat tip, however, creates two new stress points at the top corners. A tech has to make sure those corners are properly reinforced. A strong apex is still a must, but with extra attention paid to making that tip strong and stable.
Choosing Your Armor: Acrylic vs. Gel Explained
Okay, let’s break down the common materials. They’re just different tools to get the job done, and knowing the difference can help you understand what you’re paying for.
-
Acrylic (Liquid & Powder): This is the industry workhorse. It’s a two-part system that hardens into a strong, rigid plastic. It’s fantastic for creating tough, durable nails, especially for dramatic shapes like stilettos or for people who are really hard on their hands. The downside? It can feel a bit heavy, and the monomer has a distinct, sharp odor (it shouldn’t be pleasant!). A full set of quality sculpted acrylics can take 2-3 hours and might cost anywhere from $75 to $150+, depending on your location and the tech’s skill level. Fills to maintain them every 2-3 weeks usually run $50 to $80.
Quick tip: A major red flag is an unusually strong, sickly sweet smell, almost like cheap plastic strawberries. This could signal the use of MMA (methyl methacrylate), an industrial acrylic that’s not safe for nails. It’s dangerously hard, doesn’t soak off, and has to be pried or aggressively filed off, causing massive damage. If a salon smells like that, walk away.
-
Hard Gel: Think of hard gel as acrylic’s more flexible cousin. It comes in a thick, honey-like consistency, is applied in layers, and cured under a UV/LED lamp. It’s odorless and its flexibility can make it feel lighter and more natural. It’s great for adding strength to natural nails or for those who find acrylic too rigid. Good to know: Hard gel is a “file-off” product, meaning it doesn’t dissolve in acetone. Maintenance involves filing down the old product and refilling the growth.
-
Full Coverage Soft Gel Tips (Like Gel-X): This is a newer, game-changing system. It uses a pre-shaped tip made entirely of soft gel, which is then adhered to your nail with a strong gel. The biggest pros are speed and a perfectly shaped nail every single time. It’s a fantastic option for getting flawless coffin or stiletto shapes without the lengthy sculpting time. The whole system is soak-off, making removal gentler than hard gel. The key is proper application—any trapped air bubbles can lead to moisture getting trapped, which is a big no-no.
And what about a simple gel polish manicure versus a structured one? A regular gel polish is just color applied over your natural nail. A structured gel manicure, however, involves using a thicker viscosity builder gel to create a mini-apex on your natural nail, adding strength and helping it grow out without breaking. It’s a great middle-ground for those who don’t want a full-on enhancement.
How to Talk to Your Tech (And Sound Like a Pro)
Feeling empowered? Good. Next time you’re in the chair, you can skip the vague requests and get specific. Try asking a few of these questions:
- “I’m pretty rough with my hands. Can we make sure the apex on these is strong enough for my lifestyle?”
- “I’m interested in adding some strength. Do you think a structured gel manicure or a thin hard gel overlay would be better for my nails than acrylic?”
- “I’d love to try an almond shape. What do we need to do to make sure the structure is durable?”

Finding Your Perfect Match: Nails for Your Real Life
The best nail enhancement for you is one that seamlessly fits into your daily routine. Here’s a quick cheat sheet:
-
For the Office Worker or Student: You’re typing all day. Short-to-medium length squoval, round, or oval nails are your best bet. They’re practical and always look sharp. A structured gel manicure is your best friend here.
-
For the Parent or Healthcare Pro: Short, clean, rounded nails are a must for hygiene and safety. A simple gel polish on well-kept natural nails is often the perfect, low-maintenance choice.
-
For the Retail or Service Industry Pro: Your hands are always on display but also working hard. A medium-length almond or coffin can work beautifully, as long as it’s built with a solid structure. I often recommend hard gel for its forgiving flexibility.
-
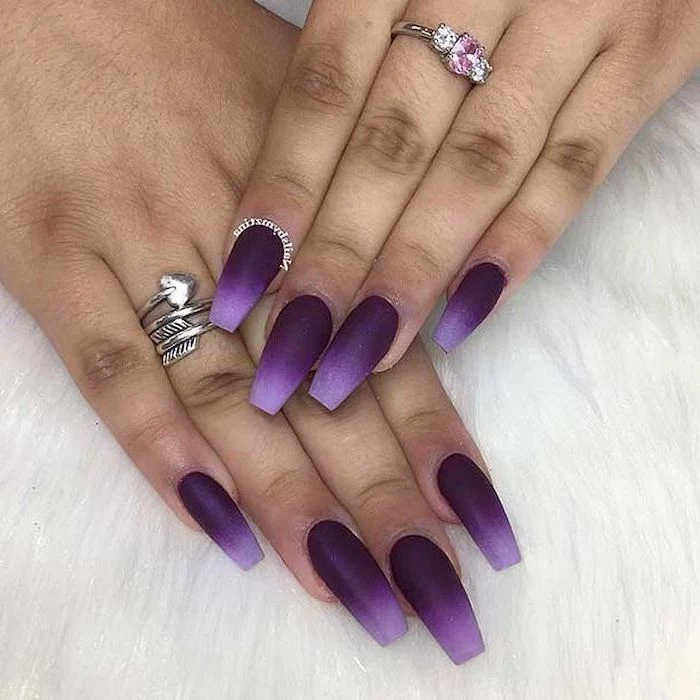
For a Special Occasion: Go for it! Get those long stilettos or blinged-out designs. Just be realistic—think of them as temporary accessories. Plan to have them professionally removed or reshaped into something more manageable afterward.
A Final Thought…
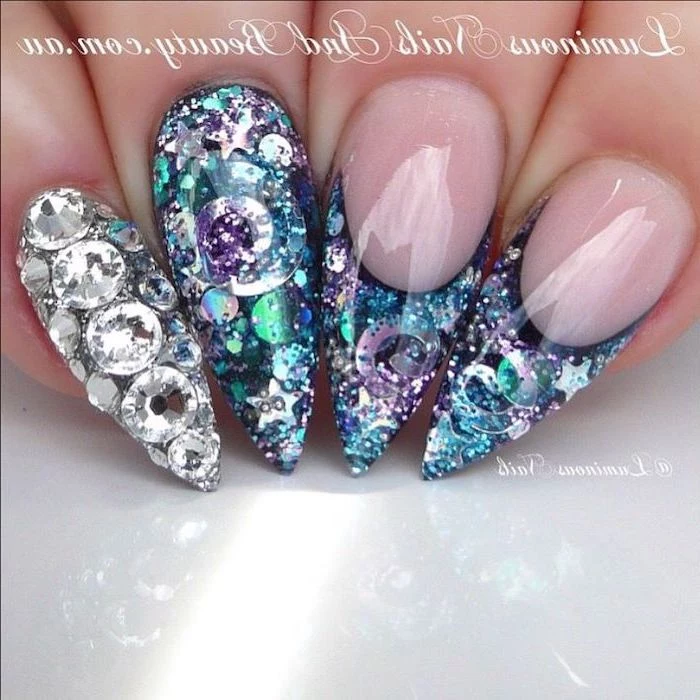
Nail art is the fun part—the icing on a very well-built cake. Whether it’s a tiny painting or sparkly chrome, it’s all about expressing your style. Just remember that it all sits on top of the foundation we’ve been talking about.
Oh yeah, and one last thing: use cuticle oil! Every single day. I’m serious. It’s not just for looks. A good quality oil (something with jojoba oil is fantastic) keeps the natural nail underneath your enhancement flexible and hydrated, making it less likely to get brittle and snap. You can find it at any beauty supply store like Sally Beauty or even on Amazon for around $8-$15 a bottle.
Ultimately, my best advice is to find a licensed tech who is obsessed with your nail health. A true professional will consult with you, ask about your life, and be honest about what will and won’t work. If a tech ever dismisses your concerns or makes you feel uncomfortable, trust your gut. A great set of nails should make you feel powerful, not cause you pain or problems.

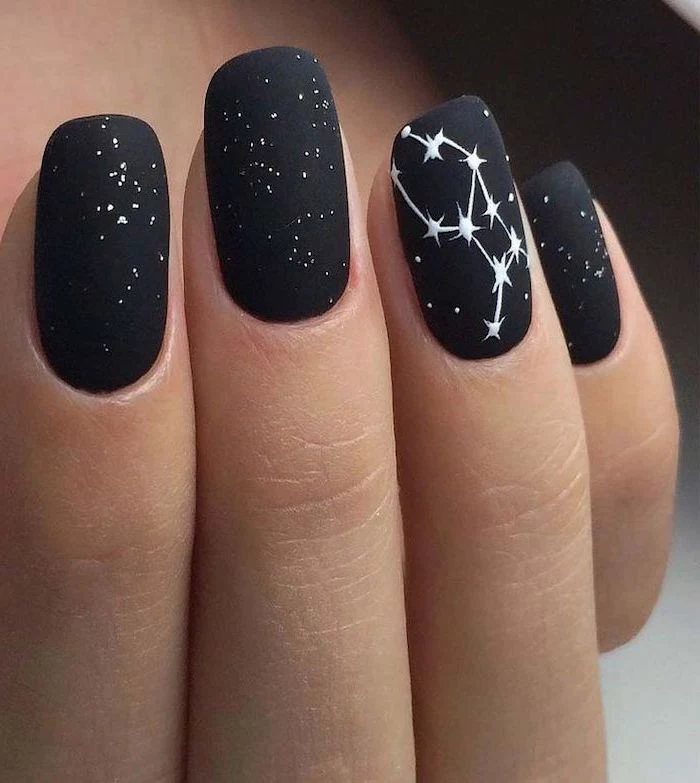
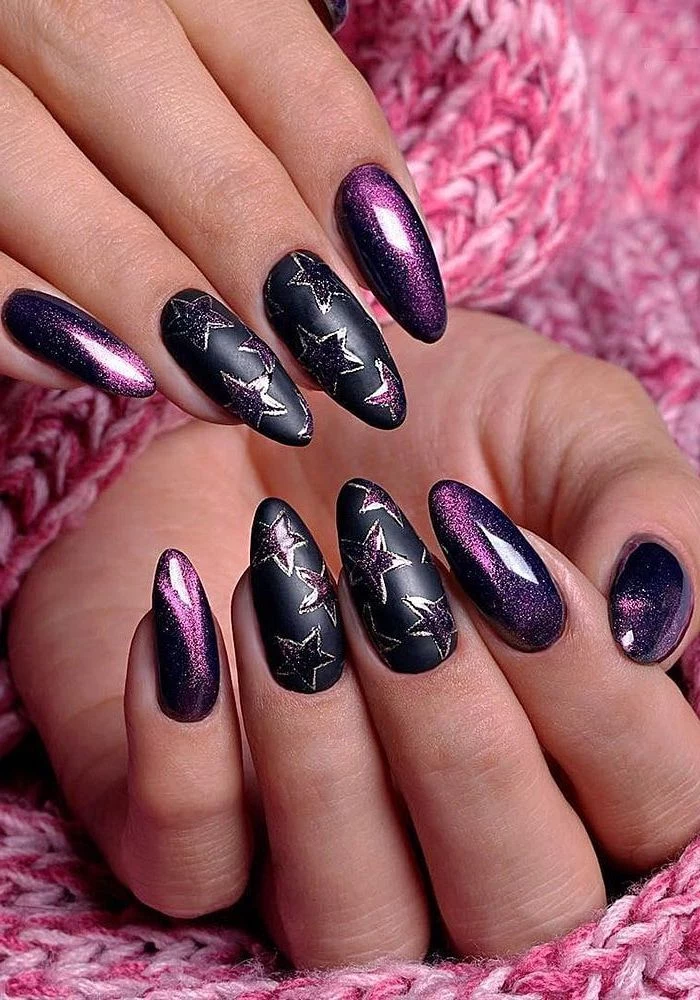
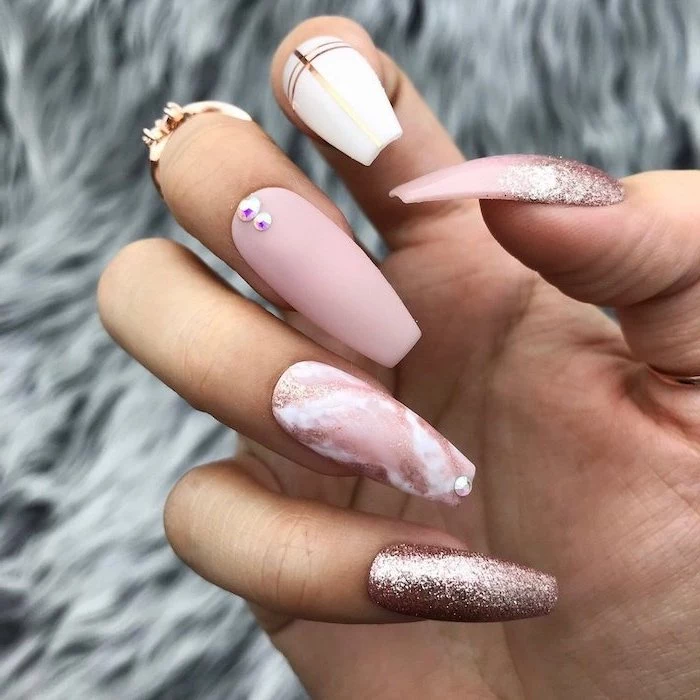
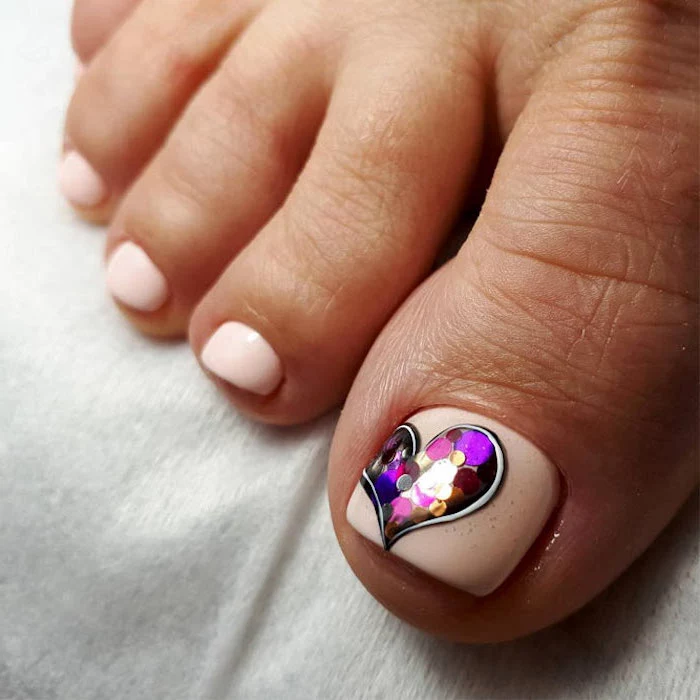
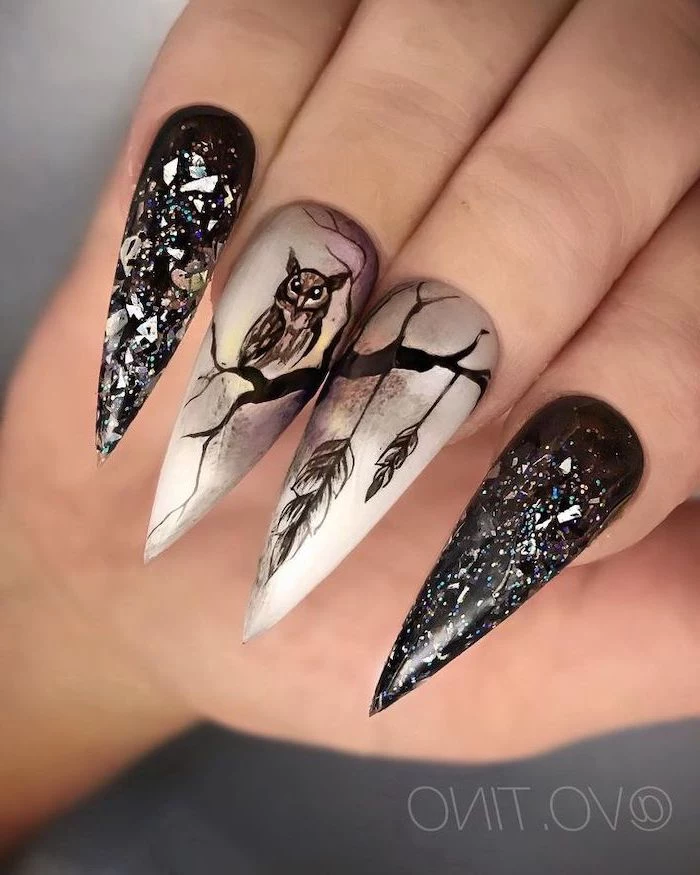
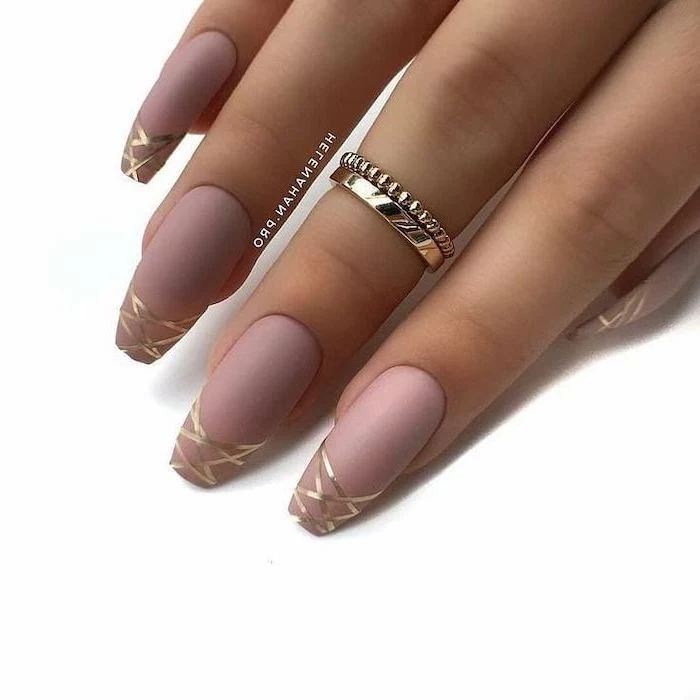
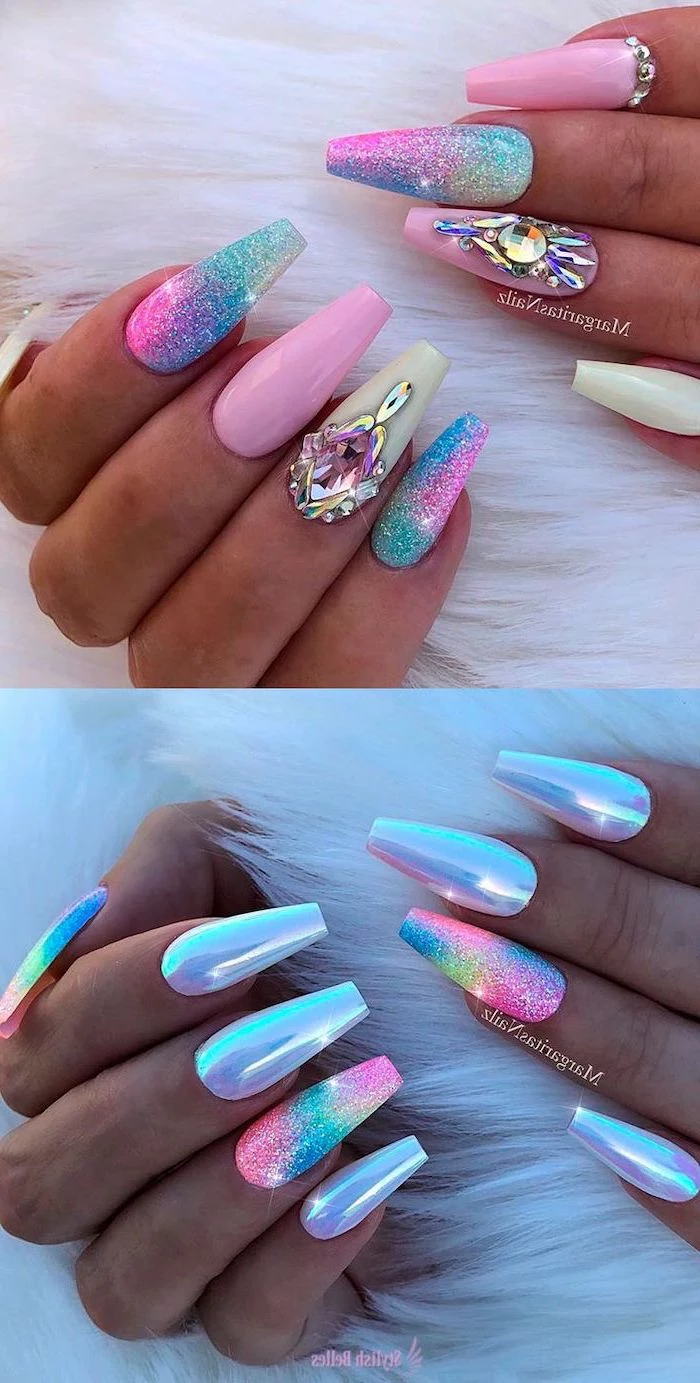
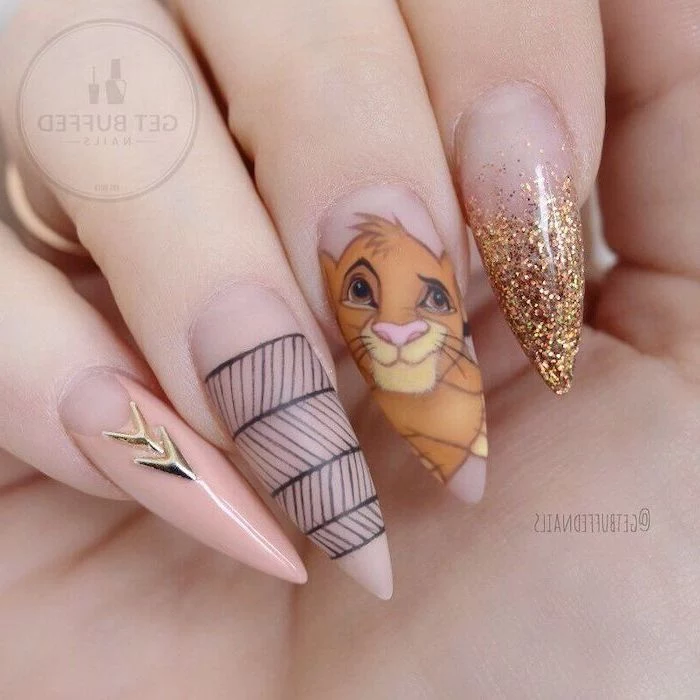
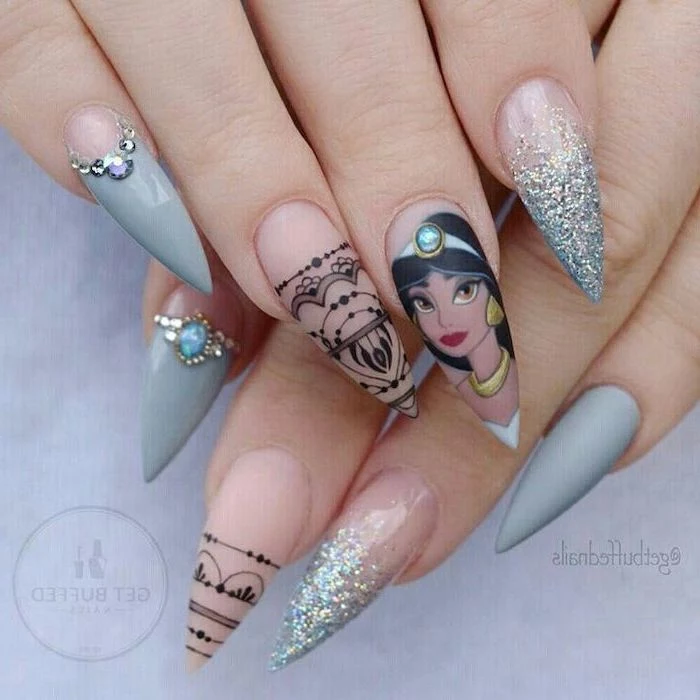
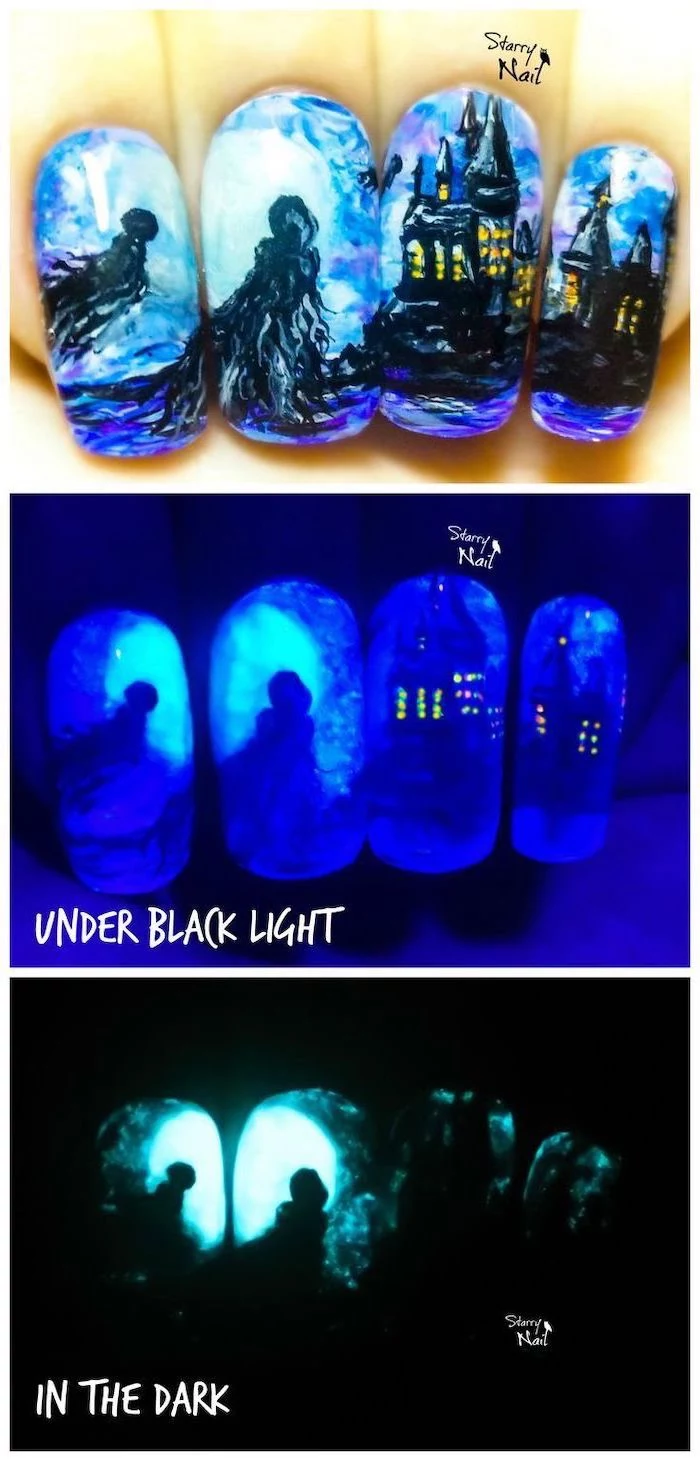
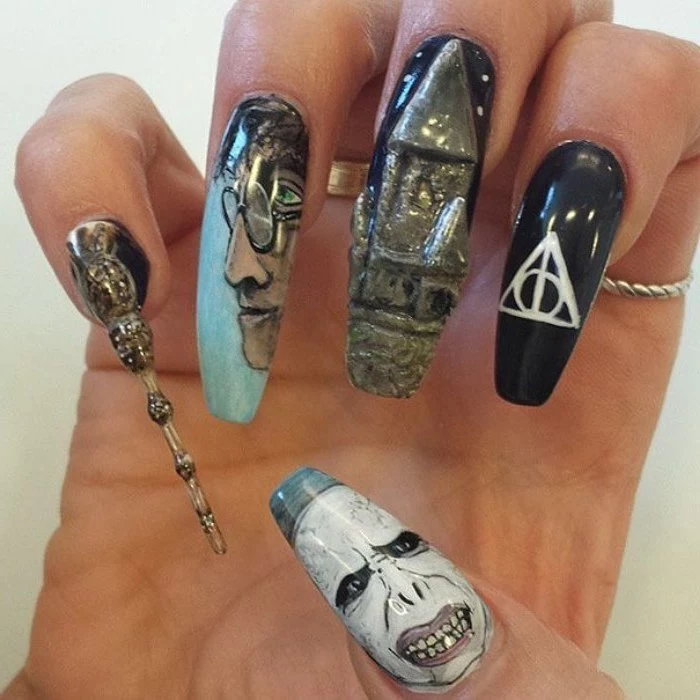
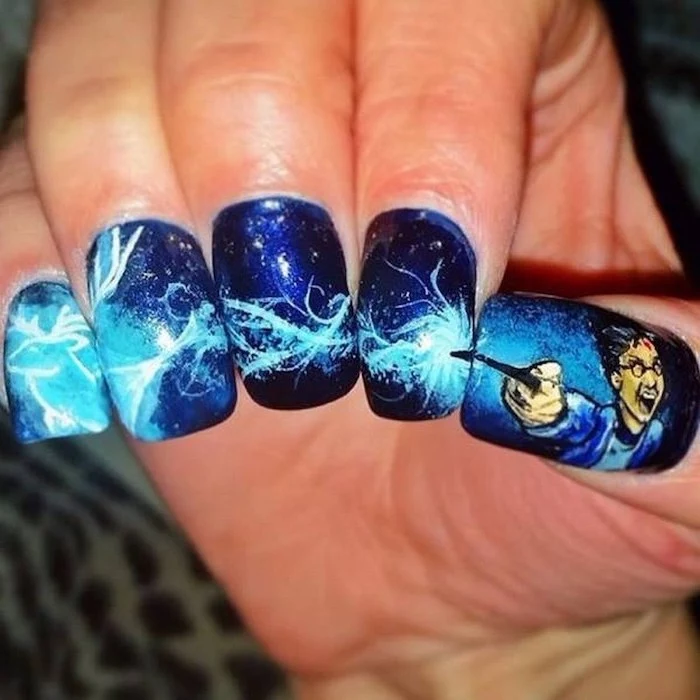
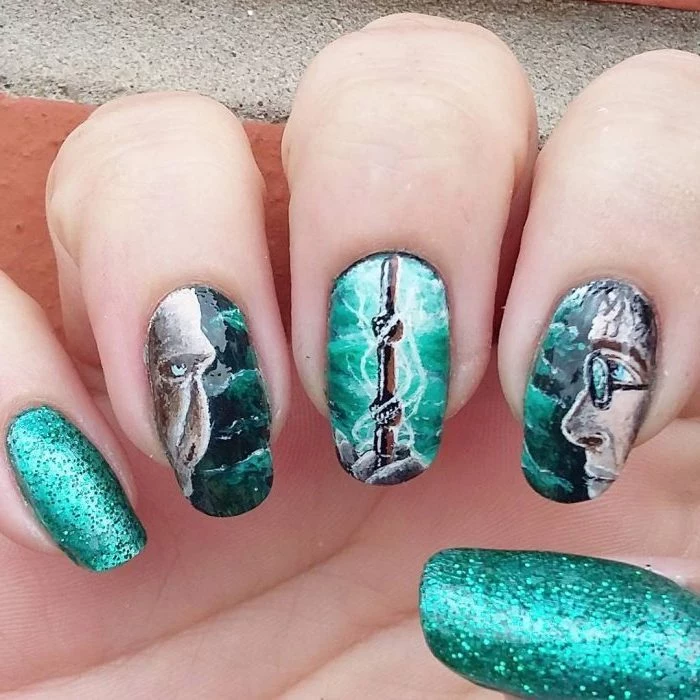
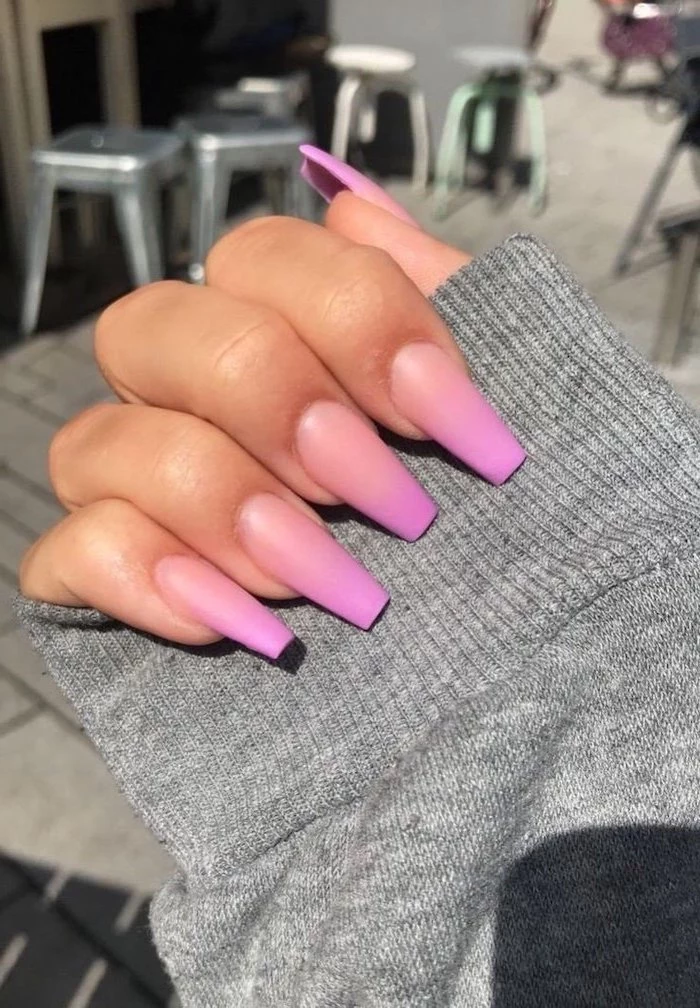
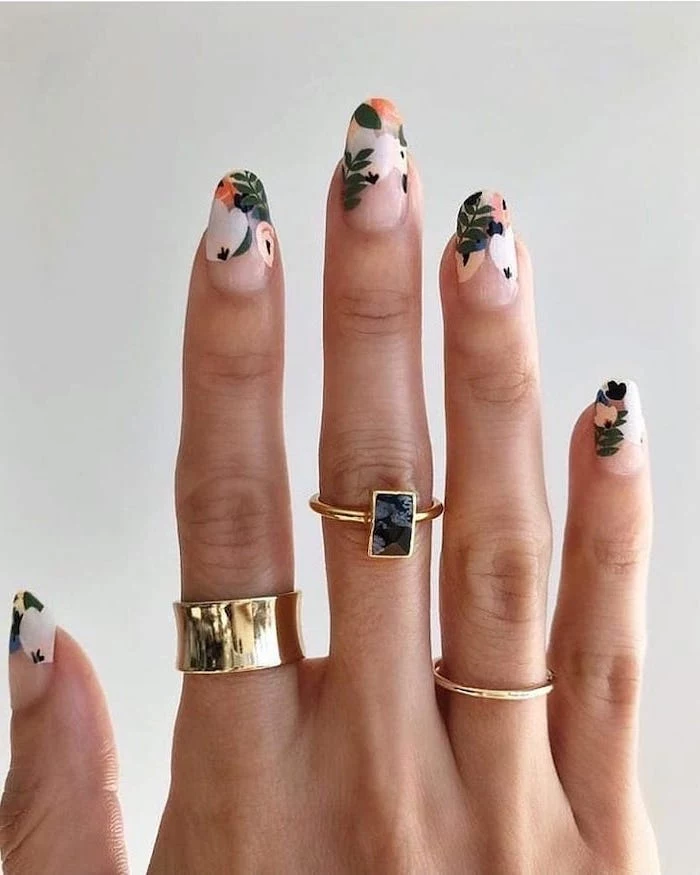
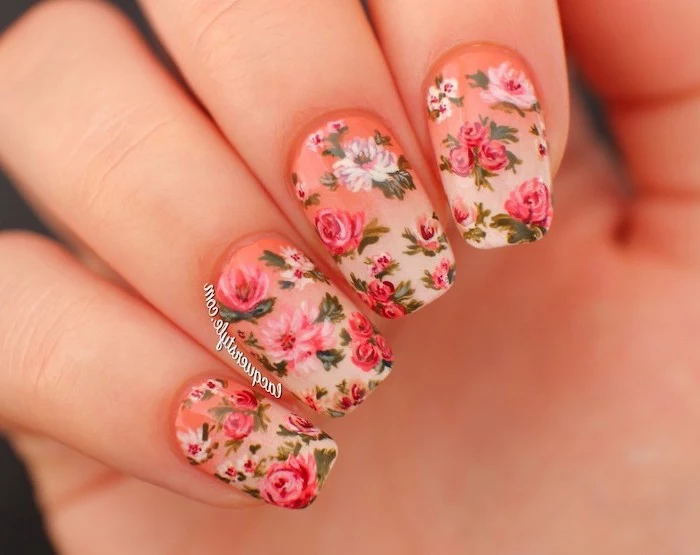
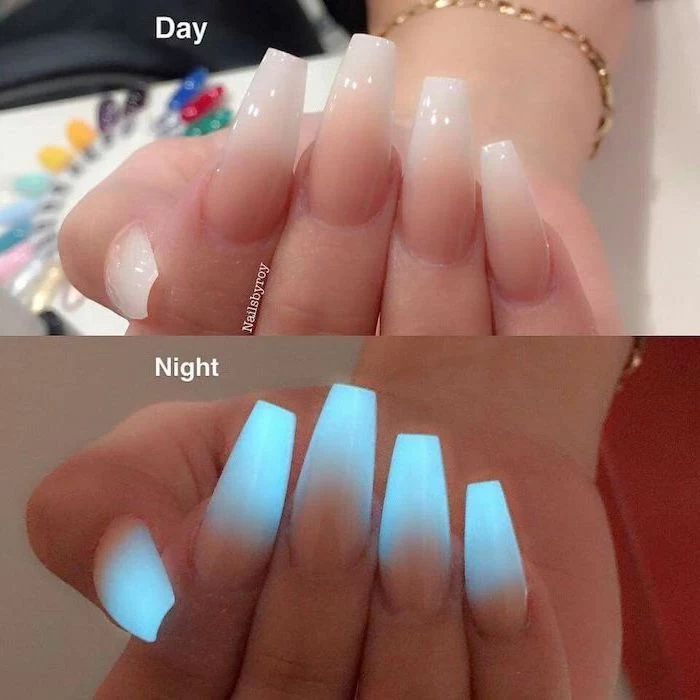
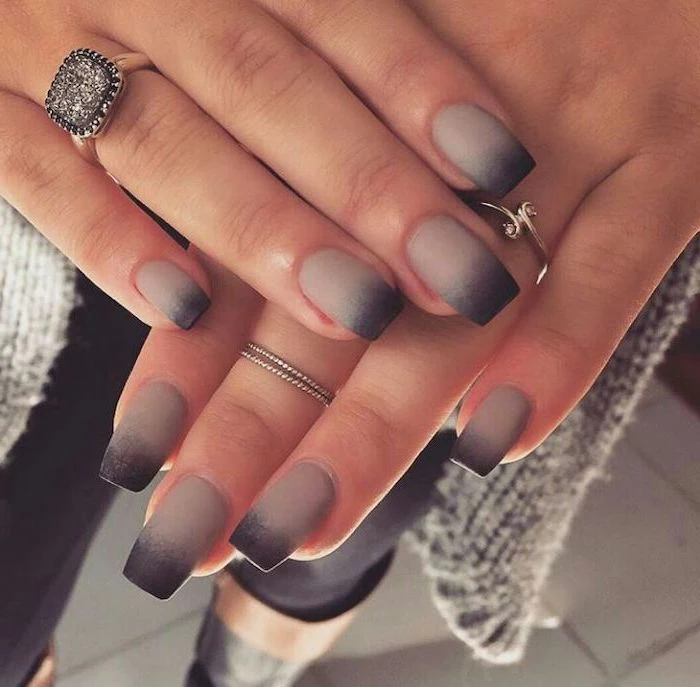
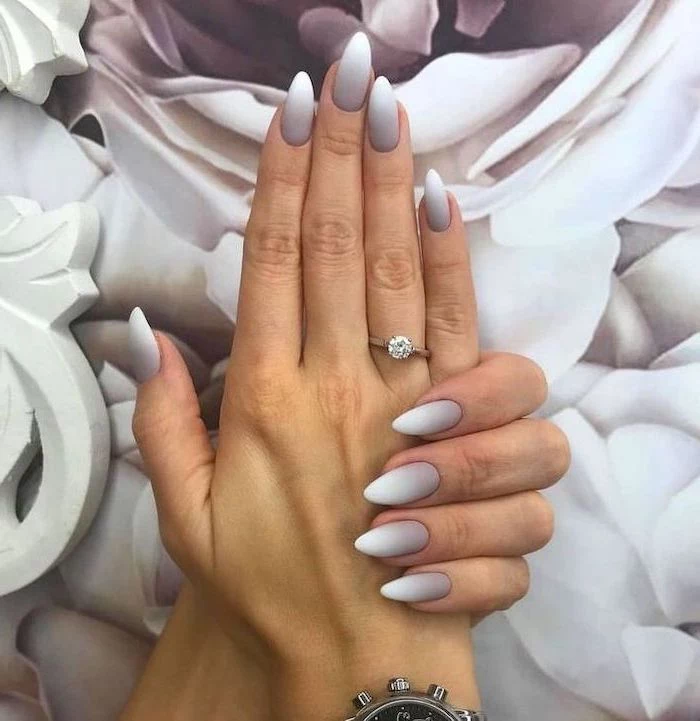
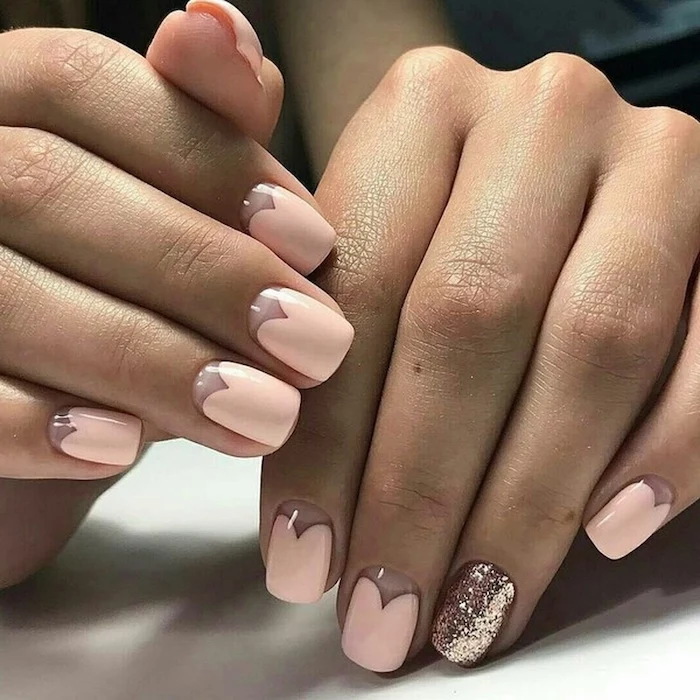
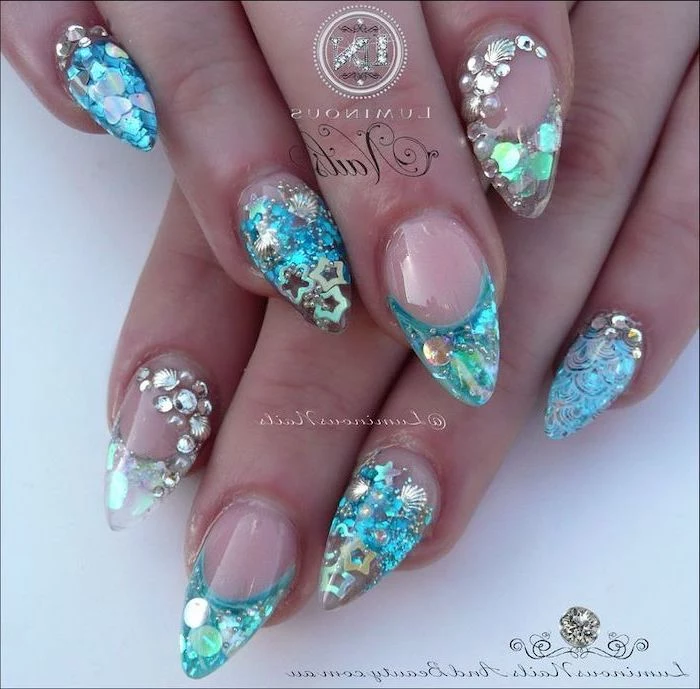
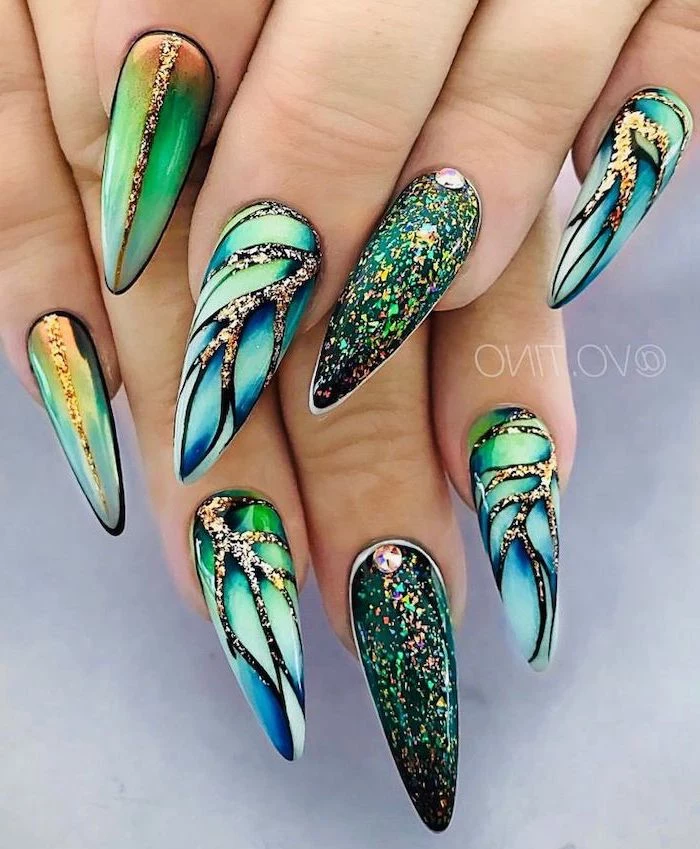
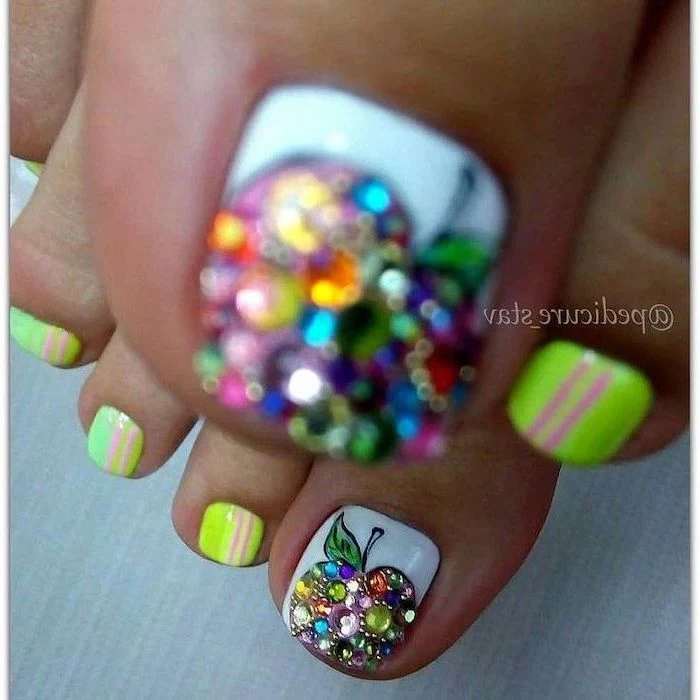
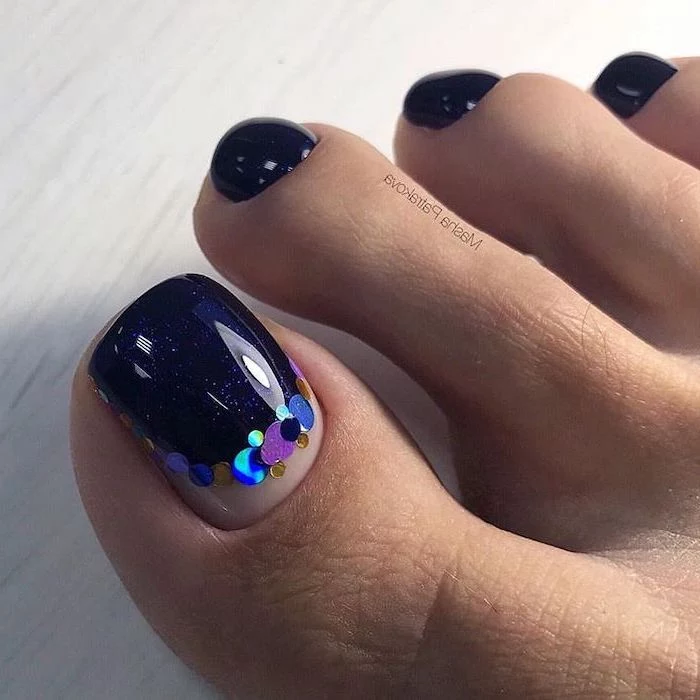
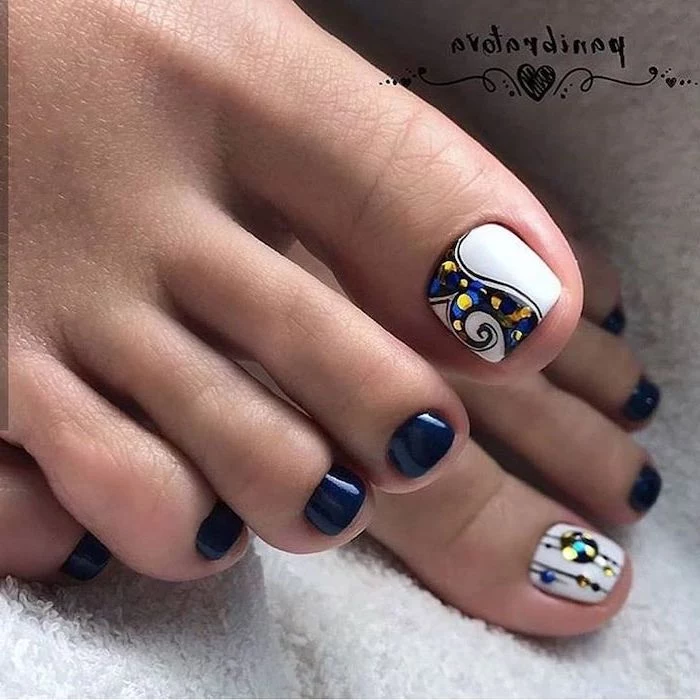
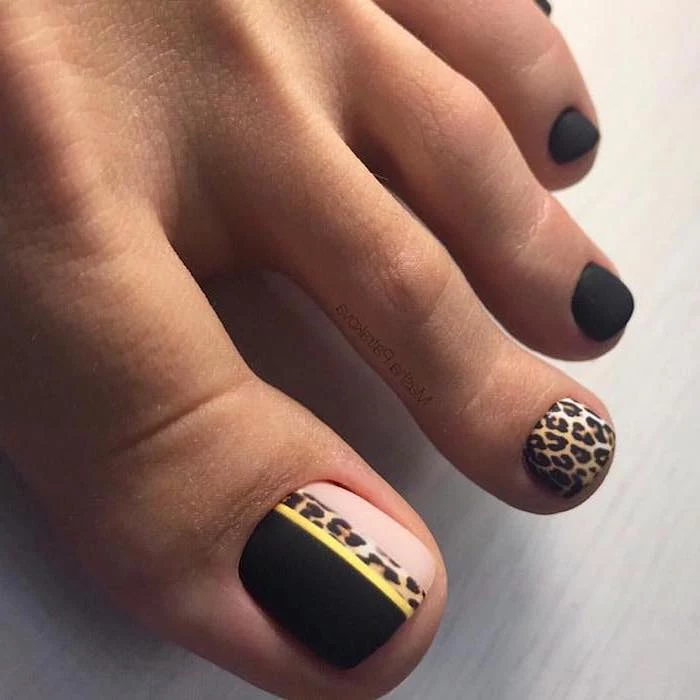
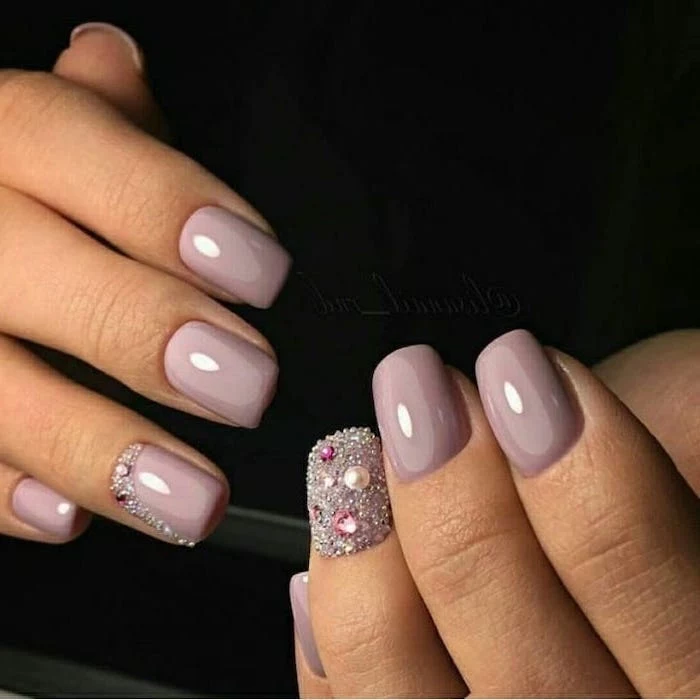
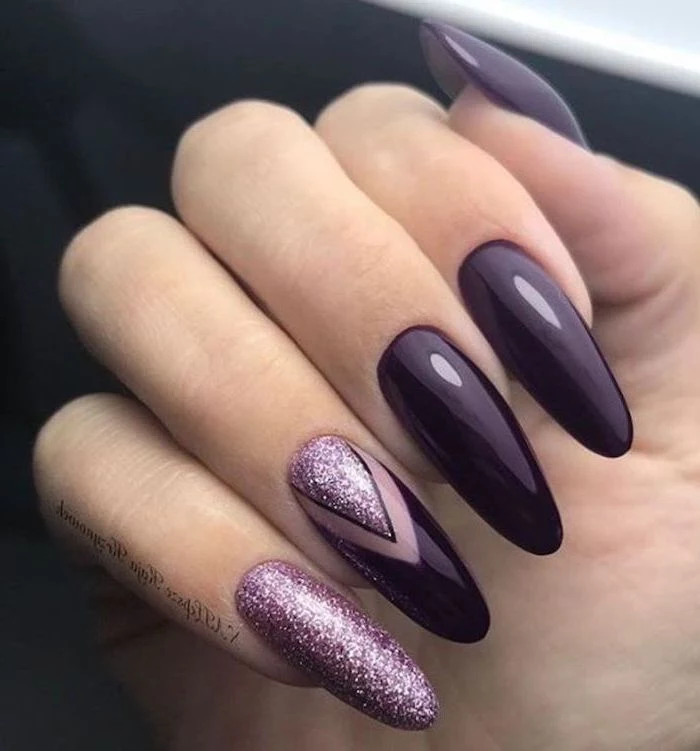
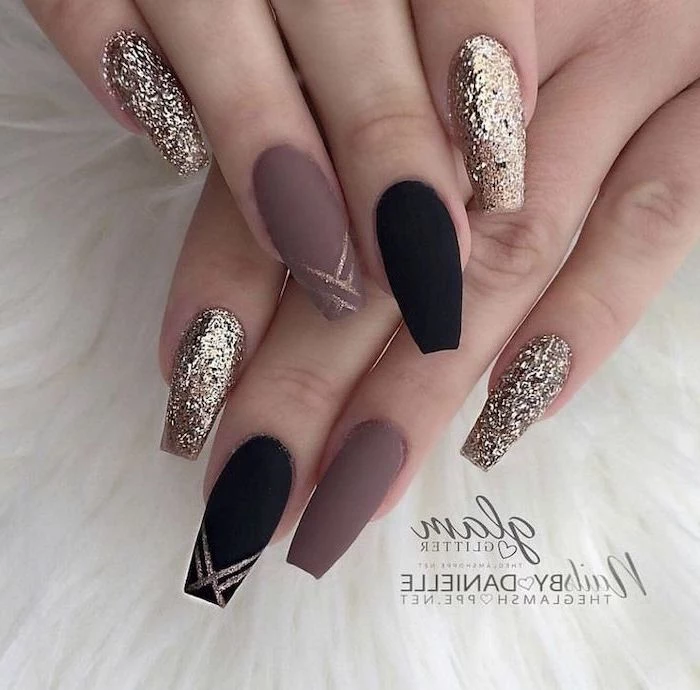
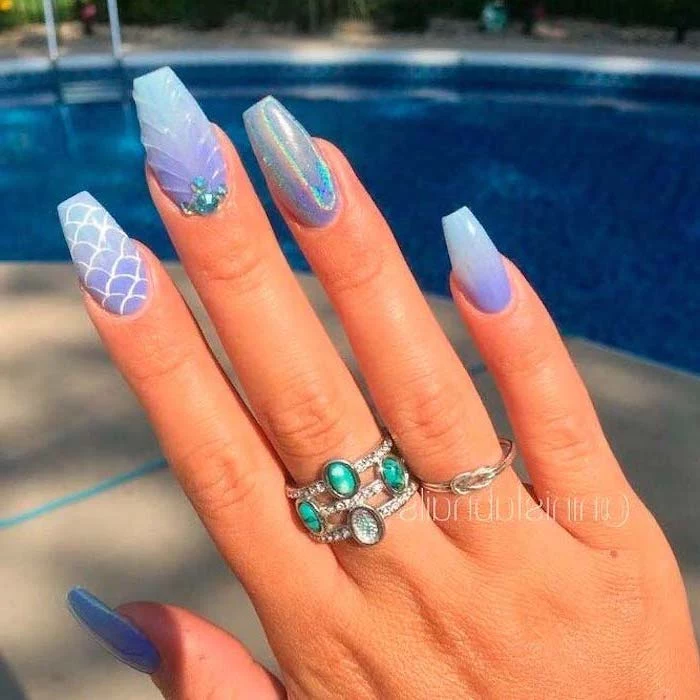
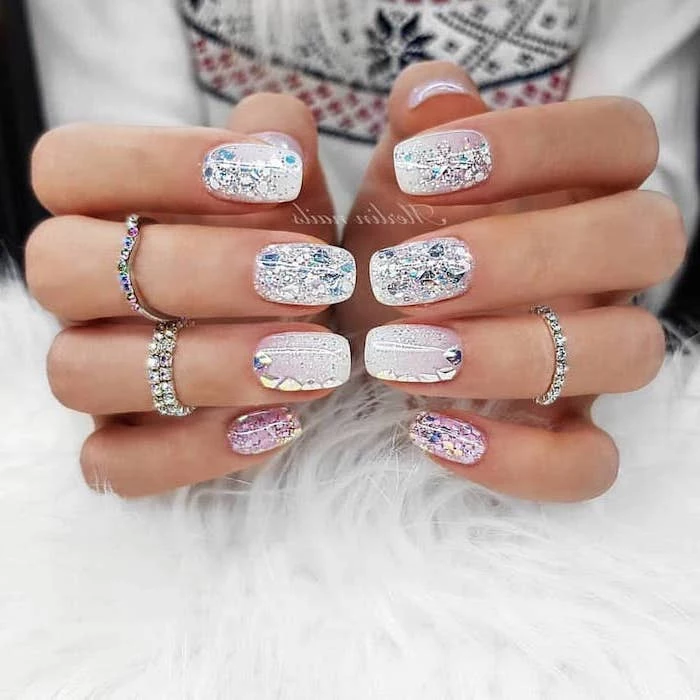
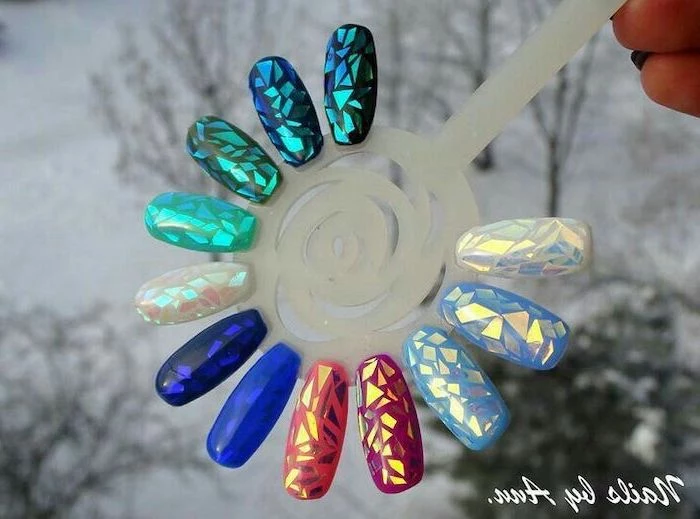
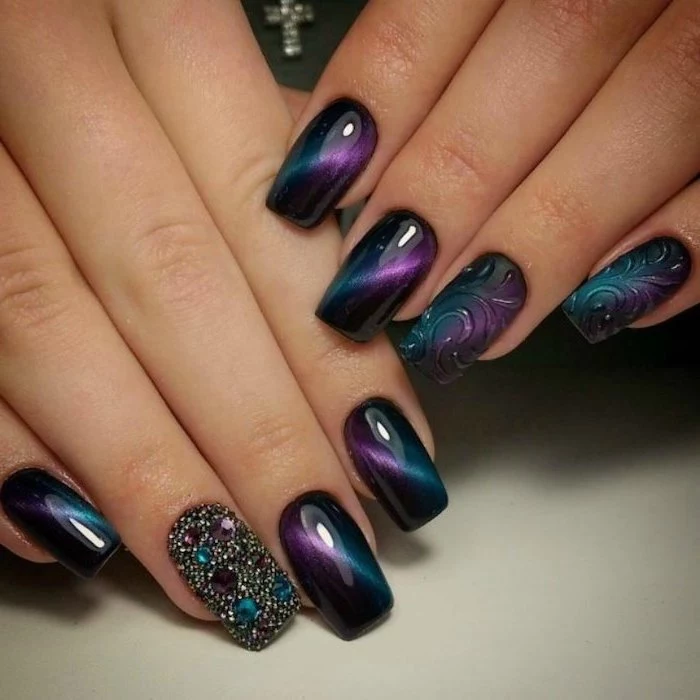
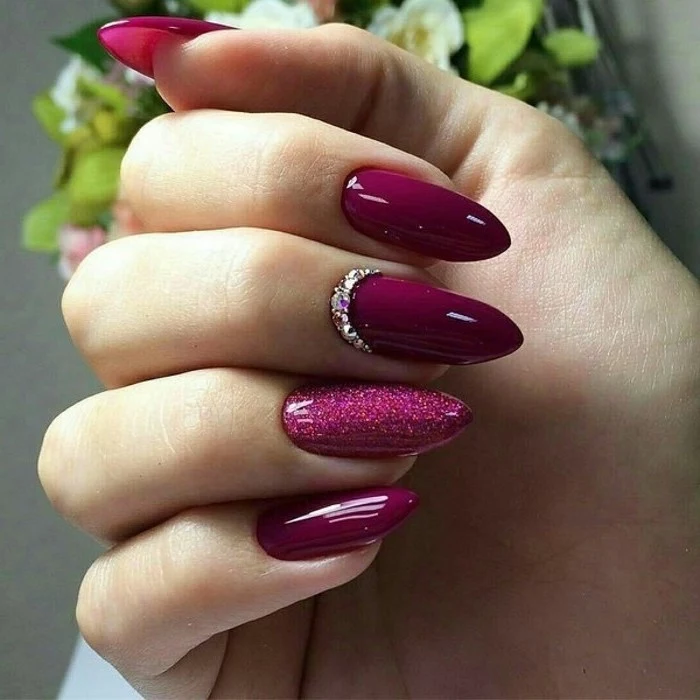
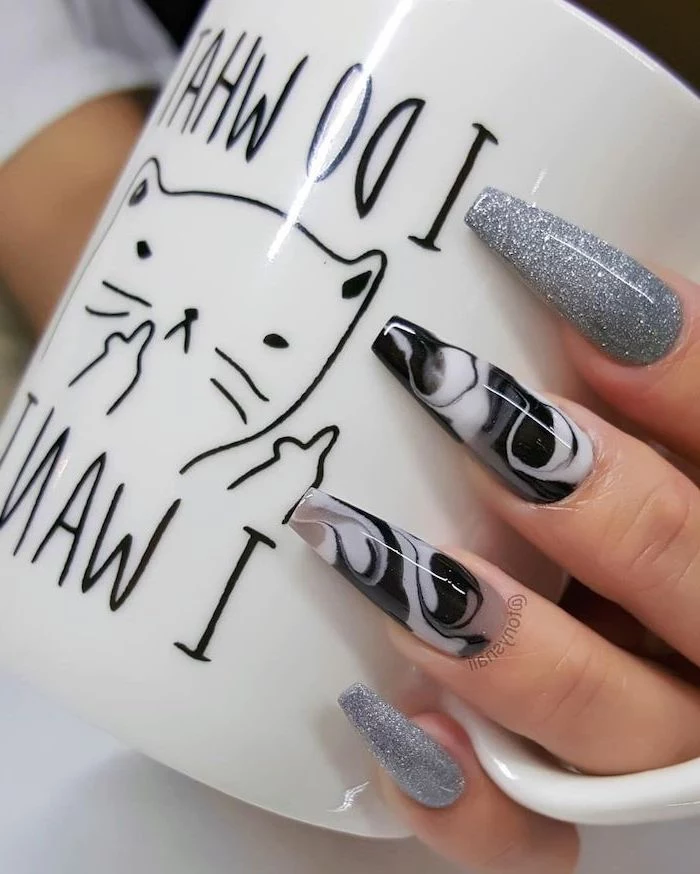
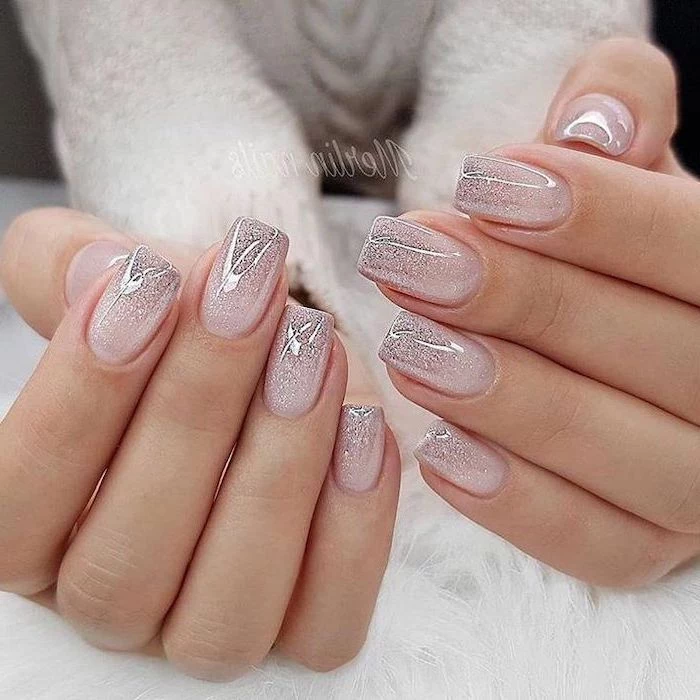
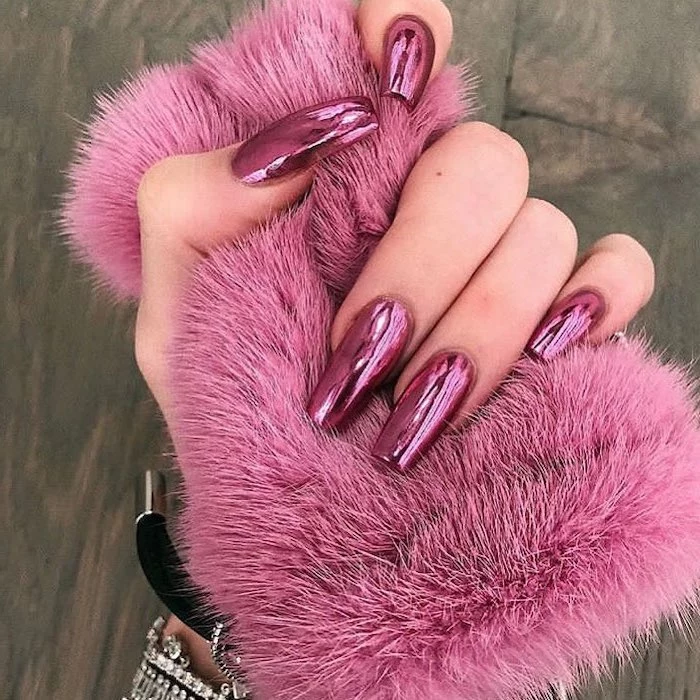
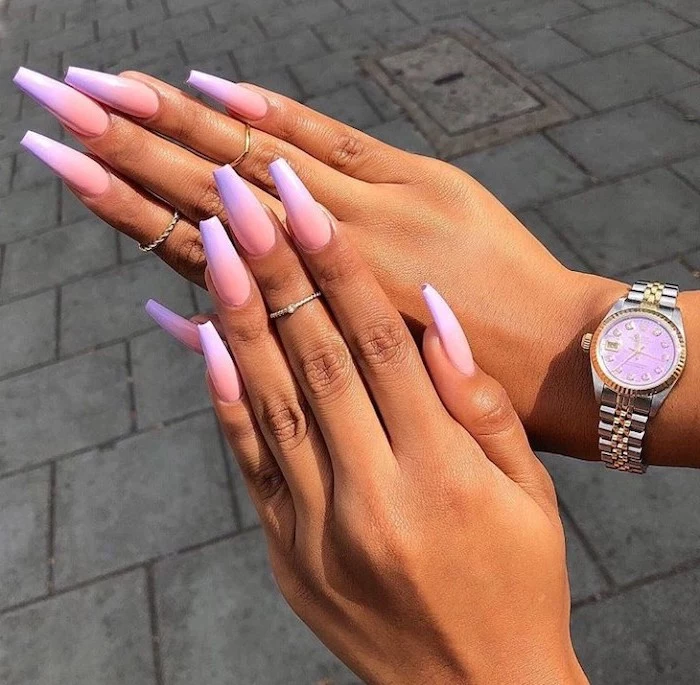
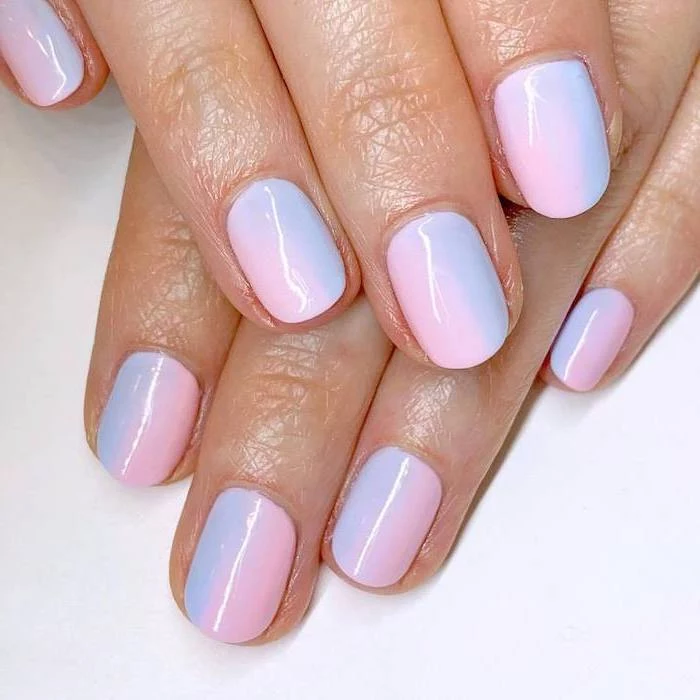
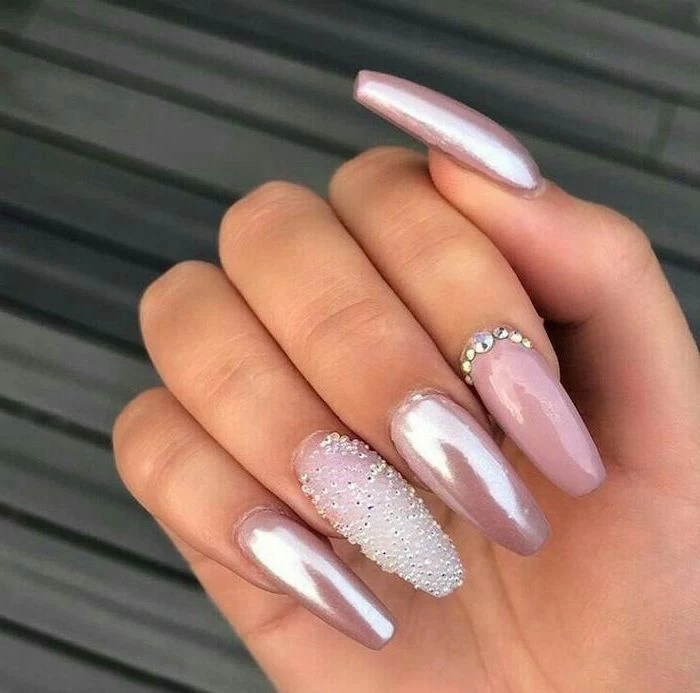
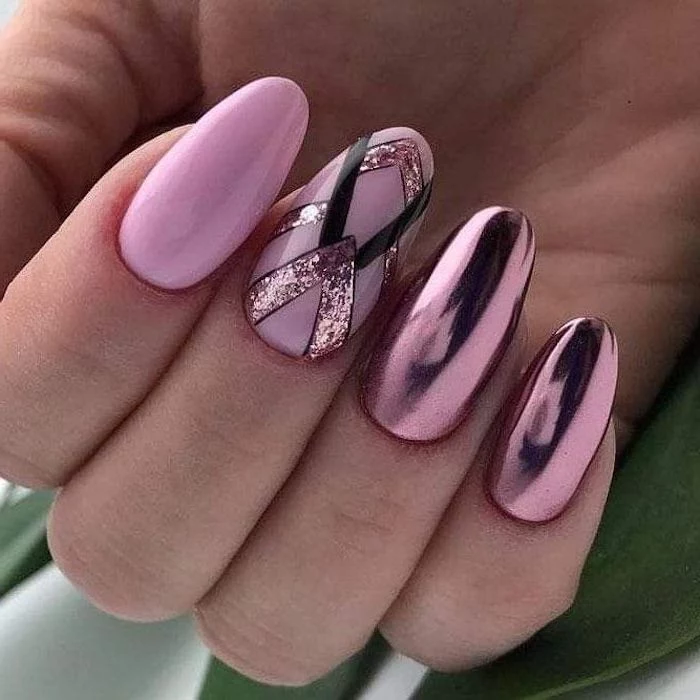
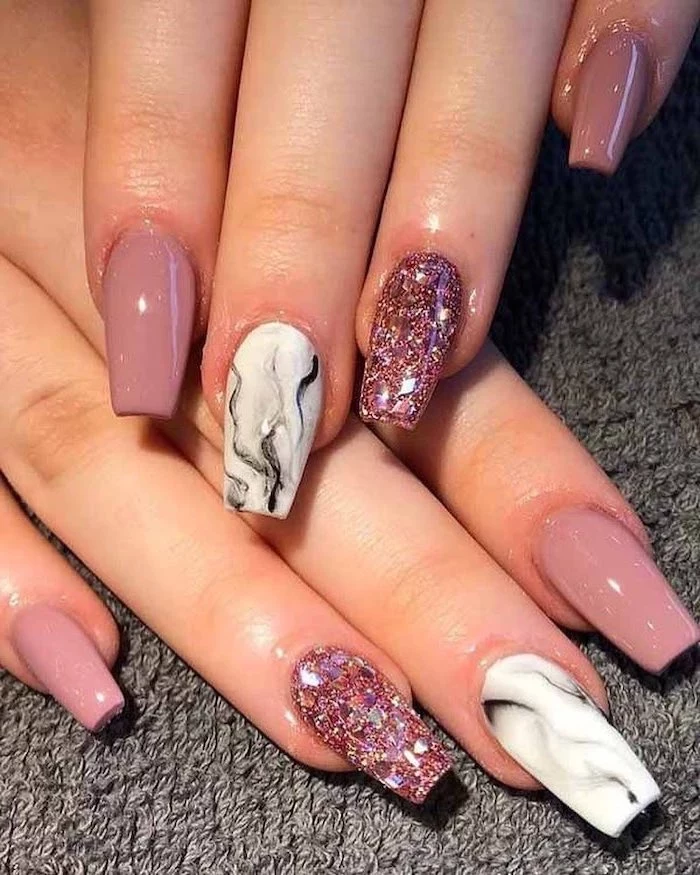
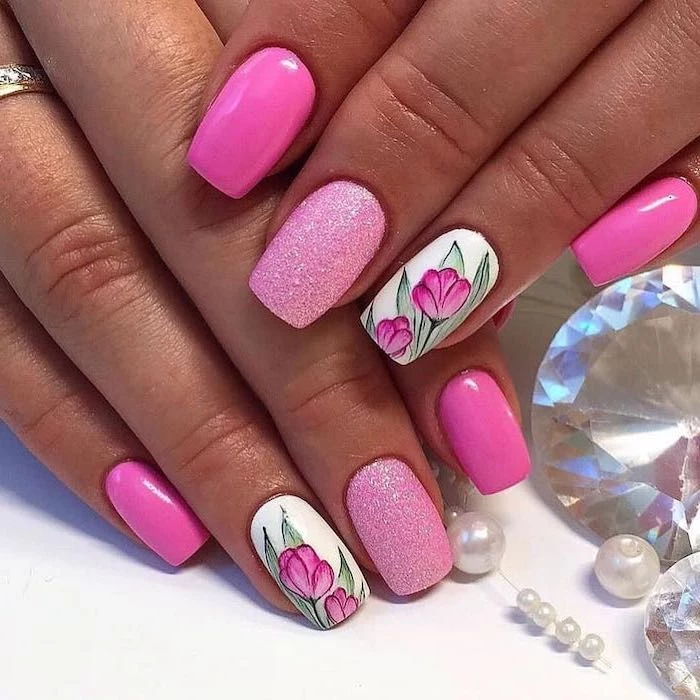
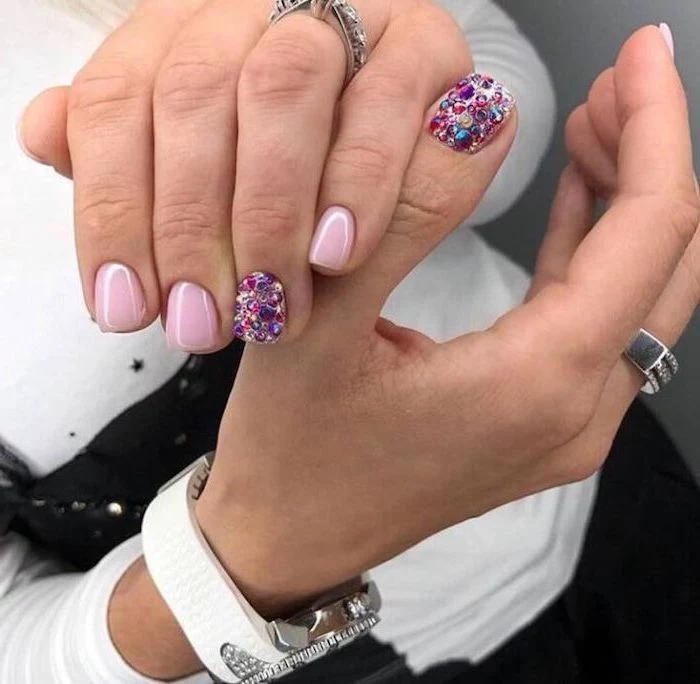
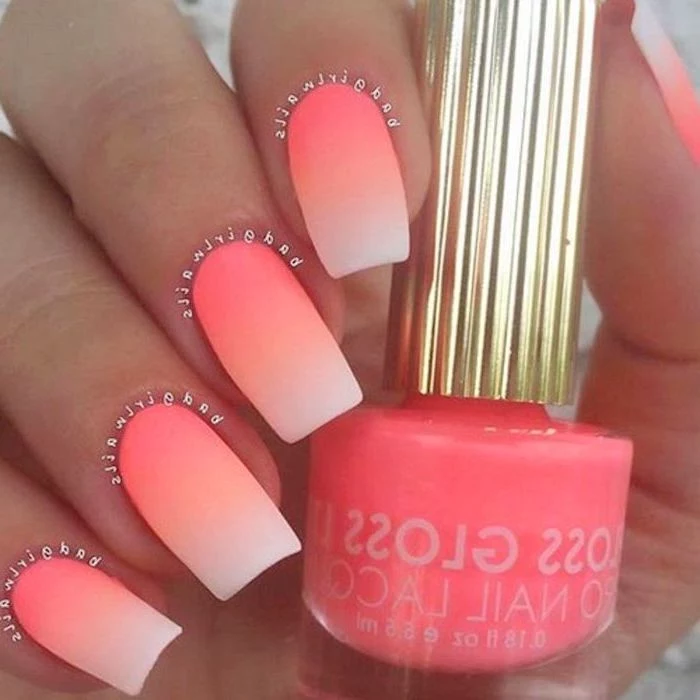
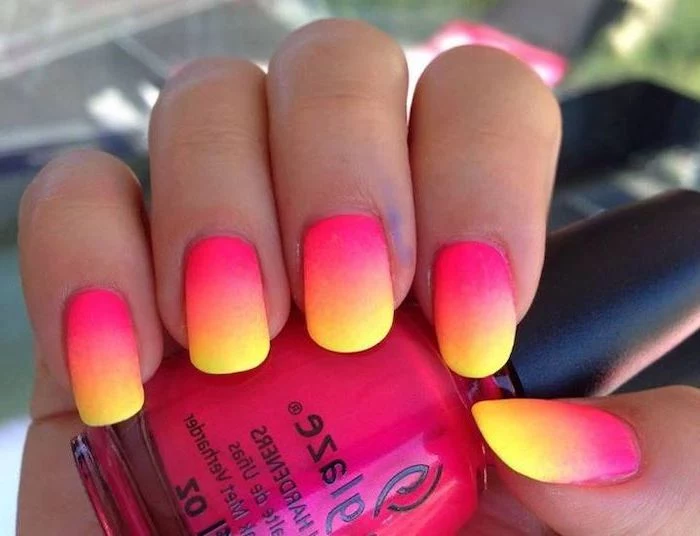
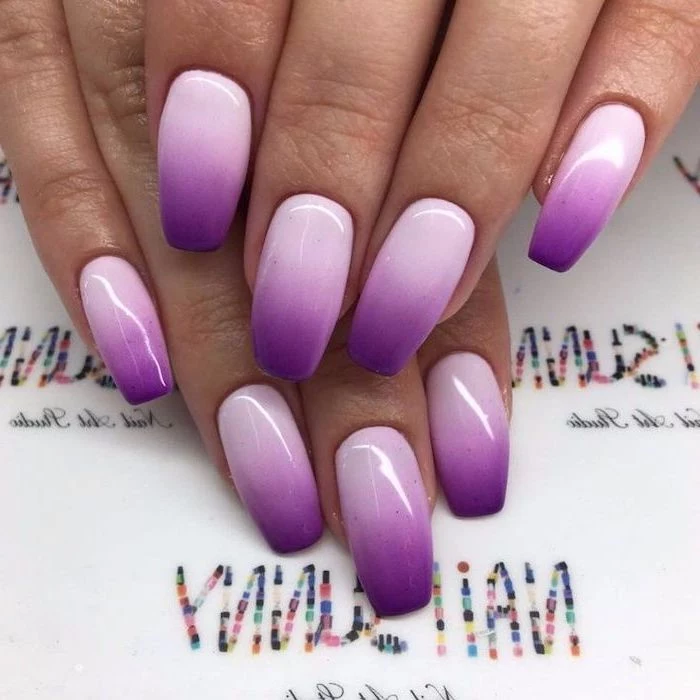
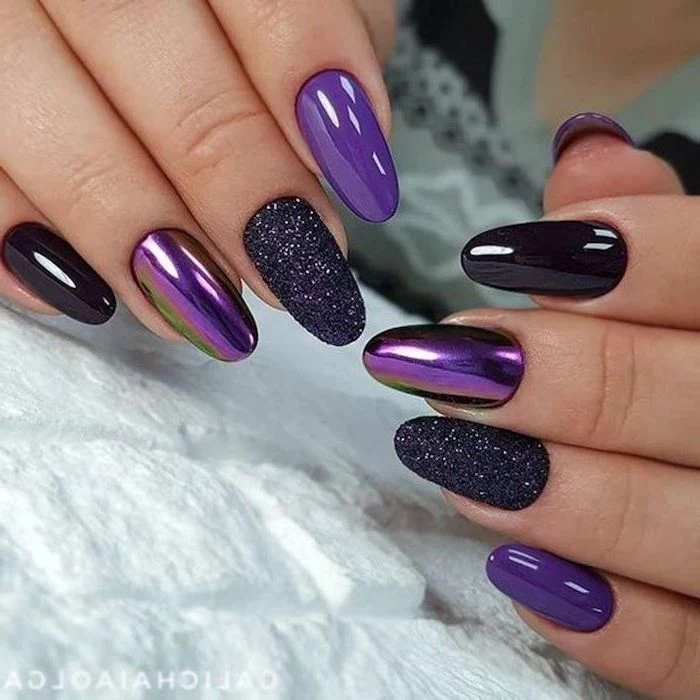
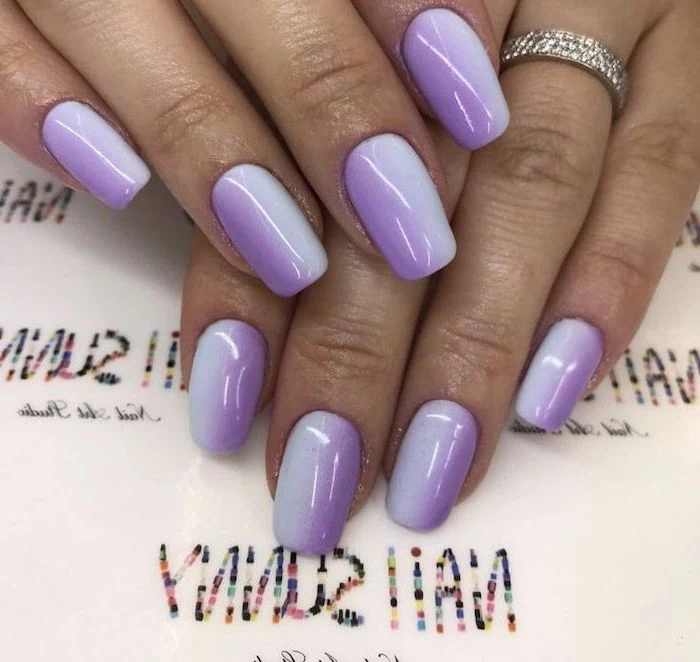
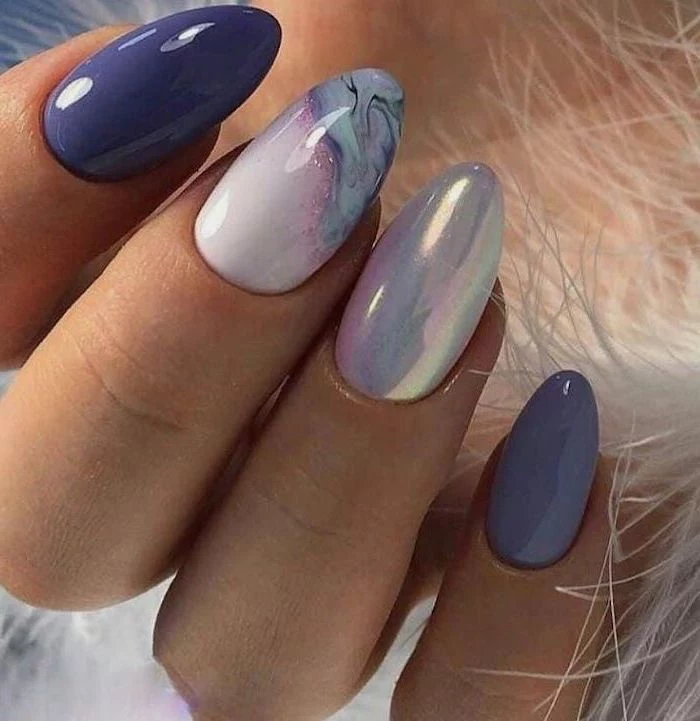
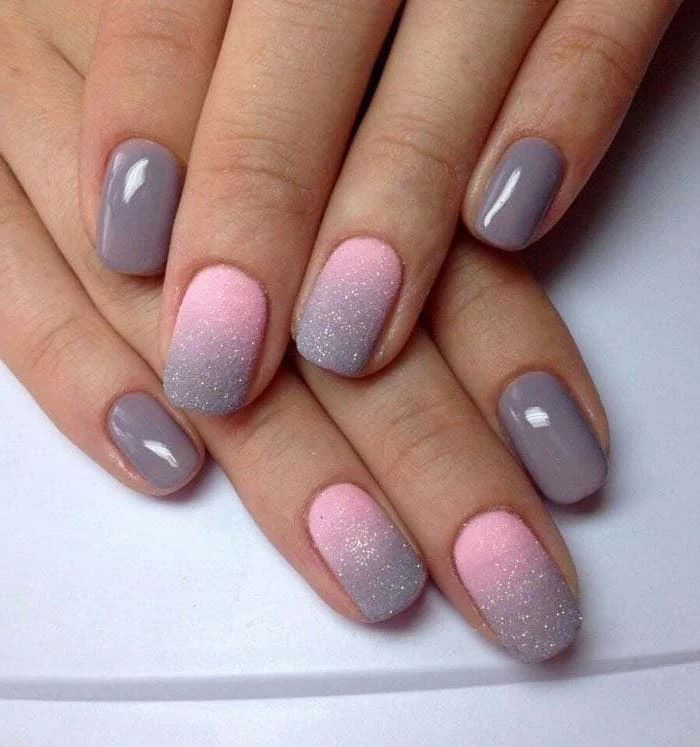
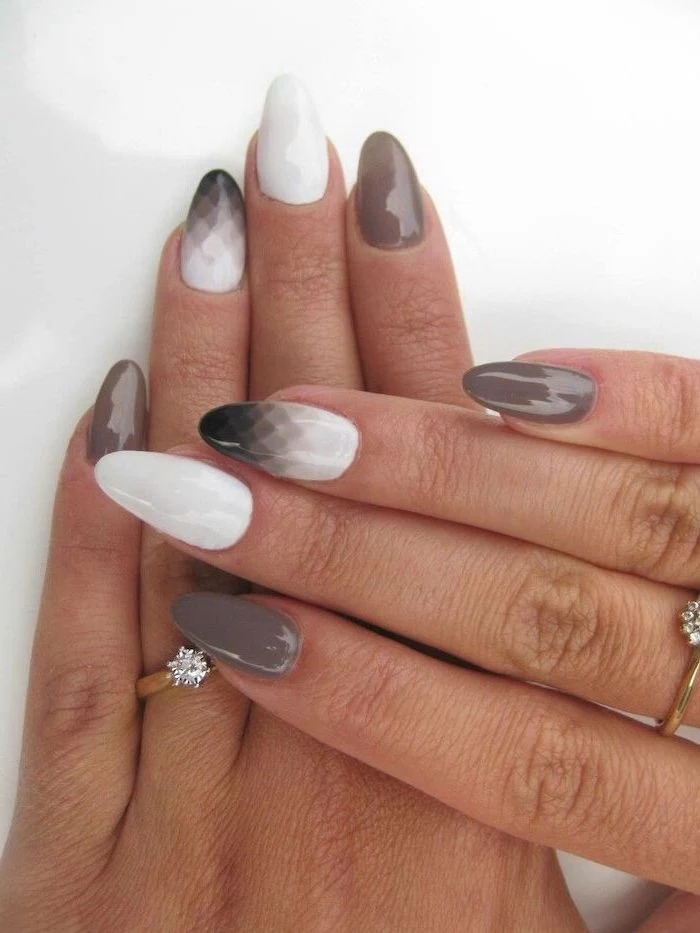
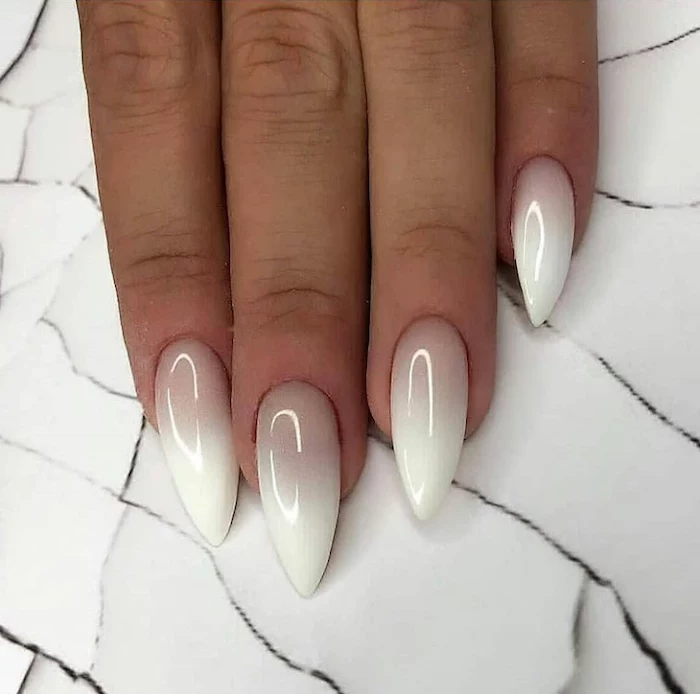
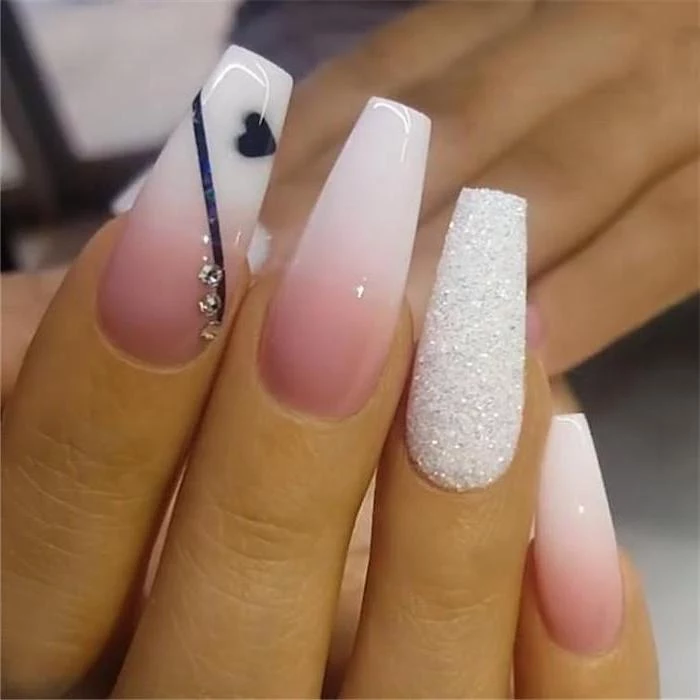
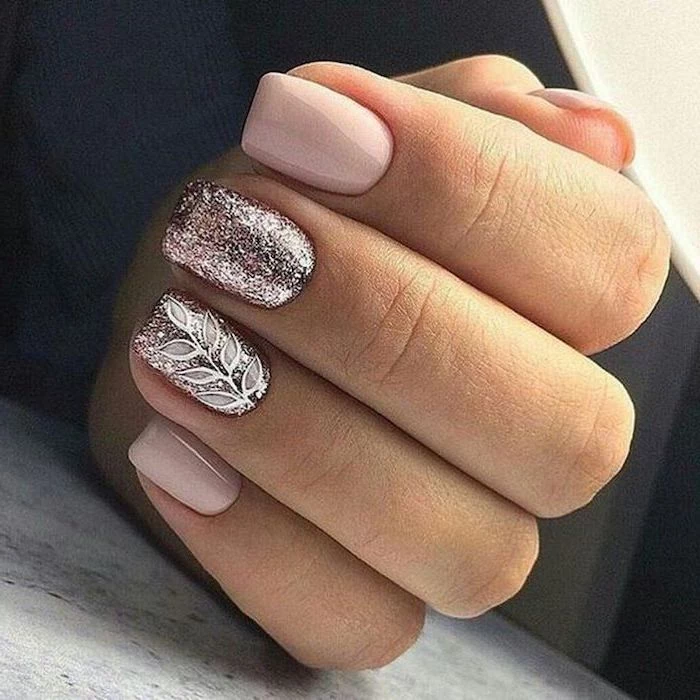
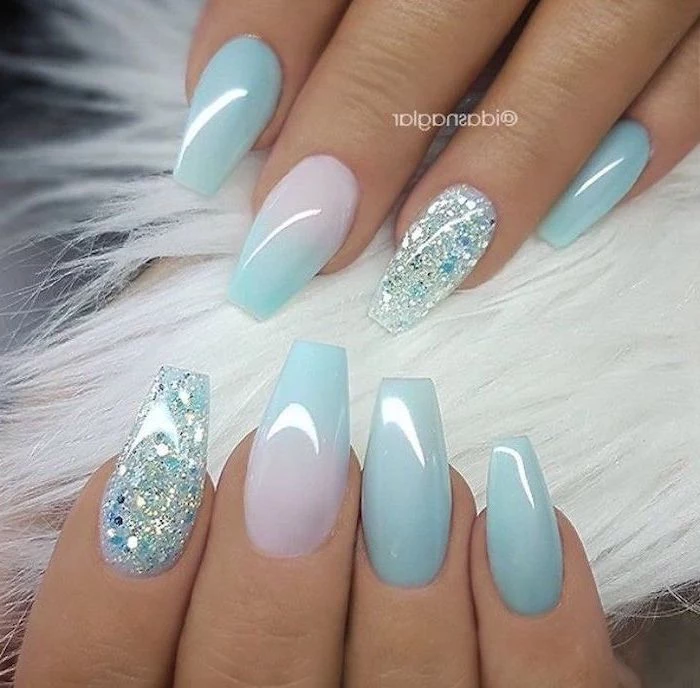
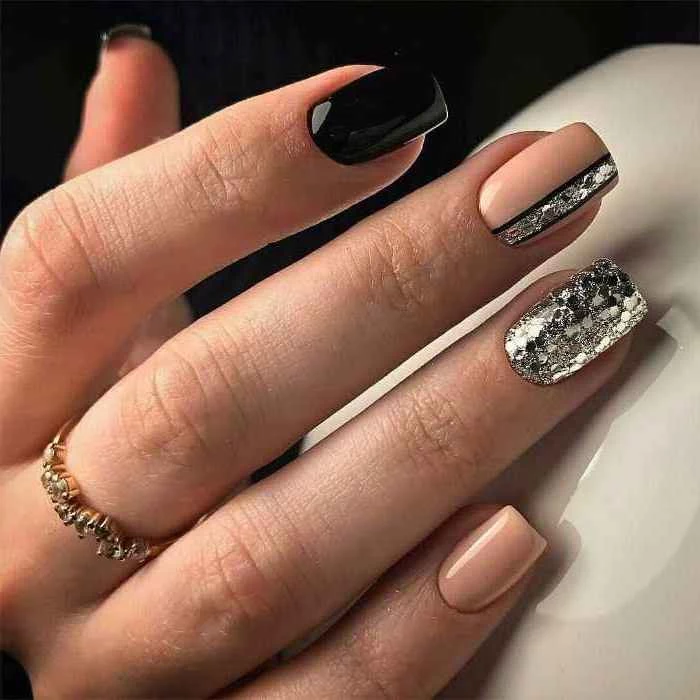
Inspiration Gallery
The Apex: Your Nail’s Secret Strength. Look at a professionally sculpted nail from the side. You’ll notice a gentle curve that peaks in the middle—this is the apex. It’s not just for looks; it’s a strategically placed ‘arch’ of product (like acrylic or builder gel) over the nail’s stress area. This tiny detail is what distributes pressure and prevents those heartbreaking snaps when you accidentally knock your hand.
Over 90% of nail damage blamed on enhancements like gel or acrylic is actually caused by improper, forceful removal.
This means the prying, peeling, and picking you might be tempted to do is the real culprit behind thin, weakened nails—not the product itself. Always opt for a professional soak-off or follow at-home instructions meticulously to preserve your nail integrity.
Is ‘letting my nails breathe’ actually a thing?
Not in the way most people think. Your nails receive all their oxygen and nutrients from the bloodstream, not from the air. The ‘breathing’ break is beneficial because it’s a pause from the application and removal cycle, which can be dehydrating. During this time, focus on intensive hydration with products like CND SolarOil to replenish moisture in the nail plate and surrounding skin.

- Reduced chipping and peeling.
- A smoother, more flexible nail plate.
- Visibly healthier cuticles.
The secret? Daily hydration. A drop of high-quality cuticle oil, like the jojoba-based Dadi’Oil, massaged into the base of your nails each night penetrates deep into the nail matrix, nourishing new growth before it even emerges.
When it comes to filing, the tool you choose matters. A cheap, gritty emery board can shred the delicate layers at your nail tip, leading to peeling and snags.
- Glass or Crystal Files: These have a fine, uniform grit that seals the nail edge as you file. They are perfect for natural nails, prevent peeling, and can be easily sanitized.
- Emery Boards: Best reserved for shaping enhancements. If you must use one on natural nails, choose a high grit (240 or above) and file gently in one direction only.
Your fingernails grow, on average, 3.47 millimeters per month. That’s more than twice as fast as your toenails!
The shape you choose dramatically impacts durability. A wider tip is generally a stronger tip.
Square/Squoval: These shapes maintain the nail’s natural width across the free edge, making them robust and less prone to corner breaks. They are ideal for those who are hard on their hands.
Stiletto/Almond: These tapered shapes are elegant but create a weaker point at the tip. They require more structural support from an enhancement and a bit more mindfulness in daily activities.

Before you even think about polish, think about your diet. Brittle, weak nails can be a sign of a nutritional gap. Foods rich in biotin (eggs, almonds, salmon), zinc (lean meat, seeds), and iron (spinach, red meat) are essential for building the strong keratin protein that forms your nails.
Mistake to Avoid: Filing the side walls of your nail too aggressively. This area, where the nail emerges from the skin, is crucial for support. Over-filing here narrows the nail’s base, severely weakening the entire structure and leading to breaks deep in the nail bed.
The buzz in the nail world right now is all about BIAB—Builder In A Bottle. This is a type of soft gel with a thicker consistency, designed to add strength and structure directly to the natural nail.
- It’s more flexible than acrylic, so it can withstand bumps without cracking.
- It can be ‘infilled’, reducing the need for a full soak-off every time.
- Brands like The GelBottle Inc. have pioneered this category, offering a way to grow out your natural nails long and strong under a protective, durable layer.

That satisfying ‘click’ of long nails on a keyboard is one thing, but using them as tools is a fast track to disaster. Make a conscious effort to use the pads of your fingers, not your nails, for tasks like opening soda cans, scraping off labels, or pressing buttons. Your manicure will thank you for it.
- Never use hot water immediately before a manicure. Nails are porous and absorb water, causing them to expand. They shrink back as they dry, causing the polish to chip.
- Always ‘cap’ the free edge by running your polish brush along the very tip of the nail.
- Apply a fresh layer of a quick-dry top coat, like Seche Vite, every 2-3 days to restore shine and add a protective shield.
My nails are constantly peeling in layers. Why?
This is often a sign of dehydration. Your nail is made of approximately 100 layers of compacted keratin cells. When these layers lose moisture—from frequent hand washing, sanitisers, or cleaning without gloves—they can separate and peel away. The solution is less about a hardening product and more about reintroducing moisture with daily oils and hand creams.
A strong foundation needs a primer. For nails, this means a quality base coat. But not all are created equal. A ‘ridge-filling’ base coat creates a smooth canvas, while a ‘sticky’ base coat grips polish for longevity. For true strength, look for treatment base coats like OPI’s Nail Envy, which contains hydrolyzed wheat protein and calcium to reinforce the nail plate with each wear.
The C-Curve is the downward curve of the nail when you look at it from the tip. A pronounced C-Curve adds immense structural strength, much like a curved pipe is stronger than a flat sheet of metal. A pro nail tech will carefully build and file this curve into an enhancement to ensure it can withstand daily life.
- A high-quality glass or crystal file.
- A mini bottle of nail glue for emergency crack repair.
- A soft, 3-sided buffer block to smooth snags.
- A travel-sized cuticle oil pen for on-the-go hydration.
What is this? It’s your ‘Nail First-Aid Kit’—a small pouch to keep in your bag to handle minor issues immediately, preventing them from turning into major breaks.
Notice your nails feel weaker in the winter? You’re not imagining it. The combination of cold, dry outdoor air and moisture-zapping indoor heating is incredibly dehydrating for your nails and skin. Double down on your use of hand cream and cuticle oil during colder months to counteract the environmental stress.


A single, bare fingernail can absorb up to 25% of its own weight in water.
When saturated, the keratin layers soften and become much more flexible and prone to tearing. This is why wearing gloves while doing dishes or cleaning is the single most effective, non-negotiable rule for protecting your nails and making any manicure last longer.
There’s a subtle but powerful confidence that comes from having nails you don’t have to think about. It’s the freedom of reaching into your handbag without fear, of typing with purpose, of gesturing with hands that feel polished and complete. This worry-free feeling is the true luxury of a well-structured manicure.

Builder Gel: Applied like a thick polish and cured under a lamp, it’s flexible and ideal for adding strength to natural nails or creating short extensions. Great for those who want a more natural feel.
Acrylic: A strong, rigid system created by mixing a liquid (monomer) and a powder (polymer). It’s incredibly durable and the go-to for long, dramatic extensions and complex shapes. It offers less flexibility than gel.
Your choice depends on your lifestyle, desired length, and natural nail condition.
To get that flawless, long-lasting finish, nail techs swear by a three-step prep process on the nail plate itself:
- Step 1: Dehydrate. Use a product with isopropyl alcohol to remove all moisture and oils from the surface.
- Step 2: Cleanse. A vigorous scrub with a lint-free wipe and pure acetone removes any remaining residue.
- Step 3: Prime. A pH-balancing primer makes the nail surface more receptive to the base coat, acting like double-sided tape for your polish.

The One-Direction Rule: Filing your nails back-and-forth like a saw creates micro-fissures and friction, fraying the tip and encouraging peeling. Instead, file gently from the outer edge towards the center in one smooth, consistent direction. Lift the file and return to the edge to start the next stroke. It’s a small change with a huge impact on nail health.

- Prevents breaks deep in the nail bed.
- Creates a stronger, more resilient nail.
- Helps you grow your nails longer, naturally.
The key? A specialized professional treatment like the IBX System. It works *inside* the nail plate, not on top of it, by fusing the upper layers of keratin together. Ask your tech about it as a restorative service under your gel polish.

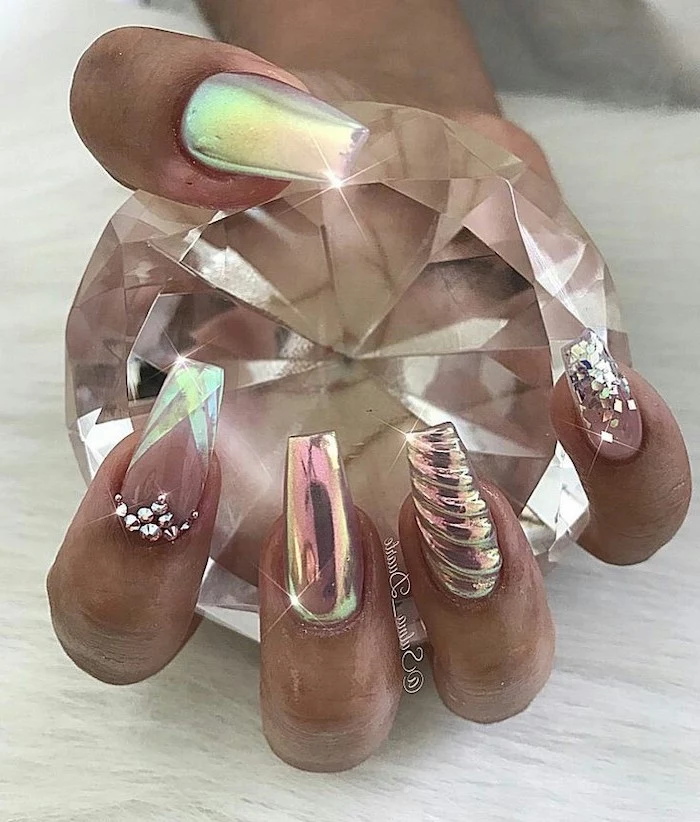
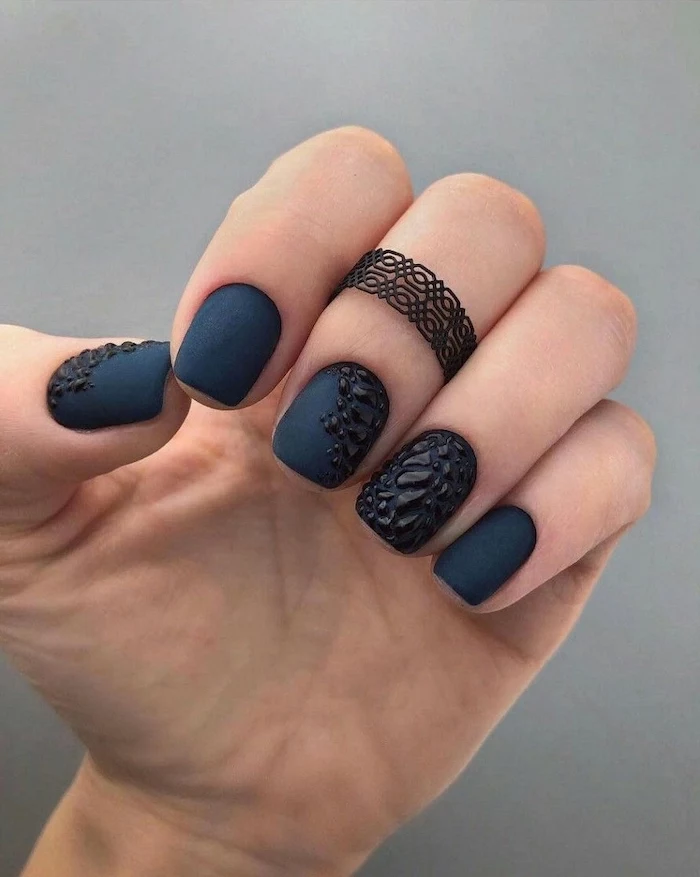
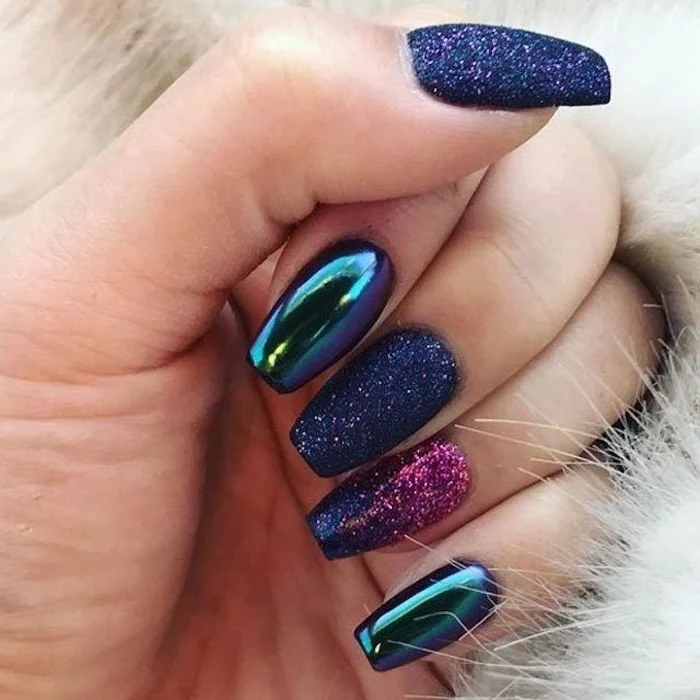
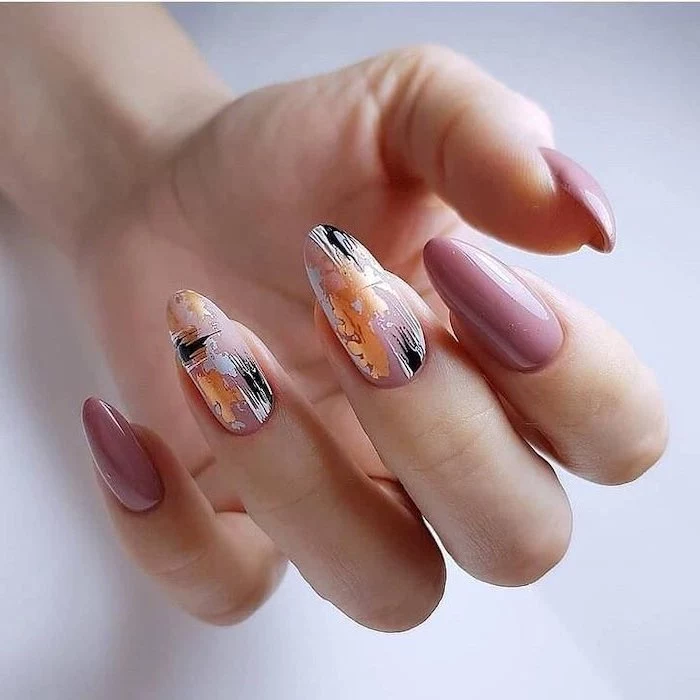
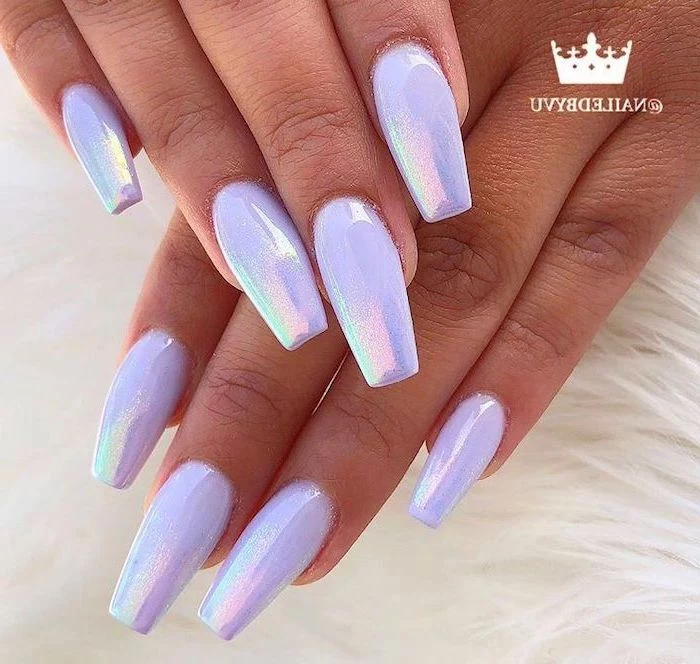
Think beyond color. The finish you choose can transform the look of a shape. A high-gloss top coat on a square nail looks crisp and clean. A velvety matte finish, especially on a coffin or stiletto shape, adds a touch of modern sophistication and can hide minor imperfections. Chrome or holographic finishes, on the other hand, demand a perfectly smooth and structured nail to truly shine.


