A Pro’s Guide to Gel Manicures That Actually Last
I’ve spent more years than I can count behind a nail desk, and I’ve seen it all. From simple polish to wild acrylics, trends come and go. But honestly, nothing rocked our world quite like the invention of gel polish. I remember when the first systems hit the market; we were all so skeptical. A polish that lasts for weeks with zero chips and dries in an instant? It sounded like straight-up magic. Now, it’s the bread and butter of my business.
In this article
Gel manicures are way more than just a popular service; they’re a whole different ball game. They require a steady hand, a bit of science know-how, and a real respect for nail health. That super glossy, tough-as-nails finish is the result of a very specific process. It’s a craft I’ve spent years perfecting, and I’m going to spill the secrets.
So, whether you’re a DIY enthusiast trying to stop your polish from peeling after three days, or just a curious client wondering why some manis are better than others, this guide is for you. We’re going deep on the techniques, the science, and the safety stuff that separates a quick paint job from a durable, healthy, and gorgeous manicure.
First, Let’s Talk Money: Salon vs. At-Home
Before we dive in, let’s address the elephant in the room: cost. A professional gel manicure can run you anywhere from $35 to $75+, depending on your location and any nail art you add. It’s an investment, for sure.
Doing it at home, on the other hand, has an upfront cost. You’ll need to build a basic kit. But once you have the gear, you’re just paying for new polish colors. A solid at-home starter kit will probably set you back between $75 and $125. It’s a trade-off: you save money in the long run, but you have to invest the time to learn the skills. A pro gives you perfect results every time, but it’s an ongoing expense.
The Science in the Bottle: So, What Is Gel Polish Anyway?
To do a great job, you have to know what you’re working with. Gel polish isn’t just a thicker version of regular nail polish. It’s a sophisticated formula that belongs to the methacrylate family—a type of acrylic. Think of it as a mix of a few key players.
You’ve got oligomers, which are basically the backbone of the polish, giving it thickness and strength. Then you have smaller molecules called monomers, which help it flow smoothly. But the real star of the show is the photoinitiator. This little molecule is designed to wake up and get to work when it’s hit with specific UV or LED light.
When you stick your hand in the lamp, the light’s energy kicks off a chain reaction called polymerization. The monomers and oligomers all link up, forming a super-strong network. The liquid turns into a hard, solid plastic. That’s why gel feels bone dry the second you pull it out of the lamp.
Heads up! Understanding this is crucial for safety. If the gel isn’t cured all the way through (we call this under-curing), those unlinked monomers can hang around. If they get on your skin repeatedly, your body can develop a nasty allergy called contact dermatitis. This is why using the right lamp for your gel is a huge deal. A lamp and polish from the same brand are designed to work together, ensuring a full, safe cure.
Your At-Home Gel Starter Kit
Ready to build your own setup? Here’s what you’ll actually need to get started right.
- An LED Lamp: This is your most important purchase. Don’t cheap out! Look for one that’s at least 48 watts. LED is the modern standard—it cures faster and the bulbs last practically forever. Expect to pay $25 to $50 for a good one on Amazon.
- Gel Polish Basics: You’ll need a base coat, a top coat, and a few colors. For beginners, a kit from a brand like Beetles or Gelish Mini is a fantastic and affordable way to start, usually running $15 to $25.
- Nail Prep Tools: Get a good pair of stainless steel cuticle nippers, a metal or orangewood stick pusher, and a couple of files (a 180-grit for shaping and a soft 240-grit buffer).
- The Liquids: You absolutely need 99% Isopropyl Alcohol (about $5 at any drugstore) and lint-free wipes (another $5 online) for cleansing the nail and removing the sticky layer at the end.
Prep Work is 90% of the Battle
I tell every new technician I train the same thing: A perfect manicure is built on a perfect foundation. You can use the world’s best polish, but if your prep is sloppy, it will lift. Period. This is where the real skill comes in.
Cuticle Care: The Gentle Approach
Proper cuticle care is about removing only the dead tissue that’s stuck to your nail plate. The living skin at the base of your nail, the eponychium, should NEVER be cut. Snipping it is just asking for an infection.
My process is simple: I apply a dab of professional cuticle remover to soften things up. Then, with a sanitized metal pusher, I gently guide the skin back. You’ll see a thin, flaky layer of non-living tissue lift off the nail—that’s the only thing you should be trimming. Use sharp nippers and make tiny, precise nips. Don’t pull!
Shaping and Buffing
Next, I shape the free edge. For natural nails, a 180 or 240-grit file is perfect. Anything rougher can tear up the nail. And please, file in one direction! The back-and-forth sawing motion causes splitting. After shaping, I very lightly buff the entire nail surface with a soft 240-grit buffer. The goal is just to remove the shine, which is caused by natural oils. I’ve seen so many clients with thin, damaged nails because a previous tech got way too aggressive with an e-file here. Be gentle!
Cleansing and Dehydrating
This is the final, critical prep step. I have my clients wash their hands, then I do a final wipe of each nail with a lint-free pad soaked in 99% isopropyl alcohol. This removes every last trace of dust and oil. For clients who are really prone to lifting, a pH-balancing primer can be a lifesaver. Acid-free primers act like double-sided tape, while acid-based ones are a bit stronger, but should be used carefully on healthy nails only.
Quick tip: The single best thing you can do for your nails between appointments is to use cuticle oil every single day. It keeps the skin healthy and the nail flexible, which actually helps your manicure last longer.
Flawless Application: Thin to Win
With the prep done, it’s time for the fun part. The mantra I live and die by is “thin to win.” Thin, even coats are the secret to a smooth finish and, more importantly, a proper cure.
The Base Coat: This is the anchor. I apply a super-thin layer, almost scrubbing it into the nail with the brush. Make sure you don’t touch the skin! Before curing, I run the brush along the very tip of the nail. This is called ‘capping the edge’ and it’s your best defense against chipping. Then, pop it in the lamp for a full cure (usually 30-60 seconds in an LED lamp).
The Color Coats: I’ll never forget the first time I applied a color coat too thick on a client. It came out of the lamp looking like a wrinkled mess. Talk about embarrassing! That’s how I learned ‘thin to win’ is no joke. Your first coat should be almost sheer. Don’t worry about full coverage. Apply it thinly, cap the edge, and cure. The second coat will build up the color. For some tricky pastels or neons, you might even need a third super-thin coat. It’s always better to do three thin coats than two thick ones.
Good to know: Can you mix and match brands? The short answer is… maybe. It’s always safest to use the base and top coat from the same system, as they’re formulated to work together. But for colors? To be frank, most of us pros mix color brands all the time. Just make sure you’re curing it for the recommended time.
The Top Coat: This protects the color and gives it that amazing shine. I apply it a little more generously than the color, but still avoid the skin. Cap that free edge one last time to seal everything in, and then do a final, full cure.
The Final Wipe: Most gel systems leave behind a sticky layer after curing—this is totally normal. It’s called the inhibition layer. To reveal the glossy finish, you just wipe it off with a lint-free pad and 99% isopropyl alcohol. Pro tip: Use a fresh part of the wipe for each nail to avoid spreading the stickiness around. And never use acetone for this step—it will dull your beautiful shine! Of course, some “no-wipe” top coats don’t have this sticky layer at all, which is a nice time-saver.
Troubleshooting Common Gel Problems
Even when you do everything right, sometimes things go sideways. Here’s what’s likely happening.
- Lifting? If the gel is peeling up at the cuticle or tip, it’s a prep problem 99% of the time. You either left some cuticle on the nail, didn’t dehydrate it properly, or got polish on the skin.
- Chipping? This usually means you forgot to cap the free edge with your base, color, and top coats.
- Wrinkling? Your application was too thick. The light couldn’t penetrate to the bottom, so only the top cured. The only fix is to remove the polish from that nail and start over, with thinner coats this time.
- Dull or Streaky Top Coat? You either used acetone for the final wipe, or your lint-free wipe wasn’t so lint-free. Stick to 99% alcohol for a glassy finish.
Safety First: The Non-Negotiables
As a pro, my client’s health is my #1 priority. These are the rules I never, ever break.
The Real Risk of Allergies: Gel allergies are no joke, and they are on the rise, especially with at-home kits. It’s a skin reaction caused by repeated contact with uncured gel. This is why keeping polish off your skin isn’t just neat, it’s a critical safety step. An under-cured manicure is a health risk, and once you develop an allergy, you may never be able to wear gels again.
Are UV Lamps Safe? I get this question all the time. The general consensus is that the UV exposure is very low, about the same as spending a few extra minutes in the sun. But if you’re concerned, you can buy fingerless UV-protective gloves online for a few dollars or apply sunscreen to your hands before you start. I use them myself since my hands are under a lamp all day!
The Cardinal Sin of Removal: More nails are destroyed by bad removal than by the gel itself. Never, ever peel, pick, or pry off your gel polish. You’re ripping off layers of your natural nail with it. The only safe way is a soak-off.
Here’s how: Gently file the shine off the top coat. Saturate a piece of cotton with 100% acetone, place it on the nail, and wrap your fingertip in foil to hold it in place. Wait 10-15 minutes. The gel should be soft and flaking off. Gently push it away with a wooden stick. If it’s not ready, re-wrap it for another 5 minutes. No force needed.
A beautiful gel manicure that lasts is a partnership. It’s a mix of science, art, and a healthy dose of respect for your nails. And even after all these years, I still get a little thrill seeing a client admire their perfect, glossy nails. It’s proof that taking the time to do things the right way is always worth it.
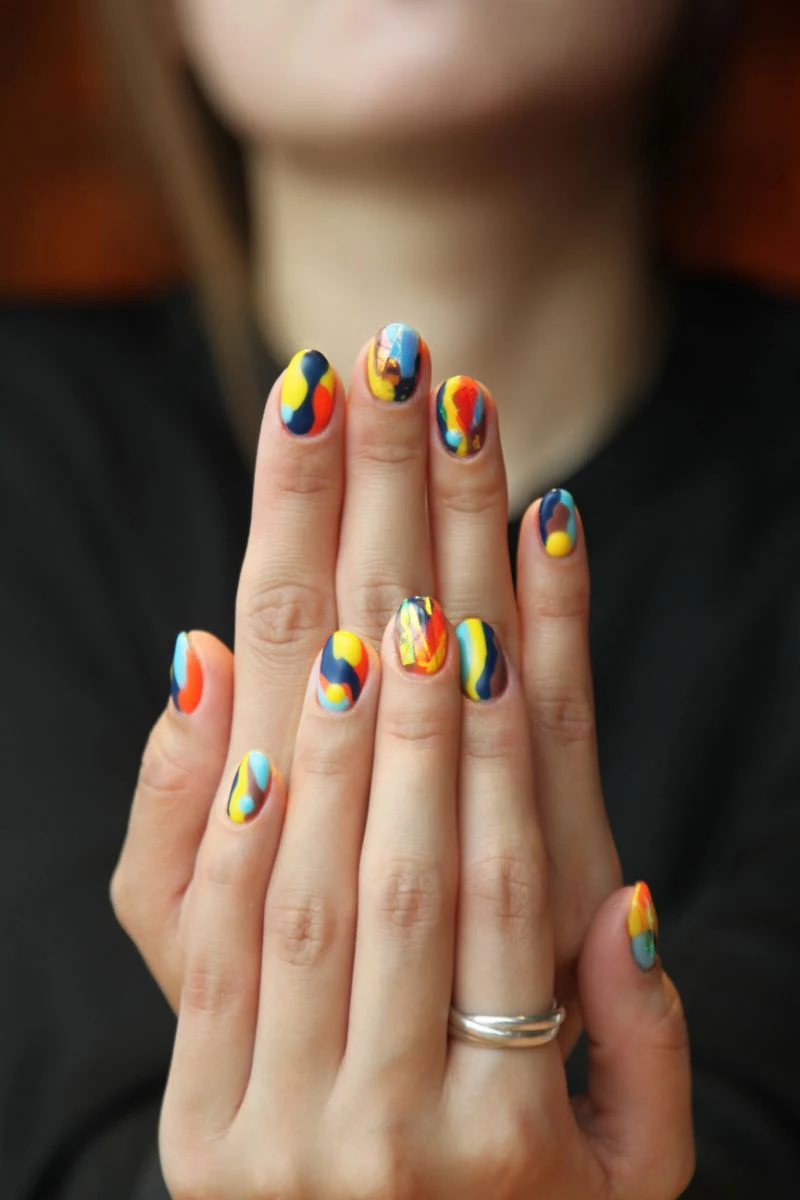
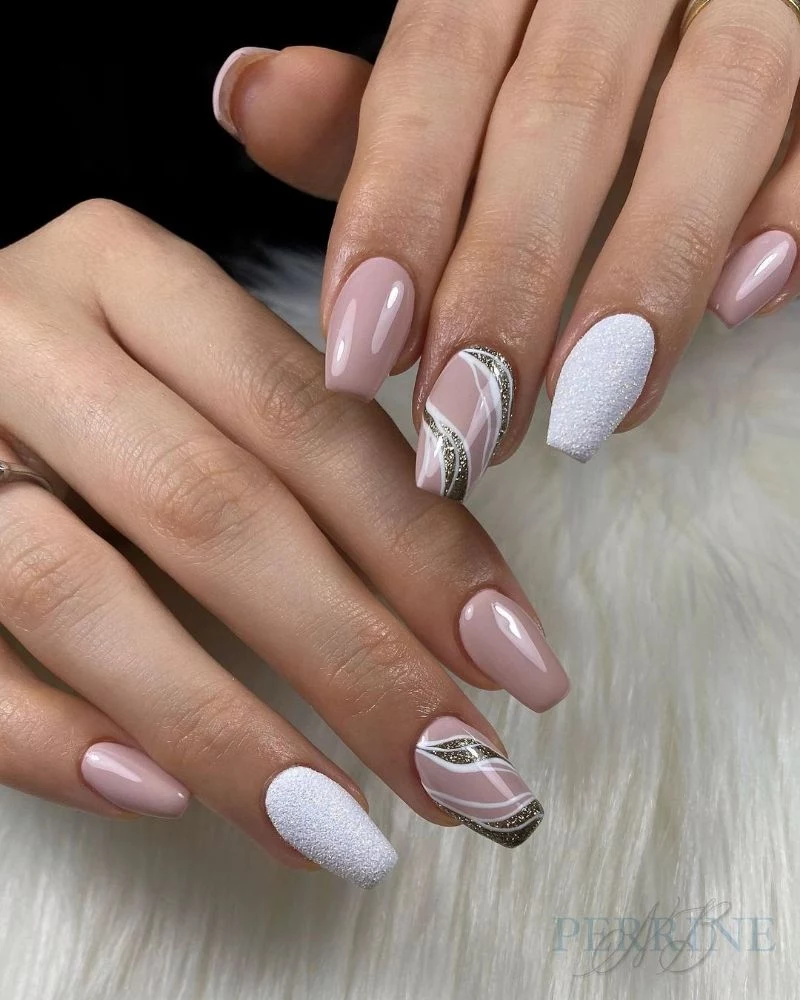
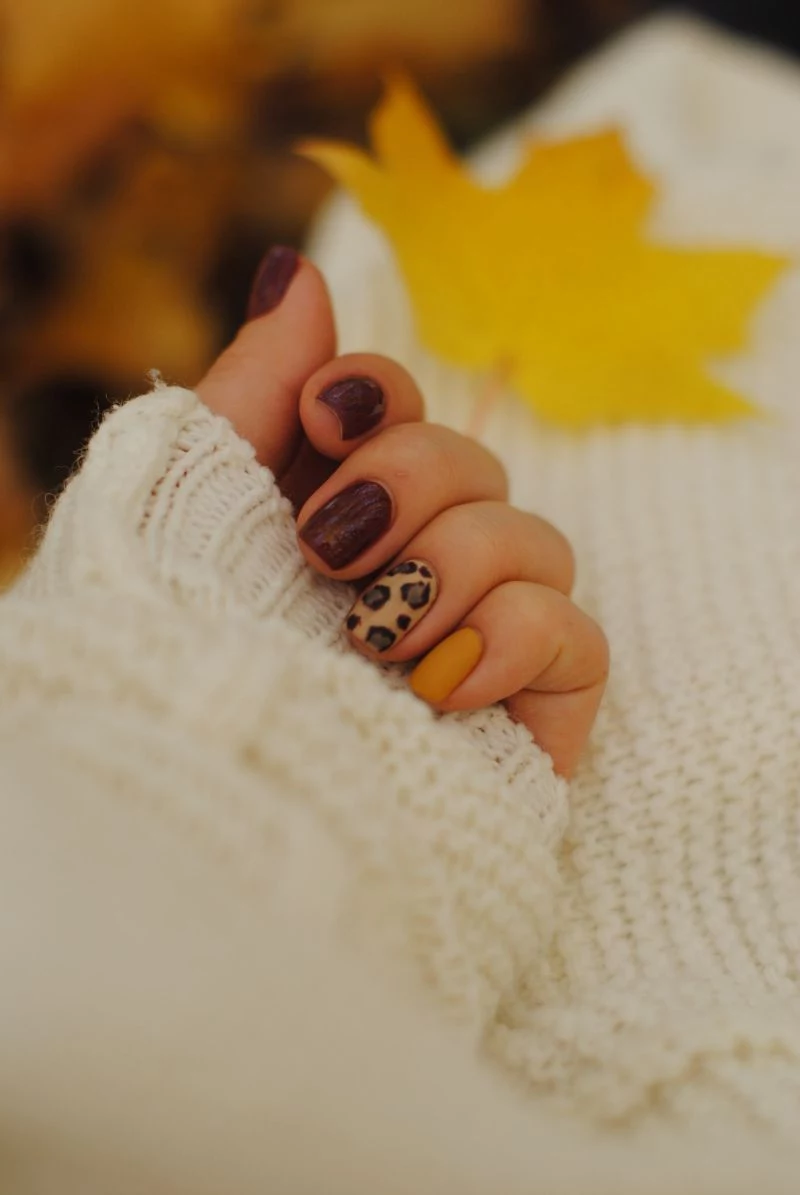
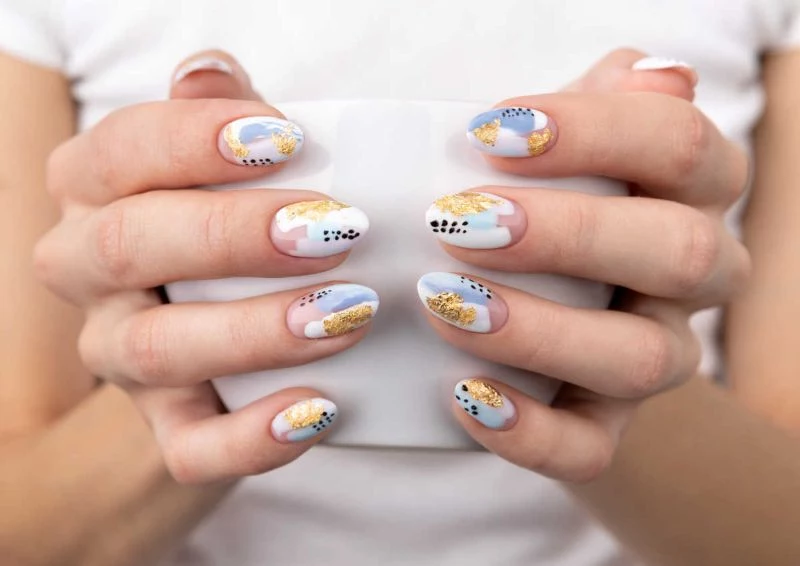
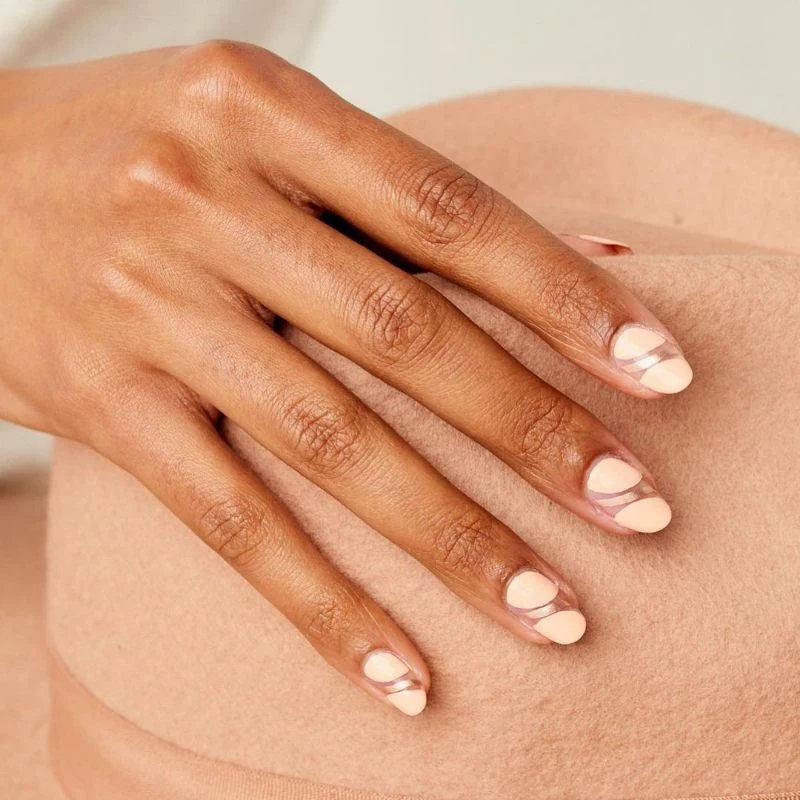
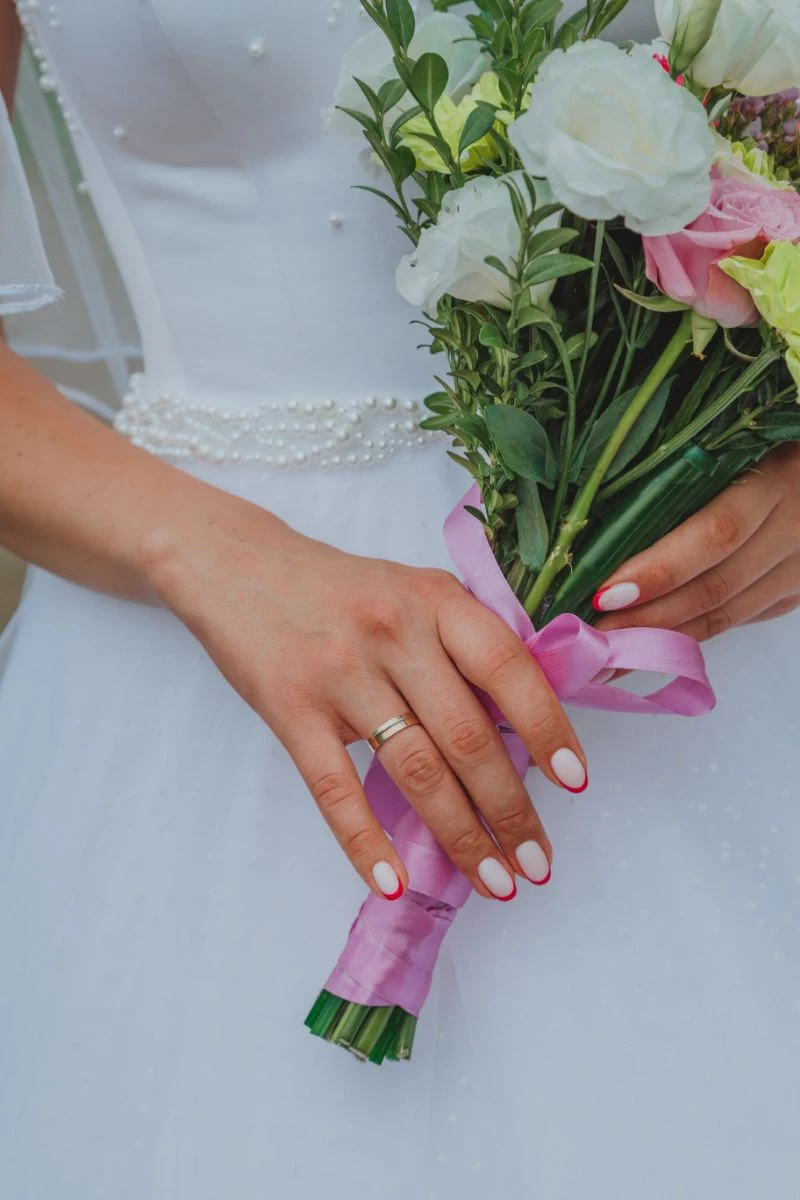
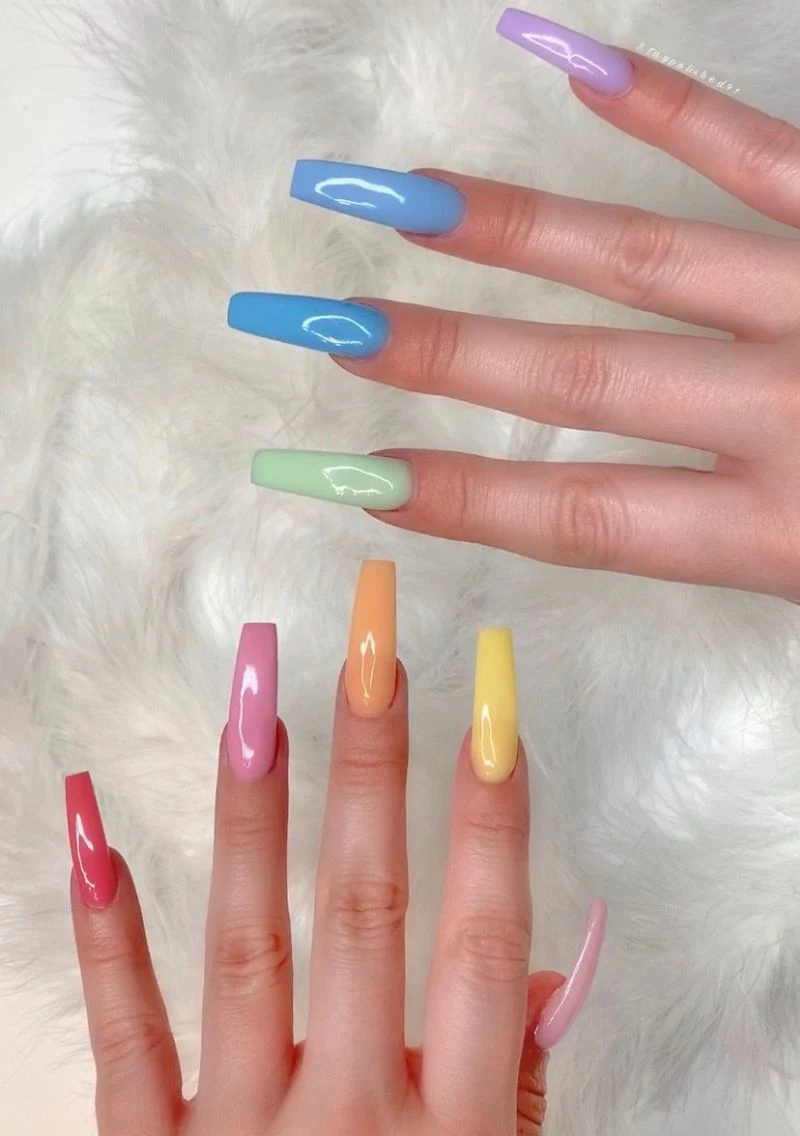
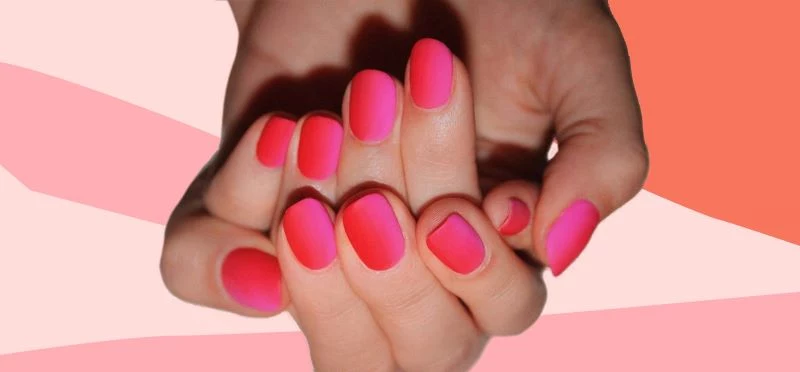
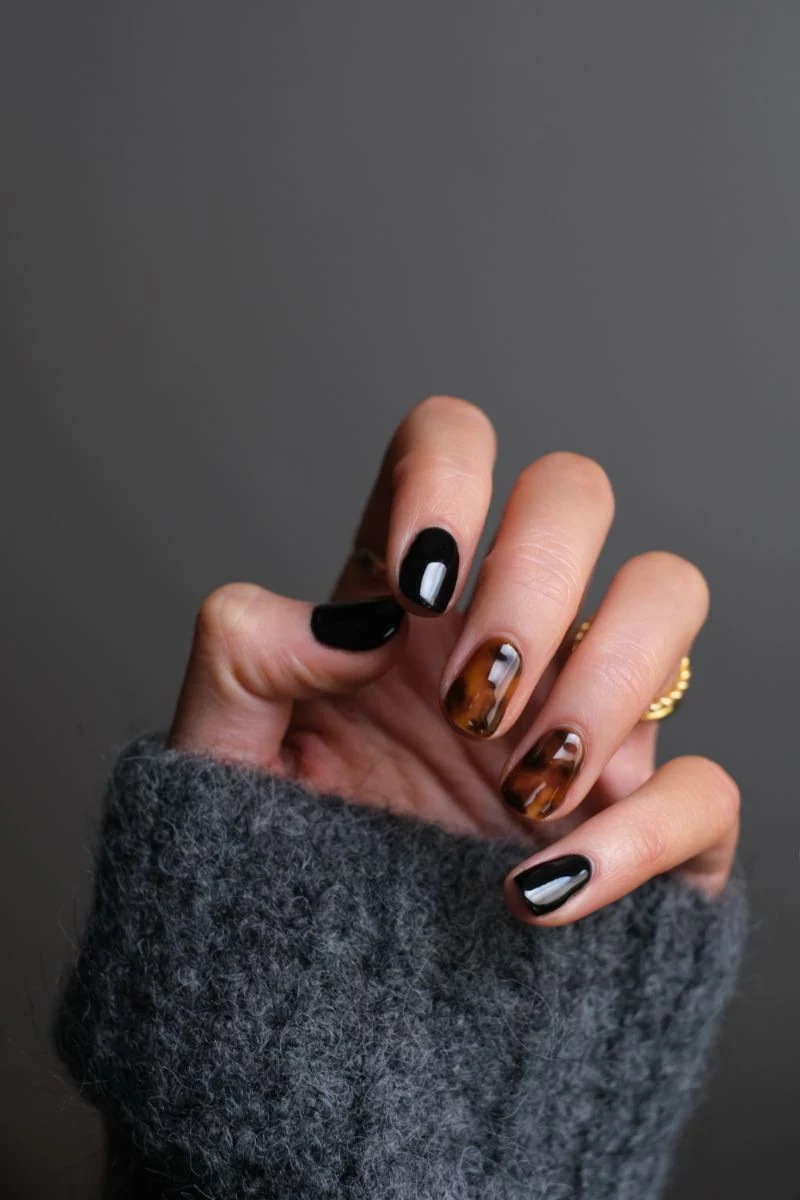
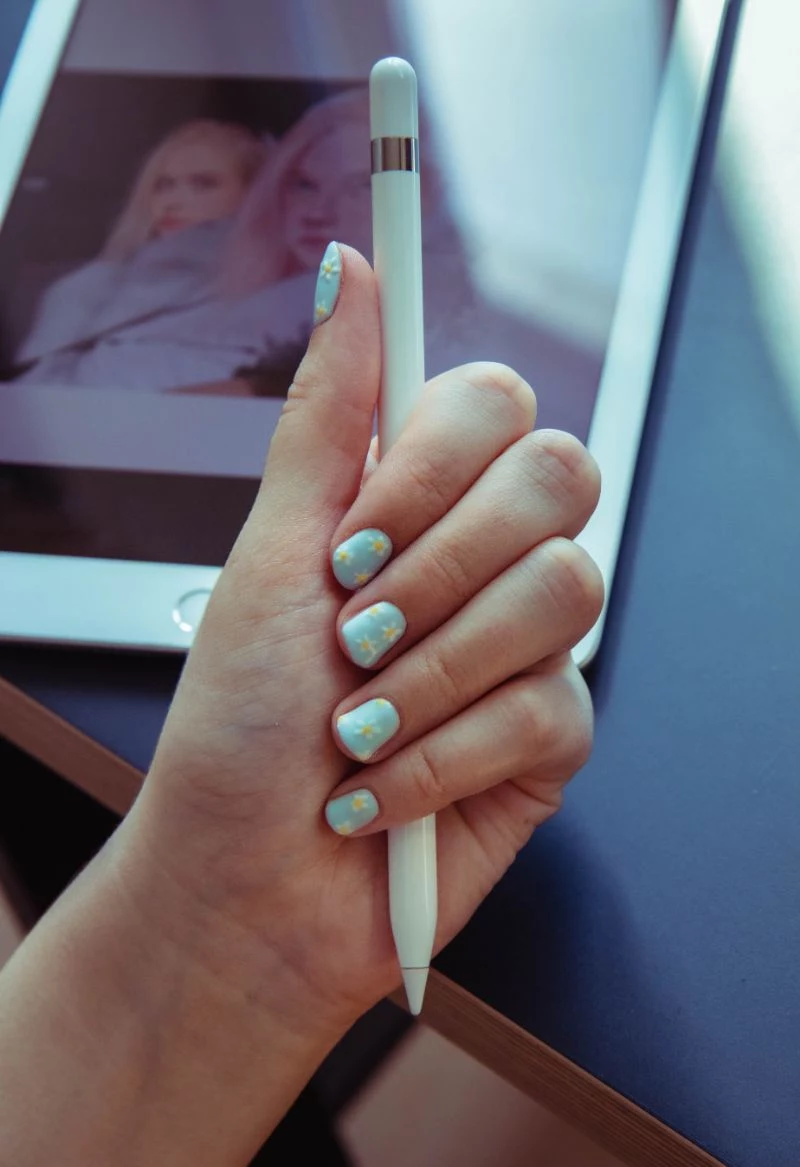
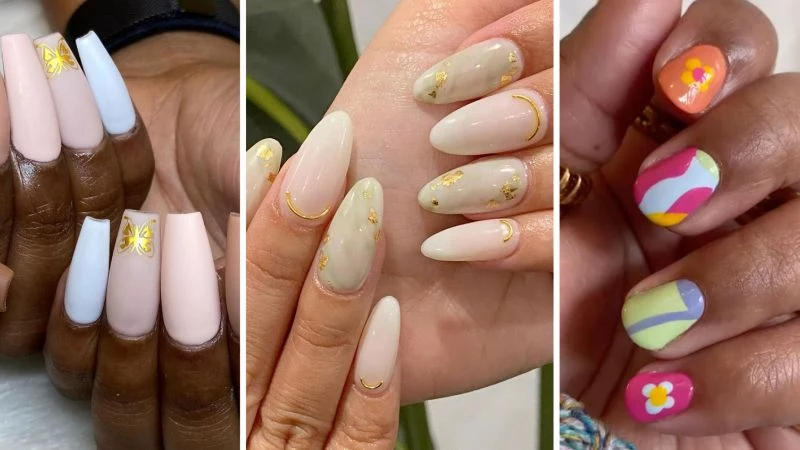
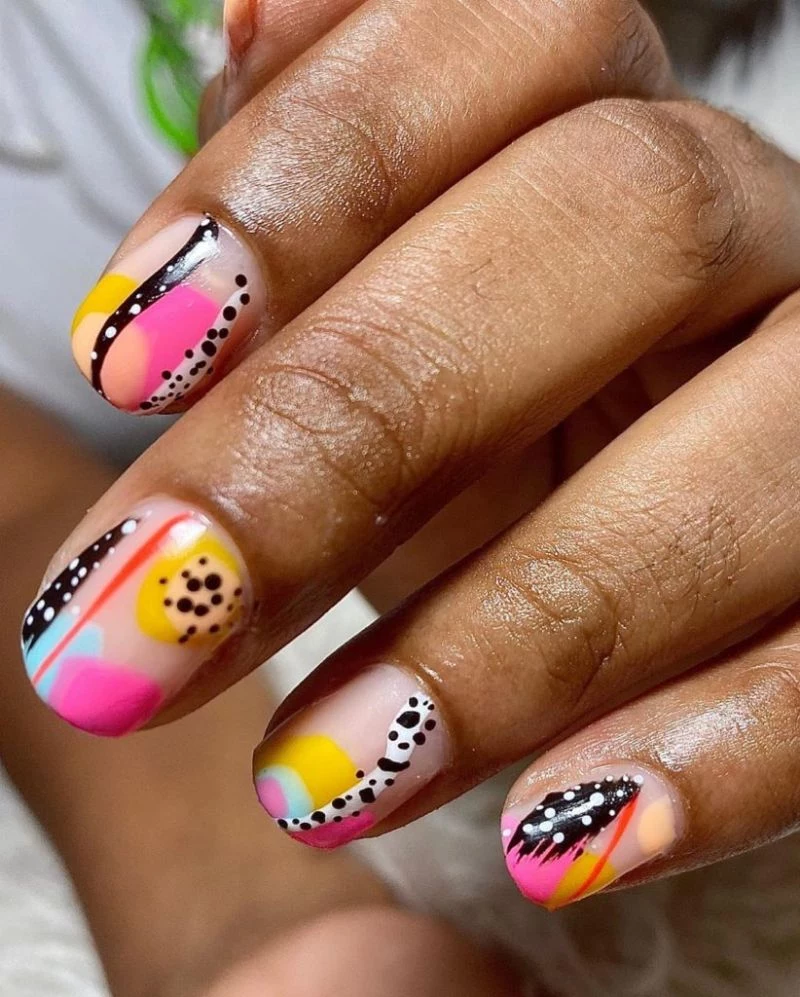
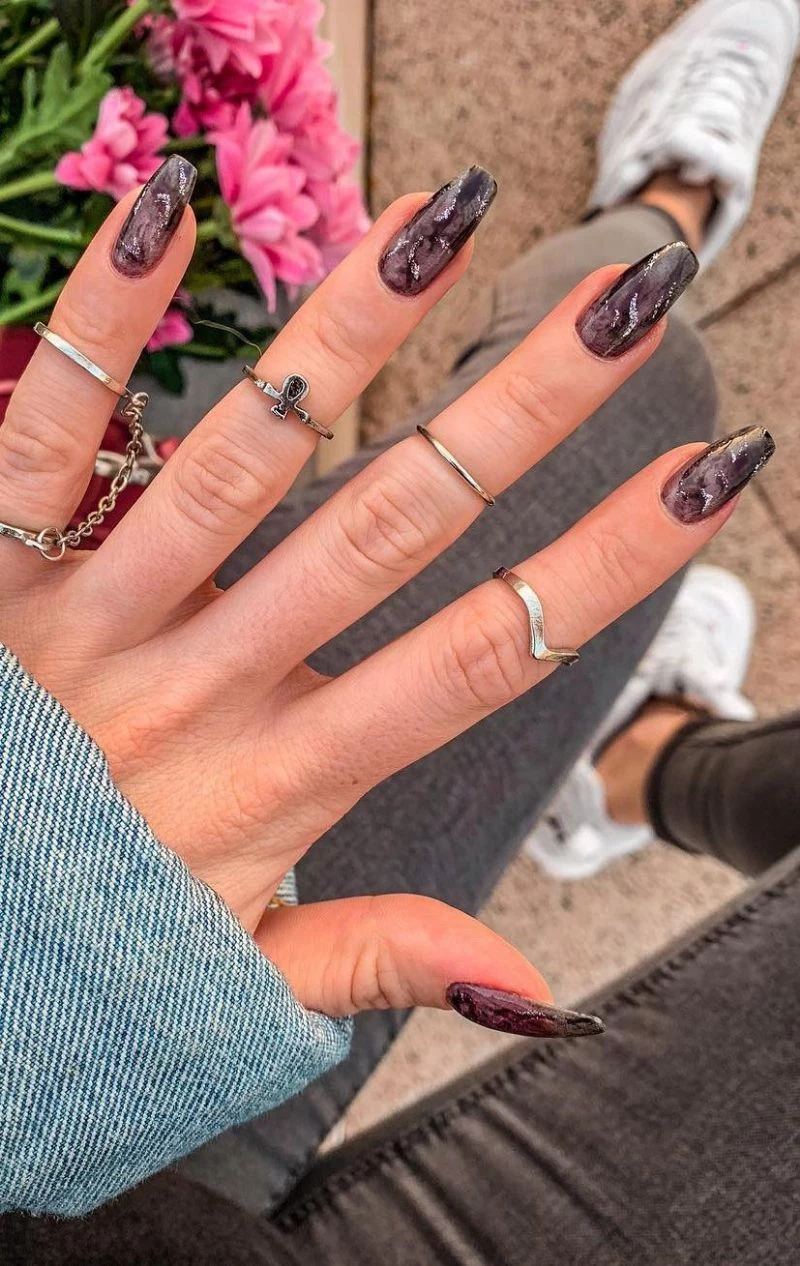
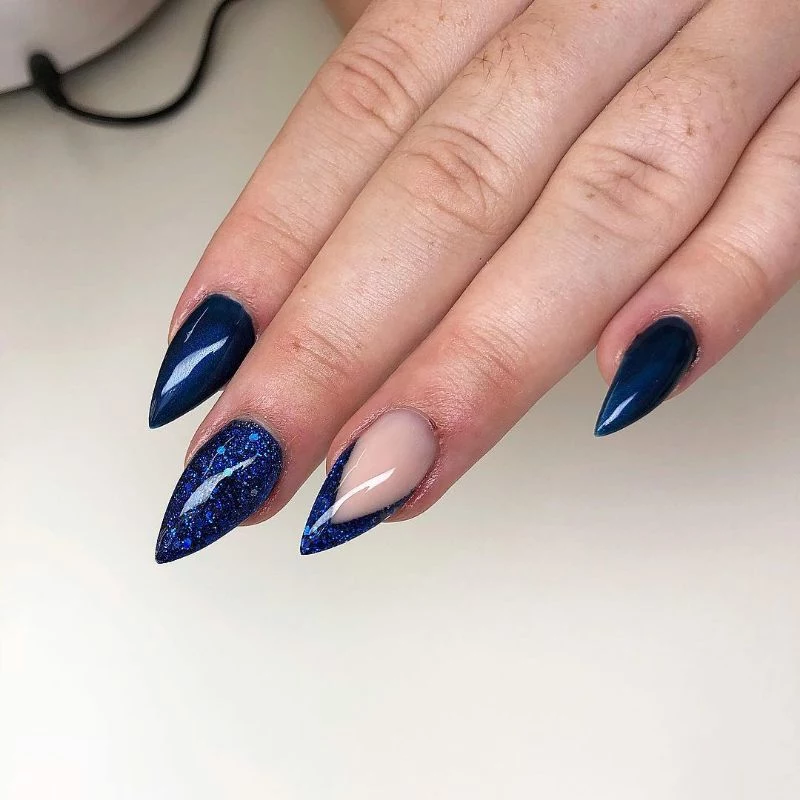
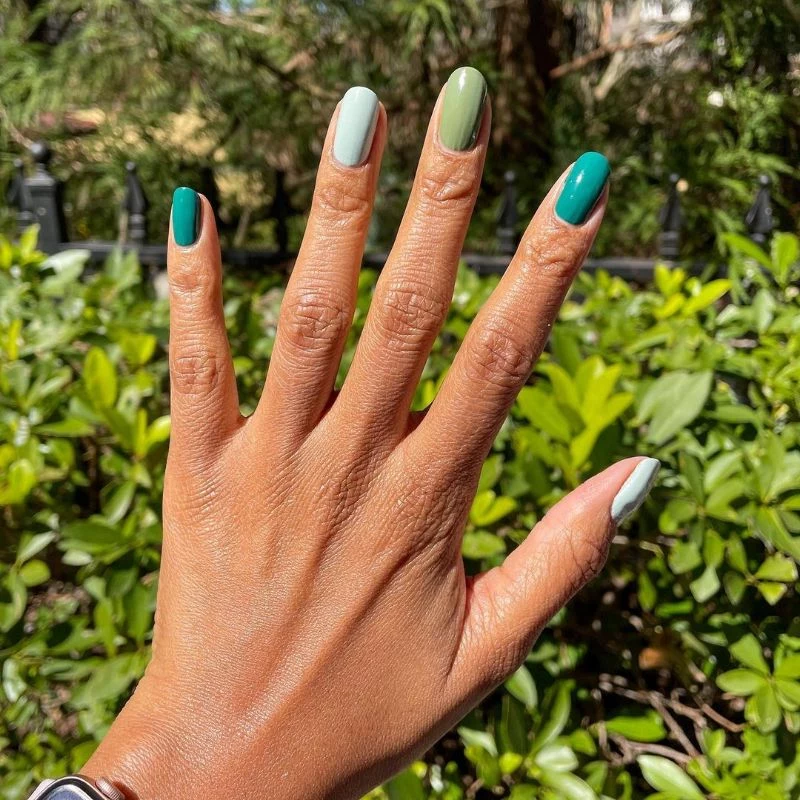
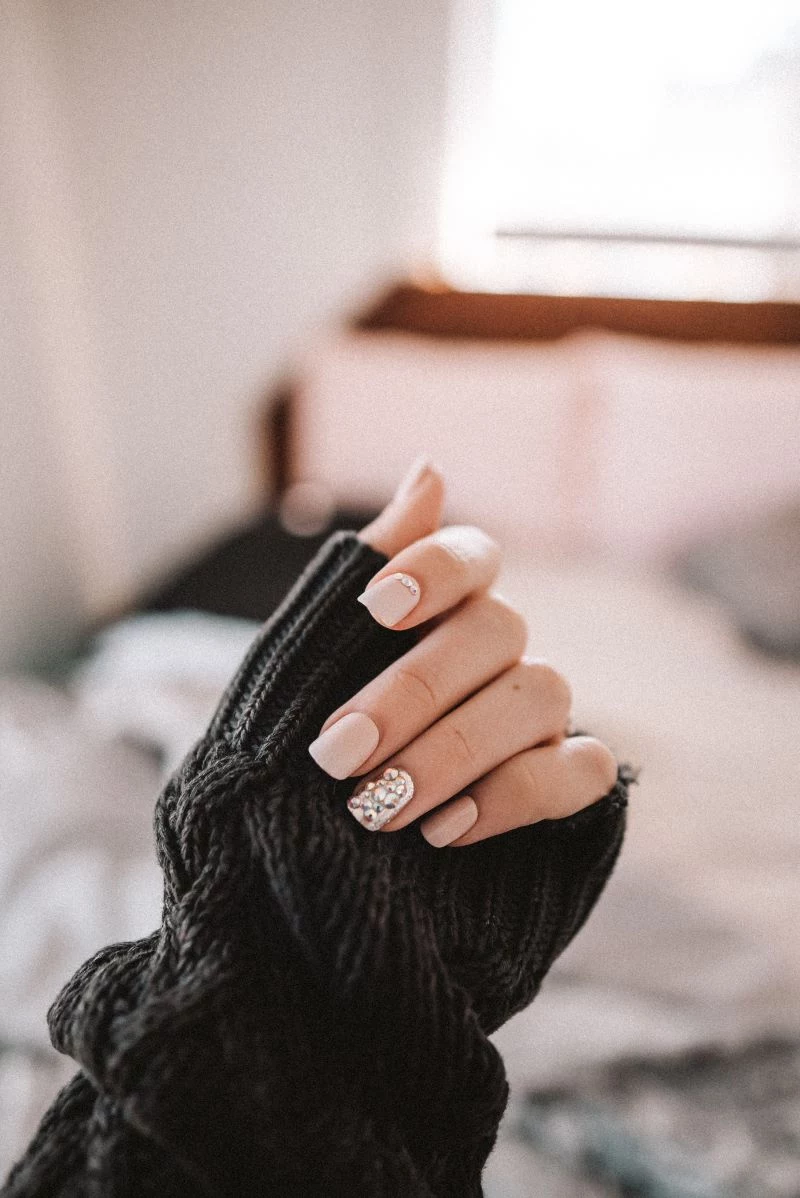
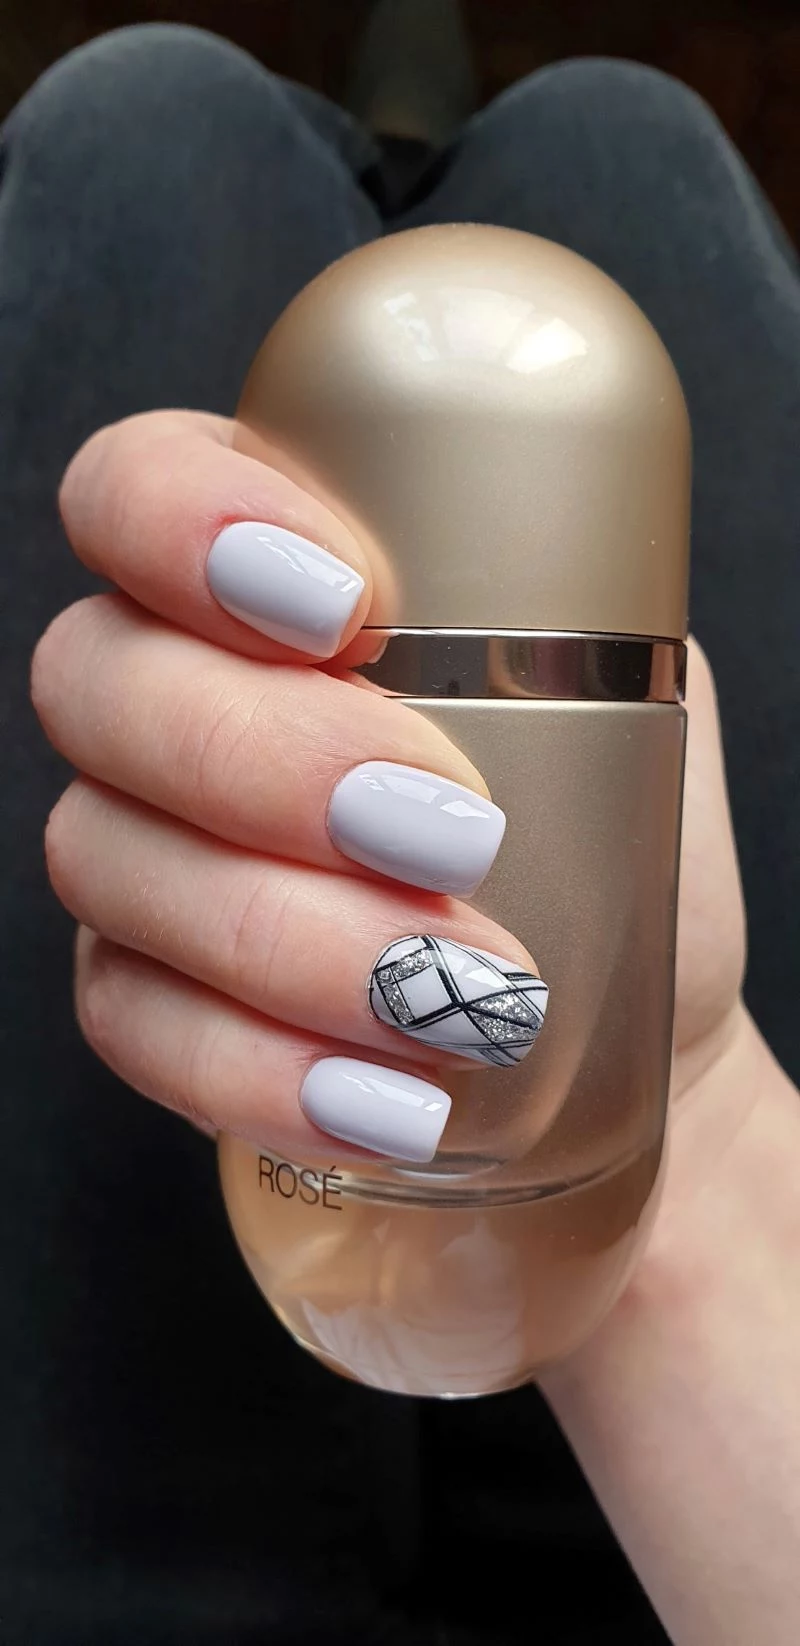
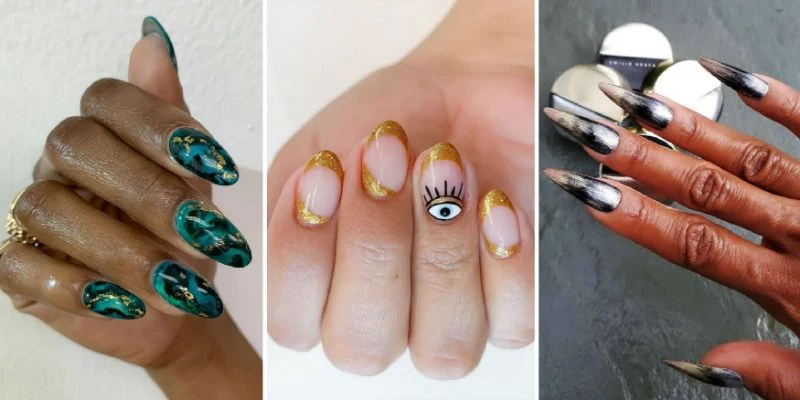
Inspirational Gallery
Can you really fix a chipped gel nail at home?
Yes, with a little patience! Gently file the chipped area to smooth the edges. Cleanse the nail with an alcohol wipe to remove any dust and oils. Apply a thin layer of your gel base coat over the patch, followed by a thin layer of your color, carefully feathering it to blend with the existing polish. Cure each layer under your lamp as usual, and finish with a top coat over the entire nail to seal your repair.
- Daily hydration with a quality cuticle oil.
- Wearing gloves when doing dishes or cleaning.
- Avoiding using your nails as tools to open cans or scrape things.
The secret to a long-lasting manicure isn’t just in the application; it’s in the aftercare.
Over 90% of perceived nail damage from gel manicures is actually caused by improper removal, not the product itself.
Resist the urge to peel or pick off your polish! This rips away the top layers of your natural nail plate, leading to thinning and weakness. Proper removal involves gently filing the top coat and soaking the nails in an acetone-based remover, a crucial step for maintaining nail health between manicures.

The Pro-Level Prep: For a manicure that truly bonds to the nail, professionals rely on a two-step system after shaping. First, a nail dehydrator, like Bond-Aid from OPI, removes surface oils. This is immediately followed by a non-acidic primer, such as Gelish’s ProBond, which acts like double-sided tape for your base coat. This combination is the key to preventing lifting, especially for those with oily nail beds.
Glossy No-Wipe Top Coat: Cures to a perfect, non-sticky shine, ideal for a quick finish or for applying chrome and mirror powders directly onto the surface. Brands like Kiara Sky make popular versions.
Tacky Layer Top Coat: Leaves a sticky residue after curing that must be wiped off with alcohol. This layer provides extra adhesion for nail art, decals, or rhinestones before the final seal.
For durability and shine, both are excellent; the choice depends entirely on your finishing steps.
A single drop of gel polish on the surrounding skin or cuticle can compromise the entire nail, leading to premature lifting within days.
The quest for the perfect “your nails but better” look has a new hero: structured gel, often known by brand names like BIAB™ (Builder in a Bottle) from The Gel Bottle Inc. Unlike regular gel polish, this thicker formula is used to build a subtle apex, or arch, on the natural nail. This not only adds incredible strength and corrects imperfections but also creates a beautifully plump and refined silhouette that was once only achievable with extensions.
- Avoid overly thick, goopy layers that flood the cuticles.
- Ensure each coat is perfectly smooth before curing.
- Achieve a streak-free finish, even with tricky pastel or neon colors.
The trick? A good quality self-leveling gel polish. These formulas have a slightly runnier consistency that settles on the nail, smoothing out brush strokes and minor imperfections on its own for a flawless, professional-looking surface.
Ever wonder why your at-home gel lamp takes longer than the one at the salon? It’s all about the light source. Professional-grade lamps, like those from SUNUV or Gelish, are often higher wattage and use strategically placed LED diodes for a faster, more even 360-degree cure. While a basic home lamp works, investing in a more powerful model can cut curing time in half and ensure the gel is fully hardened, a key factor for longevity.


