Why Your White Manicure Looks Streaky & How to Finally Get It Right
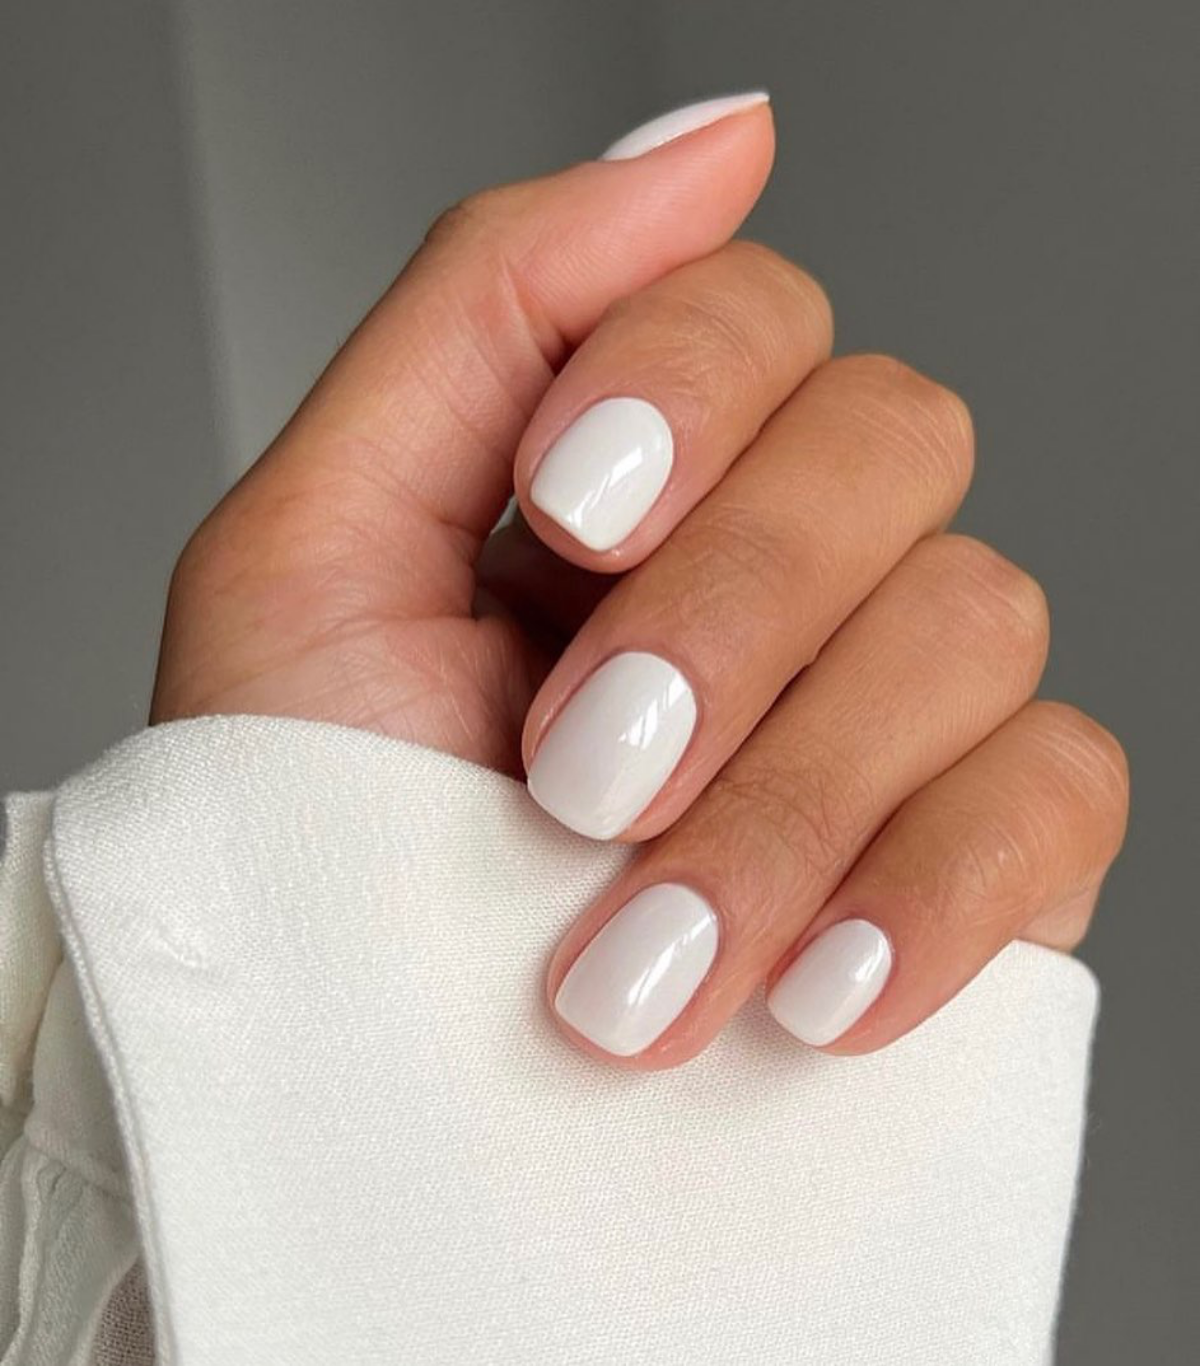
I’ve been doing nails for a long, long time, and let me tell you a little secret: the one color that truly separates the rookies from the pros is plain old white. When it’s perfect, a white manicure is the definition of clean, chic, and effortless. But getting it perfect? That’s another story.
In this article
The truth is, it’s one of the hardest looks to nail. That opaque pigment is like an honest friend who points out every single flaw. Every little bump, every streak, every bit of polish that even thinks about touching your cuticle—it’s all on display. Over the years, I’ve seen it all and learned that a flawless white manicure isn’t about luck. It’s about a solid method. This guide will walk you through the exact techniques the pros use for a durable, perfect white finish that actually lasts.
First, Why is White Polish So Difficult?
Before you even twist open that bottle, it helps to know what you’re up against. The problem with white polish comes down to the pigment itself, which is usually titanium dioxide. Think of it as a heavy, dense powder that doesn’t like to stay mixed in the liquid polish base. This is what causes those dreaded chalky streaks.
It behaves differently depending on what you’re using:
- Regular Nail Polish (Lacquer): This is your standard air-dry stuff. If you glob on a thick coat of white, the top will dry, but the bottom stays gooey. Hours later, you think you’re safe, and then… smudge city.
- Gel Polish: This is the kind that hardens (or “cures”) under an LED or UV lamp. It’s way more durable, but the opaque white pigment can actually block the light from getting to the bottom layers. If your coat is too thick, it won’t cure all the way through, leading to peeling and lifting in just a few days.
So when nail techs obsess over thin coats, it’s not just a preference—it’s chemistry!
The Pro Method: From Bare Nails to a Flawless Finish
Alright, let’s get into the good stuff. A great manicure is a process, and rushing any step will show. I always tell beginners that 70% of a perfect manicure happens before you even open the color. Plan for about 60-90 minutes for a DIY gel job; you can’t rush perfection.
Step 1: Impeccable Prep Work (Seriously, Don’t Skip This)
Your nail is a canvas, and you can’t create a masterpiece on a dirty, oily surface.
First things first, sanitation. Always start with clean, dry hands. If you’re in a salon, make sure your tools come from a sealed sterilization pouch. It’s a non-negotiable health standard.
Next is cuticle care. I personally prefer a dry manicure, especially for gel. Soaking nails in water makes them expand, and when they shrink back, your polish can chip. Instead, apply a dab of cuticle remover (you can get this at any beauty supply store for about $5-$10) and let it sit for a minute. Gently push back the skin at the base of your nail. You want to focus on removing only the non-living tissue that’s stuck to your nail plate—it comes off like a flaky, whitish layer. This single step is HUGE for preventing lifting.
Then, shape the nail with a gentle file (a 180 or 240-grit is perfect) in one direction to prevent fraying. Lightly buff the shine off the nail surface to give the polish something to grip onto. Finally, scrub the nail plate with a lint-free wipe soaked in 99% isopropyl alcohol to remove all dust and oils. For gel, follow up with a pH bonder or primer. This acts like double-sided tape for your polish.
Step 2: The Base Coat, Your Manicure’s Anchor
A base coat protects your nail from staining and gives the color a sticky surface to grab onto. Apply a very thin layer and “cap the free edge” by running the brush along the tip of your nail. This little move dramatically reduces chipping. For gel, cure it under your lamp for 30-60 seconds.
Step 3: Applying White Polish—The Art of the Float
This is where the magic happens. The key to a streak-free finish is what we call the “floating technique.” Instead of painting like you would a wall, you get a small bead of polish on your brush and hold it nearly parallel to the nail. You let the polish flow off the brush, essentially guiding it into place. This prevents the bristles from digging into the layer below and creating streaks.
And remember, thin coats are law. I always apply 2-3 super thin coats. The first coat will look patchy. That is completely normal! Resist the urge to fix it with more polish. Just cure it and move on. The second coat will glide on much more smoothly.
Heads up! A thick coat of white gel can cause a painful heat spike in the lamp. That’s the gel hardening all at once and releasing heat. If it gets hot, just pull your hand out of the lamp for 2-3 seconds. The reaction will slow, and you can pop it back in to finish curing without the ouch.
If you get any polish on your skin, clean it up with a small brush dipped in alcohol before you cure. Cured polish on your skin is a guaranteed recipe for lifting.
Step 4: Top Coat and Finishing Touches
The top coat gives that amazing gloss and protects your color. Apply it just like the color polish, floating it over the top and, most importantly, capping that free edge again. After the final cure, wipe off the sticky layer with alcohol.
The last step? A good quality cuticle oil. Massage it into the skin around your nails. It makes the manicure look salon-fresh and keeps your skin and nails hydrated. And no, coconut oil isn’t the best choice here. Look for something with jojoba oil, as its molecular structure is very similar to our skin’s natural oils, so it absorbs much better.
Help! Common White Polish Problems & Quick Fixes
Okay, so what happens when things go wrong? Here are some common frustrations and how to handle them.
- Problem: It’s still streaky!
Solution: You’re either using too much pressure or your coats are too thick. Try the floating technique again and trust the process. The first coat is supposed to be sheer; the second or third coat will provide the opacity. - Problem: It peeled off in two days!
Solution: This is almost always a prep issue. Did you skip the alcohol wipe or the bonder? Did you get polish on your skin? Another culprit is not capping the free edge with your base and top coats. - Problem: It looks thick and goopy.
Solution: Thin coats are the answer. You’re better off doing three paper-thin coats than two medium ones. This also ensures a proper cure for gel, so it hardens all the way through.
Going Pro vs. DIY: A Quick Breakdown
Honestly, you can get a decent white manicure at home with regular lacquer if you have patience. But for that durable, 2-week gel finish, going to a pro is often worth it. Expect to pay between $40 and $75 for a professional white gel manicure, depending on your location and the salon.
If you want to build an at-home kit, you can! Just know that it’s an investment. A good starter LED lamp will run you about $25-$50 on Amazon or at a beauty supply store, and pro-quality polishes are usually around $15 a bottle. To get started, you’ll need:
- An LED Lamp
- 99% Isopropyl Alcohol & Lint-Free Wipes
- A 180/240 Grit Nail File & Buffer
- pH Bonder/Primer
- Base Coat
- White Gel Polish (a classic like Gelish ‘Arctic Freeze’ is a great, reliable choice)
- A No-Wipe Top Coat
- Cuticle Oil
Making Your Perfect Manicure Last
Once you’ve got that beautiful manicure, you want it to stay that way, right? I give every client three simple rules:
- Your nails are jewels, not tools. Don’t use them to scrape things or open cans.
- Wear gloves when you’re washing dishes or cleaning with harsh chemicals.
- Use cuticle oil daily. Hydrated nails are flexible nails, which means they’re less likely to break.
And please, oh please, never peel off your gel polish! You’re ripping off layers of your natural nail with it. To remove it safely, gently file off the shine, then soak a cotton ball in pure acetone, place it on the nail, and wrap it in foil for 10-15 minutes. The gel should then slide off easily with a wooden stick.
A perfect white manicure is a true statement. It’s clean, it’s classic, and it takes skill. But with a little patience and the right technique, you can absolutely achieve that flawless, long-lasting finish you’ve been looking for.
Galerie d’inspiration
The titanium dioxide used for pigment is one of the whitest, most reflective materials on Earth. It’s so effective that it’s also a primary ingredient in industrial paint and sunscreen.
This high density is precisely why white polish separates in the bottle and streaks on the nail. Always roll the bottle between your hands—never shake it—to gently re-emulsify the formula without creating air bubbles that will ruin your finish.
Choosing the right white is a game-changer. It’s not just one color.
- Stark, Opaque White: Think OPI’s

Ever had your brilliant white manicure turn a sad shade of yellow after a few days?
The culprit is often UV exposure reacting with your top coat. Some formulas, especially older quick-dry ones, lack UV stabilizers and will yellow in the sun. To keep your whites bright, always use a modern, non-yellowing top coat. Pro favorites like Seche Vite Dry Fast Top Coat or CND Vinylux Long Wear Top Coat are specifically formulated to resist discoloration and keep your manicure looking fresh.

The secret weapon for a streak-free application: a good base coat. It’s not just about protection; it’s about creating the perfect canvas. For a challenging color like white, a ridge-filling base coat is non-negotiable. It smooths out the nail plate, filling in any tiny grooves where the thick white pigment would otherwise settle and create streaks. This single step makes the color glide on more evenly, requiring fewer, thinner coats.
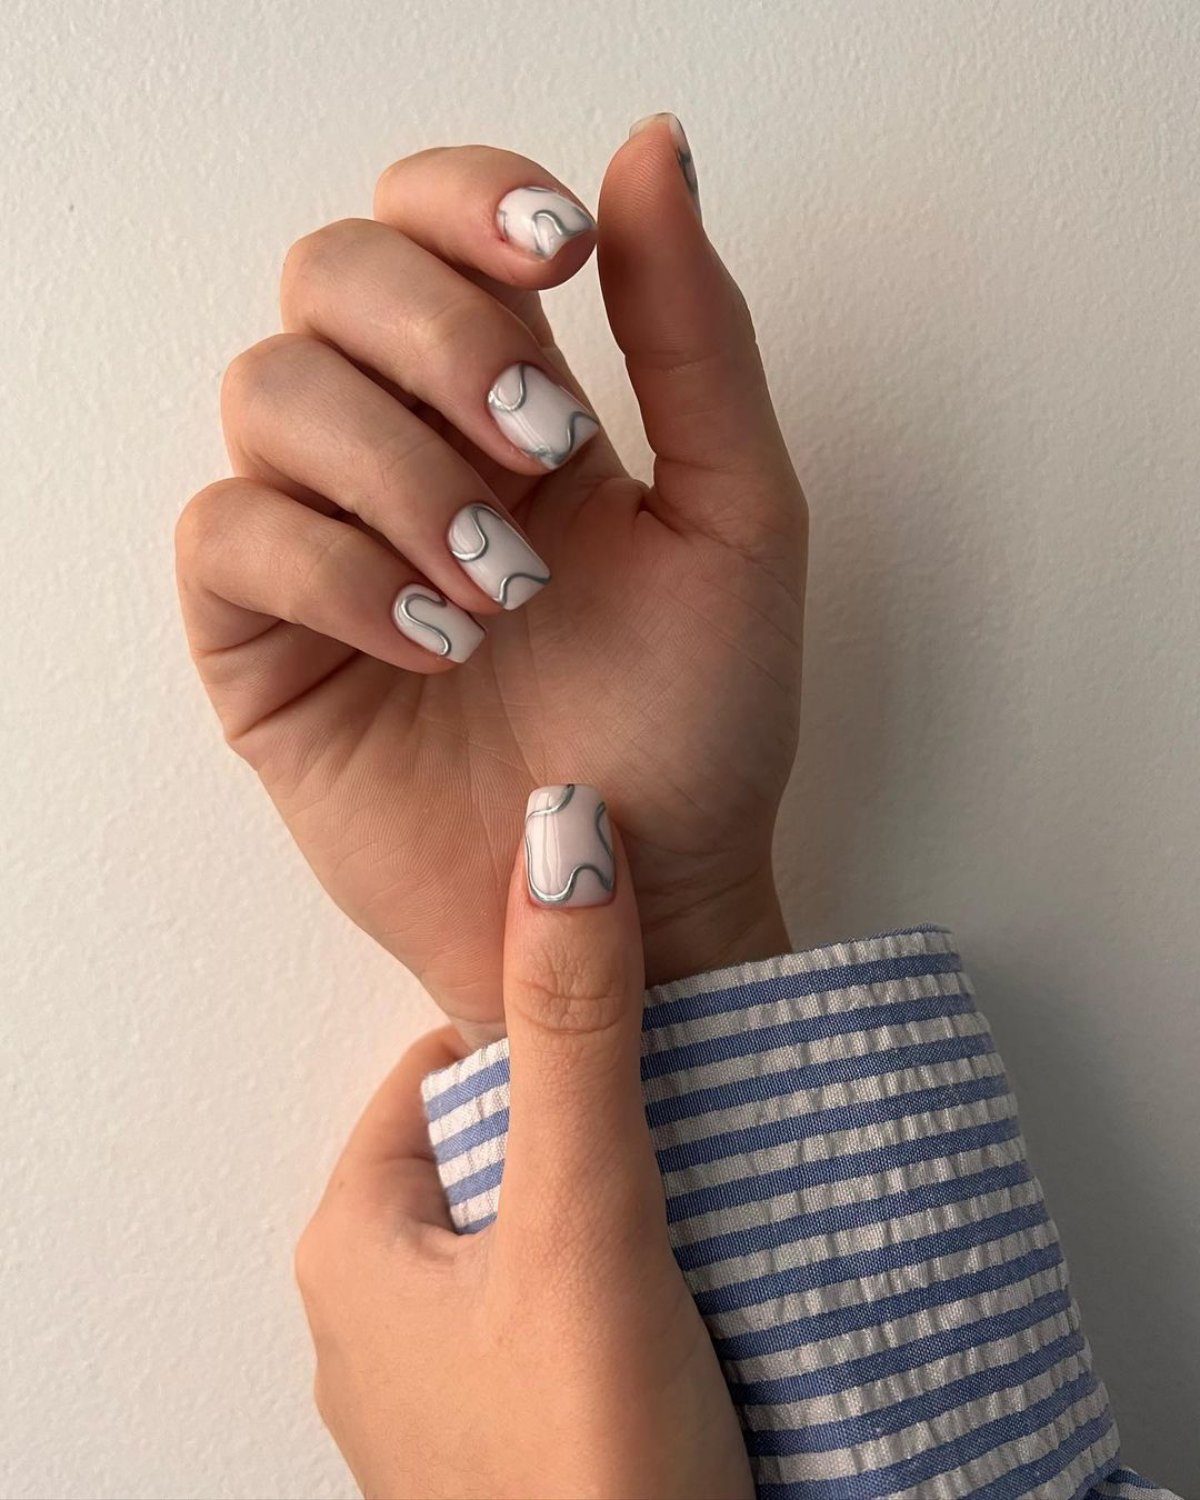
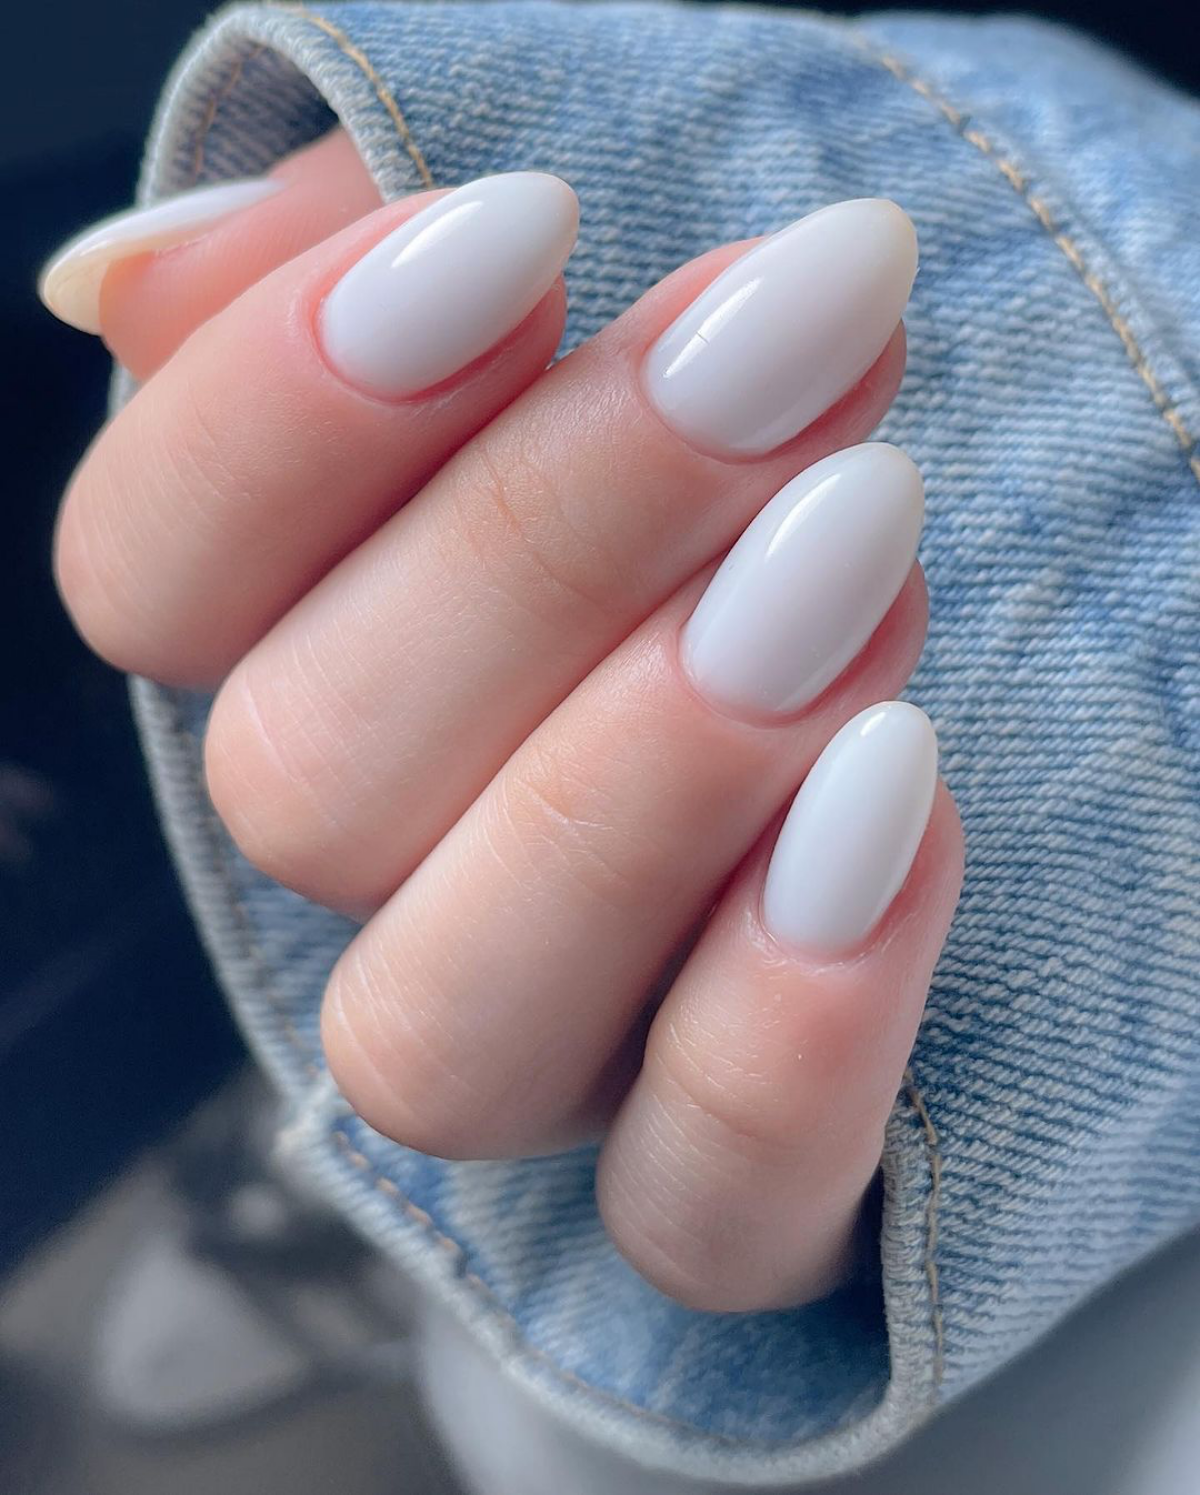
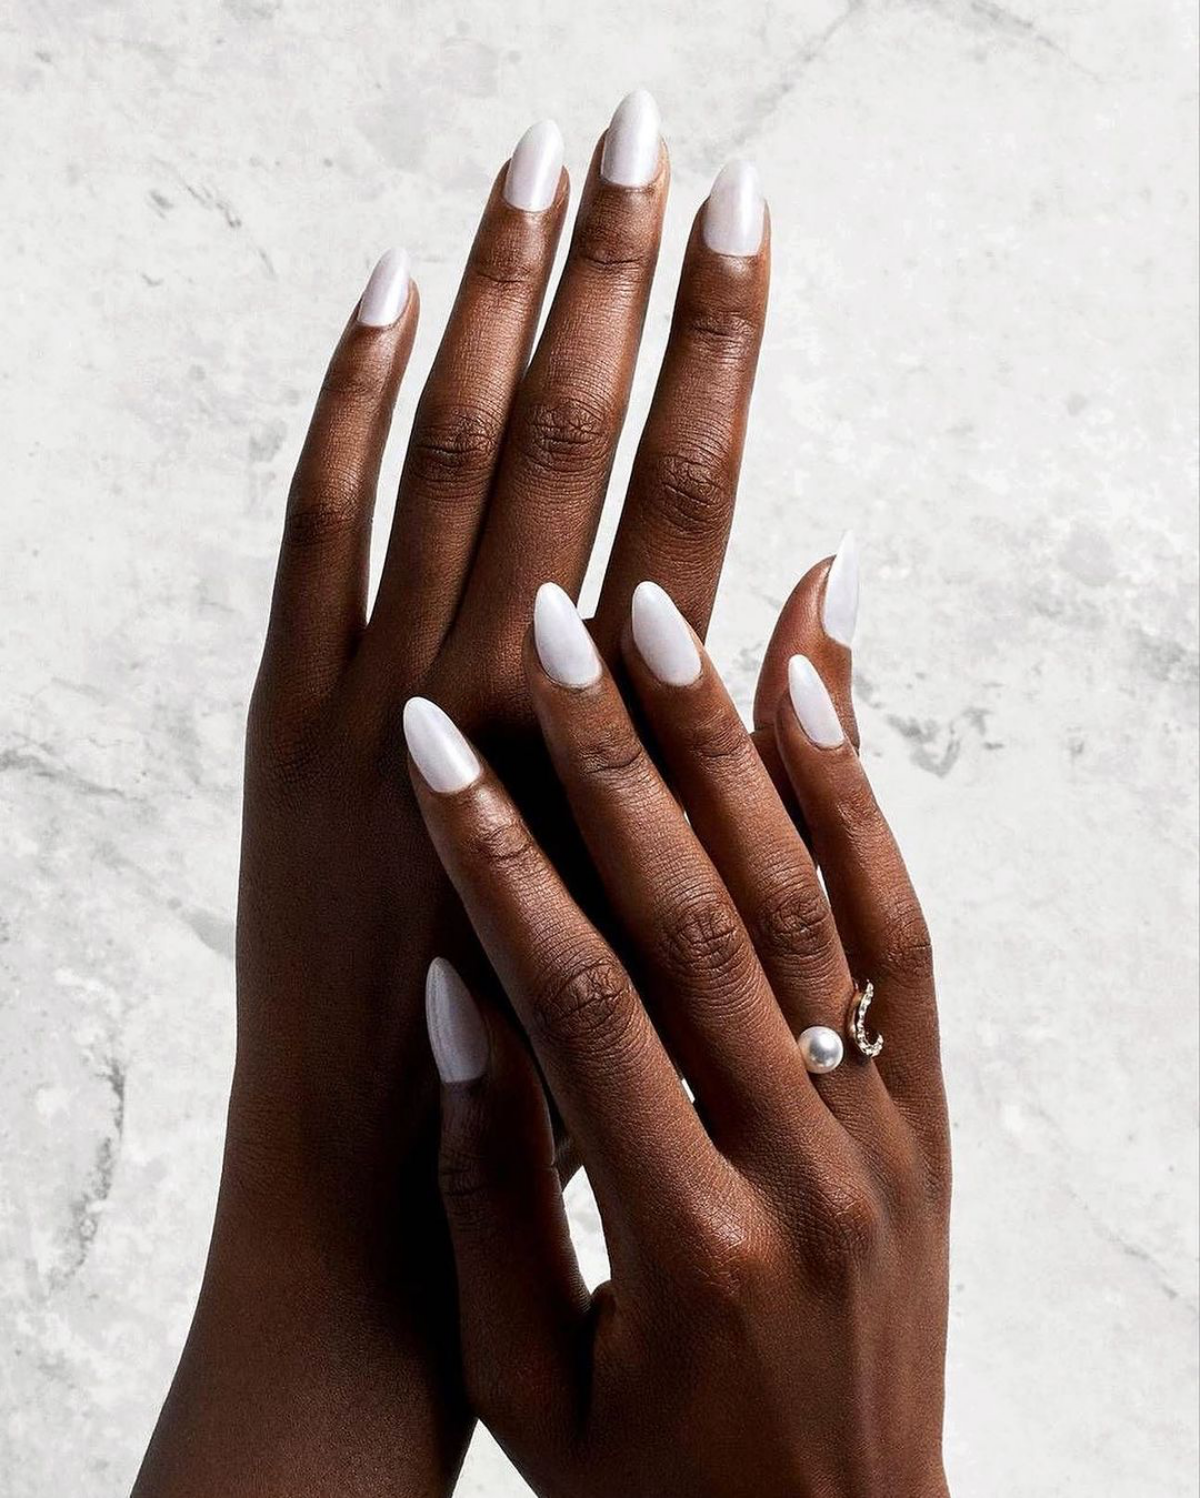
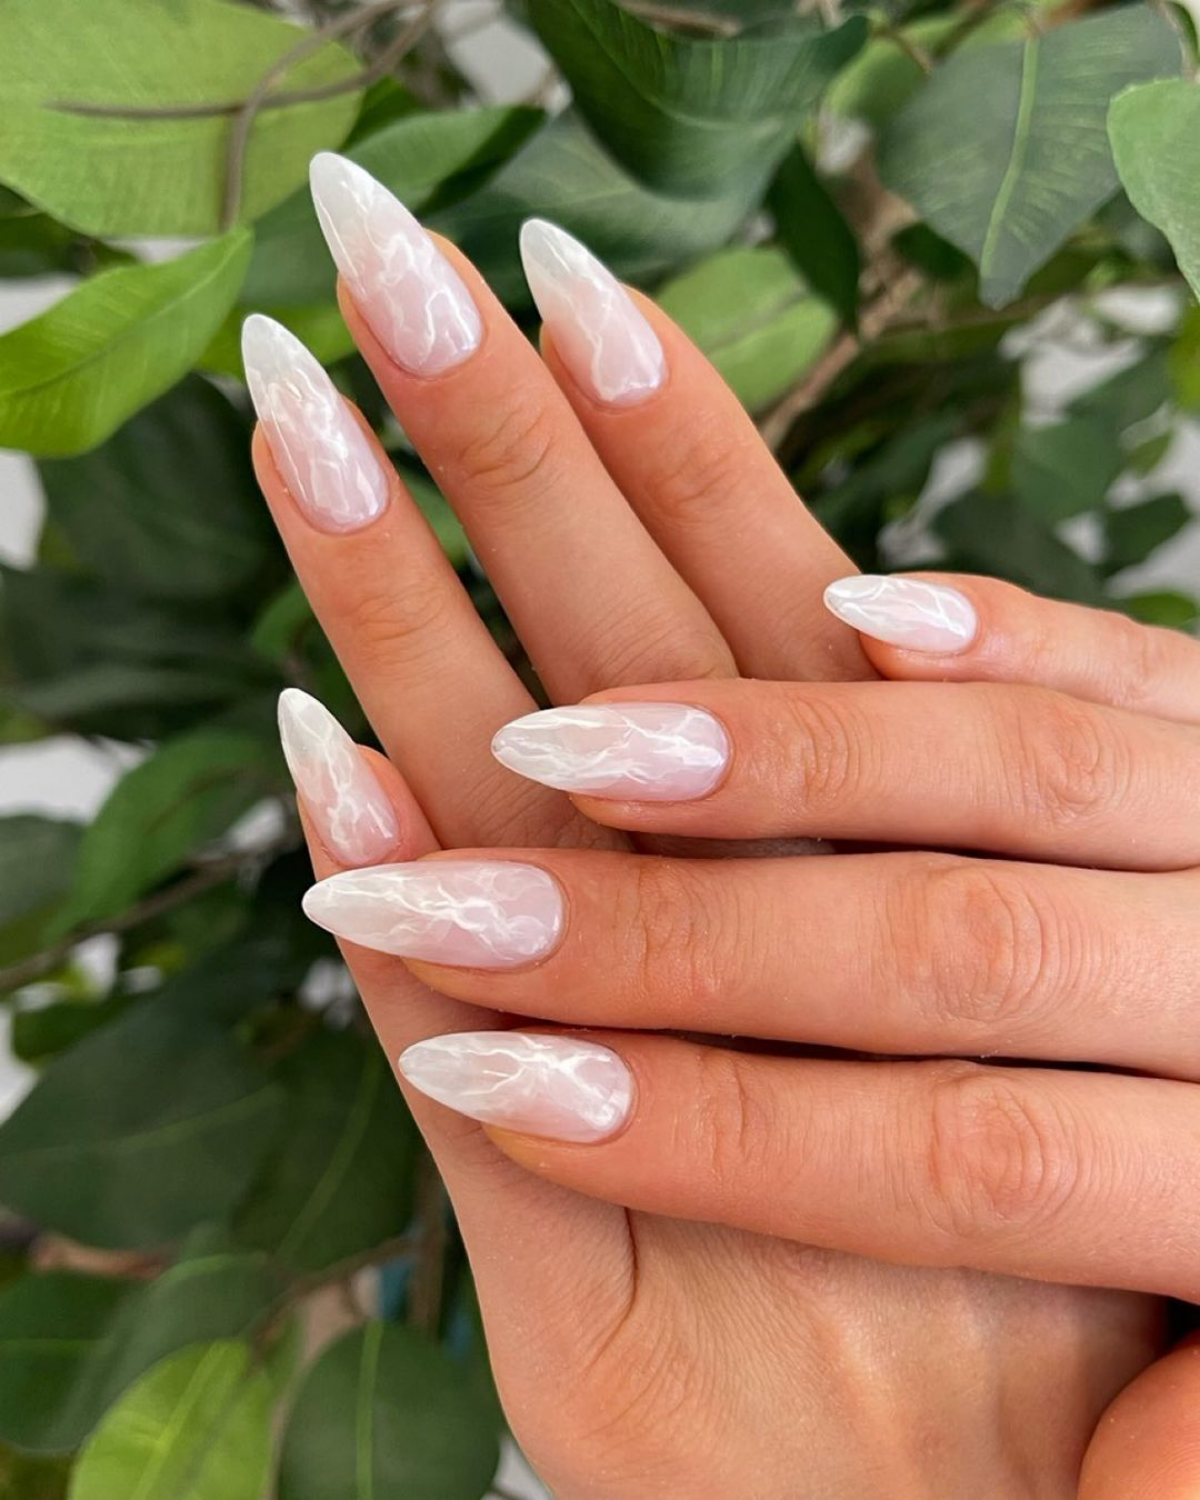
- Gives a soft, ethereal glow that’s universally flattering.
- Blurs minor imperfections and nail texture.
- Effortlessly chic and perfect for the ‘quiet luxury’ aesthetic.
The trick? Ditch the opaque white for a sheer, milky polish. The key to the celebrity-loved “milky nails” look is a jelly-like formula, like OPI’s iconic “Funny Bunny,” applied in one or two thin coats for that subtle, clean, and sophisticated finish.

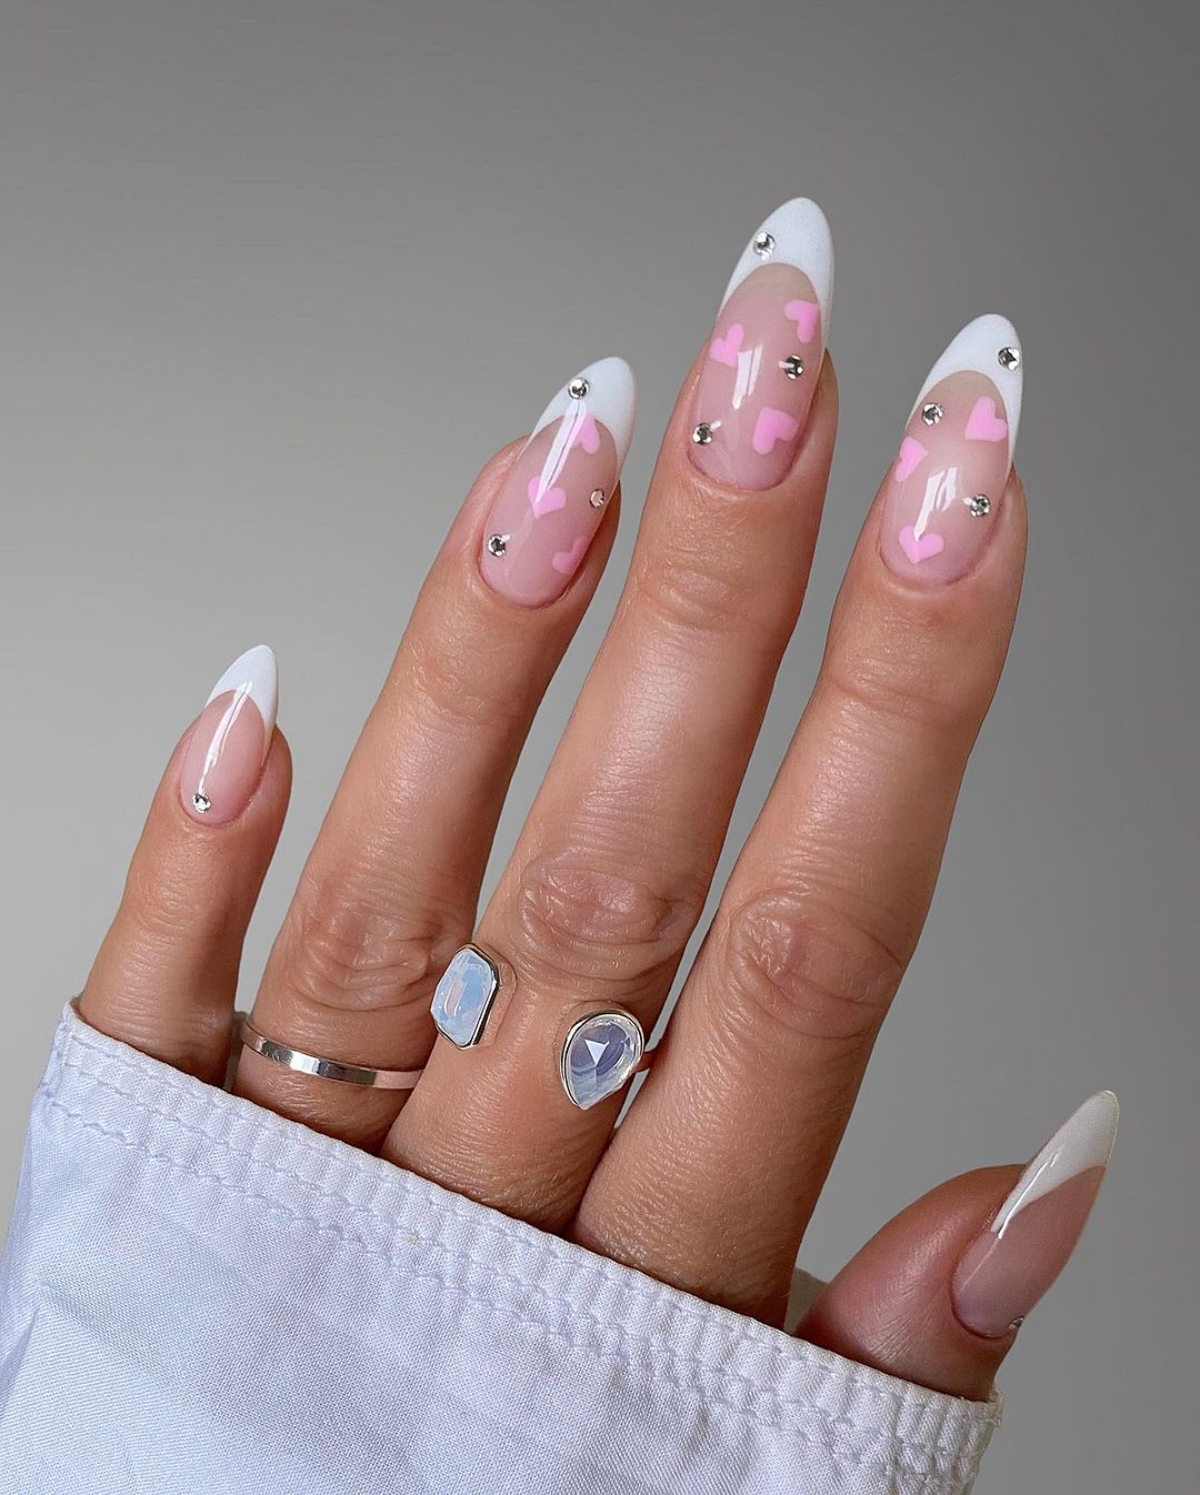
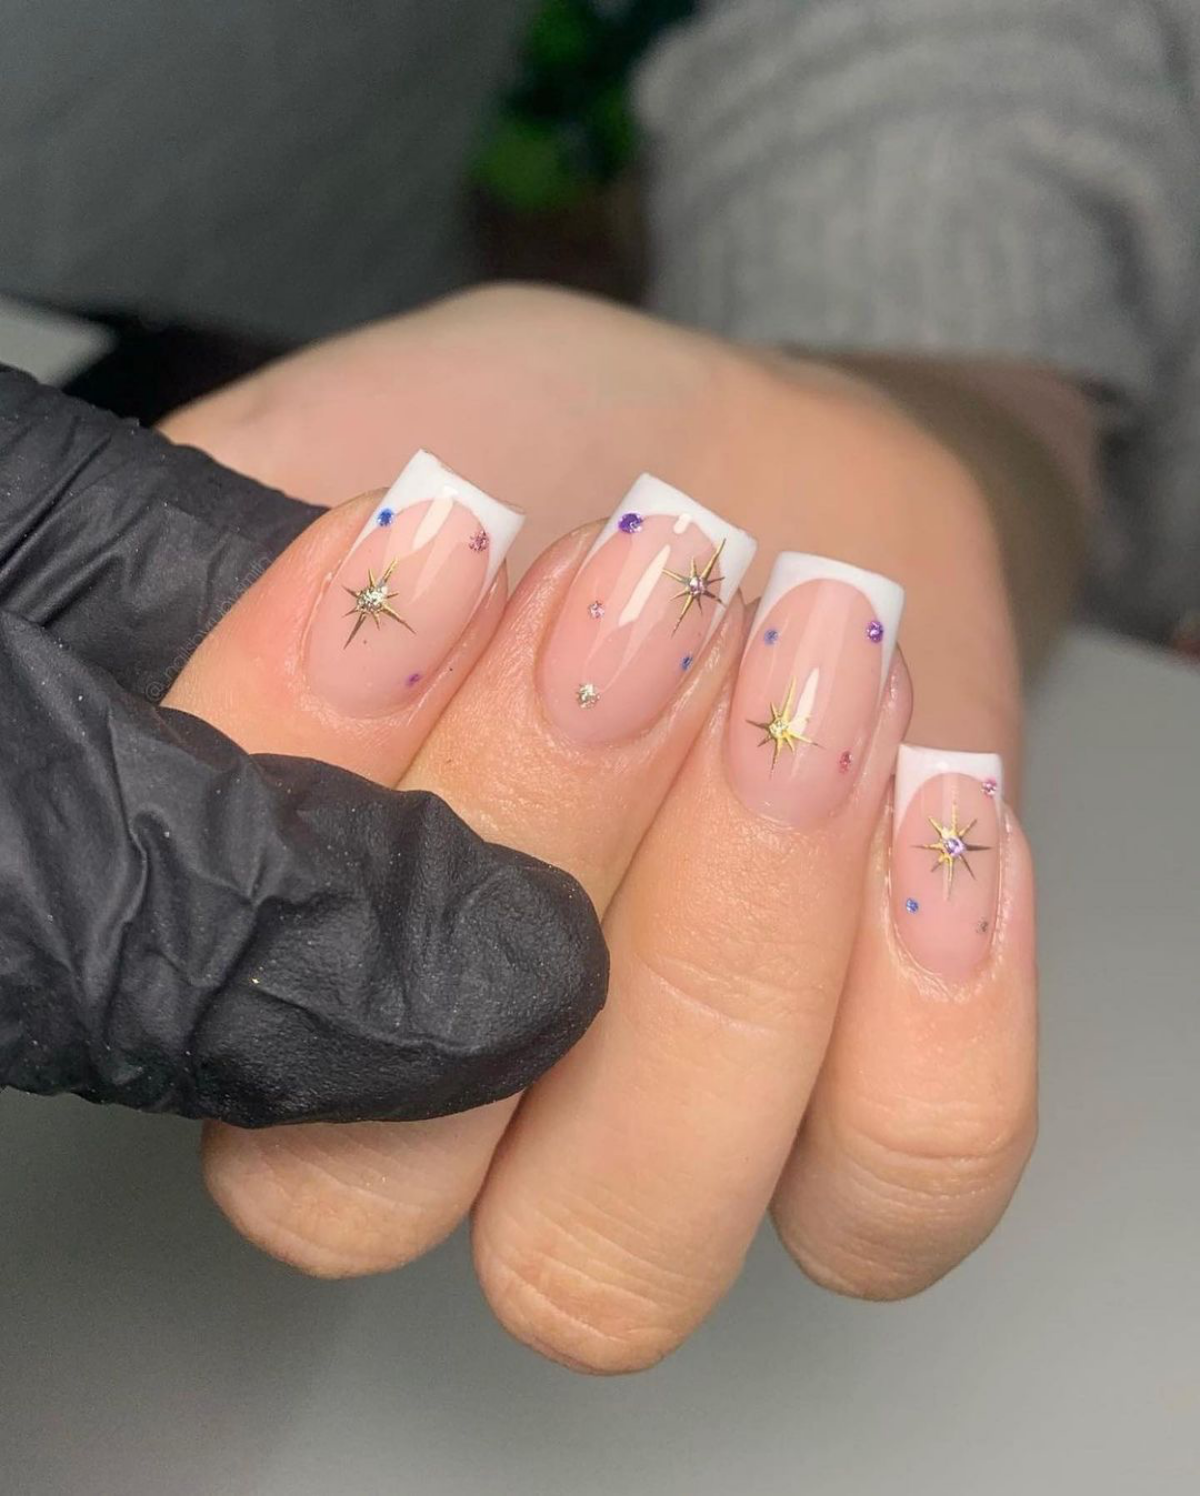
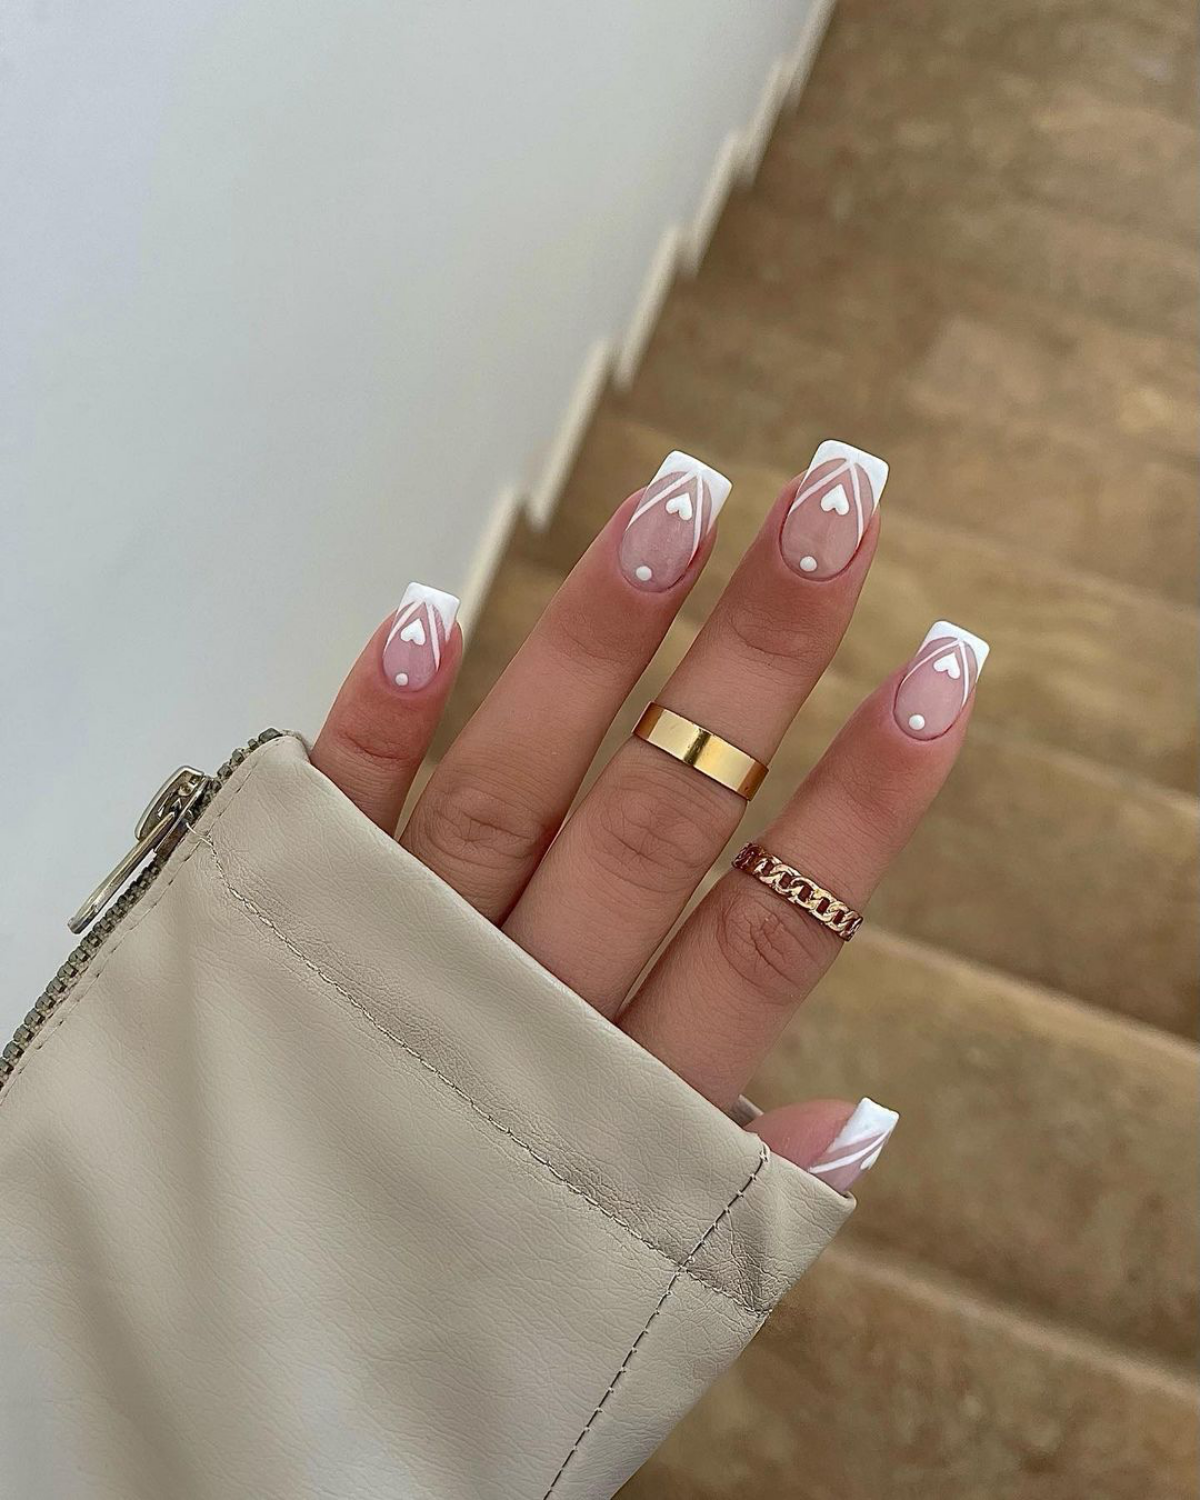
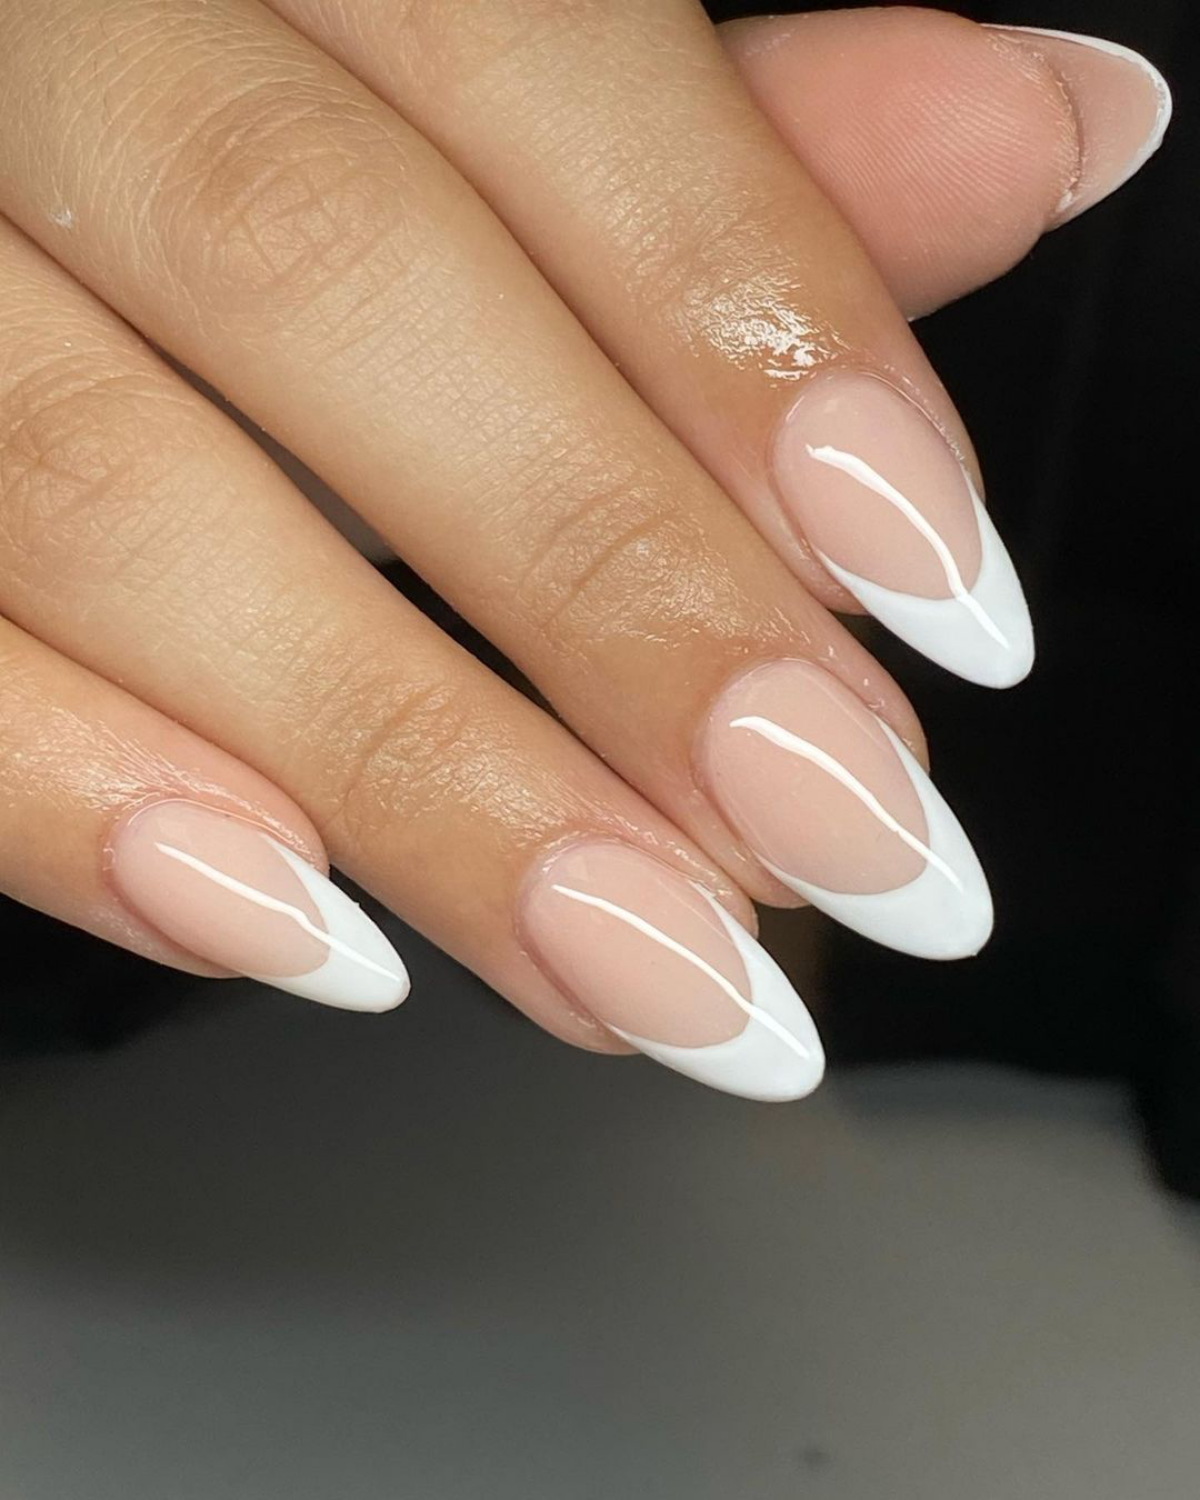
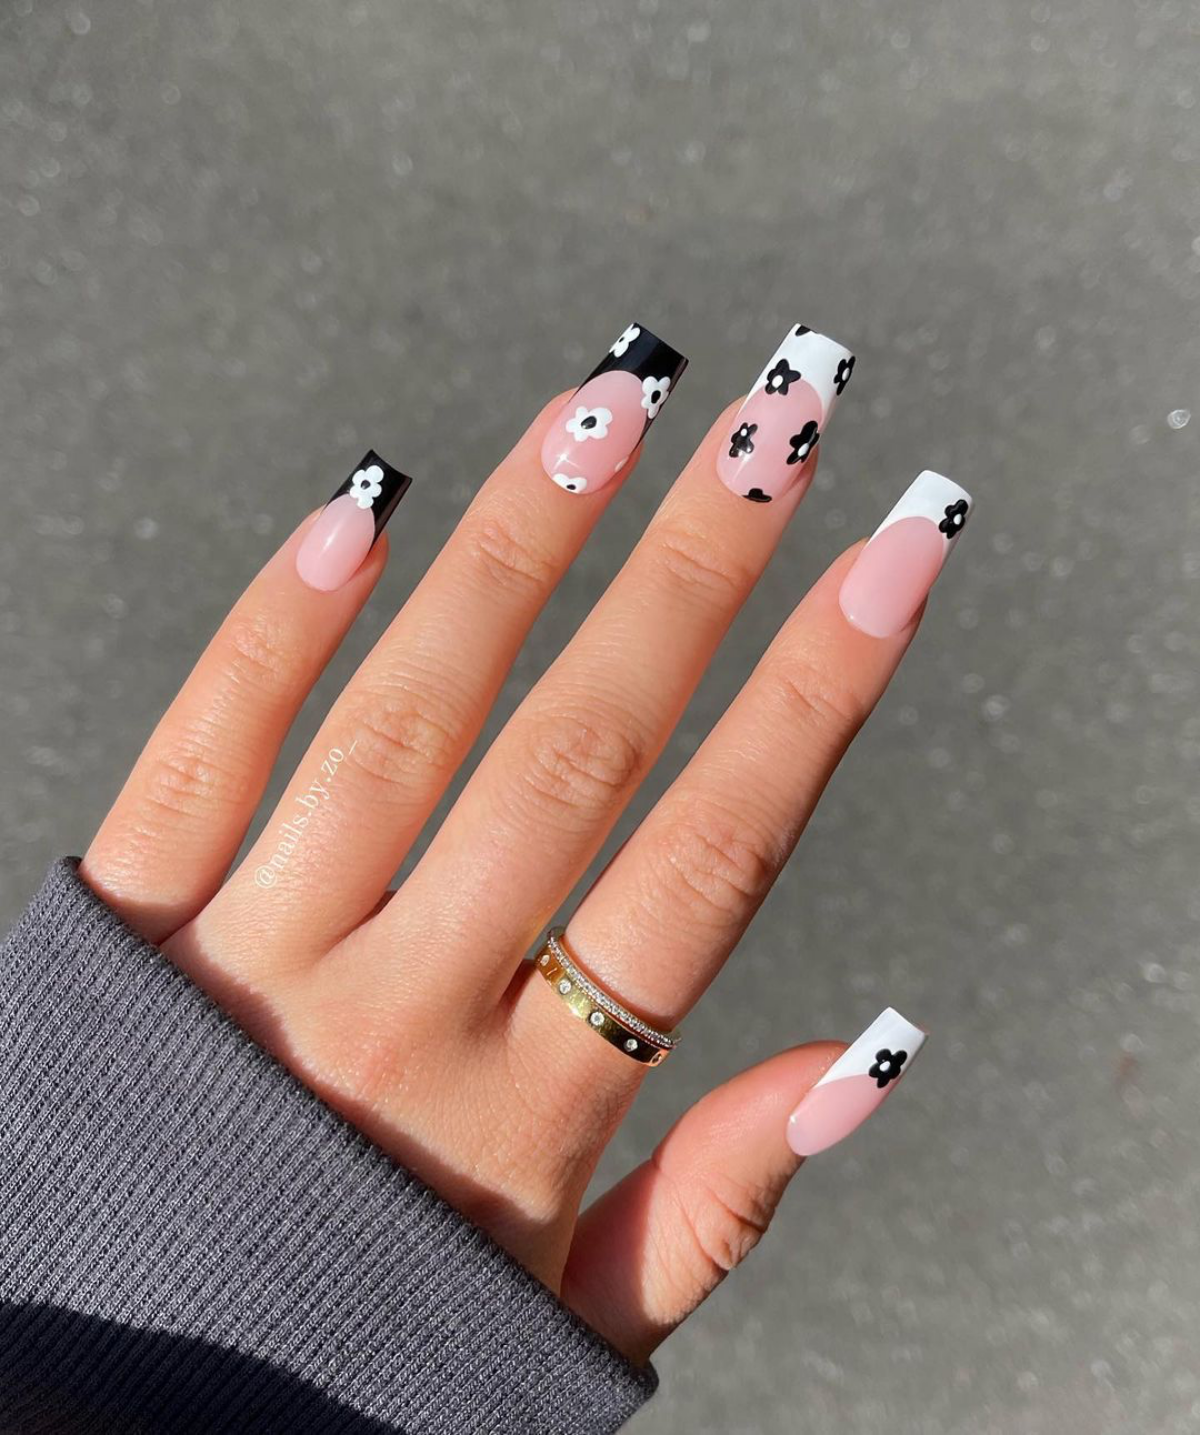
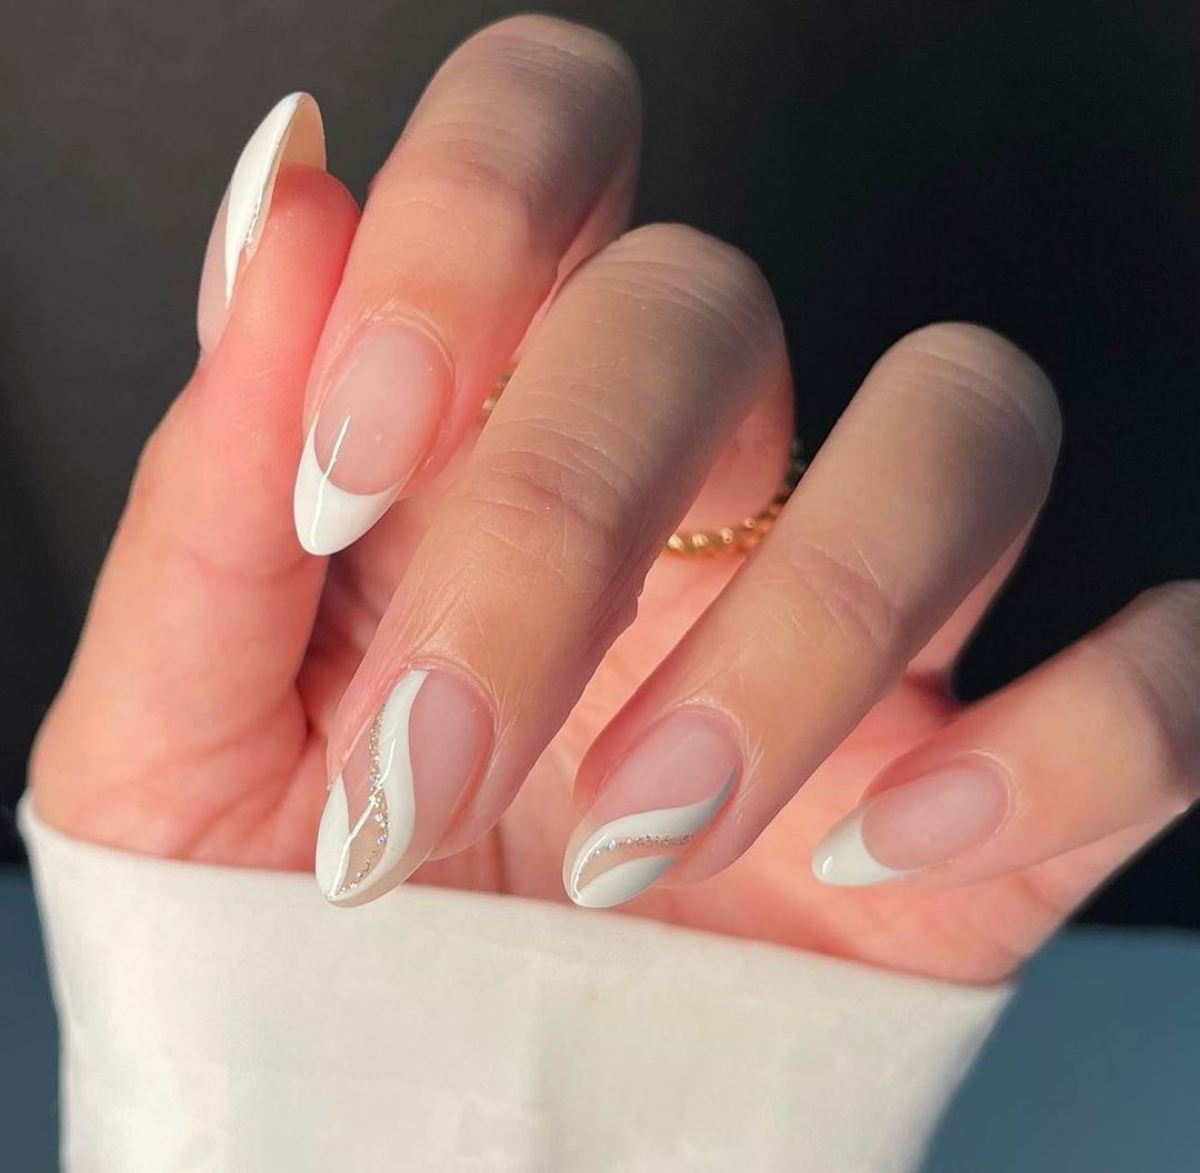
A 2023 Pinterest trend report showed a 235% increase in searches for “micro french nails,” an elegant update on the classic that often uses a soft white tip.
There’s a unique power in a crisp white manicure. It acts as a palette cleanser, a minimalist statement that feels both incredibly chic and refreshingly clean. It’s a year-round classic that shifts its mood with the seasons: bright and bold against sun-kissed skin in the summer, and sharp and modern against the deep tones of a winter wardrobe.