Pink Chrome Nails: Your At-Home Guide to That Flawless Mirror Shine
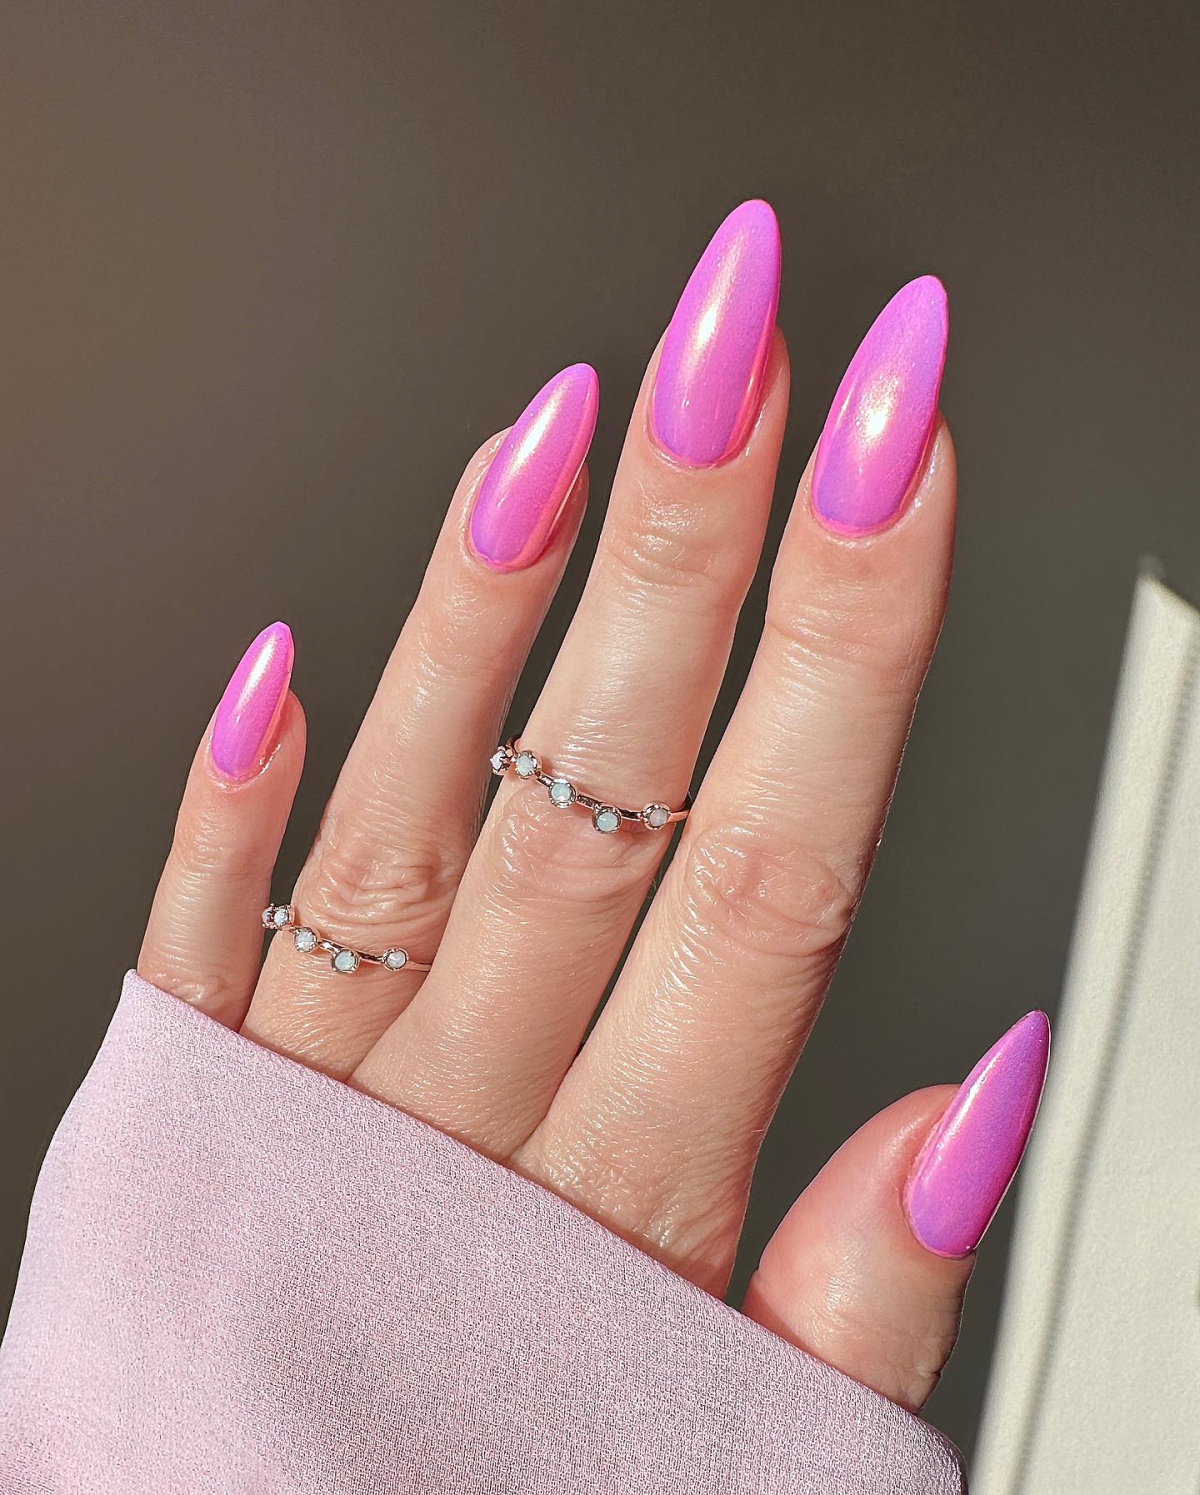
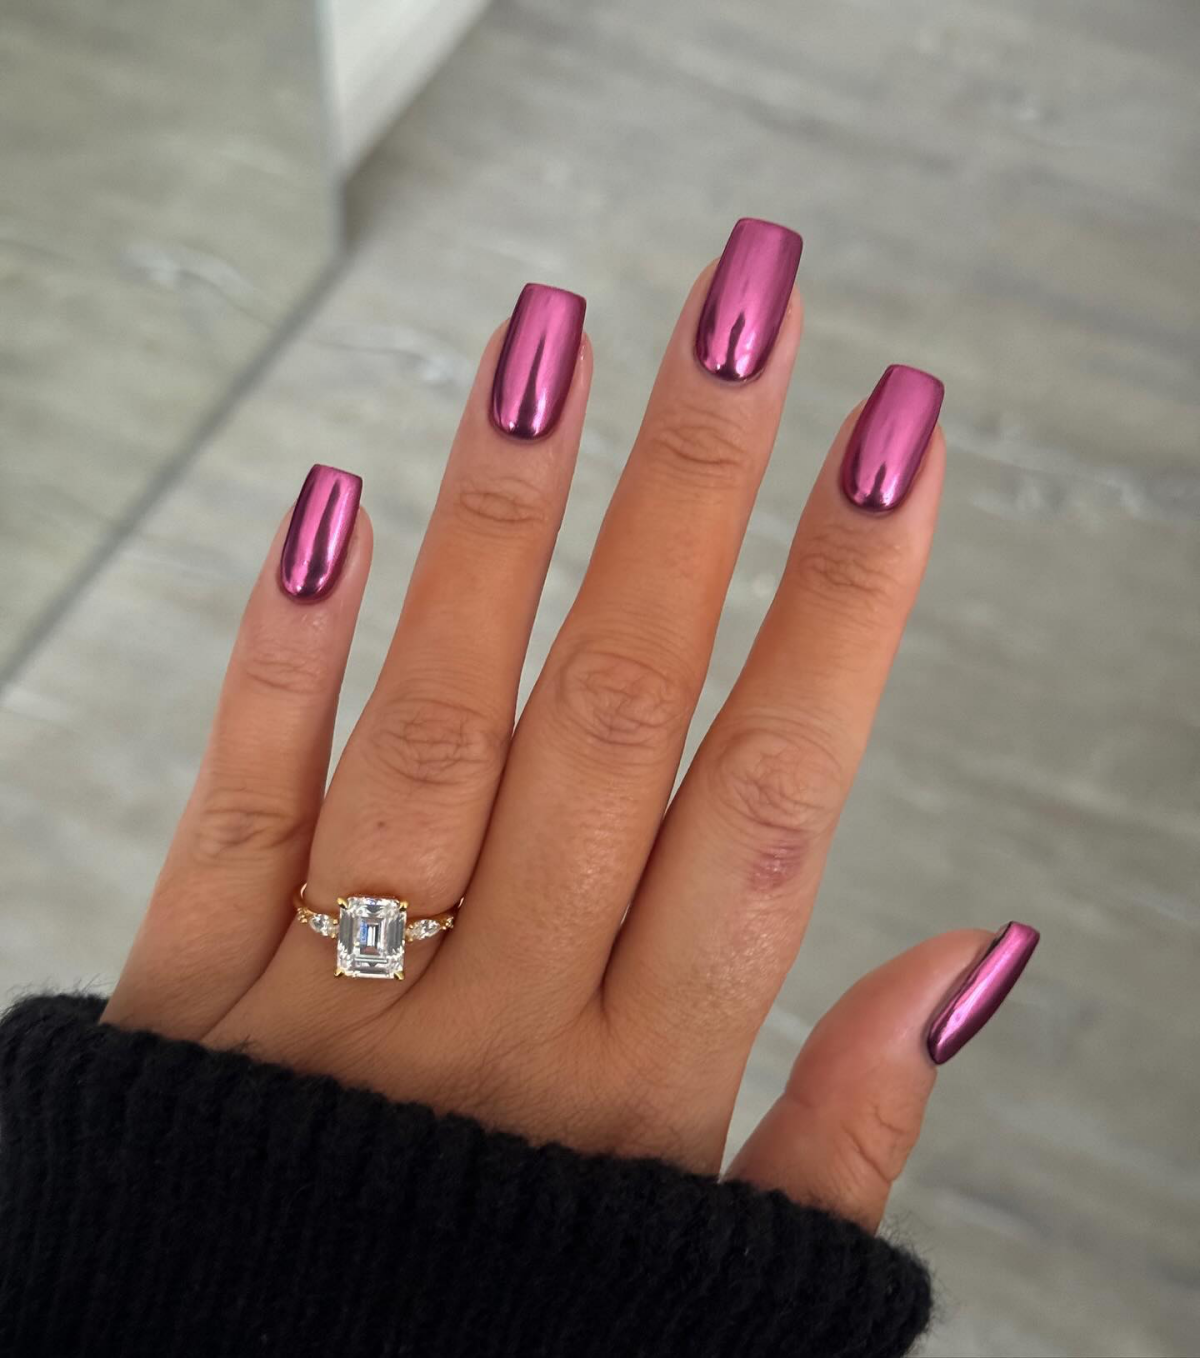
I’ve been doing nails for a long, long time—over fifteen years now. In that time, I’ve watched countless trends pop up and then fizzle out. But some looks have serious staying power, and chrome nails, especially that gorgeous pink chrome, are definitely in that camp. There’s just something about them clients can’t get enough of. It’s not just a color; it’s an entire experience. A true chrome nail has this liquid, almost molten-metal finish that you simply can’t fake with regular polish or glitter. It catches the light in a way that feels both super modern and timelessly elegant.
In this article
Honestly, when I first started training new techs, chrome powder was one of the trickiest things to get right. It looks so easy in videos, right? But getting that perfectly smooth, ripple-free mirror shine is more science than art, at least at first. Be off by just ten seconds on your cure time, and the whole effect can be ruined. But once you understand the why behind each step, it all clicks into place and becomes second nature. This guide is basically all those years of trial and error packed into one place. We’re going to cover the pro techniques we use in the salon, from getting the base absolutely perfect to fixing the common mistakes I see people make all the time.
So, What’s the Magic Behind the Shine?
Before you dive in, it helps to know what you’re working with. Chrome nail powder isn’t glitter, and it’s not a shimmer pigment. It’s an incredibly fine powder, almost like dust. The really good stuff is typically made from microscopic, plate-like flakes of metal oxides or specially coated mica. Think of them as millions of tiny, flat mirrors.
The magic happens when you rub—or burnish—these tiny plates onto a very specific surface: a non-wipe gel top coat that has been partially cured. Here’s the deal: a normal gel top coat leaves a sticky layer after curing (it’s called the inhibition layer). If you tried to rub chrome on that, you’d get a chunky, sparkly mess because the powder would just get stuck in the goop instead of laying flat.
A non-wipe top coat, on the other hand, is designed to cure to a smooth, non-sticky finish. When you cure it for just the right amount of time, the surface is firm but still has just enough ‘grab’ to hold onto the chrome flakes. As you rub, you’re essentially laying all those microscopic plates down perfectly flat, side-by-side, creating a seamless metallic sheet. That’s what gives you that incredible, uniform reflection. Understanding this is everything. You aren’t just dusting powder on a nail; you’re building a new surface at a microscopic level.
The Foundation: Why a Perfect Base Is Non-Negotiable
Let me be really clear about this: a chrome finish will magnify every single tiny flaw. Any bump, ridge, or stray piece of dust will stand out like a neon sign under that mirror surface. I always tell my trainees to spend 80% of their time on prep. If the base isn’t perfect, the chrome never will be. Period.
Here’s the pro process for creating that perfect canvas:
- Cuticle Care: Start with meticulous cuticle work. Gently push back the eponychium and only trim non-living tissue. Gel polish that touches the skin is guaranteed to lift, and lifting is the enemy of a long-lasting manicure.
- Shaping: Shape the nail with a fine-grit file (a 180 or 240-grit is perfect). Make sure the shape is even and the edges are smooth to prevent chipping down the line.
- Surface Prep: This is a big one. Lightly buff the entire nail plate with a soft buffer block. You are only trying to remove the natural shine, not file down the nail. A common DIY mistake is over-filing, which leads to thin, weak nails. Be gentle!
- Cleansing: After buffing, you need to scrub the nail clean. Use a lint-free wipe soaked in 99% isopropyl alcohol. Get the surface, the sidewalls, and under the free edge. This removes all the dust and, more importantly, any oils that cause lifting.
Only move on when the nail is perfectly prepped and dry. Rushing this part is the #1 mistake I see. It’s the boring part, I know, but it’s also the most important.
Your DIY Chrome Shopping List
Thinking of trying this at home? A salon visit for chrome nails can easily run you $60 to $90+, depending on where you live. You can put together a solid DIY kit for around $80 to $150, and it’ll last you for many, many manicures. Here’s what you’ll need:
- An LED Lamp (36-48 watts is a great start): Expect to pay $25 – $50 for a good one online.
- The Essentials: You’ll need a pH Bonder, Gel Base Coat, and a regular Gel Top Coat. Quality brands usually cost between $8 – $15 per bottle. It’s a good idea to have two bottles of top coat—one you use only for chrome manis to avoid glitter contamination, and one for everything else.
- Pink Gel Polish: Pick your favorite shade! ($8 – $15)
- Non-Wipe Gel Top Coat: This is non-negotiable. Look for trusted salon brands. ($8 – $15)
- Pink Chrome Powder: A little pot goes a long way. You can find great ones for $5 – $10.
- Applicators: A small silicone tool gives the smoothest finish and wastes less powder, but a cheap foam eyeshadow applicator from the drugstore works just fine when you’re starting out.
- A Soft, Fluffy Brush: For dusting off excess powder. An old, clean makeup brush is perfect for this.
The Professional Method: A Step-by-Step Guide
Okay, let’s get to it. For a beginner, set aside about 90 minutes for this whole process. Once you get the hang of it, you can probably get it down to 60 minutes. My cure times here are for a standard 48-watt LED lamp, so you may need to adjust. Always do a test on a swatch stick first!
Step 1: Base Coat & Color
After your prep is done, apply a thin layer of gel base coat. Be sure to ‘cap the free edge’ by running the brush along the tip of the nail to seal it. Cure for 60 seconds. Then, apply your pink gel polish in two thin coats, curing for 60 seconds after each coat. Thin coats are key for a proper cure and to avoid allergies.
Step 2: The Critical Non-Wipe Top Coat
Apply a thin, even layer of your non-wipe top coat. Make sure the surface is perfectly smooth, with no streaks or bumps. Any imperfection here will show up in the final finish.

Step 3: The ‘Flash Cure’ Secret
This is it. This is the single most important step. Do not cure the non-wipe top coat for the full time. A fully cured top coat is too slick, and the powder won’t stick. An under-cured top coat is too sticky, and the powder will look clumpy and glittery. You’re looking for the sweet spot. For most professional brands in a 48W lamp, this is between 15 and 30 seconds. I’ll never forget the first time I over-cured a client’s top coat—the powder just slid right off! It was so embarrassing, but it taught me to always, always test my timing first.
Heads up! If you’re using a lower-wattage lamp, you might need a bit more time. Start by adding 10-15 seconds to my estimate and see how it works on a test swatch.
Step 4: Burnish the Chrome Powder
Work one finger at a time for the best results. As soon as the nail comes out of the lamp, dip your applicator into the powder—you only need a tiny bit. Tap off the excess. Now, rub the powder onto the nail with firm, consistent pressure, using small circular motions. You should see it transform into a mirror almost instantly. It should feel smooth as you rub, not gritty.
Step 5: Clean Up and Seal
Once the nail is a perfect mirror, take your fluffy brush and gently dust away all the loose powder. Be really thorough, especially around the cuticles. Any leftover bits will get trapped in the top coat and ruin the finish. To seal it all in and prevent chipping, you need two layers of top coat. For the first layer, use a regular (not non-wipe) gel top coat, making sure to cap that free edge again. Cure for a full 60 seconds. For the second and final layer, you can use either the regular or the non-wipe top coat for extra shine. Cure for 60 seconds, and you’re done!
Troubleshooting: When Your Chrome Goes Wrong
So, your first try didn’t come out perfect? Don’t panic. I’ve seen every possible chrome fail, and there’s always a reason.
- The Problem: It looks gritty or sparkly, not like a mirror.
The Cause: Your non-wipe top coat was probably under-cured and still a bit sticky.
The Fix: Increase your flash cure time a little. Try 25 seconds instead of 15. The nail should feel smooth, not tacky, when it comes out of the lamp. - The Problem: The powder won’t stick at all, or it’s patchy.
The Cause: Your non-wipe top coat was over-cured. The surface got too hard and glassy.
The Fix: This is the most common issue! Decrease your flash cure time. If 30 seconds didn’t work, try 20. It’s all about finding that sweet spot for your lamp and polish combo. - The Problem: The finish has faint lines or streaks.
The Cause: This usually comes down to two things: an uneven layer of the non-wipe top coat, or not using enough pressure when burnishing.
The Fix: Make sure your top coat is super smooth before curing. When you apply the powder, use firm, circular motions to really polish it into the surface. - The Problem: It looks great, but chips from the tip in a few days.
The Cause: The free edge wasn’t sealed properly.
The Fix: Be obsessive about capping the free edge with both of your final top coats. A pro trick is to turn the hand over and run a super thin line of top coat just under the tip for an extra-strong seal.

Okay, But How Do I Get It Off? (Safe Removal)
This is a huge one! You can’t just peel this stuff off. You need to remove it properly to keep your natural nails healthy.
First, you have to break the seal. Using a coarse nail file (around 100/180 grit), gently file off the shiny top layers. You’ll see the shine disappear. Be careful not to file down to your natural nail.
Next, soak a small piece of a cotton ball in 100% pure acetone, place it on your nail, and wrap the fingertip tightly in a small piece of aluminum foil. Let them soak for about 10-15 minutes. After soaking, the gel should be soft and almost flaking off. Gently push the product off with an orangewood stick or a plastic cuticle pusher. If it’s not coming off easily, re-wrap and soak for another 5 minutes. Never, ever force or scrape it off aggressively! A little bit of buffing and some cuticle oil afterward will leave your nails looking great.
A Quick Note on Safety
As a pro, safety is everything. Gel products and fine powders are perfectly safe when used correctly, but you have to be smart about it.
The biggest thing is to avoid developing a gel allergy (contact dermatitis). This happens when uncured gel repeatedly touches your skin. The solution is simple: keep it off your skin! If you get any on you, wipe it off with alcohol before you cure. Also, chrome powder is super fine. It’s a good idea to work in a well-ventilated space and maybe even wear a simple dust mask to avoid breathing in the particles, especially when you’re dusting it off.
By the way, if you ever have a painful or persistent skin reaction, stop using the products and check in with a doctor. This guide is based on my professional experience, but I’m a nail tech, not a medical professional!
Mastering pink chrome is a skill that takes a little patience, but it’s so worth it. Focus on that perfect base, nail down your cure times, and you’ll be creating that stunning, liquid-metal look in no time. It’s one of those techniques that’s just incredibly satisfying to get right.
Galerie d’inspiration
My chrome looks sparkly, not like a smooth mirror. What went wrong?
This is the most common frustration, and it almost always comes down to your top coat cure time. A non-wipe top coat needs to be cured just enough to be non-sticky, but still soft enough to grip the powder. If you cure it for the full 60 seconds, the surface becomes too hard and slick, causing the powder to scatter into a glittery mess instead of burnishing into a flat, reflective sheet. Try flash-curing your non-wipe top coat—like KUPA’s No Wipe Top Coat—for just 15-20 seconds in a 48W LED lamp. The surface should feel smooth but have a subtle, rubbery grip. That’s the perfect canvas.

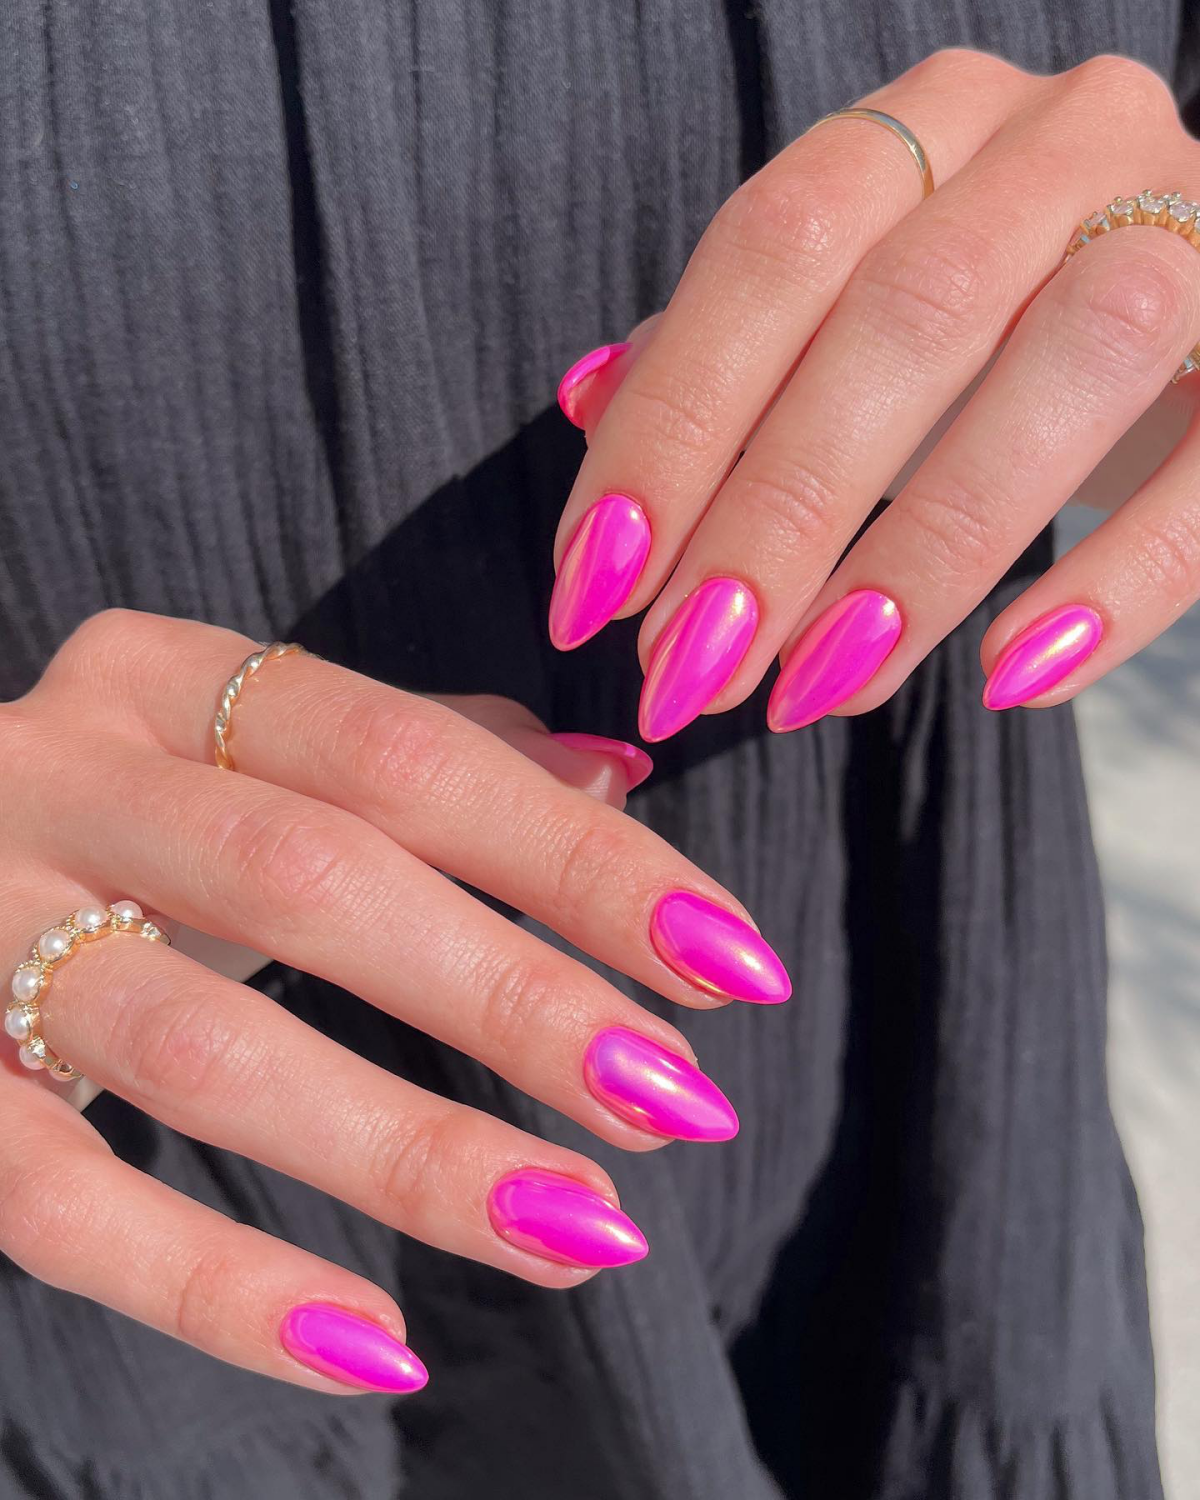
The #pinkchromenails hashtag has amassed over 150 million views on TikTok.
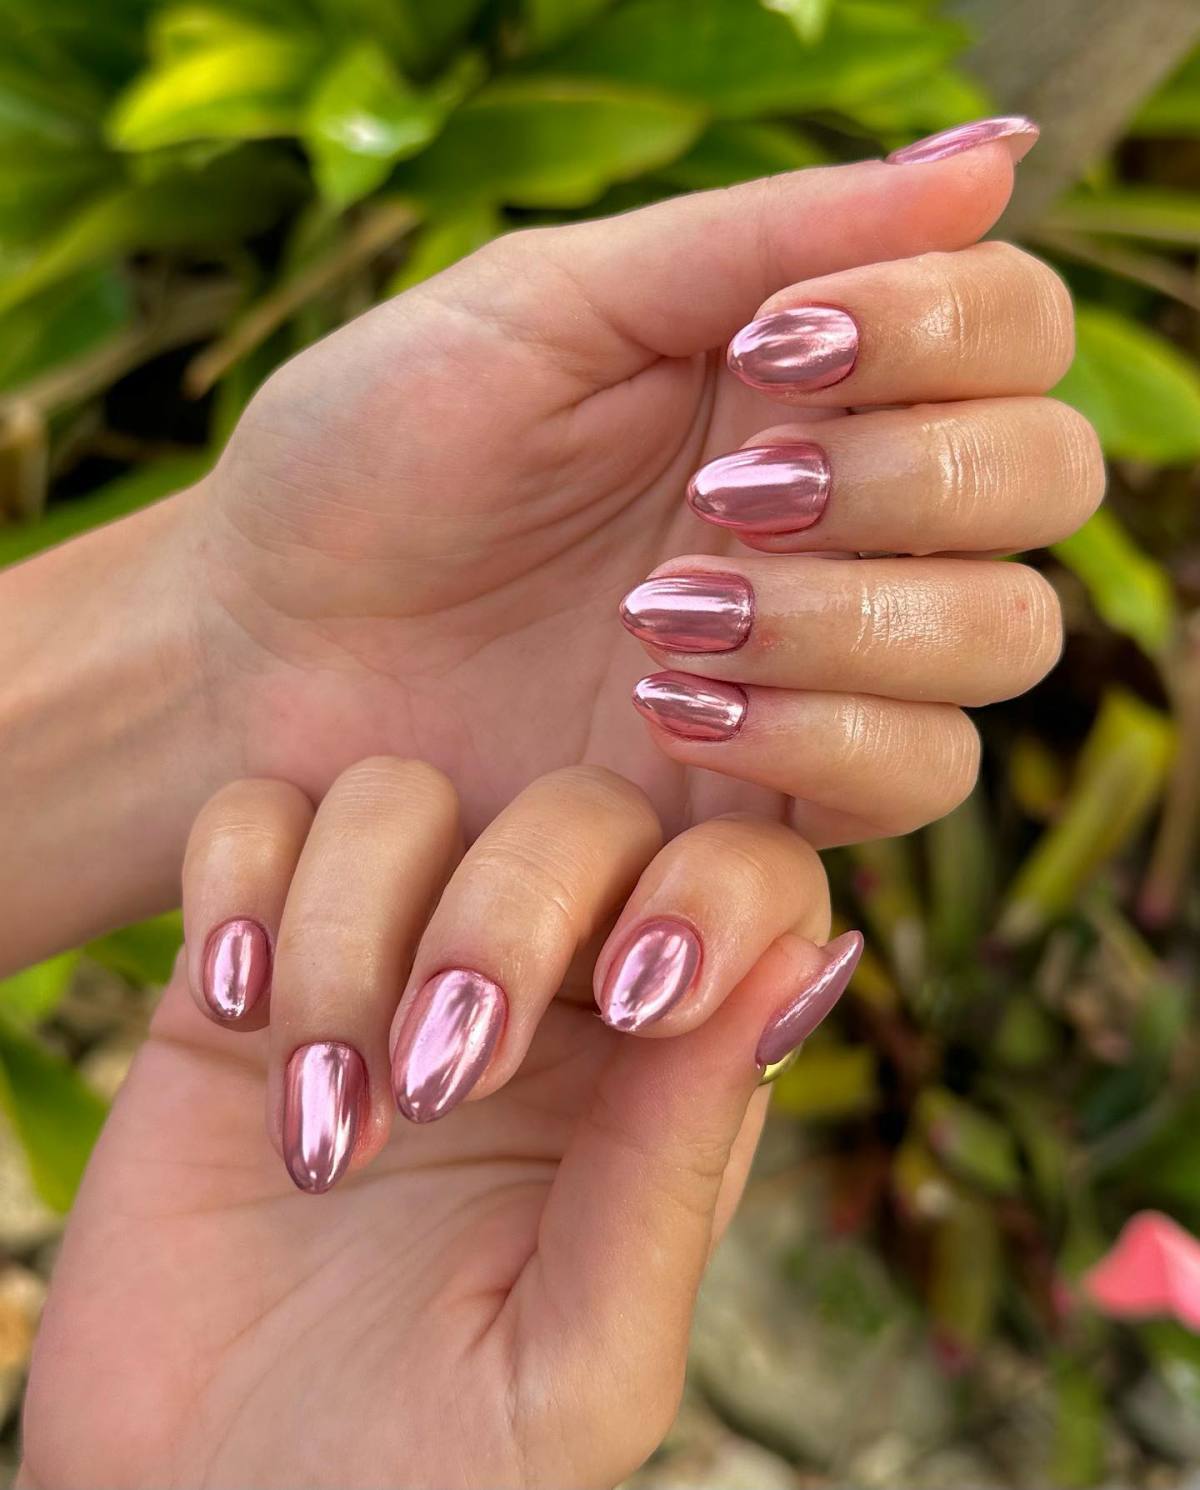
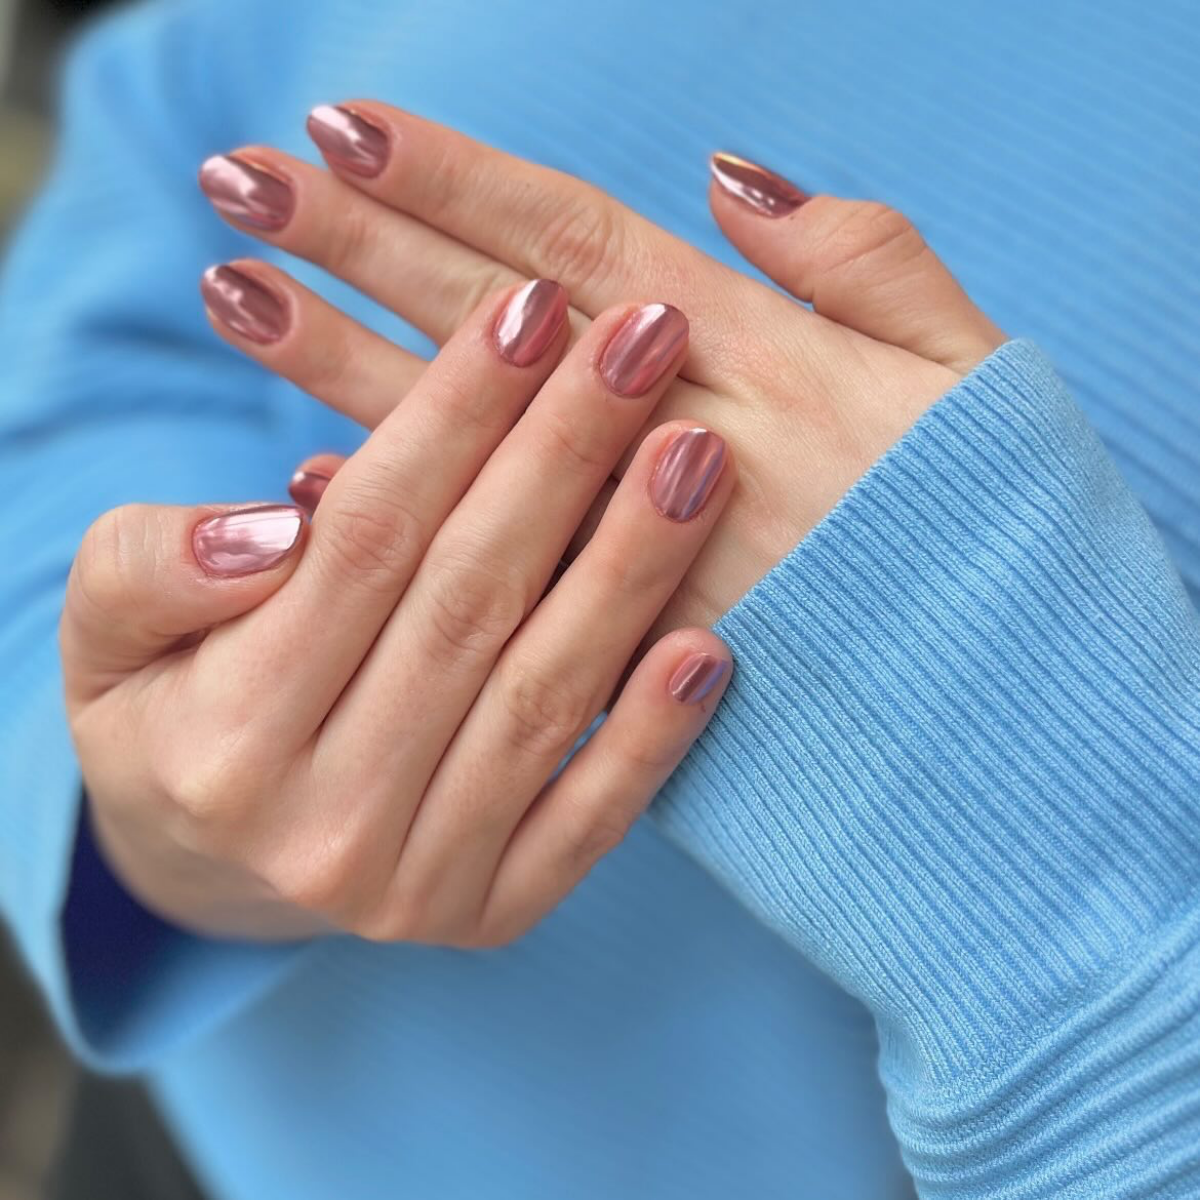
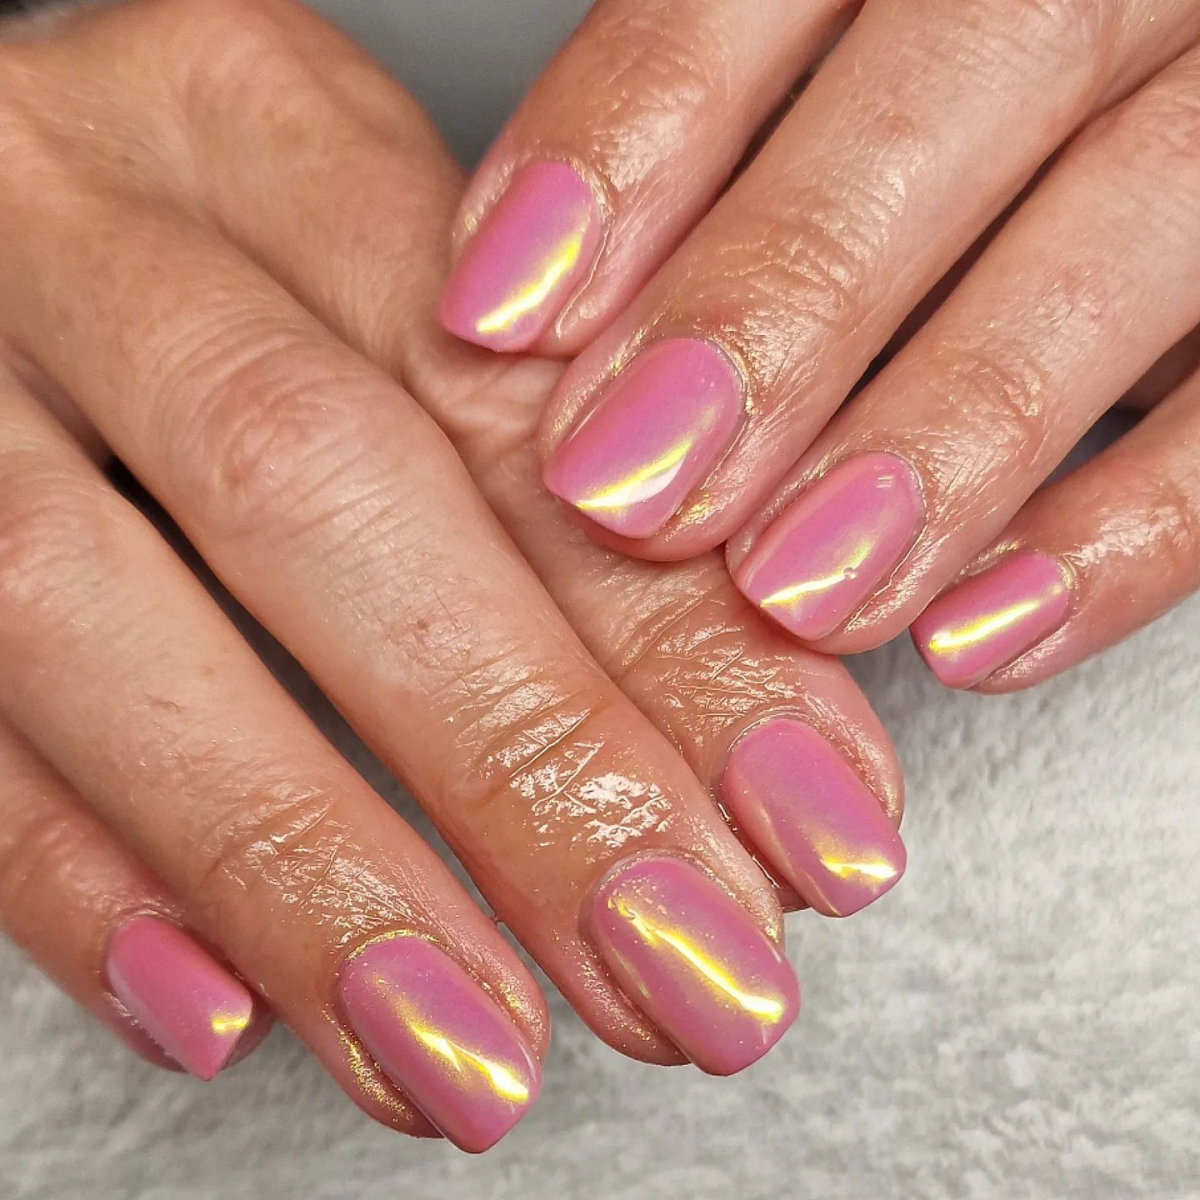
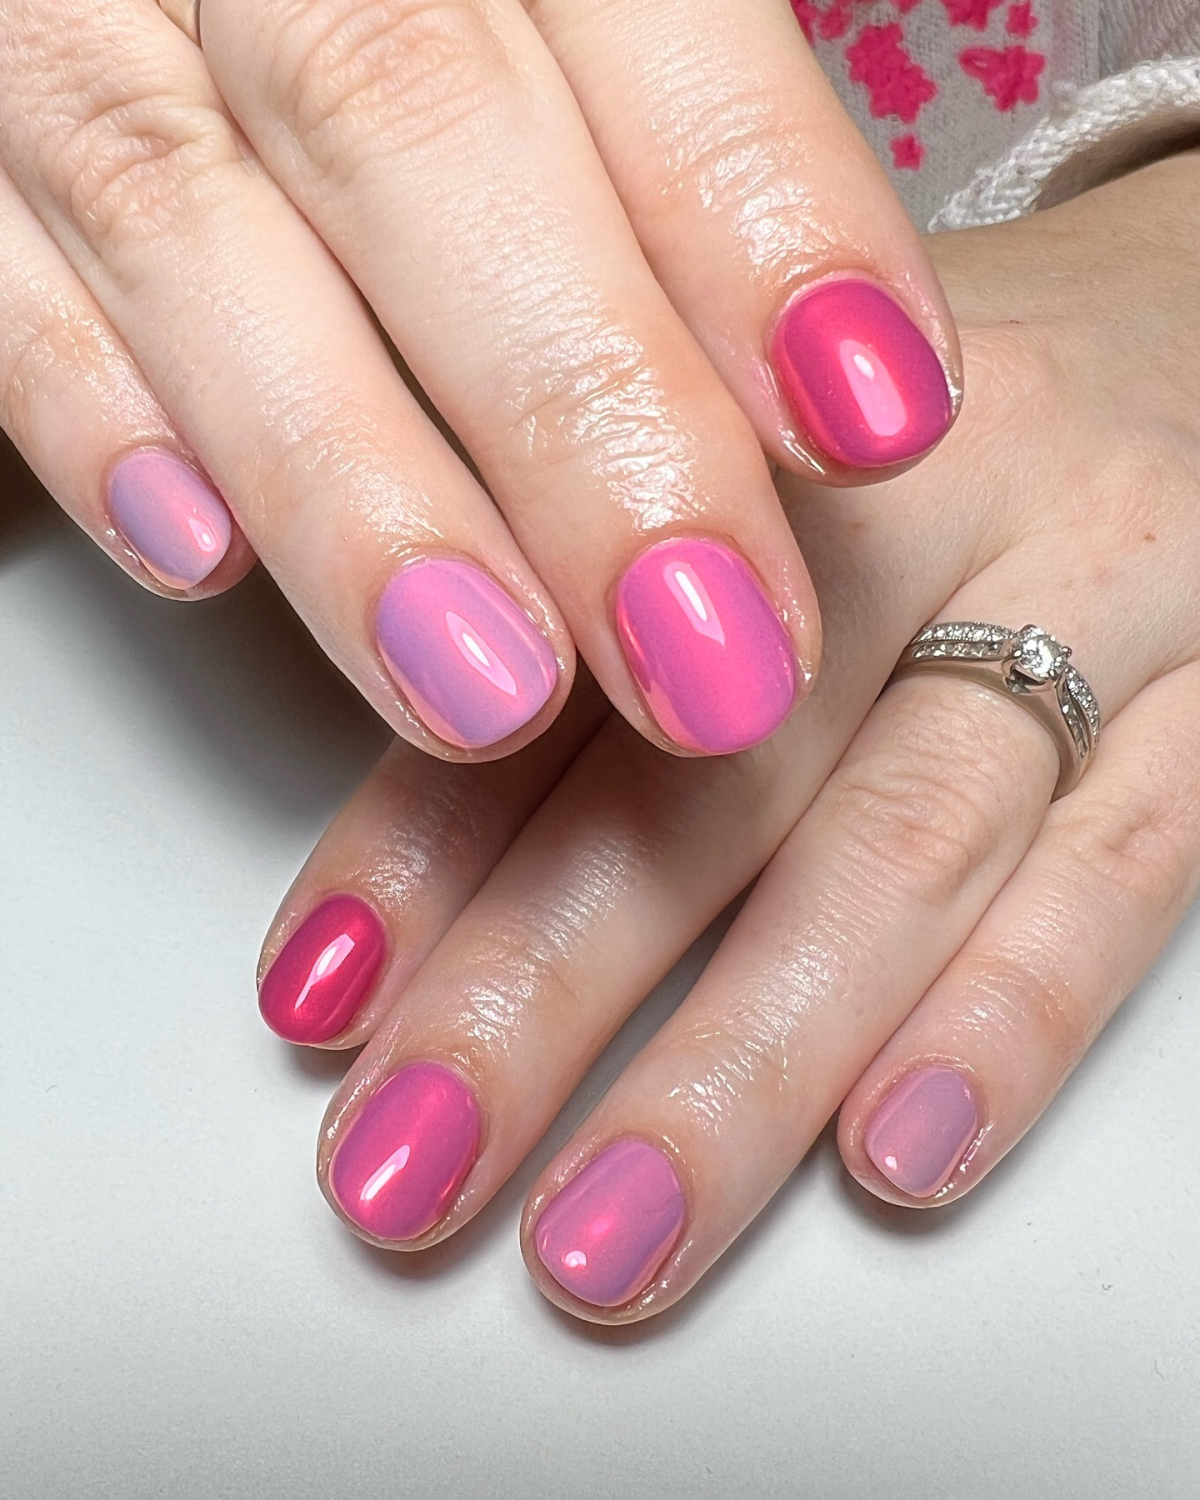
More than just a fleeting trend, pink chrome has become a social media star in its own right. Its hyper-reflective surface is incredibly photogenic, catching the light perfectly for videos and photos. It’s a look that feels both futuristic and feminine, making it the ultimate shareable manicure.
For the ultimate pro finish: Daily Charme’s Pink Mirror-Shine Chrome Powder is renowned among nail techs for its impossibly fine pigment that creates a true liquid-metal effect.
For the curious DIYer: Beetles Chrome Nail Powder, often found on Amazon, offers a fantastic entry point. While the particles might be a fraction larger, it delivers a beautiful shine and is perfect for practicing your technique without a hefty investment.
There’s a unique confidence that comes with wearing chrome nails. It’s a finish that feels intentional and high-tech. Unlike glitter, which sparkles, chrome glows with a soft, liquid light that shifts with every movement of your hand. It turns a simple manicure into a piece of wearable art, a subtle statement that you’re in on one of beauty’s most elegant secrets.

- Apply a second layer of high-quality top coat, making sure to cap the free edge of the nail. This is your best defense against chipping.
- Avoid harsh chemicals. Wear gloves when doing dishes or cleaning to protect the mirror-like finish from getting dull or scratched.
- Keep your cuticles hydrated with a good quality oil, like CND SolarOil. Healthy cuticles frame the nail and make your manicure look fresher for longer.
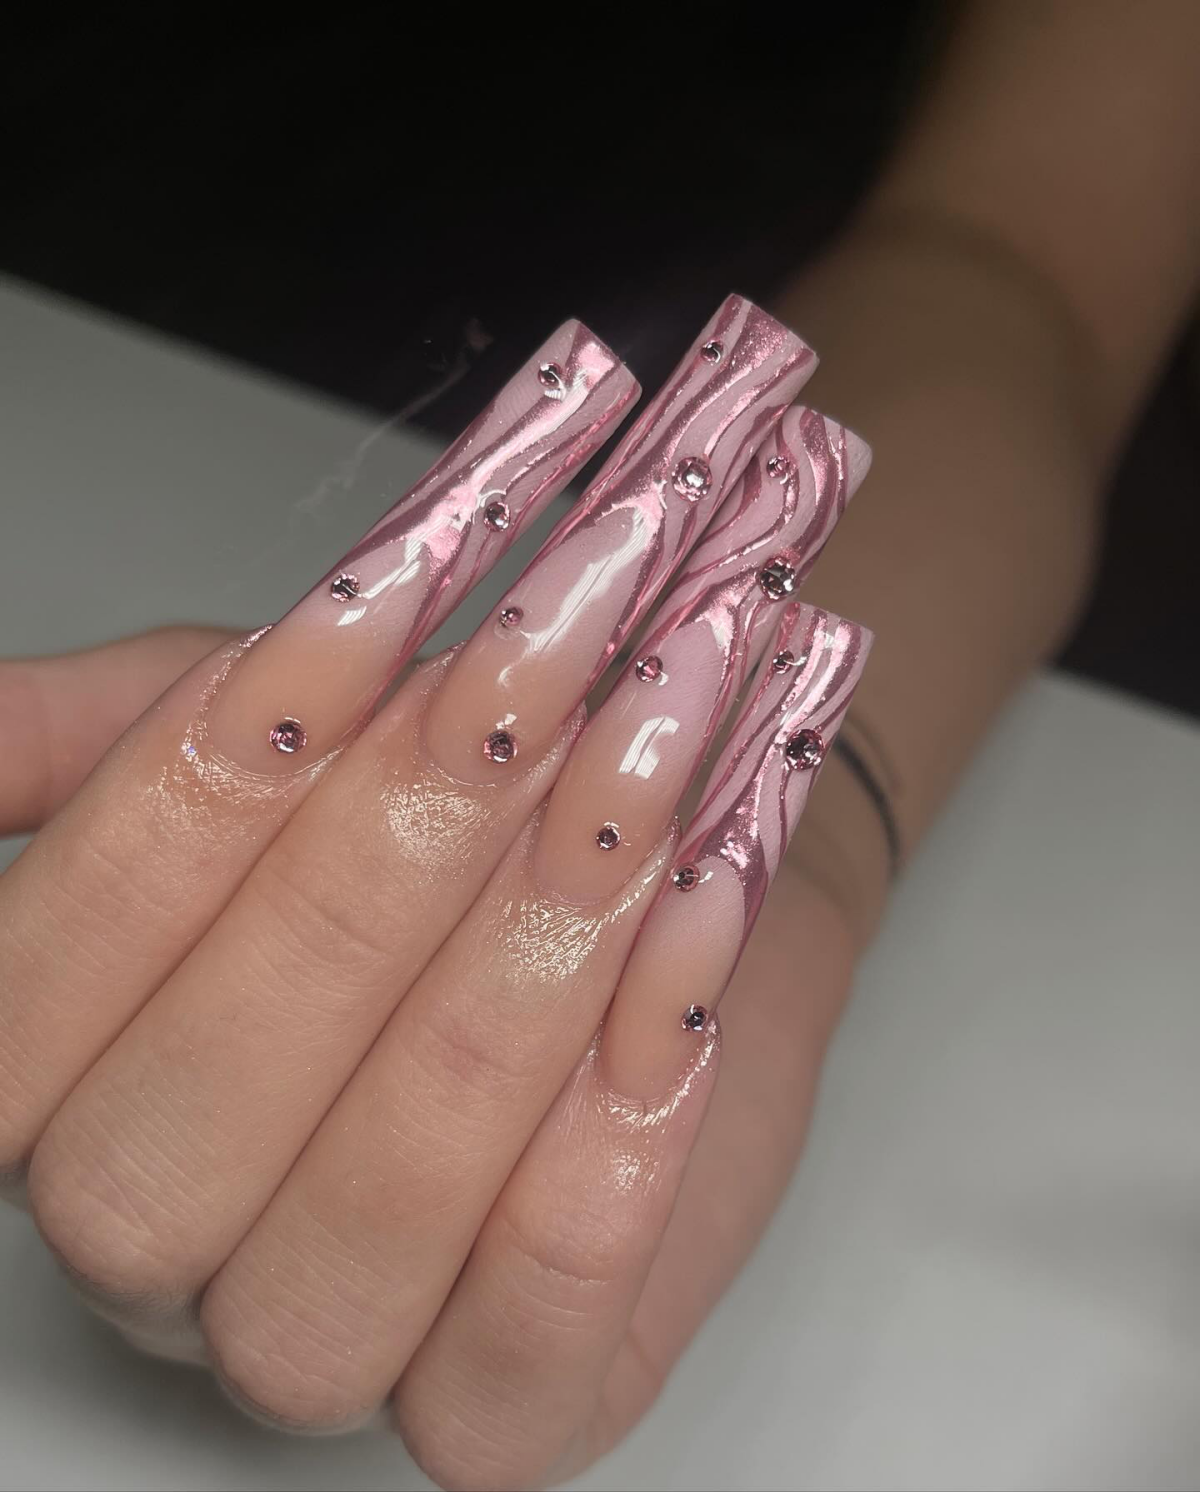
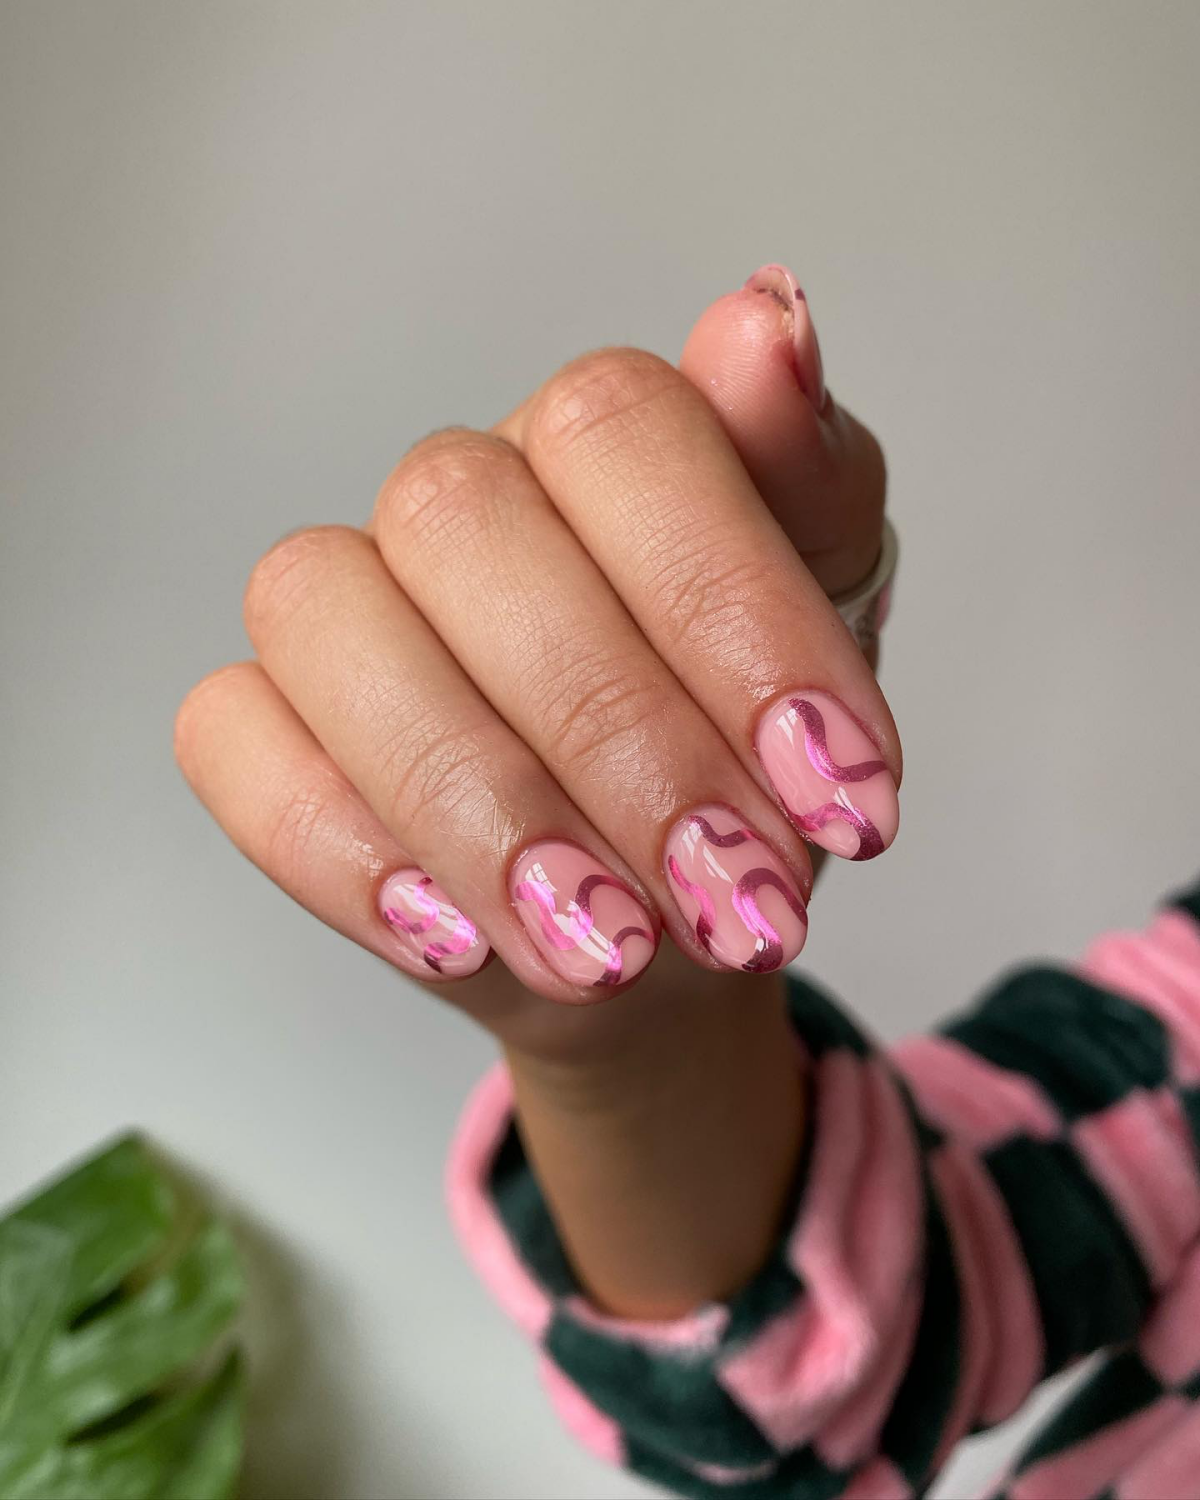
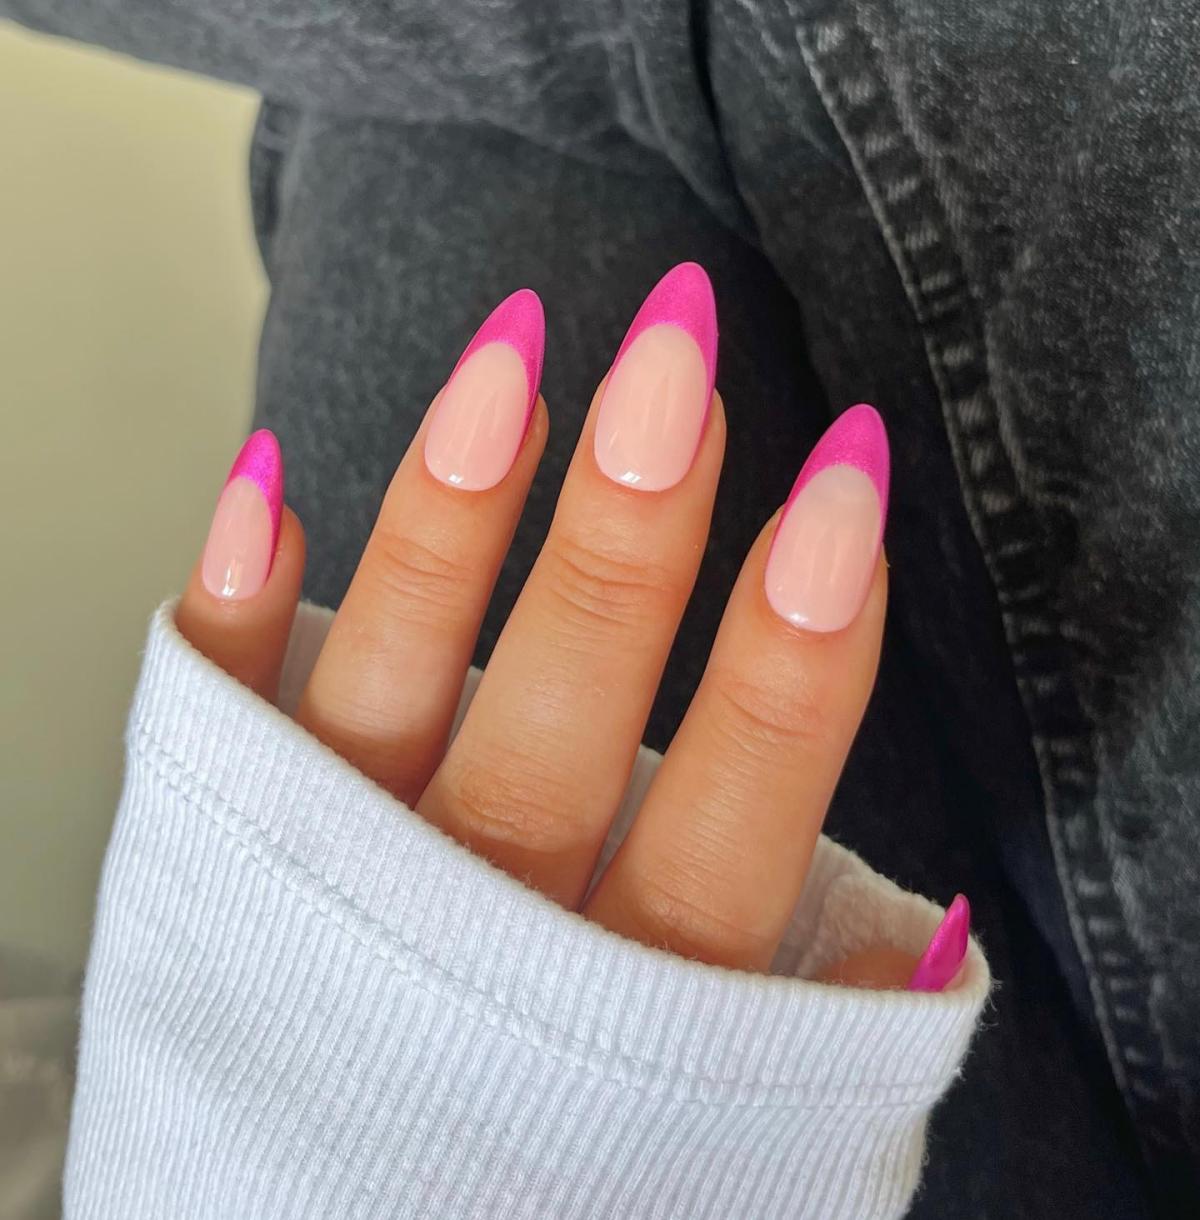
The secret to an elevated look: The Chrome French Outline. Instead of a traditional tip, use a fine liner brush to trace just the smile line with your chrome-burnished top coat. This creates a delicate, halo-like effect that is modern, minimalist, and incredibly chic.


