The Ultimate Guide to Flawless White Chrome Nails (From a Pro)
After more than a decade working with nails, I’ve seen just about every trend you can imagine. Some are fun for a season and then disappear, but others? Others have serious staying power. White chrome nails are definitely in that second category. They just have this clean, futuristic vibe that’s impossible to ignore.
In this article
- First, Why Does Chrome Even Work? (The Science Bit)
- Can I Just Use Regular Nail Polish?
- Your Chrome Nail Toolkit: What to Buy and What to Expect
- The Step-by-Step Guide to a Perfect Application
- Troubleshooting: When Things Go Wrong
- Playing with Variations: Glazed, French, and More
- The Most Important Part: How to Safely Remove Your Chrome Nails
- A Final Word of Advice
- Galerie d’inspiration
When chrome powders first showed up, we pros had to figure them out through a lot of trial and error. Trust me, we had our share of gritty, disappointing results before we cracked the code. Now, I find myself fixing a lot of at-home attempts that went wrong, and the issue is almost always the same few details. It’s not about having the most expensive gear; it’s about the technique.
So, I’m going to walk you through exactly how we get that perfect, mirror-like white chrome in the salon. No gatekeeping. Just the real-deal process, common mistakes, and pro secrets.
First, Why Does Chrome Even Work? (The Science Bit)
Before we even think about polish, let’s talk about what’s happening. Chrome powder isn’t a polish or a paint. It’s an incredibly fine, specialized dust made of metallic or metal-oxide pigments. The magic mirror effect is just simple physics.
When you rub this powder onto a super smooth, non-porous surface, all those tiny, flat particles lie down perfectly next to each other. They create an unbroken sheet that reflects light evenly, just like a mirror. Any little bump, speck of dust, or imperfection on the nail will disrupt that sheet, causing the particles to stand up or clump. That’s when you get a glittery, sparkly look instead of smooth chrome.
This is why you absolutely need a no-wipe gel top coat. Regular top coats leave behind a sticky layer after they cure, which is great for some things, but terrible for chrome. The powder would just get bogged down in the stickiness. A no-wipe formula cures to a hard, slick finish—the perfect canvas for burnishing that powder into a flawless shine.
Can I Just Use Regular Nail Polish?
Okay, let’s get this out of the way, because it’s the number one question I hear. The short answer is no, not for the true mirror effect. Regular air-dry polish never gets hard and non-porous enough for the chrome particles to lay flat. You can find some “metallic” polishes that try to mimic the look, but to get that authentic, reflective chrome, you have to work with the gel system. It’s the only way to create the specific surface the powder needs to adhere to properly.
Your Chrome Nail Toolkit: What to Buy and What to Expect
Getting your station set up with the right stuff is half the battle. You don’t need to spend a fortune, but skimping on the key items will lead to frustration. Here’s a realistic shopping list and what you should expect to spend.
The Must-Have Materials:
- pH Bonder & Primer: Don’t skip these! They prep the nail plate to make your gel stick, preventing lifting. This is the foundation of a long-lasting manicure.
- Gel Base Coat: A quality base coat protects your natural nail and gives the color something to grab onto.
- Opaque White Gel Polish: For a true, bright white chrome, you need a solid white base. I’m talking about a gel that gives you full coverage in two thin coats. A streaky foundation will absolutely show through the chrome.
- No-Wipe Gel Top Coat: This is the hero product. A good one can cost between $10 and $20, but it’s worth it. Not all are created equal; some are better for chrome than others, so you may need to experiment to find one that works with your lamp.
- White Chrome Powder: Quality is HUGE here. A good quality powder might cost you around $15 for a small pot, but it will last forever. If you see one for $3, be suspicious! Cheaper powders often have larger, grainier particles, which is why you get more of a glittery finish instead of a mirror.
- Applicator: Those little eyeshadow applicators that come with the powder work just fine. I personally prefer a small silicone tool because it doesn’t absorb any powder and lets you apply firm, even pressure. Pro tip: Never use your gloved finger. The oils and friction can mess up the finish.
Essential Tools:
- LED or UV Curing Lamp: An LED lamp is the standard now and cures much faster. A decent lamp with at least 48 watts will ensure your gel cures all the way through, which is critical for both durability and safety. You can find a good one for home use online for $25-$40. A professional one is closer to $150, but you don’t need that to start.
- Nail Files and Buffers: A 180-grit file for shaping and a soft 240-grit buffer to prep the nail surface are perfect.
- Dust Brush: You’ll need a clean, fluffy brush to remove dust after filing. And I highly recommend keeping a separate, super-soft makeup brush just for gently dusting off the excess chrome powder at the end.
The Step-by-Step Guide to a Perfect Application
Heads up: If this is your first time, set aside a good 1.5 to 2 hours. Don’t rush it! A seasoned pro can knock this out in about an hour, but your focus should be on precision, not speed. Work on one finger at a time from step 4 onward for the best results.
Step 1: Prep Like a Pro
A manicure that lasts starts here. Gently push back and trim cuticles. Shape the nail with your file, then lightly buff the entire nail surface just enough to remove the shine. Scrub the nail with a lint-free wipe soaked in 99% isopropyl alcohol to get rid of all dust and oils. Finish with a pH bonder and a primer on the natural nail.
Step 2: Apply Your Base Coat
Apply a thin, even layer of gel base coat. Stay away from the cuticle! If you get some on the skin, wipe it off with a brush and alcohol before you cure. Don’t forget to “cap the free edge” by running the brush along the very tip of the nail. This is a game-changer for preventing chips. Cure for 30-60 seconds in your LED lamp.
Step 3: Build the White Foundation
Apply your first thin coat of opaque white gel polish. Thin coats are key—a single thick, goopy coat won’t cure properly. Cap the free edge again, and cure for 30-60 seconds. Apply a second coat to get that perfectly even, streak-free white canvas, and cure it fully.
Step 4: The ‘Sweet Spot’ Top Coat Cure
Okay, pay attention, because this is the most critical step and where most DIYs fail. Apply a thin layer of your no-wipe gel top coat. Now, you are NOT going to cure it for the full time. A fully cured top coat is too slick, and the powder won’t stick. An under-cured one is too soft, and the powder will look clumpy. You’re looking for the ‘sweet spot’. In my 48-watt lamp, that’s about 25-30 seconds.
Good to know: Every lamp is different. To find your sweet spot, grab a few practice nail swatches. Apply the top coat and cure them at different times—15 seconds, 20, 25, 30. Rub the chrome powder on each one. The one that gives you the best mirror effect is your magic number!
Step 5: Burnish the Chrome Powder
The second that nail comes out of the lamp, it’s go-time. Dip your applicator in the powder—a tiny bit goes a very long way. Tap it onto the nail, then start rubbing with firm, steady pressure. Think of it like you’re polishing a piece of silver. You need that friction to flatten the particles. Rub until the surface magically transforms from dusty to a perfect mirror.
Step 6: Clean Up and Seal the Deal
Using your super-soft brush, gently whisk away every last bit of excess powder. Any stragglers left behind will get trapped in your top coat and ruin that glassy finish. Now, apply another thin layer of the no-wipe top coat to seal everything in. Be EXTRA careful to cap the free edge thoroughly. This is what protects your chrome from chipping. Do a full 60-second cure on this final layer.
Step 7: The Finishing Touch
After the final cure, give the nail a good look. It should be perfectly smooth and reflective. Finish up with some cuticle oil to nourish the skin. (A little secret: the oil also helps remove any stray bits of chrome powder from your skin.)
Troubleshooting: When Things Go Wrong
Even with practice, issues pop up. Here are the most common ones and how to fix them.
- “My finish is gritty or glittery, not a mirror!” This is usually one of three things. First, you might have over-cured the top coat before adding powder. Try curing for 5 seconds less. Second, it could be a cheap powder with chunky particles. Invest in a professional, finely-milled powder. Third, you might not be using enough pressure. Really burnish it in there!
- “The chrome is chipping off the tips after just a few days!” Ah, a classic sealing issue. You didn’t cap the free edge properly with that final top coat. You have to create a protective seal that wraps all the way around the tip of the nail to lock the chrome layer in.
- “Why does my chrome look dull or have weird dark spots?” This often comes from a streaky white base. Make sure your white foundation is 100% opaque and even. It could also mean you accidentally touched the nail after curing the top coat. The oils from your skin will mess with the powder’s adhesion.
- “It looks patchy or streaky, not uniform.” This is all about your application technique. You need to rub the powder from all directions—up and down, side to side, and in little circles. Think of it like coloring a picture with a crayon; you want to cover every single spot evenly to get a solid, uniform look.
Playing with Variations: Glazed, French, and More
Once you’ve nailed the basic white chrome, you can start playing around. The technique is the same, but you just change the base. Here’s how to get those popular looks:
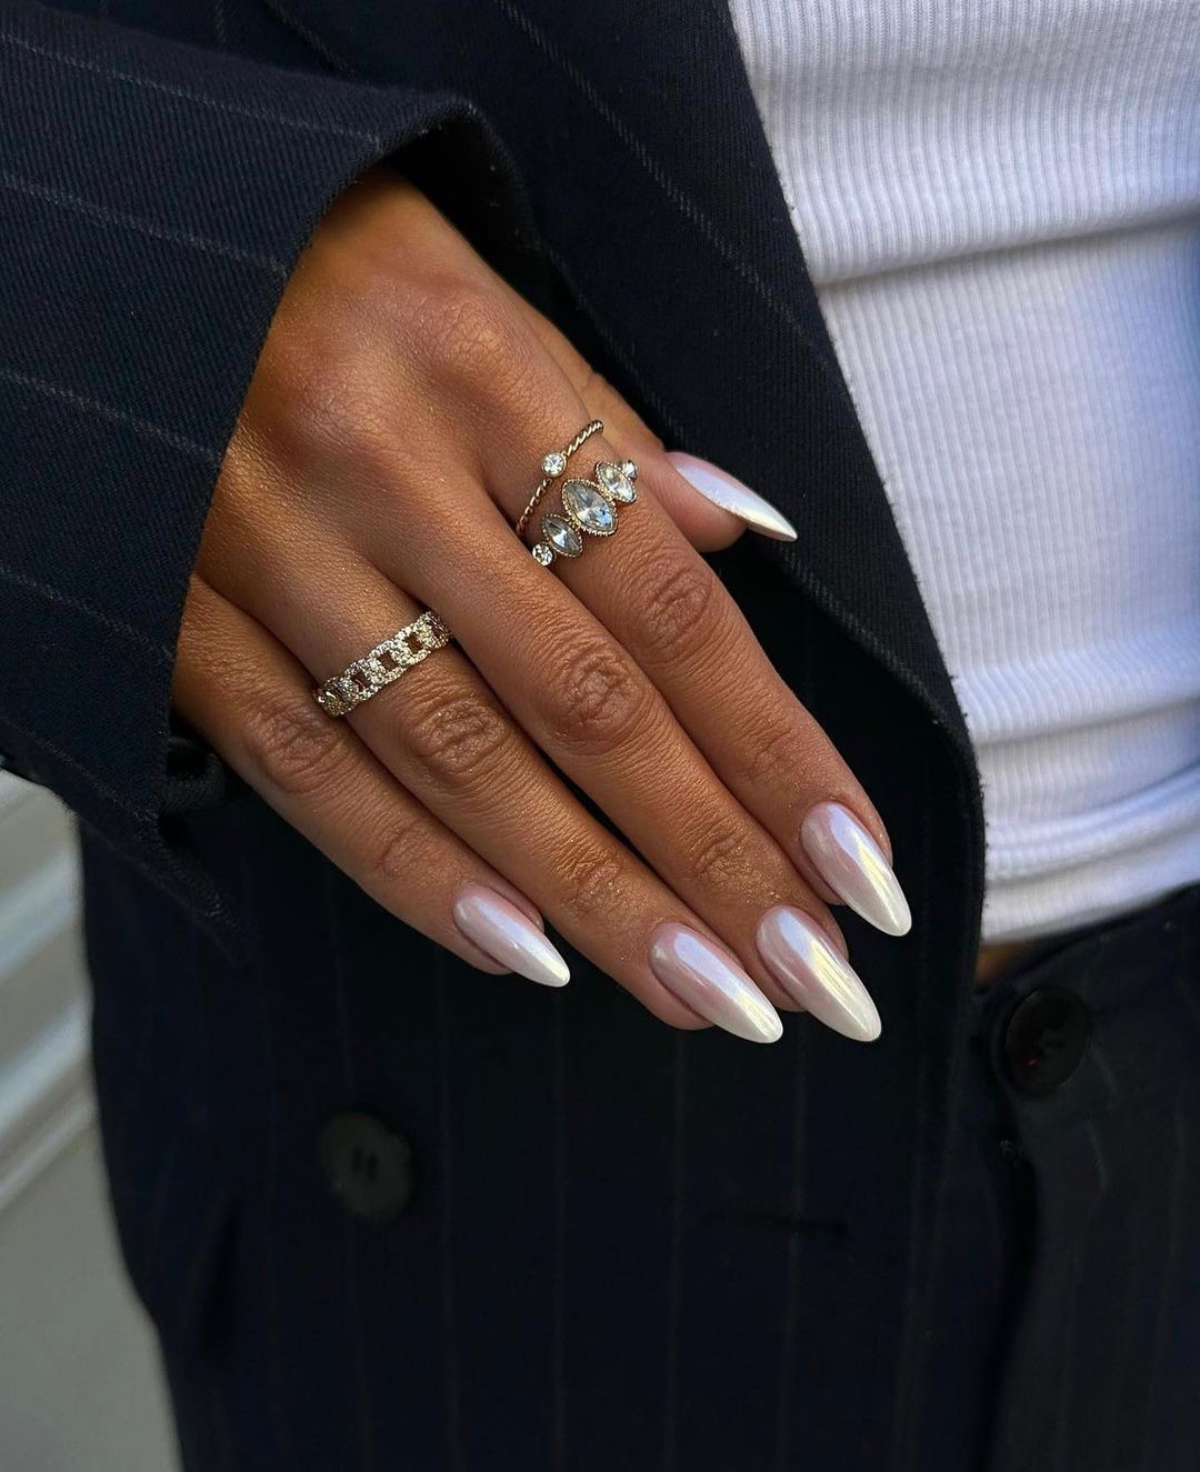
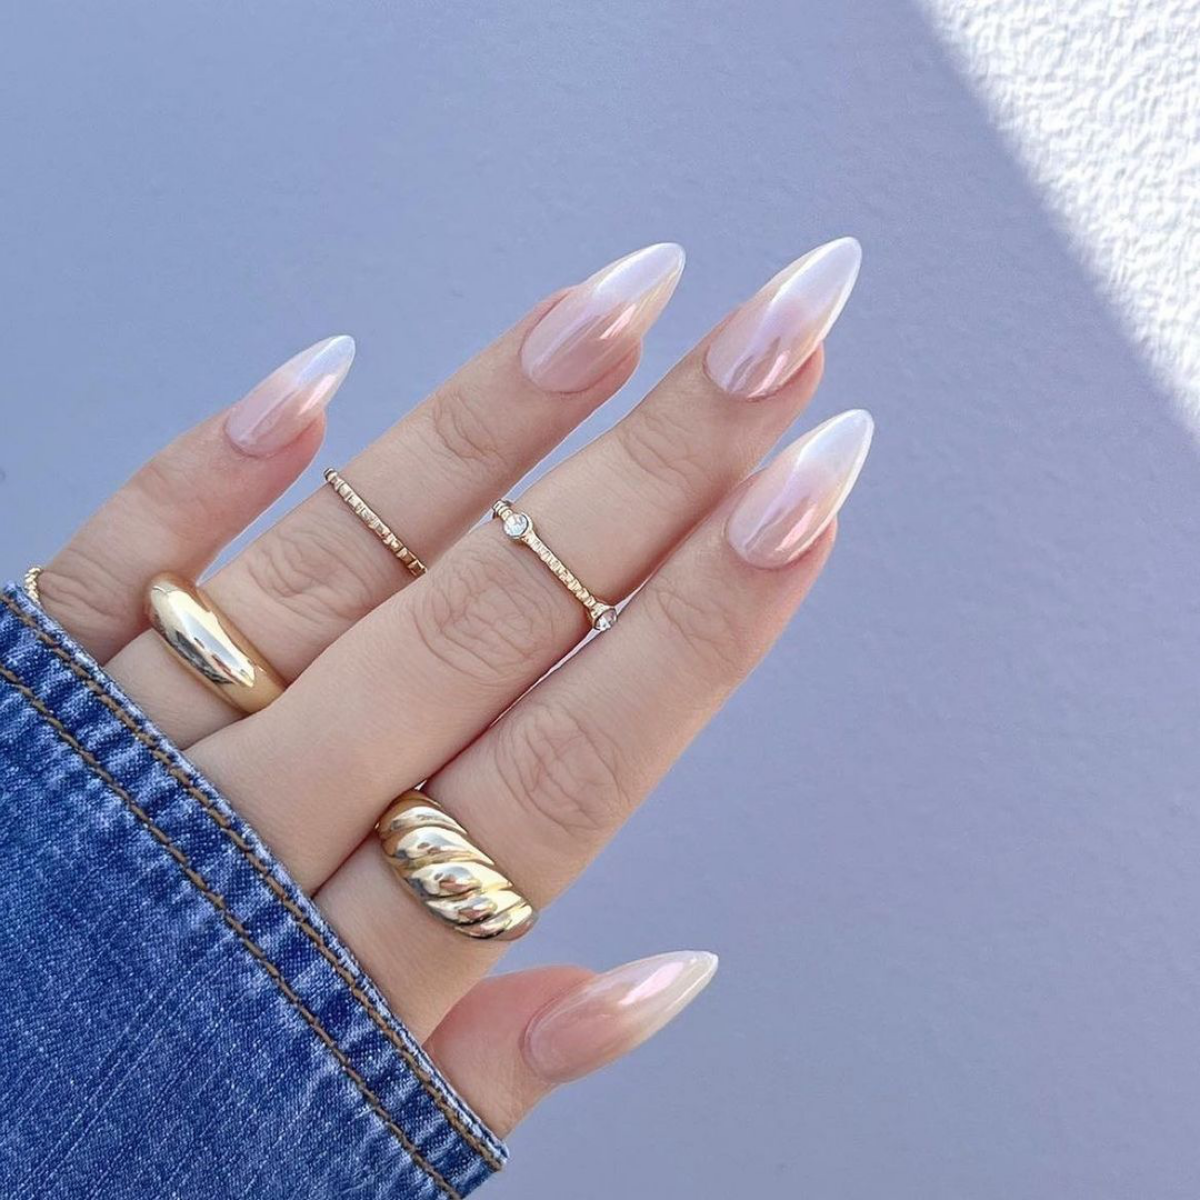
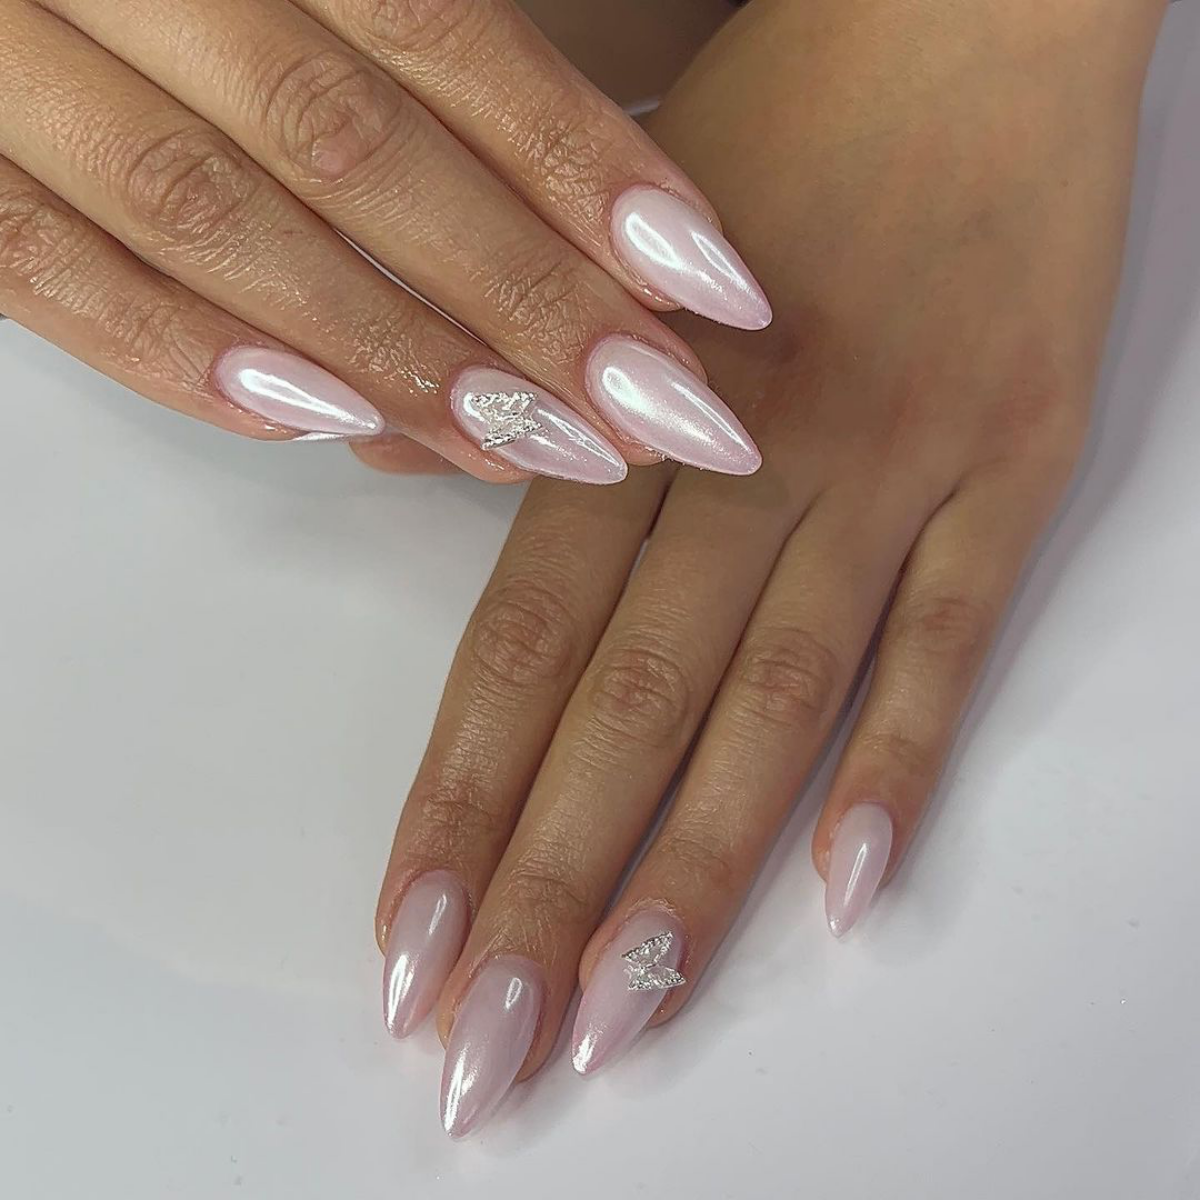
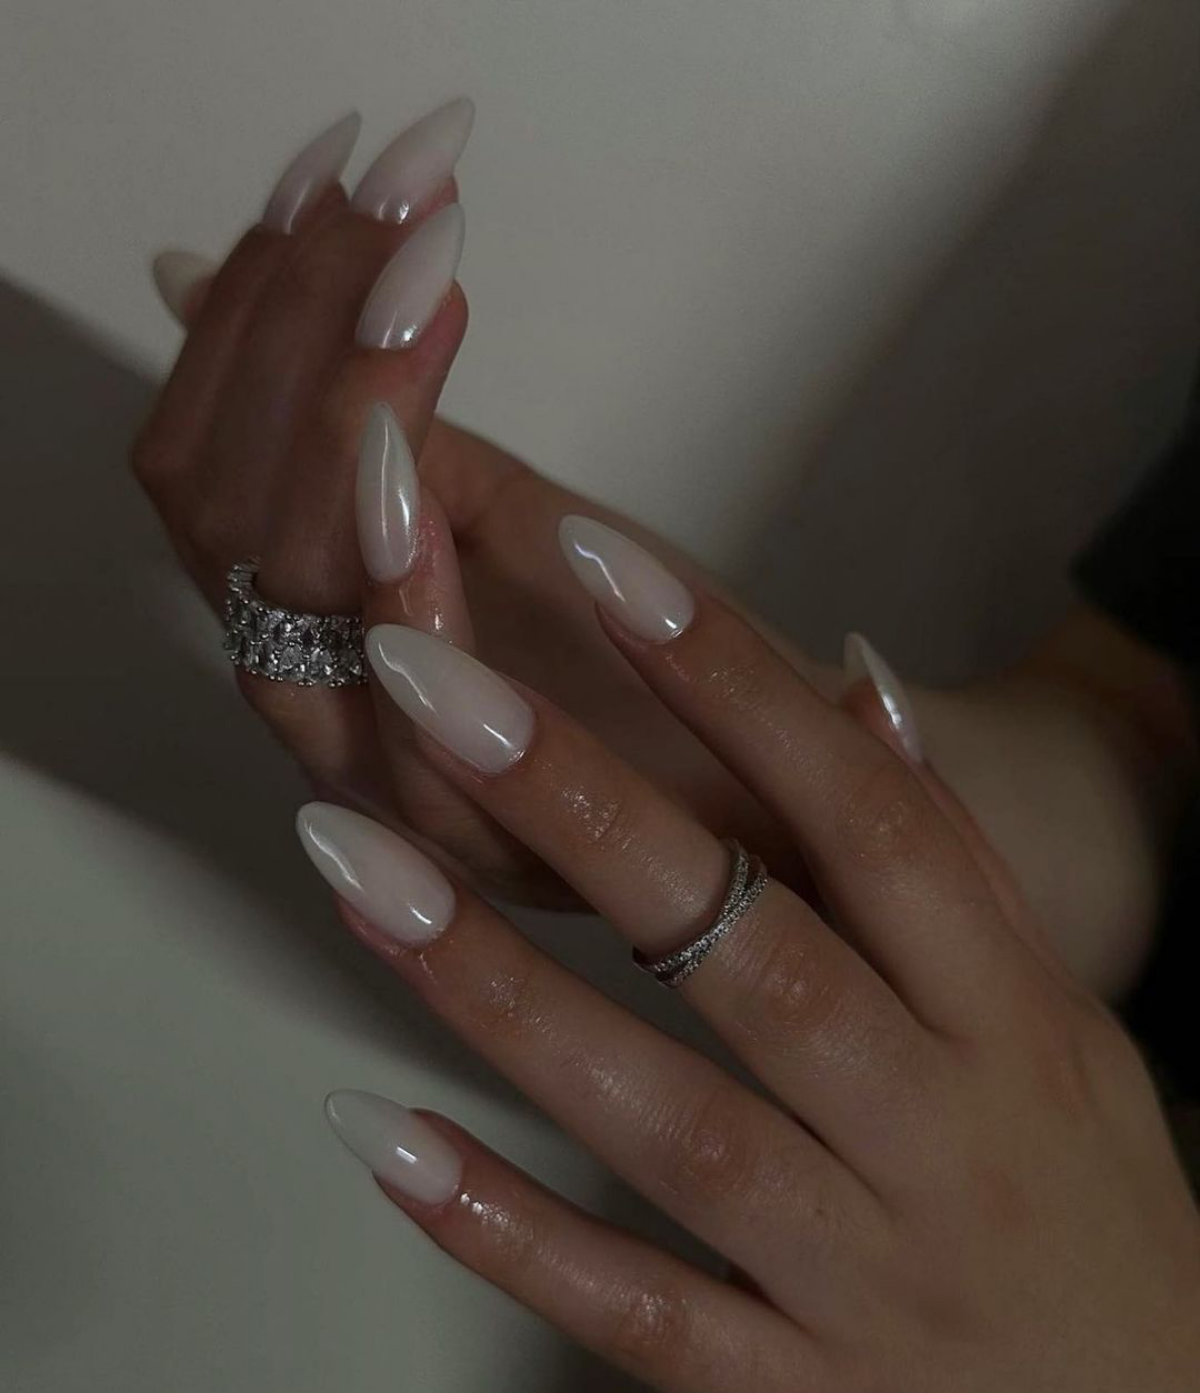
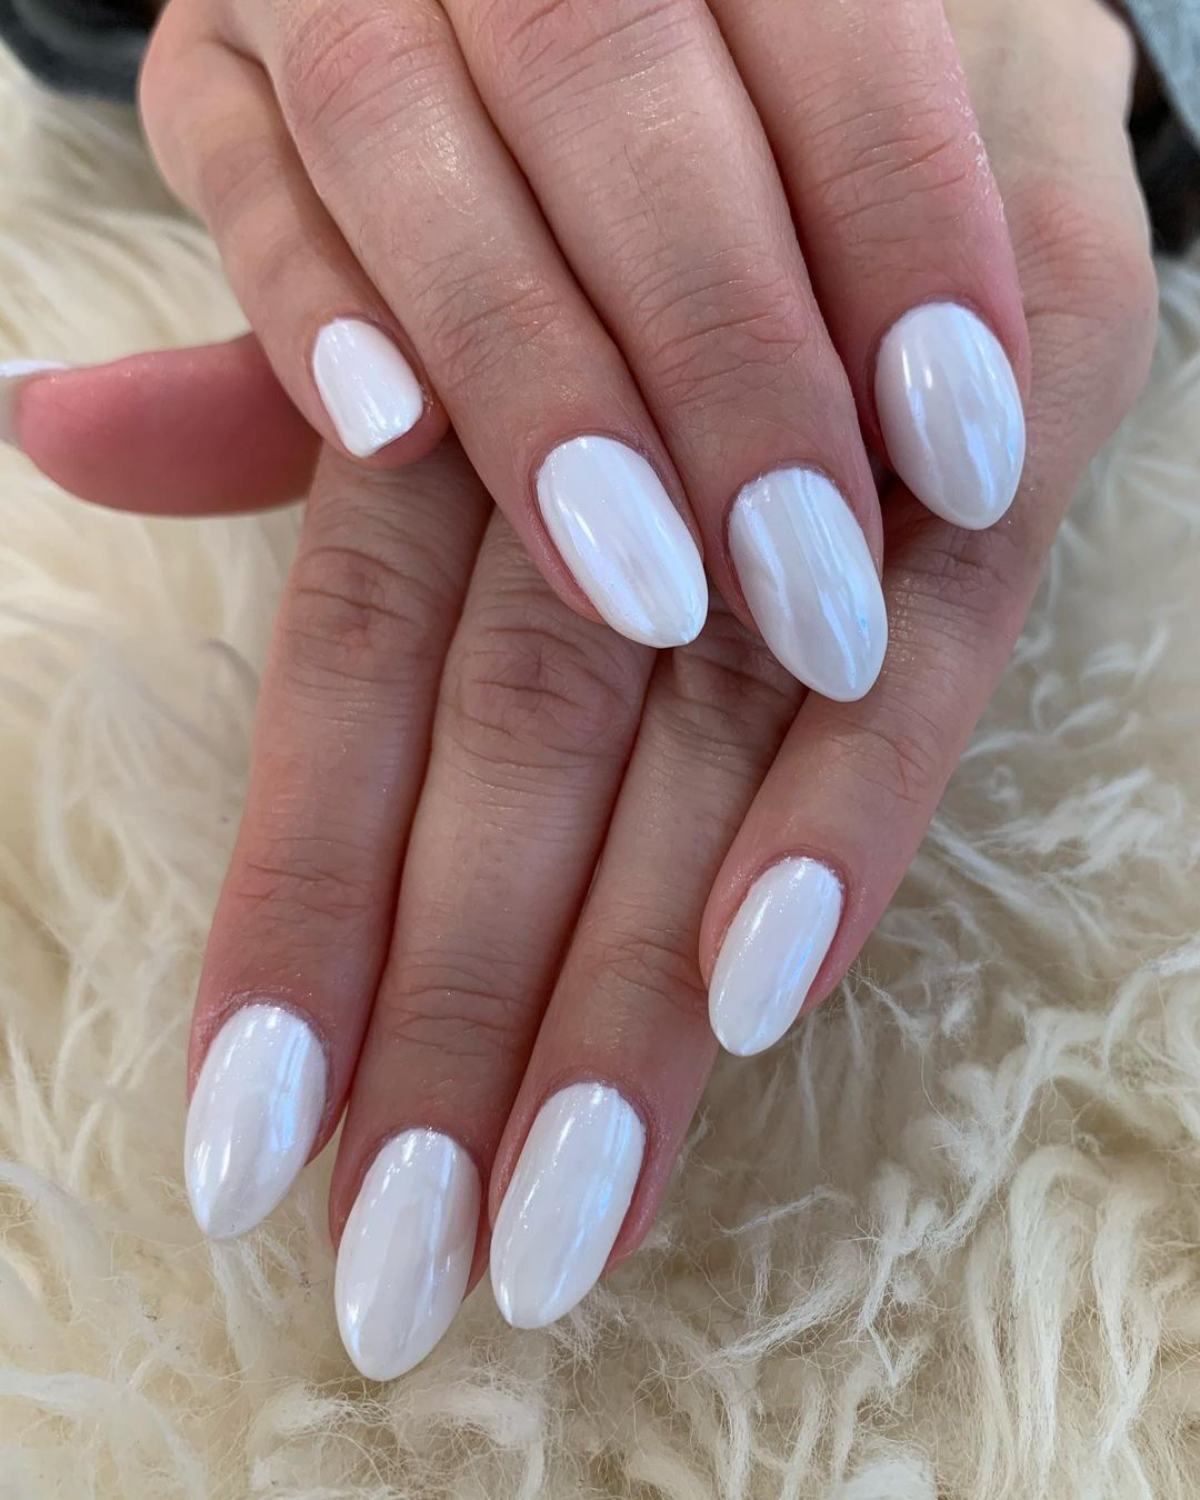
- The ‘Glazed Donut’ (Pearl Chrome): This is the one everyone wants, and the secret is that it’s not actually white chrome. The effect comes from using a pearl or iridescent chrome powder over a sheer, milky white or pale pink base. The translucent base and softer powder create that signature delicate, glazed look.
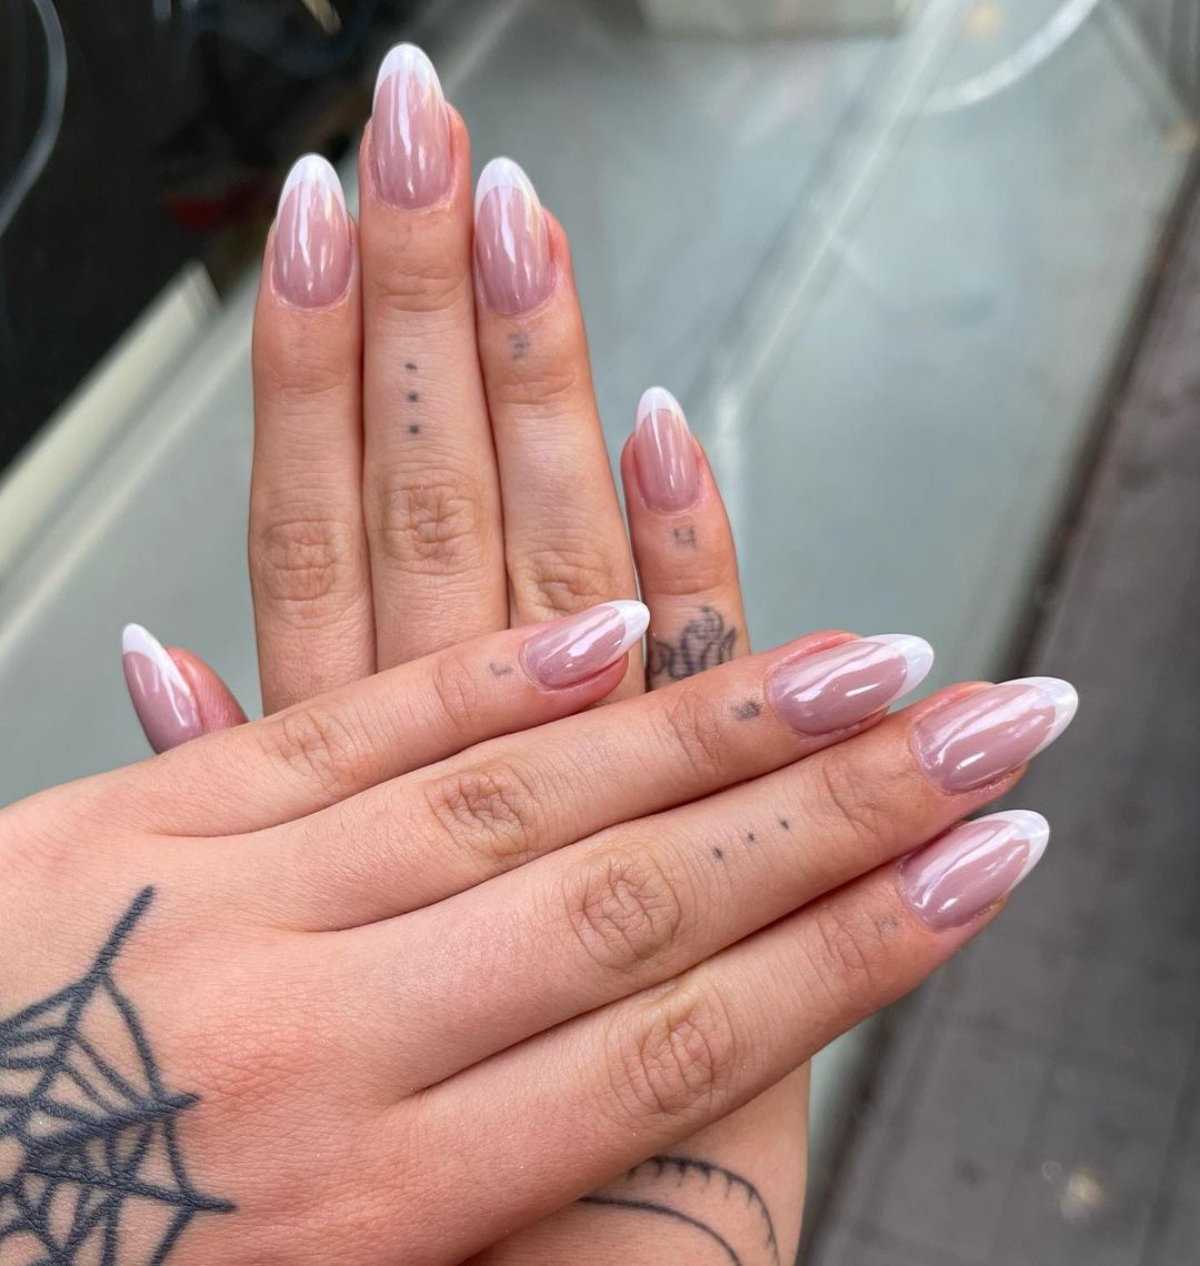
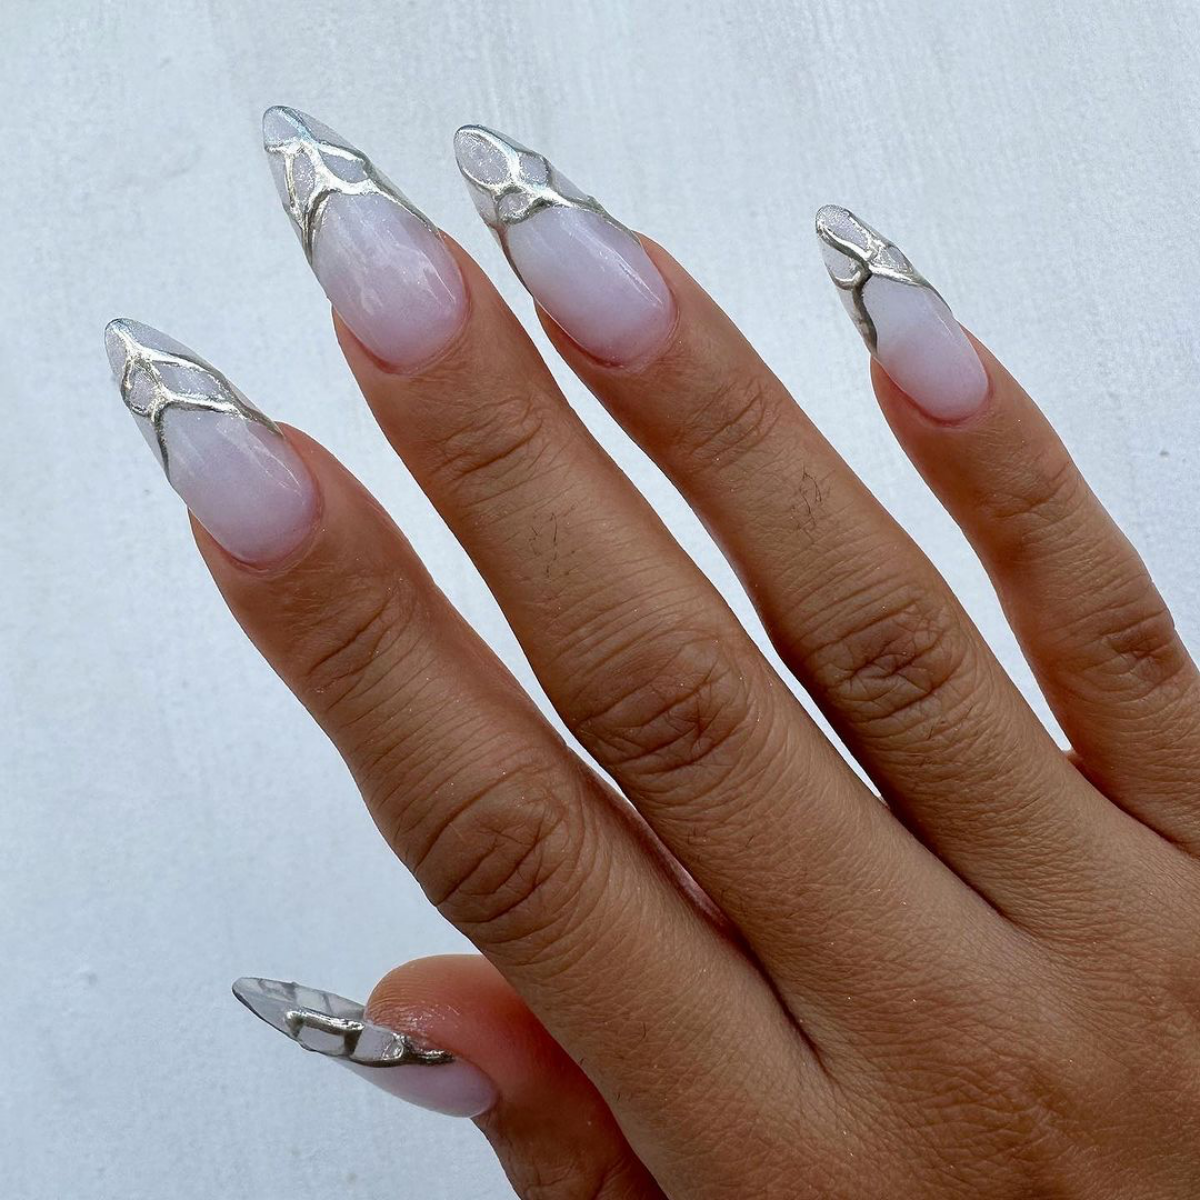
- Chrome French Tips: This takes a steady hand. After your nude base is on and cured, use a fine detailer brush to paint on your white French tip and cure it. Now for the trick: use a tiny brush to apply the no-wipe top coat only over the white tip. Do your short ‘sweet spot’ cure. Carefully rub the chrome powder just onto the tip, brush off the excess, and then seal the whole nail with a final top coat.
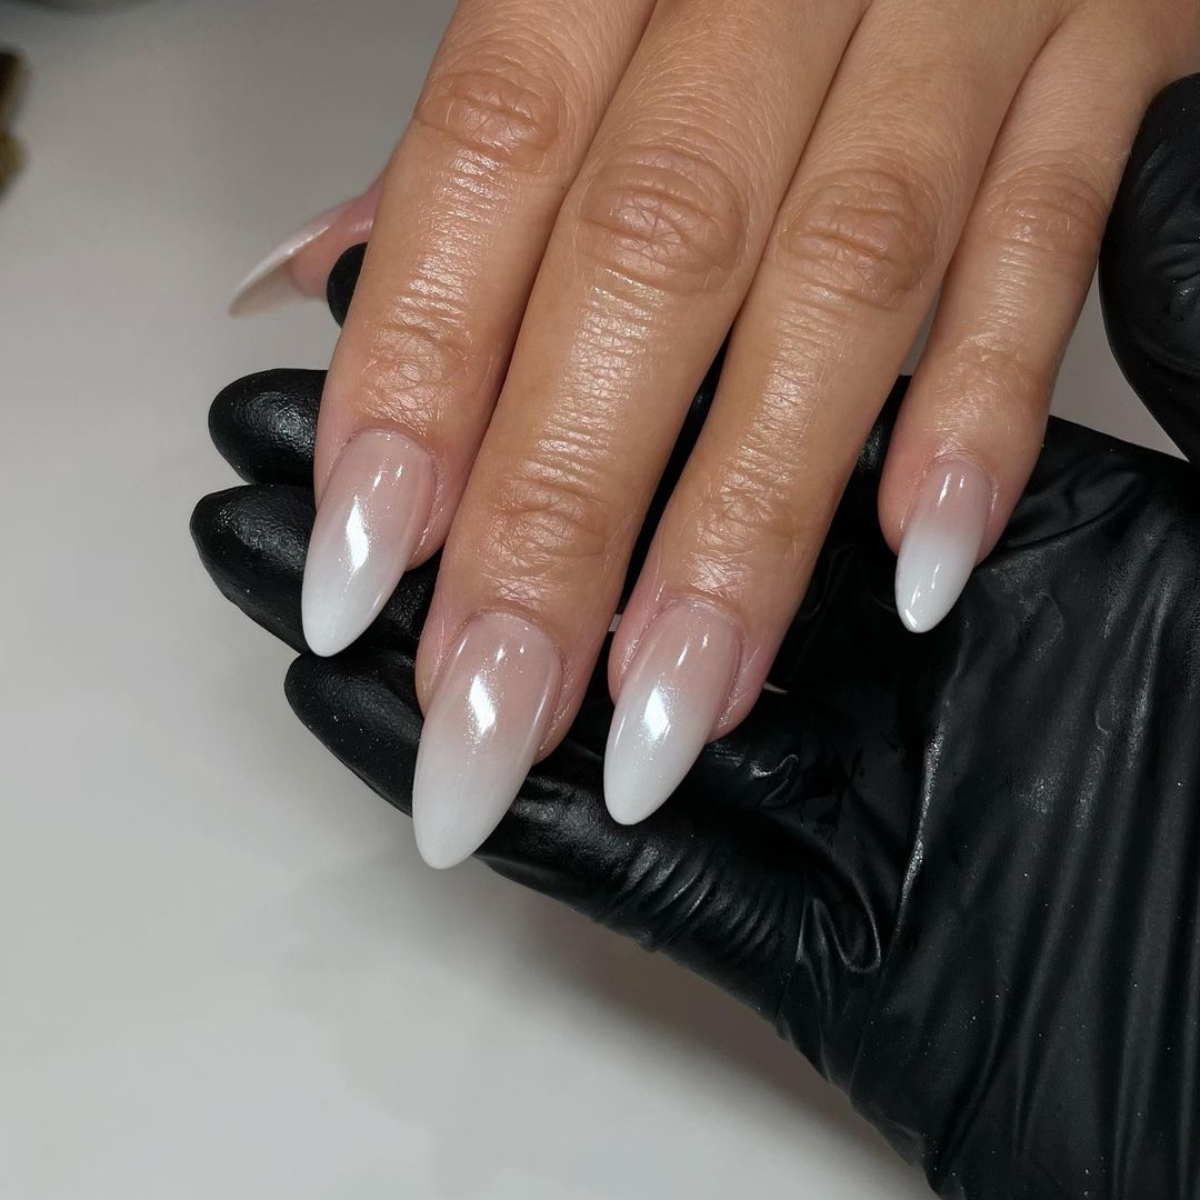
- Milky White or ‘Angel’ Nails: For this softer, more ethereal vibe, you apply the bright white chrome just like in the main tutorial. Then, after it’s all sealed, you apply one more thin coat of a sheer, milky white gel polish over the top of the finished chrome nail. This mutes the high-shine mirror into a beautiful, cloudy glow.

The Most Important Part: How to Safely Remove Your Chrome Nails
A chrome manicure should last you a solid 2-3 weeks, just like any other gel service. But what you do at the end is crucial. Please, whatever you do, DO NOT peel or pry off your gel. You will rip off layers of your natural nail along with it. Here’s how to do it safely at home:
- Break the Seal: Gently file the surface of the nail with a 180-grit file. You just need to file off the shine of the top coat. This allows the acetone to penetrate.
- Get Soaking: Soak a piece of a cotton ball in 100% pure acetone. Place it on your nail, then wrap your fingertip tightly in a small square of aluminum foil.
- Be Patient: Let them soak for a good 10-15 minutes. This is a great time to catch up on a podcast or show.
- Gently Remove: After 10-15 minutes, press down on the foil and slide it off. The gel should be soft and flaking. Use a wooden or metal cuticle pusher to gently scrape off the loosened gel. If it’s not coming off easily, re-wrap it and wait another 5 minutes. Never force it.
A Final Word of Advice
Working with these products is a craft. The powders are cosmetic-grade but super fine, so it’s always a good idea to work in a well-ventilated space to avoid inhaling the dust. And always be careful to clean any uncured gel off your skin to avoid developing sensitivities over time.
To be frank, it takes practice. If you’re feeling a little intimidated, here’s a quick tip: just try a single accent nail first! It’s the perfect way to master the process without committing to a full 2-hour project. Once you get the hang of it, you’ll be able to create that clean, modern, salon-worthy finish right at home.
Galerie d’inspiration
The term “glazed donut nails,” popularized by Hailey Bieber, saw a 900% spike in Google searches following the 2022 Met Gala.
This single event turned a niche salon technique into a global phenomenon. It showcases the power of celebrity influence but also highlights the appeal of a look that feels both clean and luxurious. The original look used OPI’s Tin Man Can chrome powder over a coat of Funny Bunny, a sheer milky white, proving that the magic is often in the combination.

My chrome looks more like fine glitter than a smooth mirror. What went wrong?
This is all about timing and temperature. The ‘sweet spot’ for burnishing chrome powder onto a no-wipe top coat is when it’s fully cured but still warm from the UV/LED lamp. If you wait too long, the surface cools and hardens too much, preventing the powder from adhering smoothly and creating that dreaded glittery effect. Work one or two nails at a time to ensure you’re always applying powder to a freshly cured, warm surface.
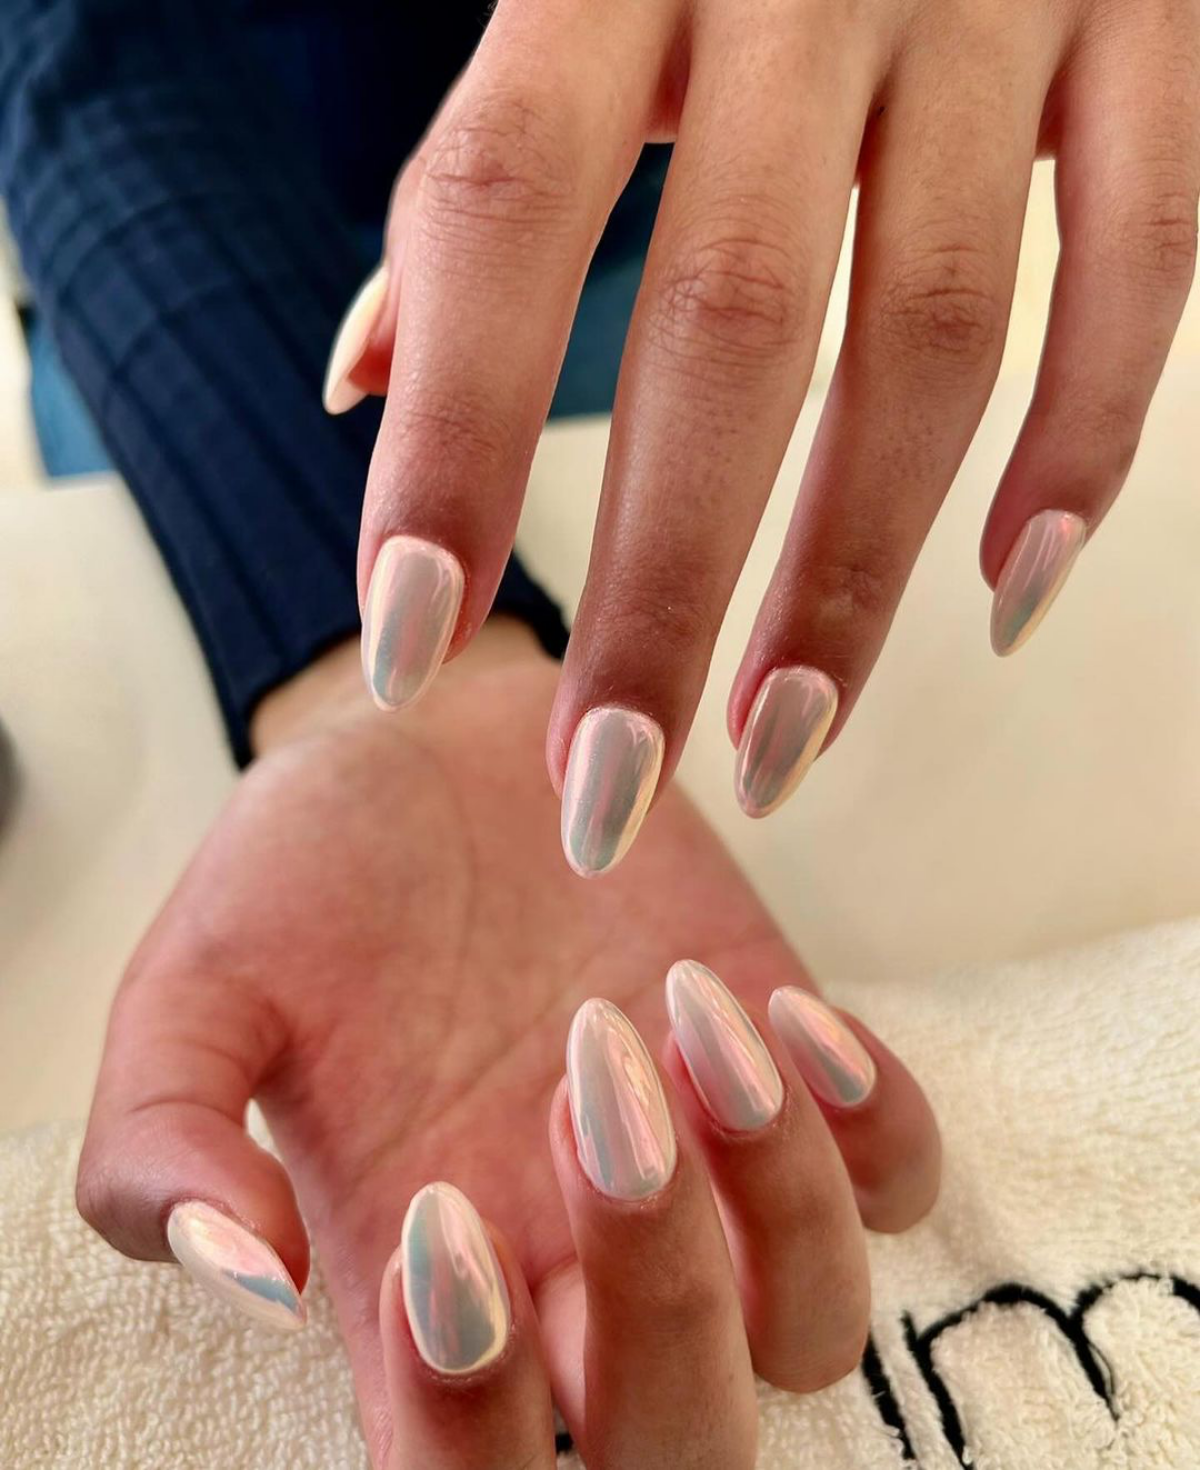
The Pearl Effect: This is the soft, luminous sheen often called the ‘glazed donut’ look. It’s subtle, catching the light with a gentle, iridescent glow rather than a sharp reflection. It’s achieved with a ‘pearl’ or ‘aurora’ chrome powder, like Daily Charme’s Unicorn Chrome, applied over a milky or sheer white base.
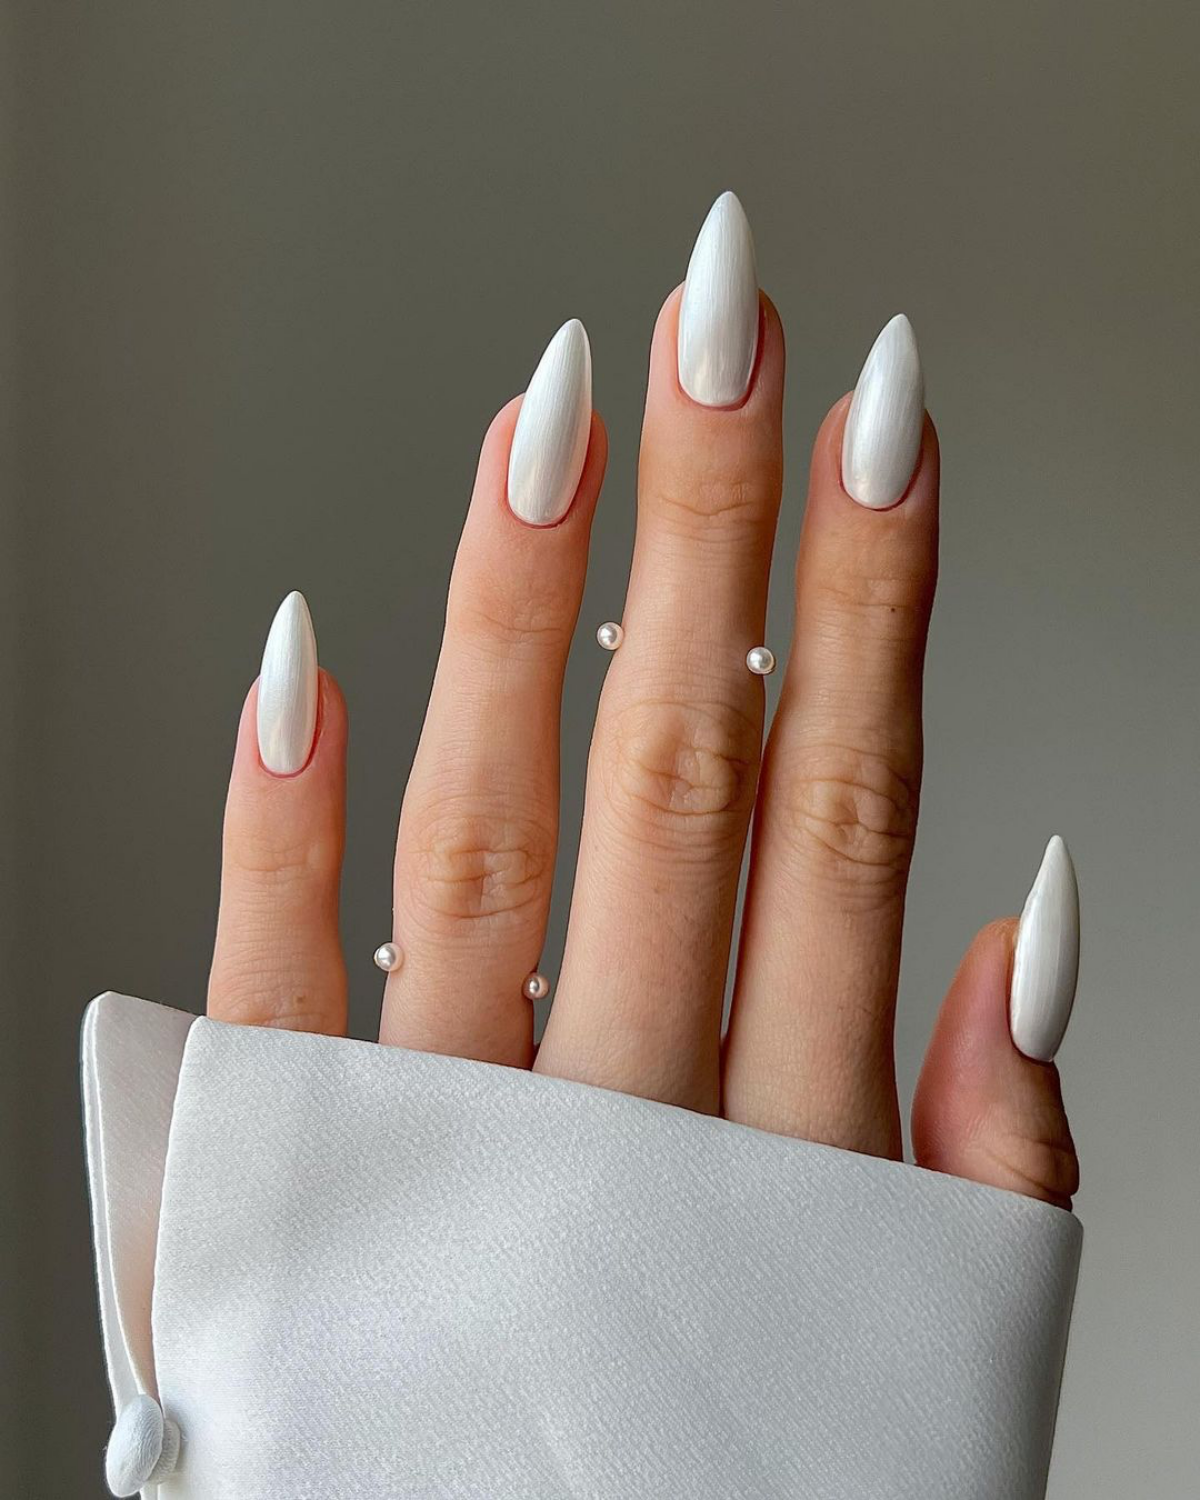
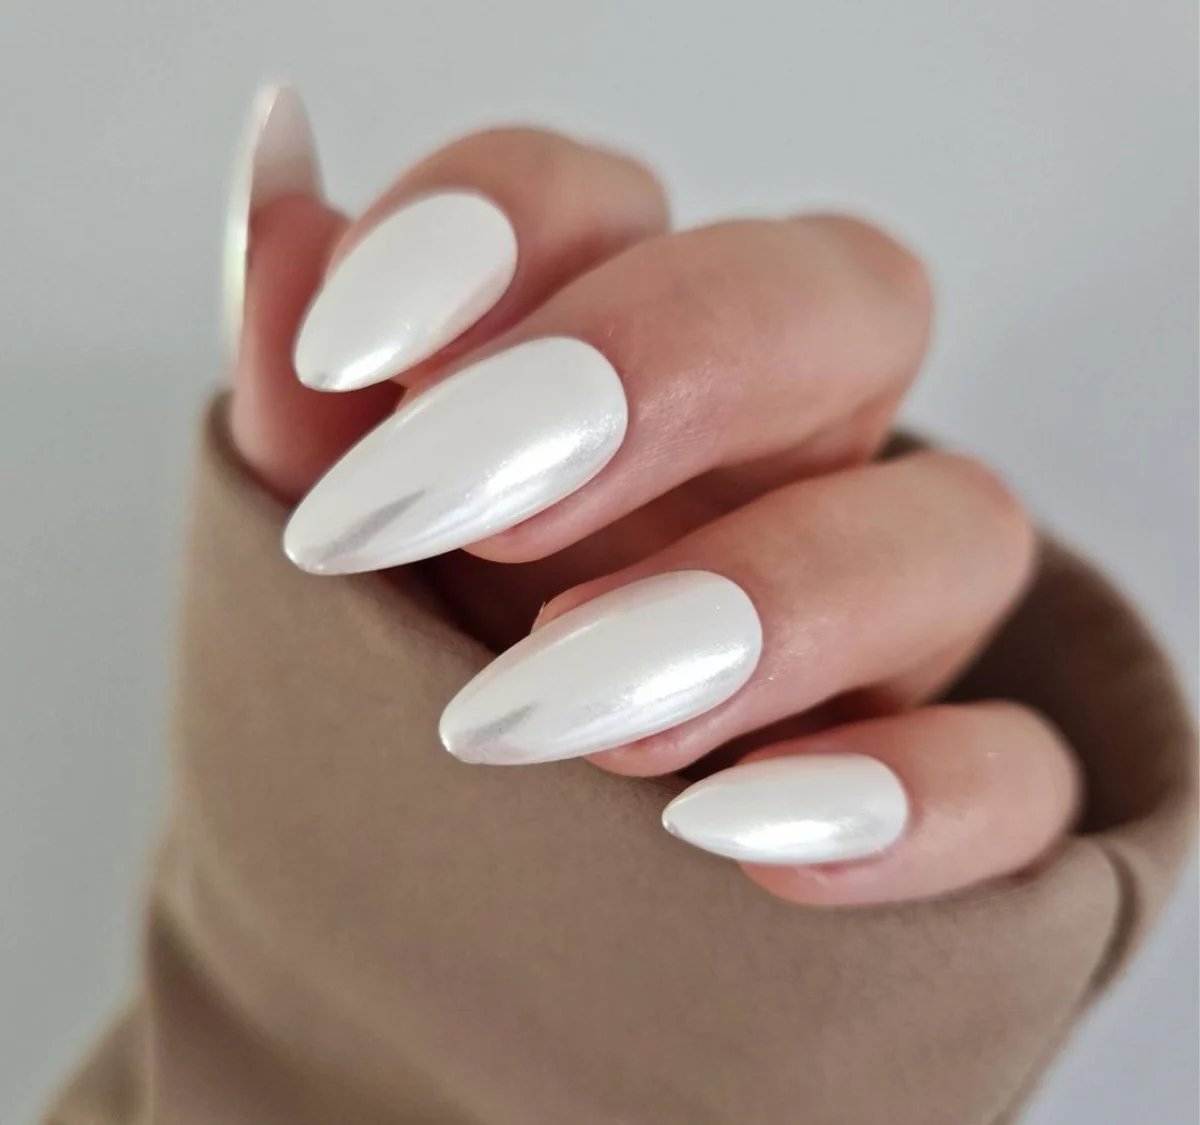
The Mirror Effect: This is a true, high-shine chrome that creates a liquid-metal look. It’s intensely reflective and futuristic. For this, you need a dedicated ‘white chrome’ or ‘silver mirror’ powder over an opaque white gel base for maximum impact.
Ultimately, pearl is for understated elegance, while mirror is for a bold statement.
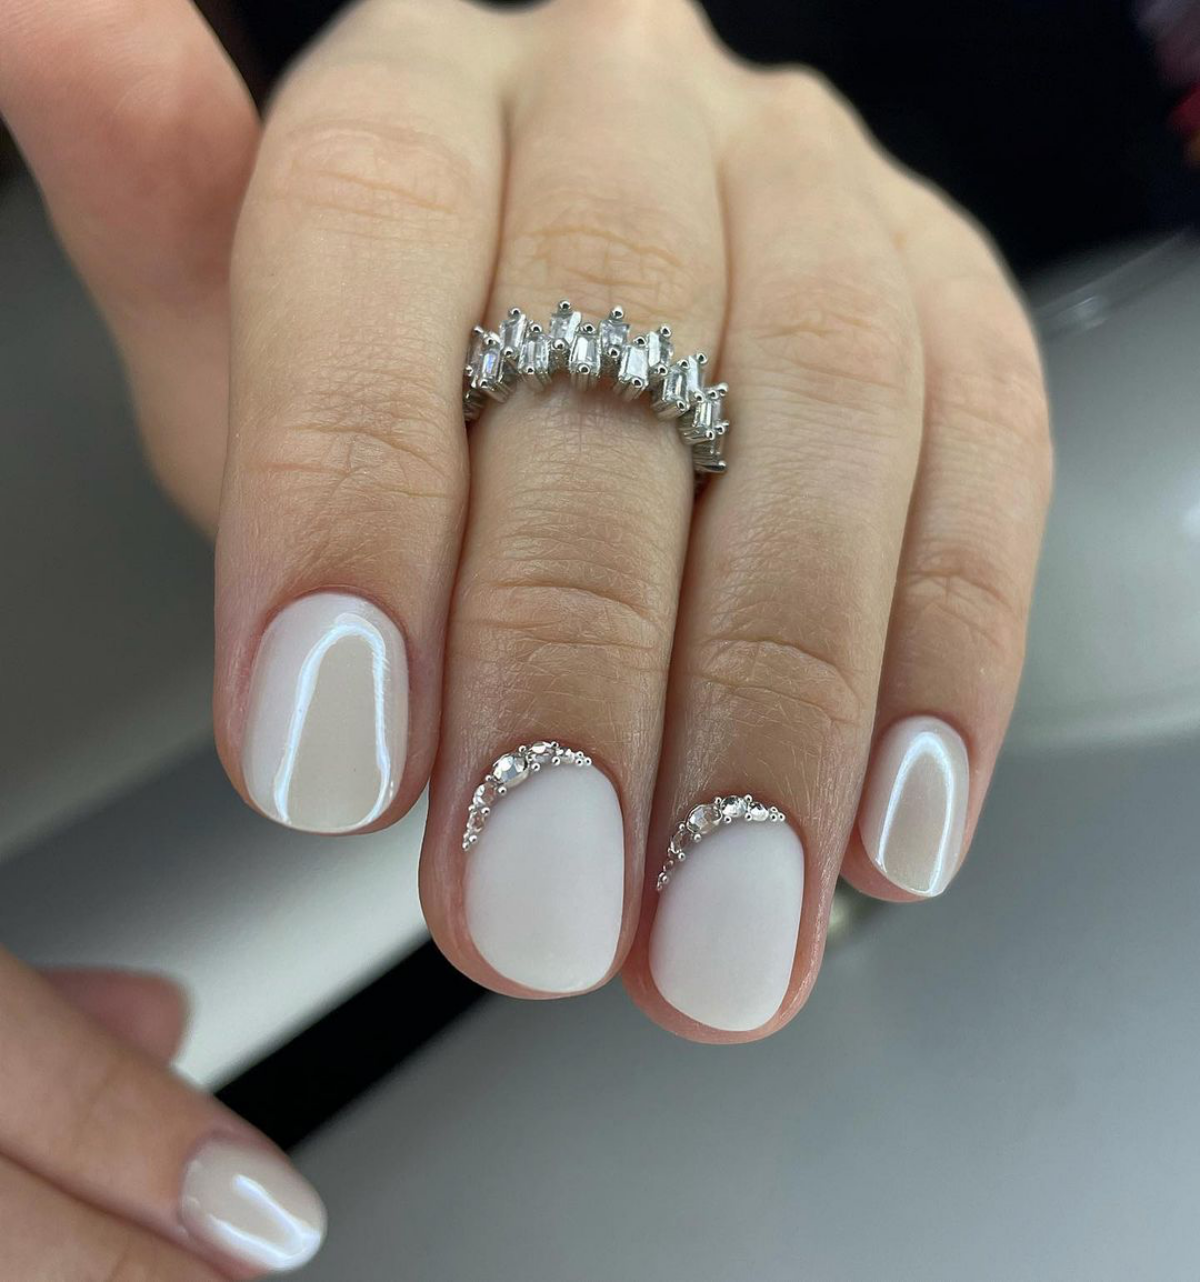
- A modern, clean contrast that feels high-fashion.
- An unexpected tactile dimension to your manicure.
The secret? Playing with texture. Try pairing your glossy white chrome nails with a single accent nail painted in a stark white with a velvet matte top coat. The absence of shine on one finger makes the chrome on the others pop even more.
Protect your investment: A chrome manicure’s biggest enemies are abrasion and harsh chemicals.
- Always wear gloves when doing dishes or cleaning. The chemicals in soaps and cleaners can dull the finish.
- Apply a quality cuticle oil daily. This keeps the skin around your nails hydrated and helps prevent the top coat from lifting at the edges.
- If you notice any tiny chips, ask your technician for a small top coat touch-up instead of picking at it.
Don’t underestimate the power of the base color. A single white chrome powder can yield dramatically different results. Applied over a crisp, opaque white, it will be bright, stark, and almost metallic. Over a sheer, milky white, it creates that softer, dreamier ‘glazed’ finish. For a more subtle, ethereal vibe, try it directly over a clear base coat on a natural nail.


