I’ve been a nail tech for over fifteen years, and trust me, I’ve seen every trend you can imagine. One minute it’s all about killer stiletto points, the next it’s short, clean, and natural. But you know what doesn’t change? The fundamentals. The secret to a beautiful manicure isn’t the color or the fancy art—it’s the health of your nail, the quality of your prep, and the structural integrity of the shape. Without a solid foundation, even the most stunning design is destined to chip and fail.
Honestly, I learned most of this the hard way. My early days were a masterclass in fixing my own mistakes. I figured out what causes gel to lift by seeing it happen, and I understood nail damage by witnessing the aftermath of improper removal. I want to pass on what I’ve learned from thousands of manicures so you can get that professional result, whether you’re a DIY enthusiast or just want to know what to look for in a good salon.
The Real Foundation: It All Starts with Prep
Before you even think about cracking open a bottle of polish, we have to talk about the nail itself. A manicure on a weak or poorly prepped nail is like building a house on a shaky foundation. It’s just not going to last. The most important work happens before any color ever touches the nail.
A Quick Look at Your Nail
So, your nail is more than just a pretty surface. The main part you see is the nail plate, made of layers of a protein called keratin. It grows from the matrix, which is a super important area hidden under your cuticle. Any damage there can be permanent, so we treat it with respect. Now, that little ridge of skin at the base? That’s the cuticle. It’s non-living tissue, and its job is to seal the area and protect that precious matrix. The live skin right behind it is the eponychium. It’s crucial to know the difference because we ONLY ever work on the non-living cuticle.
The Pro Prep Routine That Guarantees a Longer-Lasting Manicure
Good prep can easily make your manicure last an extra week. No joke. This is the non-negotiable sequence that makes all the difference. Oh, and for those of you doing this at home, expect to set aside a good 90 minutes to two hours for the whole process. Don’t rush it!
First things first, always start with clean hands. Then, spray your hands and nails with a sanitizer or, even better, scrub the nail plate with a lint-free wipe soaked in 99% isopropyl alcohol. This gets rid of any oils, which are the number one enemy of adhesion.
Next, it’s time for some gentle cuticle work. Apply a dab of professional cuticle remover (you can find a decent bottle for $5-$10 at Sally Beauty or online) to the base of the nail. Let it sit for about 30 seconds, then use a metal or orangewood stick to gently push back the softened tissue. The goal is just to lift the transparent, non-living cuticle off the nail plate. Never, ever cut the living tissue (the eponychium). That’s your nail’s natural seal against infection. A good tech only nips away obvious hangnails or loose bits of dead skin.
Once the cuticles are tidy, it’s time to shape. For natural nails, always use a fine-grit file, something 240-grit or higher is perfect. And a pro tip: file in one direction, from the side toward the center. That back-and-forth sawing motion might feel effective, but it actually frays the nail tip and leads to peeling later on.
Finally, lightly buff the surface with a soft buffer block to remove the shine and any leftover cuticle bits. The goal isn’t to thin the nail, just to create a slightly rough texture for the polish to grip onto. After a final cleanse with alcohol to remove all the dust and oil, you’re ready to go. By the way, if your manicures always seem to chip fast, you might have oily nail beds. A quick swipe of a pH-balancing bonder before your base coat can be a total game-changer. It acts like double-sided tape for your polish.
Choosing Your Shape Is More Than Just Style
The shape of your nail isn’t just about what looks good; it’s an engineering choice. The right shape adds strength and flatters your hand, while the wrong one is a one-way ticket to Frustration-ville. Here’s the lowdown on the most common shapes.
• Square: This one has straight sides and a sharp, flat top. It’s a very striking look, especially on long, narrow fingers. But be warned, those sharp corners are weak points that snag on everything. It’s a high-maintenance shape, probably not the best for someone who is rough on their hands.
• Squoval: Think of this as the practical sister to the square shape. It has that same strong look but with soft, rounded corners. This makes it way more durable and a fantastic, stylish choice for pretty much everyone.
• Round: A classic for a reason! The tip just follows the natural curve of your fingertip. It’s one of the strongest shapes out there because there are no corners to act as stress points. I often recommend this for clients trying to grow their nails out.
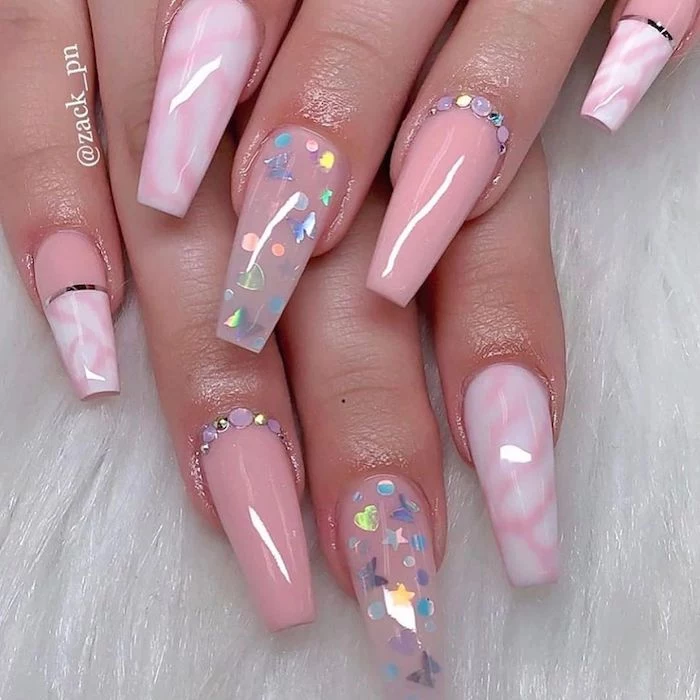
• Almond: So elegant. This shape is slender along the sides and tapers to a soft peak. To make this shape last, especially when it’s long, it needs structural support. For gels or extensions, this means building a proper apex—a slight curve in the product that absorbs pressure and prevents snapping. Without it, an almond nail is incredibly weak.
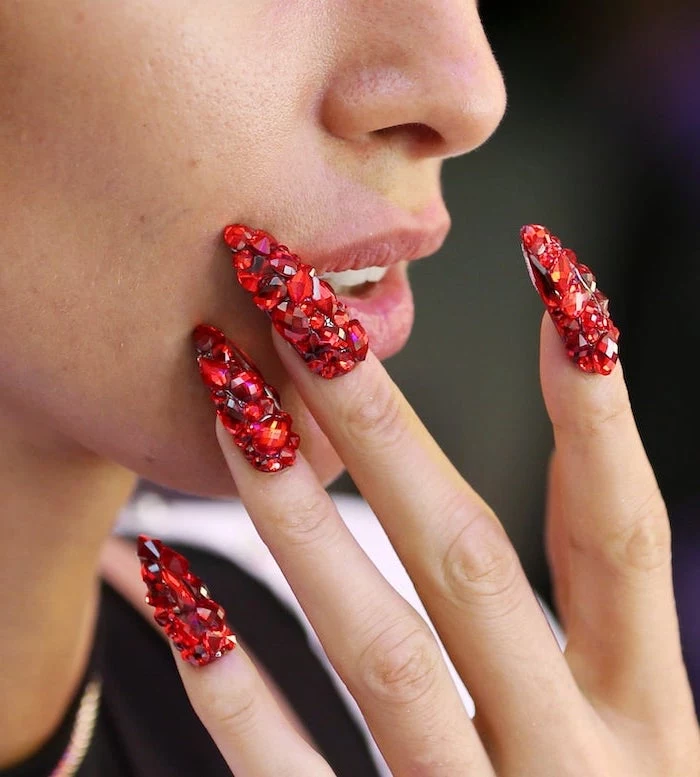
• Stiletto: The drama queen of nail shapes. It’s a much sharper, pointier version of the almond and is almost always done with extensions. It’s easily the weakest shape due to that fine point and is definitely high-maintenance. To be frank, it’s not for typing or opening soda cans.
• Coffin/Ballerina: Like a stiletto with the tip squared off. This shape is super popular because it makes fingers look long and slender. Its strength comes from keeping the side walls perfectly straight and parallel. If they’re over-filed into a curve, the structure is compromised.
The Art and Science of Application
Regular polish and gel polish are two completely different beasts. Regular polish dries as solvents evaporate, a process that can take hours to fully harden. Gel, on the other hand, cures.
It works through a chemical process called polymerization. The gel contains photoinitiators that, when hit with UV or LED light, cause all the molecules to link together into super-strong chains. This turns the liquid gel into a solid, durable plastic in about 30 to 60 seconds. This is why a quality lamp is so important. When you’re shopping, look for an LED lamp that’s at least 36-48 watts, which you can find online for $25 to $50. Please, skip the tiny $10 mini lamps; they’re often underpowered and a recipe for under-cured gel and nasty skin allergies.
Flawless Gel Application: The Secrets
Applying gel is a game of precision. Here’s how it’s done:
1. Base Coat: Apply a very thin layer and really ‘scrub’ it into the nail with the brush to ensure a good bond. Cure for 30-60 seconds.
2. Color Coats: This is where things often go wrong at home. You need to apply two to three paper-thin coats of color, curing between each one. If your gel wrinkles after curing, it’s because you applied it too thickly and the light couldn’t penetrate to the bottom. You’ll have to remove that layer and start over.
3. Cap the Free Edge: With every single layer—base, color, and top coat—run the brush along the very tip of your nail. This seals everything in and is your best defense against chipping.
4. Top Coat: Apply the final top coat and cure. Afterward, the nail will probably feel a bit sticky. This is totally normal! It’s called the inhibition layer, and it’s just some uncured gel that helps the layers stick together. Simply wipe it off with a bit of alcohol on a lint-free pad, and you’re done.
A Quick Word on the ‘Russian Manicure’
You might have heard of this. It’s an advanced, and honestly controversial, dry manicure technique that uses an e-file to achieve an almost photoshopped level of clean around the cuticle. In the wrong hands, an e-file can drill holes in the nail or cause permanent damage. This is NOT a DIY technique. If you want this service, please find a tech with a specific, reputable certification in it.
Protecting Your Investment: Aftercare is Everything
A manicure is a partnership. My job is only half the battle; the other half is up to you. I always tell my clients two things.
First, use cuticle oil every single day. If you do nothing else, do this. A good jojoba-based oil (around $8-$15 for a bottle that will last ages) is amazing because its molecules are small enough to actually penetrate the nail plate. It keeps your polish flexible and less prone to cracking. Quick challenge for you: put a bottle on your nightstand and use it every night for a week. You will be shocked by the difference.
Second, and I can’t say this enough: your nails are jewels, not tools. Don’t use them to scrape labels or open cans. I once had a client try to scrape a sticker off a picture frame with her fresh manicure… and she scraped the nail right off with it. Don’t be her! Wear gloves for dishes and cleaning, too.
When to Call It: Removal and Troubleshooting
Even with great care, you need to know when it’s time for a refresh. A gel mani should be removed or refilled every 2-3 weeks. Pushing it longer makes the nail tip-heavy and prone to breaking. Also, never, EVER peel or pry off your gel. You’re literally ripping off the top layers of your natural nail along with it.
The only safe way to remove it is to file off the shiny top coat, then soak cotton balls in 100% acetone, place them on your nails, and wrap each finger in foil. Now, wait. Give it a solid 10-15 minutes. A little science fact for you: acetone works by chemically breaking down the gel’s structure, not just dissolving it. That’s why you need to let it sit and do its magic! After soaking, the gel should be soft enough to gently push off with an orangewood stick. If it’s not, re-wrap and wait a few more minutes. Patience is key to keeping your nails healthy and strong for the next round of beautiful art.
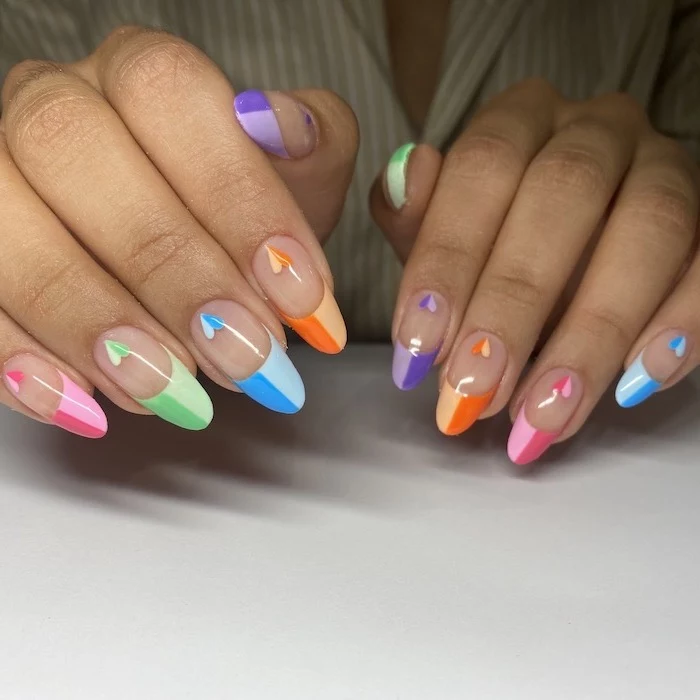
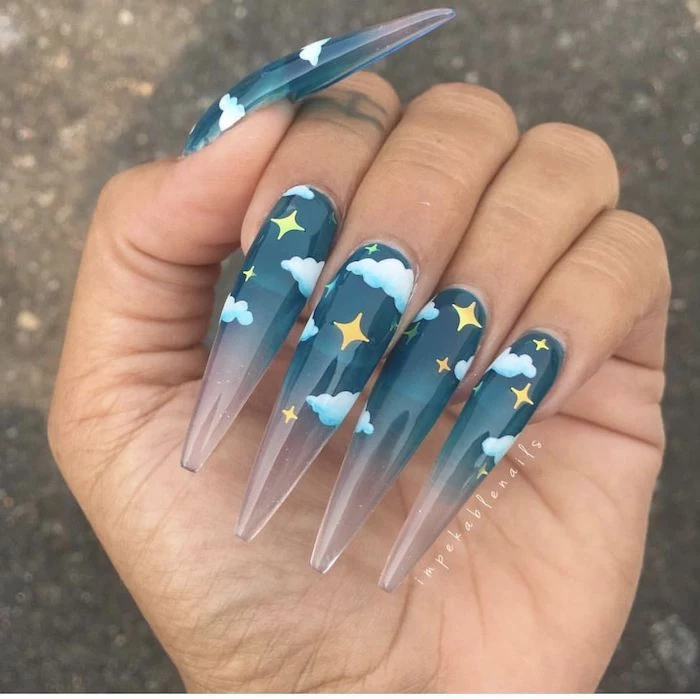
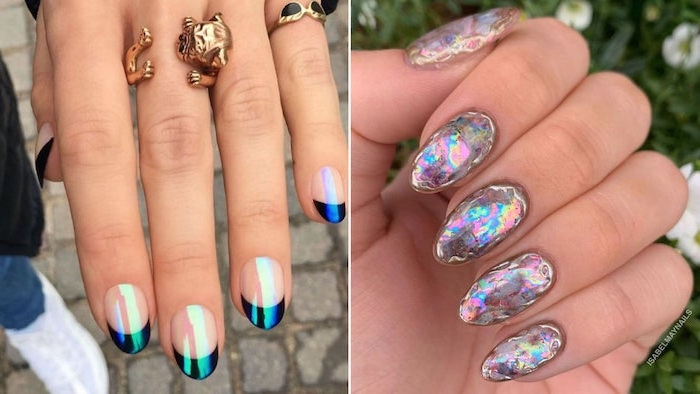
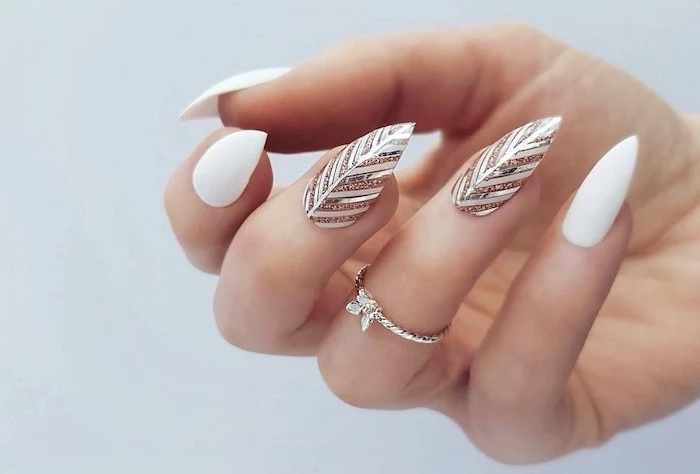
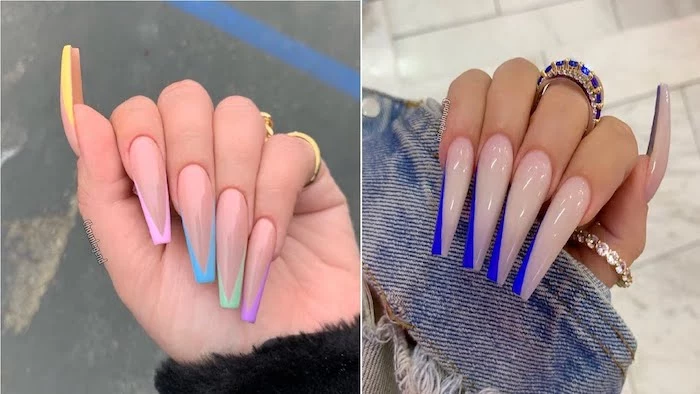
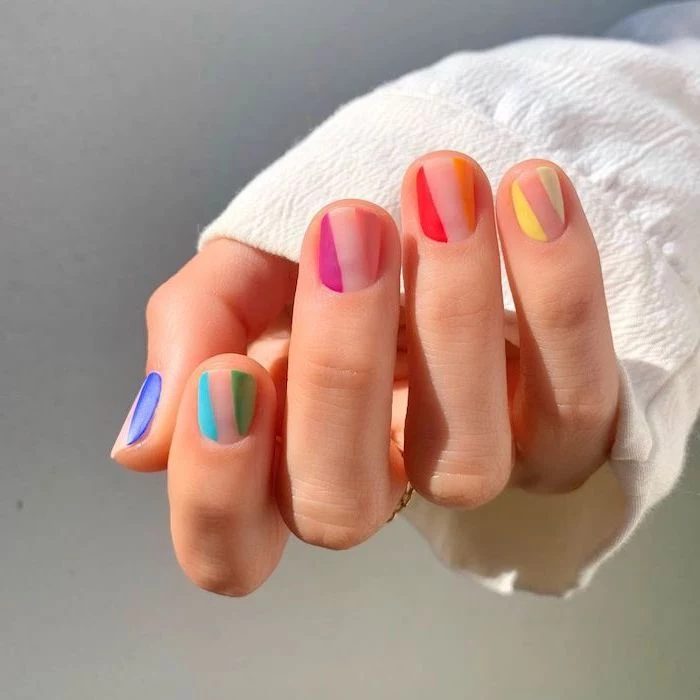
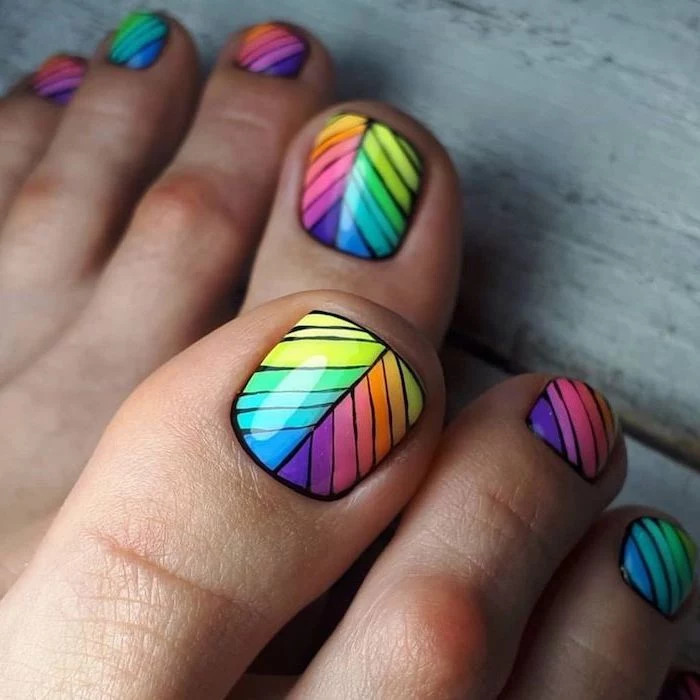
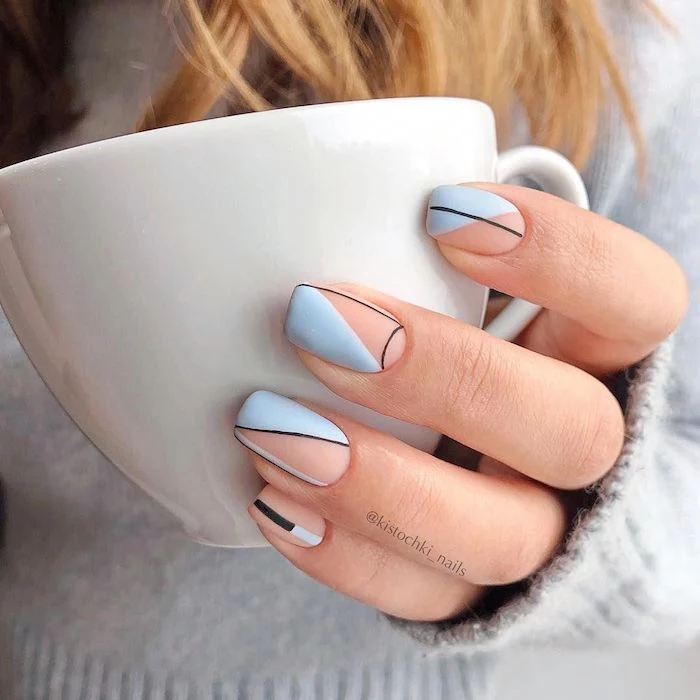
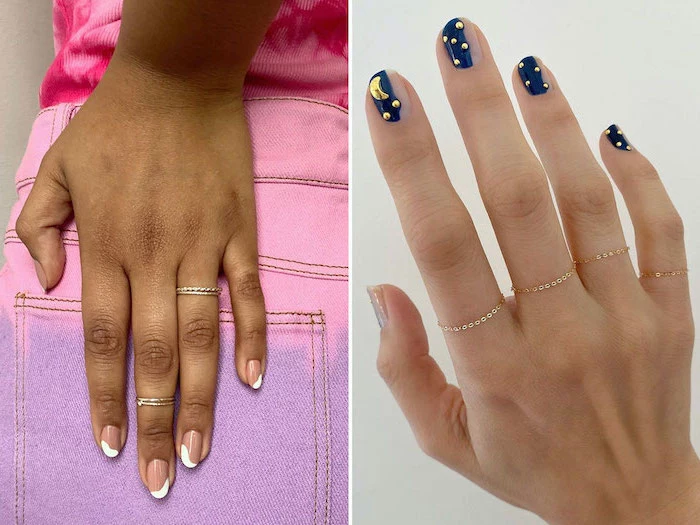
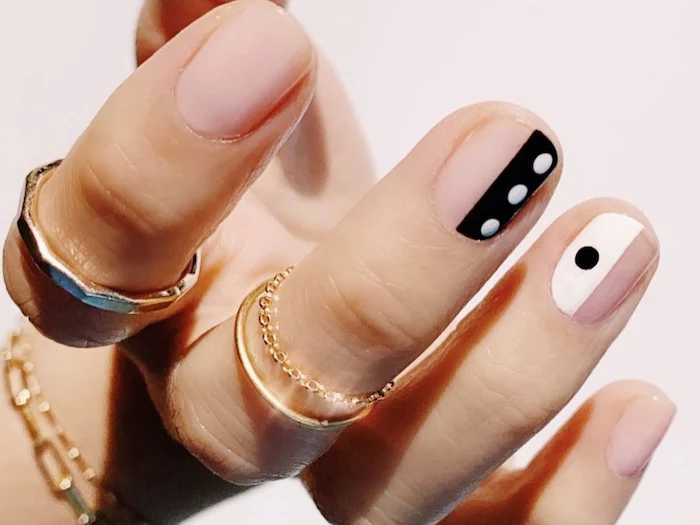
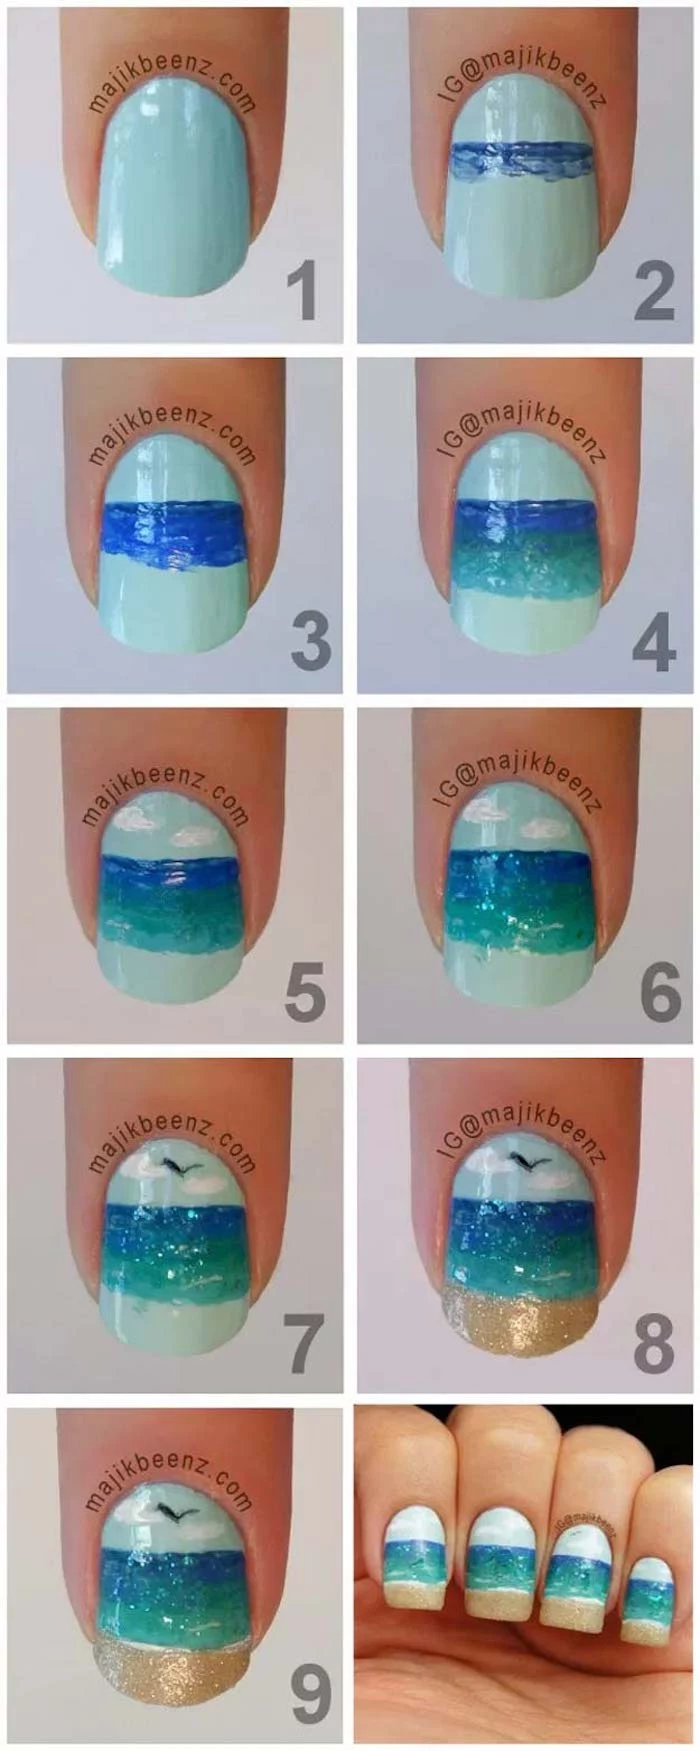
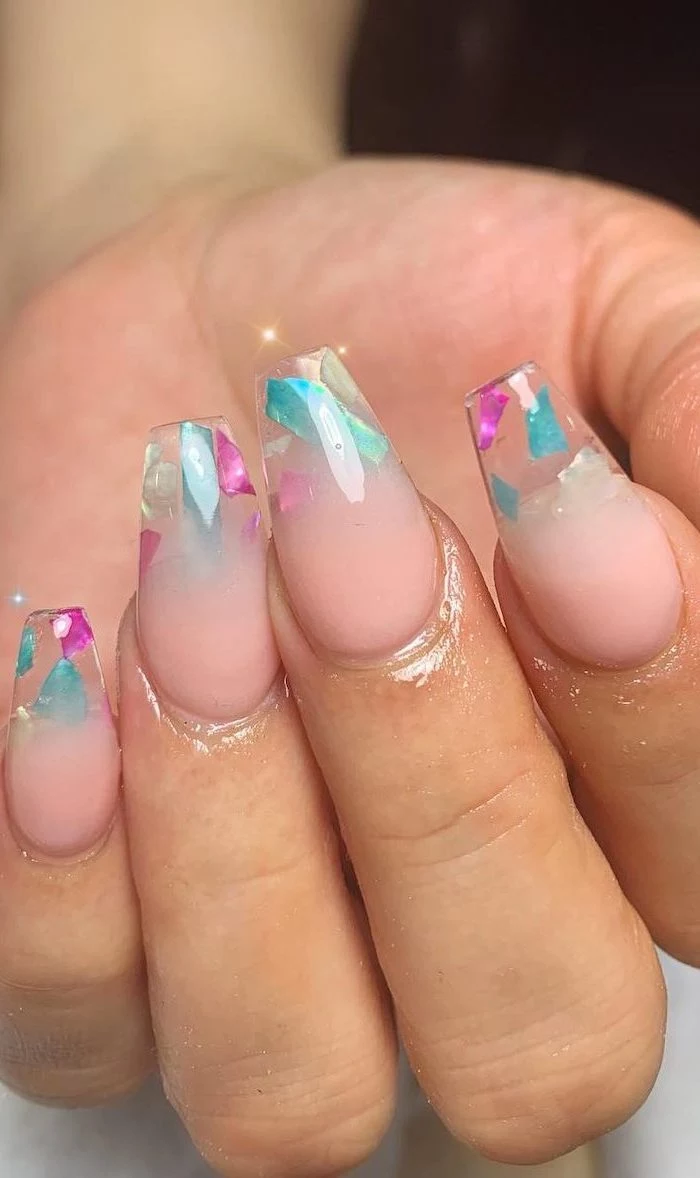
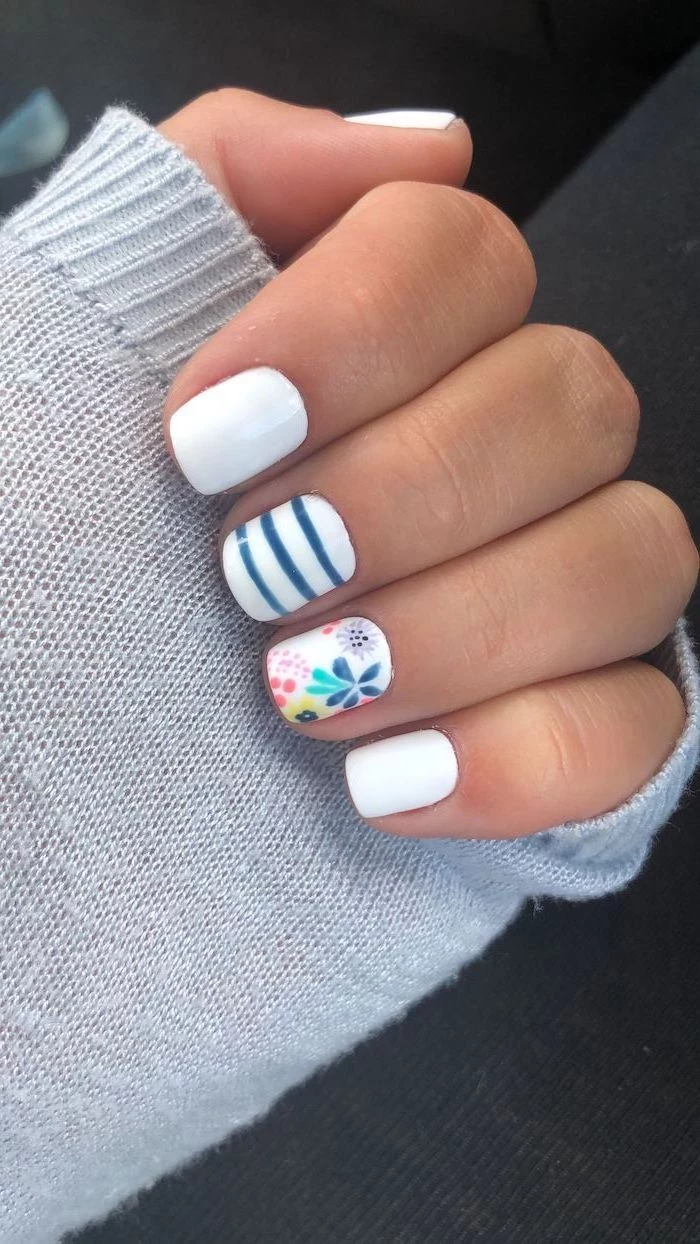
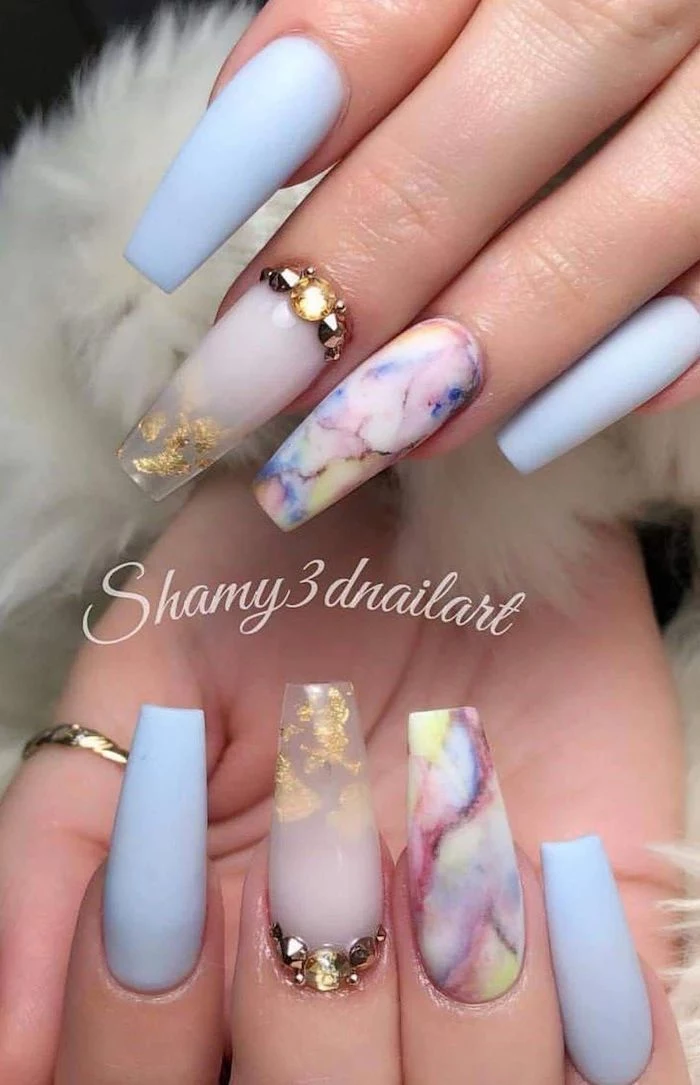
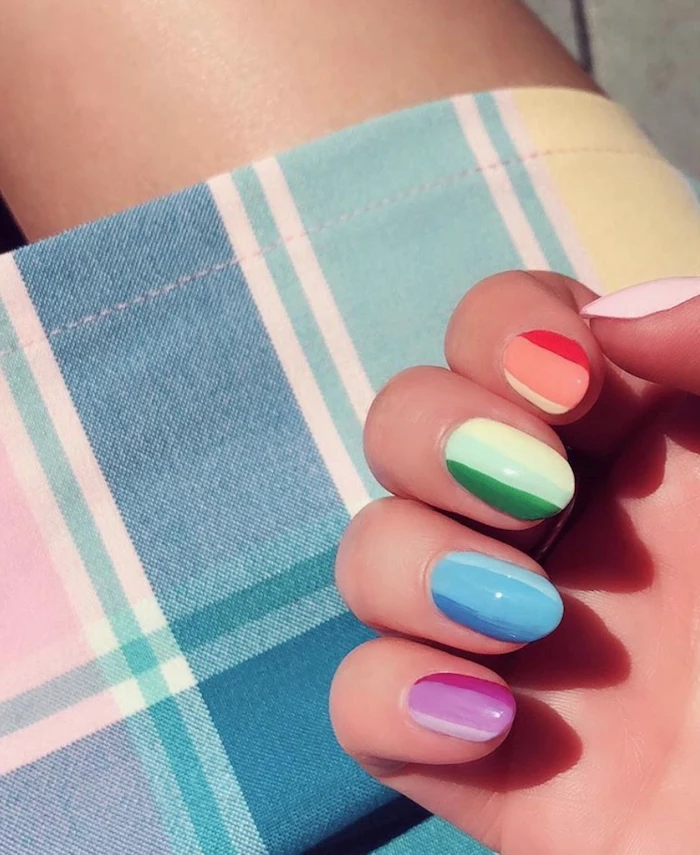
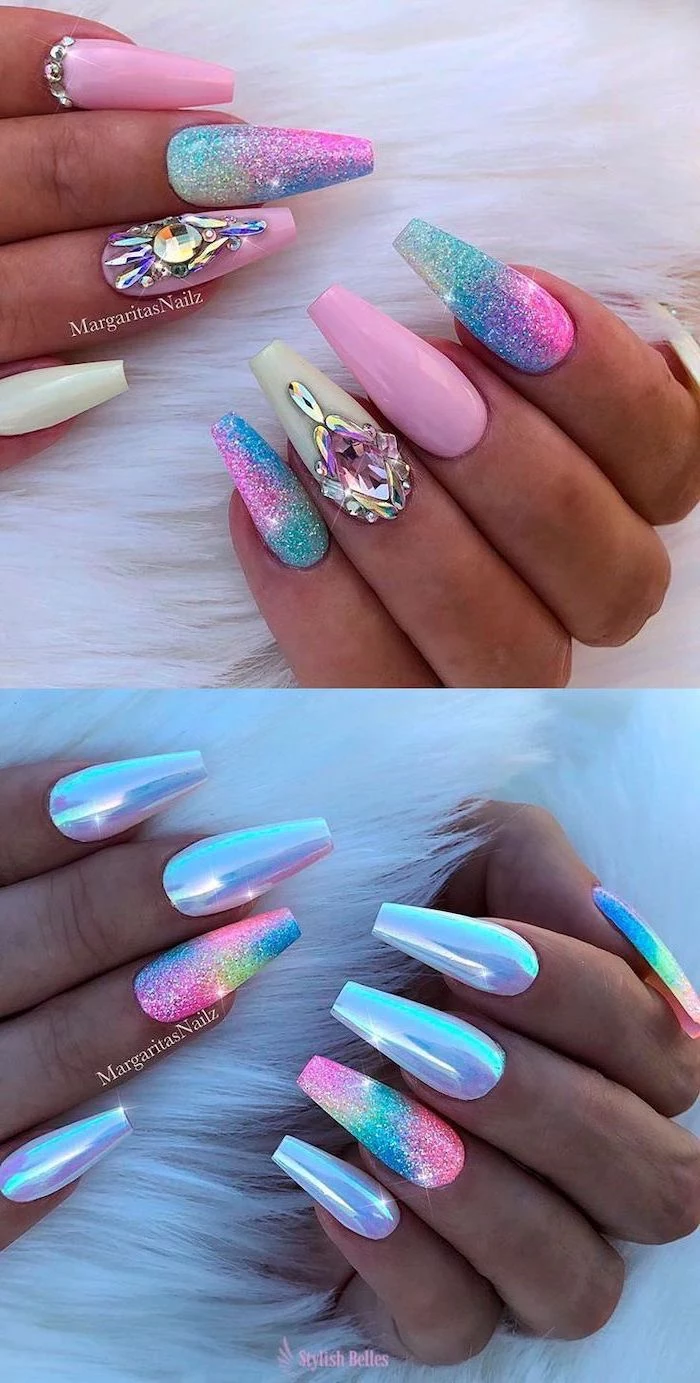
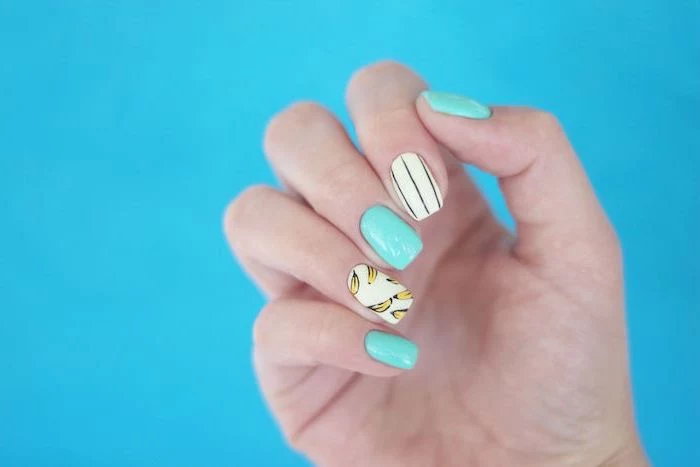
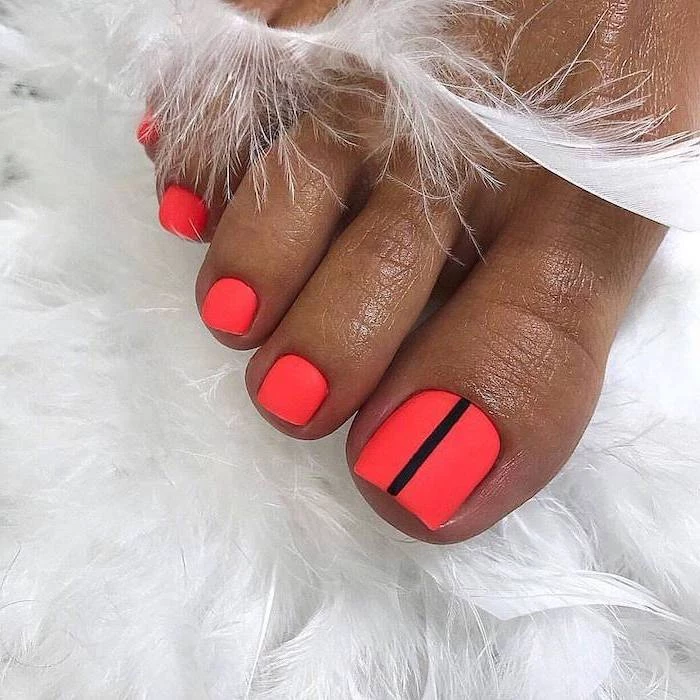
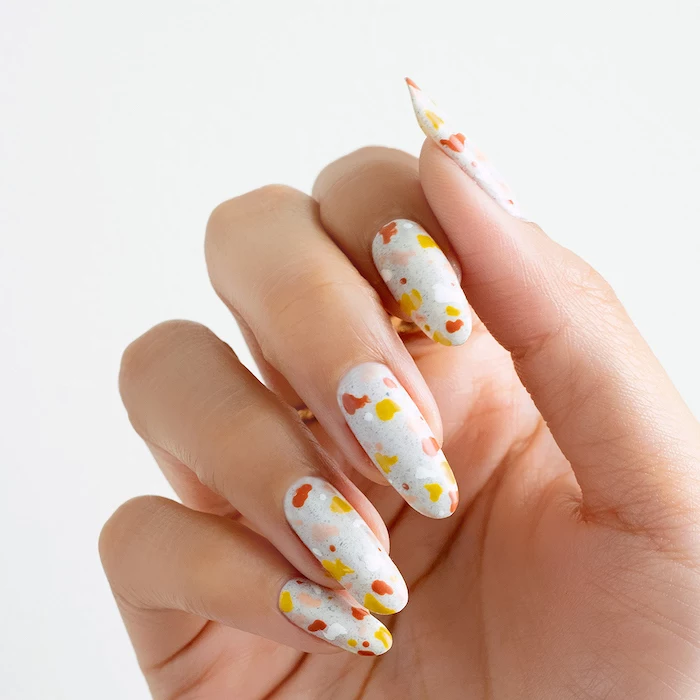
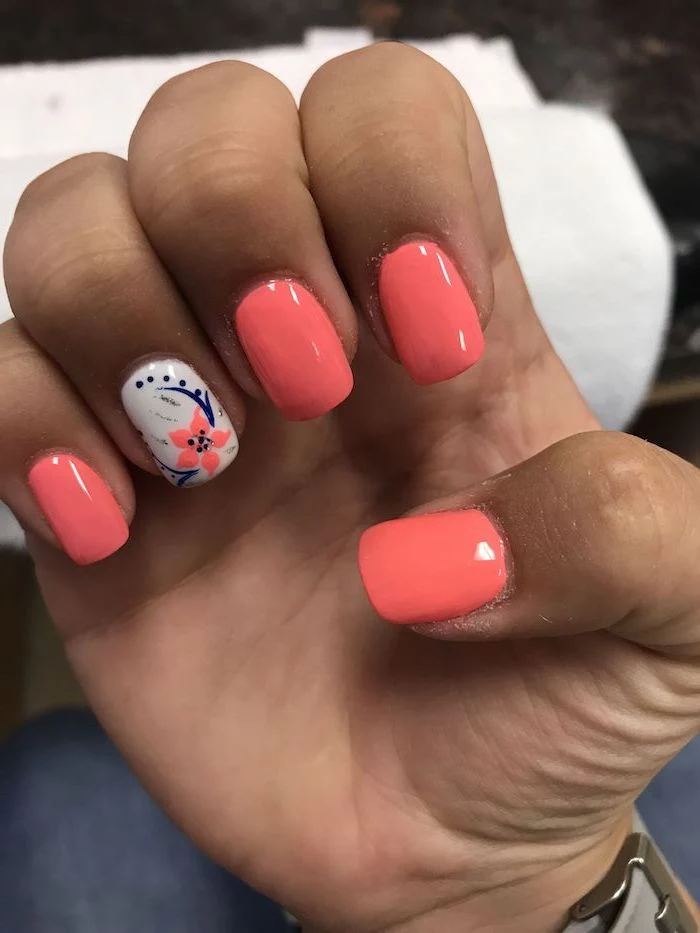
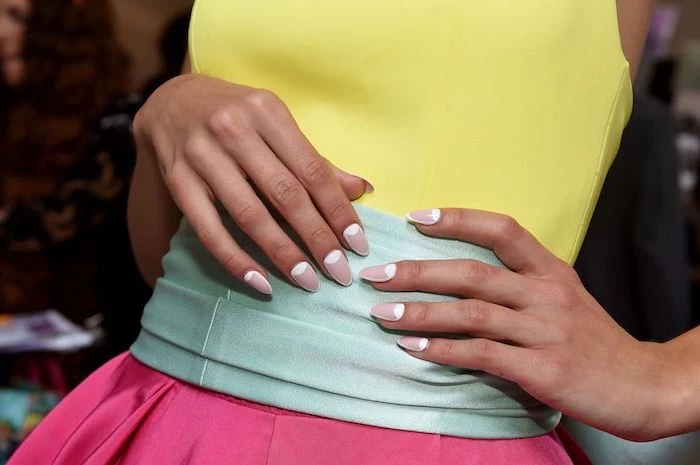
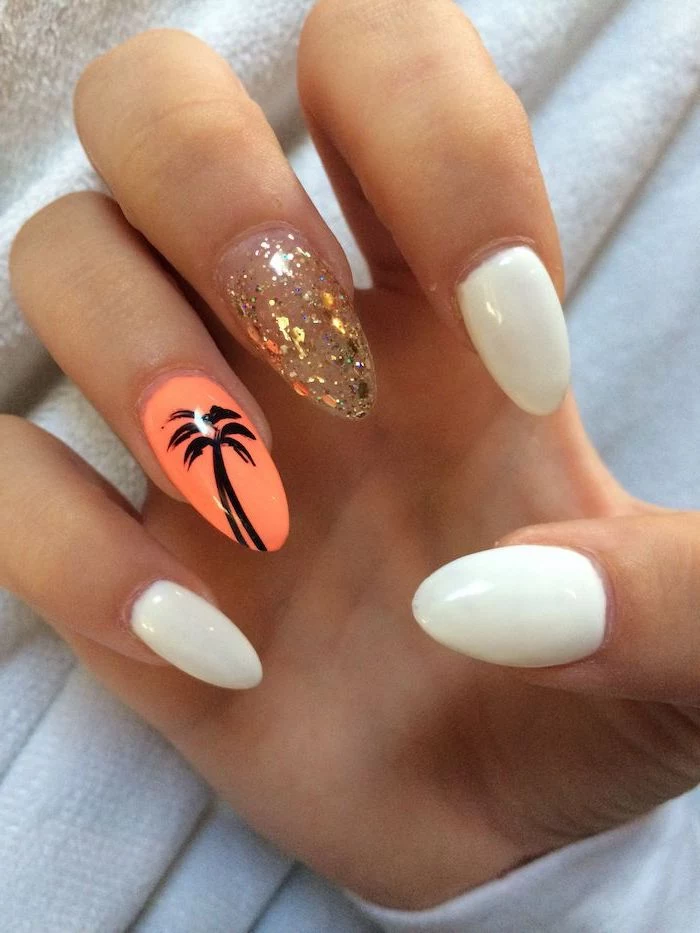
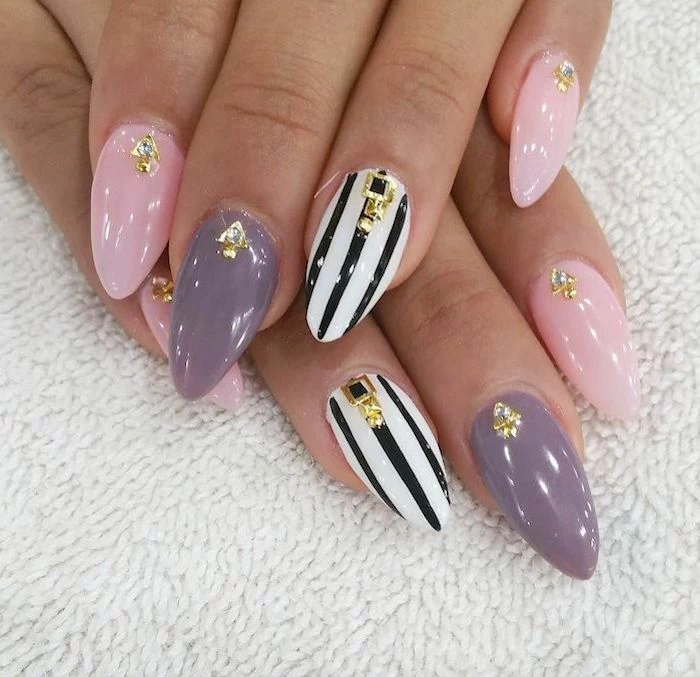
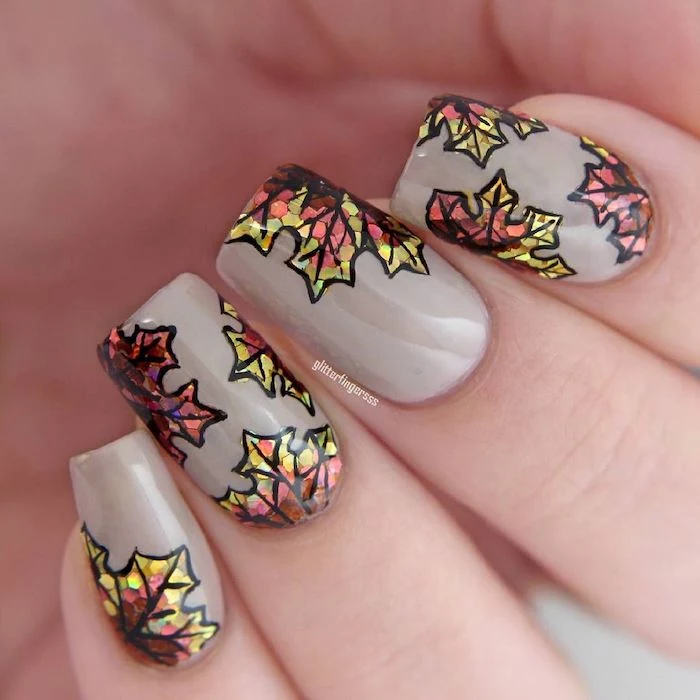
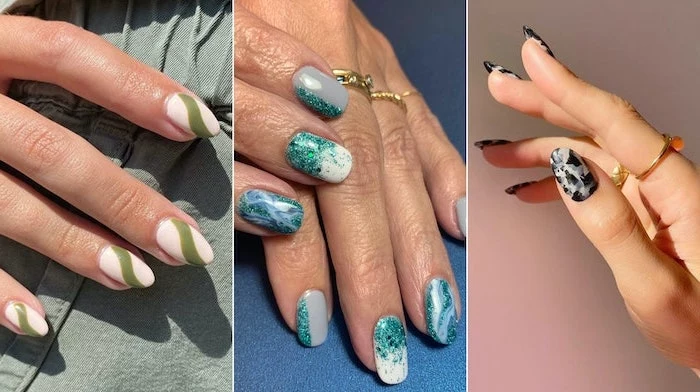
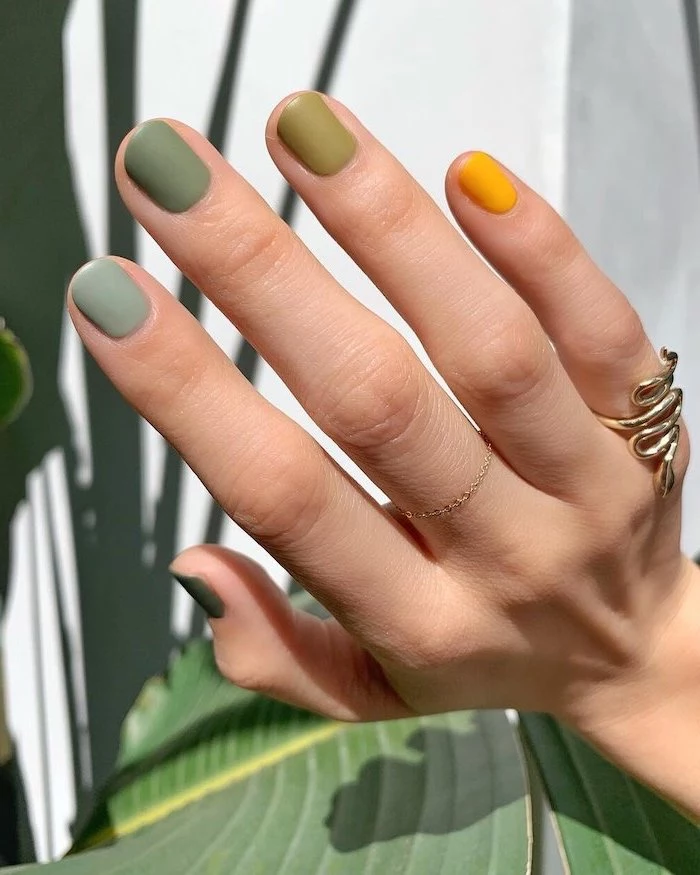
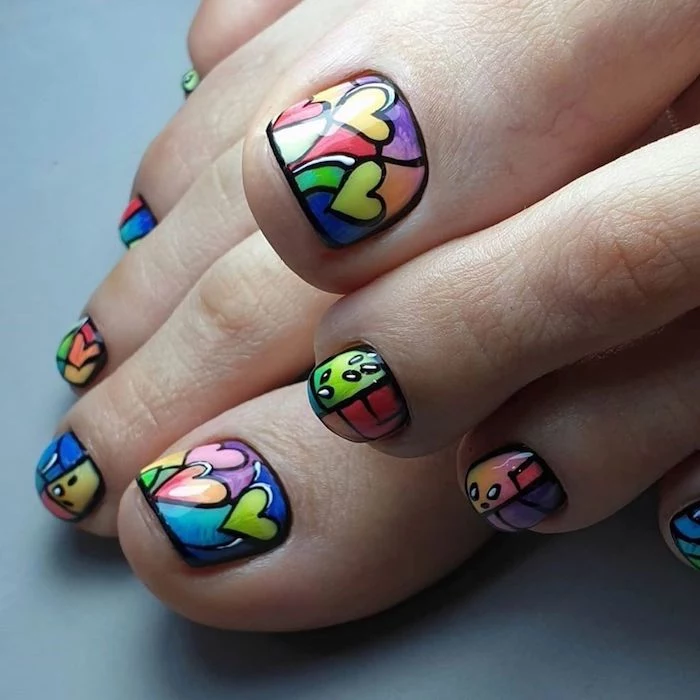
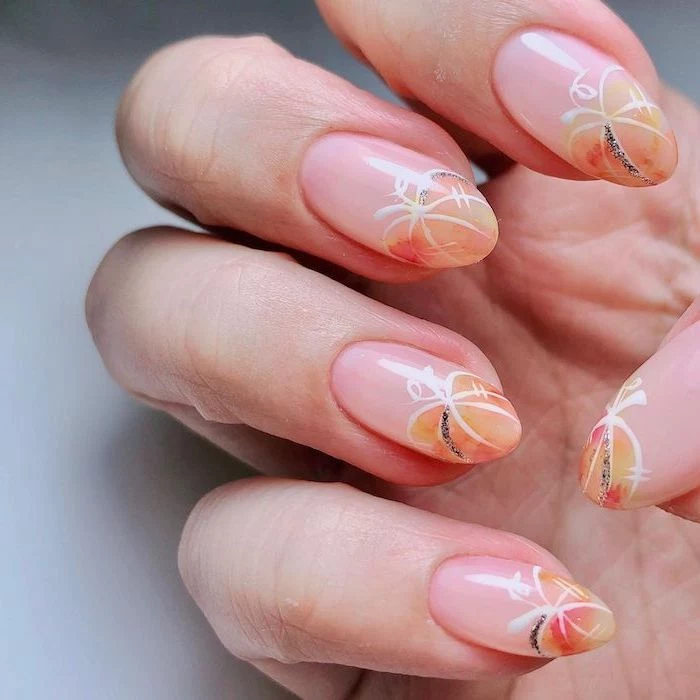
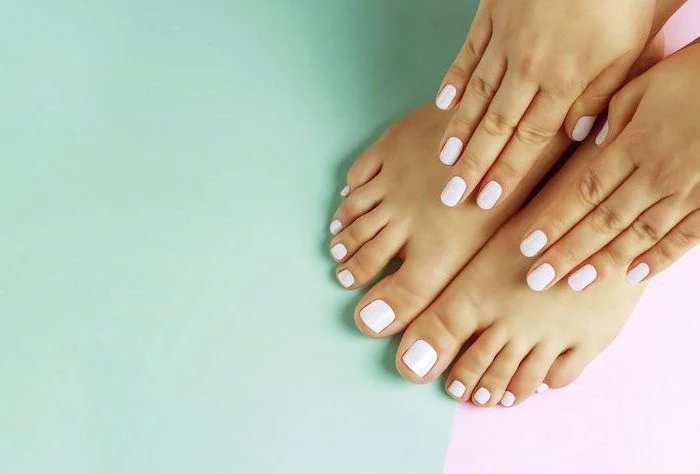
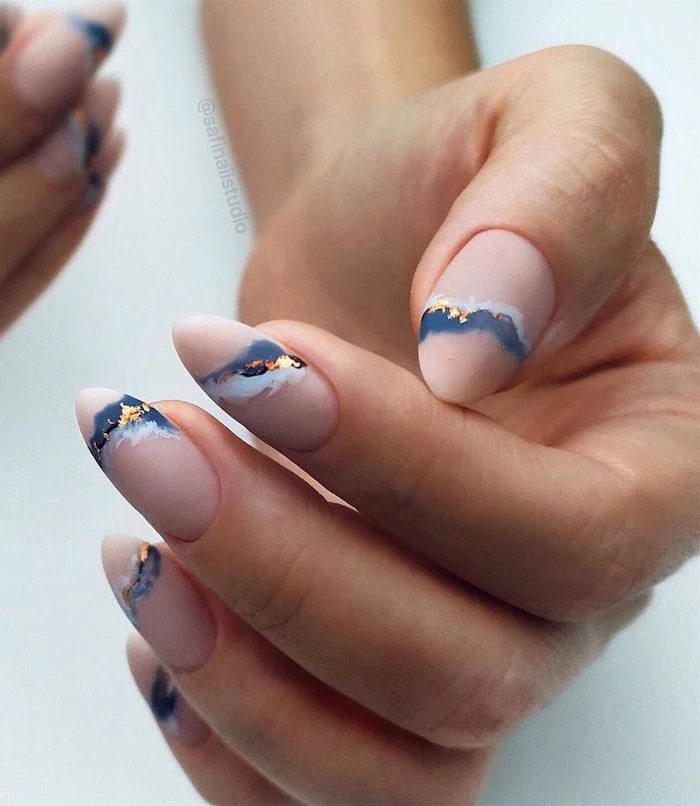
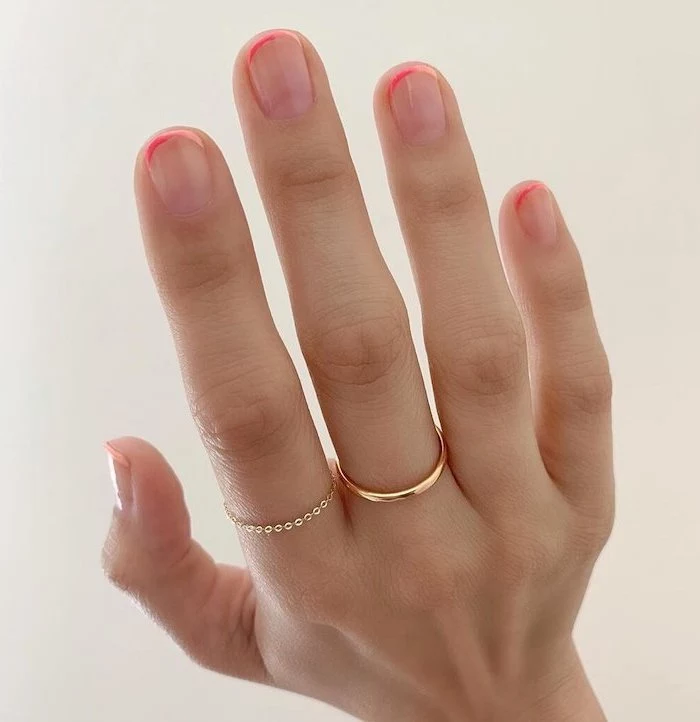
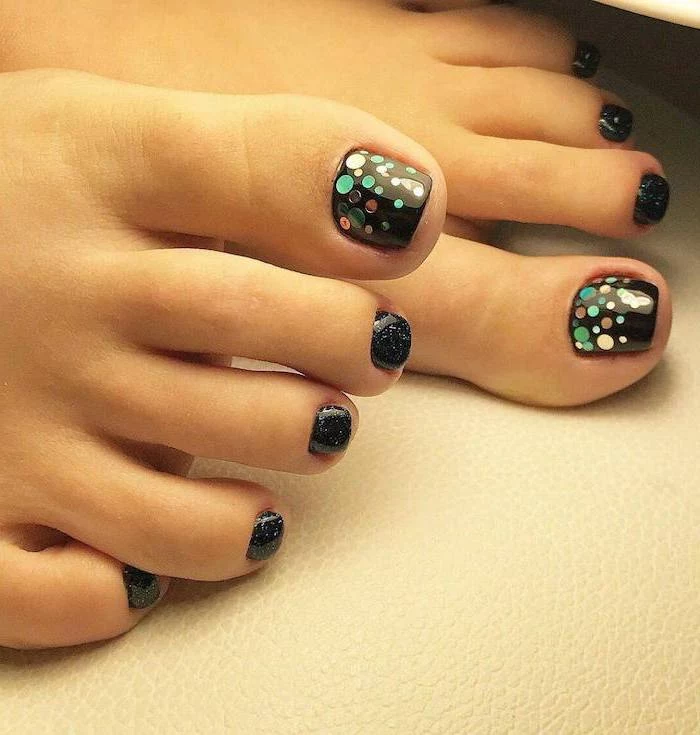
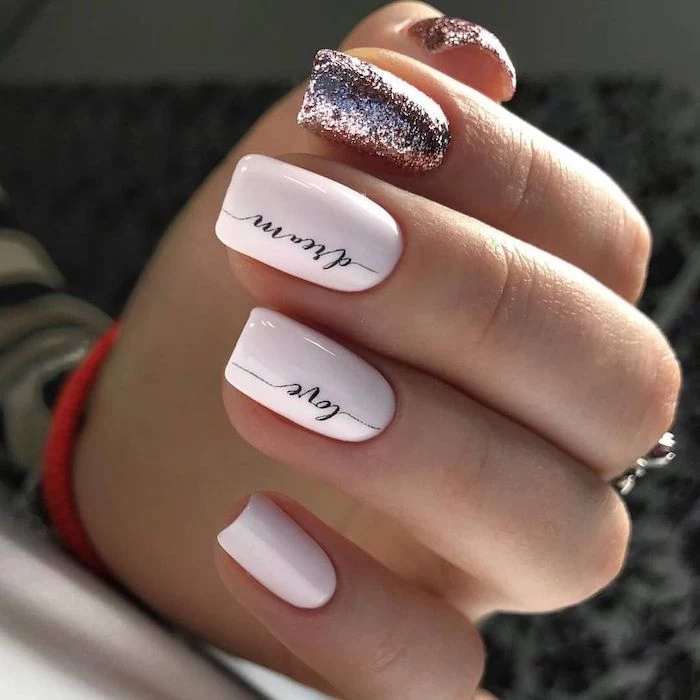
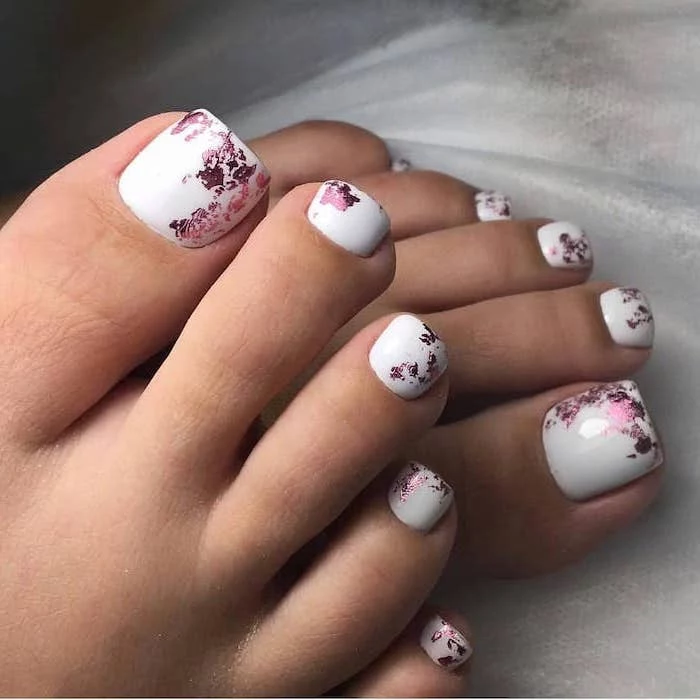
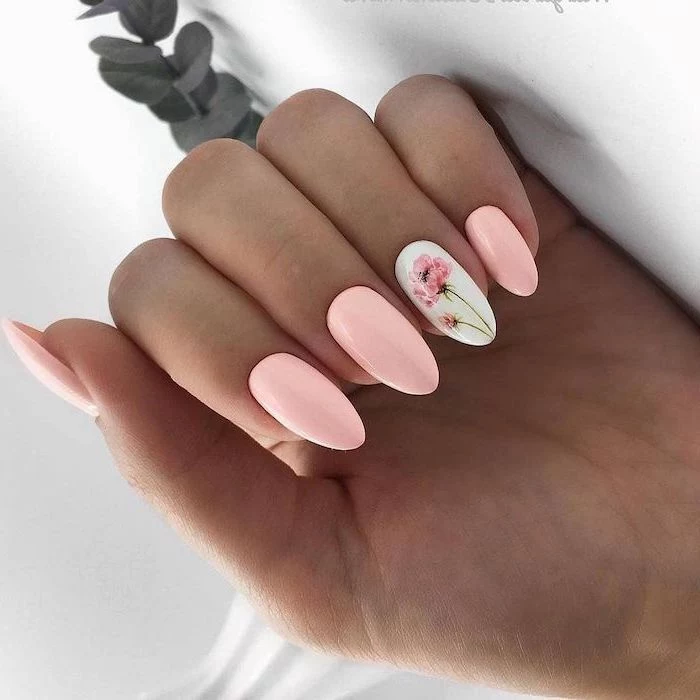
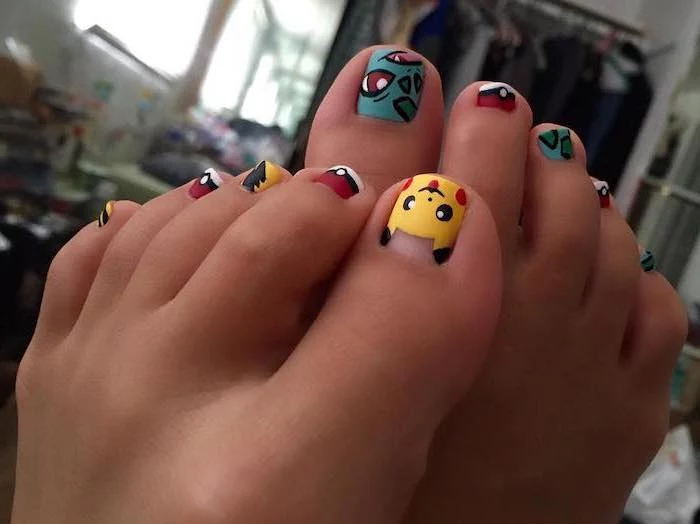
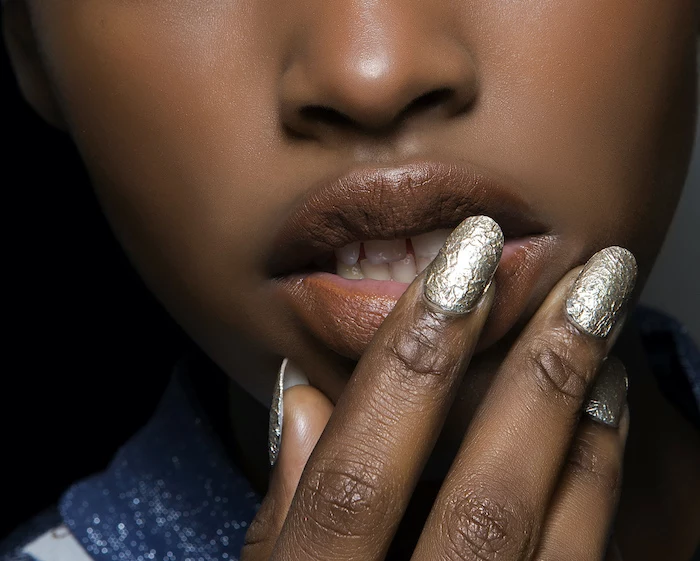
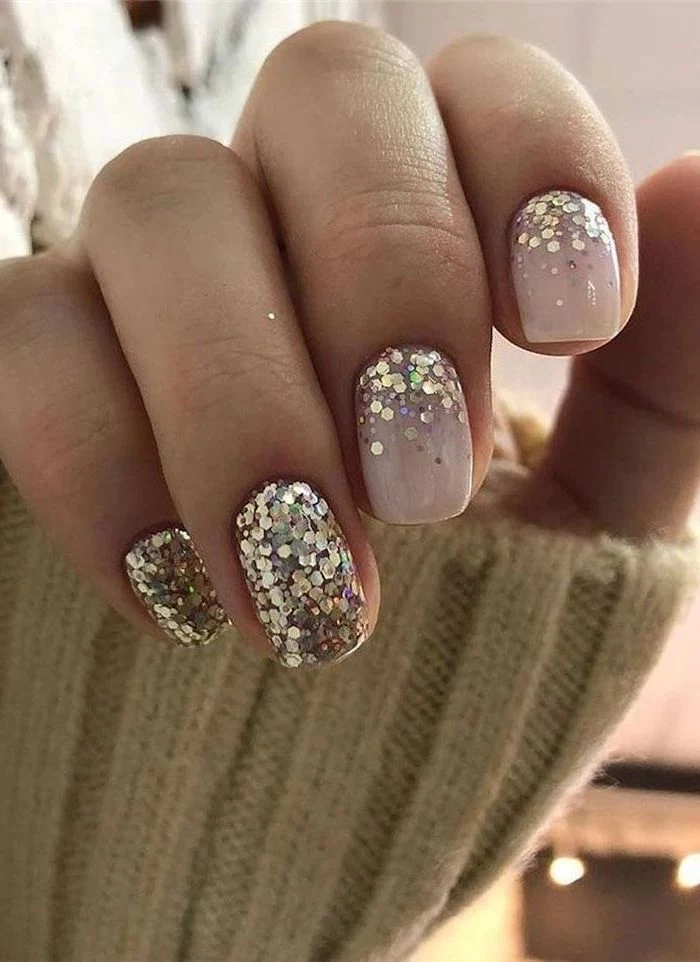
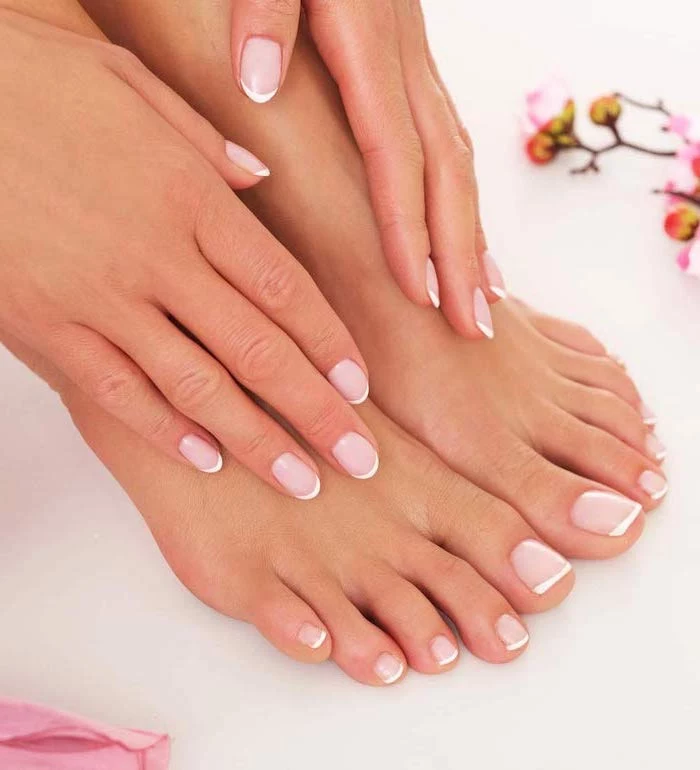
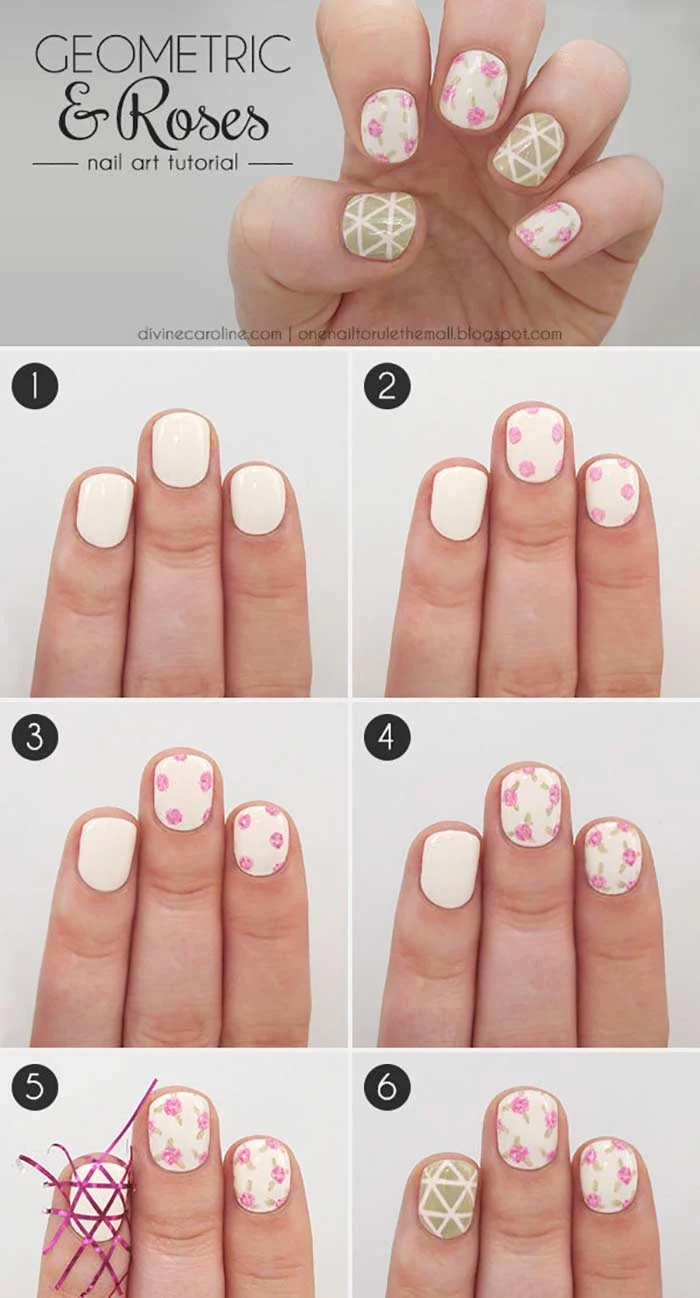
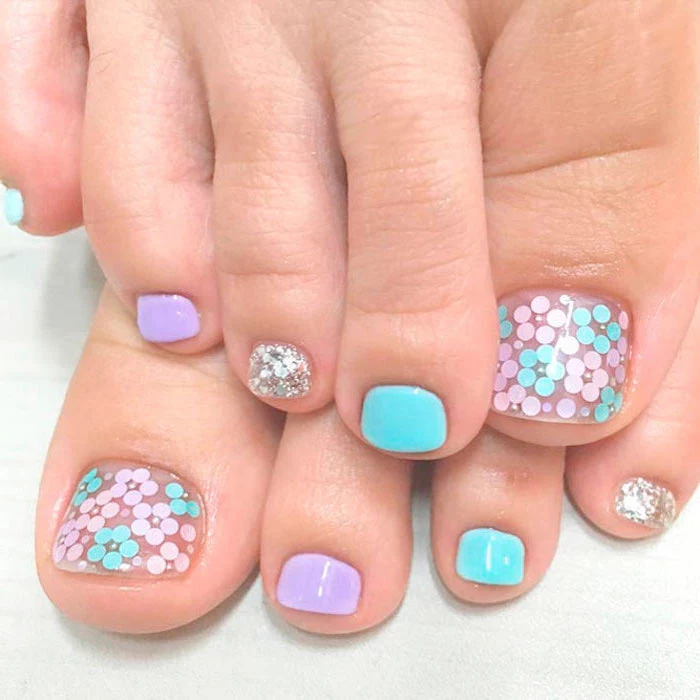
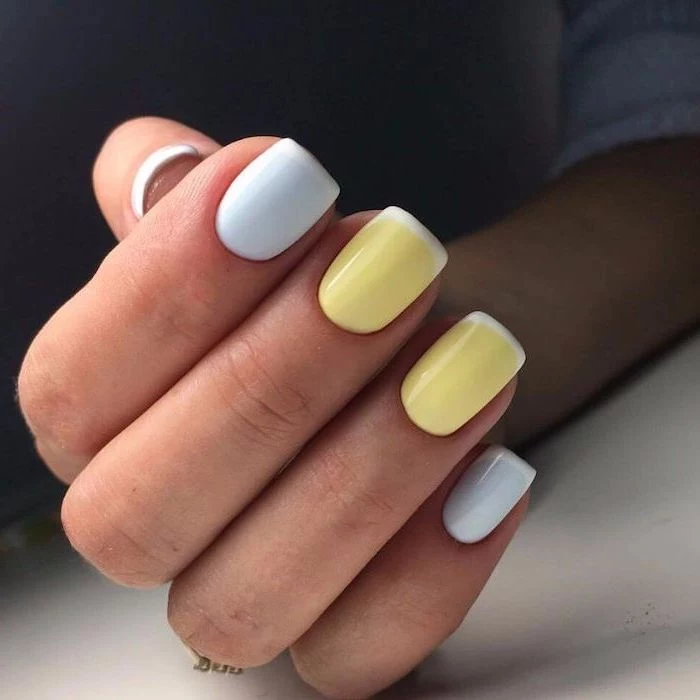
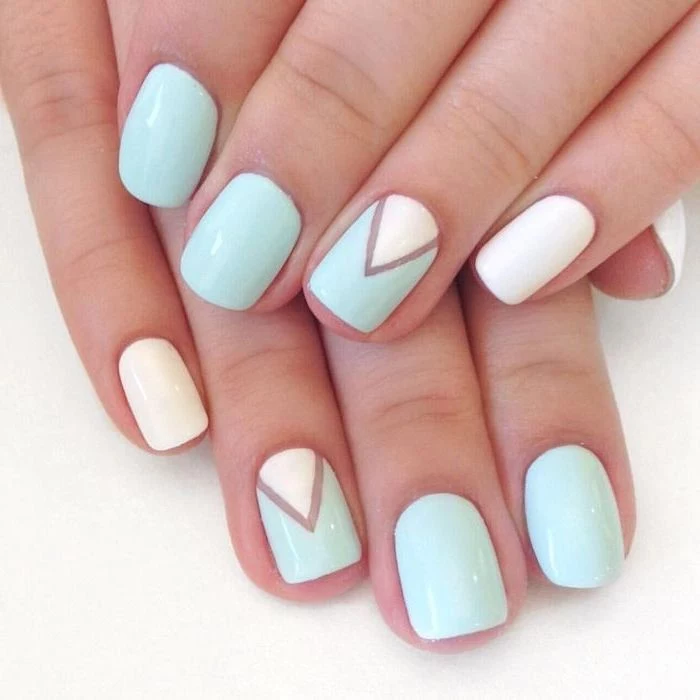
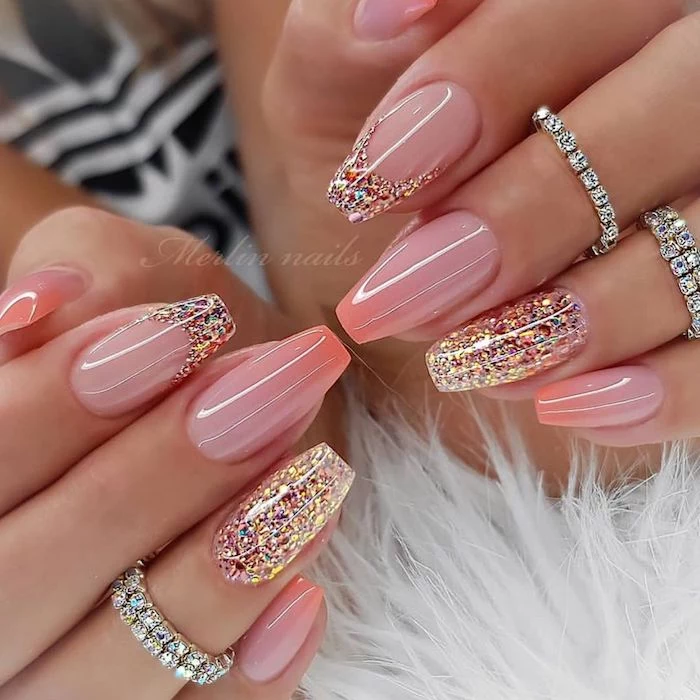
Inspirational Gallery
Don’t underestimate the power of a great top coat. It’s not just about shine; it’s your manicure’s armor. For a rock-hard, quick-drying finish that rivals a gel top coat, pros often reach for Seche Vite Dry Fast Top Coat. It penetrates through the polish to the base coat, creating a single, solid layer. A true game-changer for preventing chips.
Stronger, more flexible nails.
Less peeling and breakage.
Healthier-looking cuticles.
The secret? A nightly ritual of “nail slugging.” Simply apply a generous amount of cuticle oil, like CND SolarOil, and then seal it in with a thick hand cream or even a layer of petroleum jelly before bed. You’ll see a difference in a week.
Gel Polish: Cured under a UV/LED lamp for a hard, glossy finish that lasts 2-3 weeks. Removal requires soaking in acetone.
Dip Powder: A system of liquid bonder and colored powder that creates a very durable, acrylic-like finish. Also requires a soak-off removal.
For those who are hard on their hands, dip powder often offers superior strength, but gel provides a thinner, more natural-looking application.
The global nail care market is projected to reach over $11 billion by 2027.
What does this mean for you? An explosion of innovation! We’re seeing more non-toxic formulas, longer-lasting polishes, and at-home systems that deliver professional results. Brands are competing to create the next big thing, from breathable polishes to vitamin-infused gels.
What’s the deal with BIAB?
BIAB, or “Builder in a Bottle,” is a type of soft gel designed to add strength and structure to the natural nail. Unlike regular gel polish, it has a thicker consistency that can be used to build a small apex, correcting imperfections and protecting the nail from bending. It’s the perfect solution for those trying to grow out their natural nails but struggle with breakage.
To get that flawless, smooth-as-glass finish, especially with lighter or pastel shades, the trick is in the application technique. Apply your first coat as thinly as possible; don’t worry if it’s streaky. Let it dry completely. The magic happens with the second coat, which should be slightly more generous. It will glide over the first, self-leveling to create a perfectly opaque look.
A common mistake: Aggressively sawing your nails back and forth with a file. This creates micro-tears in the keratin layers, leading to peeling and splits. Always file gently in one direction, from the side of the nail to the center. This seals the edge of the nail, keeping it strong and smooth.
Want to try the trendy “aura nails” at home without an airbrush? It’s easier than you think.
Apply your base color and let it dry.
On a small makeup sponge, dab a circle of your second color.
Gently press the sponge onto the center of your nail, building up the color intensity with a few dabs.
Finish with a glossy top coat to blend it all together.
Did you know? Modern liquid nail polish was inspired by automotive paint. In the 1920s, makeup artist Michelle Ménard adapted the lacquer technology used for cars to create a colored enamel for nails, which was then popularized by the company she co-founded: Revlon.
The choice of nail shape can subtly change the appearance of your hands. Almond and oval shapes tend to elongate the fingers, creating a sense of elegance and length. Squoval (square-oval) and round shapes offer a more natural, practical look that is very durable. Coffin and stiletto shapes are bold statements, offering a dramatic and high-fashion effect.
Are high-end press-on nails really worth it?
Absolutely, especially for a special event or for those who can’t commit to a salon manicure. Brands like Glamnetic or Static Nails offer reusable, durable designs that look just like custom acrylics. Unlike drugstore versions of the past, these have a better fit, stronger adhesive, and come in trendy shapes and finishes. They provide a salon look in minutes, with no damage to your natural nails if removed correctly.
Wear gloves when doing dishes or cleaning. Prolonged water exposure can cause the nail plate to expand, making the polish lift and chip.
Apply a thin layer of top coat every 2-3 days to refresh the shine and add a protective shield.
Use cuticle oil daily to keep the polish and your nails flexible, not brittle.
Nude is not one-size-fits-all: To find the most flattering nude polish, look at your skin’s undertones. If you have cool undertones (veins look blue), choose nudes with a pinkish or bluish hint. For warm undertones (veins look green), go for nudes with a beige or peachy base. A great starting point is the OPI classic,
According to a study published in the Journal of Cosmetic Dermatology, improper removal of gel polish is a leading cause of nail brittleness and thinning (onychoschizia).
This is why you should never peel or pick off your gel manicure! The colored layer you’re peeling off also takes a thin layer of your natural nail plate with it. Always follow the proper soak-off procedure with acetone and be patient—your nails will thank you.
The chrome powder trend isn’t going anywhere. To get that mesmerizing mirror or “glazed donut” finish, the secret is a no-wipe gel top coat. After curing your color, apply the no-wipe top coat and cure it. Then, using a small eyeshadow applicator, rub a tiny amount of chrome powder onto the nail until it becomes reflective. Seal it all in with another layer of top coat.
Don’t skip the base coat! It’s a non-negotiable step. A good base coat, like Essie’s
A sudden chip doesn’t have to mean a full do-over. For a quick fix, take a very fine-grit buffer and gently smooth the sharp edges of the chip. Apply a tiny dot of the same color polish into the crater, let it dry, then apply a second thin layer over the entire nail. Finish with a fast-drying top coat to blend everything seamlessly.
Clean, defined polish lines.
Perfect French tips every time.
Easy cleanup of stamping or water-marble art.
The pro secret? A small, angled eyeliner or lip brush dipped in pure acetone. It allows for precise cleanup around the cuticle area for that sharp, salon-fresh look.
For lovers of intricate designs, Japanese nail art is a world of inspiration. It’s a style characterized by incredible precision, the layering of textures, and the use of 3D elements like sculpted charms, pearls, and chains. Each nail is often a unique piece of a larger story told across all ten fingers.
Why does my regular polish get thick and goopy in the bottle?
This happens because the solvents in the polish evaporate over time. To prevent this, always make sure the neck of the bottle is clean before screwing the cap on tightly. If it’s already too thick, avoid adding acetone. Instead, use a few drops of a dedicated nail polish thinner, which is formulated to restore the consistency without ruining the formula.
Matte Finish: Offers a modern, velvety, and sophisticated look. It can be less forgiving of imperfections but makes colors look incredibly rich and deep.
Glossy Finish: The timeless, classic choice that provides a high-shine, wet look. It helps a manicure look fresh and can make colors appear brighter.
You can even mix them! A glossy tip on a matte nail is a chic, subtle way to play with texture.
Ever heard of
Color theory can elevate your manicure. To make your hands appear more youthful and vibrant, opt for shades in the orangey-red or coral families. To complement a tan, bright, opaque whites or vibrant blues create a beautiful contrast. And for timeless elegance, you can never go wrong with a deep Bordeaux red like Chanel’s iconic
A word on white polish: It’s notoriously tricky to apply without streaks. The key is a high-quality, opaque formula (like OPI’s
Your nails can be a reflection of your health. Pay attention to changes. Brittle or soft nails might indicate a need for more biotin in your diet, while horizontal ridges (Beau’s lines) can sometimes appear after an illness or a period of high stress. It’s a fascinating link between your overall wellness and the condition of your fingertips.
John combines 12 years of experience in event planning, interior styling, and lifestyle curation. With a degree in Visual Arts from California Institute of the Arts and certifications in event design, he has styled luxury weddings, corporate events, and celebrity celebrations. John believes in creating memorable experiences through innovative design and attention to detail.
To provide the best experiences, we use technologies like cookies to store and/or access device information. Consenting to these technologies will allow us to process data such as browsing behavior or unique IDs on this site. Not consenting or withdrawing consent, may adversely affect certain features and functions.
Functional
Always active
The technical storage or access is strictly necessary for the legitimate purpose of enabling the use of a specific service explicitly requested by the subscriber or user, or for the sole purpose of carrying out the transmission of a communication over an electronic communications network.
Preferences
The technical storage or access is necessary for the legitimate purpose of storing preferences that are not requested by the subscriber or user.
Statistics
The technical storage or access that is used exclusively for statistical purposes.The technical storage or access that is used exclusively for anonymous statistical purposes. Without a subpoena, voluntary compliance on the part of your Internet Service Provider, or additional records from a third party, information stored or retrieved for this purpose alone cannot usually be used to identify you.
Marketing
The technical storage or access is required to create user profiles to send advertising, or to track the user on a website or across several websites for similar marketing purposes.