Your Guide to Flawless Cow Print Nails (That Actually Last)
In all my years behind the nail desk, I’ve seen trends come and go. Some are a flash in the pan, but others just keep coming back, stronger than ever. Cow print is definitely one of those. It’s got this perfect mix of bold, graphic fun that people just love. But let’s be real, there’s a huge difference between a quick, blotchy attempt and a crisp, professional-looking set.
In this article
The secret isn’t some crazy, impossible technique. It all comes down to the details: getting the nail ready, picking the right products, and knowing how to create those perfectly imperfect spots. I’ve probably painted this pattern thousands of times on every nail shape you can imagine, and I’ve taught plenty of new techs how to get it just right. So, think of this as a peek into the pro playbook. We’re going to cover everything you need to know to get a design that looks amazing and lasts.
The Foundation: Why Good Prep Is Everything
Before you even think about picking up a bottle of polish, the real work has to happen. I’m not exaggerating when I say that a good 90% of how long your manicure lasts comes down to proper prep. For a design like cow print, which usually has a bright white or pale background, a perfect canvas is a must. Any little flaw on the nail will stand out like a sore thumb.
A Better Approach to Cuticles
First things first, let’s talk cuticles. The goal is to get rid of the non-living tissue that’s stuck to your nail plate, NOT to cut the living skin that protects your nail. Aggressive cutting is a fast track to painful infections and can even mess up how your nail grows. In the salon, we have a simple process. We start with a professional-grade cuticle softener—you can get a good one from Sally Beauty for under $10—to dissolve any dead tissue. After a minute or so, I gently push the cuticle back with a sterilized metal pusher. For at-home care, a wooden or rubber-tipped pusher and a soft brush are your safest bet.
Heads up! Some pros use an e-file with a special bit for this, but that’s a skill that requires serious training. It’s way too easy to cause damage if you don’t know what you’re doing.
Shaping and Buffing for a Perfect Grip
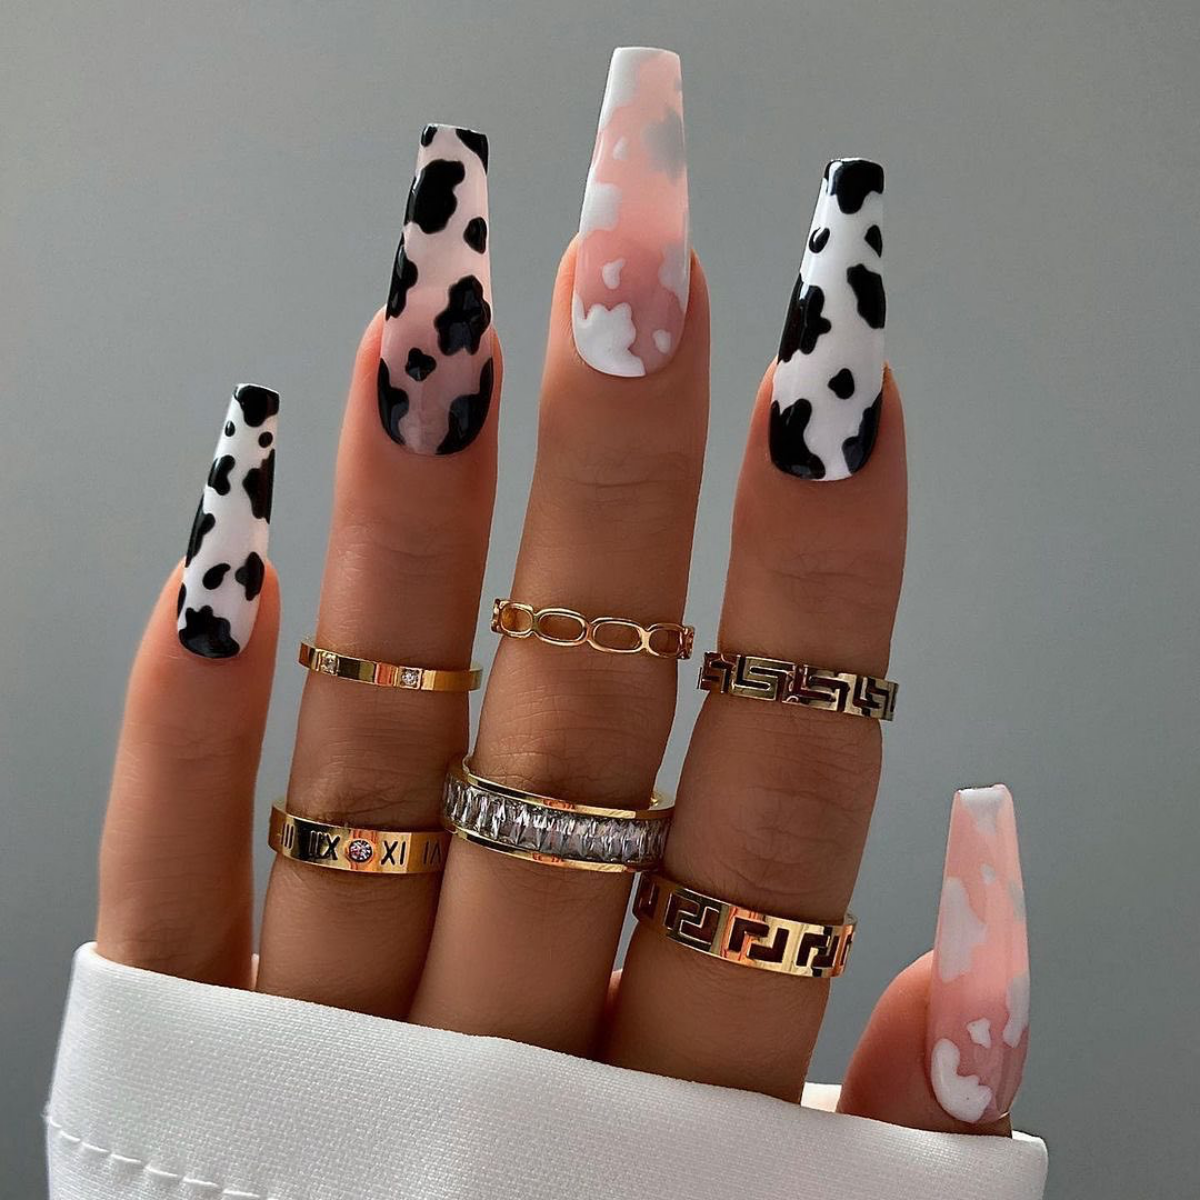
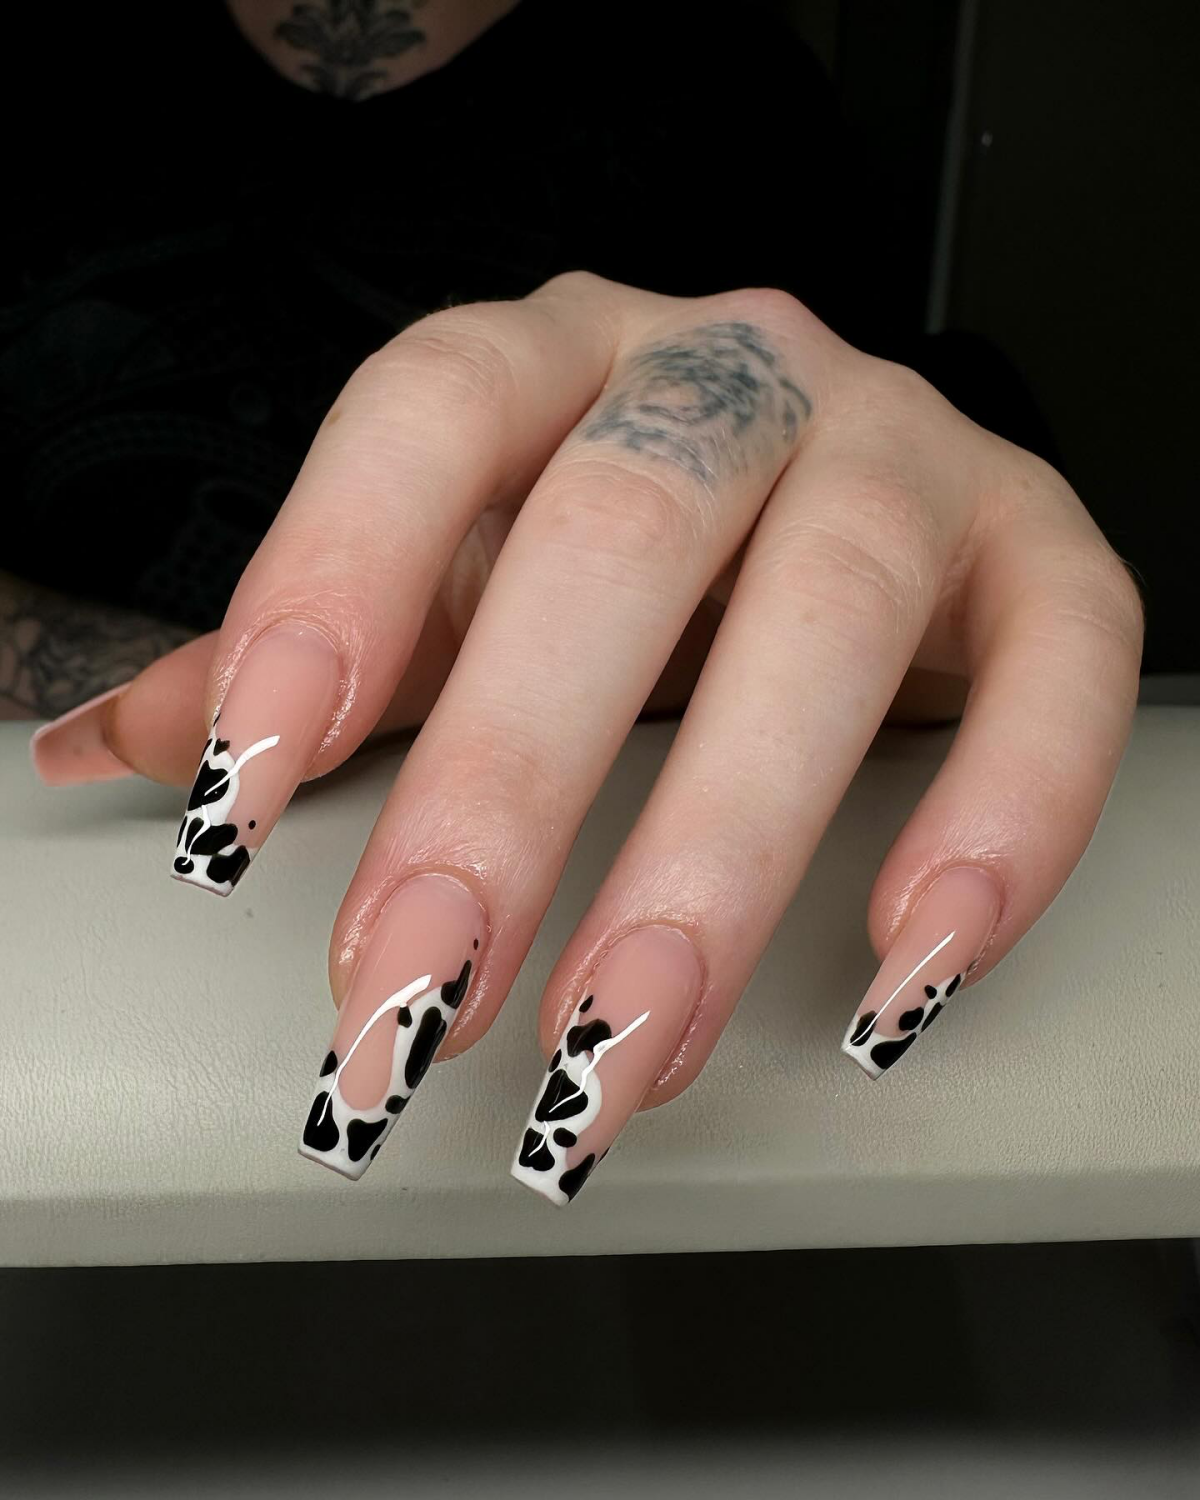
The nail shape totally changes the vibe of the print. A squarer shape gives you a nice, wide canvas, while an almond or stiletto shape can make the pattern look more sleek and dynamic. For natural nails, I stick to a 180-grit file and always work in one direction to keep the nail from splitting.
After shaping, I lightly buff the nail plate with a soft, 240-grit buffer. This is a step people often get wrong. You aren’t trying to thin the nail! You’re just gently removing the natural shine and oils so the base coat has something to really grab onto. A light touch is all it takes.
Choosing Your Polish: Regular vs. Gel
The type of polish you use will totally dictate the process and the final result. They work in completely different ways.
Honestly, gel polish is my go-to for any kind of nail art. It doesn’t “dry” in the air; it cures under a UV or LED lamp in about 30-60 seconds, turning from a liquid into a super durable solid. This gives you all the time in the world to perfect your spots. You can paint them, move them around, and wipe one off if you mess up, all without a single smudge. They won’t budge until you put them in the lamp. For a crisp look, a high-pigment art gel is fantastic.
Regular nail polish is what most people have at home, and it’s totally doable, but it presents a challenge. It hardens as the solvents inside evaporate, which means it’s always drying. This can cause your spots to bleed or drag if you’re not quick and careful. My best tip for using regular polish is to let your base color dry completely—I’m talking a good 15-20 minutes—before you even attempt to add the spots. A great, opaque white to try is OPI’s Alpine Snow, which will run you about $12.
Okay, Let’s Paint: My Step-by-Step Method
You’ve prepped your nails and picked your polish. Now for the fun part!
First, you’ll need a couple of simple tools. A dotting tool set is a game-changer for this look. You can grab a full set with multiple sizes on Amazon for less than $10. It also helps to have a super-fine liner brush for creating smaller, more organic-looking specks. Let’s get started.
- The Base Coat: Never, ever skip this. It protects your natural nail from staining and helps the color adhere better. One thin coat is all you need.
- The White Canvas: Apply two coats of your chosen white polish. Let each coat dry (or cure if you’re using gel) completely. A solid, opaque base is crucial for making the black spots pop.
- Create the Anchor Spots: Grab your dotting tool—I like to use one with a medium-sized ball on the end. Dip it into your black polish and create three or four large, anchor spots on the nail. Don’t just press down! As you press, give the tool a little wiggle. This is the secret to getting that irregular, splotchy shape instead of a perfect circle. Cows aren’t perfect, and their spots shouldn’t be either!
- Fill in the Gaps: Now, switch to a smaller dotting tool or your thin liner brush. Add smaller spots and specks in the empty spaces. Think about how the pattern would flow naturally. I like to have some spots trail off the edge of the nail to make it look more authentic.
- Dry or Cure: If you’re using regular polish, you need to be patient here and let the spots dry thoroughly. If you’re using gel, pop your hand in the lamp for a full cure, usually 60 seconds.
- The All-Important Top Coat: This is what seals in your design and gives it that glossy, professional finish. For regular polish, a quick-dry top coat like Seche Vite is a classic. For gel, you’ll use a no-wipe gel top coat and cure it for a final 60-90 seconds. And you’re done!
Common Mistakes & Quick Fixes
Even with the best instructions, things can go a little sideways. Here are a few common issues I see and how to fix them.
- The Polka Dot Problem: Your spots look like perfect, round dots. The fix is that little wiggle technique I mentioned. You want organic, slightly misshapen blobs, not perfect circles. Varying the pressure and moving the tool slightly makes all the difference.
- The Smudge: You accidentally smeared a spot with regular polish. Oh no! If the base color is fully dry, you might be able to fix it. Dip a small, clean brush (an old lip brush works well) in a tiny bit of acetone and very carefully clean up the edge of the smudge. You have to be precise here!
- It Looks Too Crowded: You went a little overboard with the spots. The key to cow print is having a good amount of negative space (the white background). A good rule of thumb is to aim for about 50-60% white space. Less is often more!
By the way, a little pro tip: once your manicure is done, apply a good cuticle oil daily. It keeps the skin around your nails hydrated and makes your whole manicure look fresher for longer. It’s a small step that makes a huge impact.
Galerie d’inspiration
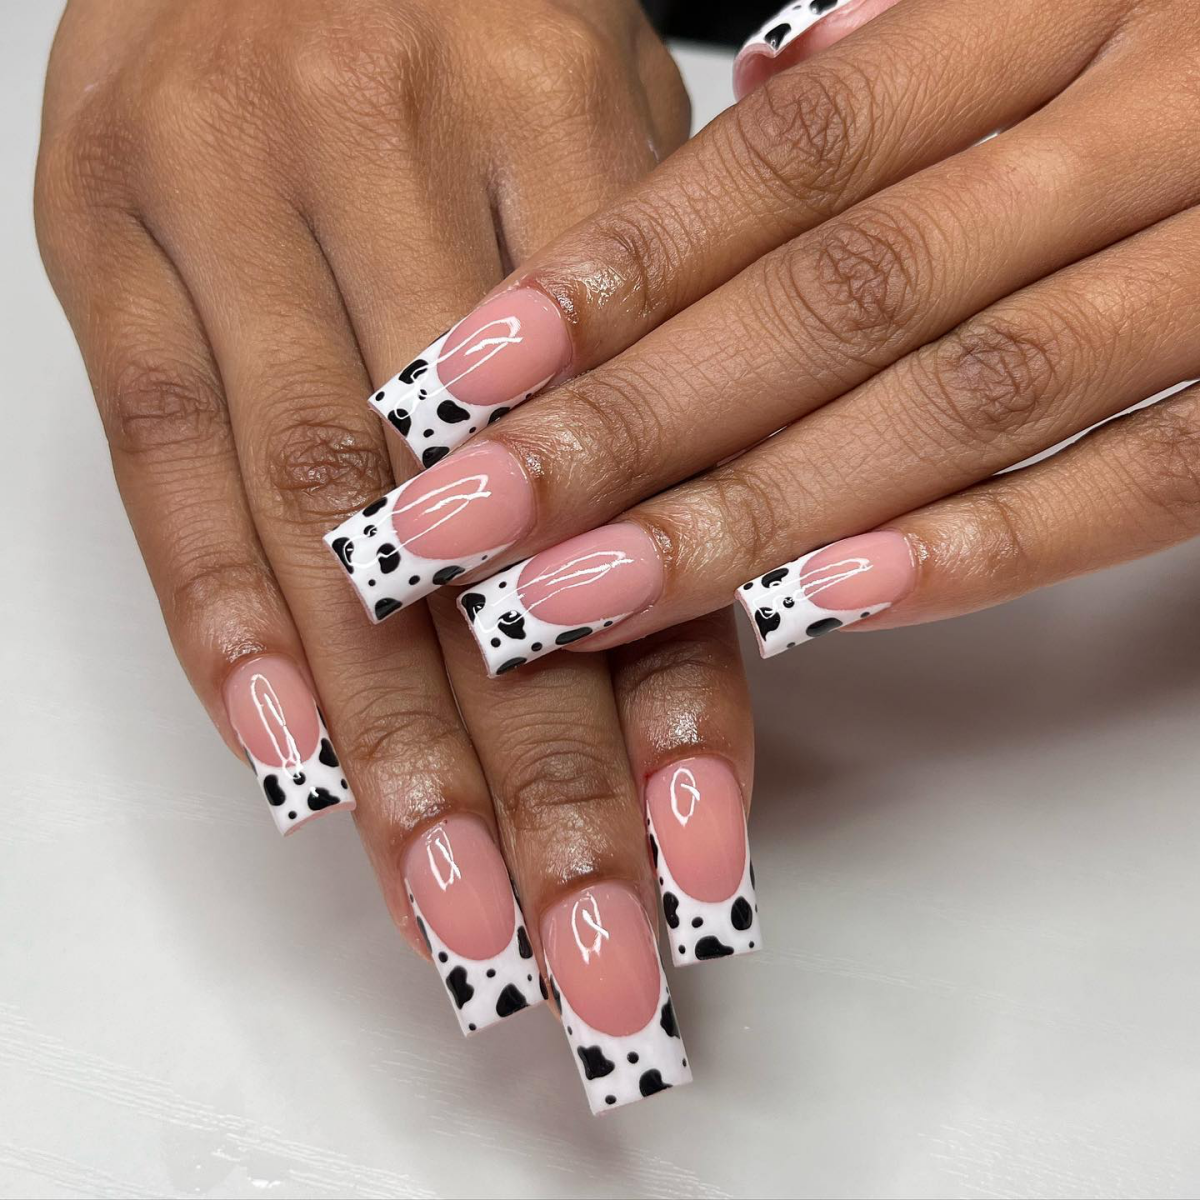
The Dotting Tool: Ideal for beginners, this tool creates quick, rounded spots. It’s fantastic for a more graphic, pop-art style cow print.
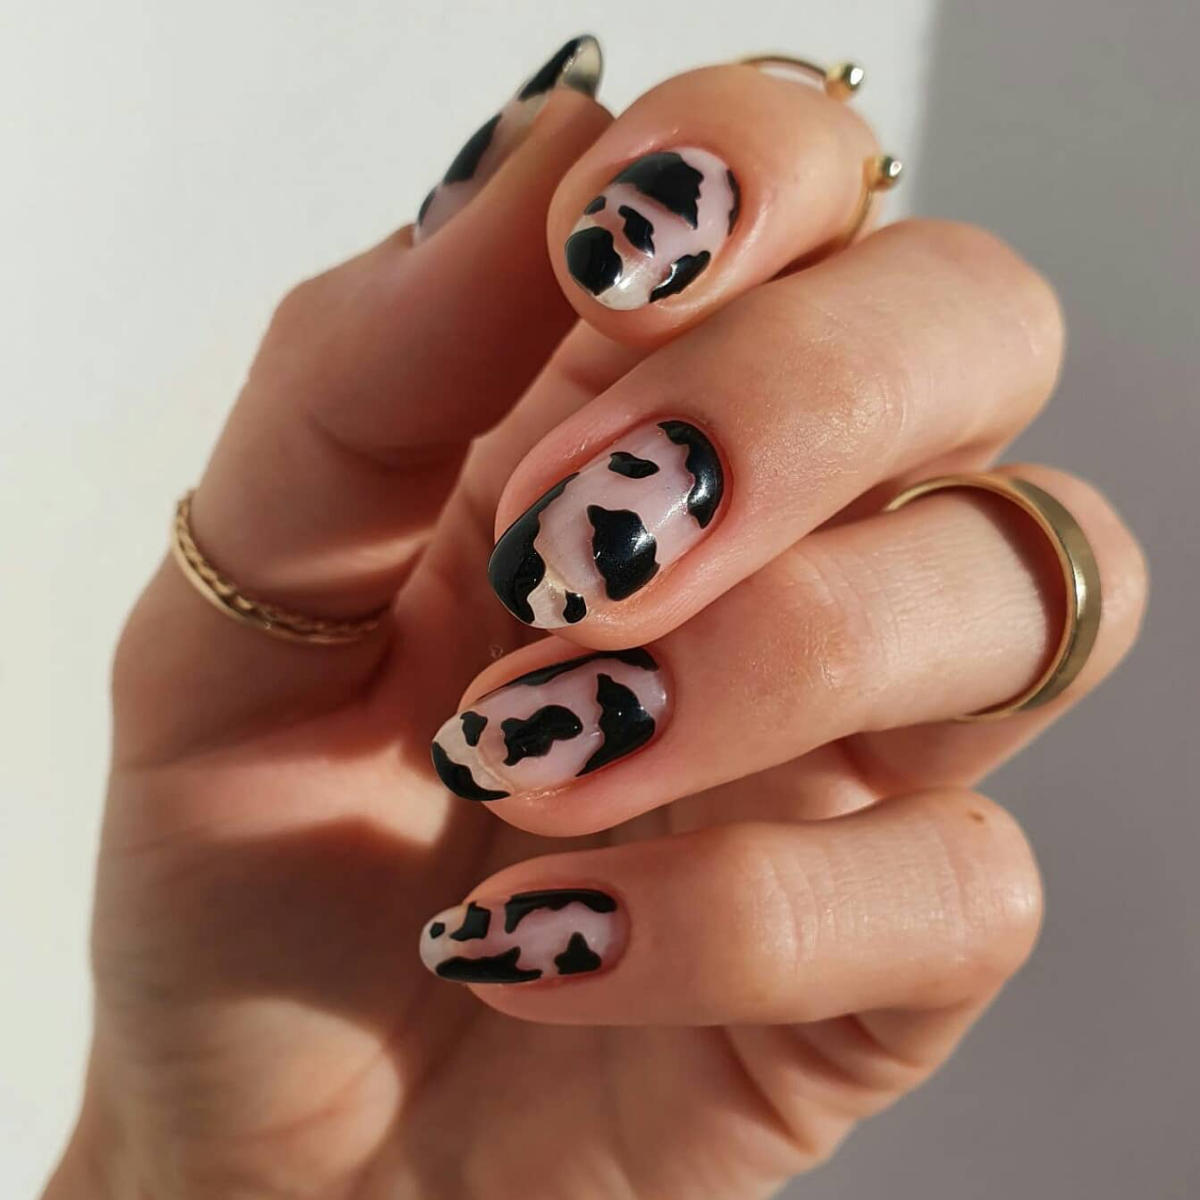
The Fine-Liner Brush: The pro’s choice for an organic feel. A super-thin brush, like one from Winstonia or a repurposed eyeliner brush, allows you to create irregular, amoeba-like shapes with wispy edges, mimicking a more authentic hide pattern.
For the best of both worlds, use a dotting tool for the main spots and a fine brush to slightly alter their shapes before they dry.
More than 70% of a manicure’s longevity is determined by the preparation and the top coat, not the color polish itself.
Your intricate cow spots are vulnerable. To truly seal the deal, you need to ‘float’ the top coat. Instead of dragging the brush on the nail, get a generous bead of a quick-dry top coat, like the cult-favorite Seche Vite, on your brush and glide it over the nail surface. This encapsulates the design without smudging your hard work.
Matte or glossy finish for your cow print?
It’s all about the mood you’re creating. A high-shine glossy finish gives your manicure a classic, slick look that makes the colors pop. But a matte top coat, like the one from OPI, transforms the print into something more modern and velvety, with a cool, almost suede-like texture. For an advanced look, try a matte base with just the spots done in a glossy finish for a subtle textural contrast.
The biggest mistake: Striving for perfection. Cow print’s charm is in its randomness. Avoid making all your spots the same size or placing them in a grid-like pattern, which can look more like a Dalmatian. Let some spots be large and blob-like, others small and speckled. Don’t be afraid to have some spots ‘run off’ the edge of the nail for a more natural and dynamic effect.
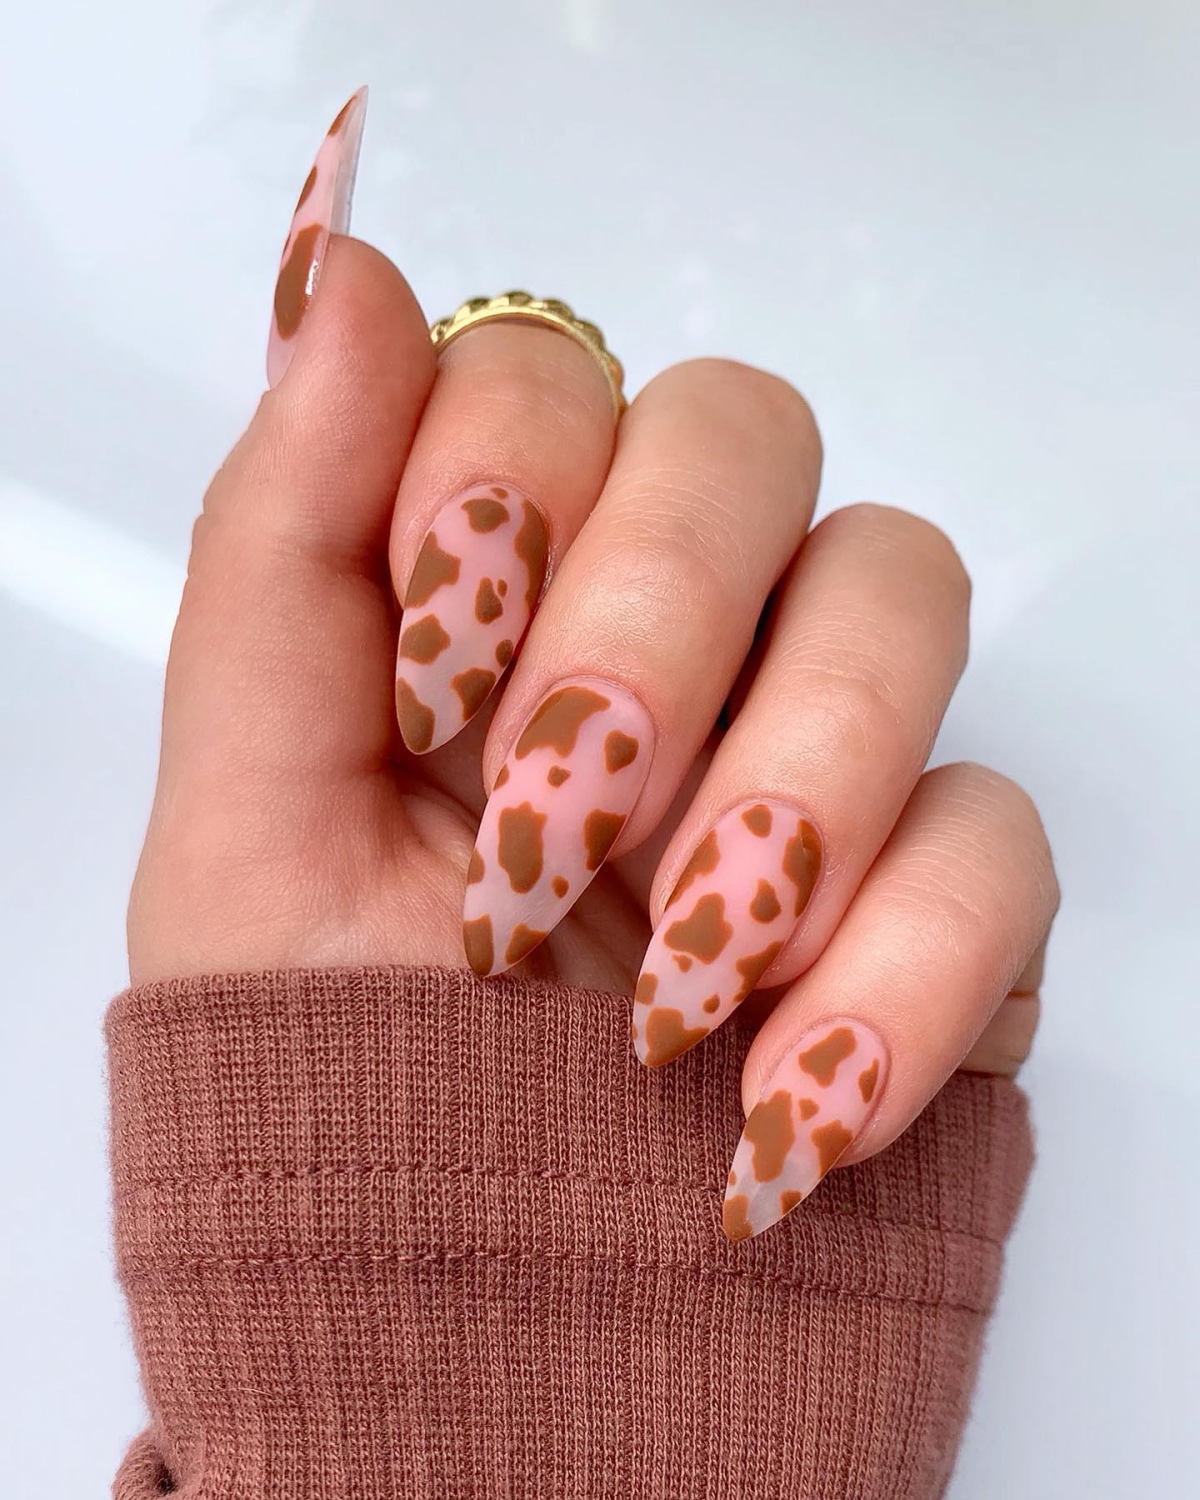
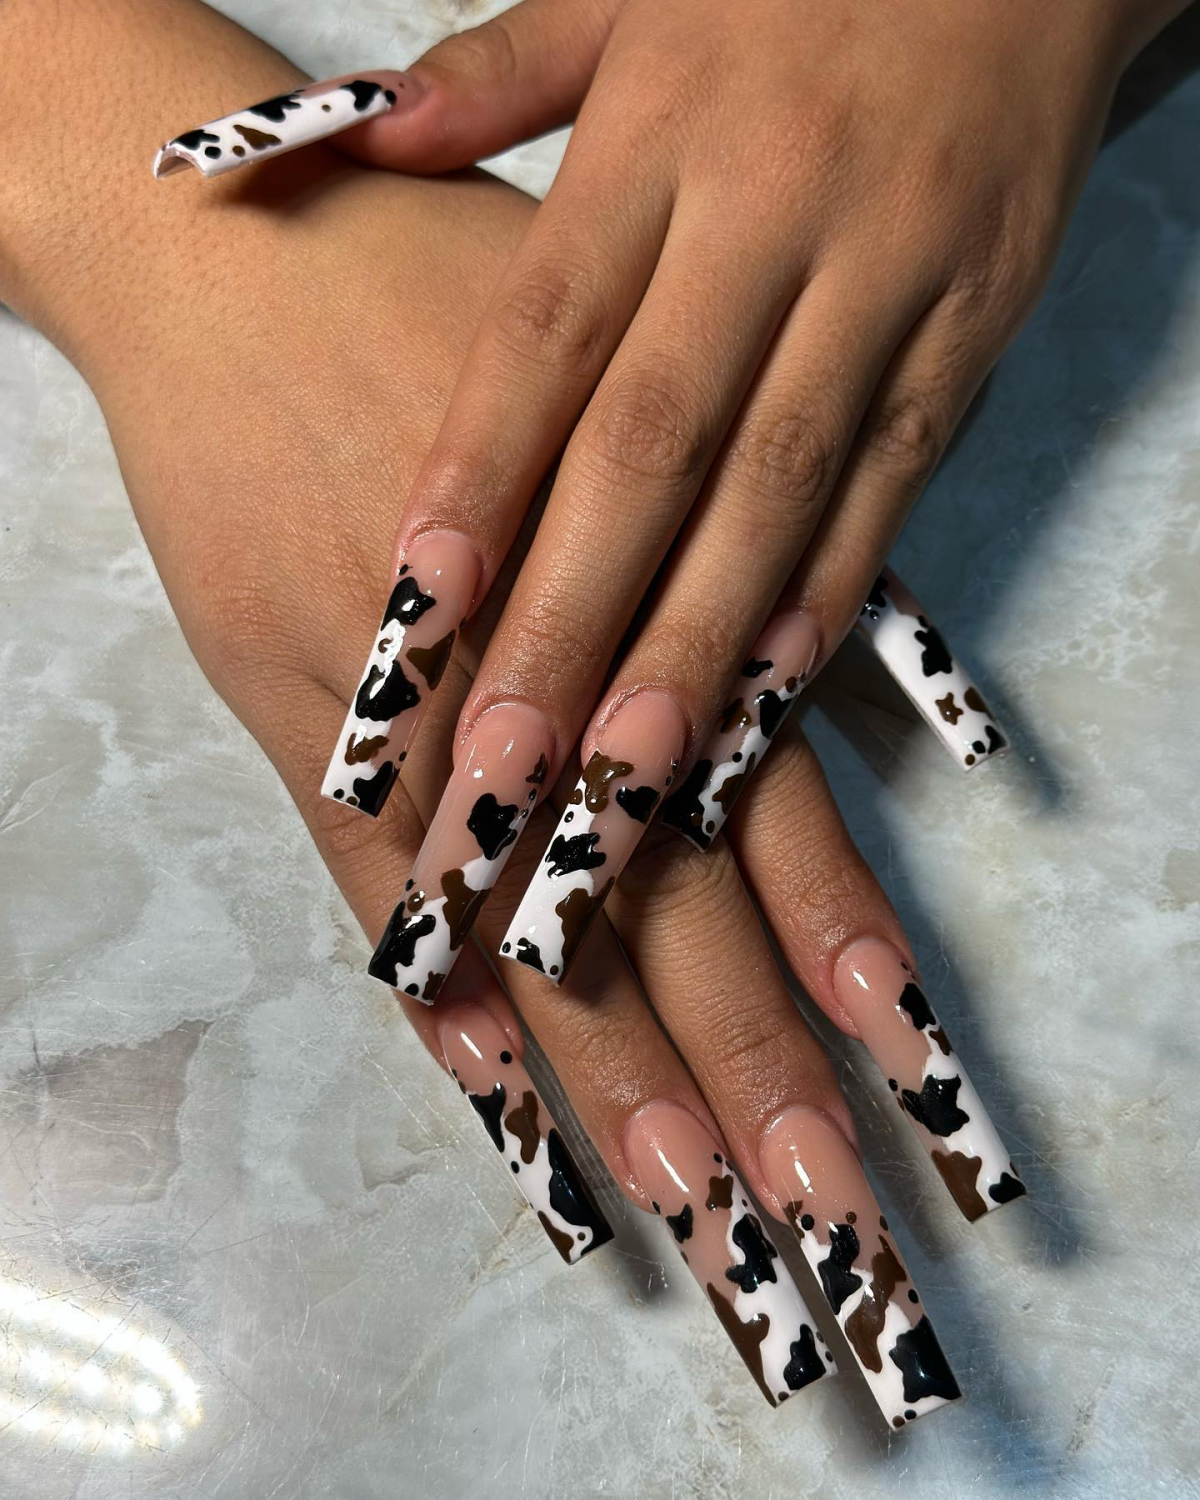
- A warm, ‘latte’ vibe with shades of mocha, cream, and beige.
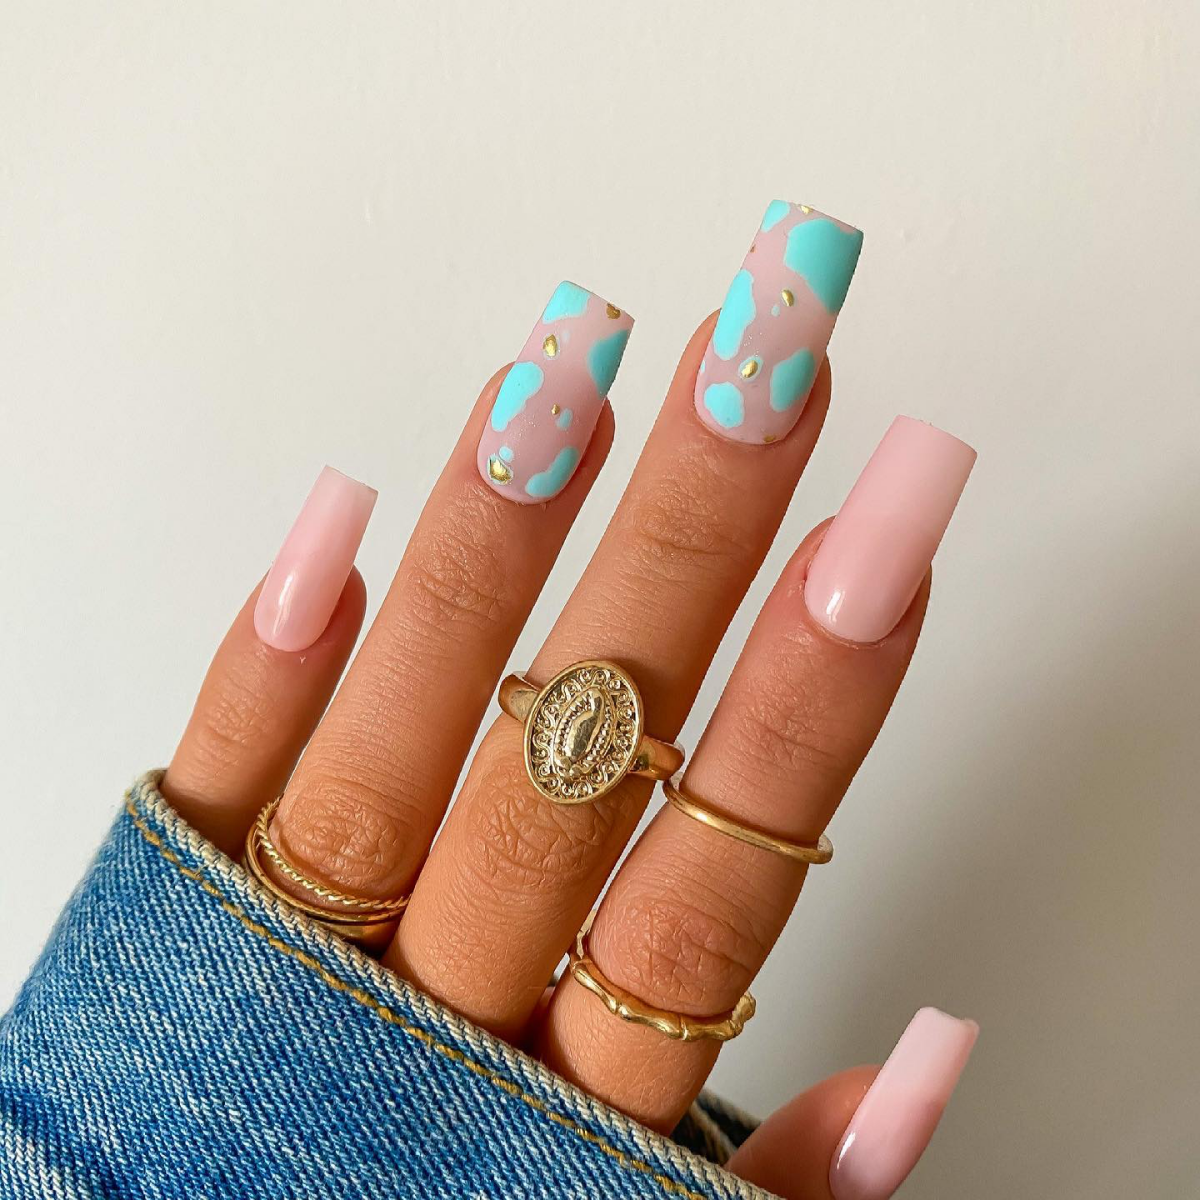
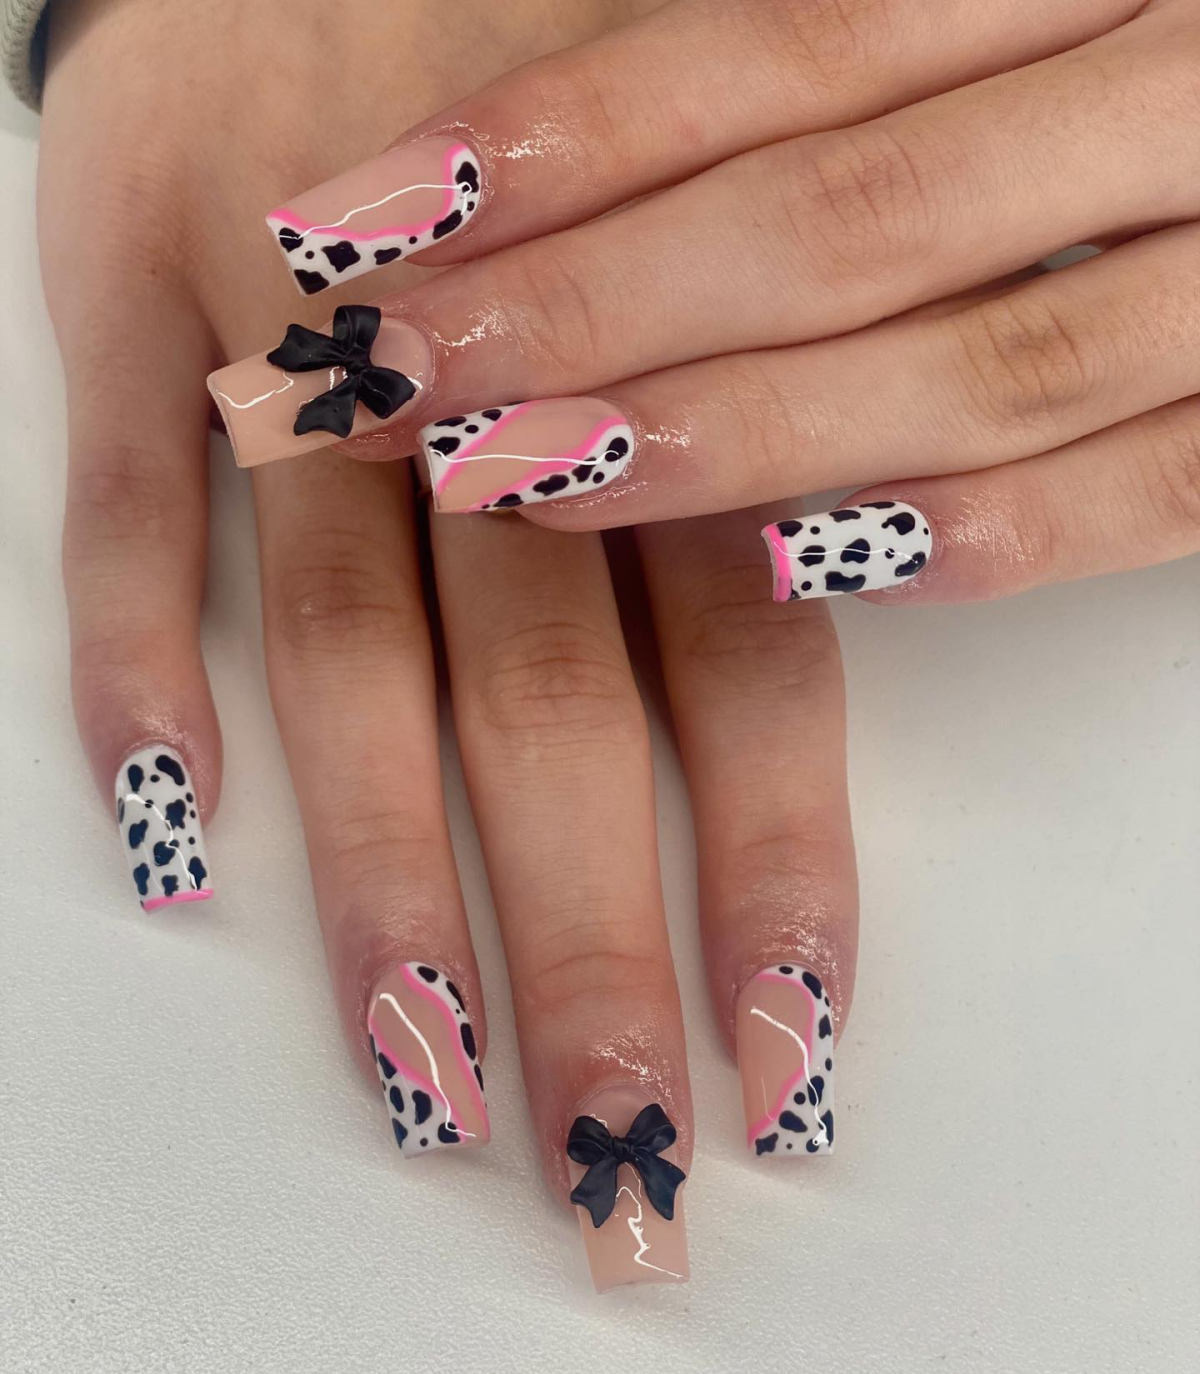
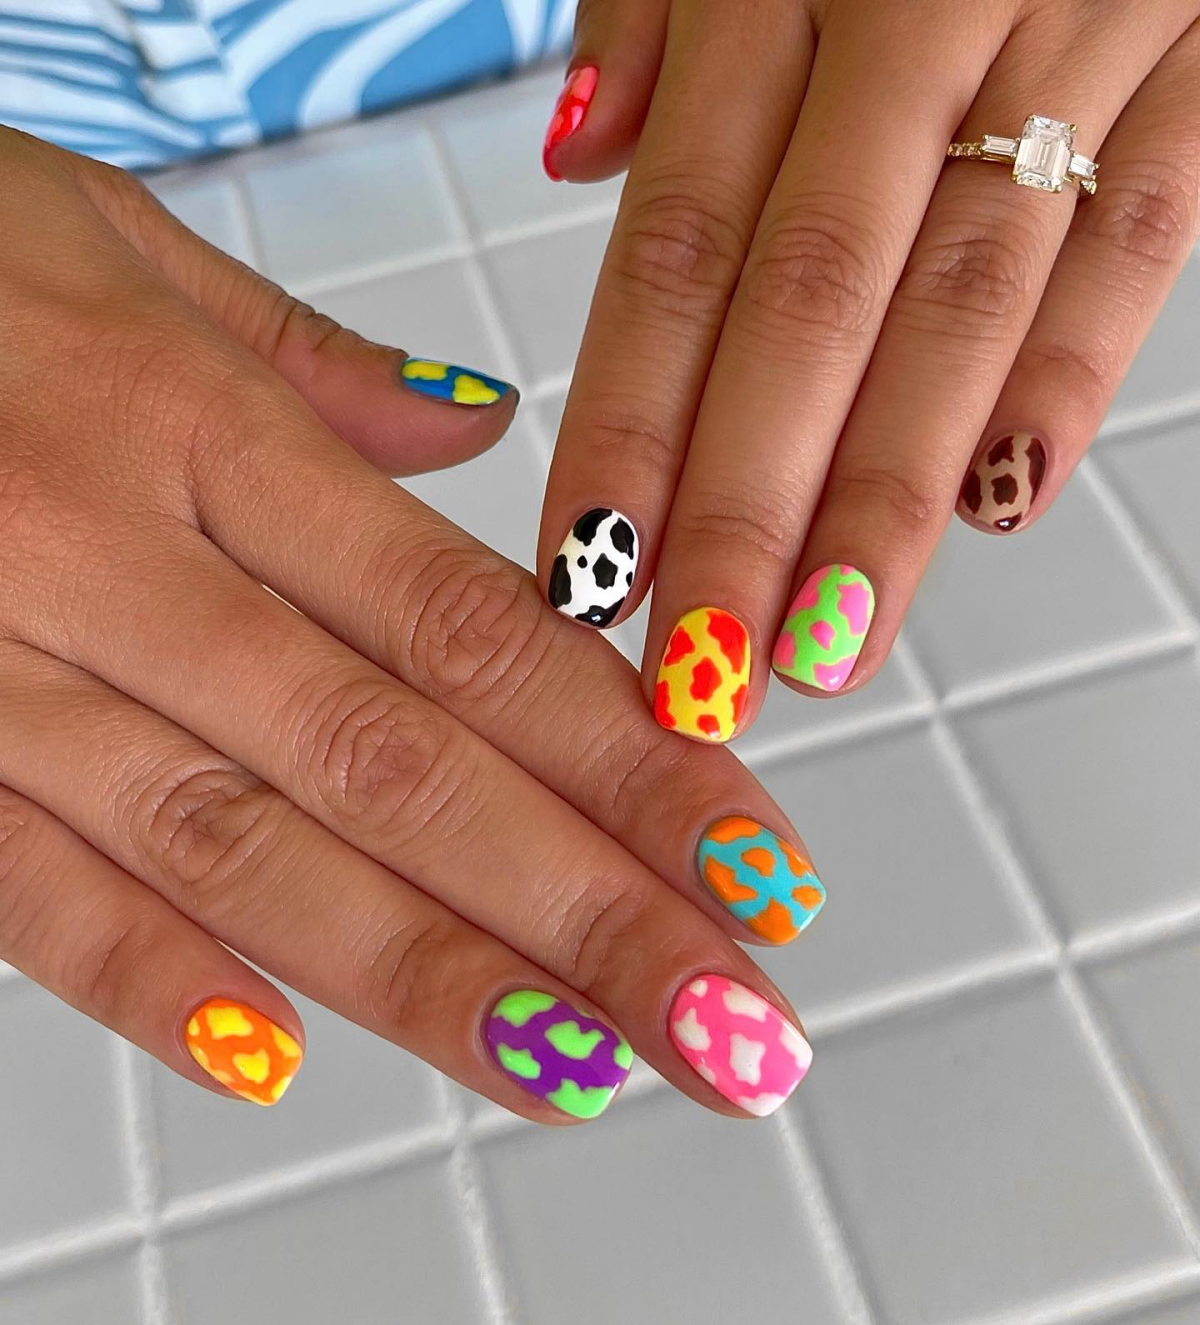
- A Y2K throwback using hot pink and bubblegum.
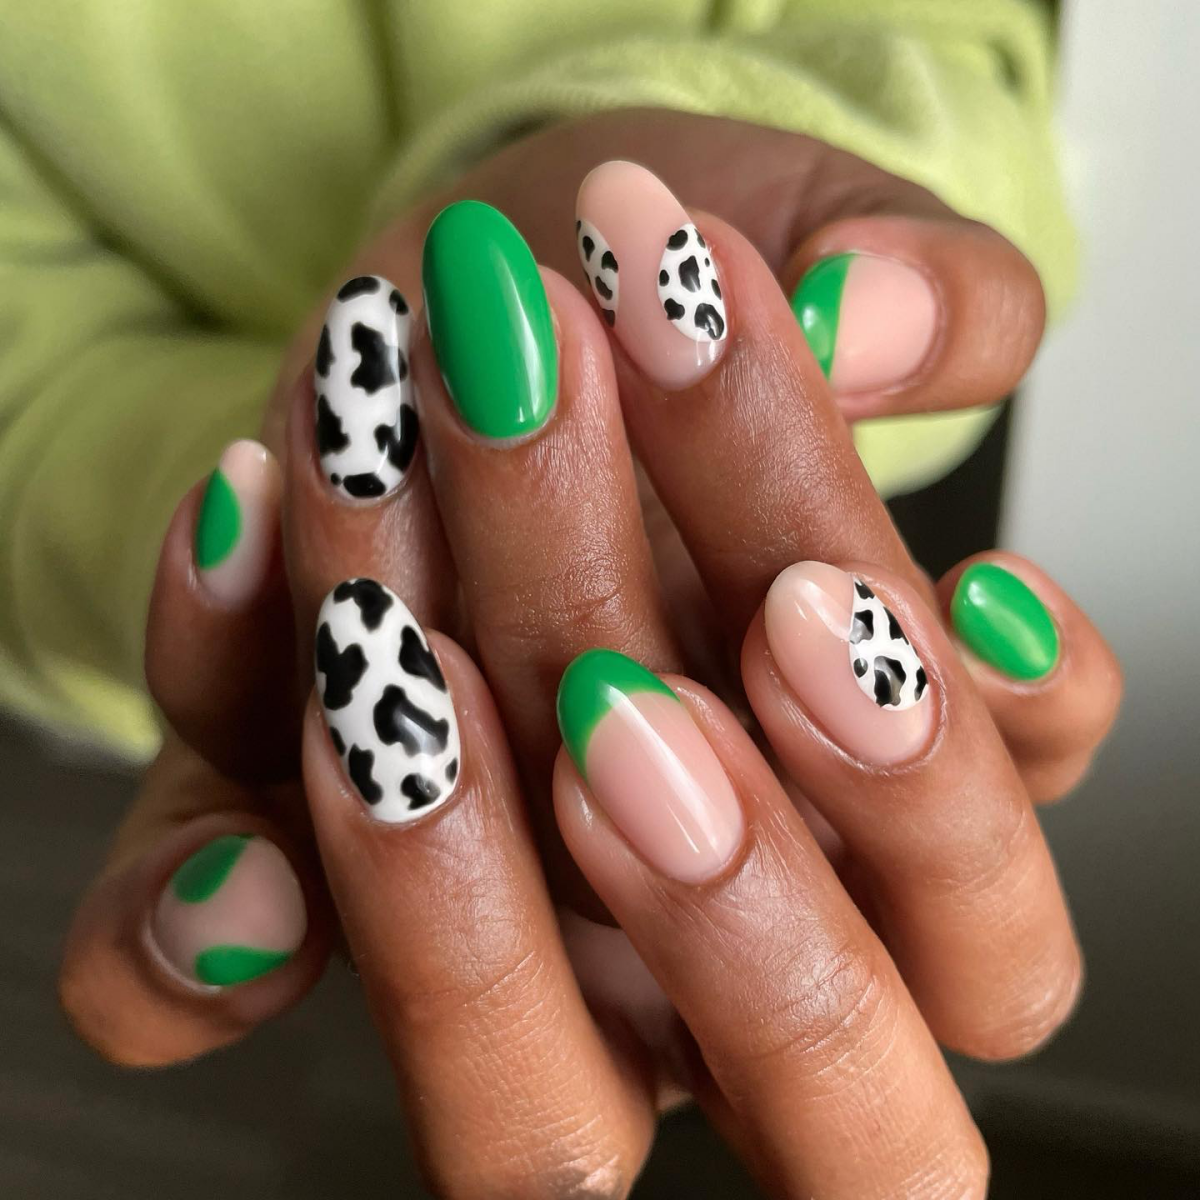
- An earthy, sophisticated take with sage green and a soft off-white.
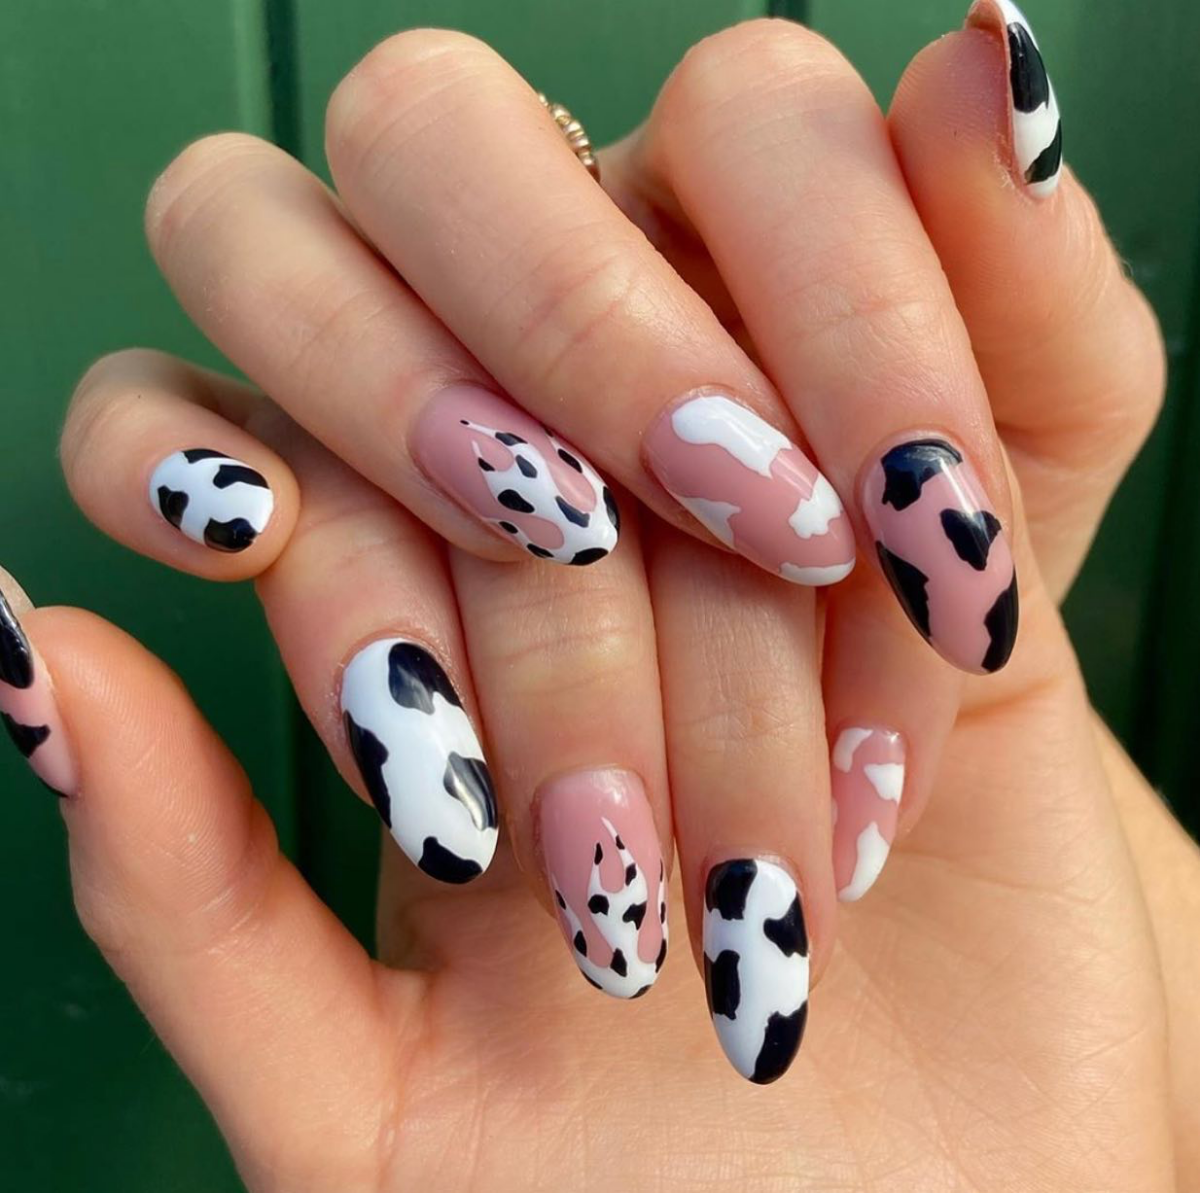
- A subtle and chic version with a sheer neutral base and tiny black spots.
The secret? Choosing a color family and playing with different tones.
From high fashion runways to Doja Cat’s viral
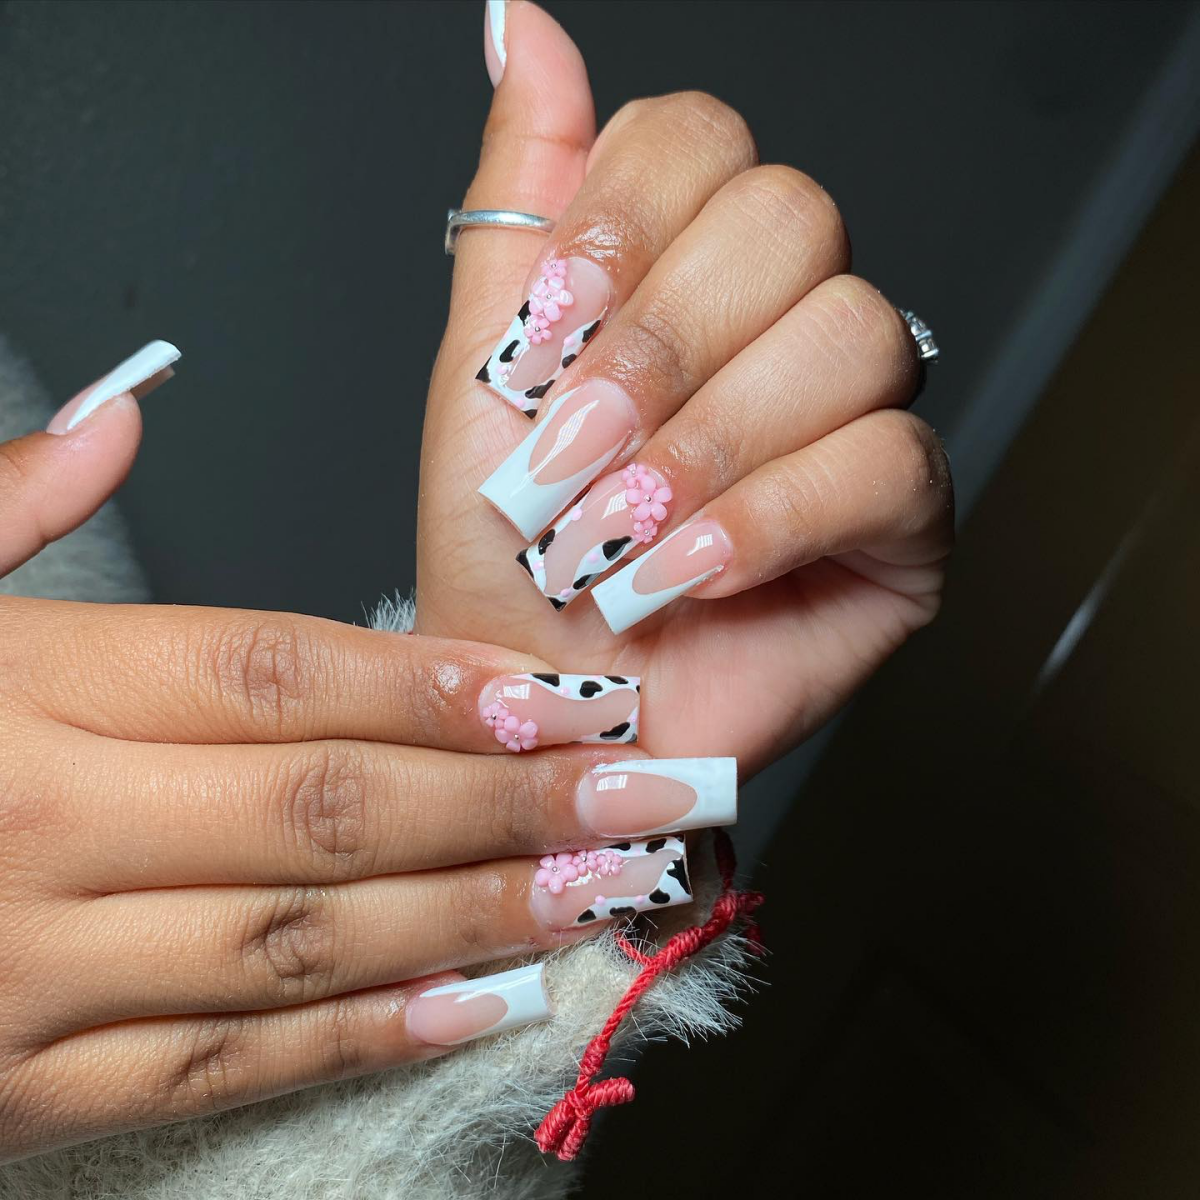
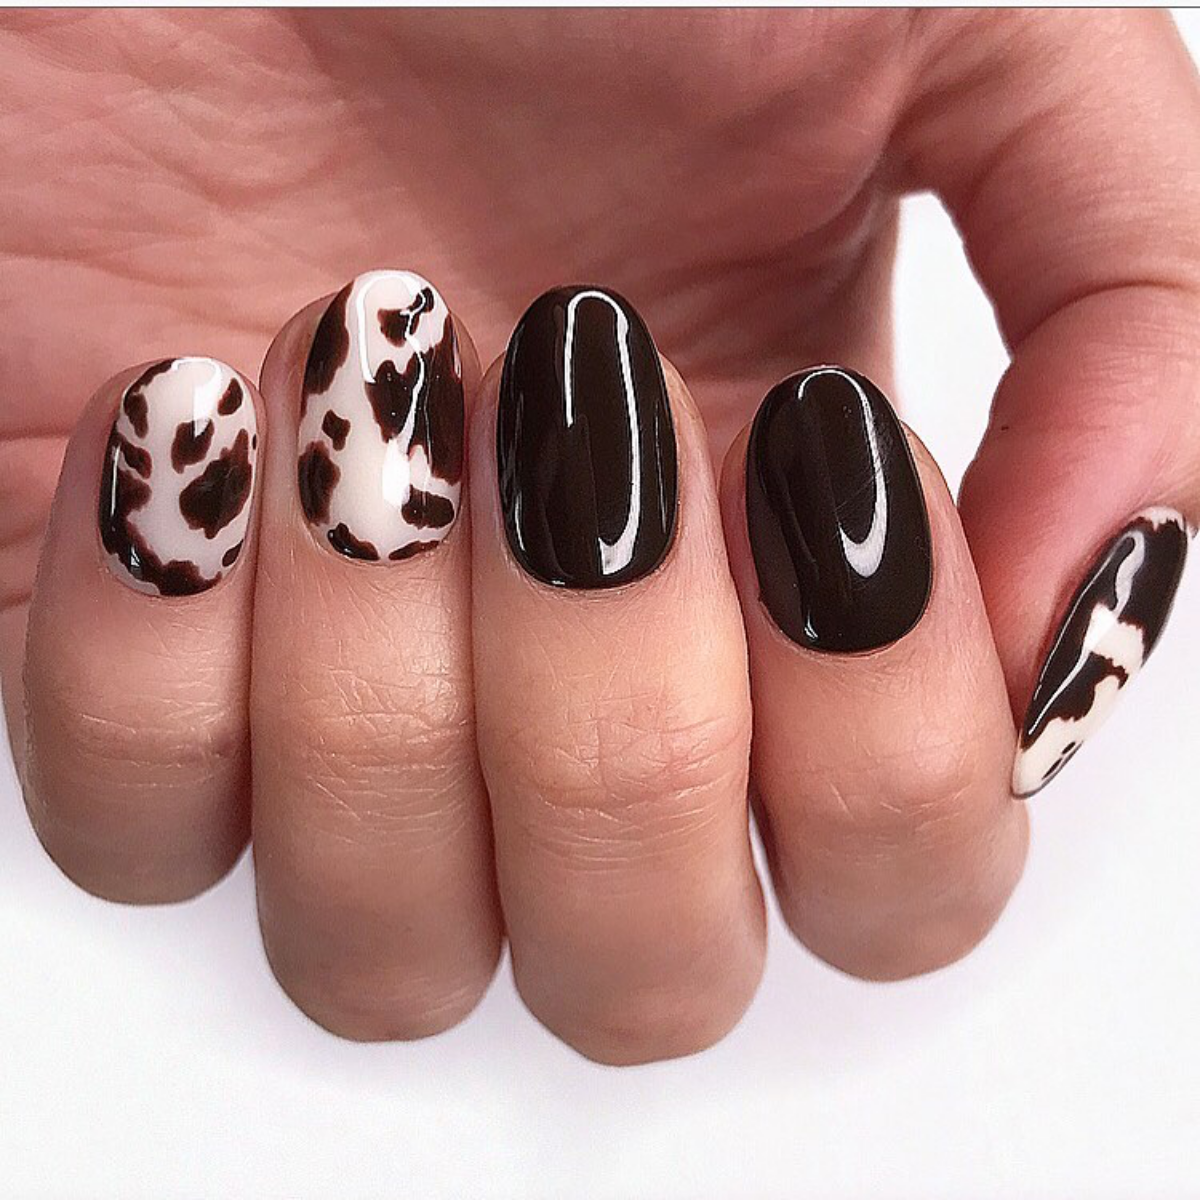
Not ready for a full herd? The accent nail is your best friend. A single, perfectly executed cow print nail on the ring or index finger, paired with solid complementary colors, offers a sophisticated nod to the trend. It’s a statement that’s confident yet understated, perfect for integrating a bit of fun into a professional setting.


