Want Holiday Nails That Actually Last? Here’s the Real Secret.
From my side of the manicure table, the holiday season is a beautiful, glitter-dusted whirlwind. It’s the one time of year when even my most minimalist clients get a twinkle in their eye and ask for snowflakes, deep velvety reds, and tiny, hand-painted details. And honestly, I live for it. Every set of nails is a little piece of festive art heading out into the world.
In this article
But here’s the thing: creating gorgeous holiday nails that can survive wrapping presents, baking cookies, and all the festive chaos is more than just a quick paint job. It’s a craft. I’ve seen so many talented new techs get frustrated with smudged art and helped countless clients fix nails damaged from improper techniques. So, I want to pull back the curtain and show you the professional approach to getting festive designs that look just as amazing on day fifteen as they do on day one.
The Foundation: It All Starts with Flawless Prep
You could have the most expensive, dazzling gel polish on the market, but without perfect prep, it’s not going to last. I can’t stress this enough. Rushing this stage is the number one reason for polish lifting and peeling away from the nail. A great manicure is literally built from the nail up.
Nail Shaping and Cuticle Care the Right Way
First, let’s talk shaping. Whether you love a sharp square or a soft almond, consistency is key. I always recommend a 180 or 240-grit file for natural nails; anything grittier (like a 100-grit file) is just too aggressive and can cause splitting. You can grab a good quality file for just a few bucks at any beauty supply store or online. And a quick tip: always file gently from the side of the nail toward the center in one direction. That back-and-forth sawing motion? It weakens the nail tip, making it prone to fraying.
Next up is cuticle work, which is so often misunderstood. The living skin at the base of your nail should never be cut—it’s there to protect you from infection. What we do need to deal with is the true cuticle, which is the invisible, non-living tissue stuck to the nail plate itself. I use a pro-grade softener, but for at-home care, a classic like Blue Cross Cuticle Remover from Sally Beauty works wonders. After letting it sit for about 30 seconds, I use a sterilized metal pusher to gently ease back the skin and carefully scrape that invisible layer off the nail. Polish just won’t stick to it.
Prepping the Nail Surface
The final prep step is all about creating a clean, dry surface for the polish to grip onto. I take a soft buffer block (240-grit is perfect) and lightly go over the entire nail, just enough to remove the natural shine. The goal isn’t to thin the nail, just to give it a little texture. After brushing away the dust, I wipe the nail with a lint-free pad soaked in 99% isopropyl alcohol. This dehydrates the nail and removes any oils.
Heads up! From this point forward, don’t touch your nails with your fingertips. The oils from your skin can completely undo all that careful prep work.
Why Gel Polish is a Game-Changer
So, what’s the big deal with gel anyway? Regular nail polish dries as solvents evaporate, a process that can take ages to fully complete. That’s why you can smudge a manicure hours after it feels dry to the touch.
Gel polish is different. It doesn’t air dry; it cures. The liquid gel contains short chemical chains that, when exposed to a specific wavelength of UV or LED light, link together into super-strong polymer chains. This polymerization process creates a rock-hard, non-porous surface in about 30 to 60 seconds. Once it’s cured, it’s CURED. No smudging, no dents. This is why following the recommended curing time for your specific polish and lamp is so critical—they’ve done the chemistry homework for us!
Pro Techniques for Classic Holiday Designs
Alright, with the prep done, we get to the fun part. Here are a few of the most-requested holiday looks and how we get them to look so polished (pun intended).
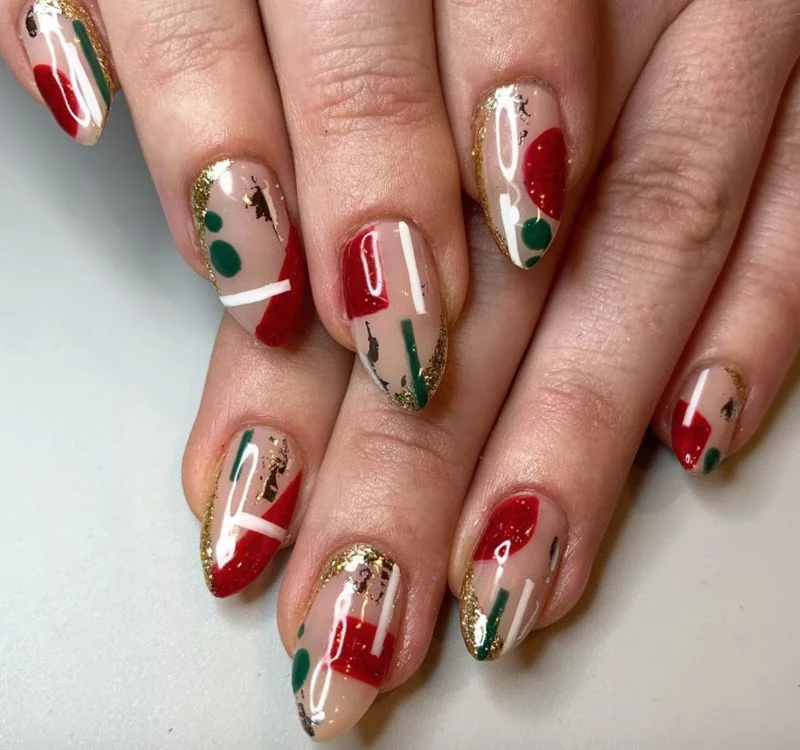
The Perfect Holiday Red
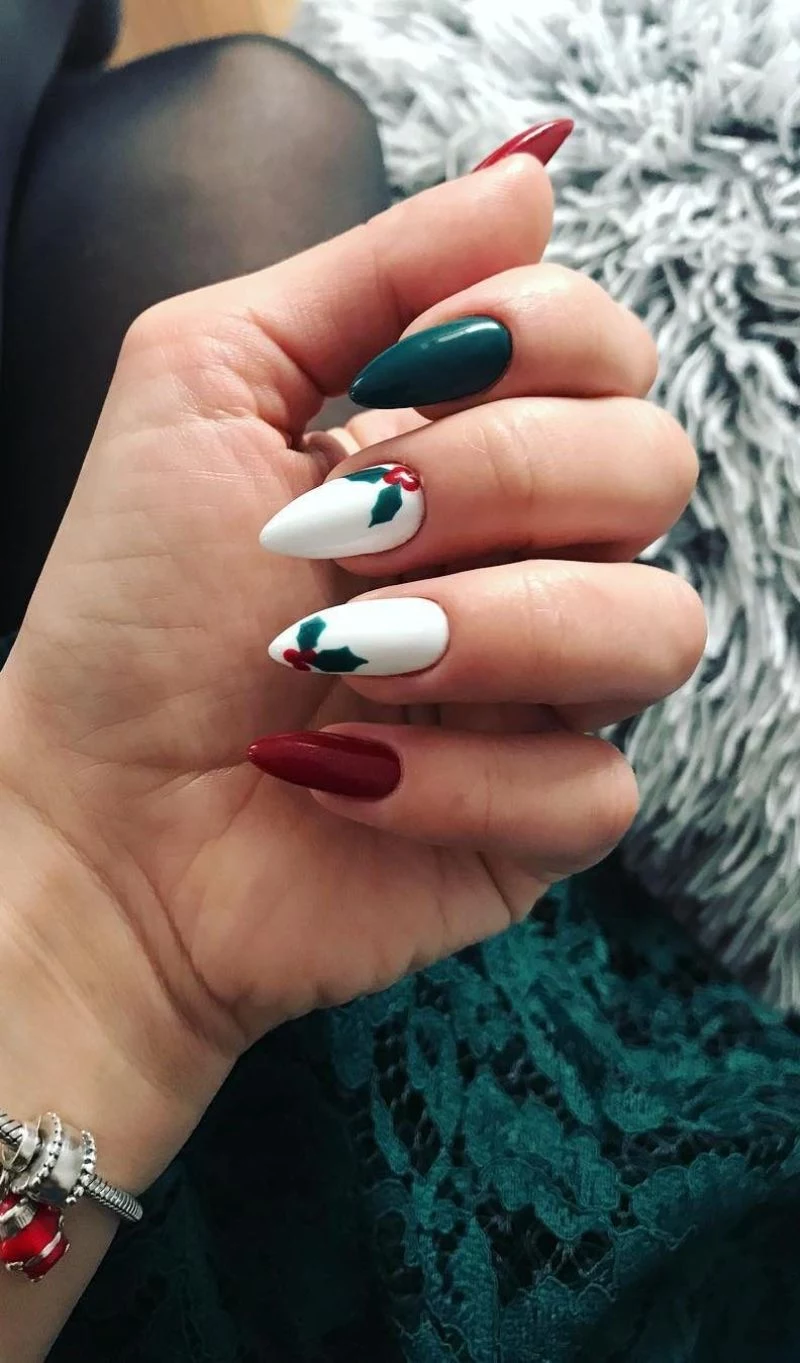
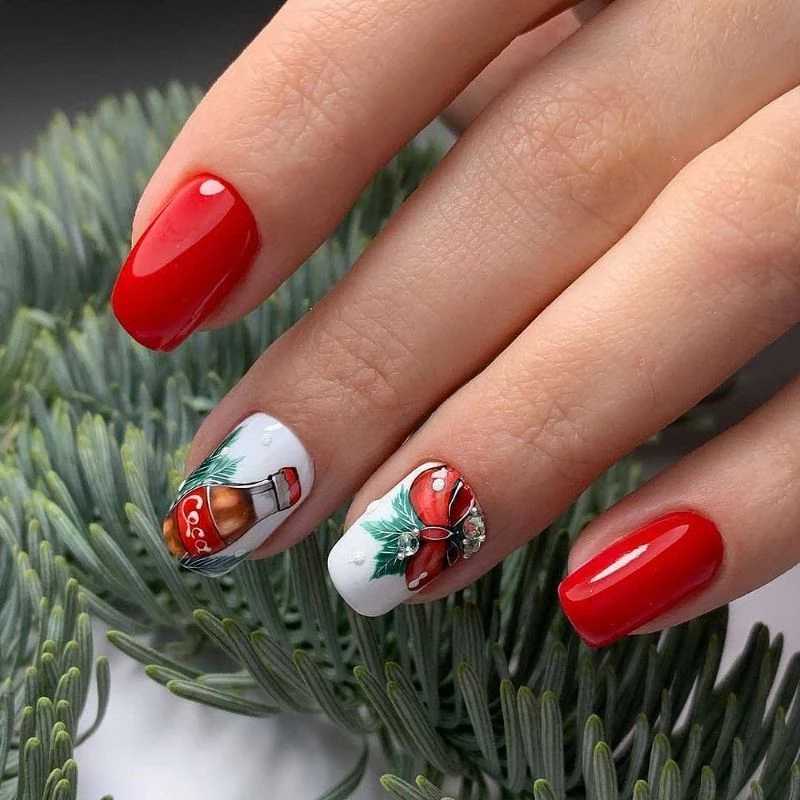
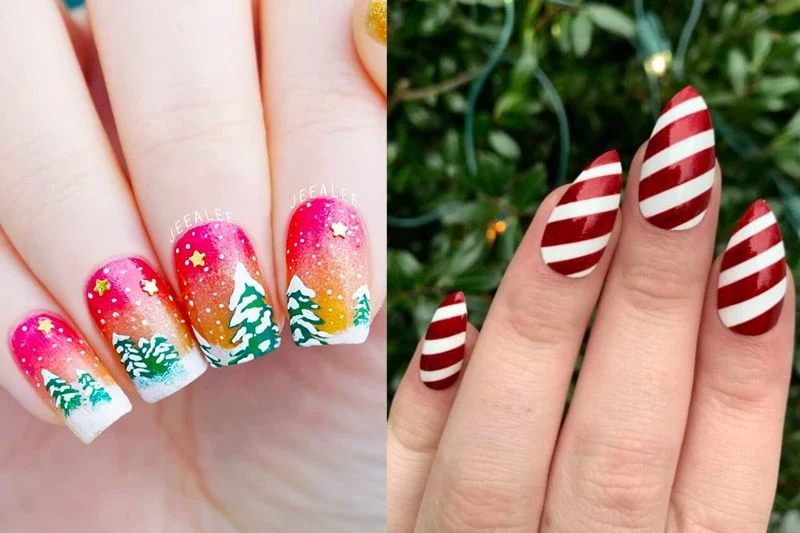
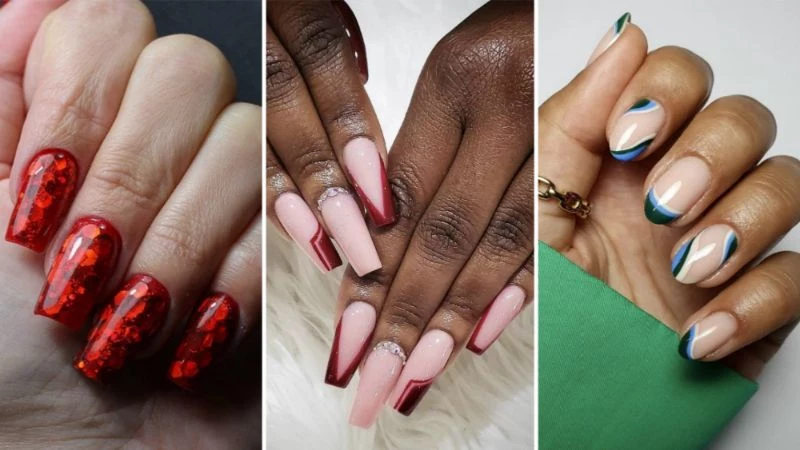
A classic, deep holiday red or a rich forest green is timeless. The secret to a streak-free, rich color is applying multiple thin coats. I float the polish onto the nail, trying not to press the brush down too hard. The first coat will probably look a little sheer or patchy—that’s totally normal! Resist the urge to glob on a thick coat. Two thin, perfectly cured coats will always look sleeker and last longer than one thick, goopy one. A simple gel color like this will usually run you about $40-$55 at a salon.
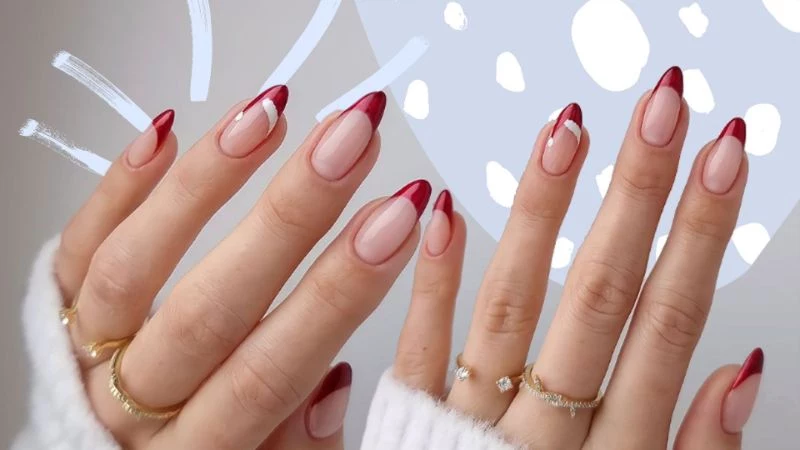
The Modern Festive French
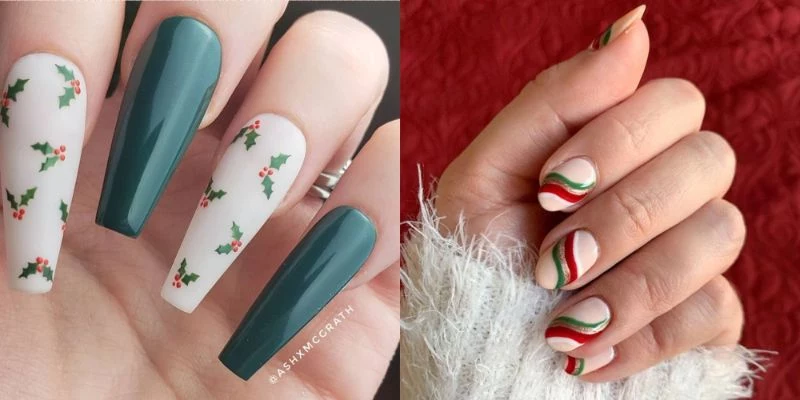
Why not give the elegant French manicure a holiday twist? Instead of a classic white tip, you can use a fine red glitter, a deep green, or even do a candy cane stripe. For that super-crisp “smile line,” a long, thin liner brush is your best friend. I paint the tip by placing a dot of color in the center and then sweeping two “wings” up from the sides to meet it. It gives you a much cleaner curve than trying to use the bottle brush.
Working with Glitters and Chromes
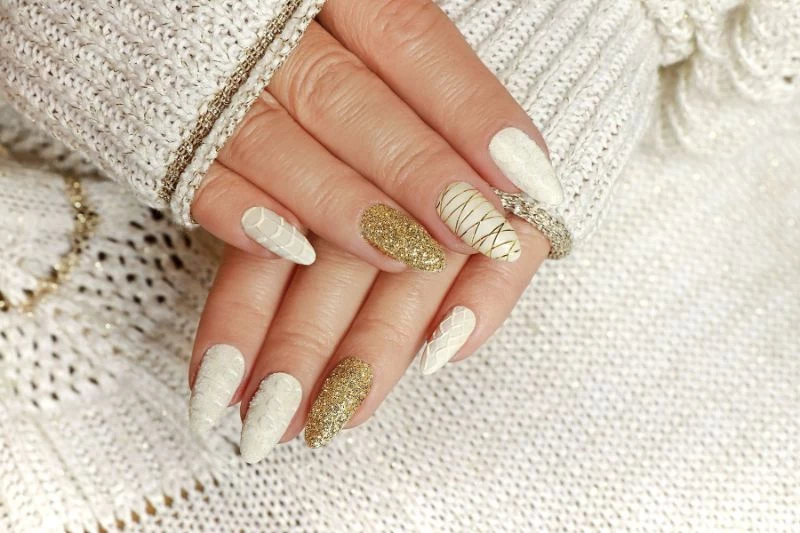
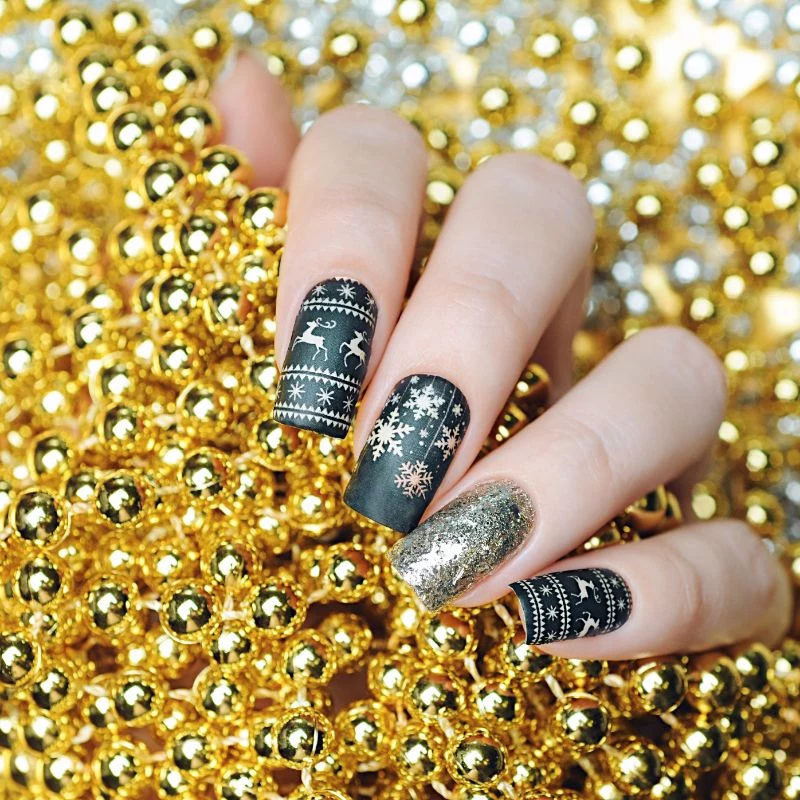
Glitter is a holiday must! For that full-coverage, disco-ball effect, I prefer using loose glitter over a pre-mixed gel. After your base color, apply a thin layer of a clear builder gel (but don’t cure it yet). Sprinkle loose, cosmetic-grade glitter all over the wet nail, gently pat it down, and then cure. After brushing off the excess, you HAVE to encapsulate it with another layer of clear gel or two layers of top coat. This makes the surface perfectly smooth so it doesn’t feel rough or snag on your favorite sweater.
Chrome powders are another favorite, creating that incredible mirror-like finish. The trick is to apply the powder over a “no-wipe” top coat. Rub a tiny bit of chrome powder firmly onto the nail with an eyeshadow applicator, and it magically transforms. Pro tip: Sometimes curing the no-wipe top coat for only half the recommended time creates a stickier surface for the chrome to grab onto. You have to experiment a bit! A full set with encapsulated glitter or chrome can add an extra $15-$25 to your service cost.
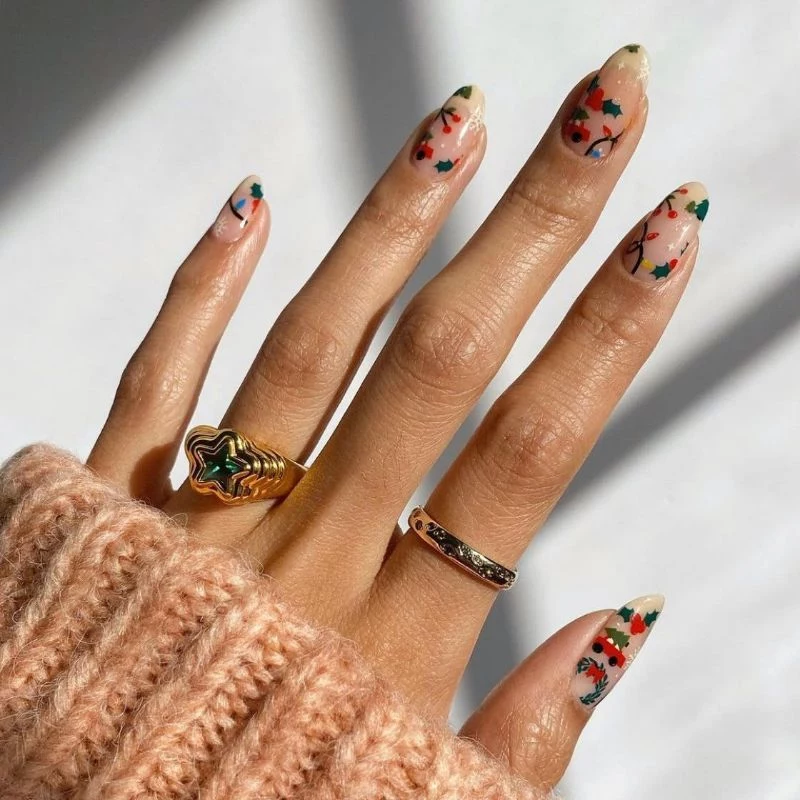
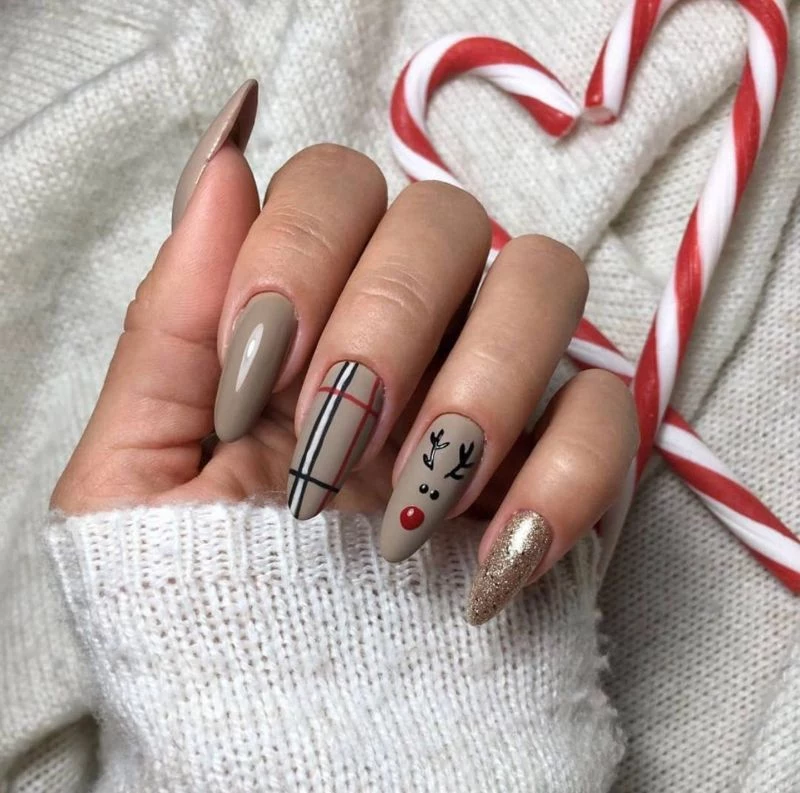
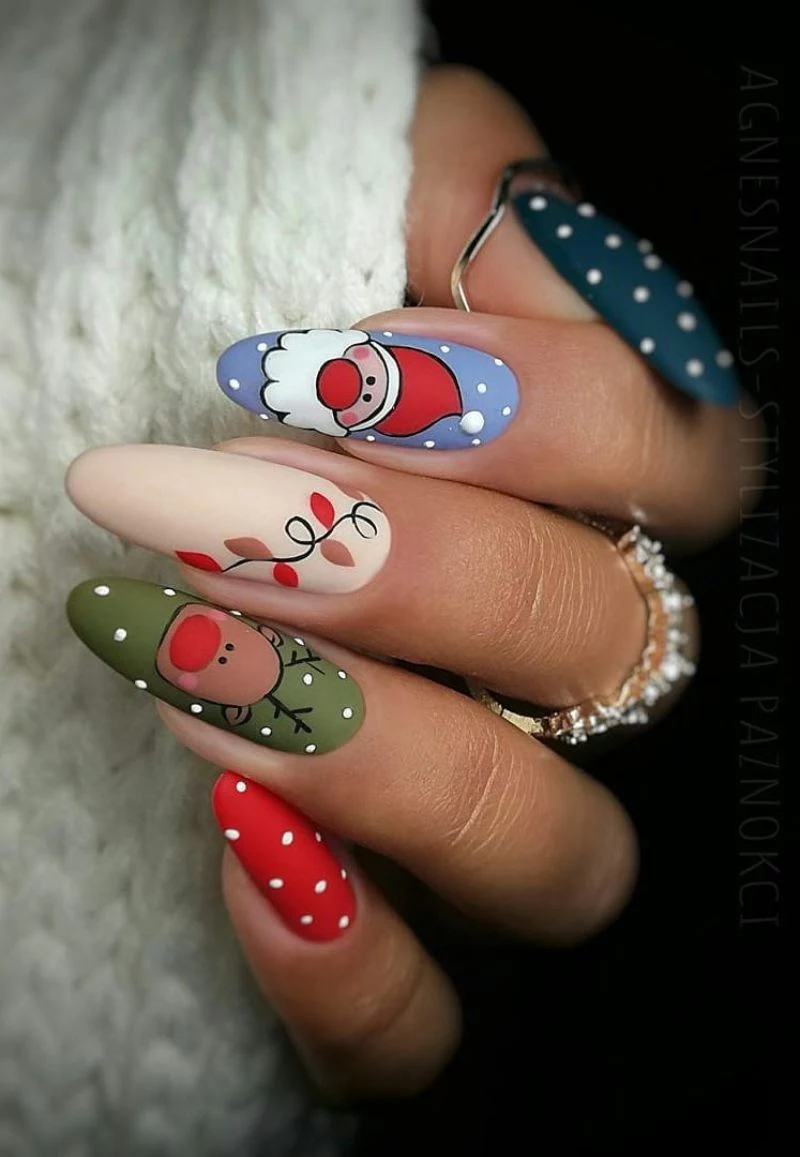
Simple Hand-Painted Art (You Can Do This!)
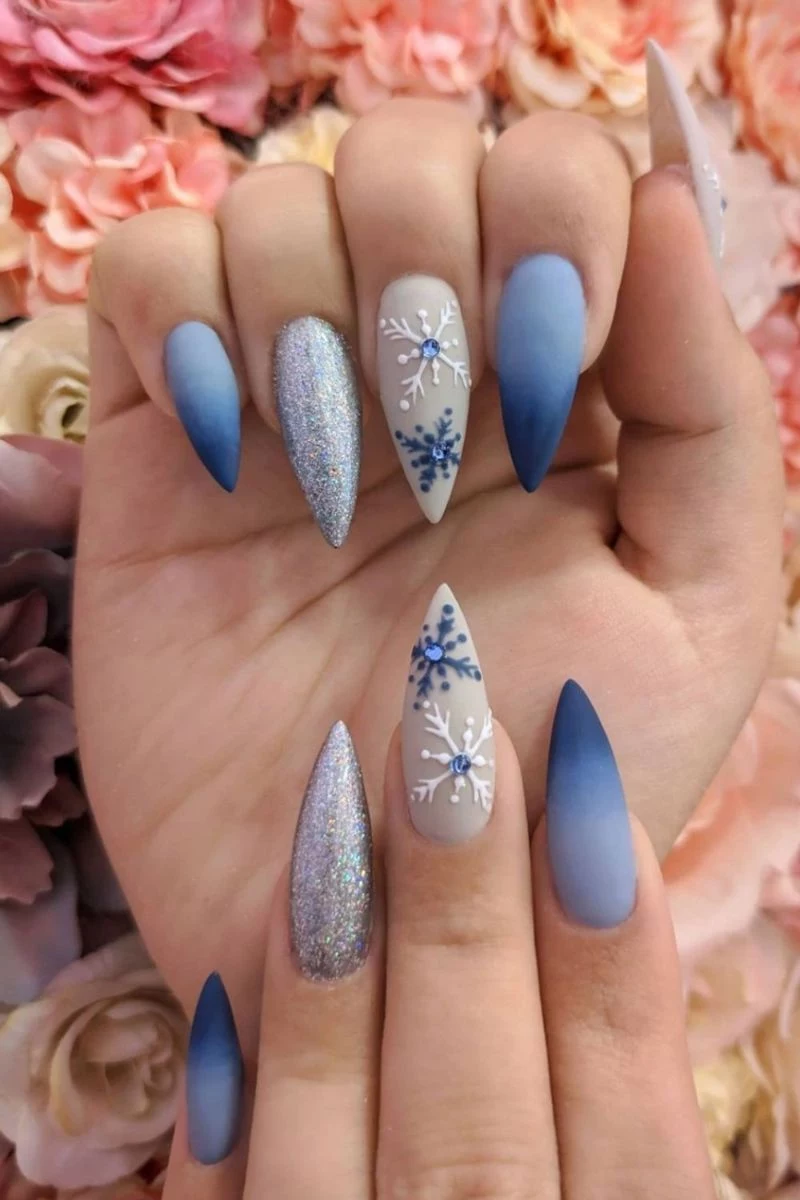
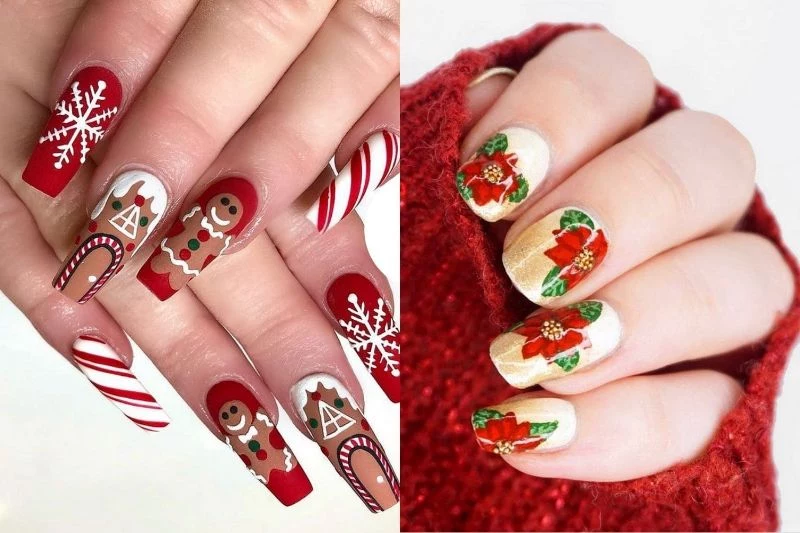
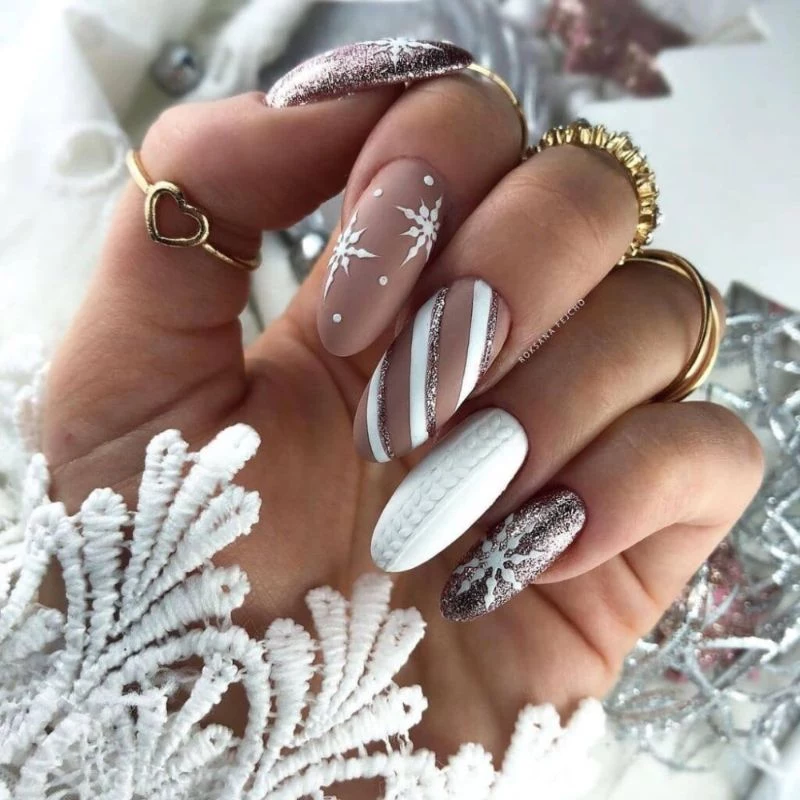
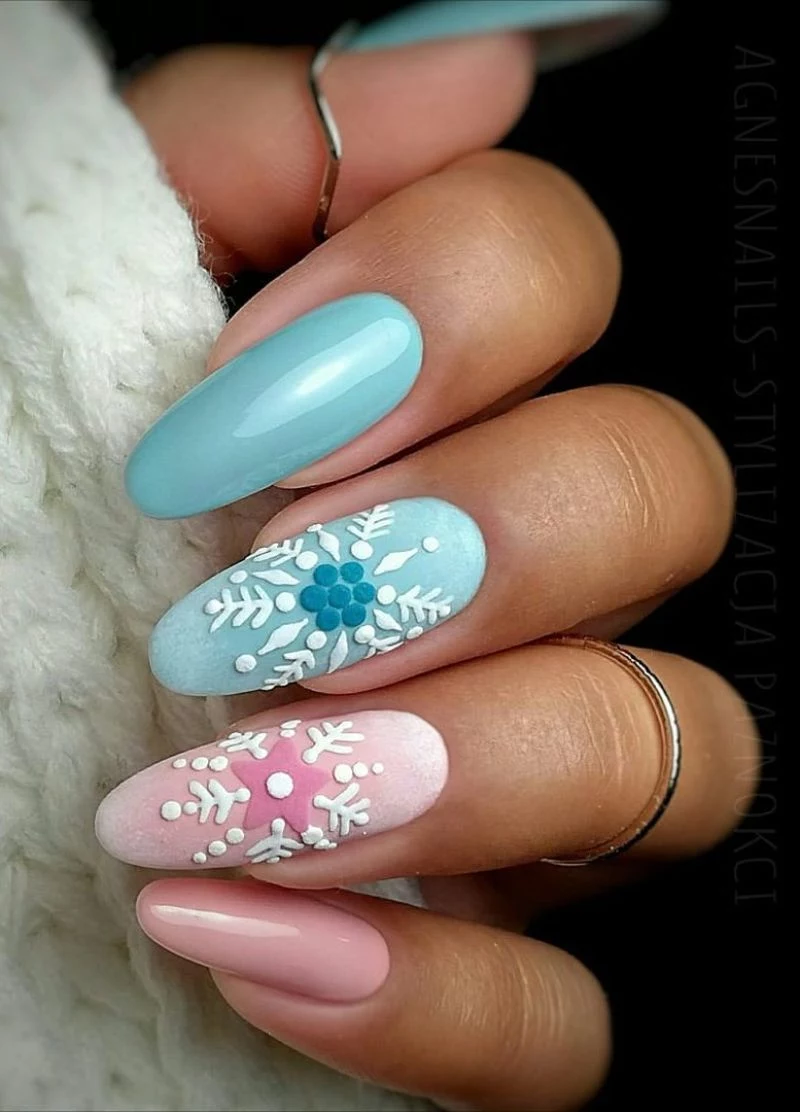
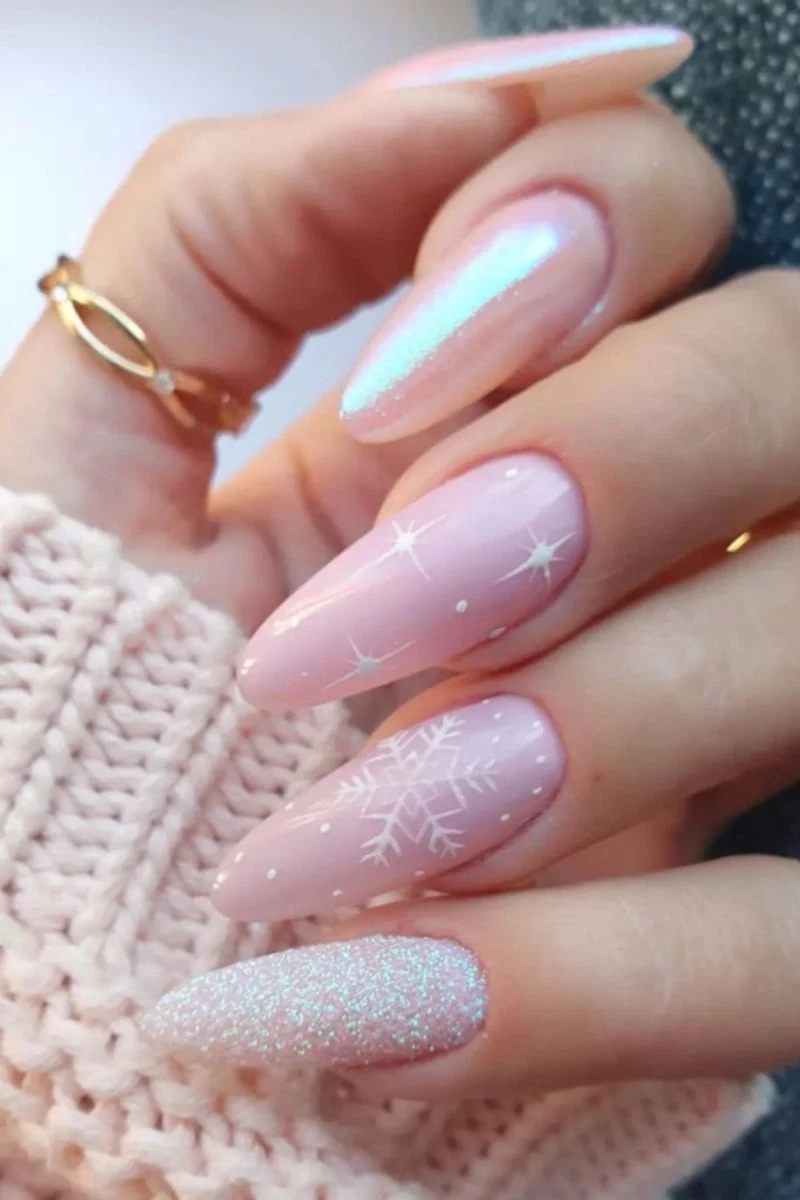
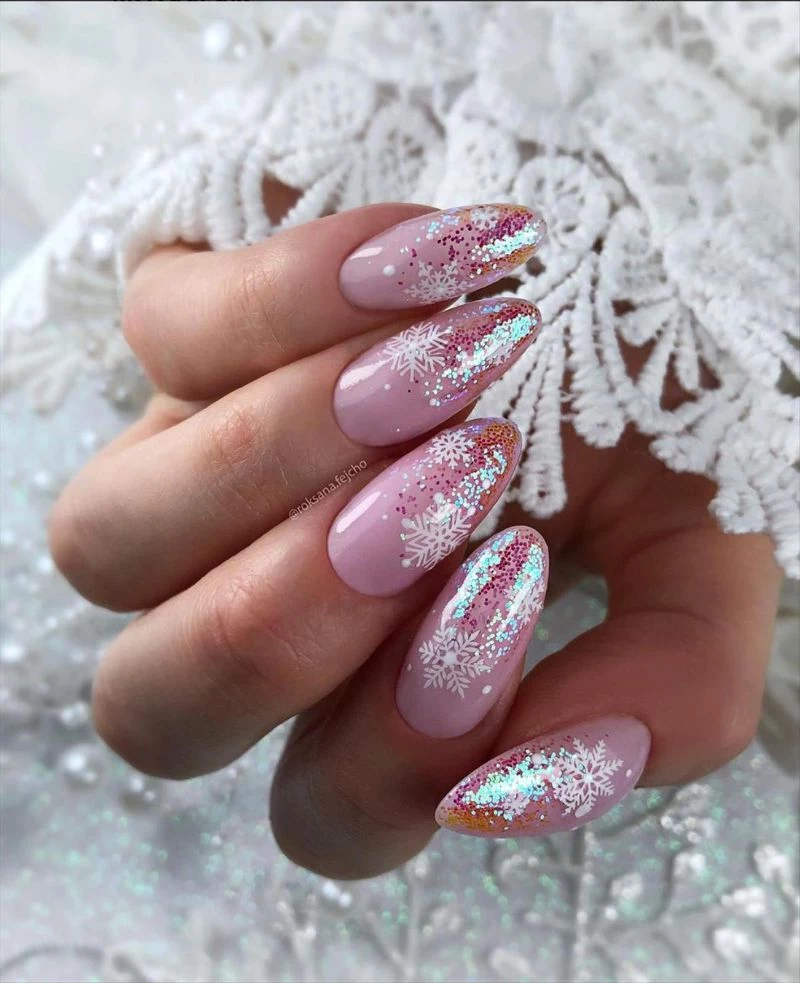
You don’t need to be a world-class artist. For a simple holly design, use a dotting tool to make three red dots in a cluster, then use a tiny brush to paint two little spiky green leaves. For a snowflake, start with a simple cross, cure it, then add two diagonal lines to make an eight-pointed star.
Lesser-known trick for beginners: Use cheap acrylic craft paint from a store like Michaels for your details! Do it right over your finished, cured gel manicure. Why? If you mess up, you can just wipe it off with a damp Q-tip without ruining the polish underneath. Once you’re happy with your design, let it air dry completely and seal it with one more layer of top coat.
Your 5-Minute Challenge: Grab a toothpick, dip it in some polish, and try the three-dot holly berry design on a piece of tape. See? You’re basically a nail artist already!
Help! What Went Wrong with My DIY Nails?
Doing your own nails can be super rewarding, but sometimes things go wrong. Don’t worry, it happens to everyone. Here are a couple of common issues and what’s likely causing them:
- The Problem: My gel is bubbling or looks wrinkled after curing.
The likely culprit? Your coats are too thick. Gel needs the light to penetrate all the way through to cure properly. If it’s too thick, only the top layer cures, and the liquid gel underneath shifts and wrinkles. Also, avoid shaking your polish bottle right before you use it—that creates tiny air bubbles. Instead, gently roll it between your hands. - The Problem: My polish peeled off in one big sheet!
Oh, the dreaded full peel-off. Nine times out of ten, this is a prep issue. You probably skipped a step or didn’t get the nail plate completely clean and free of oils. If the surface is still even a little bit shiny or oily, the gel simply has nothing to grip onto. Go back to that prep section and be extra thorough!
DIY at Home vs. Seeing a Professional
So, should you do it yourself or book an appointment? Honestly, it depends on your goals. It’s totally possible to get a great result at home if you’re doing something simple like a solid color or a glitter accent nail, especially with regular polish. You just need patience for the prep and drying time.
But you should definitely consider seeing a pro if you want gel polish that will last for two weeks or more without issues. Professionals can troubleshoot problems like lifting, have the skill for complex art, and use advanced products for effects like encapsulated glitter or chrome. You’re paying for their expertise and time. To give you an idea, a good at-home gel starter kit with a lamp and a few polishes might cost you $50-$80 upfront. In contrast, a single professional manicure with detailed art can run anywhere from $65 to over $100, but it’s custom-built to last.
The Ultimate Safety Warning: Removal is Everything
Above all, nail health is the top priority. A gorgeous manicure isn’t worth it if it wrecks your natural nails. And my biggest, most important piece of advice is about removal.
Please, never, EVER peel, pick, or pry off your gel nails. When you do that, you’re ripping off the top layers of your natural nail along with the polish. Trust me, I once spent months nursing a client’s nails back to health after she peeled off a full glitter set out of boredom. It leaves them thin, weak, and damaged. It’s just not worth it.
The only safe way to remove gel is to soak it off. A pro will gently file off the shiny top coat, then soak your nails in acetone-soaked cotton wrapped in foil for 10-15 minutes. The gel will break down and slide off easily. If you’re getting it done at a salon, a soak-off removal usually costs around $10-$20 and is the best money you can spend for your nail health.
By understanding a bit of the technique, you can rock your holiday nails with total confidence. Have fun, get creative, and always prioritize the health of your nails. Happy holidays!
Inspirational Gallery

Did you know? The tiny metallic particles in chrome and holographic powders require an absolutely flawless, non-tacky surface to adhere properly.
That’s why nail techs use a specialized
Want to try delicate nail art but don’t have a steady hand?
The secret is often in the tools, not just the talent. For perfect snowflakes or tiny holly leaves, a fine-tipped nail art brush is essential. Look for a
Glossy Glam: This is the classic, high-shine finish that makes colors pop and glitter sparkle intensely. A plumping gel-effect top coat like Seche Vite Dry Fast Top Coat gives that luxurious, wet look and incredible durability.
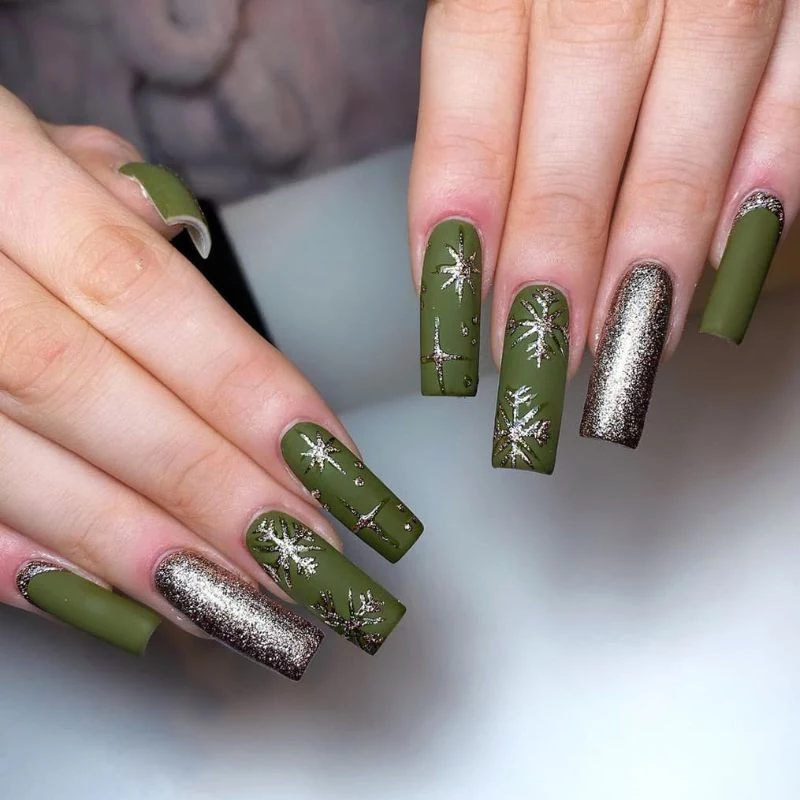
Velvet Matte: A matte finish offers a sophisticated, modern twist. It makes deep reds and greens look like rich velvet and can soften the look of busy glitter. OPI’s Matte Top Coat is a cult favorite for transforming any shade into a chic, non-reflective statement.
That satisfying feeling of your nails lightly tapping on your phone screen, revealing a flash of deep emerald green or a hint of gold glitter, is a small but potent dose of holiday joy. It’s a personal accessory that completes a festive outfit and brings a little bit of sparkle to everyday tasks, from typing an email to holding a warm mug of cocoa.
The key to making your manicure last through the festive season happens *after* you leave the salon. Think of your nails as jewels, not tools.
- Wear gloves when washing dishes or using cleaning products.
- Apply a nourishing cuticle oil like CND SolarOil daily to keep the nail and surrounding skin hydrated and flexible.
- Avoid using your nails to open cans or scrape labels.
The number one mistake with at-home gel polish: Applying coats that are too thick. This prevents the UV/LED light from curing the polish all the way through, leading to a soft, peel-prone manicure that can even cause skin sensitivities. Thin, even layers are the professional’s secret to a hard, durable finish.
- Get intricate, hand-painted art in minutes.
- Enjoy zero drying time and no risk of smudging.
- Switch up your look for a specific party without commitment.
The trick? High-quality press-on nails. Brands like Glamnetic or Static Nails offer reusable, beautifully designed holiday sets that look just like a professional salon manicure and can be applied in under 10 minutes.
For a truly elegant holiday look, think beyond classic red. Consider a
After the holidays, resist the urge to peel or pick off your gel or glitter polish! This rips off layers of your natural nail, causing serious damage.
A trend that’s perfect for the holidays is the
What does it mean to
A stunning holiday manicure relies on the perfect canvas. If your nails have natural ridges or imperfections, a standard base coat won’t be enough. A ridge-filling base coat, like Orly’s Ridgefiller, is slightly thicker and contains minerals that settle into the grooves of the nail plate. This creates a perfectly smooth, even surface, ensuring that metallic and dark polishes apply without any streaks or bumps, giving you a truly flawless result.


