You know, for as long as I’ve been doing nails, I’ve seen countless trends come and go. But every single winter, like clockwork, the requests for “icy blue” nails start rolling in. It’s a color that just perfectly captures the feeling of the season—sometimes it’s a quiet, snowy morning, and other times it’s a brilliant, cold sky. It’s so much more than just a holiday color; it’s a whole mood.
So many people try this look at home and get totally frustrated when it chips in a day or the design looks… well, a little messy. You see a perfect picture online, but nobody tells you about the dozen tiny steps that made it look that good. That’s why I wanted to put this all down. A gorgeous, long-lasting manicure is all about technique, not just the polish you use. It’s a craft built on small, crucial details.
In this guide, I’ll walk you through the exact professional process I use every day. We’ll cover everything from getting the nail ready (the most important part!) to creating some beautiful art that actually lasts. This is the real-deal knowledge, broken down so you can finally understand the why behind each step.
The Foundation: Why Nail Prep Is Everything
Before you even dream of opening that bottle of blue polish, we have to talk about nail prep. I can’t stress this enough: this is the single most important step. A bad foundation means your manicure is doomed from the start. The whole goal here is to create a clean, dry surface that your polish can grab onto and not let go. It’s basically a science of adhesion.
Think about it: your natural nail has oils and moisture on it. They’re the mortal enemies of polish. They create a slippery barrier that prevents a strong bond. Even just washing your hands isn’t enough; a lot of soaps leave behind moisturizers or residues that get in the way. That’s why the pros have a system.
My Pro-Level Prep Routine (and Your New Shopping List!)
This is the exact sequence I follow to make sure a manicure lasts. And honestly, once you get the hang of it, this whole prep routine should only take you about 15-20 minutes. Don’t rush it!
1. Gentle Cuticle Care: First up, the cuticles. Notice I said “care,” not “cutting.” That living tissue around your nail is there for a reason—it’s a seal against infection. Cutting it is asking for trouble. Instead, I apply a cuticle softener. A great one for home use is Blue Cross Cuticle Remover; you can usually find it at Sally Beauty for about $5. After a minute, I use a sterilized stainless steel pusher to gently guide the cuticle back. The curved end should match the base of your nail. Then, I use the flatter, blade-like side to carefully scrape away the non-living tissue stuck to the nail plate. That flaky stuff is the true cuticle, and it has to go for a clean look.
Quick tip: Invest in a good pusher. You can get a fantastic one from a brand like Tweezerman for around $20, or a totally serviceable one from a beauty supply store for under $8. Just make sure it’s stainless steel so you can properly clean it.
2. Shaping the Nail: Next, I grab a 180 or 240-grit file (you can get a pack for $3 at any drugstore) to shape the free edge. Here’s a pro secret: always file in one direction, from the side to the center. That back-and-forth sawing motion you see in movies? It shreds the layers of your nail and leads to peeling. Yikes.
3. Buffing the Surface: People tend to go way too hard on this step at home. The goal isn’t to thin the nail; it’s just to remove the shine. I use a light buffer (240-grit or higher) and just swipe over the nail a few times. This creates a very fine texture for the base coat to grip. If you can see deep scratches, you’ve gone too far.
4. Cleansing and Dehydrating: This is it. The final, most critical prep step. Take a lint-free wipe (cotton balls leave behind fibers, so avoid them!) and drench it in 99% isopropyl alcohol. You can actually find this at most hardware stores for around $10 a bottle—it’s much better than the stuff from the pharmacy. Scrub the whole nail, getting into the sidewalls and under the tip. From this point on, do NOT touch your nails with your fingers. The oils from your skin will instantly ruin all your hard work.
Good to know: What if you can only find 70% alcohol? If you can’t get 99%, 91% is your next best bet. The 70% version has a lot more water in it, so it won’t dehydrate the nail as effectively. Your manicure might not last quite as long, but it’s still much better than nothing.
Choosing Your Polish: Gel vs. Lacquer
Okay, with the prep done, it’s time for the fun part. You can get that “icy blue” look with traditional nail lacquer or with gel polish. Your choice really comes down to how long you want it to last, how much time you have, and what tools you’re working with.
Nail Lacquer (Regular Polish): This is the classic stuff you buy at any store. It air-dries as its solvents evaporate, which can take a while to fully harden. It’s super accessible and easy to remove, but it’s also more likely to chip within a few days. For a perfect snowy-sky blue, I often reach for something like OPI’s ‘It’s a Boy!’.
Gel Polish: This is a totally different beast. Gel has special ingredients that need a UV or LED lamp to “cure” or harden. You might feel a quick flash of heat sometimes—that’s a normal chemical reaction. Once cured, it’s a super durable, plastic-like coating that can last for weeks without a single chip. The downside? You need to invest in a lamp (a decent starter one is about $25-$50 online), and removal is more involved.
A common mistake is using a lamp that isn’t compatible with your gel brand. This can lead to under-cured gel, which won’t last and can even cause skin sensitivities over time. Stick to the lamp recommended by the gel manufacturer if you can.
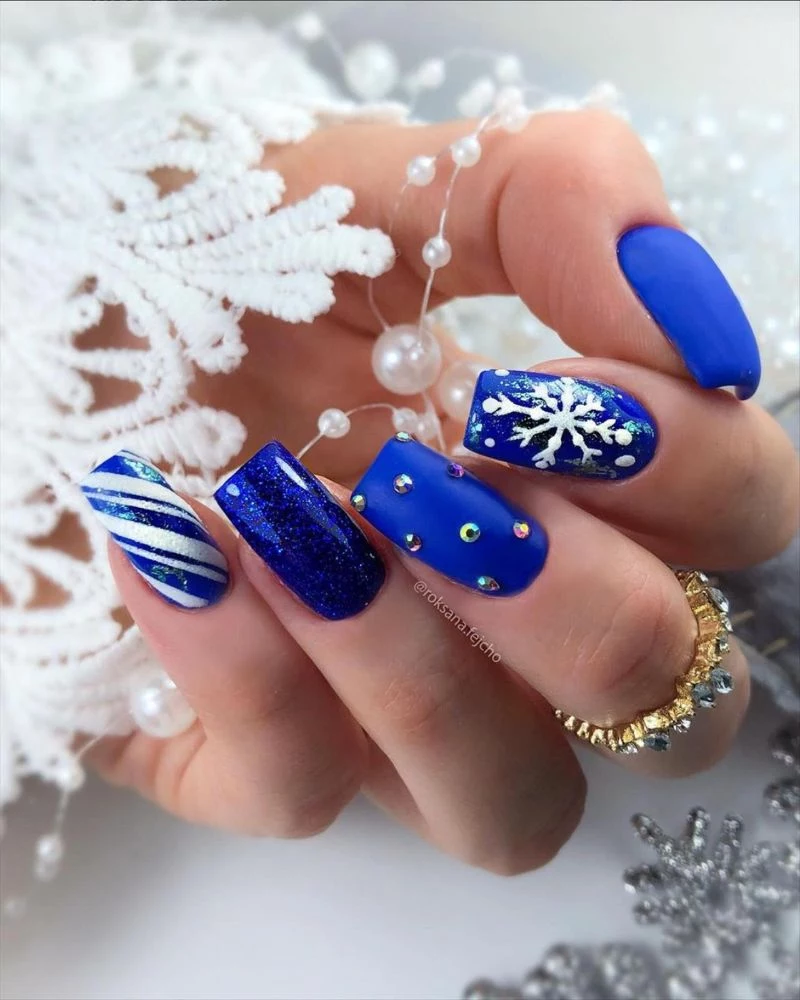
The Art: Easy Ways to Get That Icy Look
Now, let’s make them look frosty! You don’t need to be a professional artist to pull this off. Here are a couple of my favorite, surprisingly easy designs.
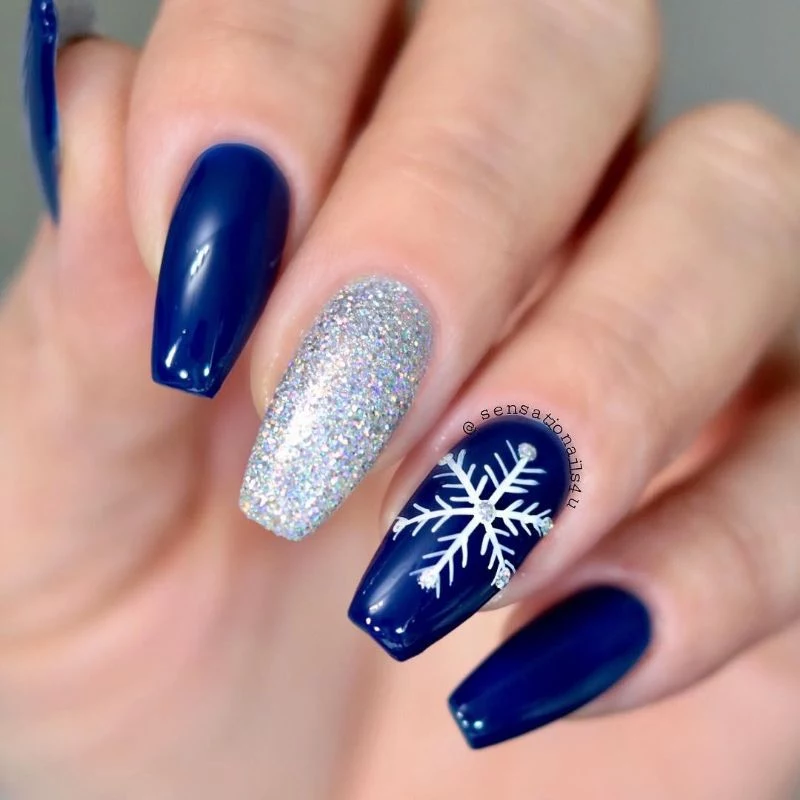
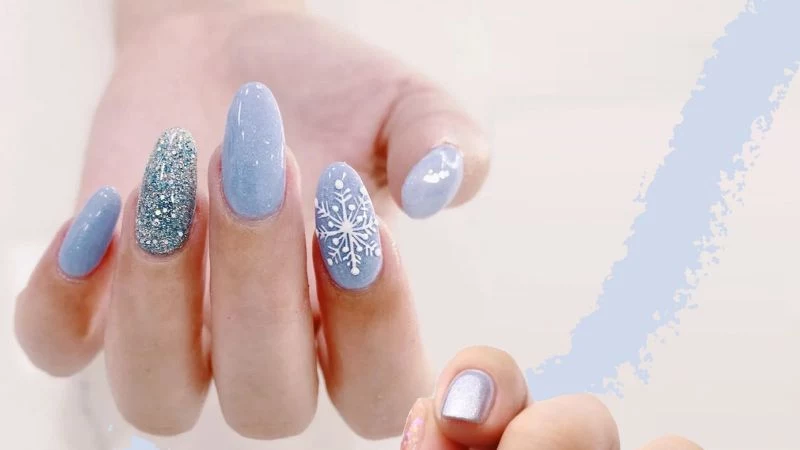
My Go-To Trick: The Glitter Gradient
This is the easiest way to get a glamorous look that also cleverly hides any imperfections at the tip of your nail. It’s a total win-win.
1. Start by painting on one or two coats of your chosen icy blue polish. Let it get almost dry (for lacquer) or cure it completely (for gel). 2. Next, take a silver or iridescent glitter polish. Wipe most of the polish off the brush, then gently dab a concentrated amount of glitter right at the very tip of your nail. 3. Using the almost-dry brush, lightly drag a few of the glitter flecks down about a quarter of the way toward your cuticle. 4. Finish with a good top coat, and you’re done! It looks so much more complicated than it is.
Troubleshooting: “Help! My Gel is Sticky!”
Heads up, gel users! After you cure your color or your top coat, it will probably feel a little sticky or tacky to the touch. Don’t panic! That’s a totally normal thing called the “inhibition layer.” It’s just a byproduct of the curing process.
The fix is simple: just take your lint-free wipe with a bit of that isopropyl alcohol and give each nail a firm swipe. The stickiness will vanish, revealing the rock-hard, glossy finish underneath. Easy peasy.
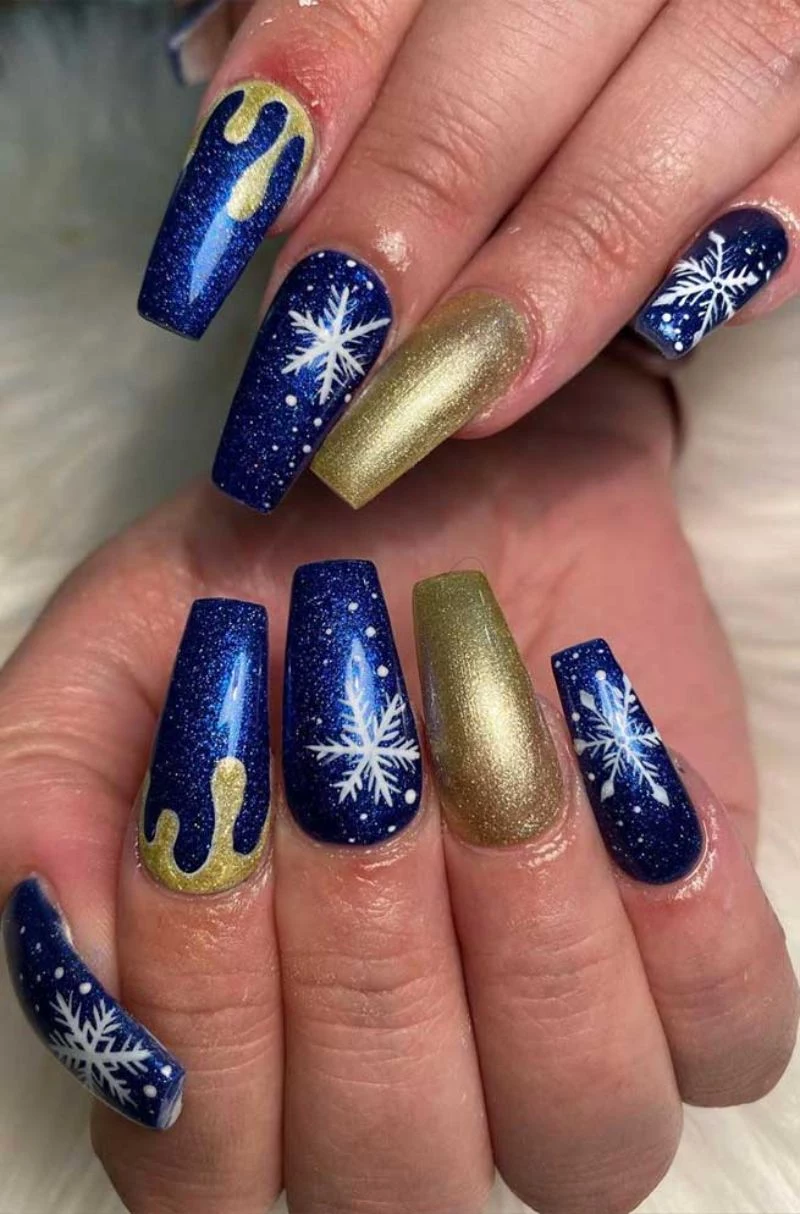
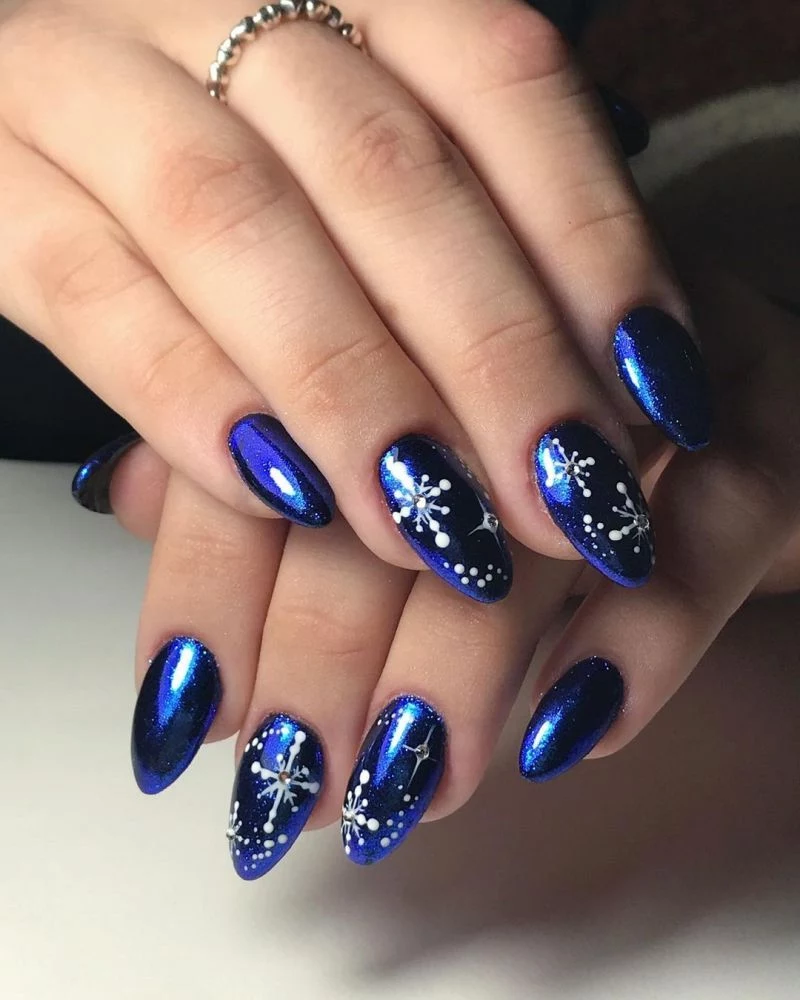
Inspirational Gallery
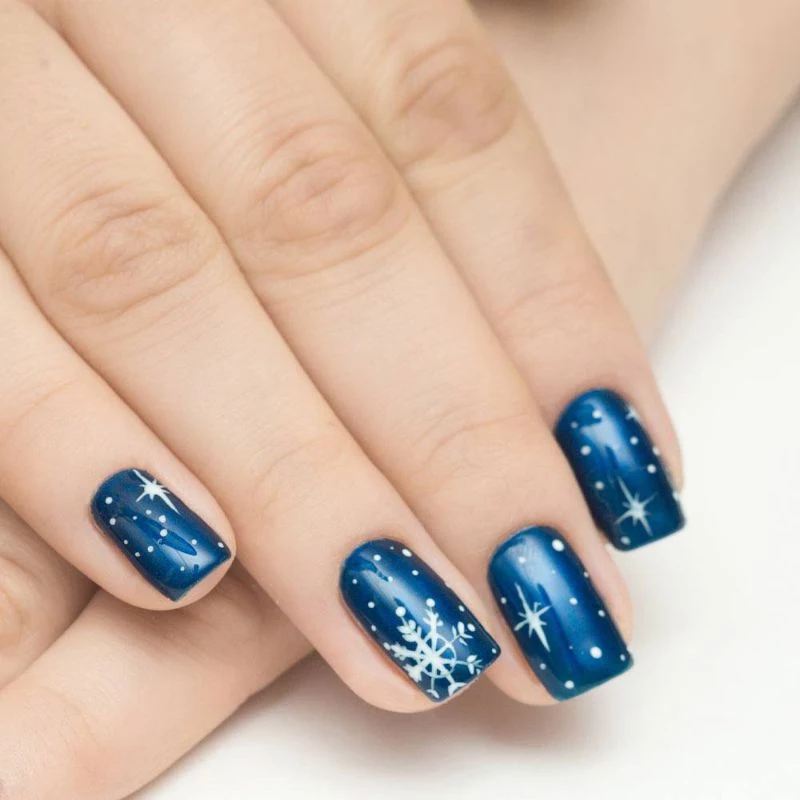
The Perfect Blue: A creamy, pure pastel like OPI’s ‘It’s a Boy!’ provides a soft, snowy day vibe. For a touch more vibrancy with a hint of periwinkle, Essie’s ‘Bikini So Teeny’ is an iconic choice that pops beautifully against all skin tones. The right shade is the first step to the perfect mood.
My glitter polish always looks clumpy and uneven. What’s the secret?
Stop painting and start dabbing! After your blue base is dry, don’t brush the glitter on. Instead, apply the glitter polish to a small, triangular makeup sponge and dab it onto your nail. This technique deposits the glitter particles evenly for a dense, professional sparkle without the thick, goopy base.
On average, a fingernail grows about 3.47 millimeters (0.14 inches) per month.
This slow and steady growth is exactly why a durable, chip-free manicure is so satisfying. Protecting the nail tip by ‘capping’ it—running the brush along the free edge with your base coat, color, and top coat—is the best way to seal your work and make it last until you see that tiny sliver of new growth at the cuticle.
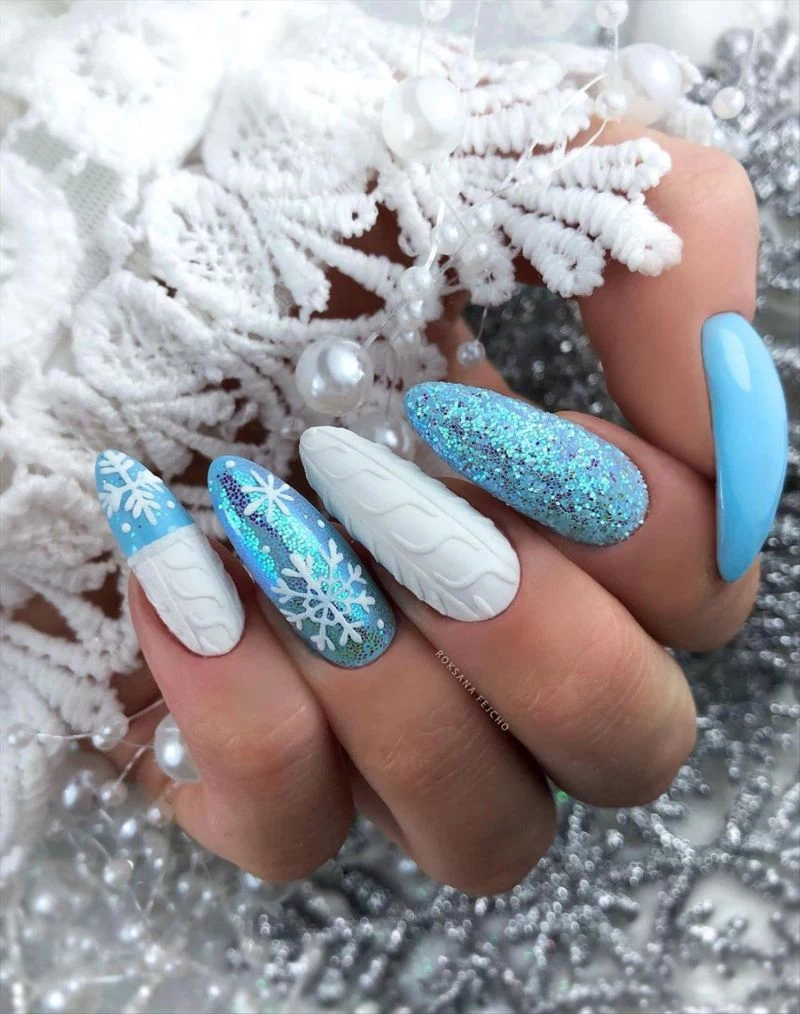
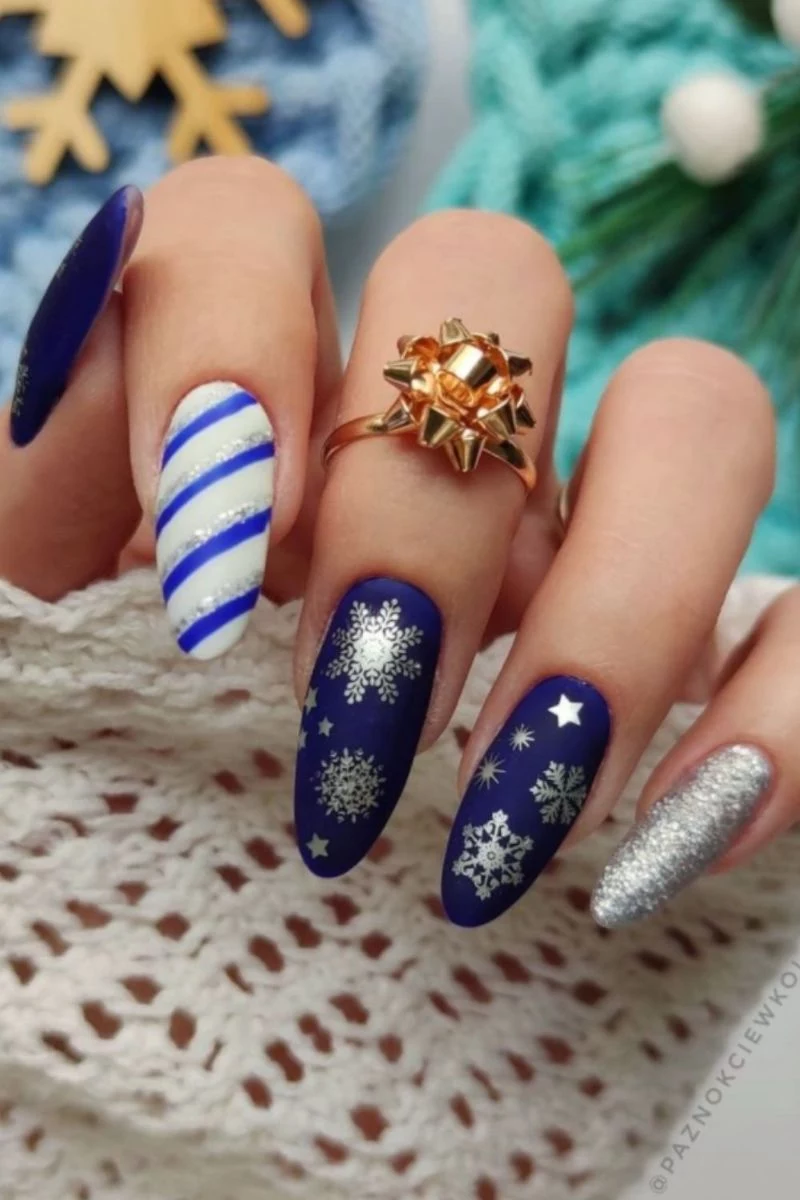
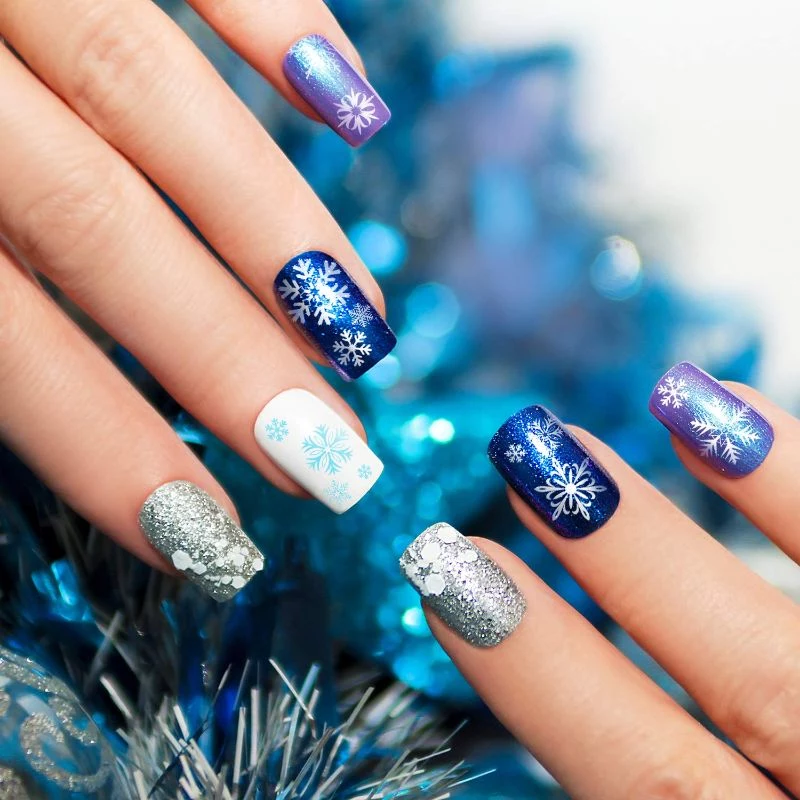
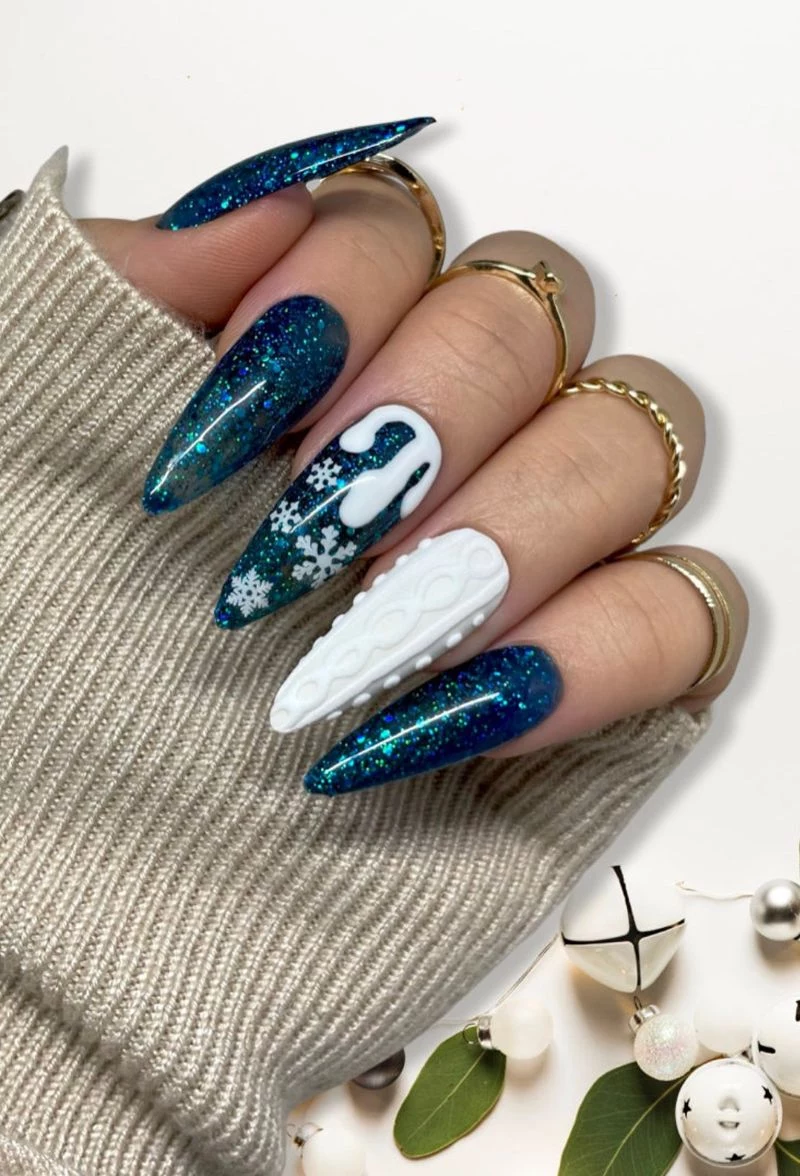
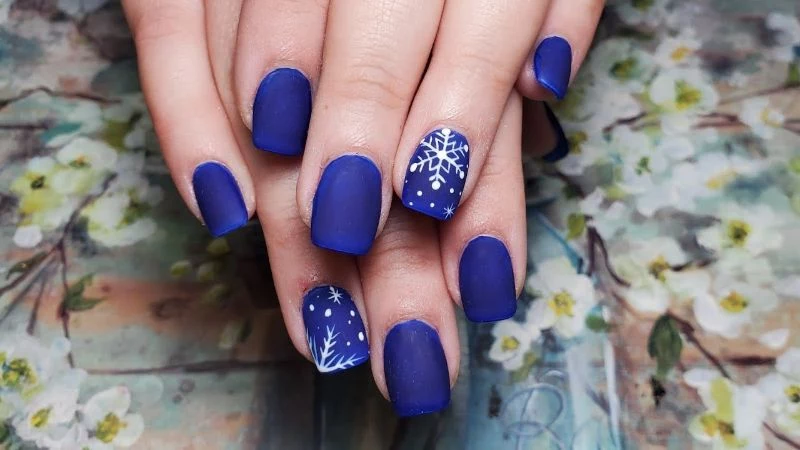
A simple shift in texture can completely elevate your icy blue nails. A matte top coat, like the one from Zoya or OPI, does more than just remove shine. It provides a velvety, frosted-glass finish that makes snowflake designs or simple blue nails look incredibly chic and modern. It feels like touching a cold windowpane.
Flawless, even color application.
Significantly faster drying time.
A stronger, more chip-resistant finish.
The key? Two to three paper-thin coats will always outperform one thick, heavy coat. The patience required between layers is the true secret to a manicure that looks and feels professional.
A common mistake: Vigorously shaking your bottle of polish. This is the number one cause of frustrating air bubbles that ruin a smooth finish. Instead, gently roll the bottle between the palms of your hands for 30 seconds. This warms and mixes the formula perfectly without introducing any air.
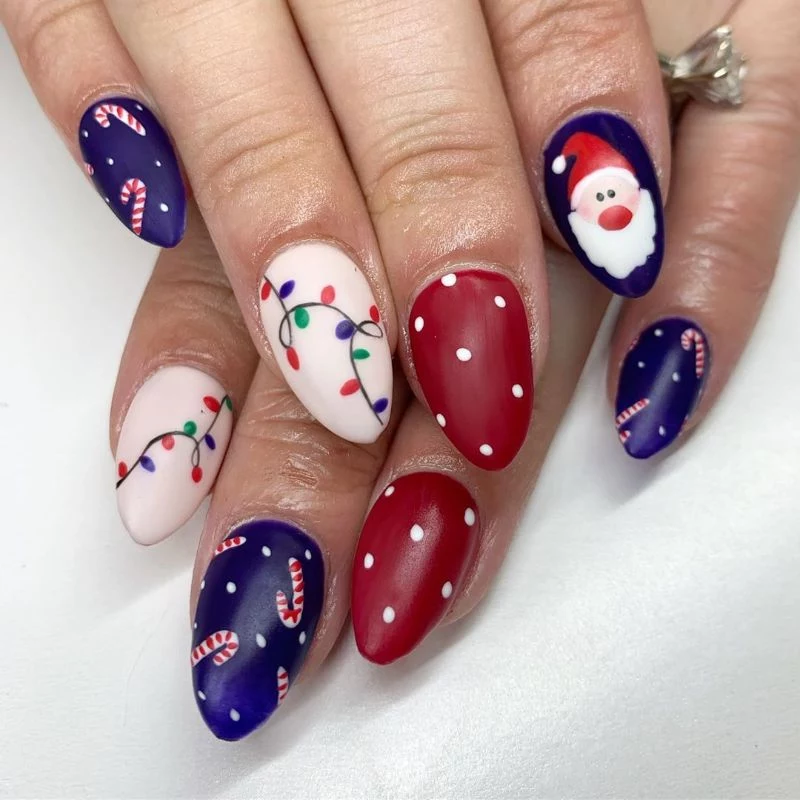
For truly intricate designs like delicate snowflakes or thin stripes, your polish brush won’t cut it. Your essential mini-kit should include:
A dotting tool: For perfect polka dots, snowflake centers, or tiny accents.
A fine striping brush: For crisp lines and geometric patterns.
A small piece of foil: Use this as a palette to place a drop of polish on, making it easy to dip your tools.
Important: The top coat isn’t just for shine; it’s your armor. For a rock-hard, glossy finish that dries in record time, nothing beats the cult classic Seche Vite Dry Fast Top Coat. It penetrates through the polish to the base coat, bonding everything together into a single, solid layer. It’s a game-changer for preventing smudges.
For a high-end,
Don’t have a specific icy blue? Create a custom shade! On a small ceramic plate or piece of foil, mix a few drops of a classic royal blue with a drop or two of pure white polish. Mix with a toothpick until you reach your desired pastel intensity. You can even add a tiny speck of black to give it a moodier, storm-cloud gray-blue tone.
How do I choose the right icy blue for my skin tone?
Think about your skin’s undertones. If you have cool undertones (veins look blue), a true, crisp sky blue will be incredibly flattering. If your skin has warm or olive undertones (veins look greenish), opt for an icy blue that has a subtle hint of silver or lavender shimmer in it, like China Glaze’s ‘Cele-blue-ty’. This keeps the color from looking stark.
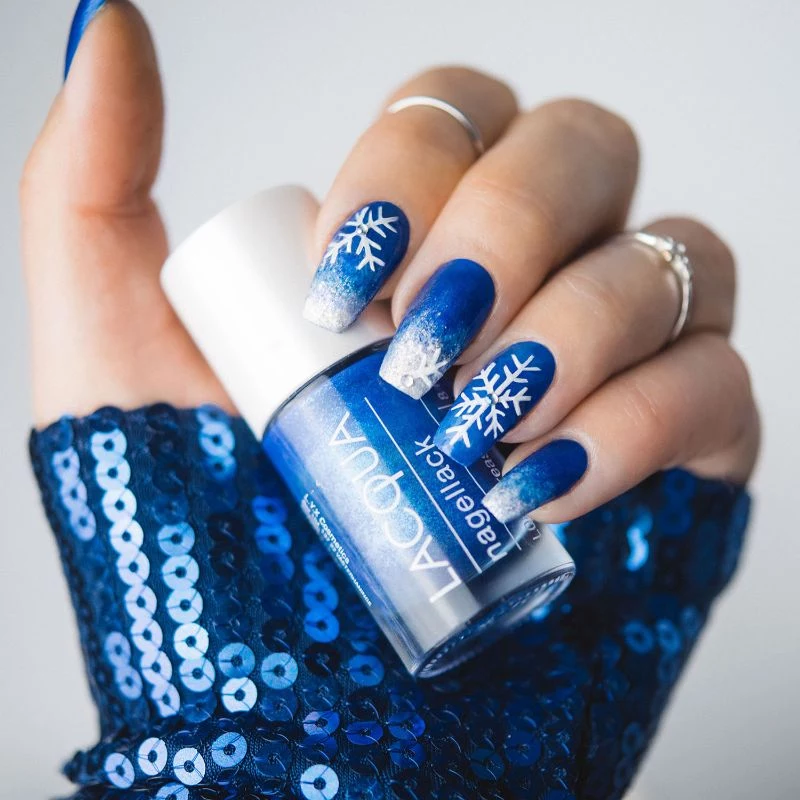
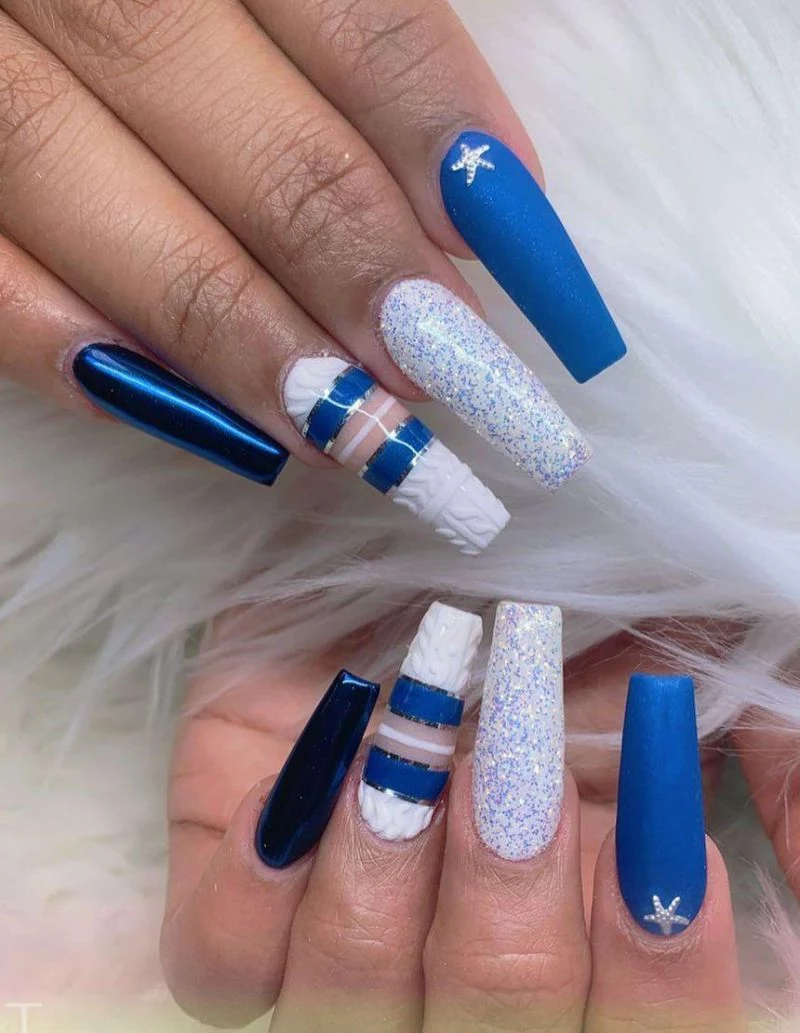
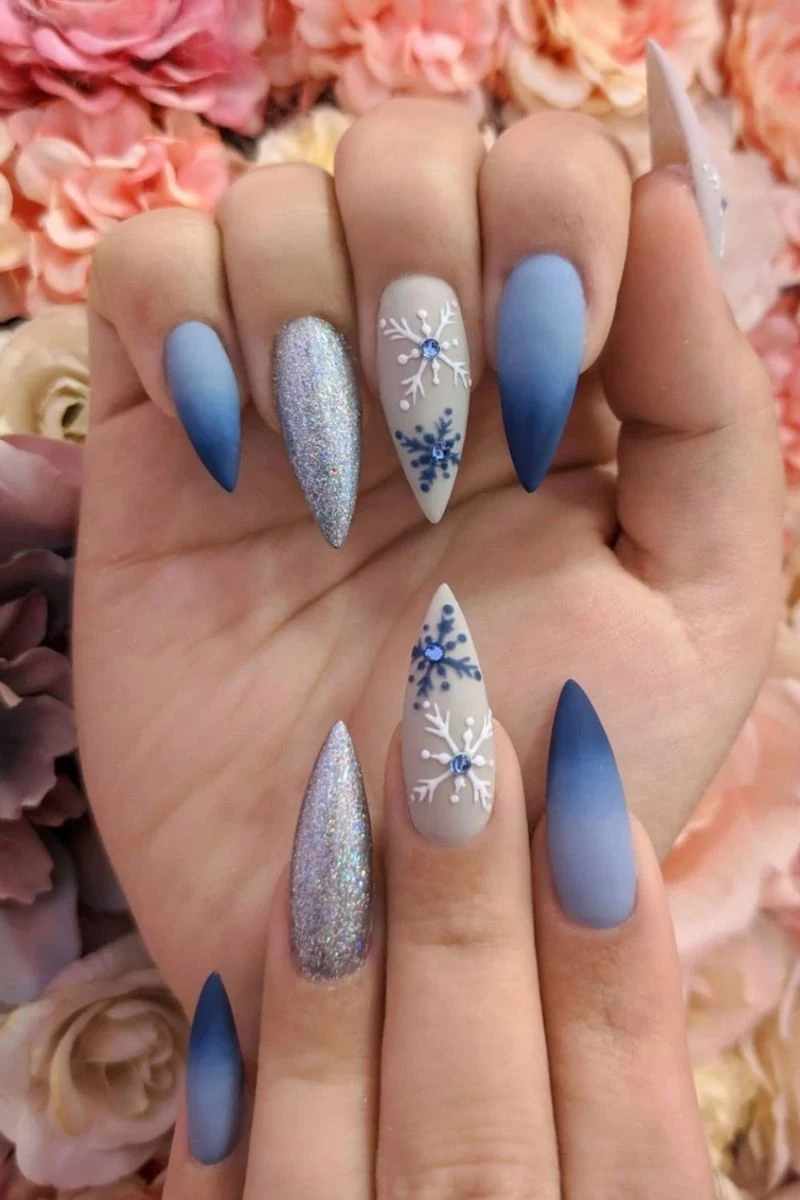
Achieving a beautiful, soft ombré or gradient effect is easy with a simple makeup sponge. Apply stripes of your chosen blues (e.g., navy, royal blue, and icy blue) directly onto the sponge, then gently press and dab it onto your nail. The sponge blends the colors seamlessly. Clean up the skin around your nail with a brush dipped in acetone.
Looking for a budget-friendly option that doesn’t compromise on quality? The Sally Hansen Insta-Dri line is beloved for its quick-drying formula and excellent coverage. The shade ‘Let’s Snow’ is a perfect, shimmering icy blue that often covers in a single coat, making your at-home manicure faster than ever.
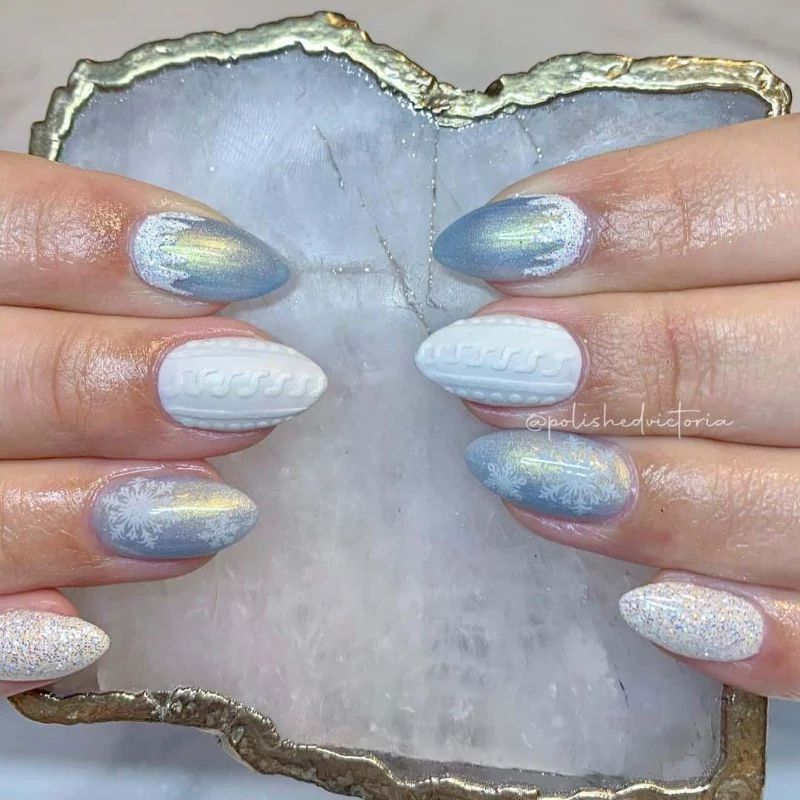
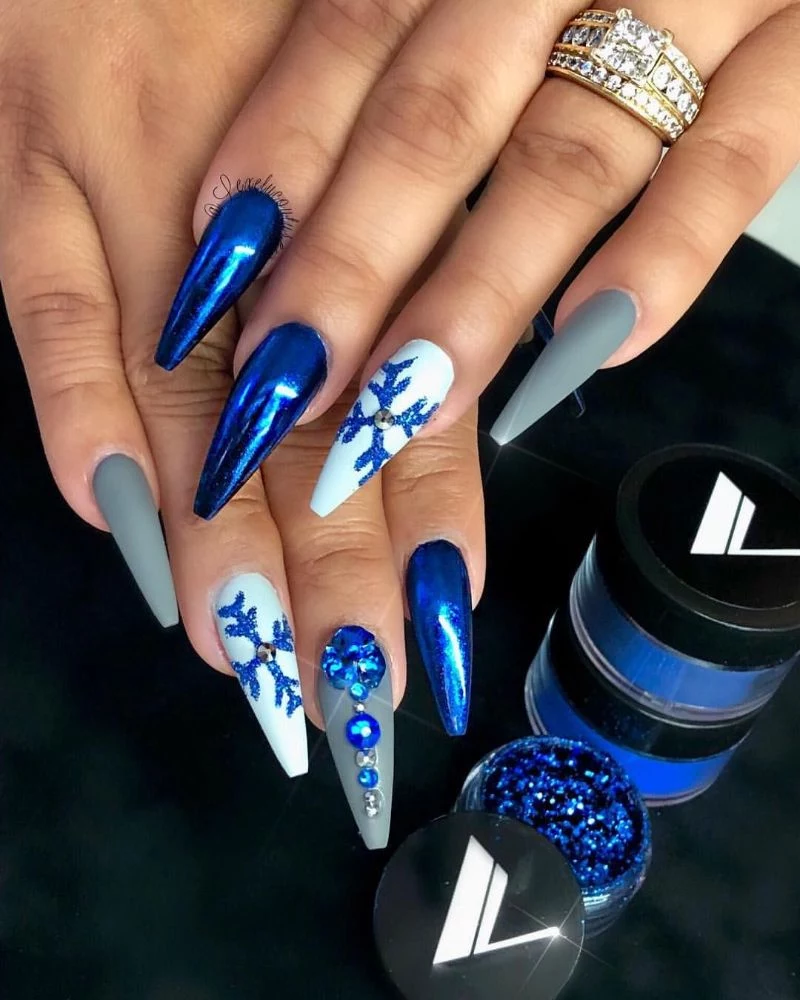
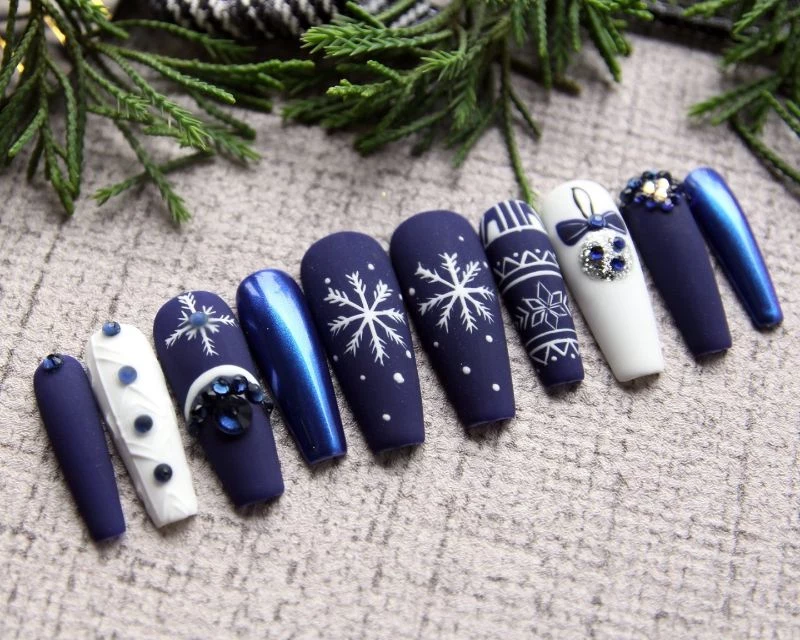
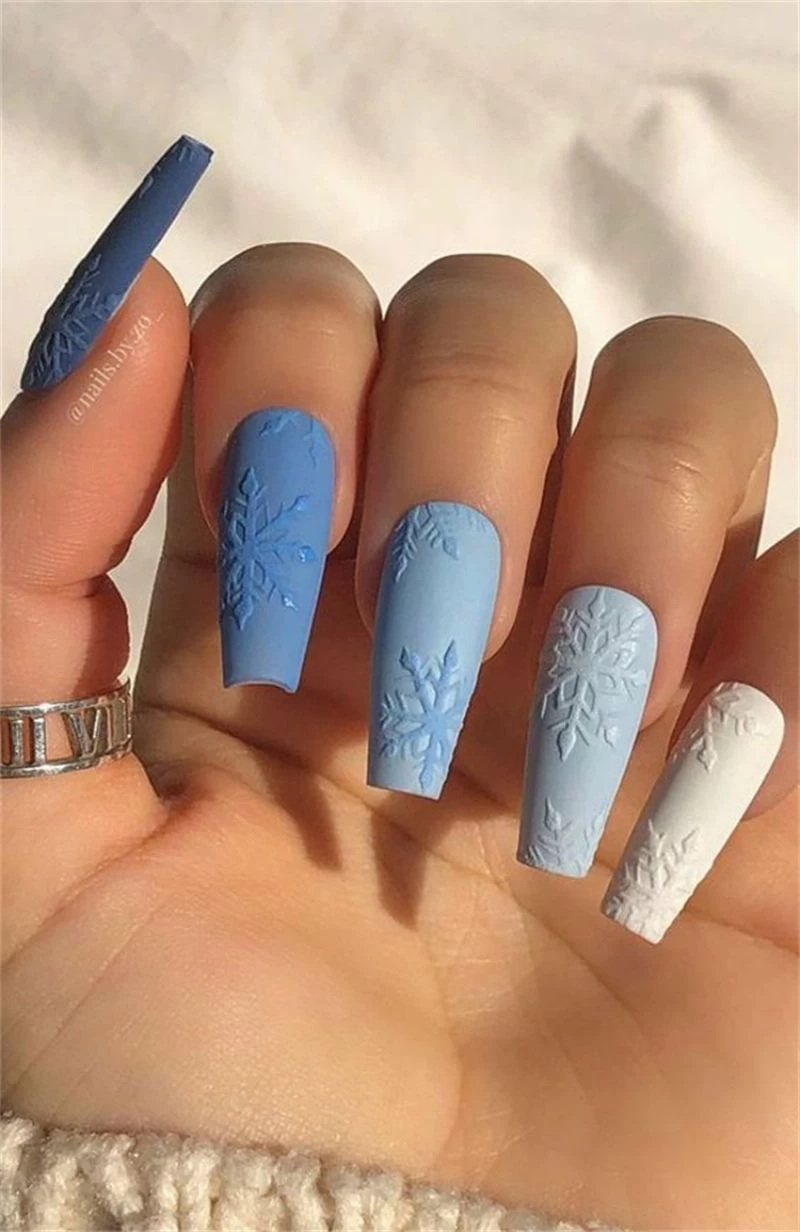
The ‘Velvet Nail’ trend is the ultimate way to create an icy, luxe look.
This effect is created with magnetic polish. Apply a coat of a silver or blue magnetic polish (like those from Mooncat or Starrily) and, while it’s wet, hold the special magnet over it for 10-15 seconds. The magnetic particles will shift into a pattern that creates a deep, shimmering effect just like crushed velvet.
To make your nail art tools last, proper cleaning is non-negotiable. Immediately after using a brush or dotting tool, dip it into a small amount of pure acetone in a dappen dish and wipe it clean on a lint-free wipe. This dissolves the polish completely, preventing it from hardening and destroying the delicate bristles of your brushes.
John combines 12 years of experience in event planning, interior styling, and lifestyle curation. With a degree in Visual Arts from California Institute of the Arts and certifications in event design, he has styled luxury weddings, corporate events, and celebrity celebrations. John believes in creating memorable experiences through innovative design and attention to detail.
To provide the best experiences, we use technologies like cookies to store and/or access device information. Consenting to these technologies will allow us to process data such as browsing behavior or unique IDs on this site. Not consenting or withdrawing consent, may adversely affect certain features and functions.
Functional
Always active
The technical storage or access is strictly necessary for the legitimate purpose of enabling the use of a specific service explicitly requested by the subscriber or user, or for the sole purpose of carrying out the transmission of a communication over an electronic communications network.
Preferences
The technical storage or access is necessary for the legitimate purpose of storing preferences that are not requested by the subscriber or user.
Statistics
The technical storage or access that is used exclusively for statistical purposes.The technical storage or access that is used exclusively for anonymous statistical purposes. Without a subpoena, voluntary compliance on the part of your Internet Service Provider, or additional records from a third party, information stored or retrieved for this purpose alone cannot usually be used to identify you.
Marketing
The technical storage or access is required to create user profiles to send advertising, or to track the user on a website or across several websites for similar marketing purposes.