Your Ultimate Guide to Flawless Almond Nails (And How to Actually Maintain Them)
After more than a decade working in the salon, I can tell you that trends in nail shapes are constantly shifting. We’ve seen everything from sharp stilettos to practical, short squares. But one shape has consistently remained a top request for anyone wanting that perfect blend of elegance and modern chic: the almond nail.
In this article
And for good reason! When shaped correctly, an almond nail can make your fingers look longer and more slender. It’s a truly classic look. But here’s the honest truth—getting it right is a craft. The tapered sides that make it so beautiful also create potential weak spots if you don’t know what you’re doing. This isn’t about just copying a picture you saw online; it’s about understanding the nail itself.
So, let’s get into the nitty-gritty. I’m going to walk you through the same professional techniques I use every day to create strong, gorgeous almond nails that last. We’ll cover everything from the right tools to the shaping process and, most importantly, how to maintain them at home.
First Things First: Understanding Your Nail’s Structure
Before you even think about grabbing a file, you have to respect the material you’re working with. A nail isn’t just a flat piece of keratin; it’s a tiny, complex piece of engineering. The key to a lasting shape is understanding its strengths and weaknesses.
The Secret to a Strong Nail: The Apex
When you look at a professionally done nail, especially an enhancement like gel or acrylic, you’ll notice it isn’t flat. There’s a subtle curve to it, with the highest point usually located toward the back of the nail. This is called the apex, and it’s absolutely critical for strength. Think of it like the arch in a bridge—it takes on daily pressure and distributes it, preventing the tapered tip from snapping.
On natural nails, we don’t build an artificial apex, so the nail’s own natural thickness and curve have to do all the work. That’s why aggressive filing is a huge no-no. If you thin out the nail too much, you create a flat, weak surface that’s just asking to break.
Is the Almond Shape a Good Fit for You?
Part of my job is giving honest advice, because not every nail shape works for every hand. While almond is stunning, it might not be the best choice for you. Here’s the rundown I give my clients.
You’re likely a great candidate for almond nails if:
- You have longer nail beds. The shape just flows beautifully and creates a very seamless, elegant line.
- Your natural nails are pretty strong. If your nails grow well without constantly peeling or breaking, they can usually handle a short-to-medium almond shape just fine.
- You want your fingers to look longer. This is the #1 reason people ask for it, and it really works! The tapered point draws the eye outward, creating a flattering illusion of length.
But you might want to be cautious if:
- You have wide or ‘fan-shaped’ nails. These are nails that grow out wider toward the tip. To get the almond shape, you have to file the sides pretty aggressively, which can weaken the nail right at its stress points. A soft oval or a ‘squoval’ shape is often a much more durable and flattering option in this case.
- Your nails are very weak or brittle. If your nails peel in layers or snap at the slightest bump, the tapered tip of an almond nail will be the first casualty. I usually recommend clients with weaker nails start with a shorter, rounder shape and focus on nail health with a good cuticle oil and maybe a strengthening treatment. A structured gel manicure can also provide the support needed for an almond shape on weaker nails.
- You have a very active, hands-on lifestyle. I always ask about jobs and hobbies. If you’re a bartender, a gardener, or you type like a woodpecker all day, a long almond nail might be a constant source of frustration. A shorter, more conservative ‘baby almond’ is a much better, and more practical, choice.
The Right Tools for the Craft
Shaping is a skill, and like any craft, having the right tools makes all the difference. Honestly, one of the biggest mistakes people make is using a cheap, flimsy file that shreds the nail instead of smoothing it.
Your Beginner’s Shopping List
You don’t need a lot, but what you buy should be good quality. Here’s what I recommend, which you can find at places like Sally Beauty or online.
- A Good Quality Hand File: Look for a 180/240 grit file. The 180-grit side is for taking down length and rough shaping, while the finer 240-grit side is for refining the shape and smoothing the edge. Expect to pay around $3 to $5 for a professional-grade one.
- A Glass or Crystal File: This is my top recommendation for natural nails, and totally worth the $10 to $15 investment. As they file, they seal the nail’s edge, which genuinely helps prevent the peeling and snagging you get from cheaper files. They also last forever and are super easy to clean.
- Nail Clippers: Use these only for removing a lot of length before you start shaping. Never try to clip your nails directly into an almond shape—you’ll risk cracking the nail plate.
- A Dust Brush: You need to see what you’re doing! Any clean, soft brush will do. An old, fluffy makeup brush works perfectly. (Cost: Free!)
A quick heads up on E-Files: Those electric nail drills are powerful and require professional training. I use one all day in the salon, but I strongly advise against using one at home on your natural nails. It’s incredibly easy to file into your nail bed, create painful damage, and even cause permanent problems.

Step-by-Step: How to Shape the Perfect Almond
Ready? Make sure your nails are bone dry before you start. Filing wet nails can lead to tearing. For your first time, set aside a good 30 minutes so you don’t feel rushed. Once you get the hang of it, a quick touch-up only takes about 10 minutes.
- Find Your Center Point: This is the most important step for symmetry. Look at your nail head-on and imagine a tiny dot right in the middle of the free edge. This is your target. For beginners, it’s not cheating to use a pencil to make a little mark!
- File from the Side to the Center: Place your file at the corner of your nail, where it grows past your fingertip. In one smooth, deliberate motion, file from that corner up to your center dot. And please, don’t saw back and forth! Filing in one direction is much gentler on the nail.
- Repeat on the Other Side: Now, mirror that exact motion on the other side of the nail. Start at the opposite corner and file up to the center point, meeting the line you just created. You should now have a distinct, if a bit sharp, point.
- Check for Symmetry: Hold your hand out and look at the nail. Are the sides even? Is the point centered? I like to flip my hand over and look at it from the palm-side view—it’s a great trick that makes any lopsidedness immediately obvious. Make tiny adjustments until it looks balanced.
- Soften the Tip: A true almond is not a weapon-like stiletto. It’s soft. Gently pass the file over the very tip once or twice to round it off slightly. The goal is the shape of the nut it’s named after.
- Smooth the Edges: Grab your fine-grit file (the 240-grit side or your glass file) and gently buff around the entire free edge. This gets rid of any microscopic burrs and leaves a perfectly smooth finish that won’t snag.

What If I Mess Up? (Troubleshooting 101)
It happens! Don’t panic. Here are the most common mistakes and how to fix them:
- It’s Lopsided: If one side is more slanted than the other, go back to the less slanted side and file it down slightly to match. Work in small, careful strokes. Don’t try to fix it by filing the other side more—you’ll just end up with a super narrow, weak nail.
- The Point Isn’t Centered: This usually means you filed more aggressively on one side. To fix it, you’ll need to slightly shorten the nail and redefine the point, making sure your strokes are even on both sides this time.
- It’s Too Pointy: That’s an easy one! Just gently file the tip down until you get that soft almond curve you’re looking for.
The Maintenance Game: Keeping Your Almonds Flawless
Okay, so you’ve shaped the perfect almond nails. Now what? Getting the shape is only half the battle; maintaining it is how you keep them looking great.
Regular Touch-Ups Are Your Best Friend
To keep the shape crisp, plan for a quick 5-minute touch-up once a week. Use your glass file to gently go over the edges, following the shape you already created. This prevents small snags from turning into big breaks and keeps the lines clean as your nails grow.
What to Do About a Broken Nail
It’s the worst, right? You have a perfect set, and one nail decides to snap. You have two choices. The first is to file the broken nail down into a neat, short almond or oval shape and just live with one shorty until it grows out. The second option, which is what I usually recommend for a uniform look, is to shorten all of them slightly to match. Don’t try to do a complicated patch at home; it often does more harm than good.
By the way, if you find your almond tips are breaking constantly, it’s a sign that the shape might be too long or too pointed for your nail strength. Consider trying a shorter version for a while.
A Note on Gels and Acrylics
For those of you with enhancements, the process is all about refining the product that’s already there. After the gel or acrylic is applied, the pros spend a good amount of time on what’s called ‘finish filing.’ We use a coarser file (like a 100 or 150-grit) to define the almond shape from the bulk of the product, then meticulously refine the apex and curves to ensure they’re not only beautiful but also structurally sound. Then, just like with natural nails, we smooth everything out with a finer grit file for a perfect finish. Maintaining these at home between appointments just means gently filing the free edge to keep the shape as it grows out.
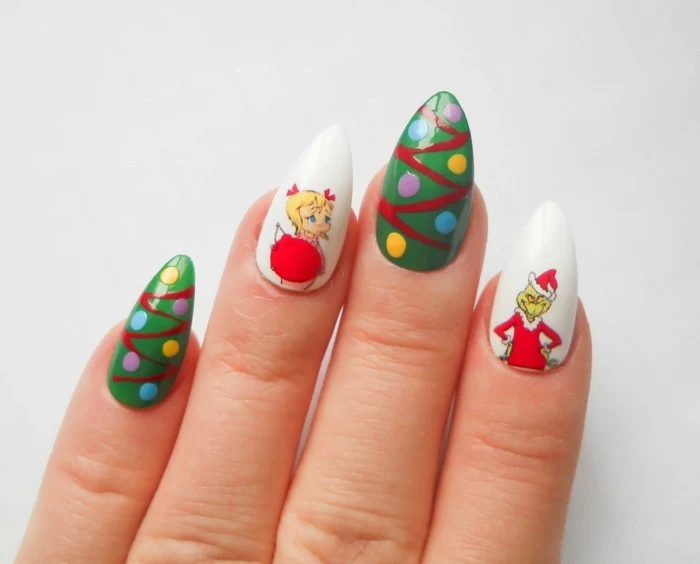
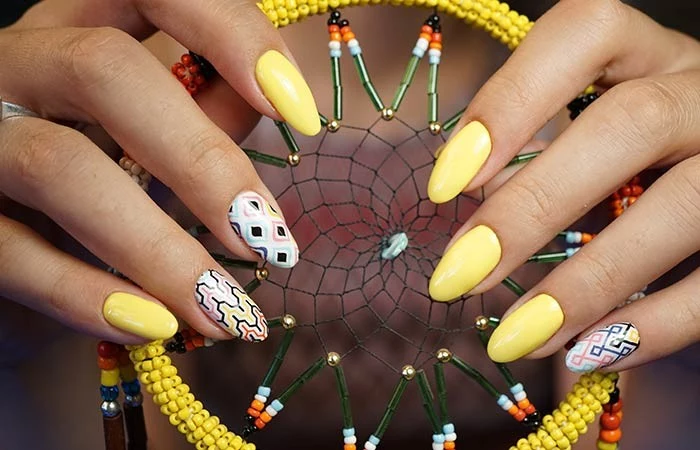
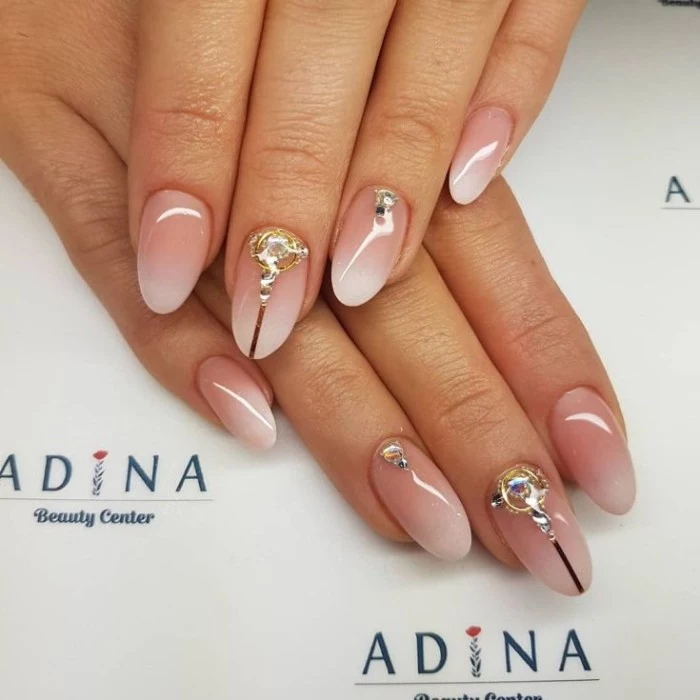
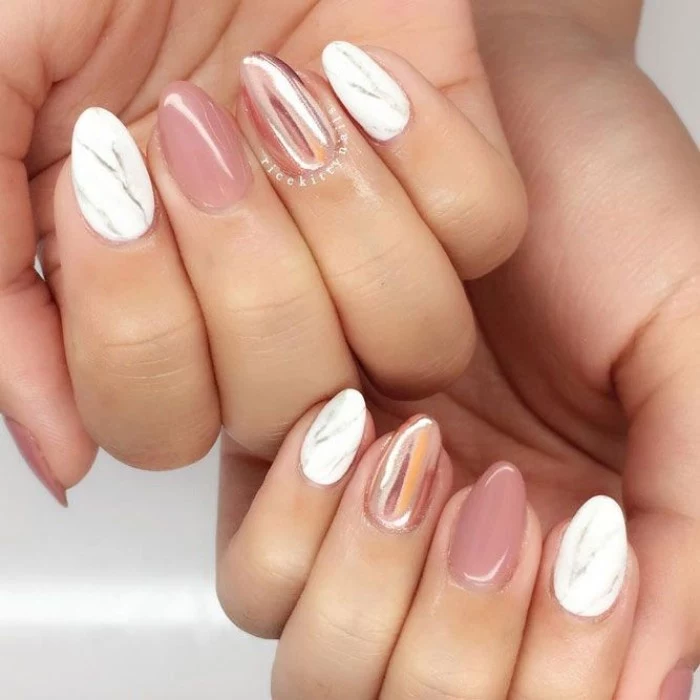
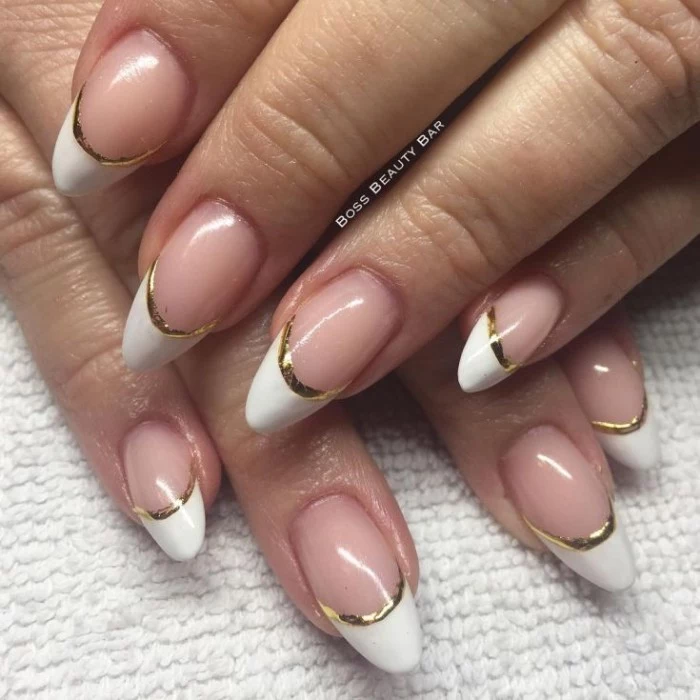
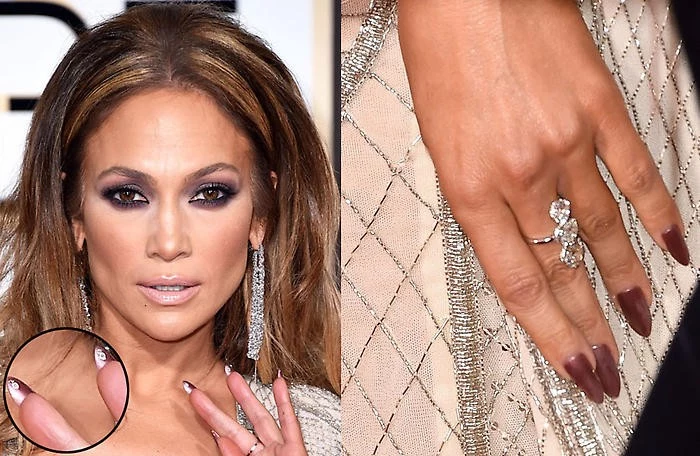
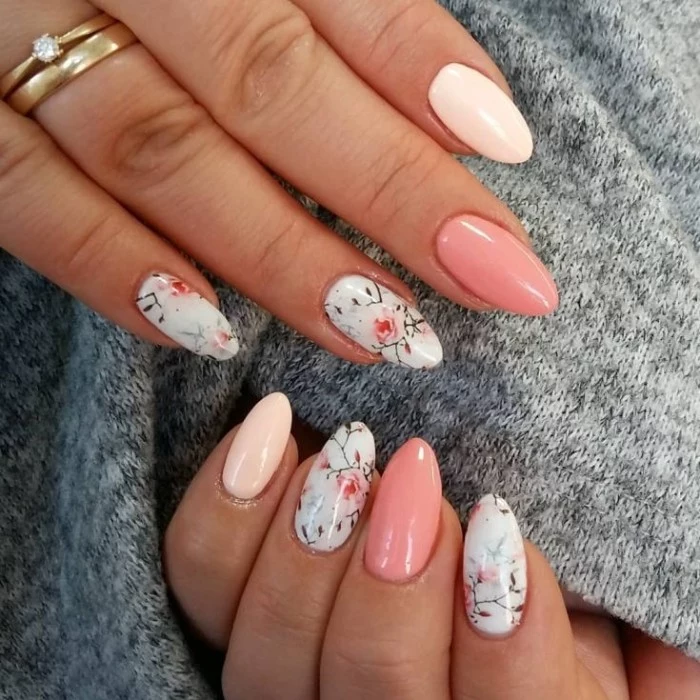
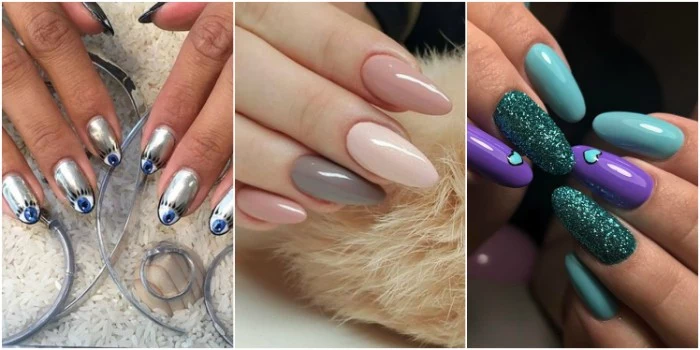
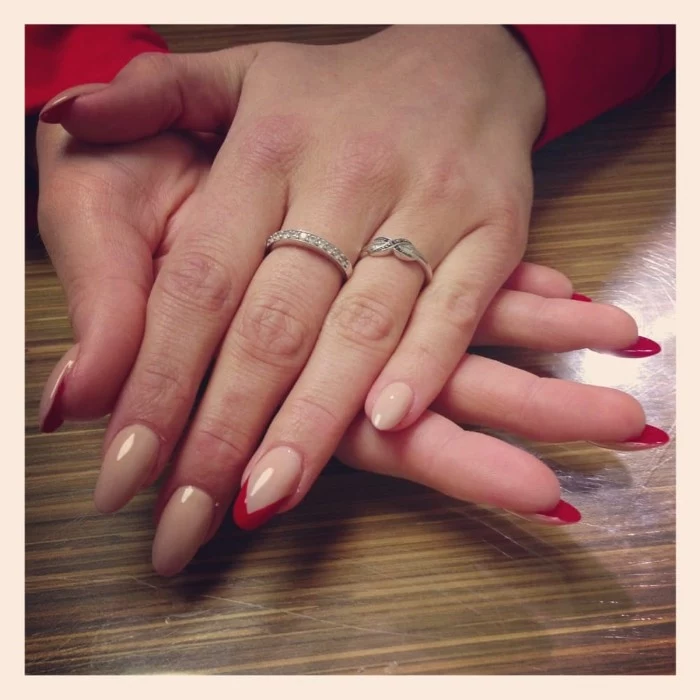
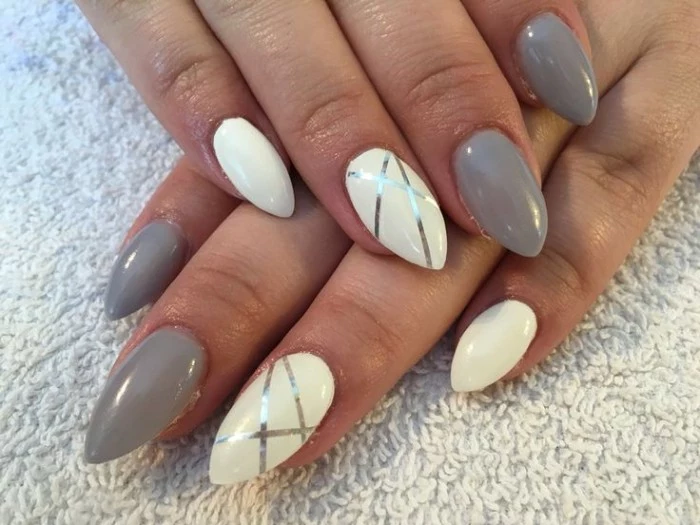
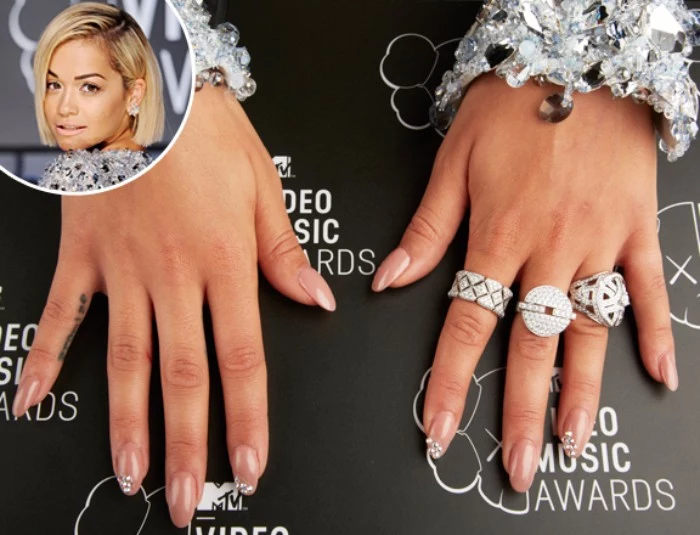
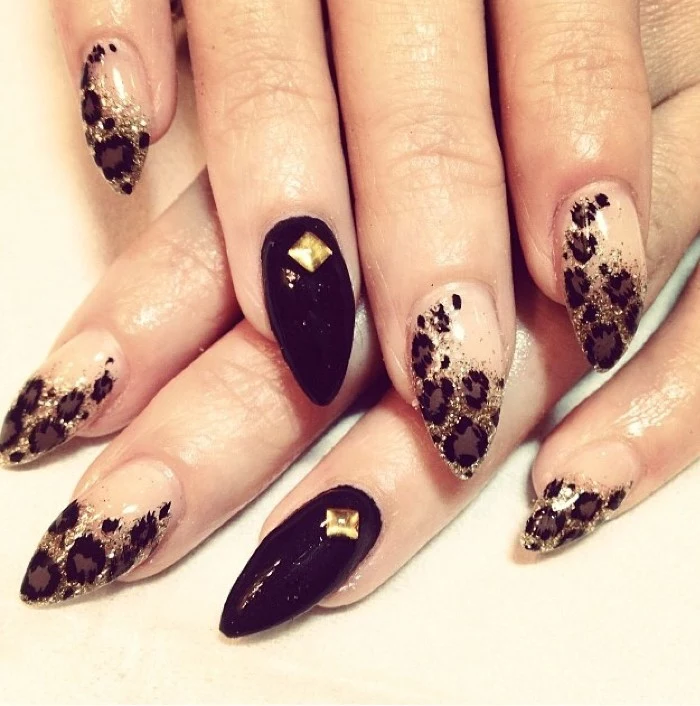
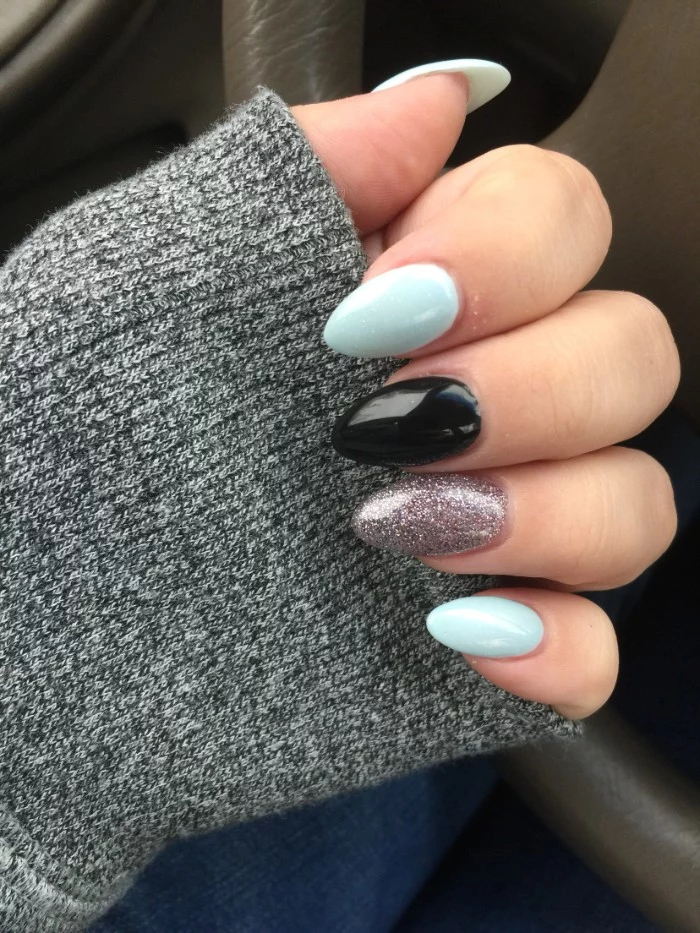
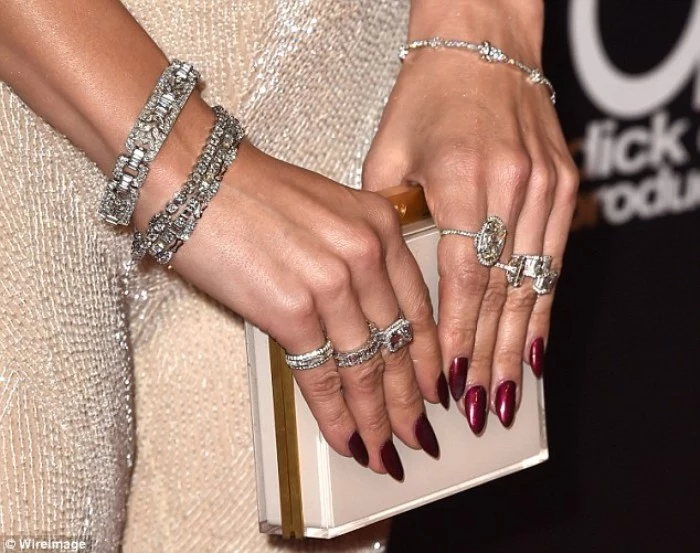
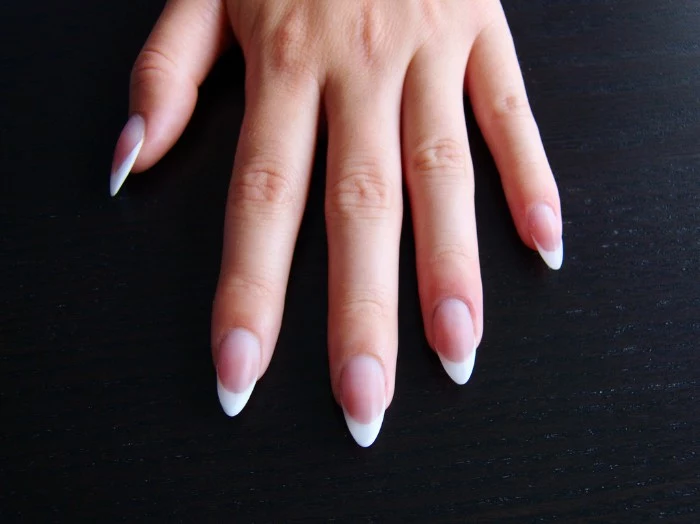
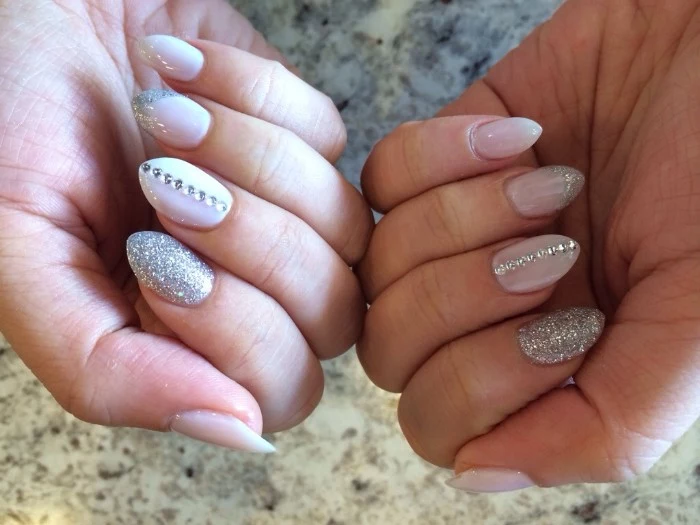
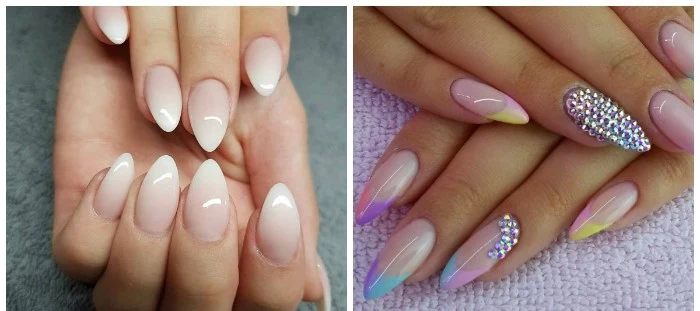
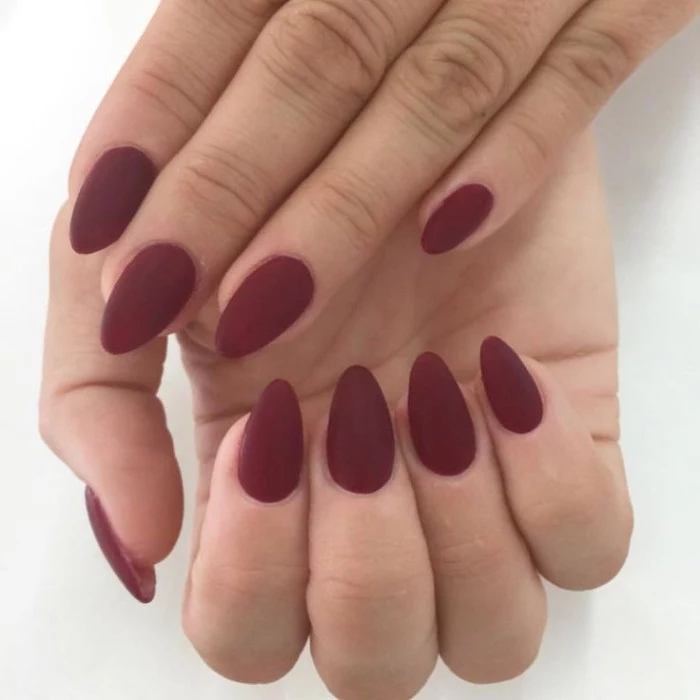
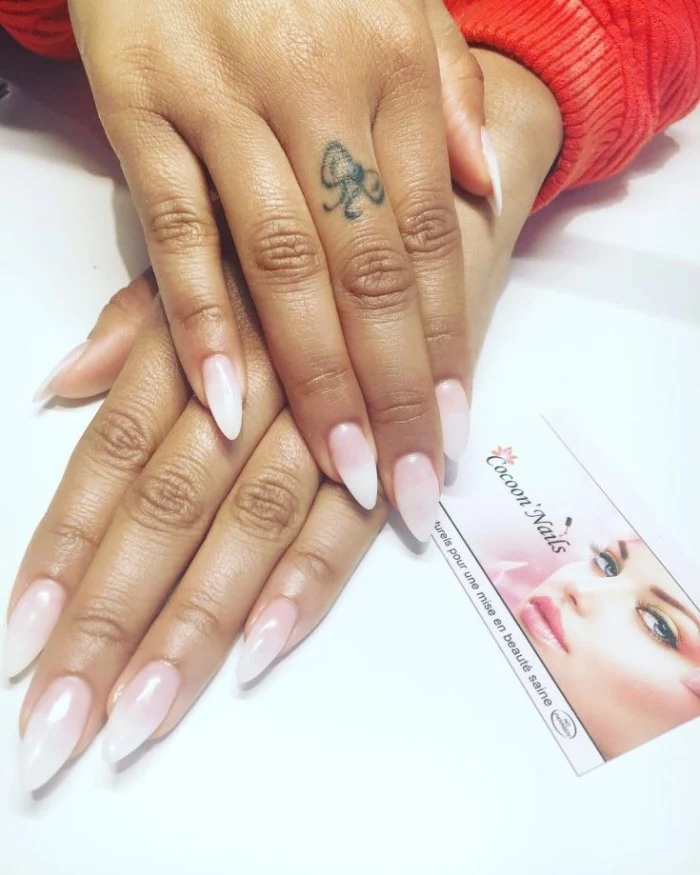
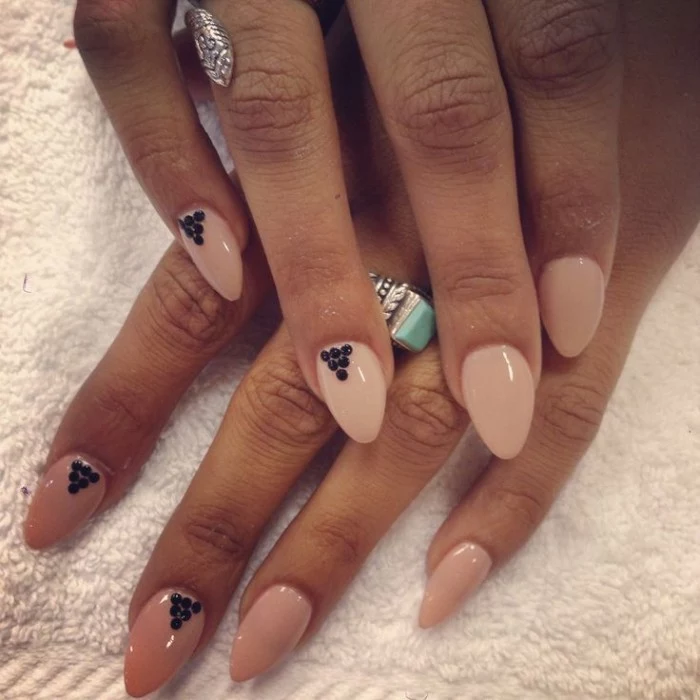
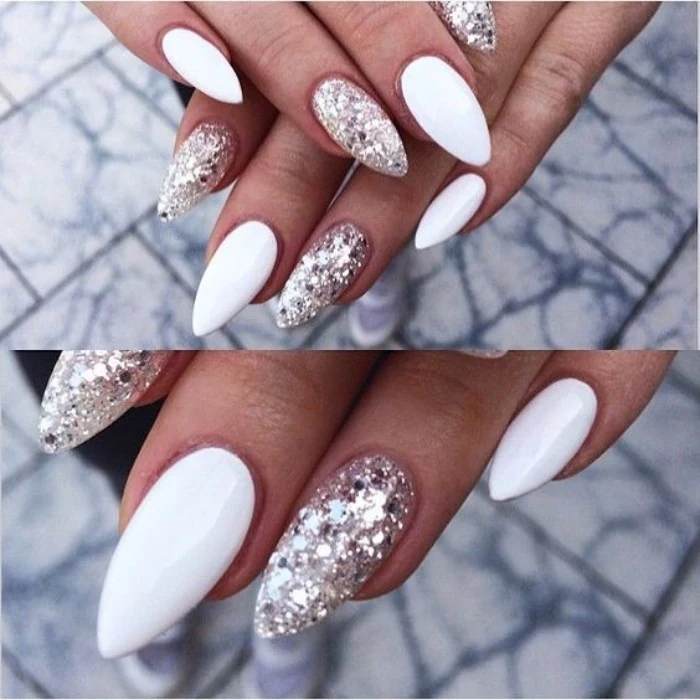
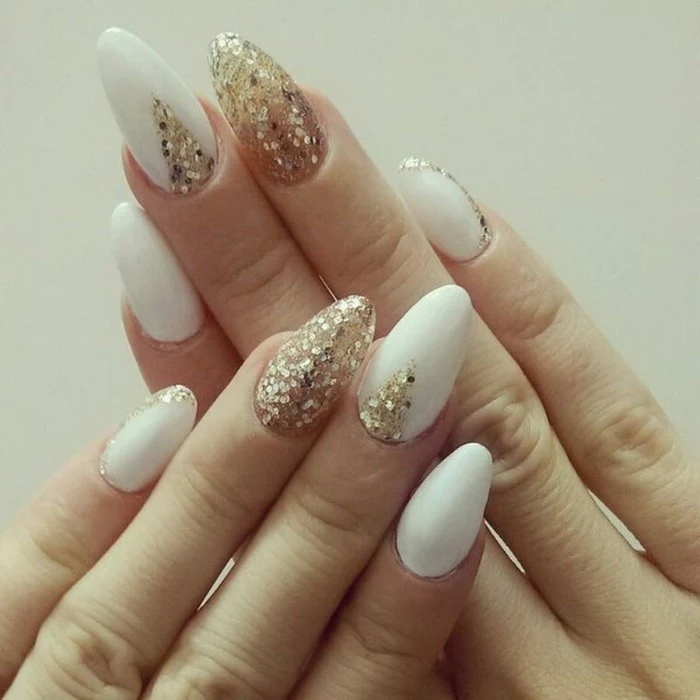
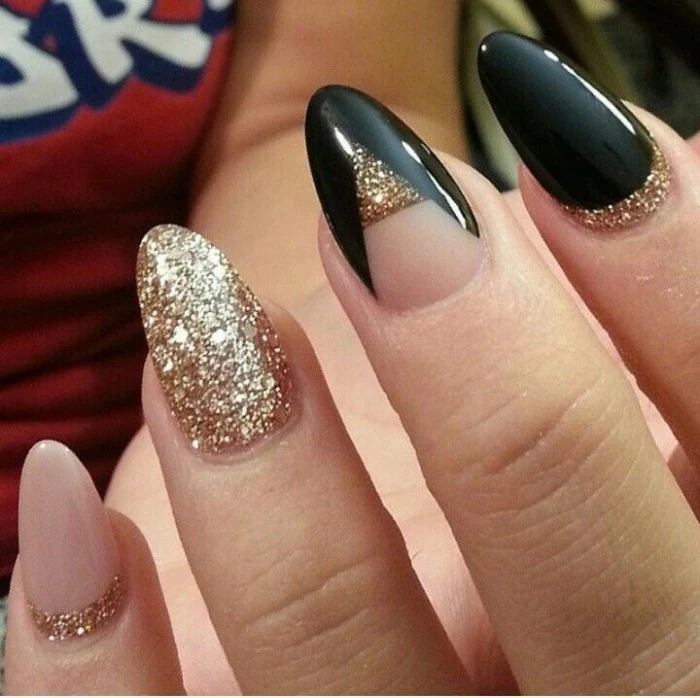
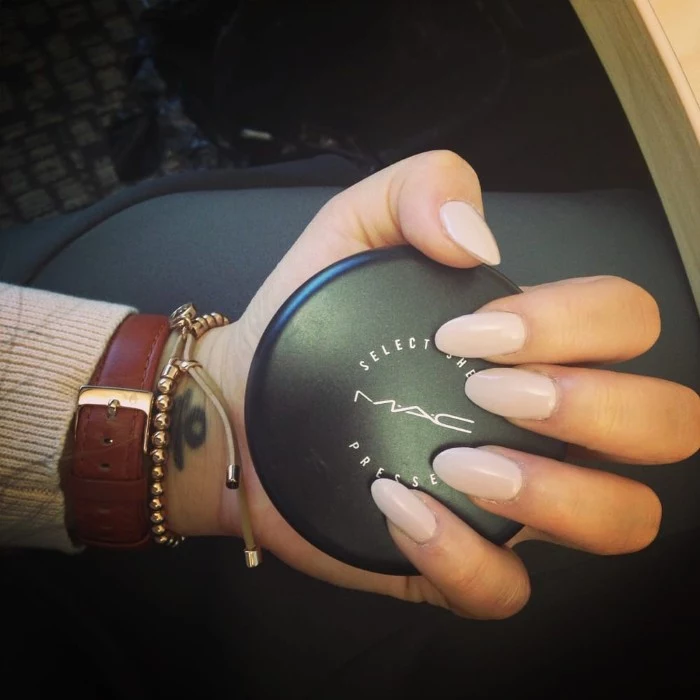
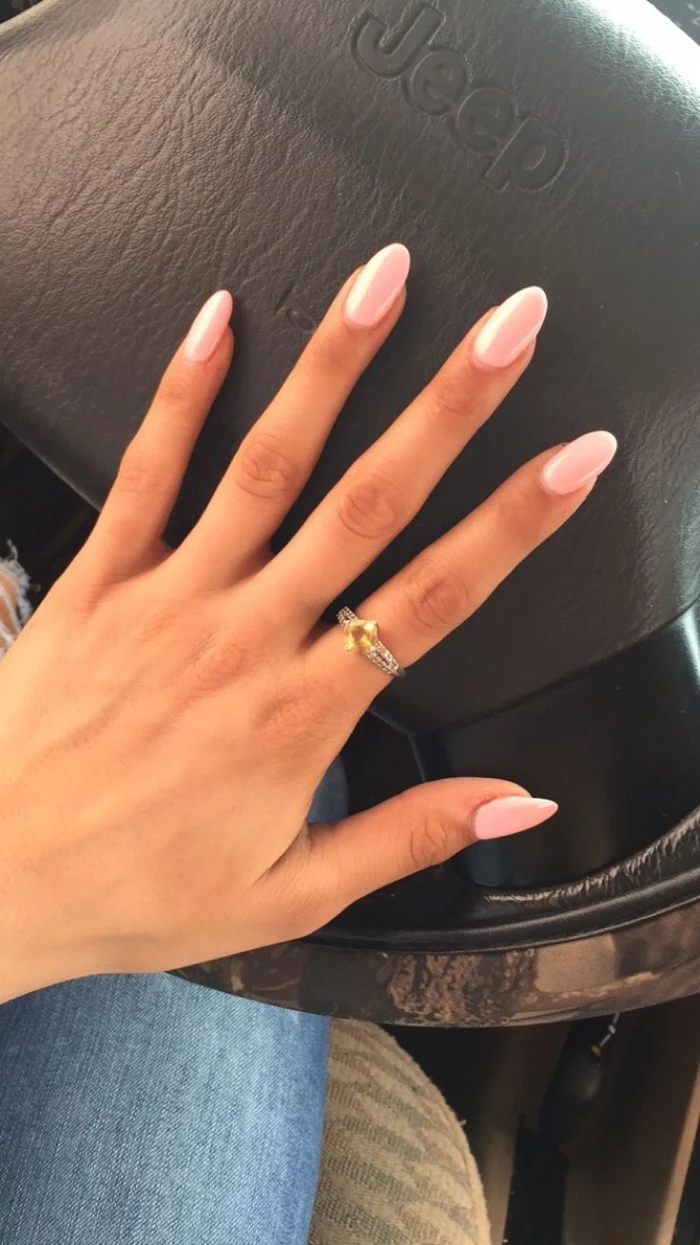
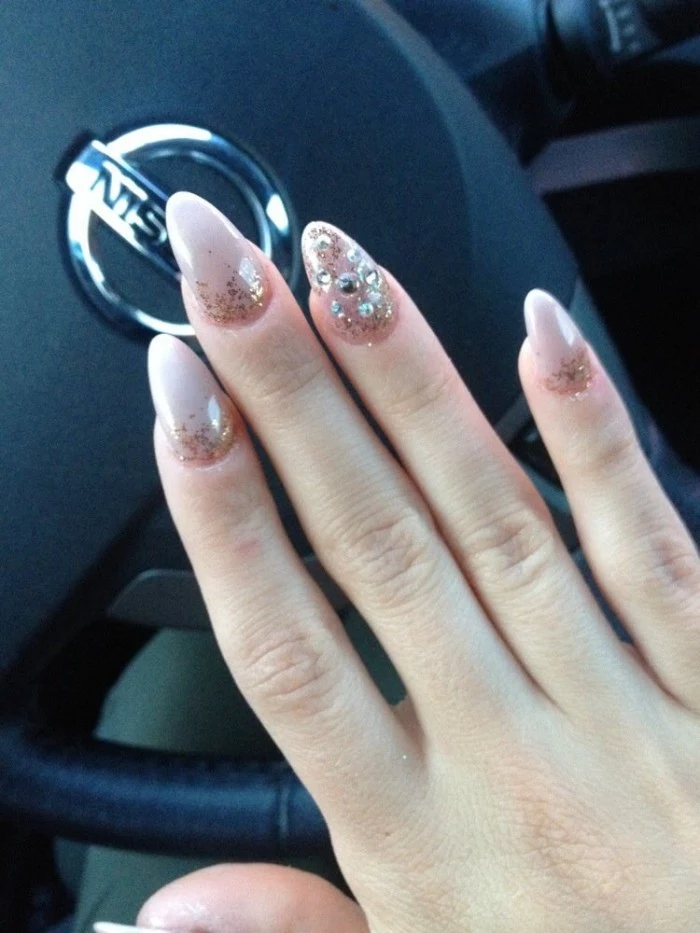
Inspiration Gallery

- A 180-grit file for initial shaping and reducing length.
- A 240-grit file for refining the shape and smoothing the free edge.
- A glass or crystal file for delicate final touches and to seal the nail edge, preventing snags.
The secret to a perfect curve? Having the right tools for each step of the process.

The almond shape isn’t new; its roots trace back to the glamour of the 1950s, where Hollywood icons like Marilyn Monroe sported elegantly tapered nails, a softer predecessor to the modern stiletto.

The Golden Rule of Filing: Always file in one direction, from the side of the nail towards the center. A back-and-forth sawing motion creates micro-tears in the keratin layers, leading to peeling, splitting, and weak tips—the arch-nemesis of a flawless almond point.

Is it better to use a strengthening polish or a cuticle oil?
Think of it this way: a strengthening polish like OPI’s Nail Envy acts as an external shield, adding a protective layer to prevent breakage. A high-quality cuticle oil, such as CND SolarOil, works from the inside out. It nourishes the matrix (where the nail grows) and keeps the existing nail flexible, not brittle. For ultimate strength, use both.

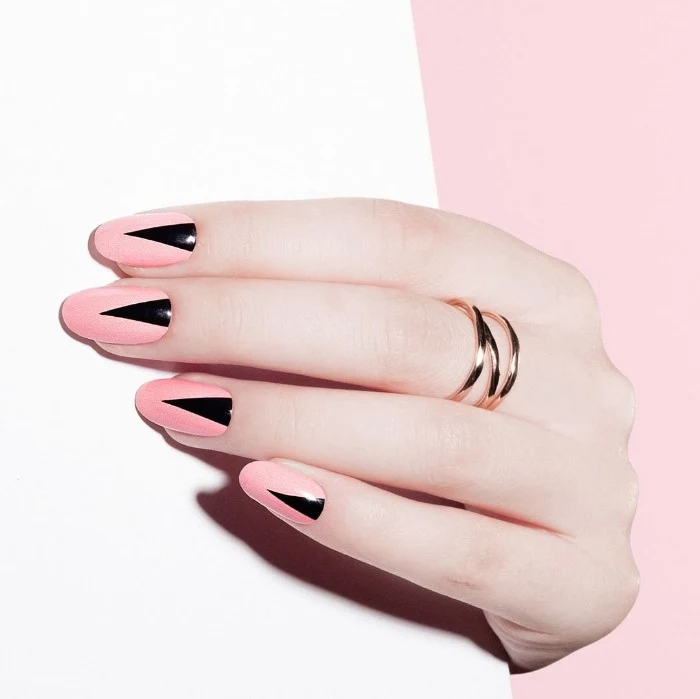
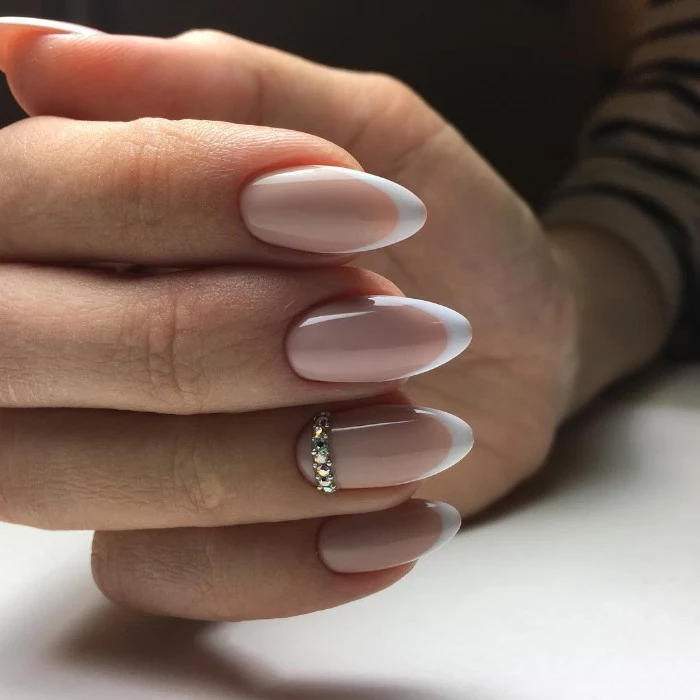
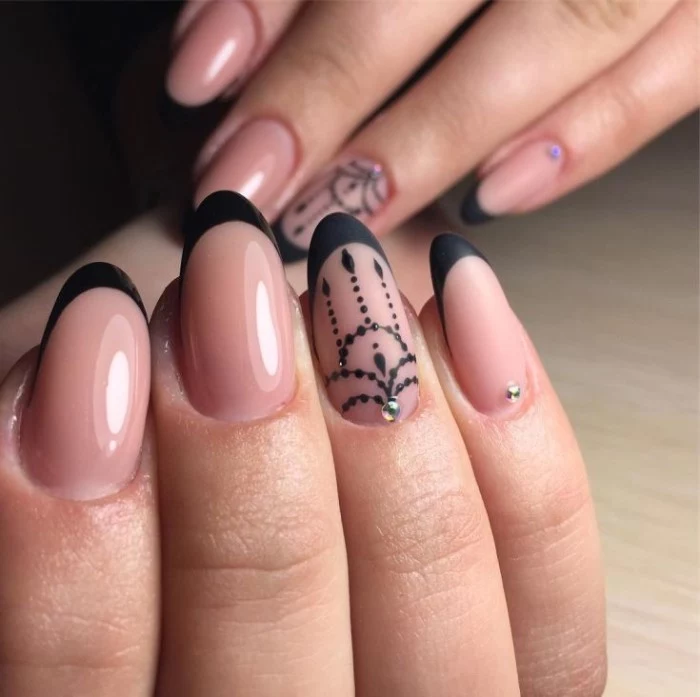
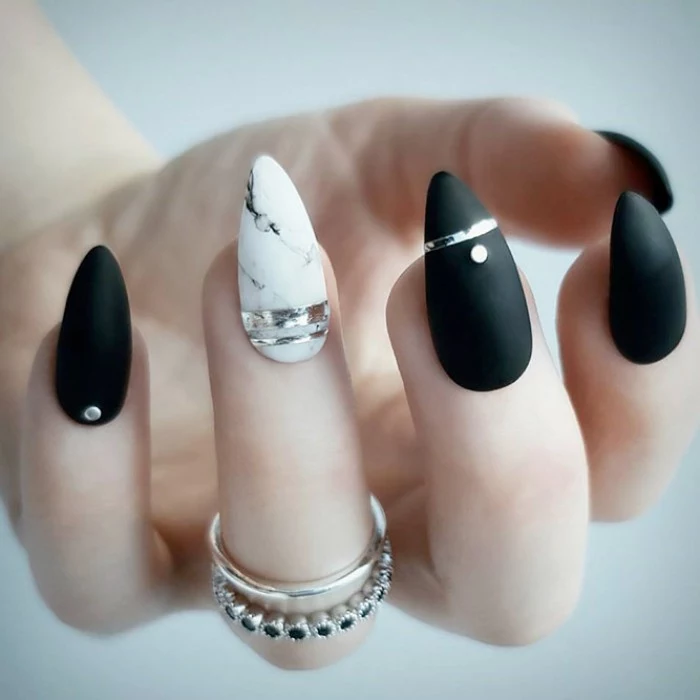
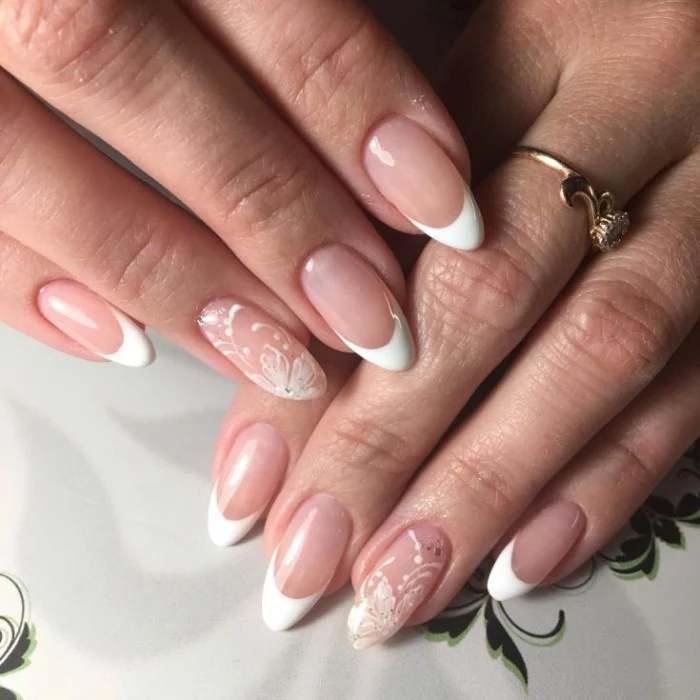
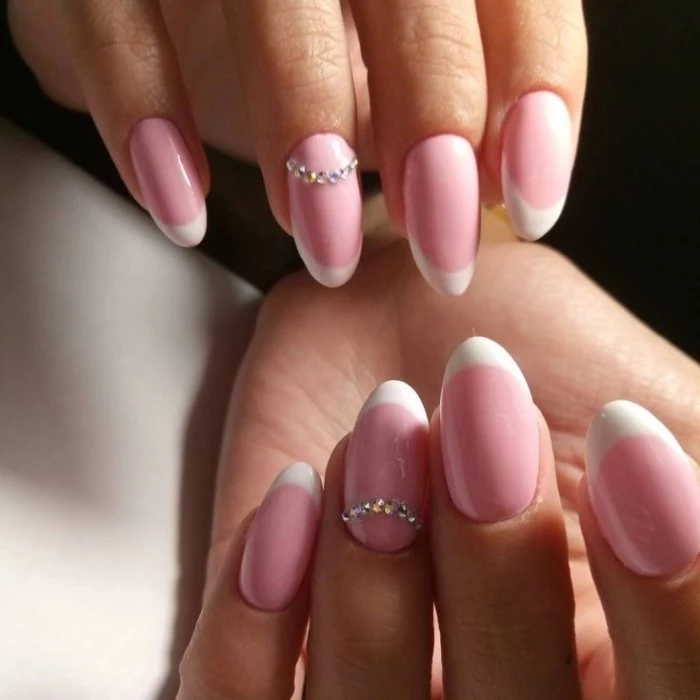
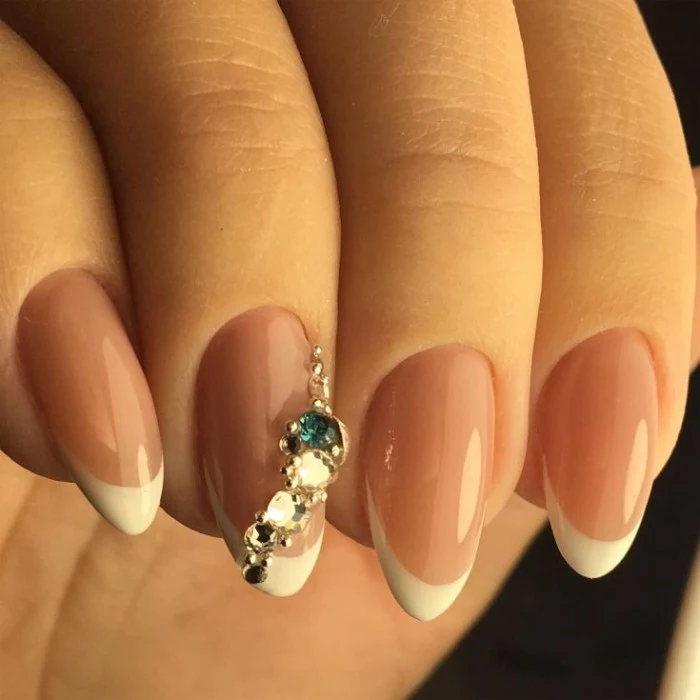
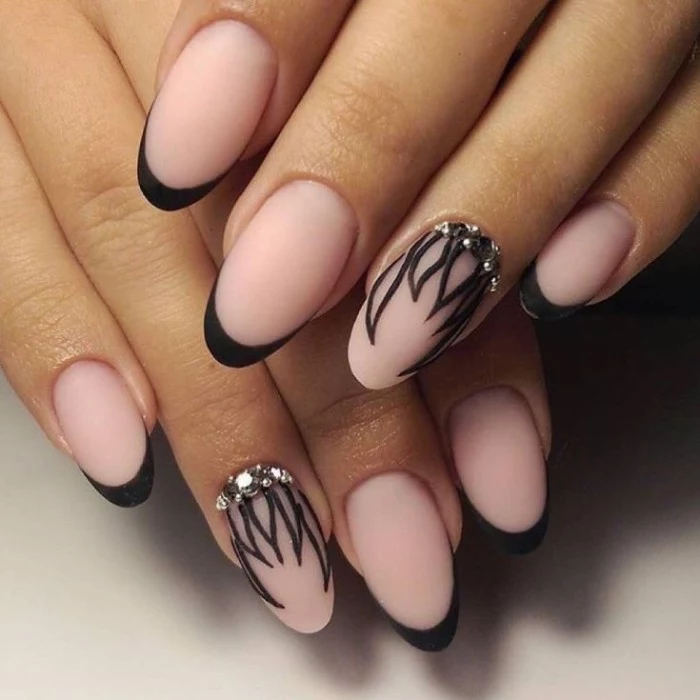
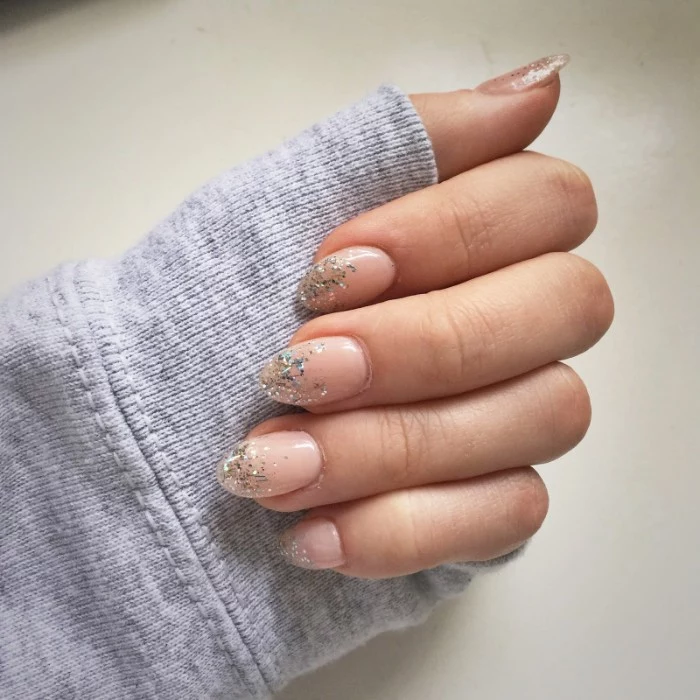
The tapered tip of an almond nail is perfect for a modern twist on a classic: the micro-French. Instead of a thick white band, a razor-thin line of color—be it classic white, a bold neon, or a chic black—traces the edge. It’s a subtle, sophisticated detail that enhances the elegant shape without overwhelming it.


Natural Almonds: Achieved by carefully shaping your own nails. Best for those with naturally strong nails. Requires regular maintenance and careful filing to avoid breakage at the tapered stress points.
Gel or Acrylic Almonds: Created by a technician who builds an artificial nail with a strong apex. Ideal for weaker nails or for achieving instant length. They offer superior durability but require professional fills every 2-3 weeks.

Did you know that nails grow faster in the summer? Increased Vitamin D from sun exposure can slightly accelerate growth, meaning you might need to reshape your almond tips more frequently during warmer months.
This means your filing and shaping routine might need a slight adjustment between seasons. A weekly touch-up in July might stretch to every 10 days in January to keep that perfect almond silhouette sharp.

To prevent the dreaded snap, especially when doing chores, make rubber gloves your best friend. Exposure to hot water and harsh cleaning chemicals can strip your nails of their natural oils, making them brittle and prone to breaking right at the elegant, tapered tip you worked so hard to perfect.
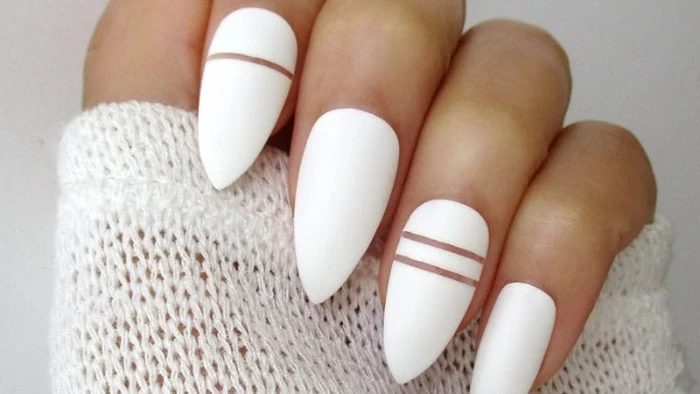
- It adds a subtle, velvety texture that feels incredibly modern.
- It diffuses light, making imperfections less noticeable.
- It provides a stunning contrast for a single glossy accent nail.
The appeal of a matte top coat? It instantly transforms any color into an understated statement.
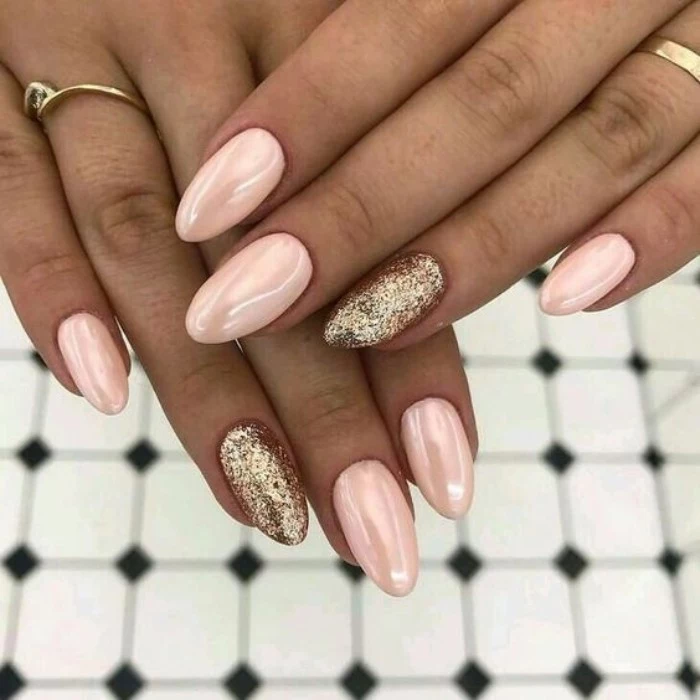
The ‘glazed donut’ look, made famous by Hailey Bieber, is practically made for the almond shape. This trend involves a sheer, milky nude base (like OPI’s Funny Bunny) topped with a fine white chrome powder. The result is a luminous, pearlescent finish that catches the light beautifully, highlighting the nail’s elegant curves.

Don’t neglect the underside: After filing the top, gently smooth the underside of the nail tip with a fine-grit buffer. This removes any tiny frays or snags that can catch on fabric and lead to a devastating tear. It’s a two-second step that makes a world of difference in longevity.
- OPI Nail Envy: A cult classic for a reason. Its wheat protein and calcium formula builds a strong foundation.
- Essie Hard to Resist: Uses nail bonding technology to fortify the surface, creating a noticeable difference in feel after just a few days.
- Sally Hansen Hard as Nails: A budget-friendly icon that provides a clear, chip-resistant shield for everyday protection.

If your nails are still in the short, square stage, the journey to almonds is a marathon, not a sprint. Start by rounding the corners into a ‘squoval’ or oval shape. Let them grow, filing them into a more defined oval with each manicure. Only once you have sufficient length should you begin tapering the sides to create that distinct almond point. Patience is key to avoiding weak, thin tips.

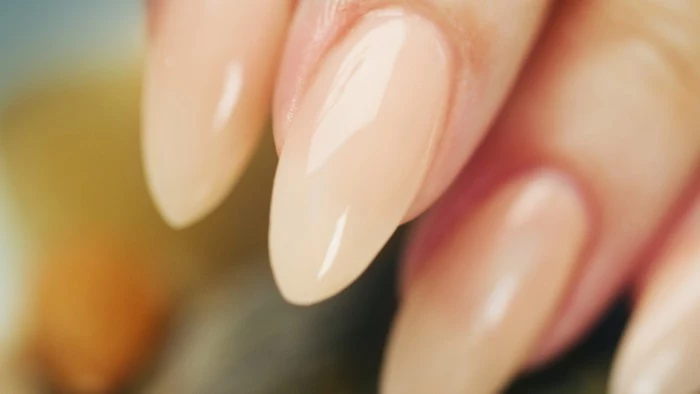
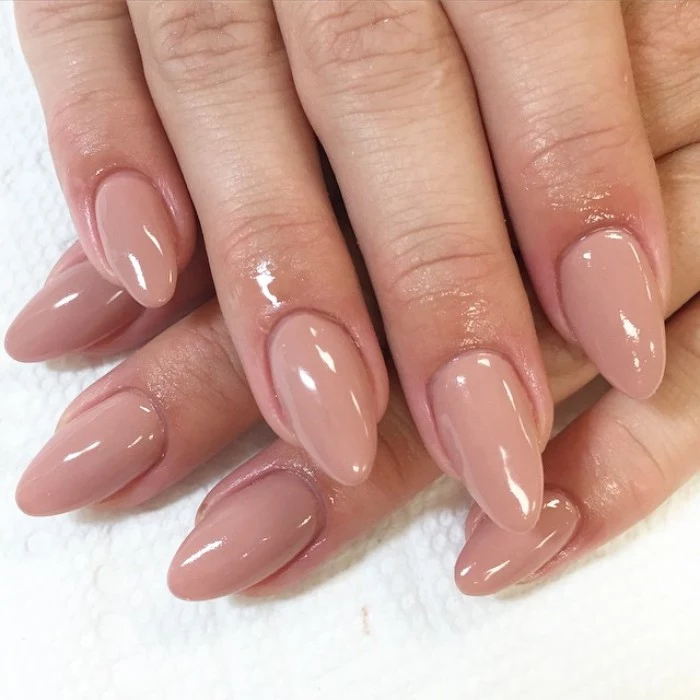
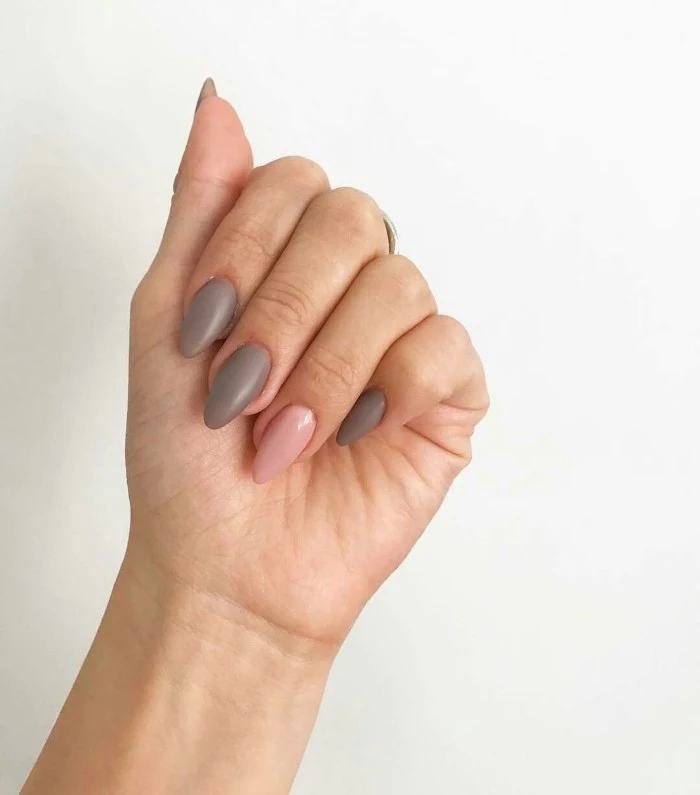
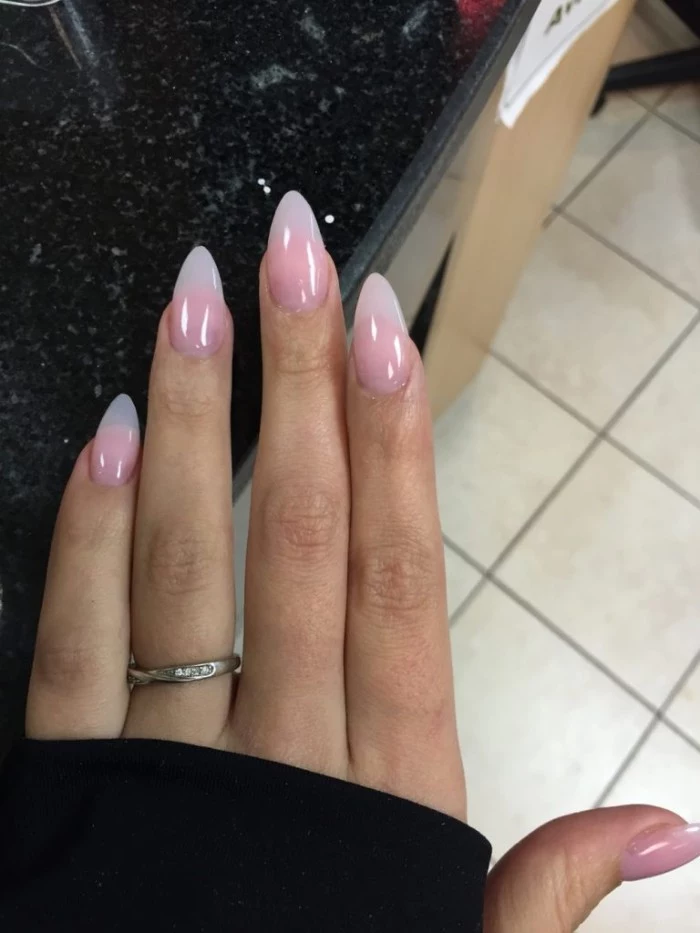
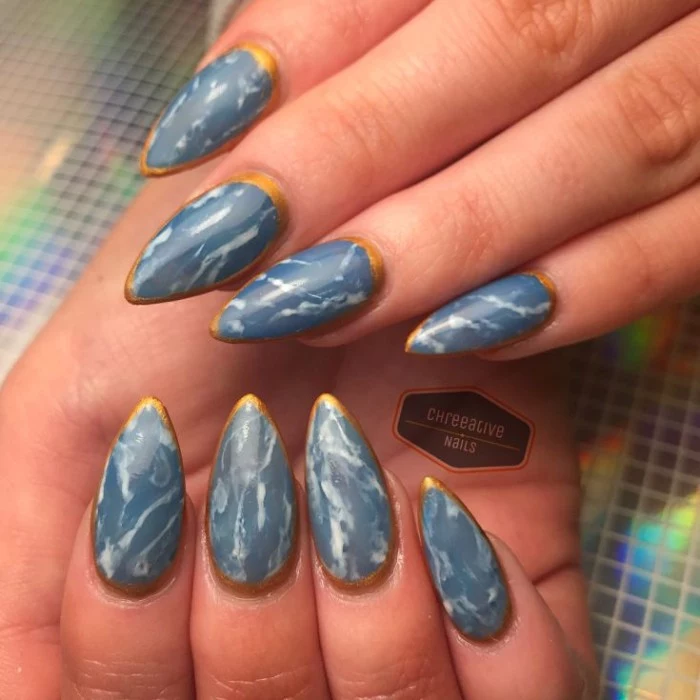
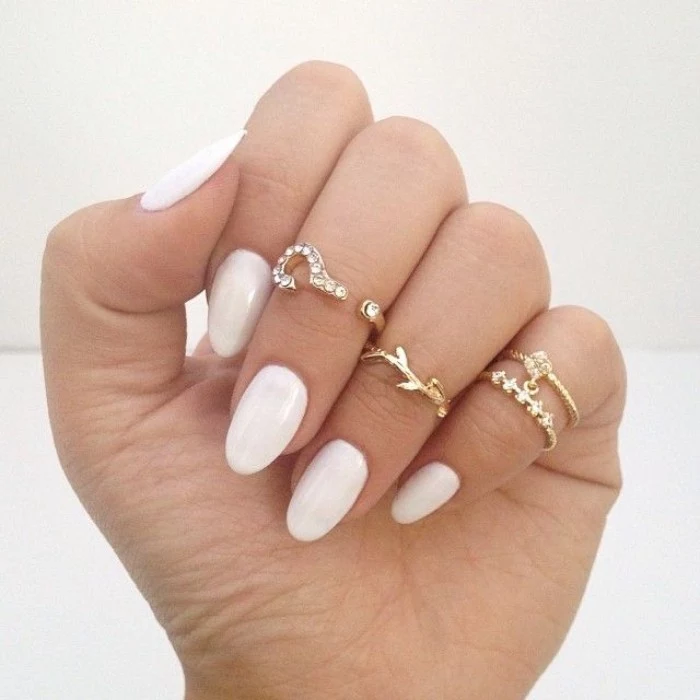
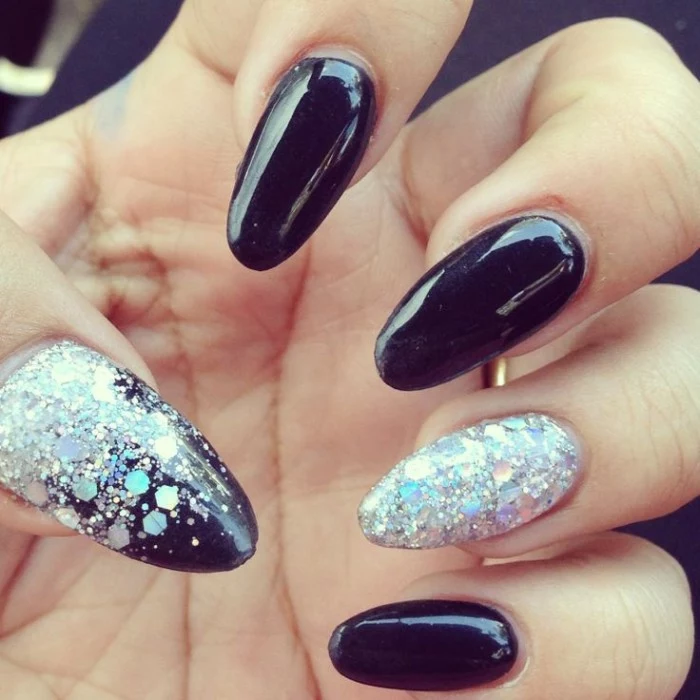
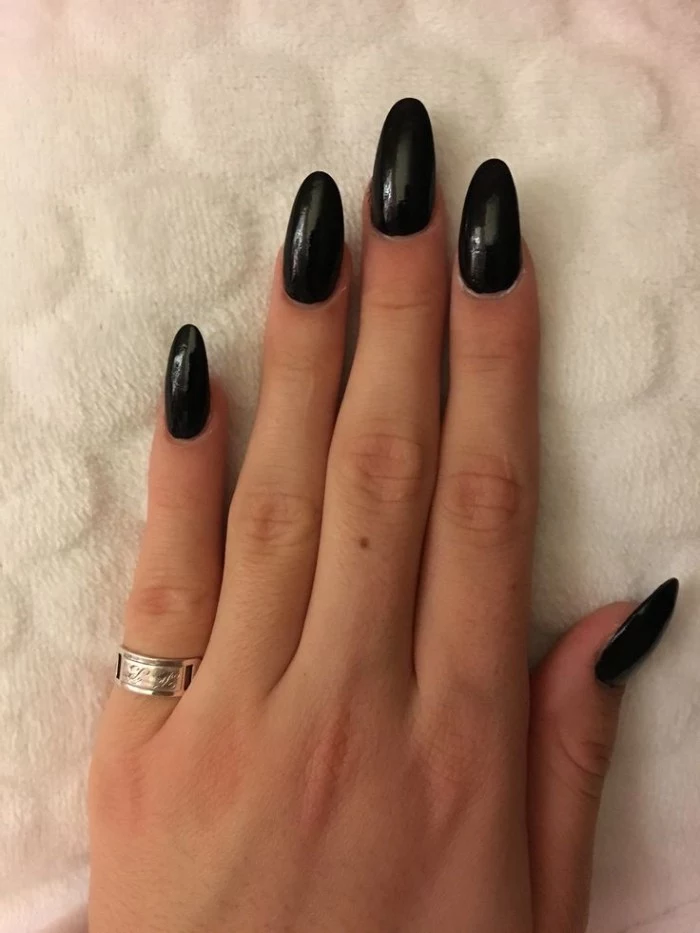
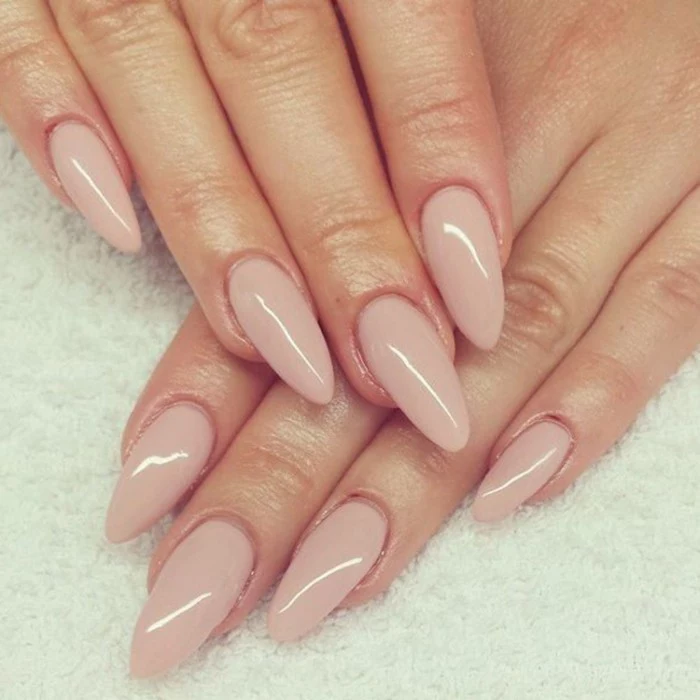
Almond: The tip is tapered and ends in a soft, rounded point, resembling the nut. It’s widely considered the most elegant and elongating for most finger types.
Oval: The sides are filed straight and then the tip is curved into a classic semi-circle. It’s a more conservative, traditional shape that offers great durability.
While similar, the almond’s distinct point offers a touch more drama and sophistication.


Not ready for the commitment of extensions? High-quality press-on nails are a game-changer. Brands like Static Nails or Kiss offer reusable almond-shaped nails in countless designs. They provide a perfect shape instantly, are non-damaging if applied and removed correctly, and are ideal for a special event.

- Your nails feel more flexible, not brittle.
- Hangnails become a thing of the past.
- Your polish has a healthier, hydrated canvas to adhere to, reducing chips.
The secret? A daily drop of cuticle oil massaged into the base of each nail.

The most common mistake is filing the sides too aggressively and too early. This removes the nail’s natural support structure, creating a weak point where the nail is most likely to bend and break. Build the shape slowly, removing only a tiny bit from the sides with each pass of the file, constantly checking the overall silhouette.

A study in the journal *Skin Appendage Disorders* confirmed that biotin (Vitamin B7) supplements can improve nail thickness and reduce brittleness in individuals with weak nails.
While a great manicure technique is crucial, long-term strength starts from within. Consider adding biotin-rich foods like eggs, almonds, and avocados to your diet to support the health of your nail’s keratin structure.

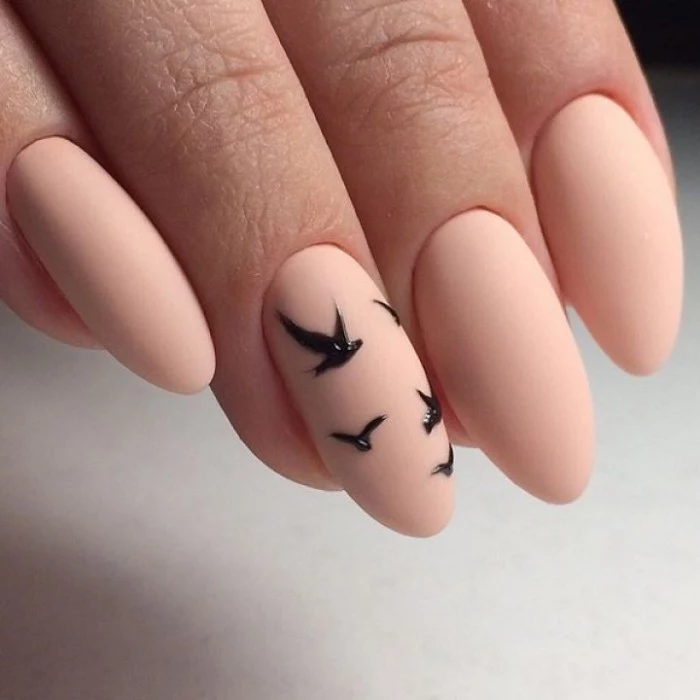
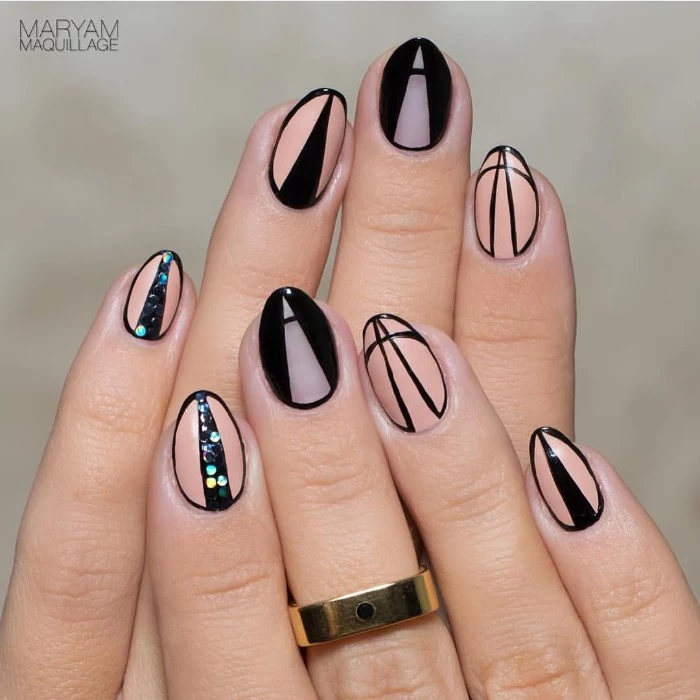
The slim, tapered shape of almond nails creates an ideal canvas for negative space designs. Leaving parts of the natural nail exposed, framed by clean lines or geometric shapes, creates a look that is both artistic and airy. It feels intentional and chic, highlighting the nail shape itself as a key part of the art.
I got a tiny chip on the tip, do I have to start over?
Not necessarily. For a very small snag, you can perform a quick rescue. Gently file the chip smooth with a glass file to prevent it from catching further. Then, apply a tiny dot of a nail repair product like Orly’s Nail Rescue Kit, which uses a powder and glue to fill the gap. Once dry, buff it smooth and apply a top coat. It’s a temporary fix that can save your manicure.

- Allows for precise shaping with minimal effort.
- Seals the keratin layers at the nail tip as it files, preventing peeling.
- Lasts a lifetime and is easily sanitized with soap and water.
The advantage? A high-quality glass nail file, like one from Mont Bleu or GERmanikure.
To maintain that perfect point, a quick touch-up every 5-7 days is ideal. You’re not reshaping the entire nail, just gently refining the tip with a few light strokes of a fine-grit file. This prevents the point from rounding off due to daily wear and tear, keeping your manicure looking sharp and intentional.
The global nail care market is projected to reach over $11.6 billion by 2027, driven by a growing interest in at-home nail care and expressive nail art.
This boom means more innovation and better products for consumers. From long-lasting gel-like polishes by brands like Essie Gel Couture to advanced strengthening treatments, achieving a salon-quality almond manicure at home has never been more accessible.
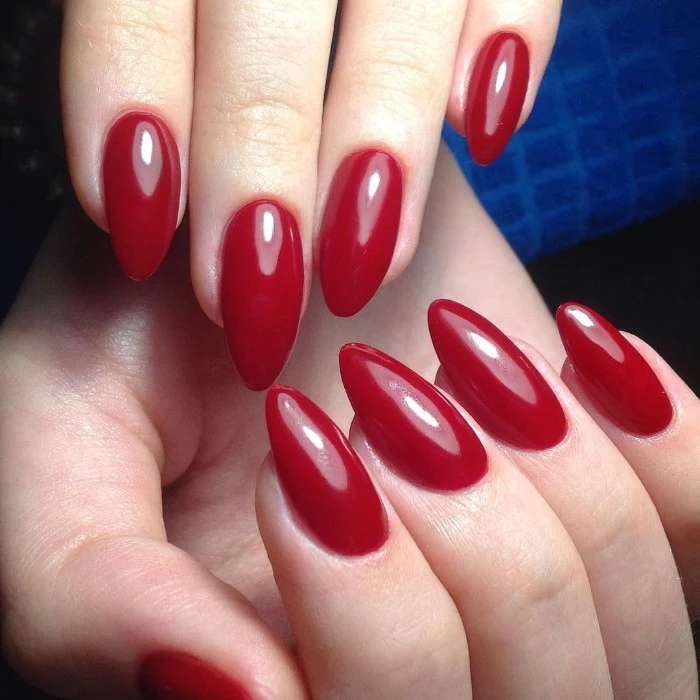
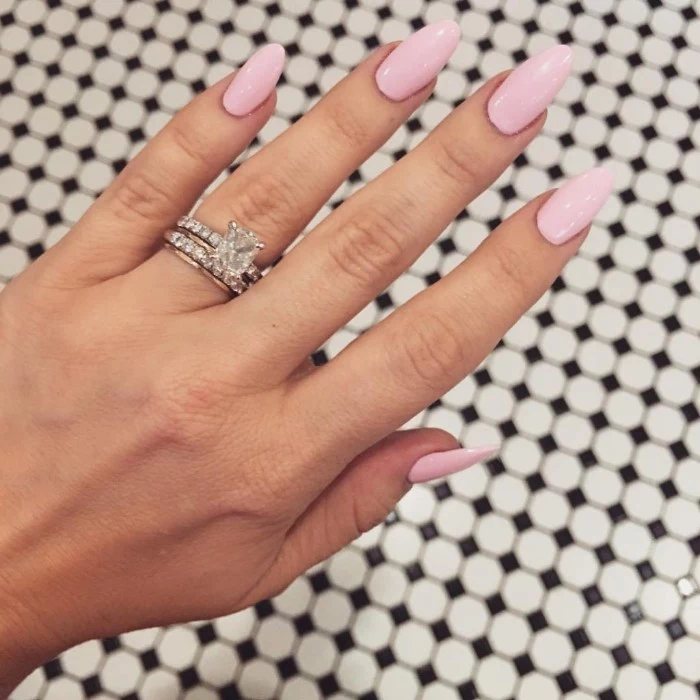
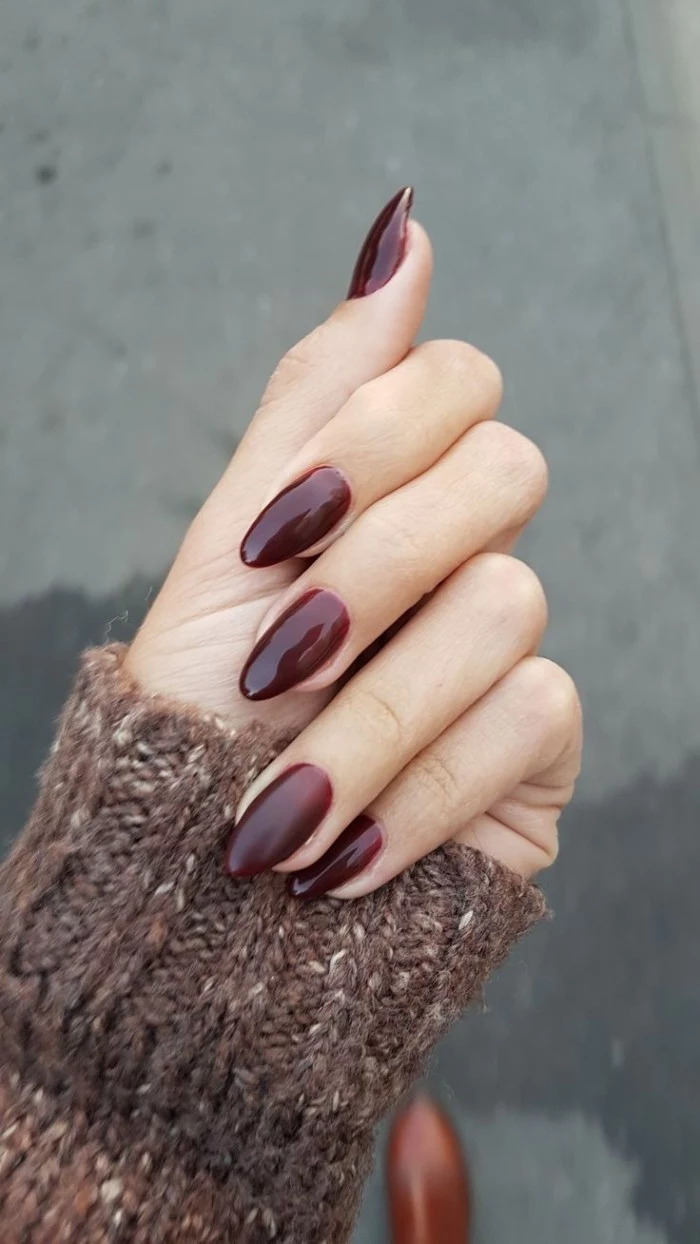
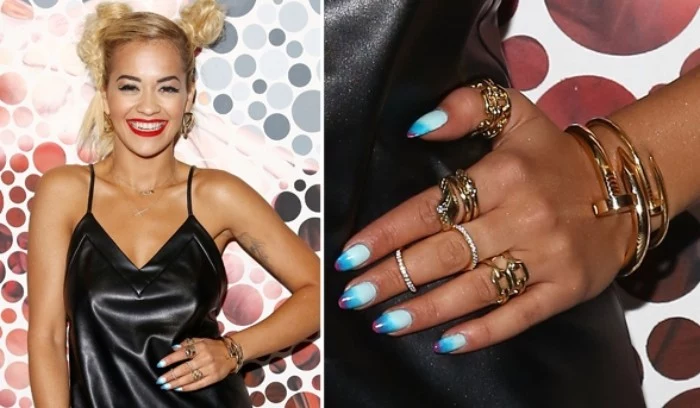
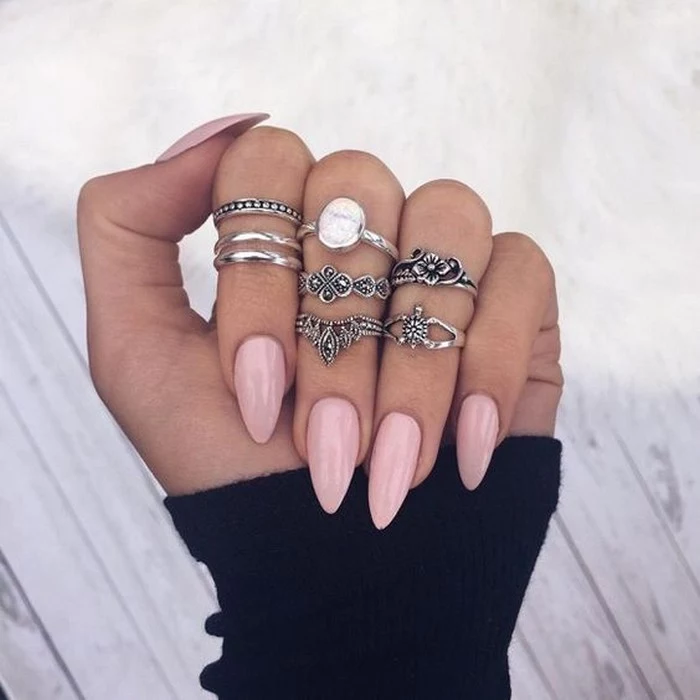
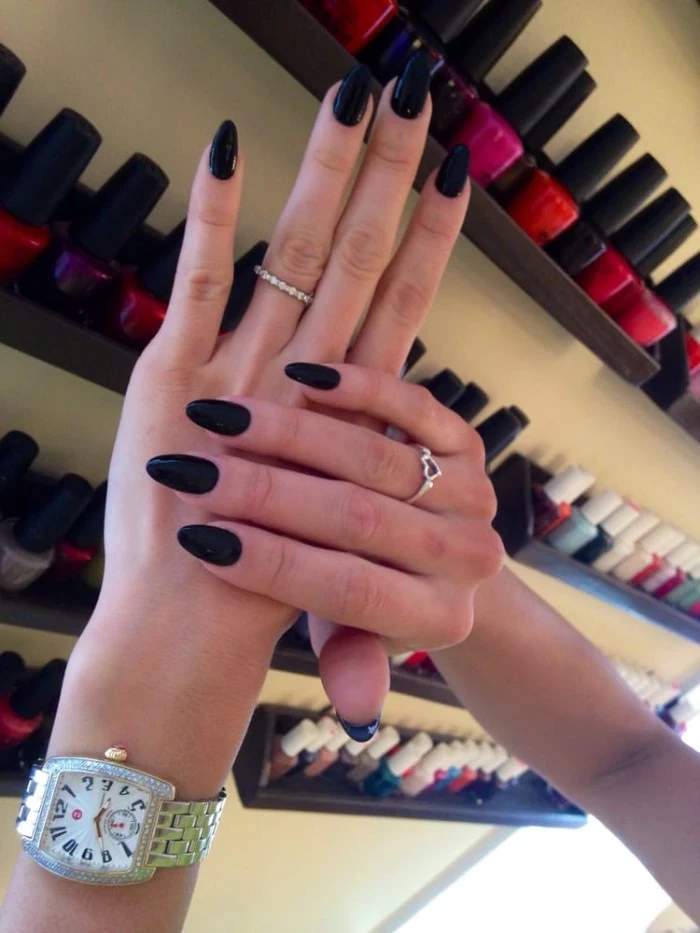
The almond shape naturally guides the eye outward, creating an illusion of length. To maximize this effect, choose your polish colors wisely. Classic nudes, soft pinks, and sheer whites that are close to your skin tone enhance the elongating effect. For a dramatic look, deep reds and rich burgundies like Chanel’s ‘Rouge Noir’ or Essie’s ‘Wicked’ create a stunning, elegant contrast.


