Your Guide to Flawless Pink Nails: Salon Secrets Revealed
I’ve been a nail pro for well over a decade, and in all that time, one thing has never changed: the power of a perfect pink manicure. Trends come and go, but a vibrant, confident pink is a look people always come back to. It’s just one of those colors that makes you feel instantly put-together.
In this article
Lately, a certain shade of bright pink has been everywhere, but the real secret to making it look amazing isn’t the color itself. It’s all about the prep, the right materials, and a bit of technique. This isn’t just about pretty pictures; it’s the behind-the-scenes info I share with my own apprentices.
So, whether you’re a budding nail enthusiast or just want to understand what you’re paying for at a high-quality salon, let’s get into it. The goal is a flawless finish that lasts for weeks, not just a day.
The Foundation: Why Your Manicure Chips (and How to Stop It)
Before a single drop of polish even comes out, the most important work has already begun. Seriously. The number one reason a manicure fails—chipping, lifting, you name it—is because of rushed or sloppy prep work. It’s the step most people skip at home, but it’s the absolute key to making your nails last.
Think of it like painting a wall. You wouldn’t just slap paint over dust and greasy spots, right? You’d clean and prime it first. Your nails need the same respect. We’re basically creating the perfect canvas for the product to stick to.
The Pro-Level Prep Routine
A professional prep sequence is a non-negotiable, 15-minute ritual that makes all the difference. If you’re building a DIY kit, here’s what you’ll need for a solid start:
- A good quality 240-grit file (a brand like Tweezerman costs around $8 and works great).
- A metal cuticle pusher (always sterilize it!).
- 99% Isopropyl Alcohol, which you can find at any drugstore for about $5.
- A non-acid bonder, like the kind from Young Nails or a similar pro brand (around $15 online or at Sally Beauty).
Here’s the step-by-step process we swear by:
- Gentle Cuticle Work: First, a dab of cuticle softener. After about a minute, I use a sterilized metal pusher to gently nudge back the eponychium (that’s the living skin at the base). The goal isn’t to be aggressive; it’s to reveal the non-living tissue stuck to the nail plate, which is the stuff that needs to go. A pro might use an e-file here with a very fine bit, but that requires serious training to avoid damage.
- Shaping the Nail: Using a 180 or 240-grit file, I shape the nail’s edge. A little tip: always file in one direction. That back-and-forth sawing motion you see in movies? It actually weakens the nail and can cause it to split.
- Light Surface Buffing: Next, I take a light-grit buffer and gently remove the shine from the nail. You’re not sanding it down; you’re just creating a little texture for the product to grip onto. A few light passes are all you need.
- Cleansing and Dehydrating: This part is critical. I scrub the nail plate with a lint-free wipe soaked in 99% isopropyl alcohol. This removes all the dust and oils, leaving a perfectly prepped, dehydrated surface. For a second, the nail will look a little chalky—that’s a good sign!
- Applying a Bonder: The final touch is a pH bonder or non-acid primer. Think of it as double-sided tape between your nail and the base coat. Apply it sparingly just to the natural nail, as getting it on your skin can cause irritation.
Quick win for anyone: Even if you’re just using regular polish, simply scrubbing your bare nails with an alcohol wipe before you start will make your manicure last days longer. It’s a game-changer.
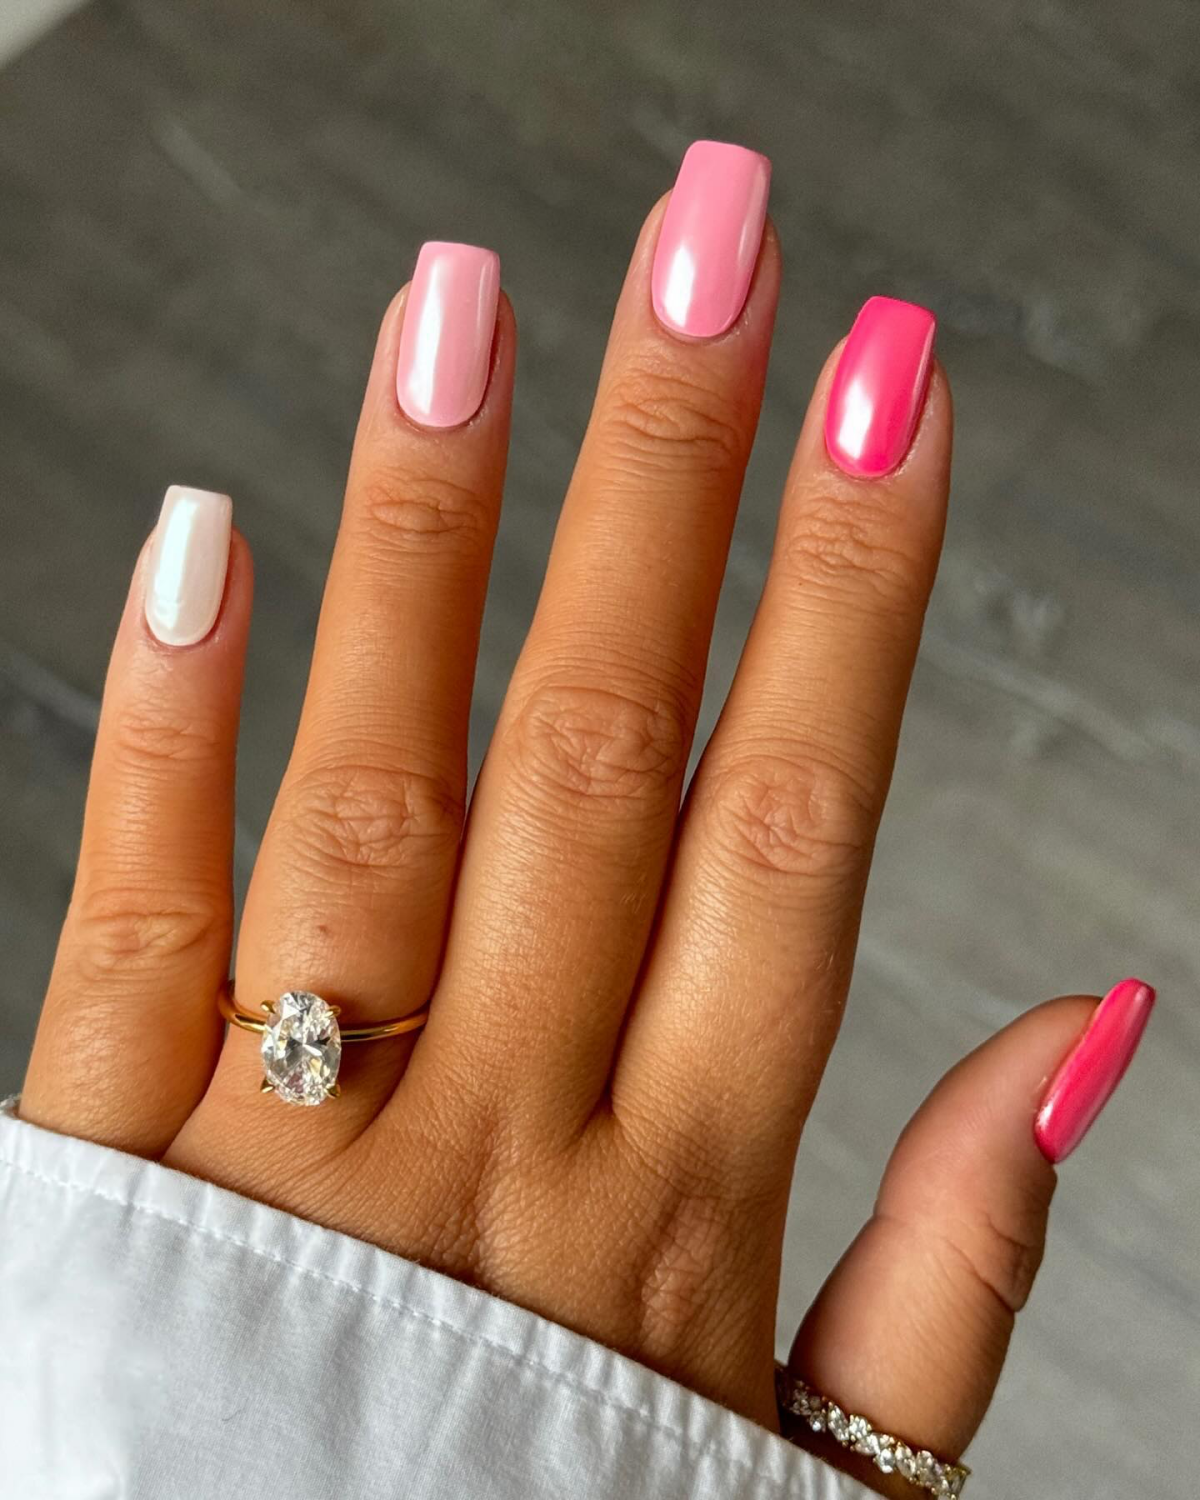
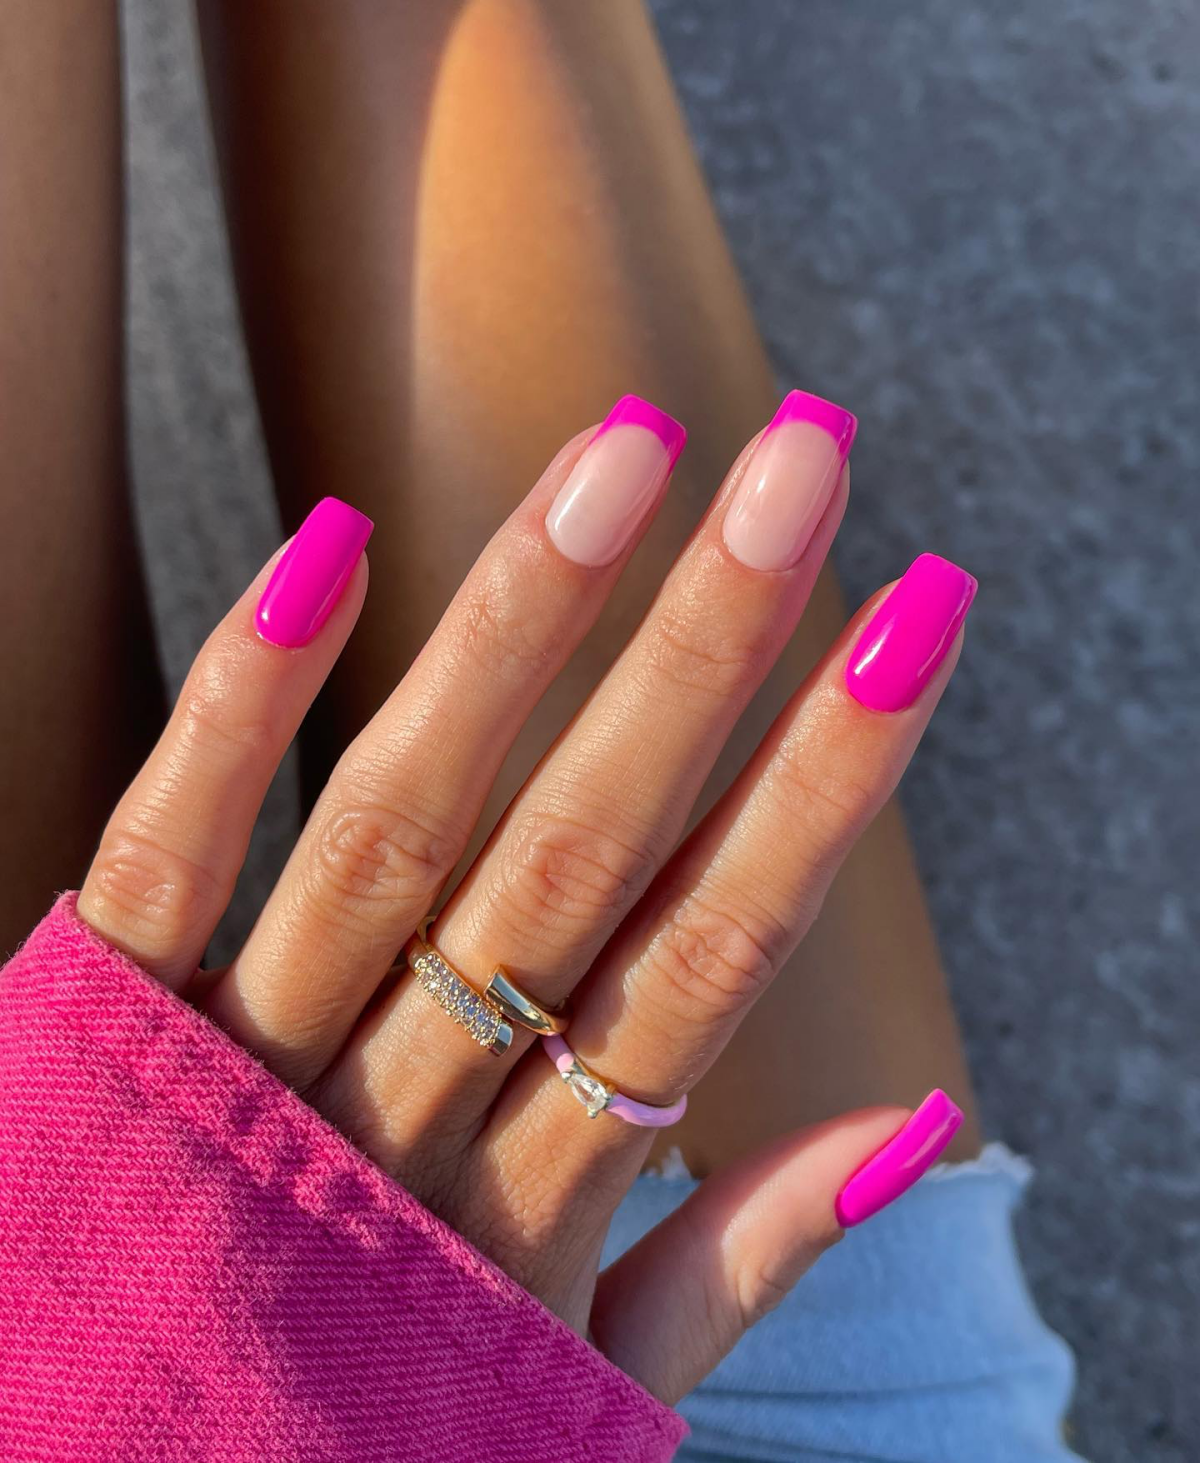
Choosing Your Pink: Gel, Dip, or Acrylic?
Okay, so you want pink nails. But which kind? The system you choose totally depends on your lifestyle, the health of your nails, and the look you’re going for. Let’s break down the big three.
By the way, a quick note on picking the perfect shade. Ever wonder why some pinks look amazing on you and others fall flat? It’s all about skin tone. For cooler skin with bluish undertones, vibrant bubblegum and fuchsia pinks are stunning. If you have warmer, more olive skin, you’ll probably find that peachy or coral-toned pinks are incredibly flattering.
The Options Explained
Here’s the rundown on what to ask for at the salon or look for in a kit:
- Gel Polish: This is your go-to for natural nails. It’s flexible, super shiny, and feels light. The polish is “cured” under an LED lamp to make it hard and durable. In a salon, you can expect to pay between $45 and $60 for a quality gel manicure. Removal is a straightforward 15-minute soak-off with acetone.
- Dip Powder: If your nails need a bit more strength but you don’t want extensions, dip is a fantastic middle ground. It involves a resin and a fine powder that create a hard, durable layer. A good dip set will typically run you $50 to $70. Heads up on hygiene: a pro should never dip your finger into the main pot of powder. They should pour what’s needed for you into a separate dish. Removal is also a soak-off, but it can take a bit longer than gel.
- Acrylic: This is the undisputed champion for adding length, creating custom shapes, and providing maximum strength. It’s a two-part system of liquid and powder that a technician sculpts into a nail. Because it’s the most labor-intensive, it’s also the priciest—expect to pay $80 or more for a full set with art. Removal should always be done by a pro with an e-file to avoid damaging your natural nails.
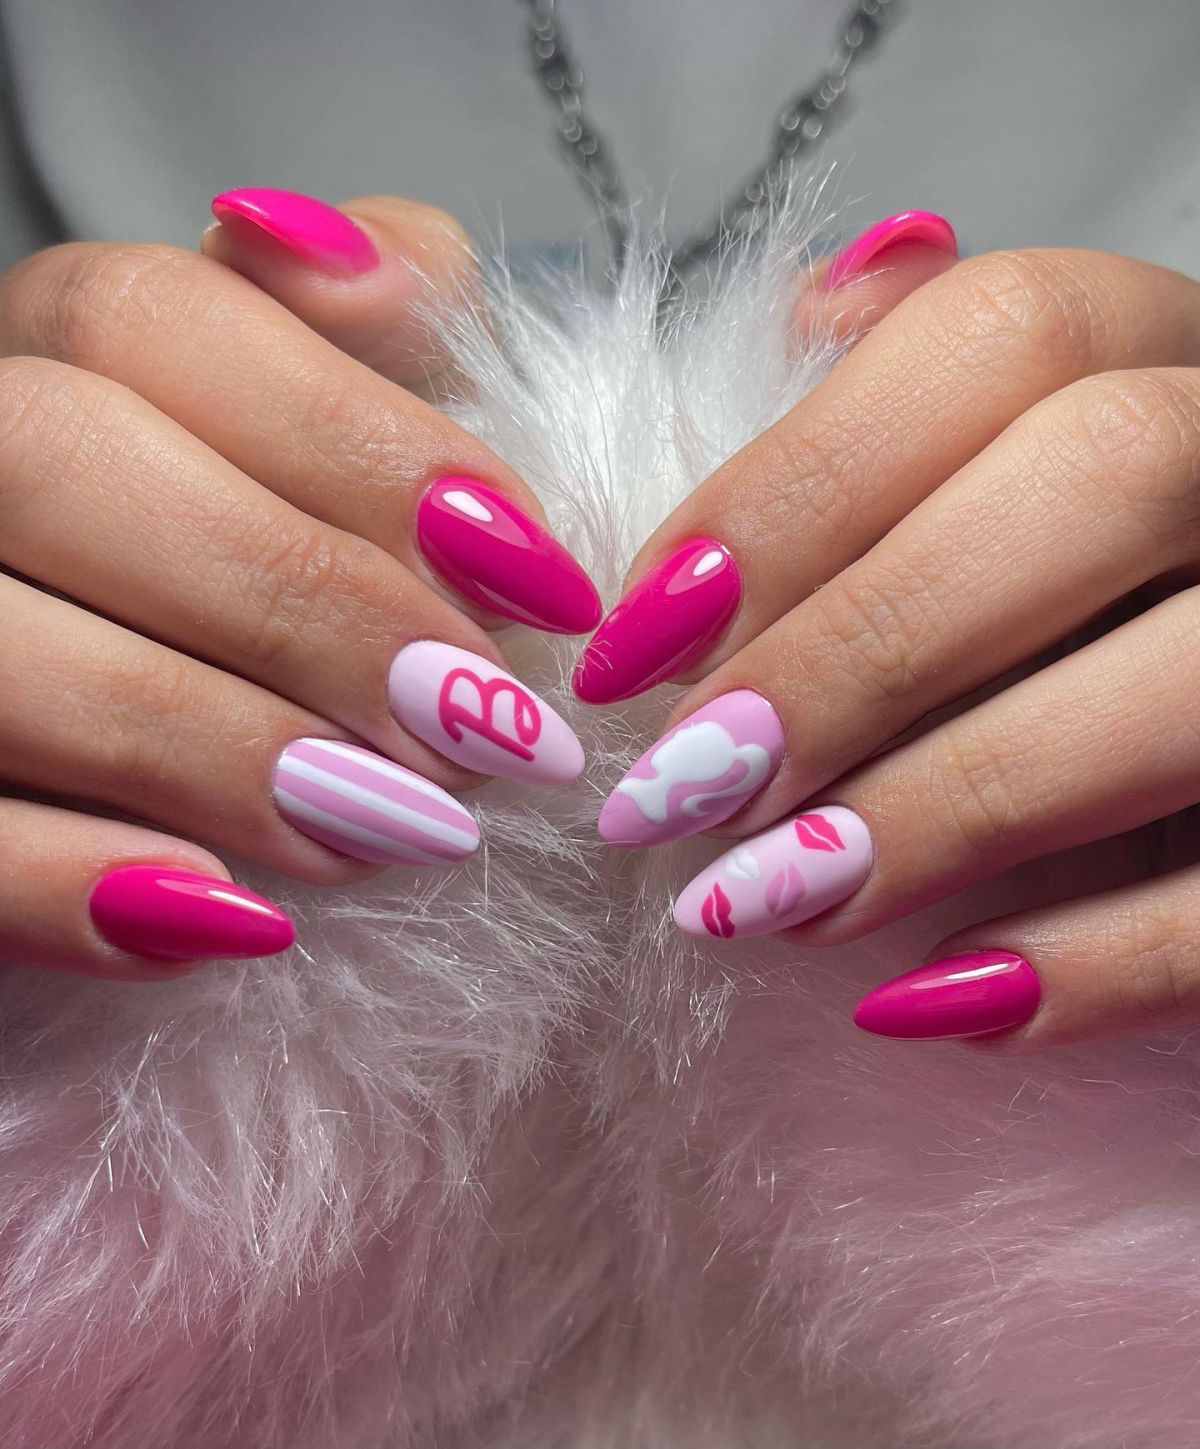
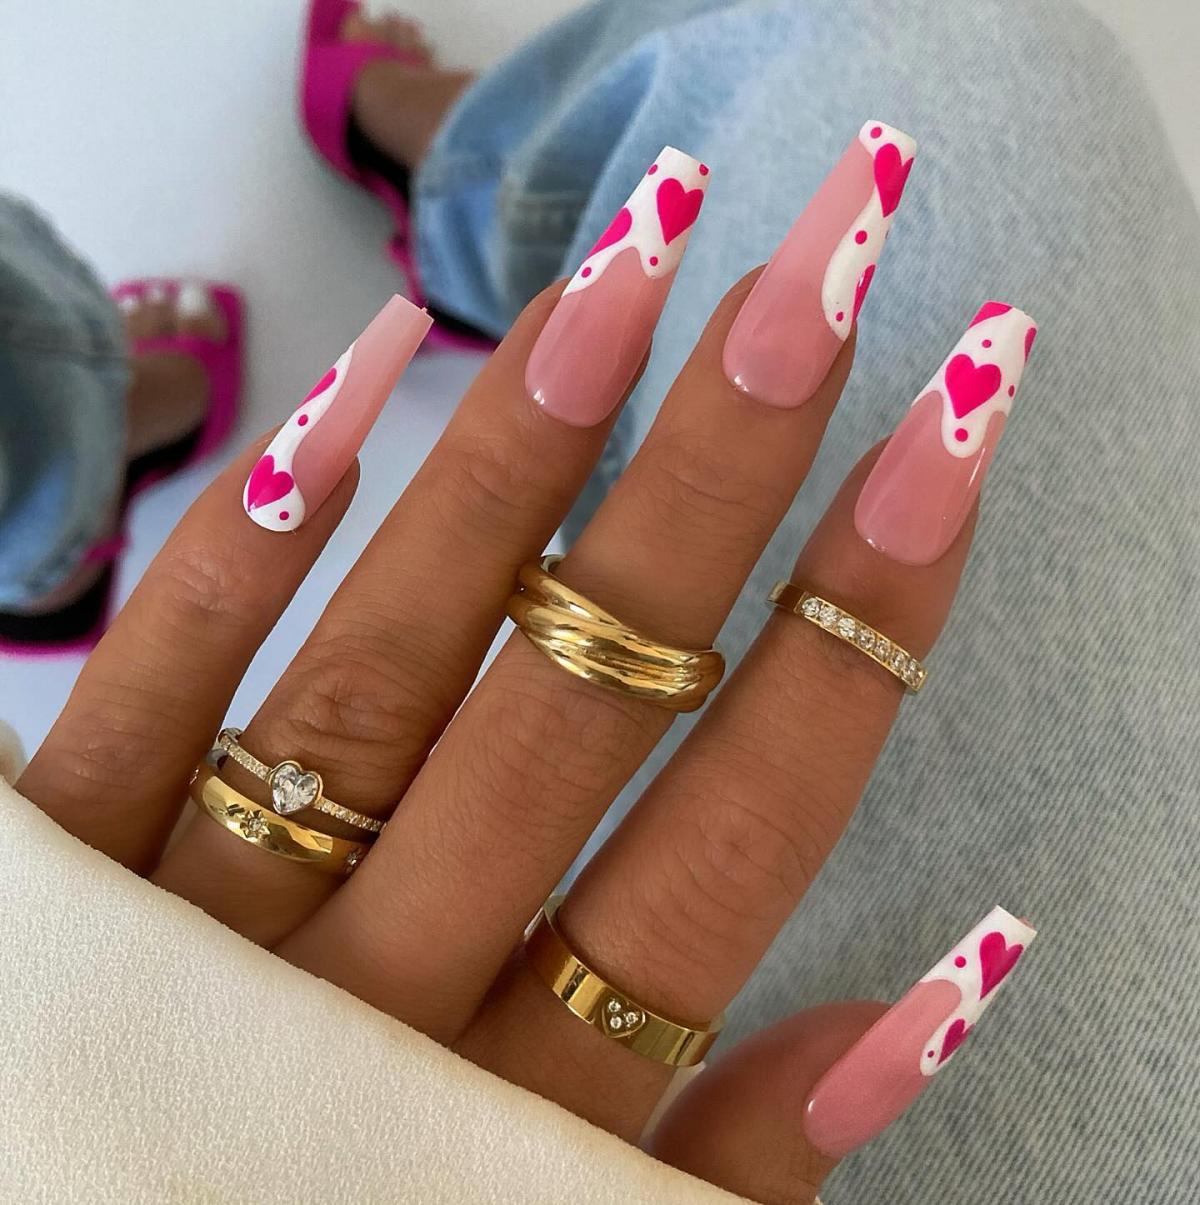
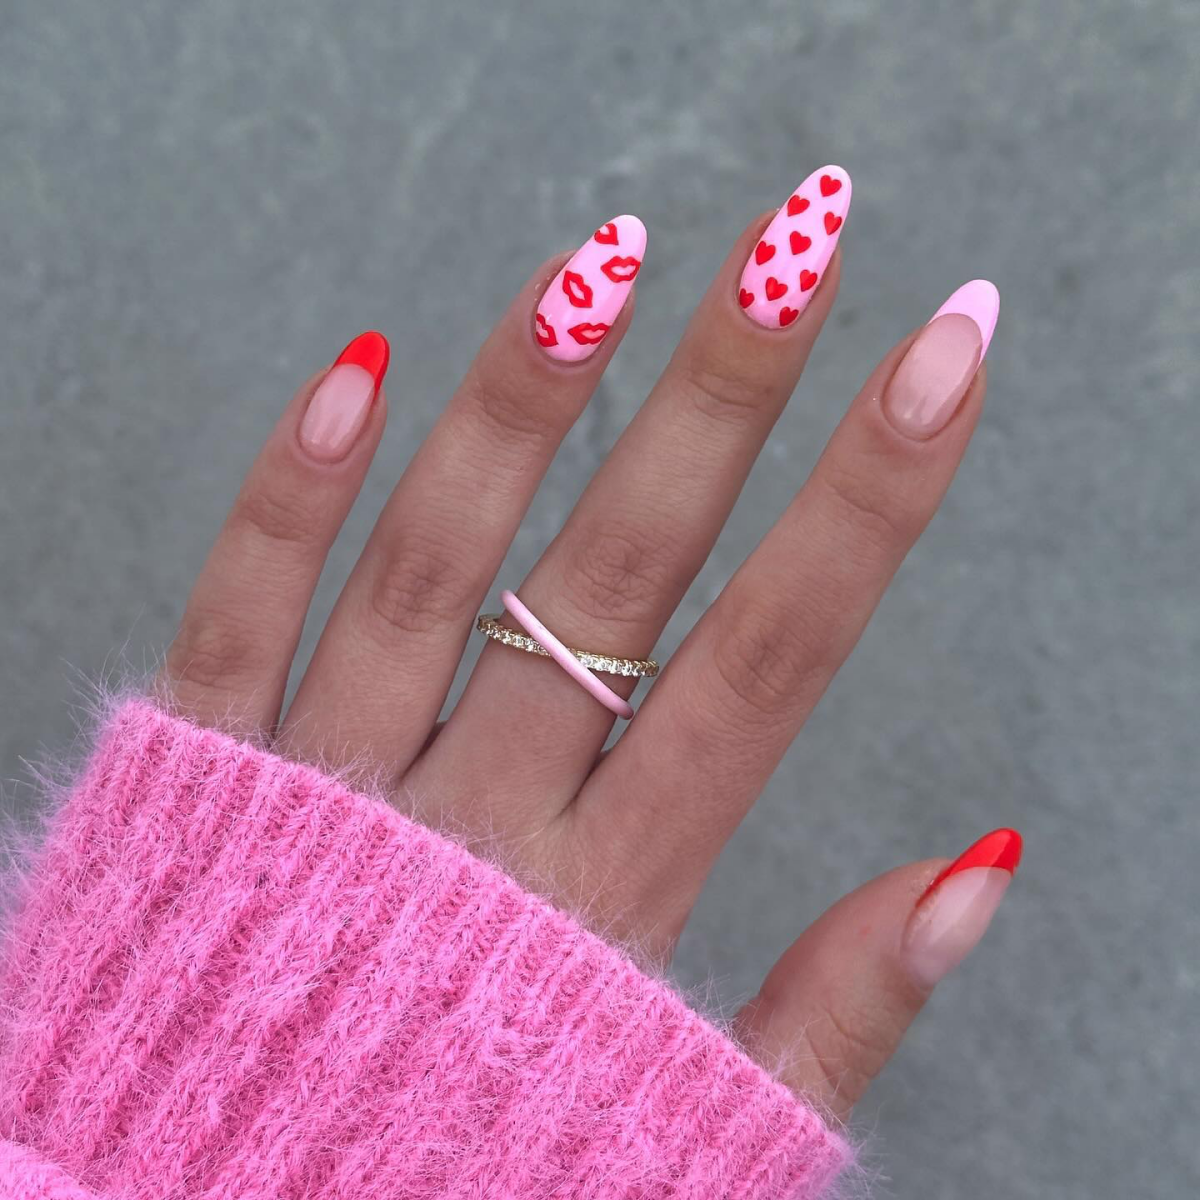
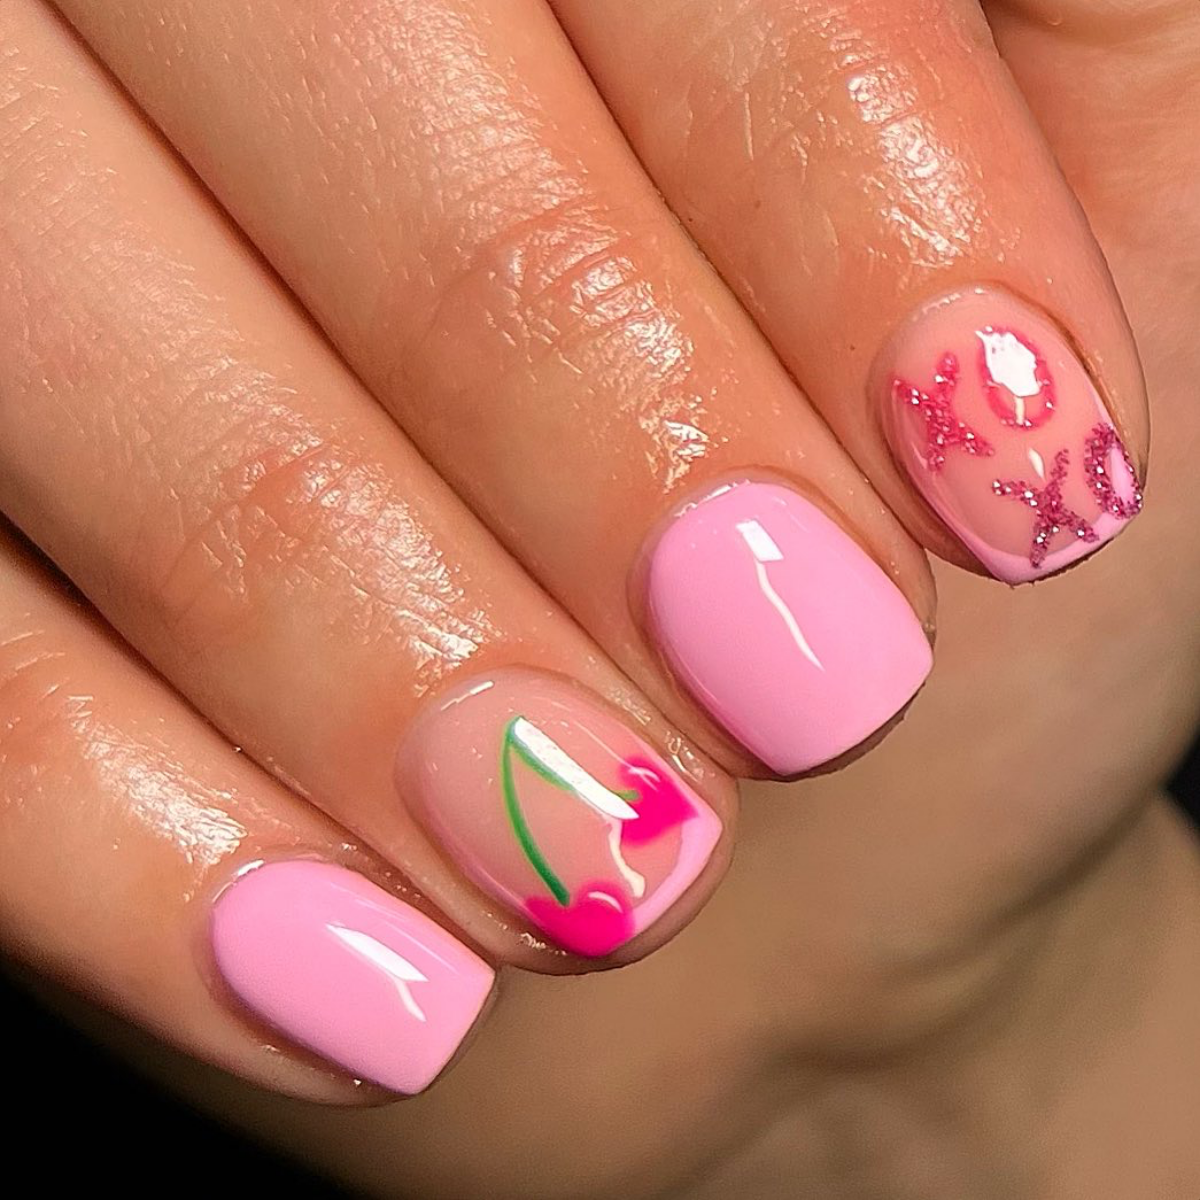
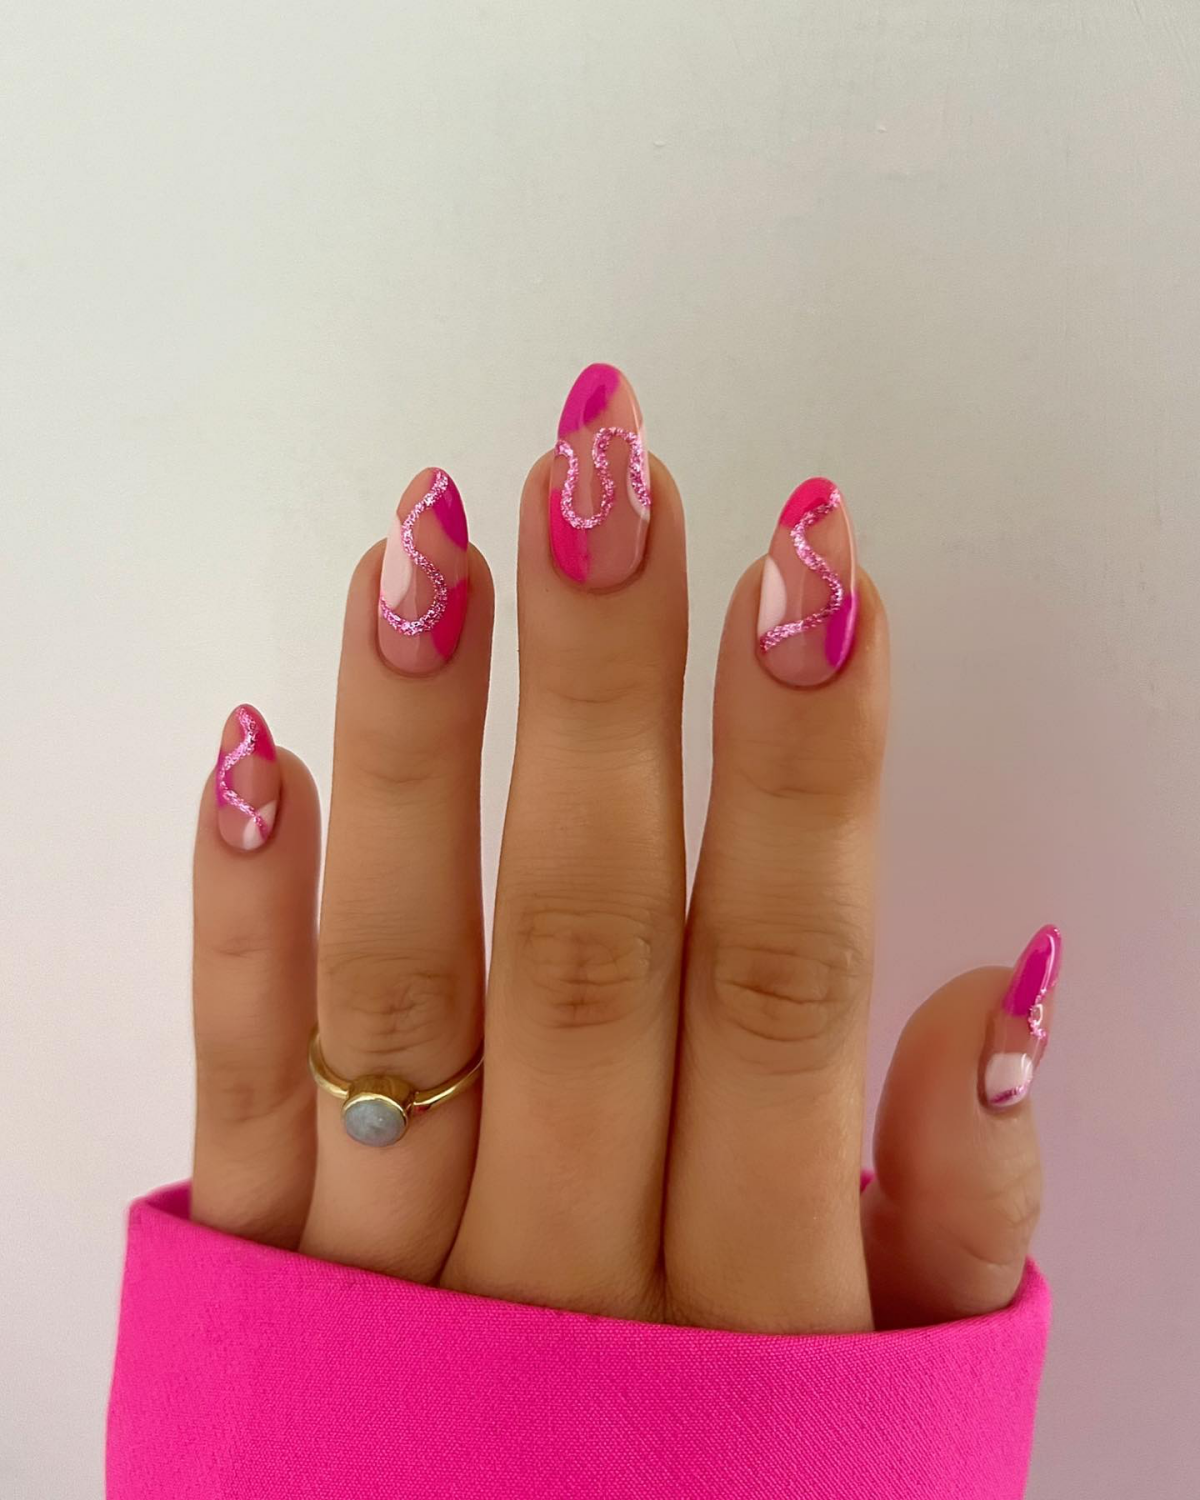
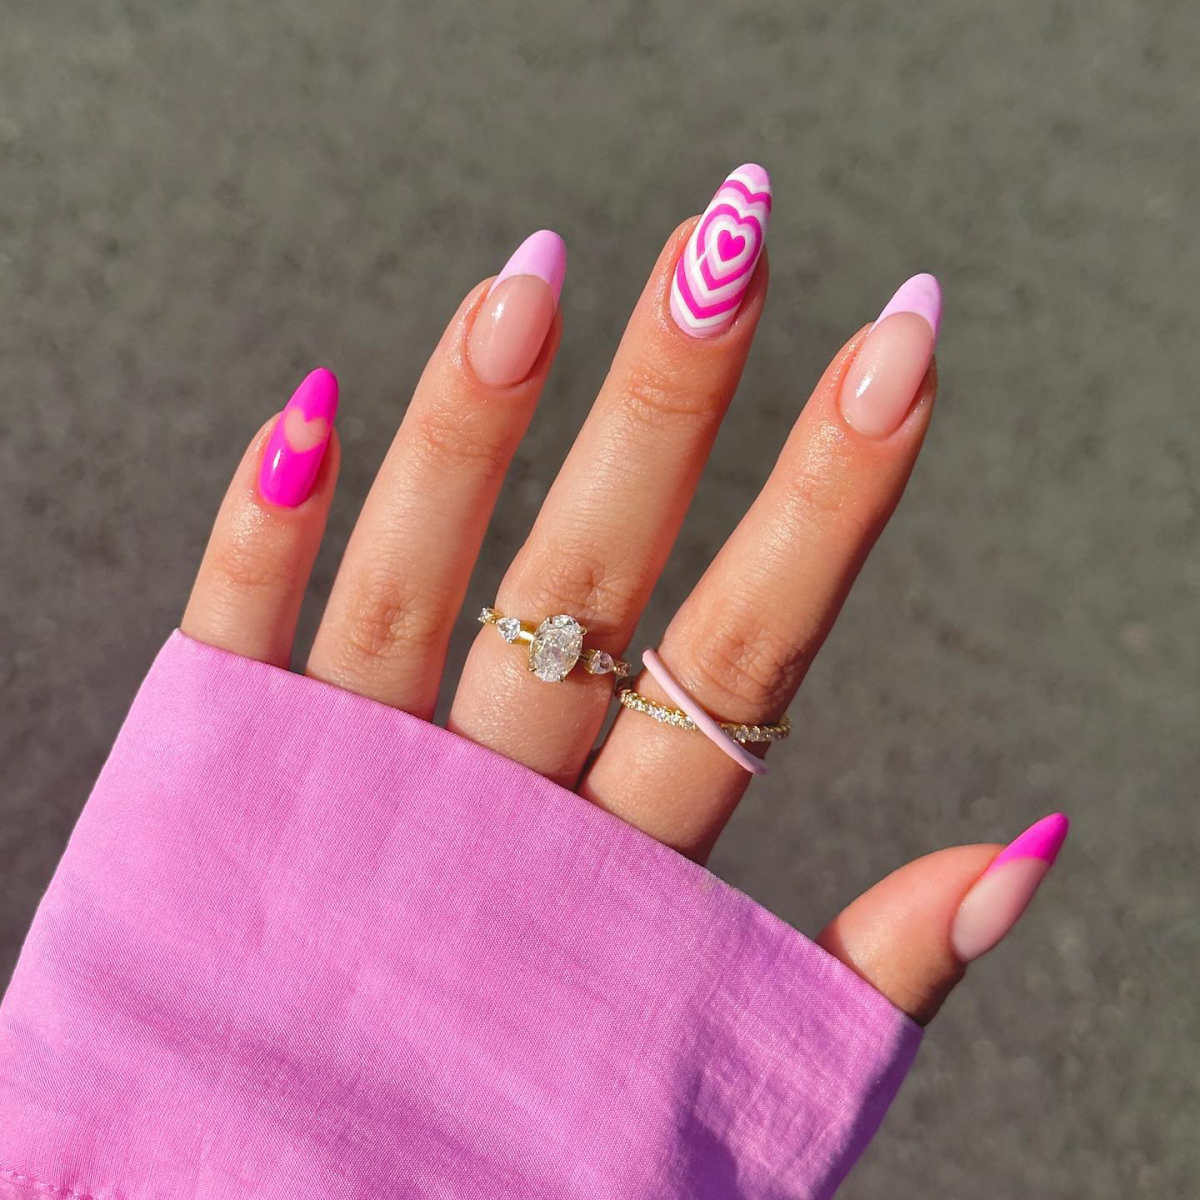
Mastering Those Pro-Level Pink Nail Designs
Now for the fun part. Let’s talk about how to get those popular pink nail looks without them looking… well, homemade.
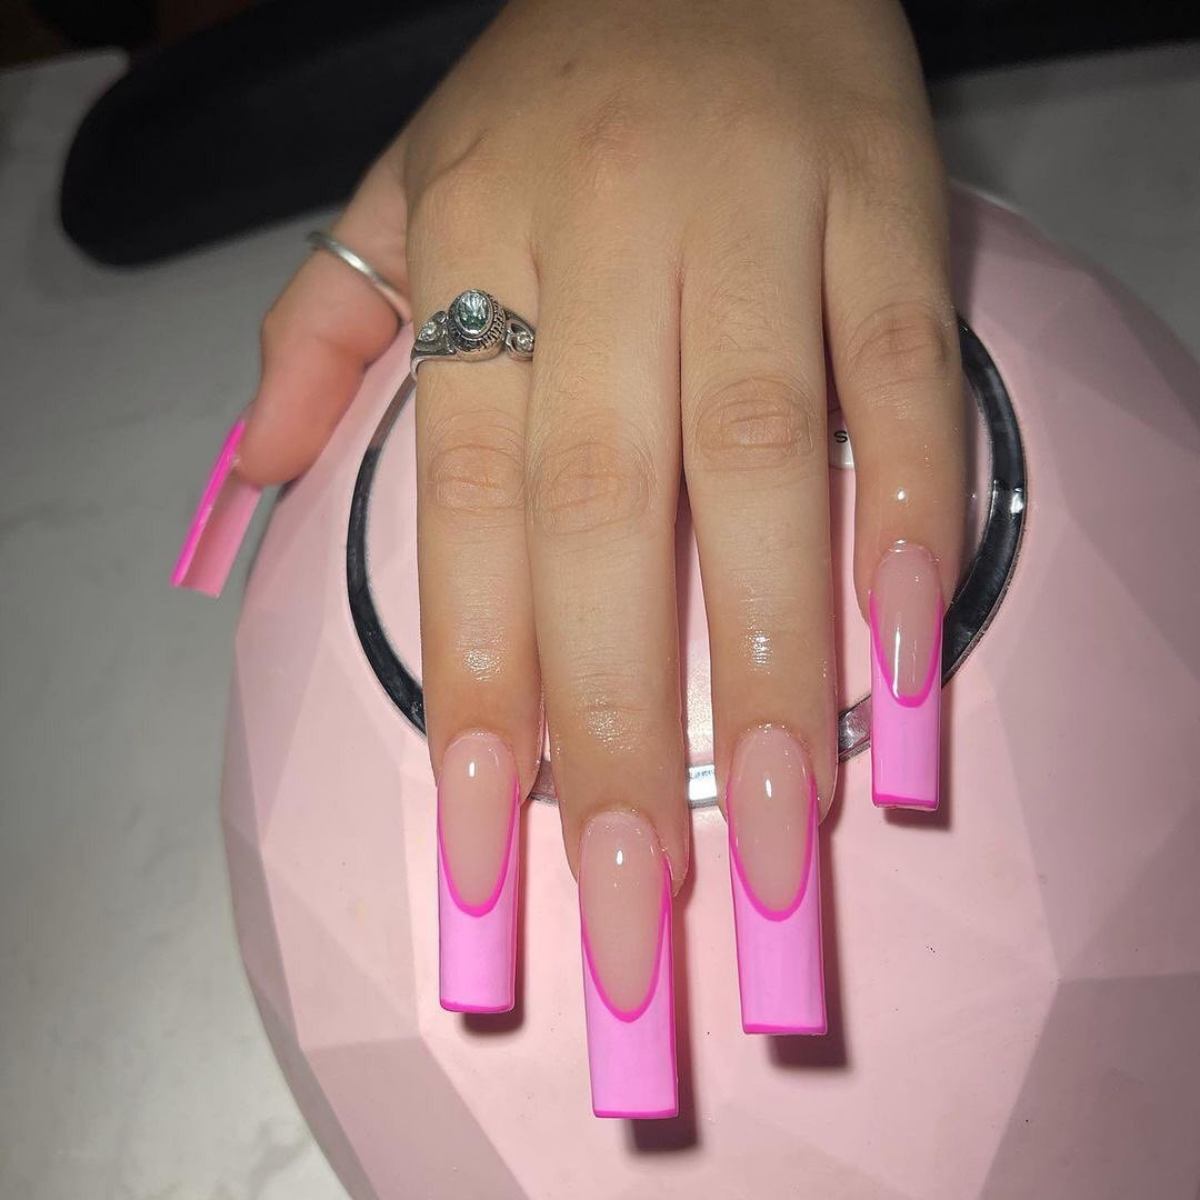
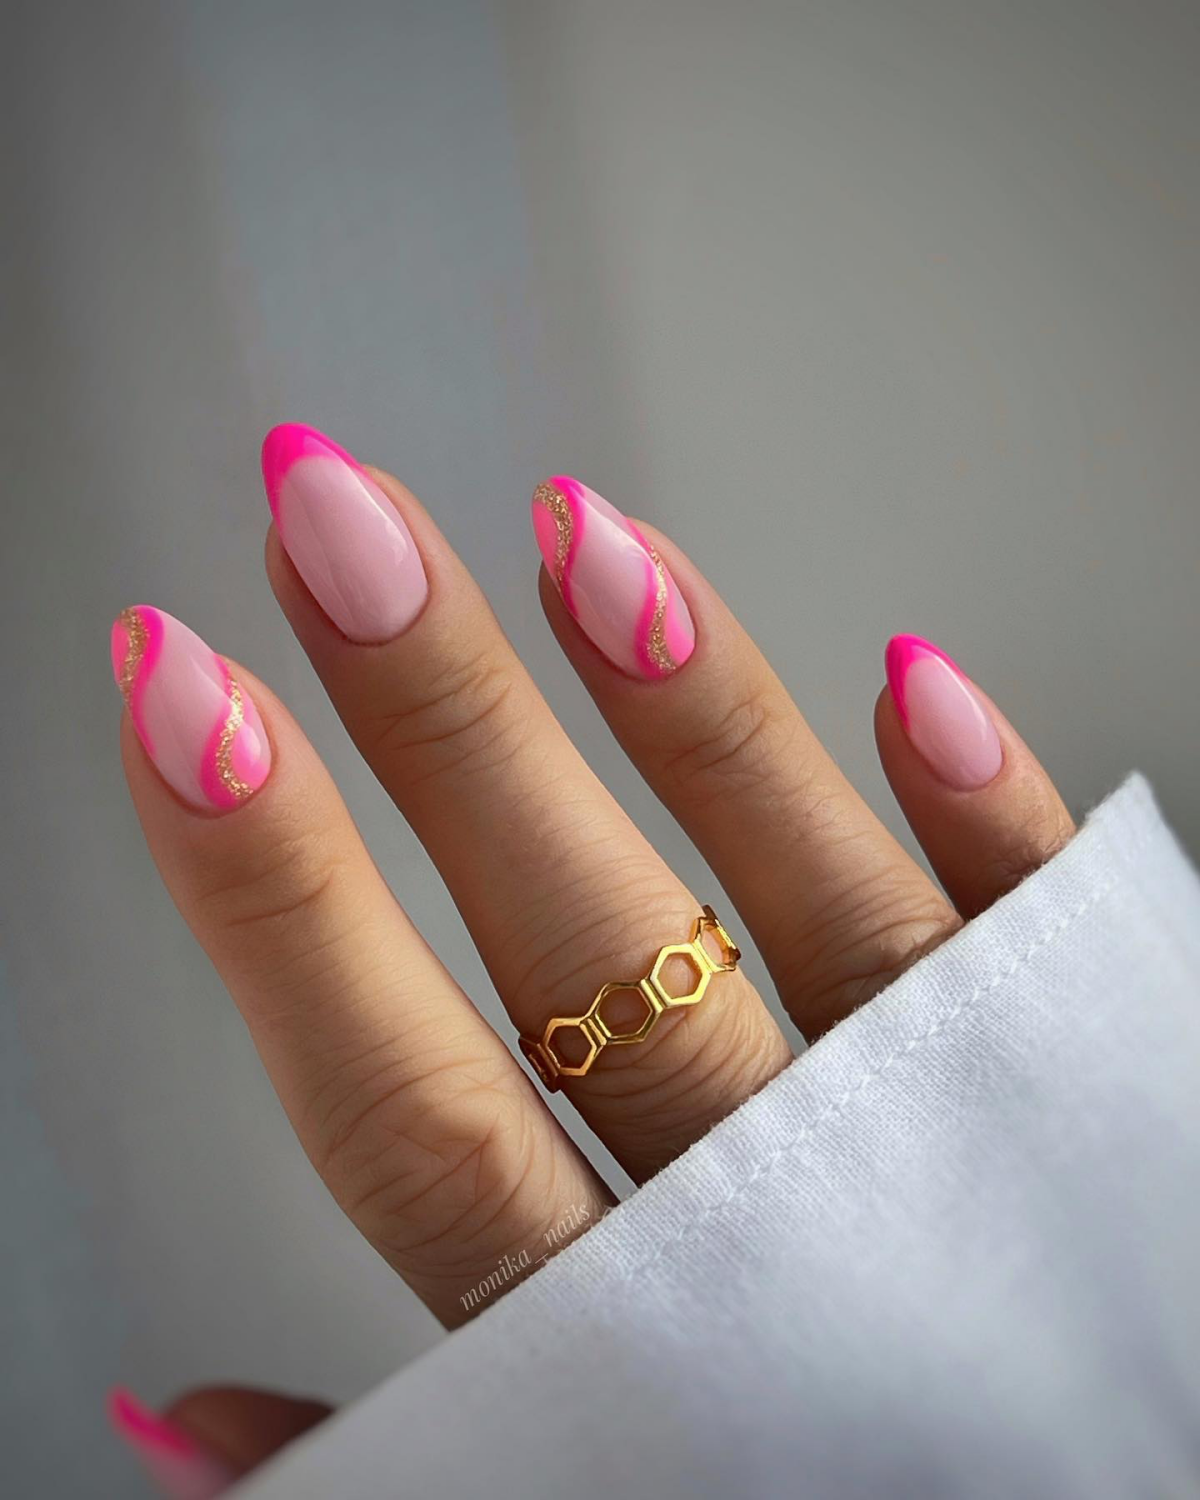
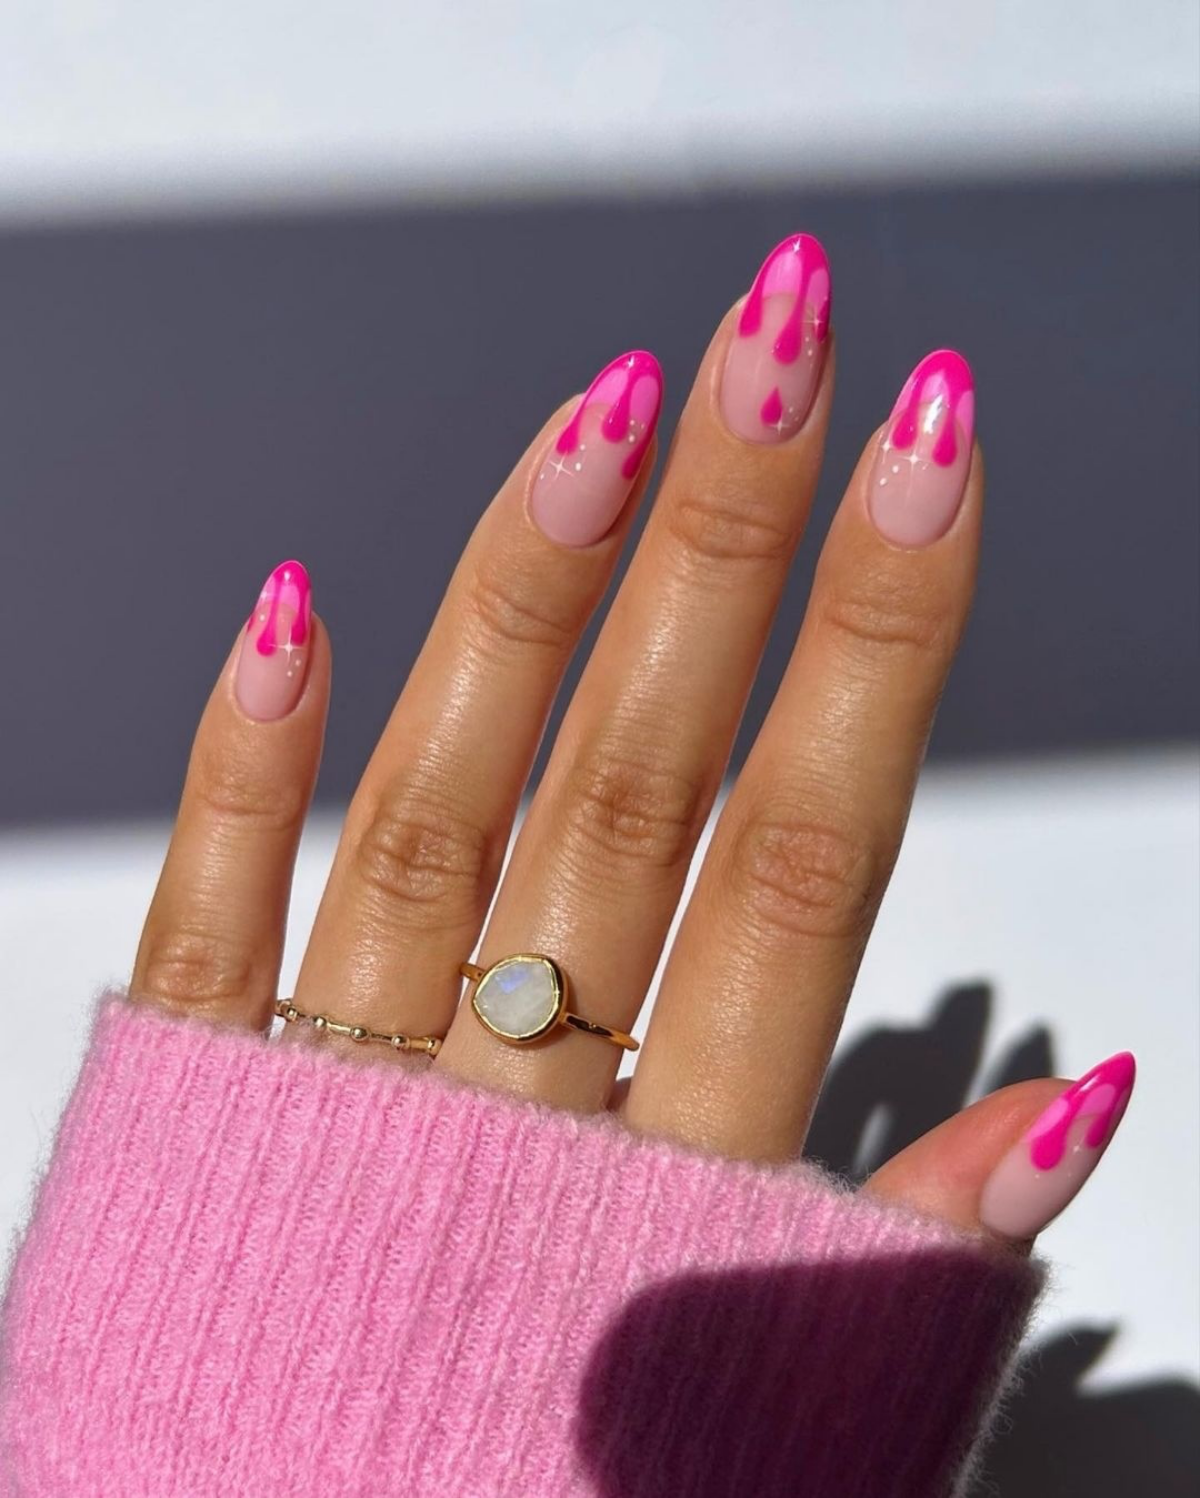
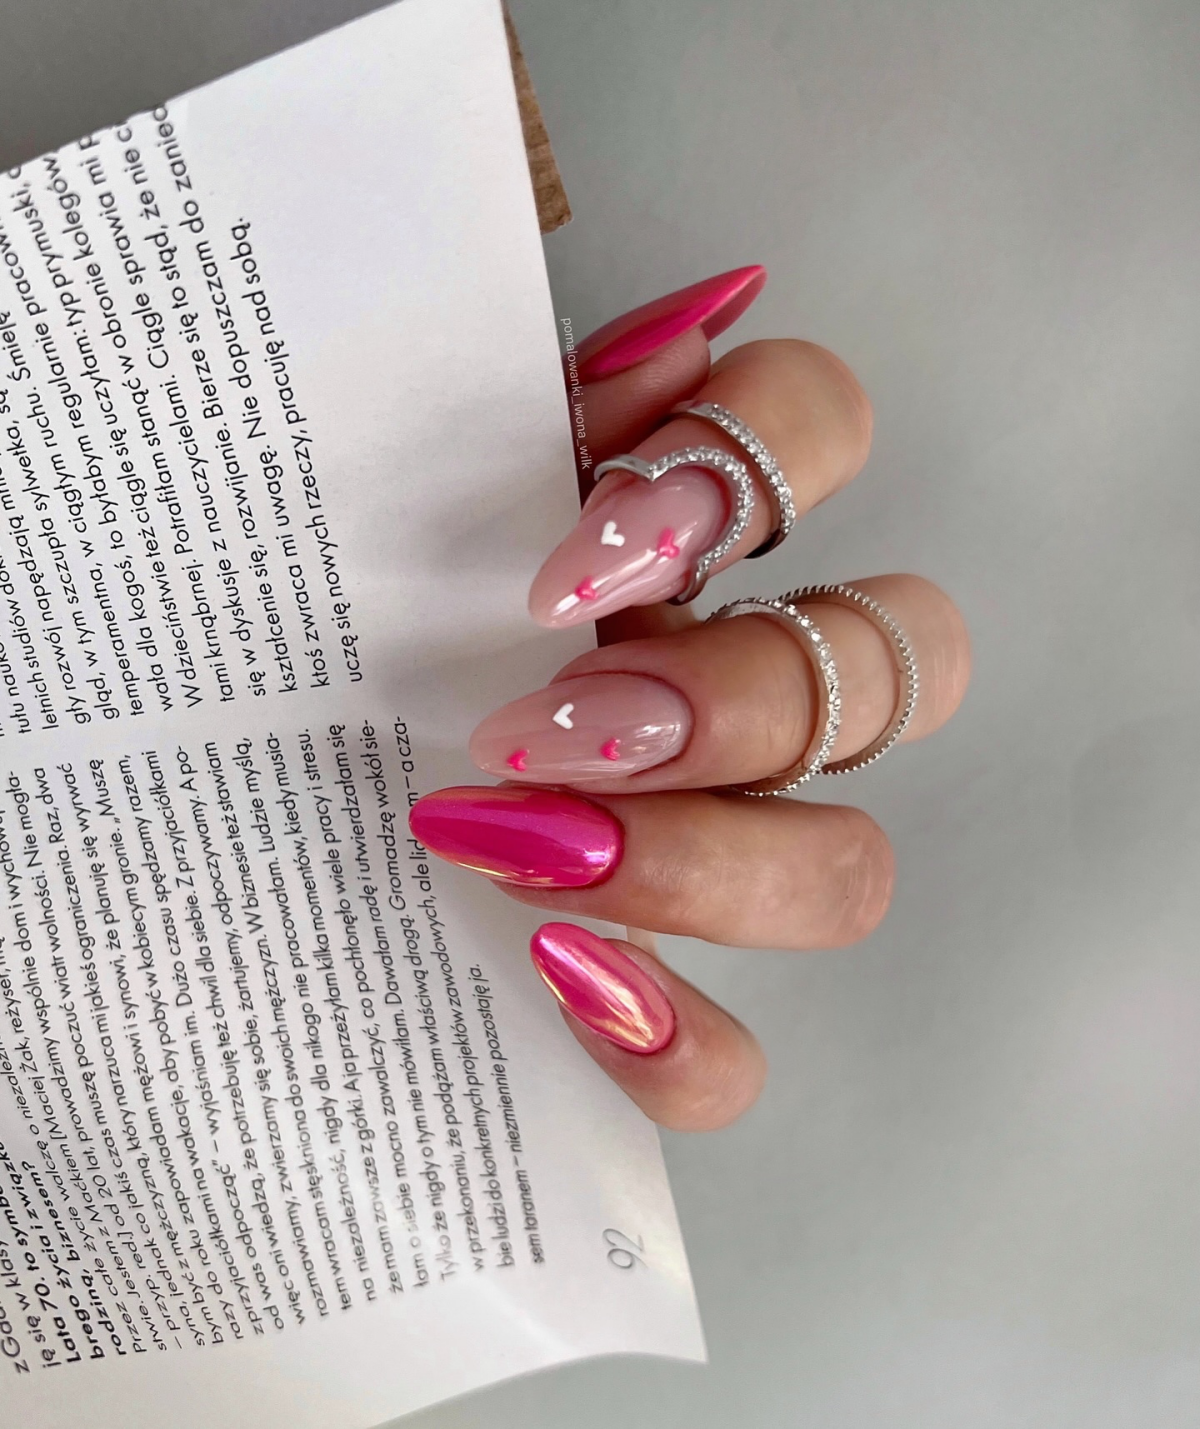
The Crisp Pink French Manicure
A French tip is timeless, but a bright pink tip is a fun, modern twist. The challenge? Getting that perfectly clean smile line.
Amateurs try to paint it with the bottle brush, and it almost always ends up wobbly. The pro secret is a long, thin liner brush. I load it with pink gel polish and paint the line in two smooth, swooping motions. Another trick is to paint polish onto a silicone stamper and gently press your nail tip into it at an angle. It creates a perfect curve but takes a little practice.
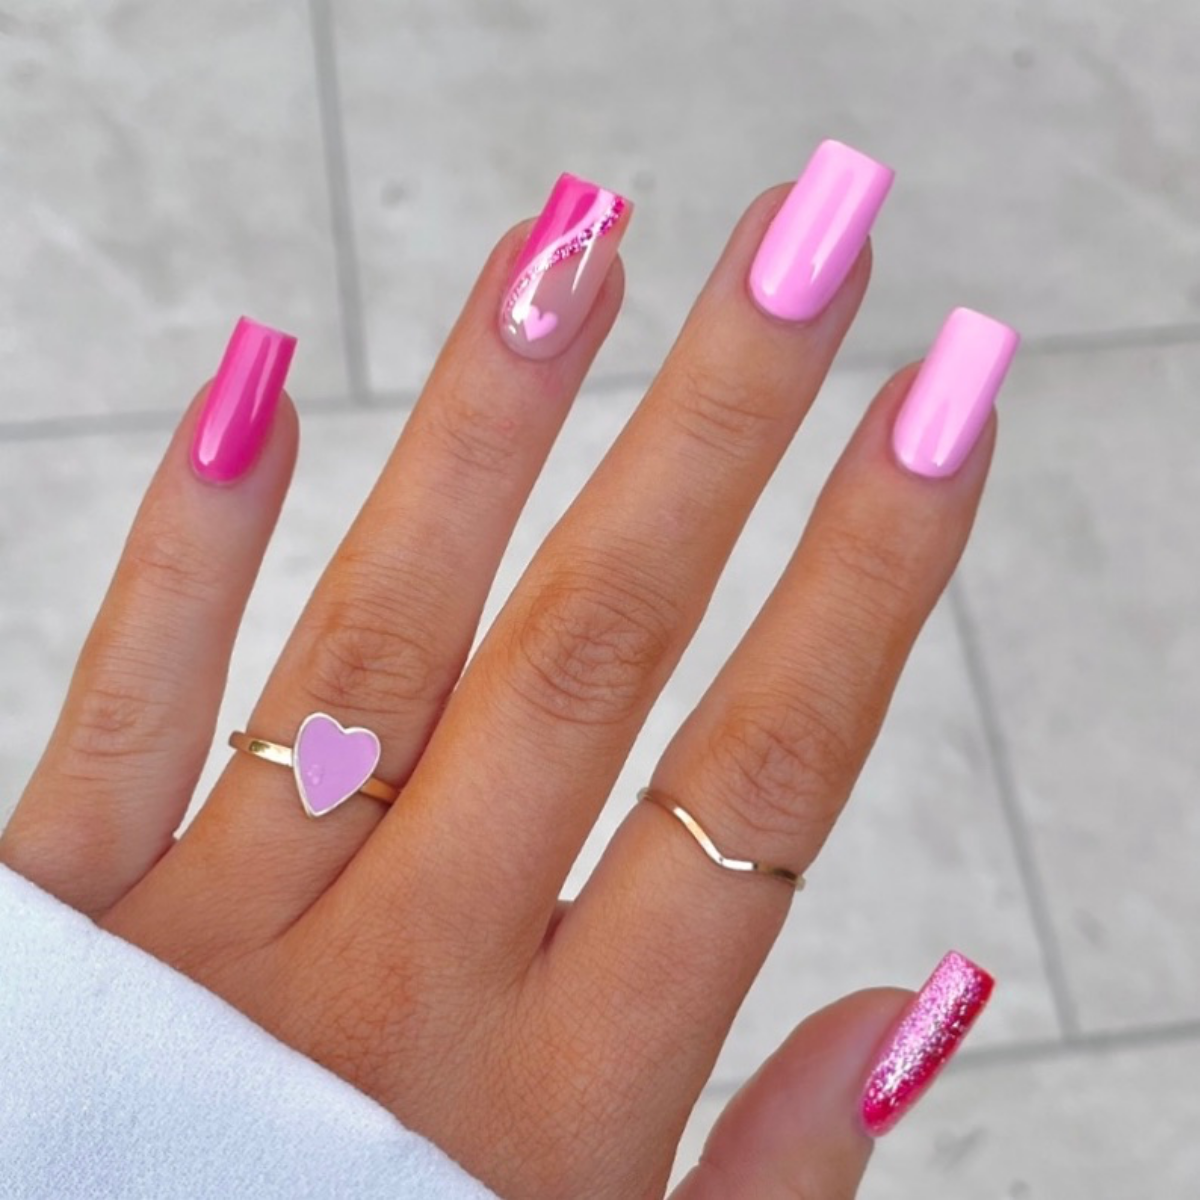
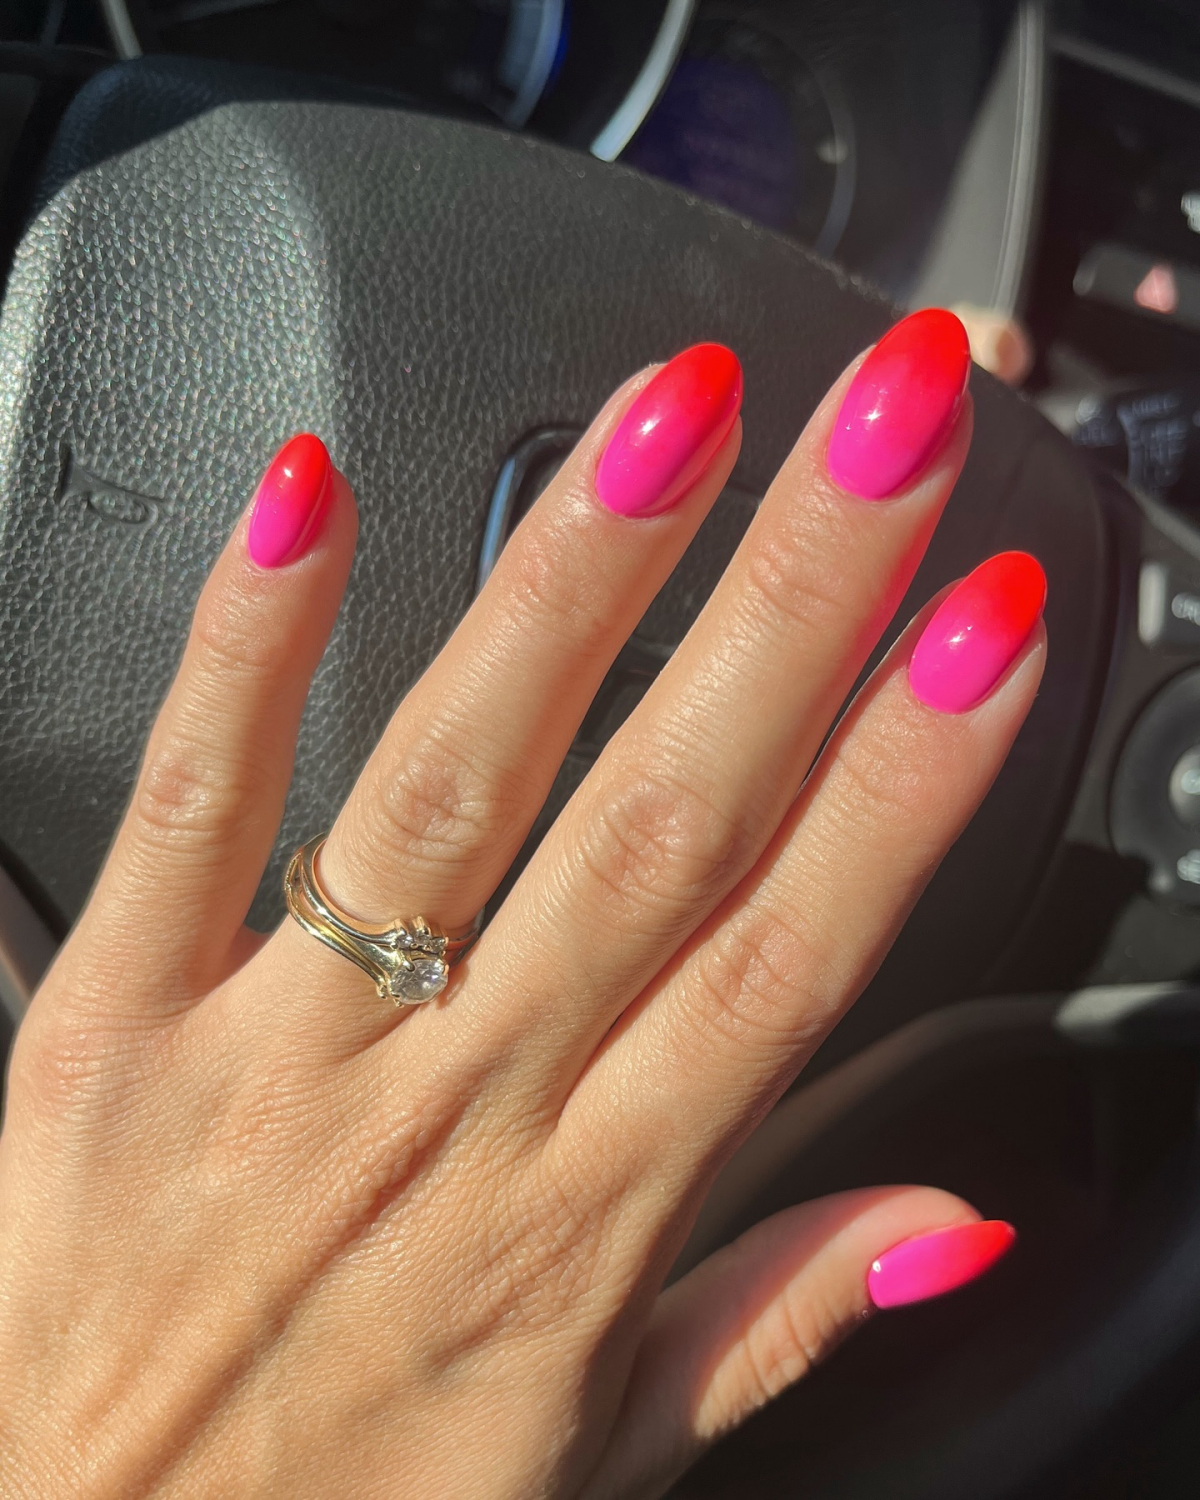
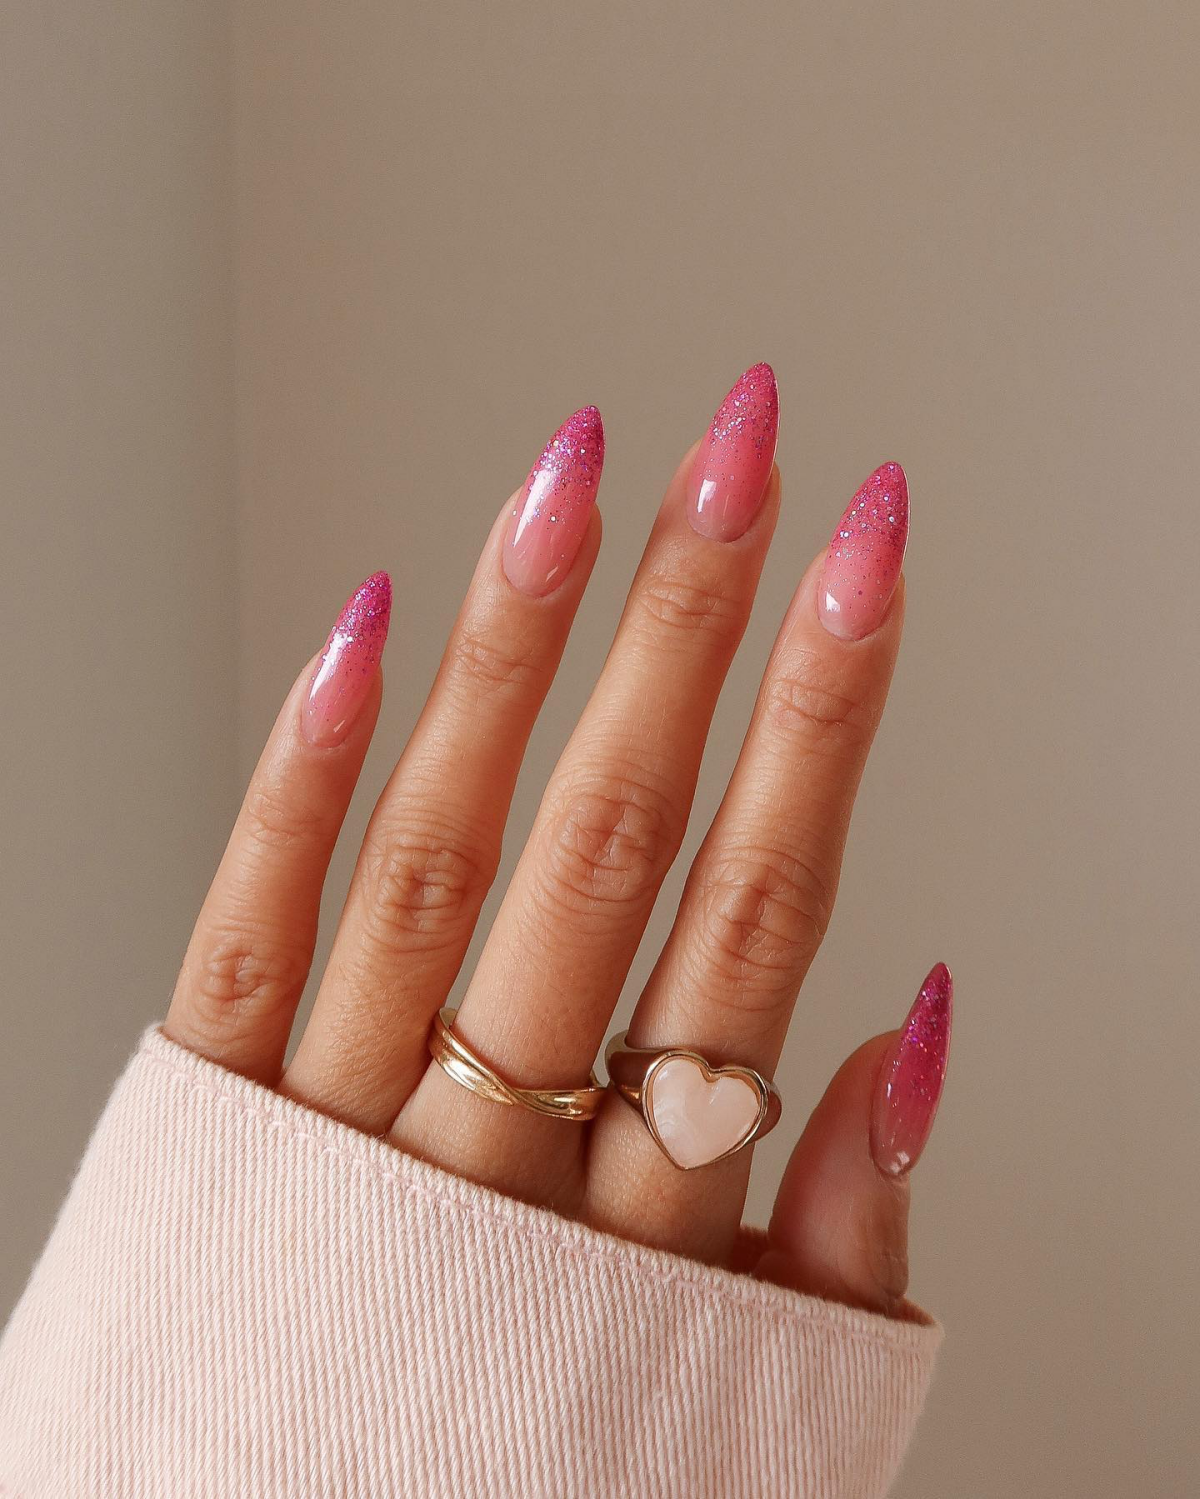
The Seamless Pink Ombré
A smooth gradient from one pink to another is gorgeous, but it’s tricky. The key is to use a dedicated ombré brush (a flat or dome-shaped one works well). After applying the two colors side-by-side, you gently tap where they meet to blend them. Remember to clean the brush on a wipe every few taps, otherwise you’ll just drag the color around. A good top coat at the end melts it all together for a flawless finish.
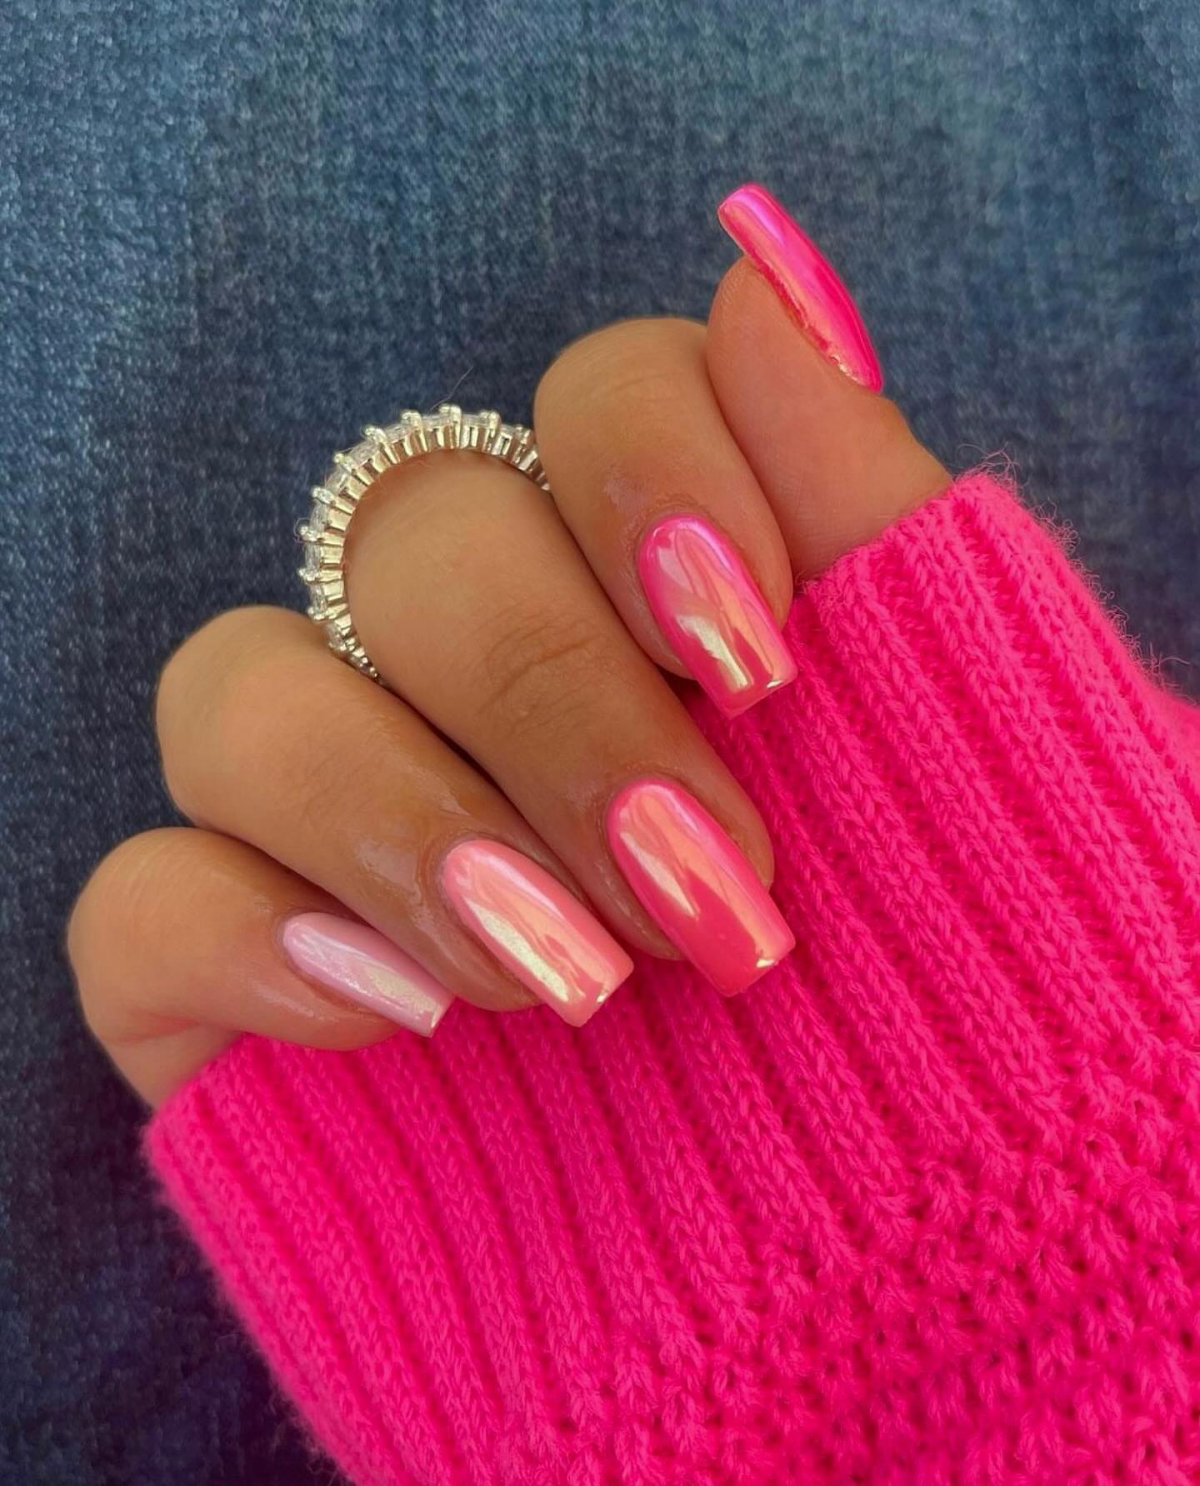
The Mirror-Finish Chrome Effect
That liquid-metal look is all about chemistry. Chrome powder won’t stick to a tacky gel surface; it needs a perfectly smooth, non-porous one. The secret is a “no-wipe” top coat.
After your pink base is cured, you apply a thin layer of no-wipe top coat and cure it fully (usually 60 seconds). While it’s still warm, you take an eyeshadow applicator and firmly rub the chrome powder onto the nail. It’s like magic! You’ll see it transform into a mirror. Then, dust off the excess with a soft, fluffy brush. Pro tip: I use a dedicated makeup brush that I only use for chrome to avoid contamination. To prevent chipping, sealing the free edge with a bonder, then a base coat, and then a final top coat is the secret to making it last.
A Quick Word on Safety (This Is Important!)
A great manicure is never worth compromising your health. As pros, we’re trained in safety and sanitation, and frankly, it’s the part of the job I take most seriously.
The Deal with Gel Allergies
I’ve seen more and more people develop sensitivities to gel products. It usually shows up as itchy or blistering skin around the nails. The main cause is repeated skin contact with uncured gel. This is why it’s so important that your nail tech works cleanly and immediately wipes away any product that touches your skin before it goes in the lamp.
How to Remove Your Manicure Safely
Please, I’m begging you: do not peel or pry off your nail enhancements. When you peel off gel or acrylic, you are literally ripping off the top layers of your natural nail. It leads to thin, weak nails that bend and break.
I once had a client who peeled off her acrylics at home, and her nails were so damaged they were paper-thin. It took us three months of careful treatments and patience to nurse them back to health. It’s just not worth it!
For gel, the correct way is to file off the shiny top coat and then soak your nails in acetone using cotton balls wrapped in foil for about 15 minutes. For acrylic or dip, removal is best left to a professional with an e-file. Trust me, your nails will thank you.
Galerie d’inspiration
Struggling with streaky pink polish, especially lighter shades?
The culprit is often too much polish on the brush. For a flawless, even finish, the secret is to apply three very thin coats instead of two thick ones. Before each stroke, wipe one side of the brush clean on the bottle’s neck, leaving just a small, controlled bead of polish on the other. Allow each coat to dry for at least two minutes before applying the next for a smooth, professional look.
The secret to a salon-grade
- Achieves a translucent, see-through splash of color.
- Creates a playful, glossy, candy-like effect.
- Perfect for encapsulating fine glitter or tiny heart decals.
The secret? A

According to a Mintel report, 35% of women who use nail products now prefer to do their nails at home.
This boom in DIY manicures has fueled incredible product innovation. You can now easily find salon-quality, long-wear polishes like Essie’s Gel Couture line or press-on nails from brands like Olive & June that offer stunning pink results and durability without the salon price tag or appointment.
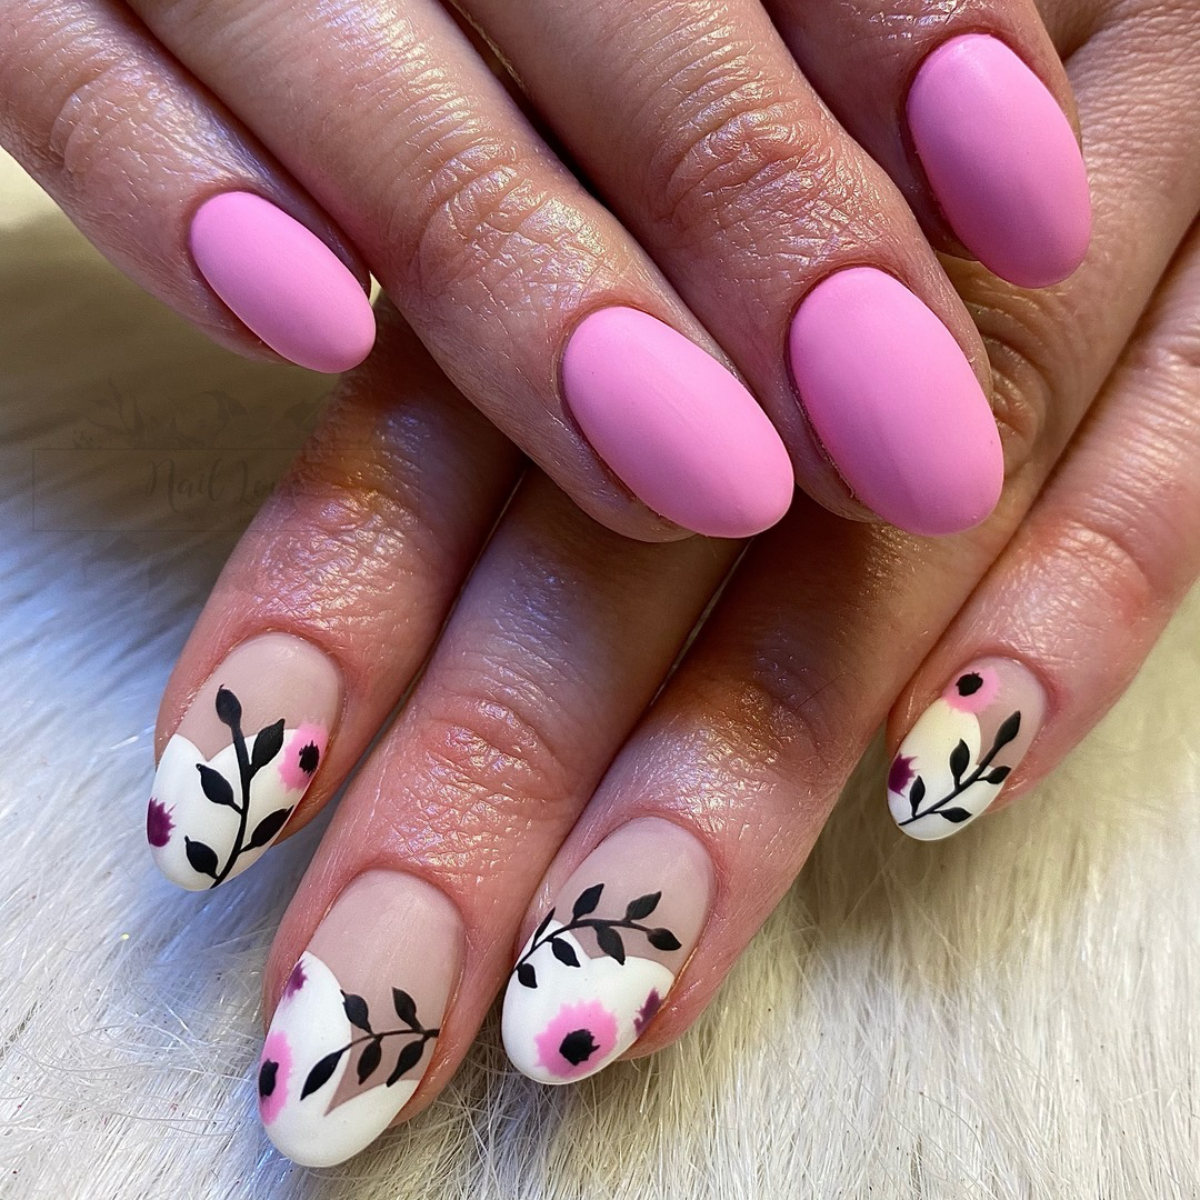
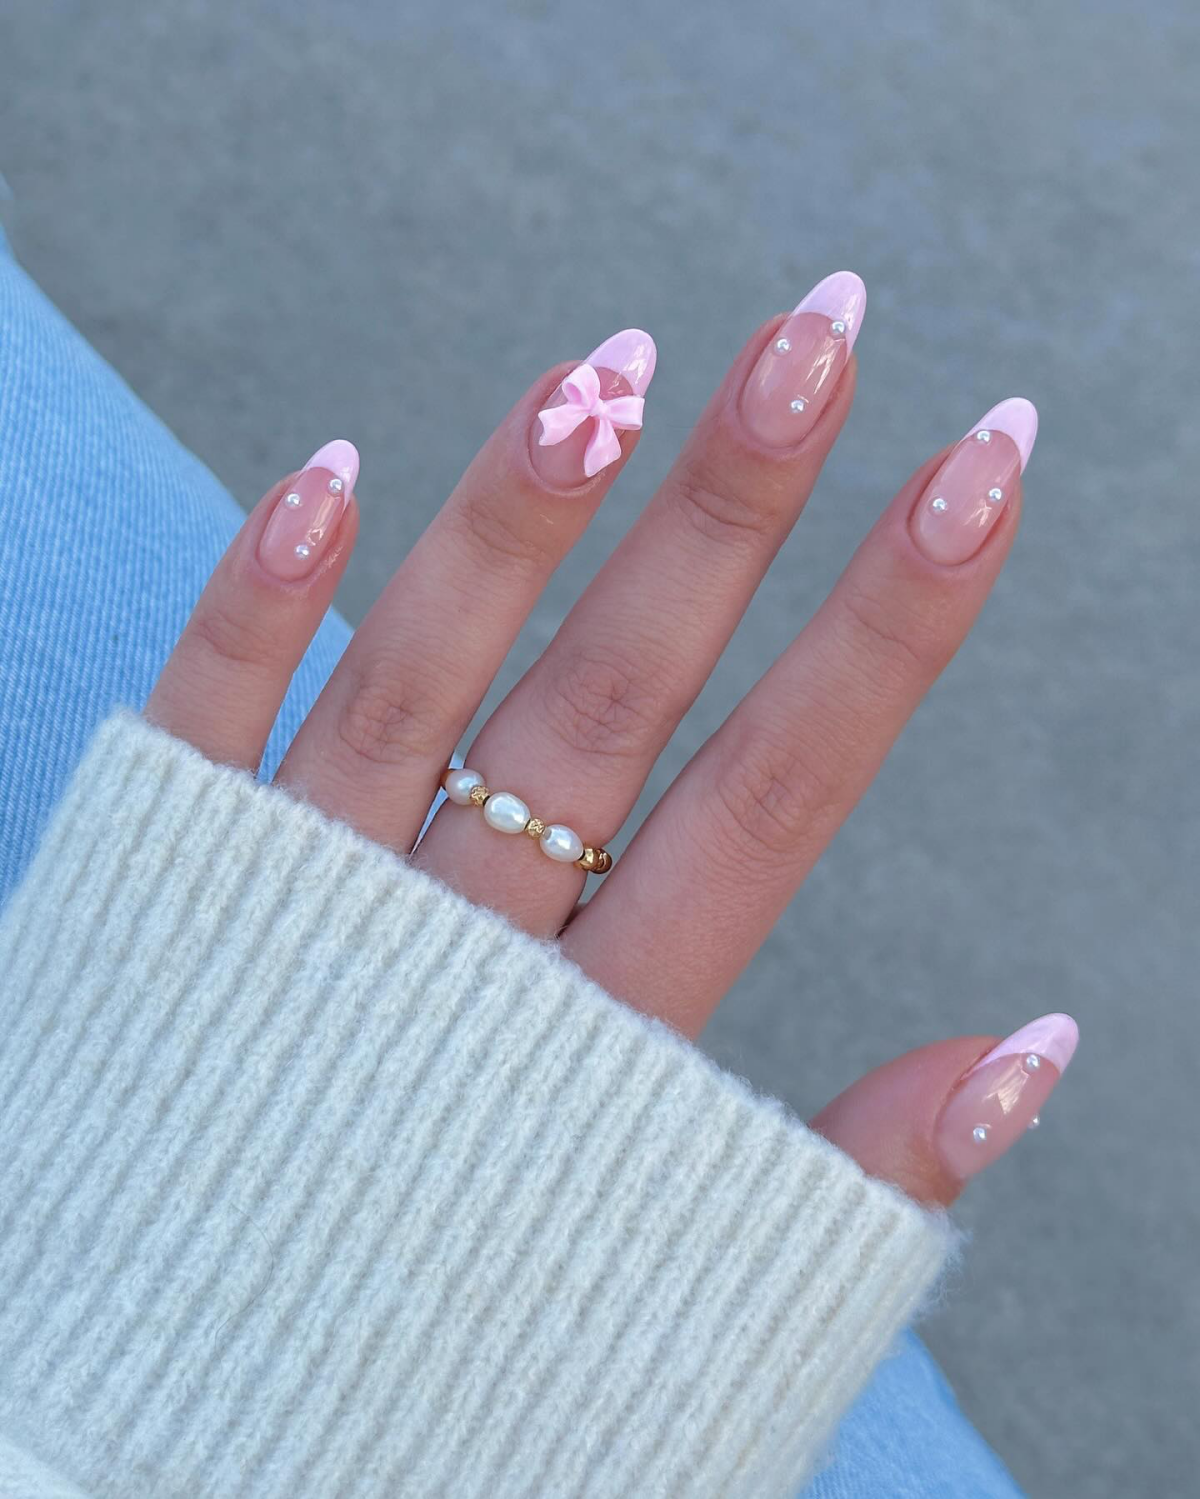
The right nail shape can transform your pink manicure from pretty to perfect. While personal preference is key, some shapes naturally flatter this versatile color.
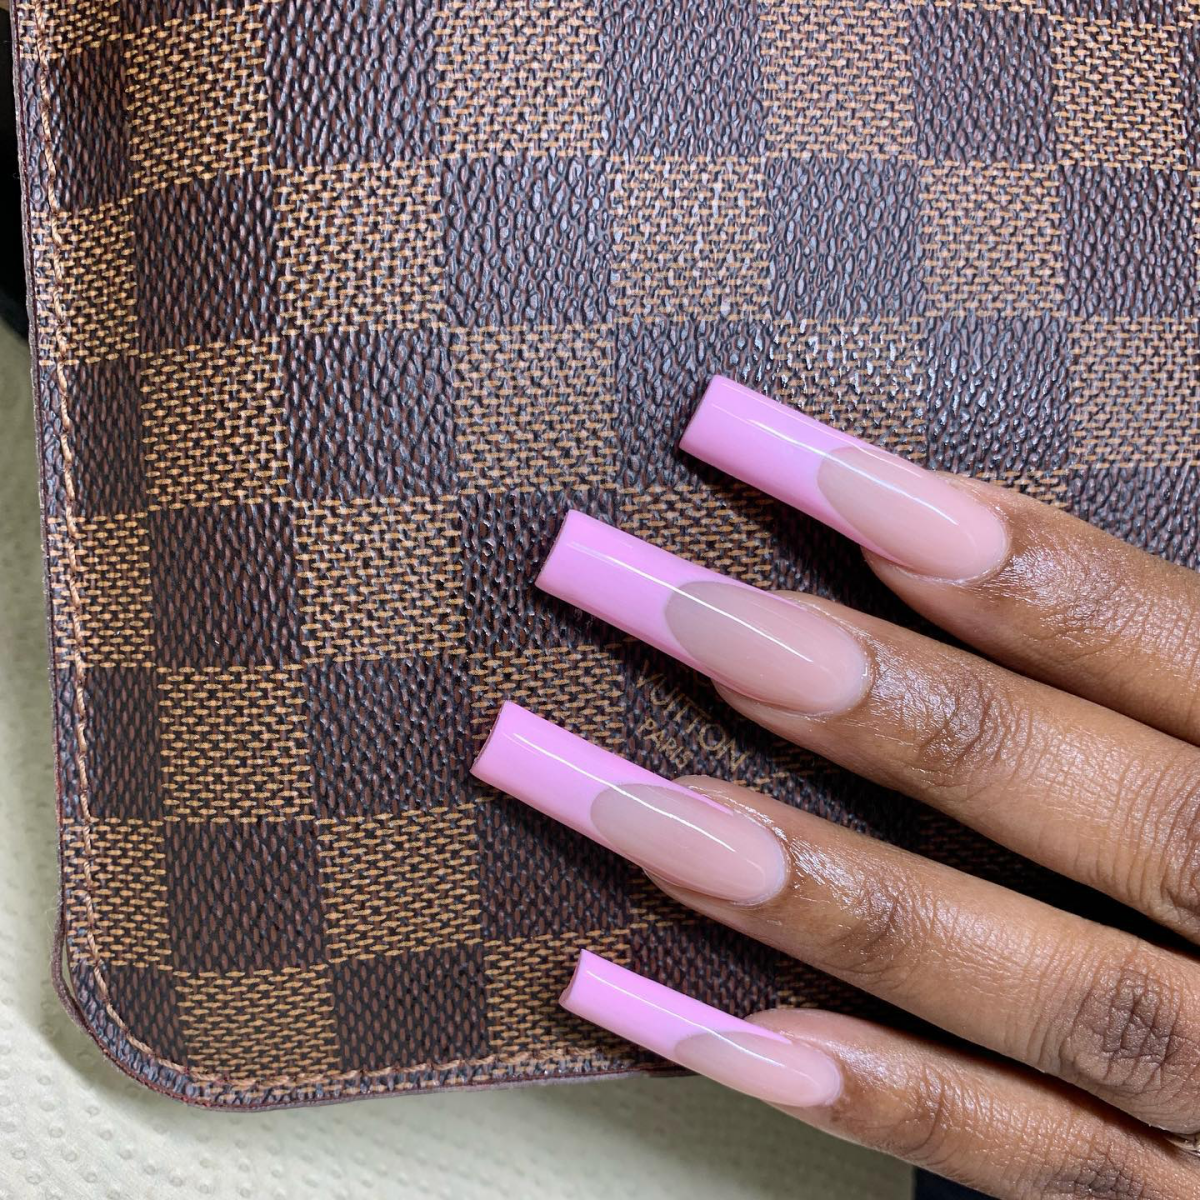
- Almond/Oval: Elongates the fingers and gives a hot pink a touch of modern elegance.
- Short Squoval: Provides a classic, clean canvas that makes soft bubblegum pinks look incredibly chic and tidy.
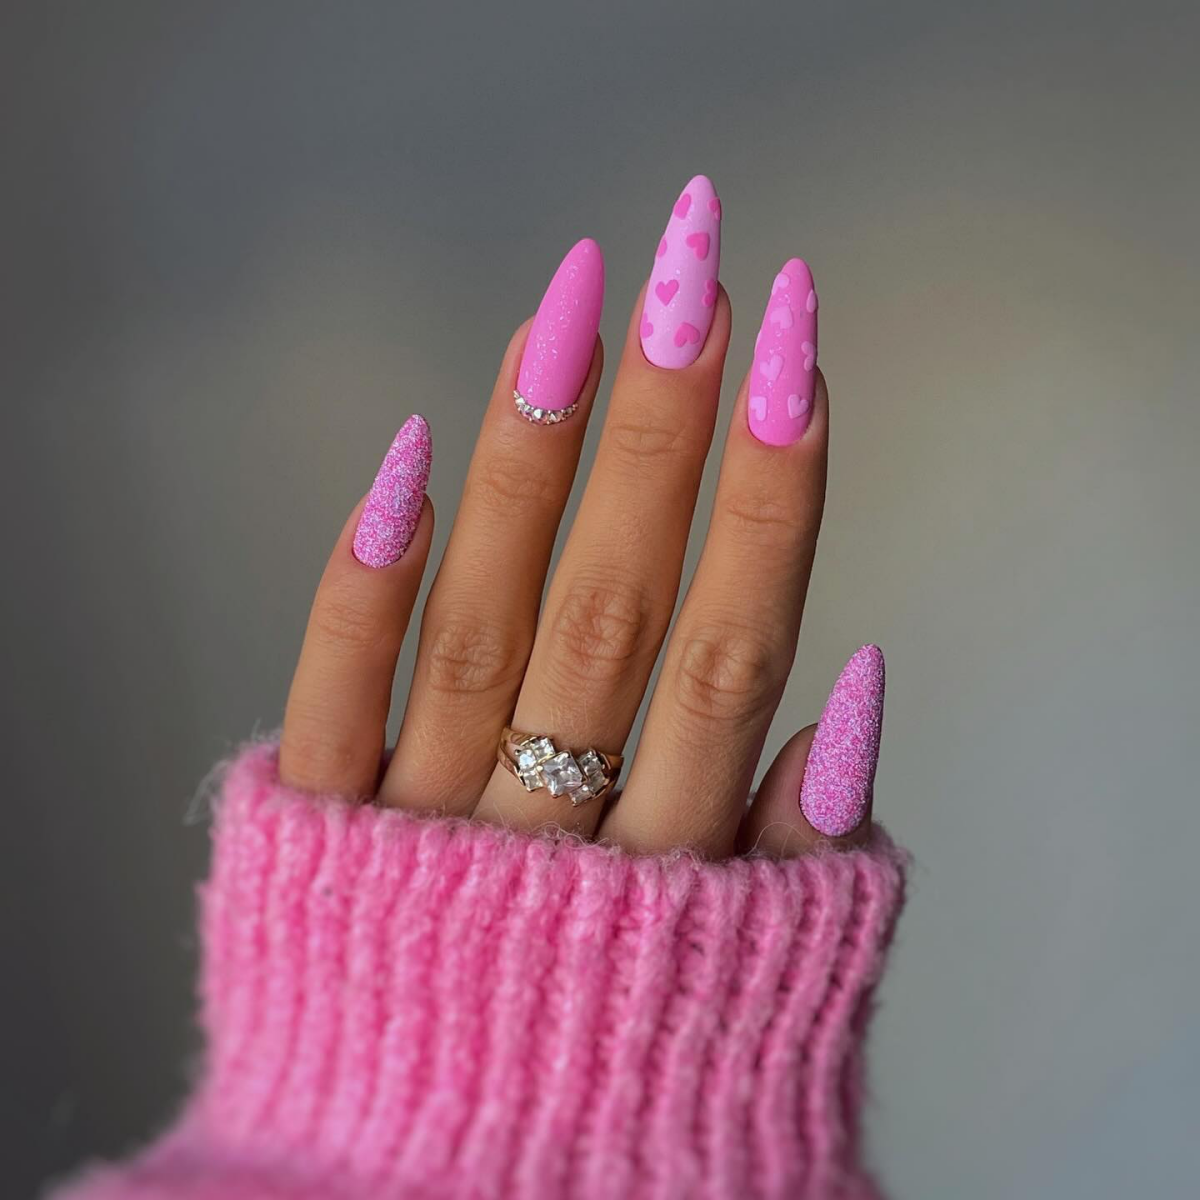
- Stiletto: The ultimate statement shape, ideal for showcasing a glittery or chrome-finished pink.
For a futuristic twist on classic pink, chrome powder is your best friend. After applying and curing a no-wipe gel top coat over your chosen pink (a bright fuchsia works wonders), gently rub a silver or iridescent chrome powder onto the nail with a small sponge applicator. The result is a stunning, liquid-metal effect that shifts in the light, turning a simple manicure into a work of art.
Gel Polish: Offers a high-gloss, durable finish for 2-3 weeks. Perfect for intricate designs as it only cures under a UV/LED lamp. Brands like OPI GelColor or CND Shellac are salon mainstays for vibrant, locked-in color.
Dip Powder: Known for its strength and longevity, often lasting over 3 weeks. The color is built with fine acrylic powder, from brands like SNS or Kiara Sky, creating a very resilient nail.
Both deliver brilliant pinks, but gel offers more artistic flexibility while dip provides superior strength.
The shade of pink you choose can set a distinct mood. A soft, blush pink like Essie’s
- A travel-size bottle of your specific pink polish for emergencies.
- A clear, fast-drying top coat to quickly reseal any small chips.
- A cuticle oil pen (the CND SolarOil pen is fantastic) to keep the area hydrated.
- A miniature crystal nail file to gently smooth any snags before they worsen.
Don’t skip the final step: Daily cuticle oil application. This isn’t just a salon indulgence; it’s essential maintenance. Hydrated cuticles prevent hangnails and, more importantly, keep the base of your manicure flexible. This simple act dramatically reduces the chance of lifting or chipping, making it the cheapest insurance policy for your flawless finish.
How do I safely remove gel polish at home to protect my nails?
First, gently file the shiny top coat off your gel polish. Then, soak cotton balls in 100% pure acetone and place one on each nail. Wrap each fingertip snugly in a small square of aluminum foil to hold the cotton in place and prevent evaporation. Wait 10-15 minutes, then gently push off the softened gel with an orange wood stick. Never force or scrape the polish off!
Glossy Top Coat: The timeless choice. It makes your hot pink look slick, vibrant, and reflective, amplifying its brightness and giving it that fresh, wet-look appearance.
Matte Top Coat: Instantly transforms the same hot pink into a chic, velvety statement. It gives the color a modern, almost rubberized texture that’s incredibly sophisticated and photographs beautifully.
For a trendy look, try a matte finish on all but one glossy
The color pink wasn’t widely associated with femininity until the 1940s. Before that, it was often considered a diminutive of red and, due to its boldness, was sometimes worn by young boys.
Today, its spectrum from soft blush to bold magenta allows for an incredible range of expression, from subtle and professional to loud and proud. The modern pink manicure reclaims the color as a symbol of chosen identity and personal style.
Is your favorite bottle of pink polish getting thick and stringy? Don’t throw it out or use acetone! Revive it with two or three drops of a dedicated nail polish thinner, like those from OPI or Seche. Roll the bottle gently between your palms—never shake, as that creates bubbles—to mix it in and restore the formula to its original smooth consistency.
How do I find the most flattering pink for my skin tone?
For fair or cool-toned skin, lean into soft, blue-based pinks or classic sheer shades. Medium and olive skin tones are beautifully complemented by warm, peachy pinks or vibrant corals. For deep skin tones, bold and saturated fuchsias or rich berry-pinks create a stunning, high-contrast look that truly pops.


