I’ll never forget a client who came back from two weeks in Costa Rica looking absolutely defeated. She’d splurged on a gorgeous, detailed manicure, but after days of surf, sand, and sunscreen, it was a wreck. Half the gel had peeled, her nails were chipped, and what was meant to be a fun little luxury became a daily frustration. Honestly, after more than a decade as a pro nail tech, I’ve seen this happen way too often. A great manicure should be part of the vacation fun, not a source of stress.
So, let’s get real. The perfect vacation manicure isn’t just about a pretty color. It’s about durability and choosing something that actually makes sense for your trip. What works for a weekend wandering museums in Europe will completely fail you on a 10-day beach trip. It all comes down to understanding the materials, and I’m here to walk you through it all—from picking the right service to knowing what to do if things go wrong.
The Foundation: Picking the Right Service for Your Trip
This is, without a doubt, the most important decision you’ll make. Each nail service has a totally different makeup, which affects its strength, flexibility, and how it stands up to the elements. Let’s break down the main players so you can choose wisely.
Think of it like this: traditional polish is your quick, budget-friendly option for a short trip, gel polish is the reliable all-rounder for most vacations, and dip powder is the heavy-duty choice for when you need maximum strength. Knowing the difference in cost and time can help you decide, too. A basic polish job might run you $25-$40, while gel or dip will typically land in the $50-$80 range, depending on your location and any nail art.
1. Good Ol’ Traditional Polish
You know this one! It’s the classic stuff in a bottle. It’s basically polymers dissolved in a solvent that evaporates, leaving a hard layer of color behind. Super simple and affordable.
Best For: Short trips of 2-3 days, city breaks with light activity, or if you like to change your color on the go.
The Reality: Because it dries into a rigid sheet, regular polish is brittle. Your natural nails have some flex, but the polish doesn’t, so… chip city. It’s also porous, which means water from the pool or shower can sneak underneath and weaken the bond.
Pro Tip: If you’re set on traditional polish, make sure the prep is perfect. A good tech will dehydrate the nail with an alcohol-based cleanser to remove any oils. Ask them to “cap the free edge”—that’s when they paint a thin line of base coat, color, and top coat right over the tip of your nail. It creates a seal. Still, be realistic and expect 3 days of good wear, max. Maybe pack your top coat for touch-ups.
2. Gel Polish (The Crowd Favorite)
Gel polish is a completely different beast. It’s a special formula that stays wet until it’s cured under an LED or UV lamp. That light triggers a chemical reaction that links all the molecules together into a super-strong, durable network.
Best For: Honestly, most vacations. Beach trips, week-long getaways, you name it. This is my go-to recommendation for about 90% of my clients heading out of town. It gives you about two weeks of flawless wear.
Why It Works: Cured gel is non-porous and flexible. It actually bends with your natural nail, which is why it resists chipping so well. It can handle chlorine, salt water, and most sunscreens. The whole process, from prep to the final shiny top coat, usually takes about an hour.
A Little Insider Info: Watch out for sunscreens with Avobenzone! It’s a common ingredient that can cause some lighter gel colors to get a yellowish or brownish tint. It’s not damaging the gel, just staining it. A quick fix? After you rub in your sunscreen, wipe your nails with a hand sanitizer or an alcohol pad to get the residue off. Problem solved.
3. Dip Powder (For Extra Armor)
Dip systems are a bit of a hybrid. First, a resin-like glue is painted on the nail, then the nail is dipped into a fine acrylic powder. You repeat this a few times to build up thickness and strength, then seal it all with an activator and top coat.
Best For: Travelers who need serious durability. Think adventure travel, hiking, or even just helping a friend move. It’s also great for people with naturally weak nails who want a strong overlay without adding length.
The Trade-Off: This method creates an incredibly hard, rigid coating. That strength is its main selling point, but it can also be a downside. If you smack your hand hard, a flexible gel nail might just bend and be fine. A rigid dip nail is more likely to crack or break right off.
Heads up! A BIG Safety Warning: I have to say this. Be very wary of salons where everyone dips their fingers into the same communal pot of powder. It’s a huge sanitation risk and is even banned in some states. A safe technician will always sprinkle the powder over your nail or pour it from a separate, clean container for you. If you see them using a communal pot, I’d seriously recommend walking out and finding another salon.
4. Hard Gel & Acrylic Extensions
These aren’t just coatings; they’re enhancements that build new length and shape. They’re the top-tier option for strength and transformation, but they’re also the most high-maintenance and costly, often starting at $75+ and going up from there.
Best For: People who are already used to wearing extensions or those who need a very strong, protective layer for a long trip.
My Honest Advice: Please don’t get extensions for the very first time right before a vacation. They change how you use your hands! Simple things like grabbing your credit card or buttoning jeans suddenly feel different. Give yourself a few days to adjust. And for a trip, keep the length practical. A moderate almond or soft square shape is way more durable than long, sharp stilettos that are just begging to get snagged on your luggage.
Matching Your Mani to Your Itinerary
Okay, so you’ve picked your service. Now for the fun part! But instead of just picking a random design you like, think about what you’ll actually be doing. A smart design choice can make all the difference.
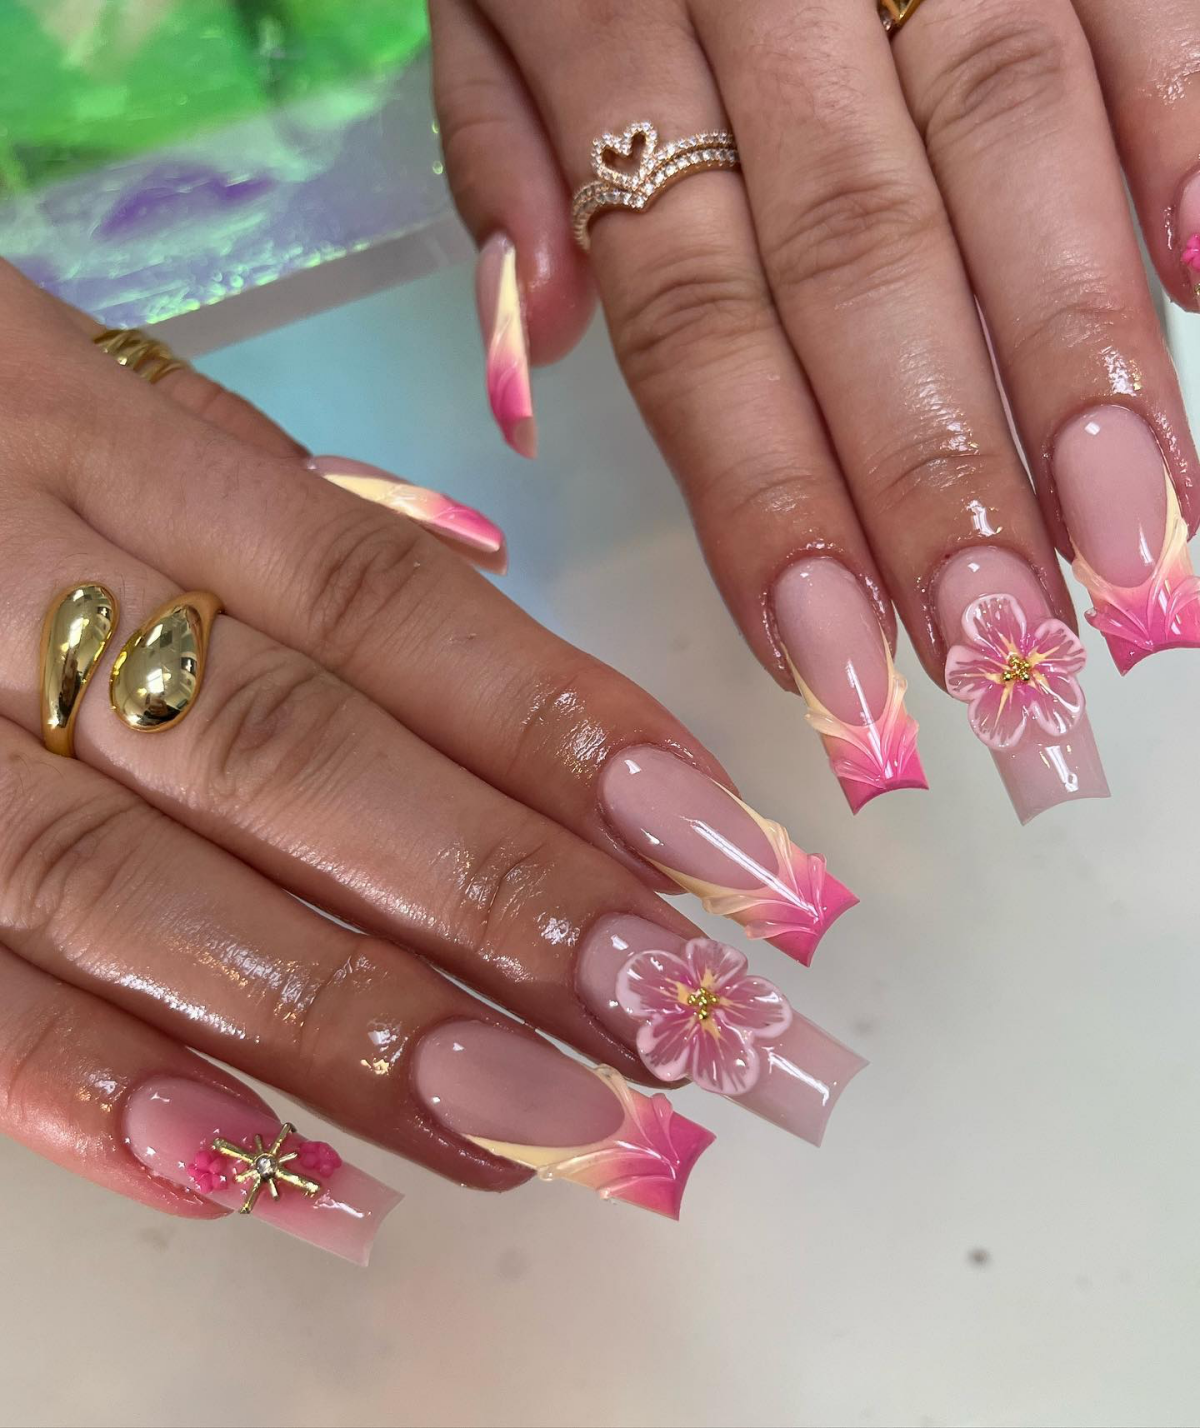
For the Beach Bum: A glitter fade or ombré is your best friend. The glitter is encapsulated right inside the gel, so it’s completely smooth and won’t get scratched up by sand. The best part? As your nails grow, the faded look makes the gap at your cuticle way less noticeable. It’s the perfect low-maintenance look.
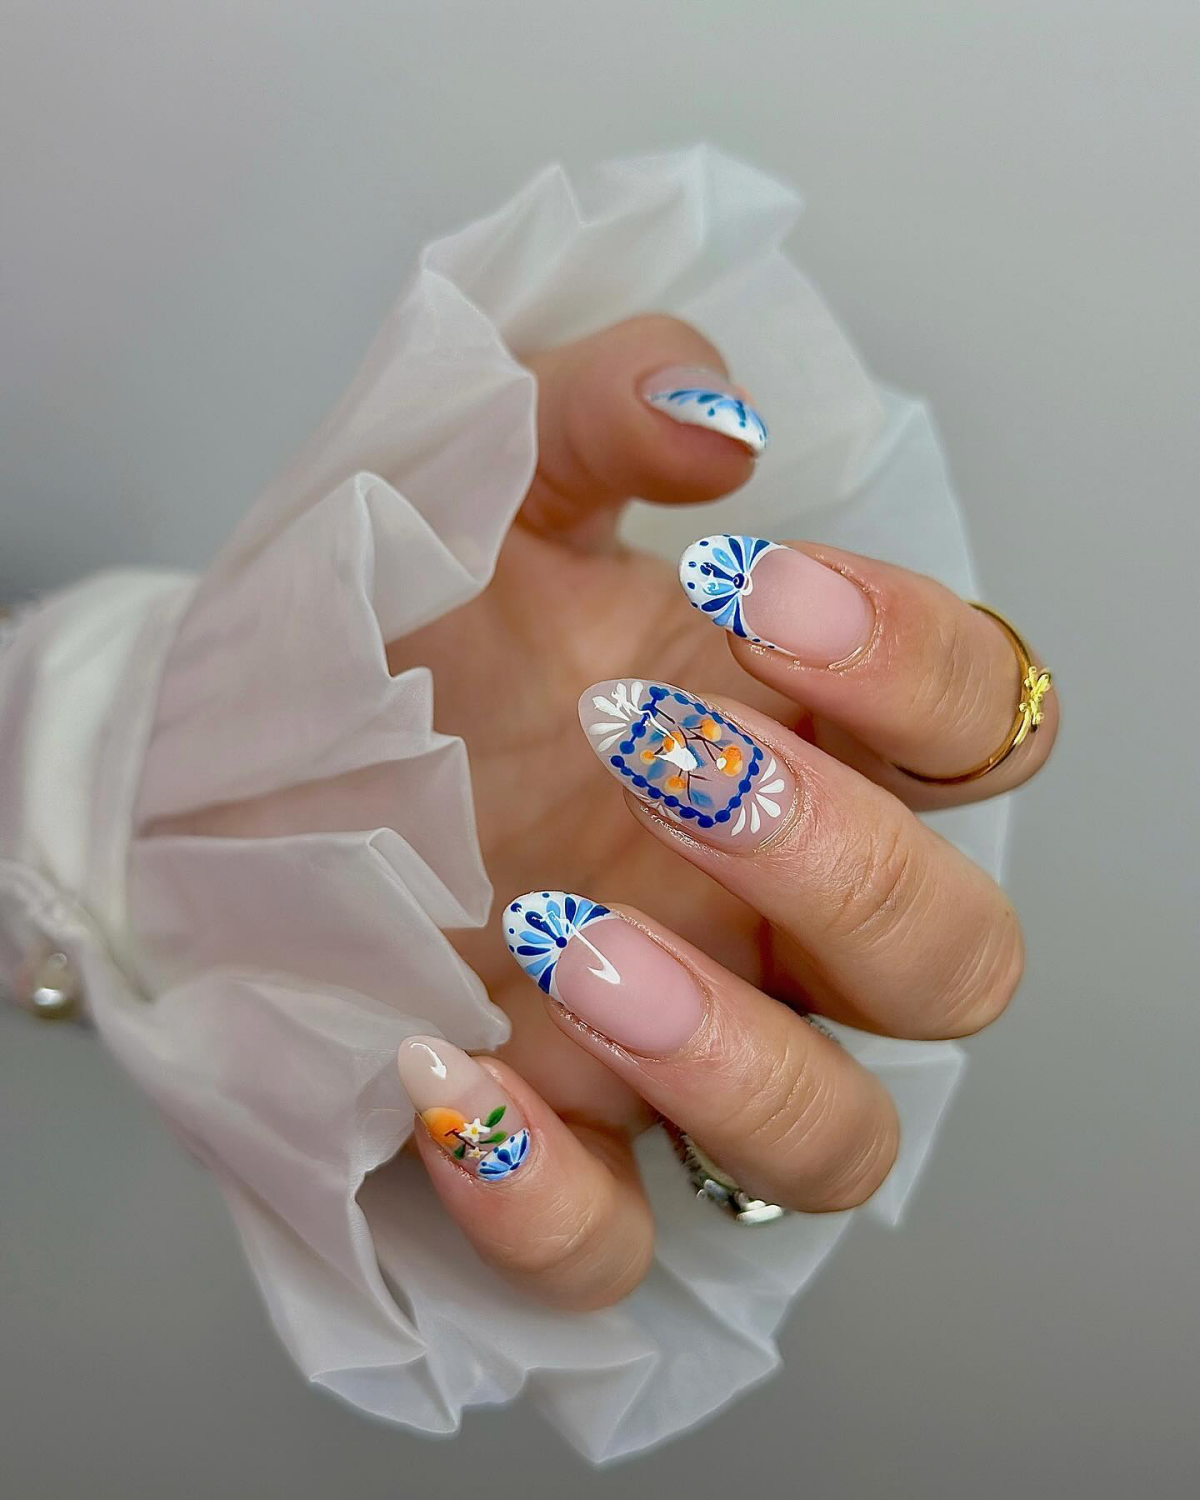
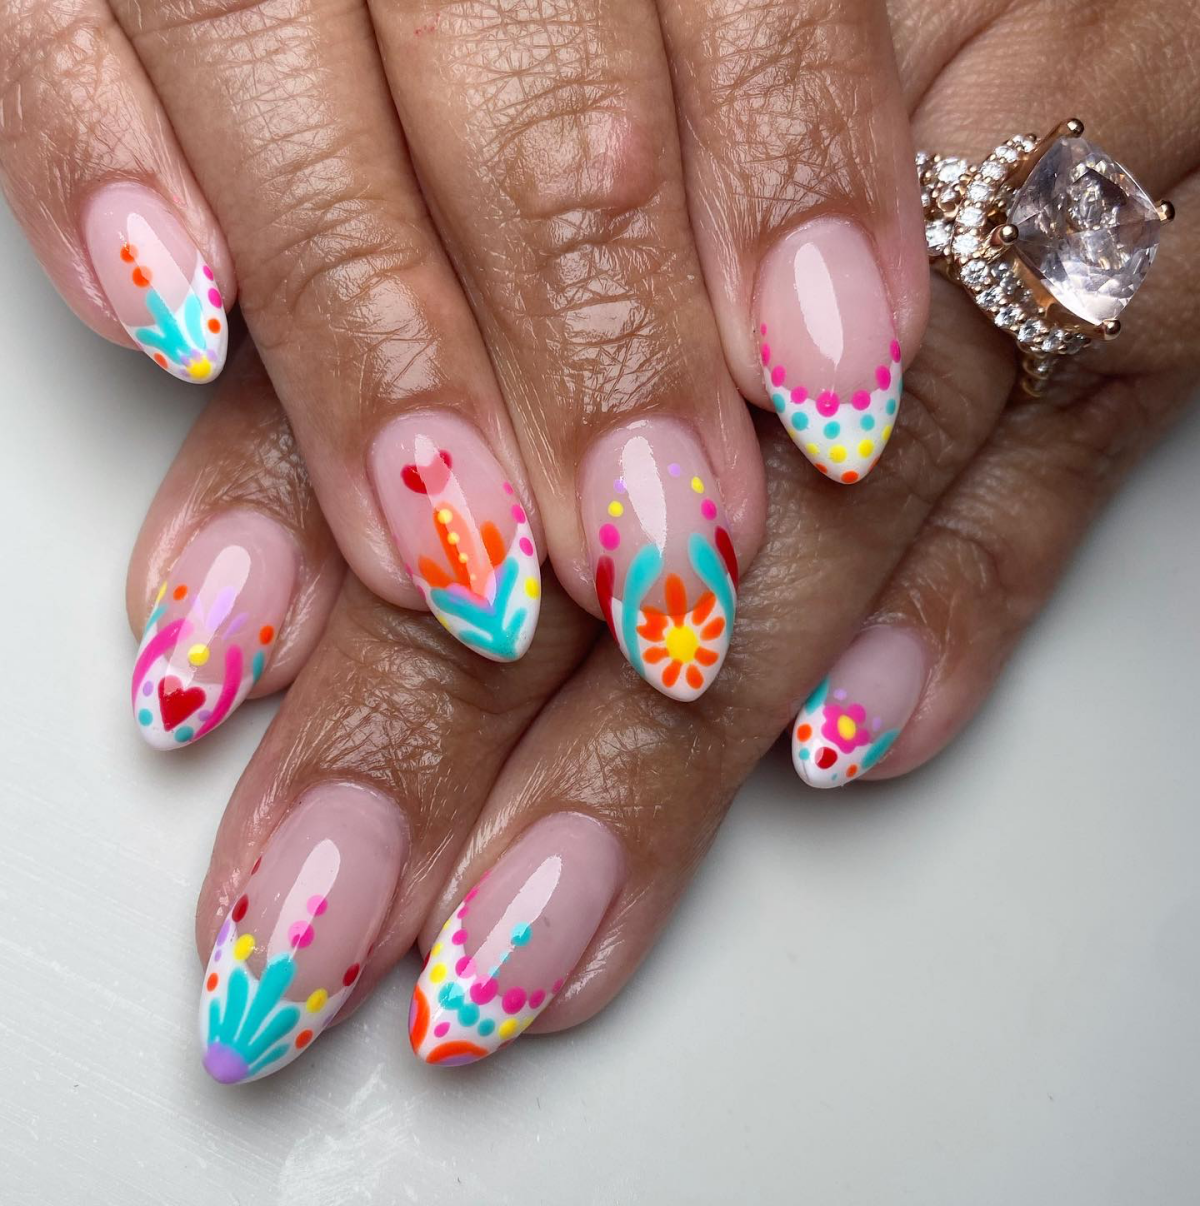
For the City Explorer: A classic, hand-painted gel design is perfect. It’s sophisticated for nice dinners but tough enough to handle carrying shopping bags all day. Since the art is sealed under a top coat, it’s completely protected and won’t chip or wear away.
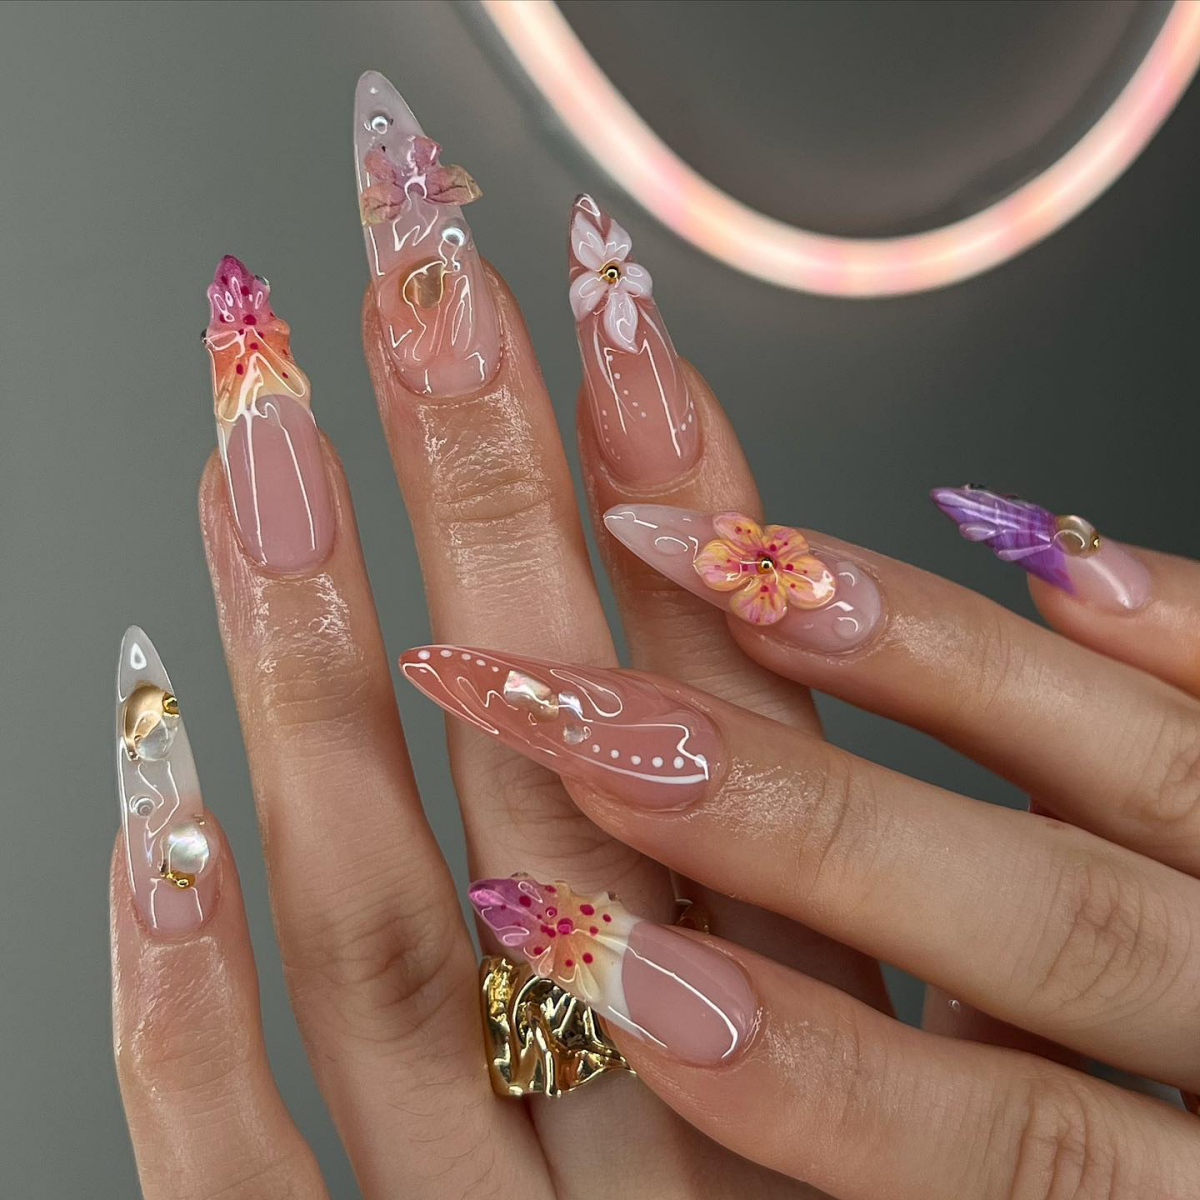
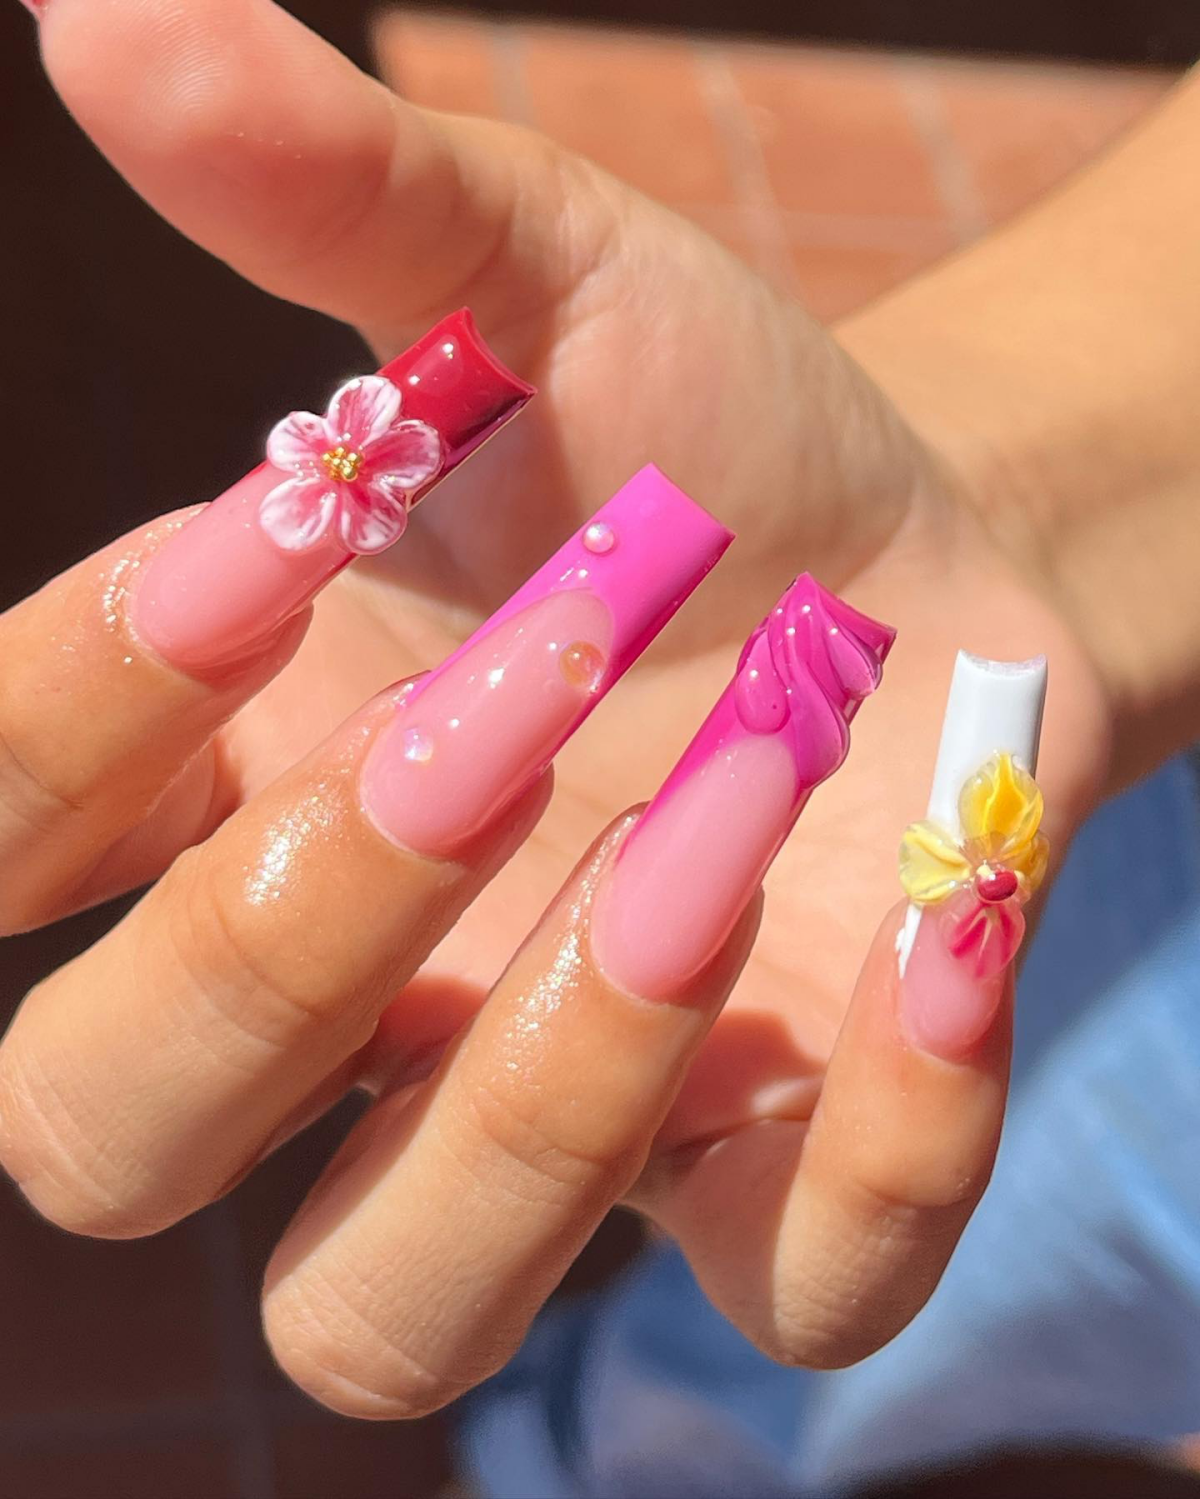
For the Adventure Junkie: You need durability above all else. A solid color in dip powder is a fantastic choice. Or, if you prefer gel, stick to a simple design. This is definitely not the time for big 3D charms or flashy crystals that can easily snag on gear or get knocked off while you’re out exploring.
Your Pre-Trip Nail Plan
Timing is everything. My golden rule? Book your nail appointment 2 to 3 days before you leave. NEVER the morning of your flight!
This gives you a little buffer. You can get used to the feel of your nails (especially with new extensions), and if there’s a tiny issue, like a bubble or a lifting edge, you have time to pop back to the salon for a quick fix.
Your On-the-Go Nail Emergency Kit
Even with the best prep, accidents happen. Being prepared can save you a lot of grief. I always tell my clients to pack a tiny ‘nail first-aid kit’.
You just need these four things:
A Soft Nail File: To gently smooth any snags or small chips before they get worse. Glass files are great for travel because they last forever.
Nail Glue: Just a tiny tube. If you get a crack or a full break, a little dab of glue can hold things together until you get home. You can find it at any drugstore for a couple of bucks.
A Clear Top Coat: If you opted for regular polish, this is a must for quick touch-ups. It can also help seal a small chip on a gel nail in a pinch.
Cuticle Oil: This is the secret weapon! Keeping your cuticles and the surrounding skin hydrated makes your nails more flexible and less prone to breaking. A little pen or rollerball is perfect for your bag.
And there you have it. With a little planning, your nails can be the last thing you have to worry about on your trip. Now go have fun!
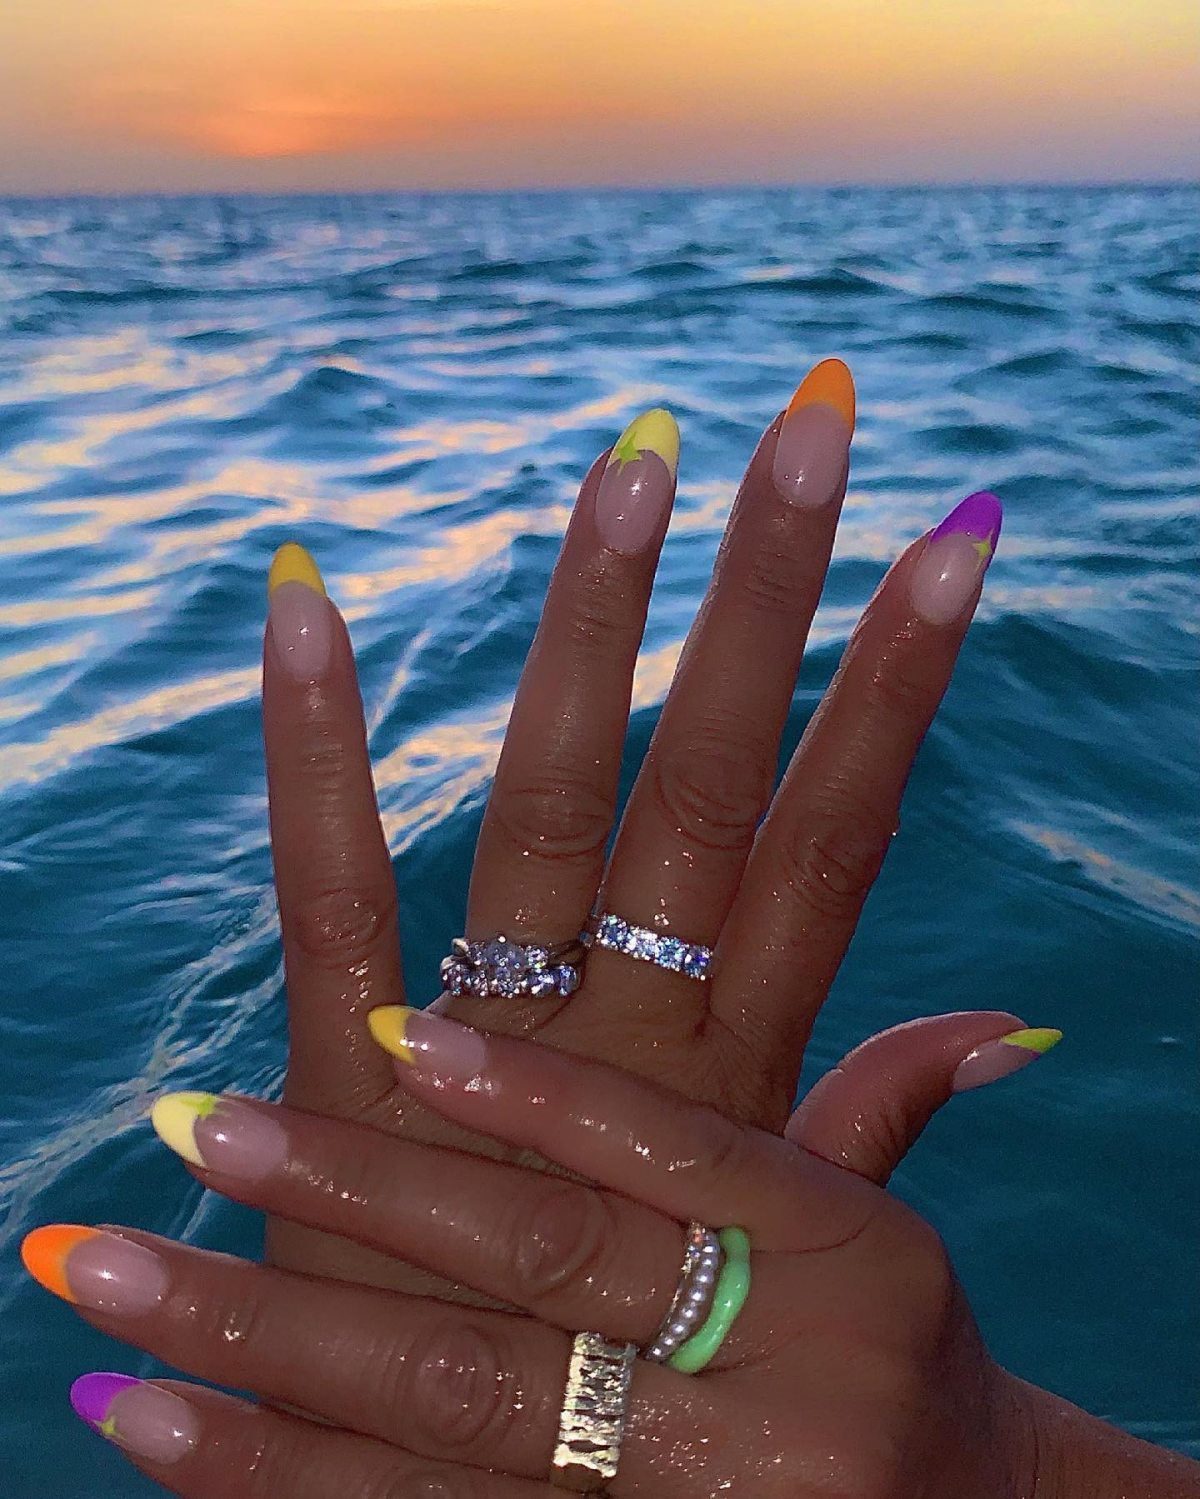
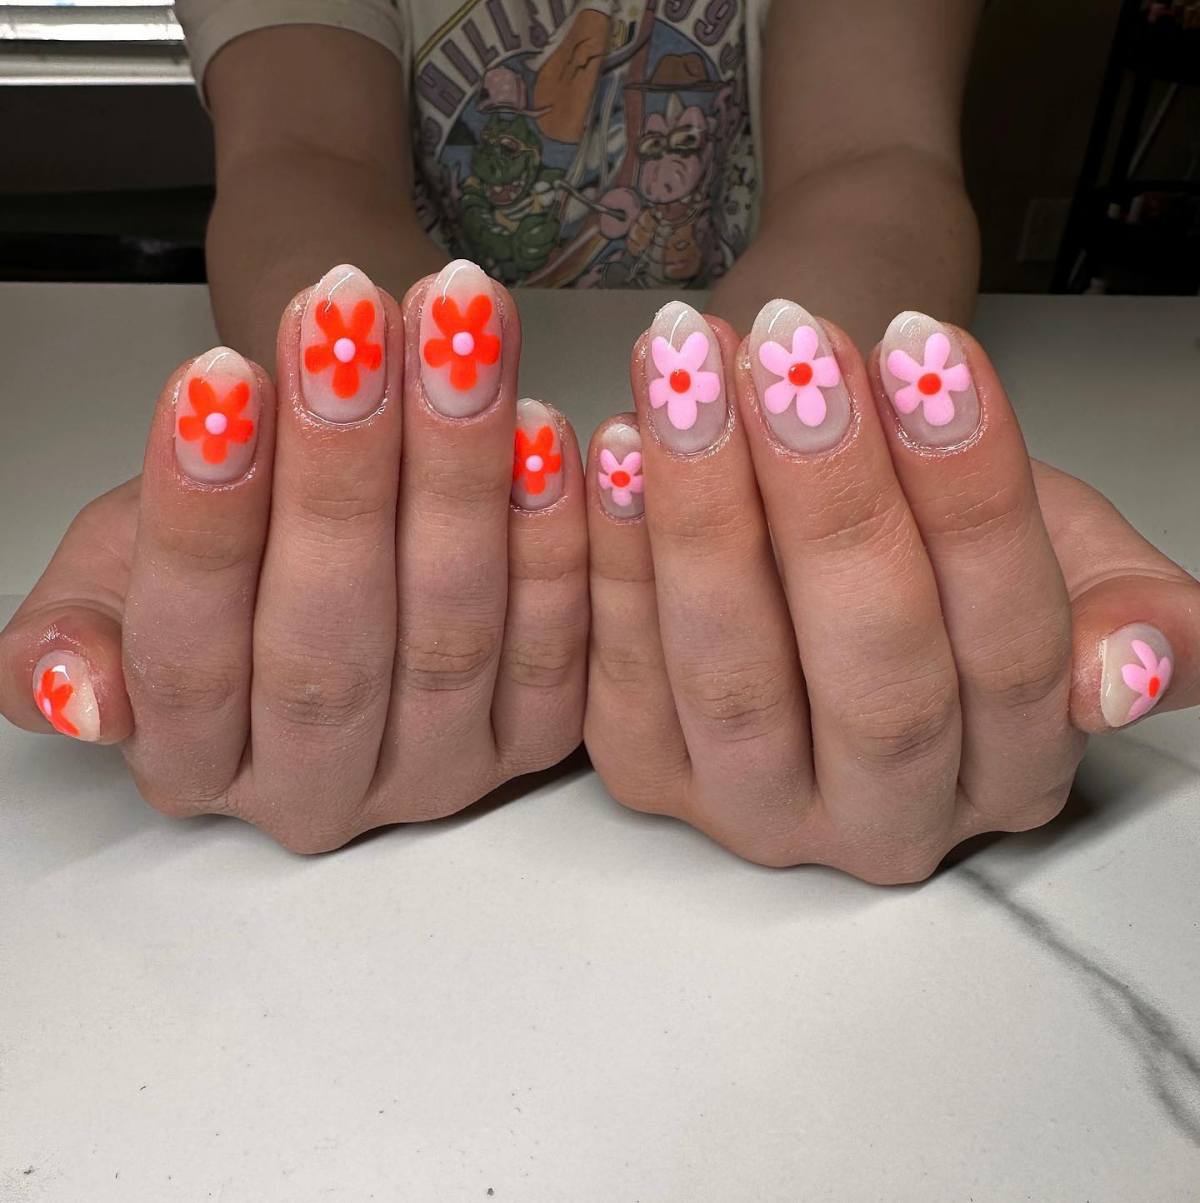
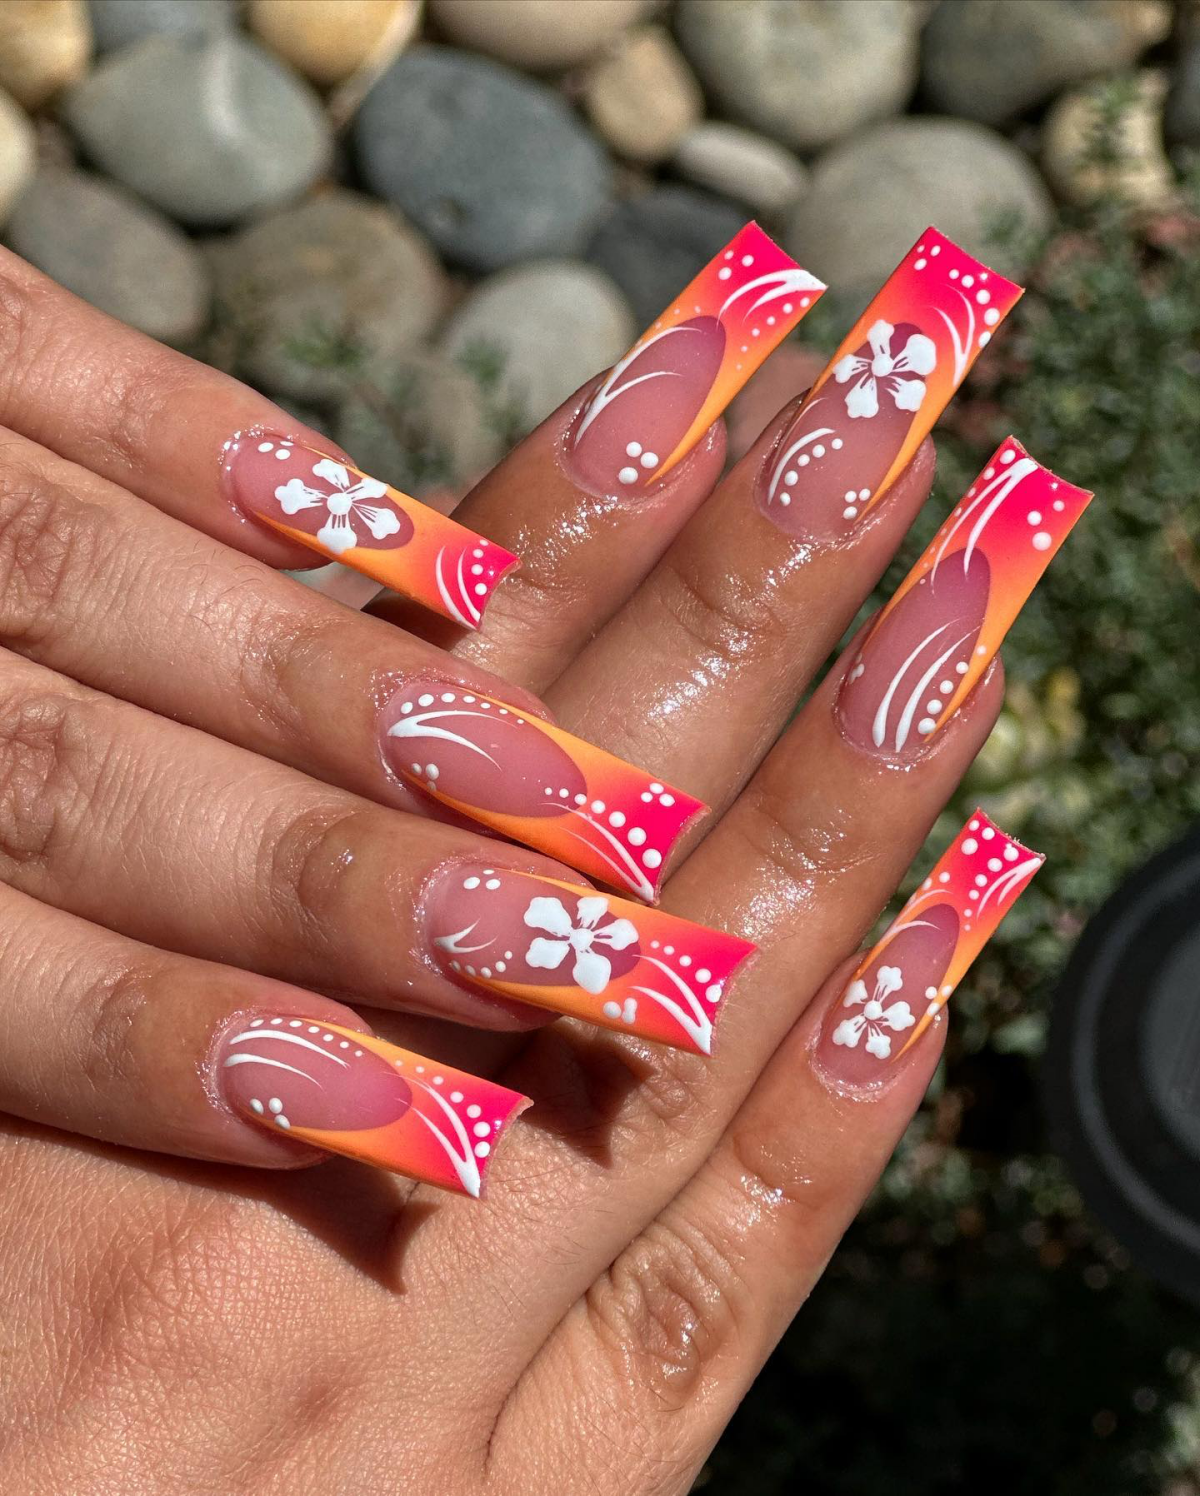
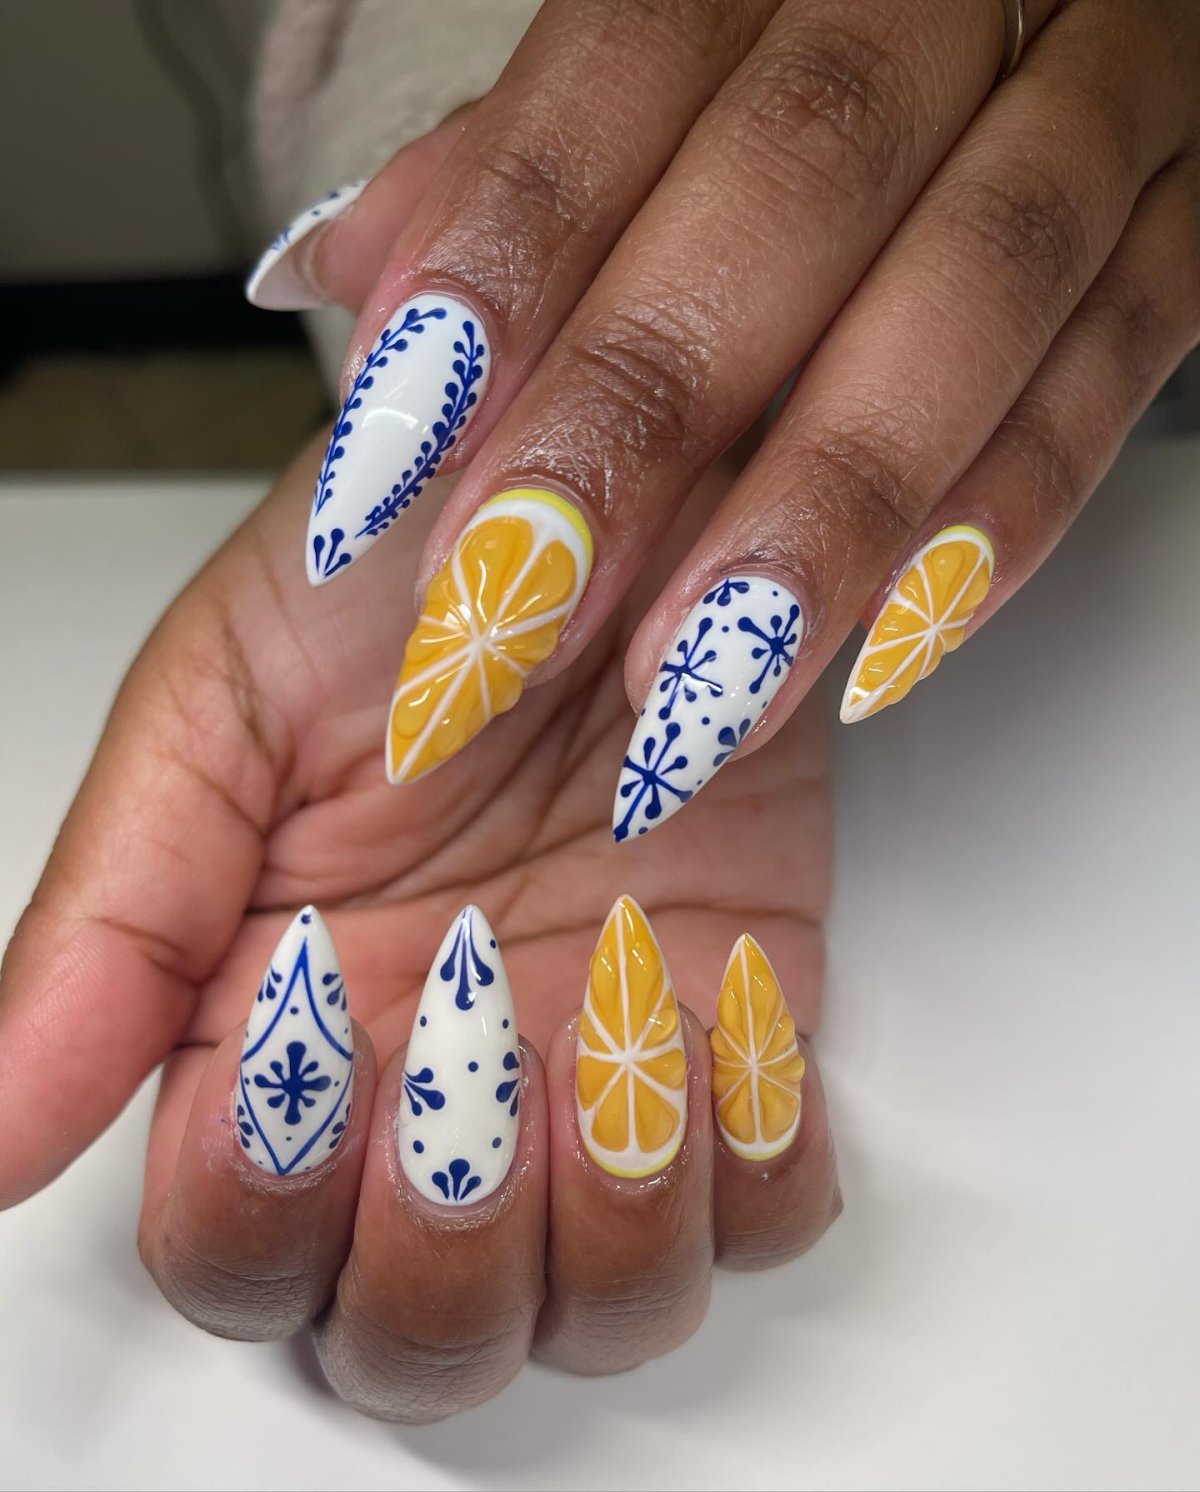
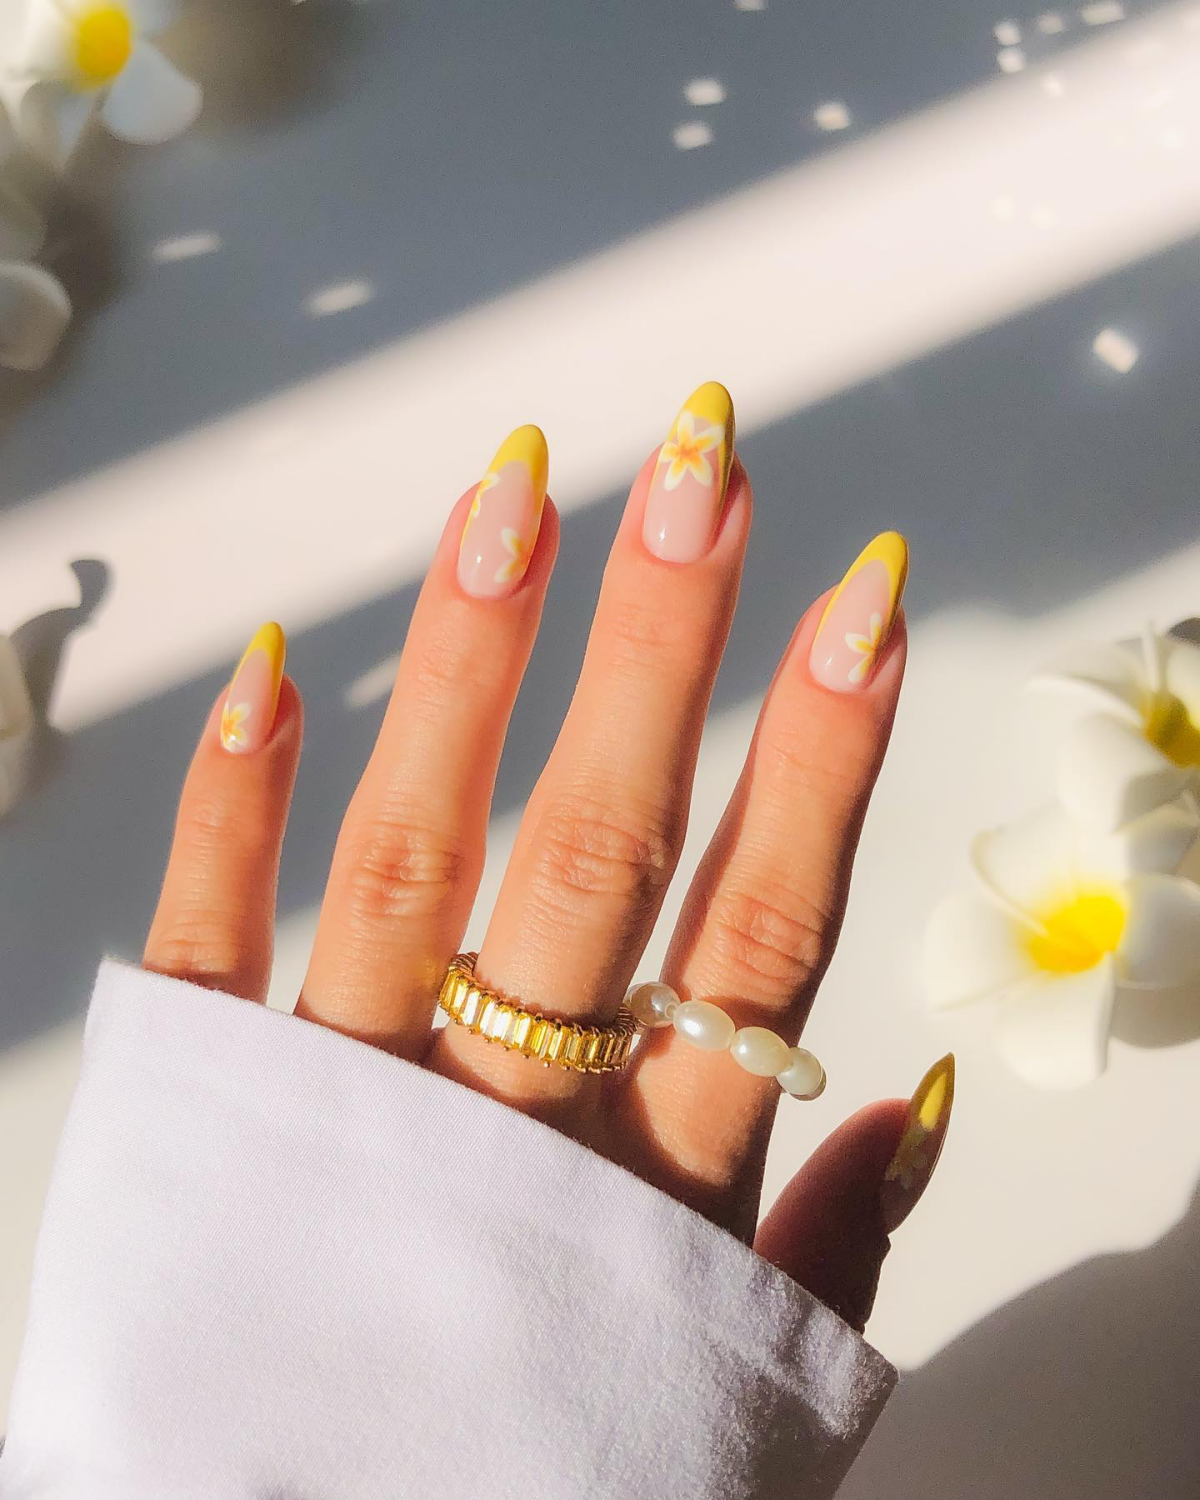
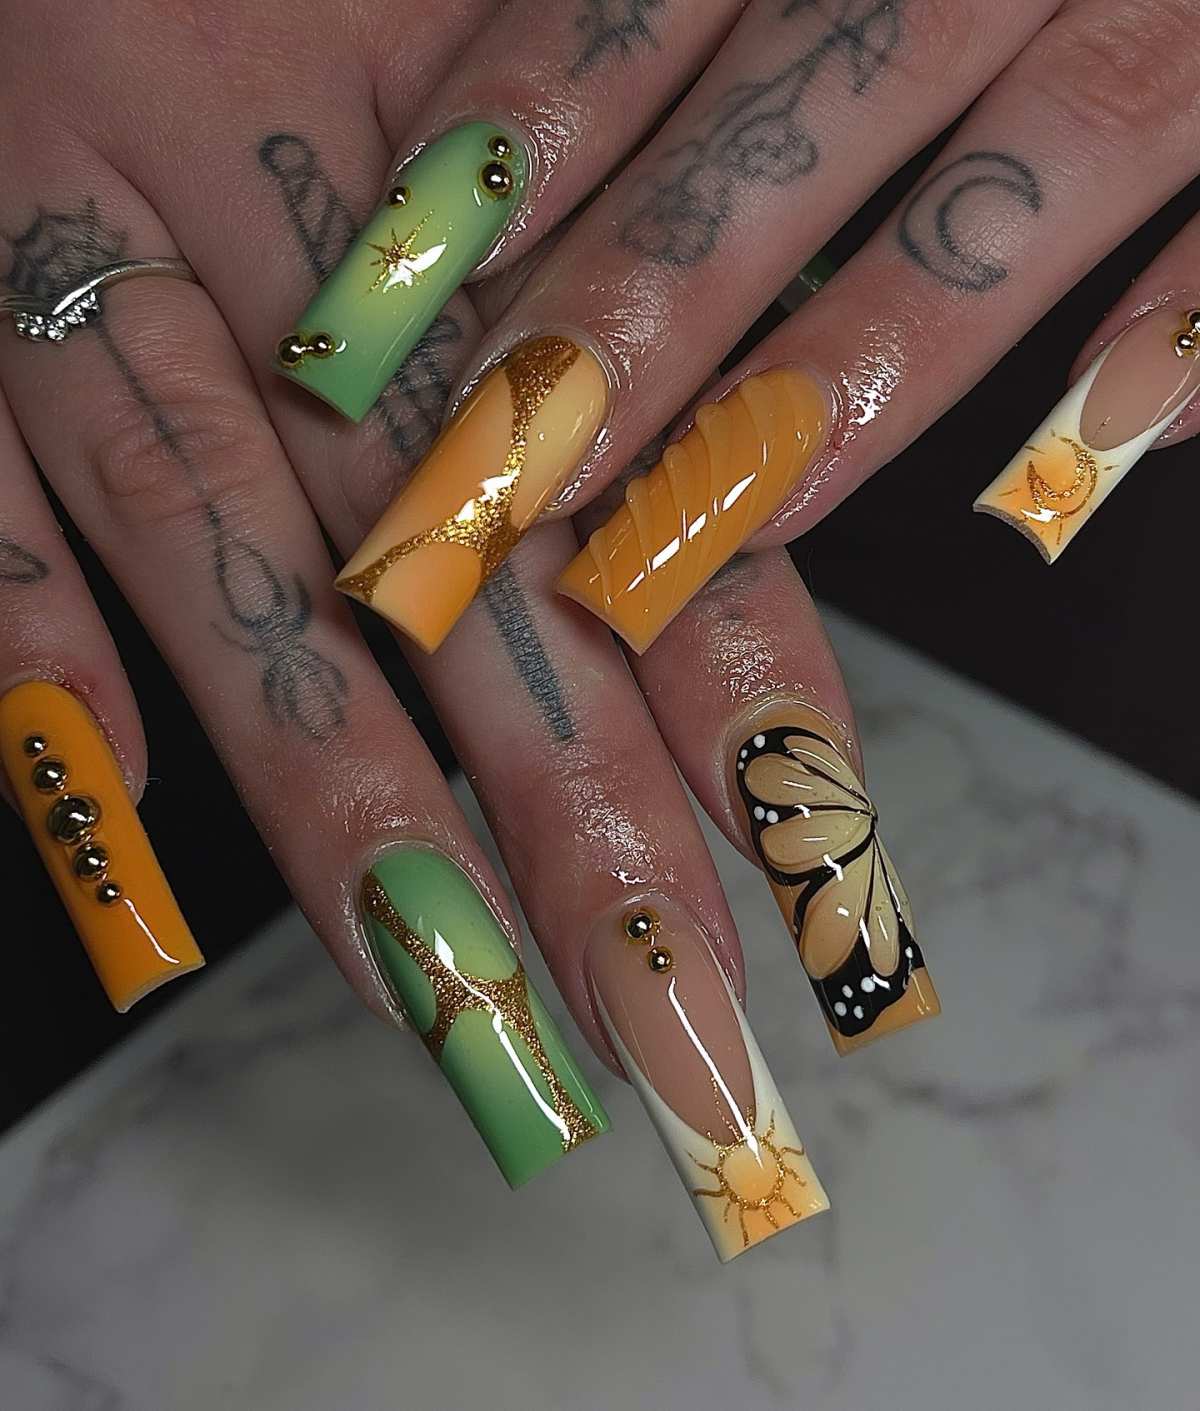
Galerie d’inspiration
Thinking about the new kid on the block, BIAB™?
BIAB™, or
Apply sunscreen with the back of your hands to avoid getting greasy lotions on your nail beds.
Use a makeup sponge or an application brush for putting lotion on your body.
Prioritize spray or stick sunscreens to minimize contact with your manicure.
The secret? The oils in many sunscreens can degrade the top coat of your polish, leading to a dull finish or even causing gel to lift.
The number one enemy of a long-lasting manicure isn’t chipping—it’s dehydration. Sun, salt, and chlorine strip essential moisture from your nails and cuticles, causing polish to lift and peel.
Post-Vacation Removal: Gel Polish: Can often be soaked off at home with acetone-soaked cotton balls and foil, though professional removal is always the safest to protect nail integrity.
Post-Vacation Removal: Dip Powder: This is much tougher due to its layered, resin-based structure. It requires significant filing and soaking. We strongly recommend a professional removal to avoid thinning or damaging the natural nail plate.
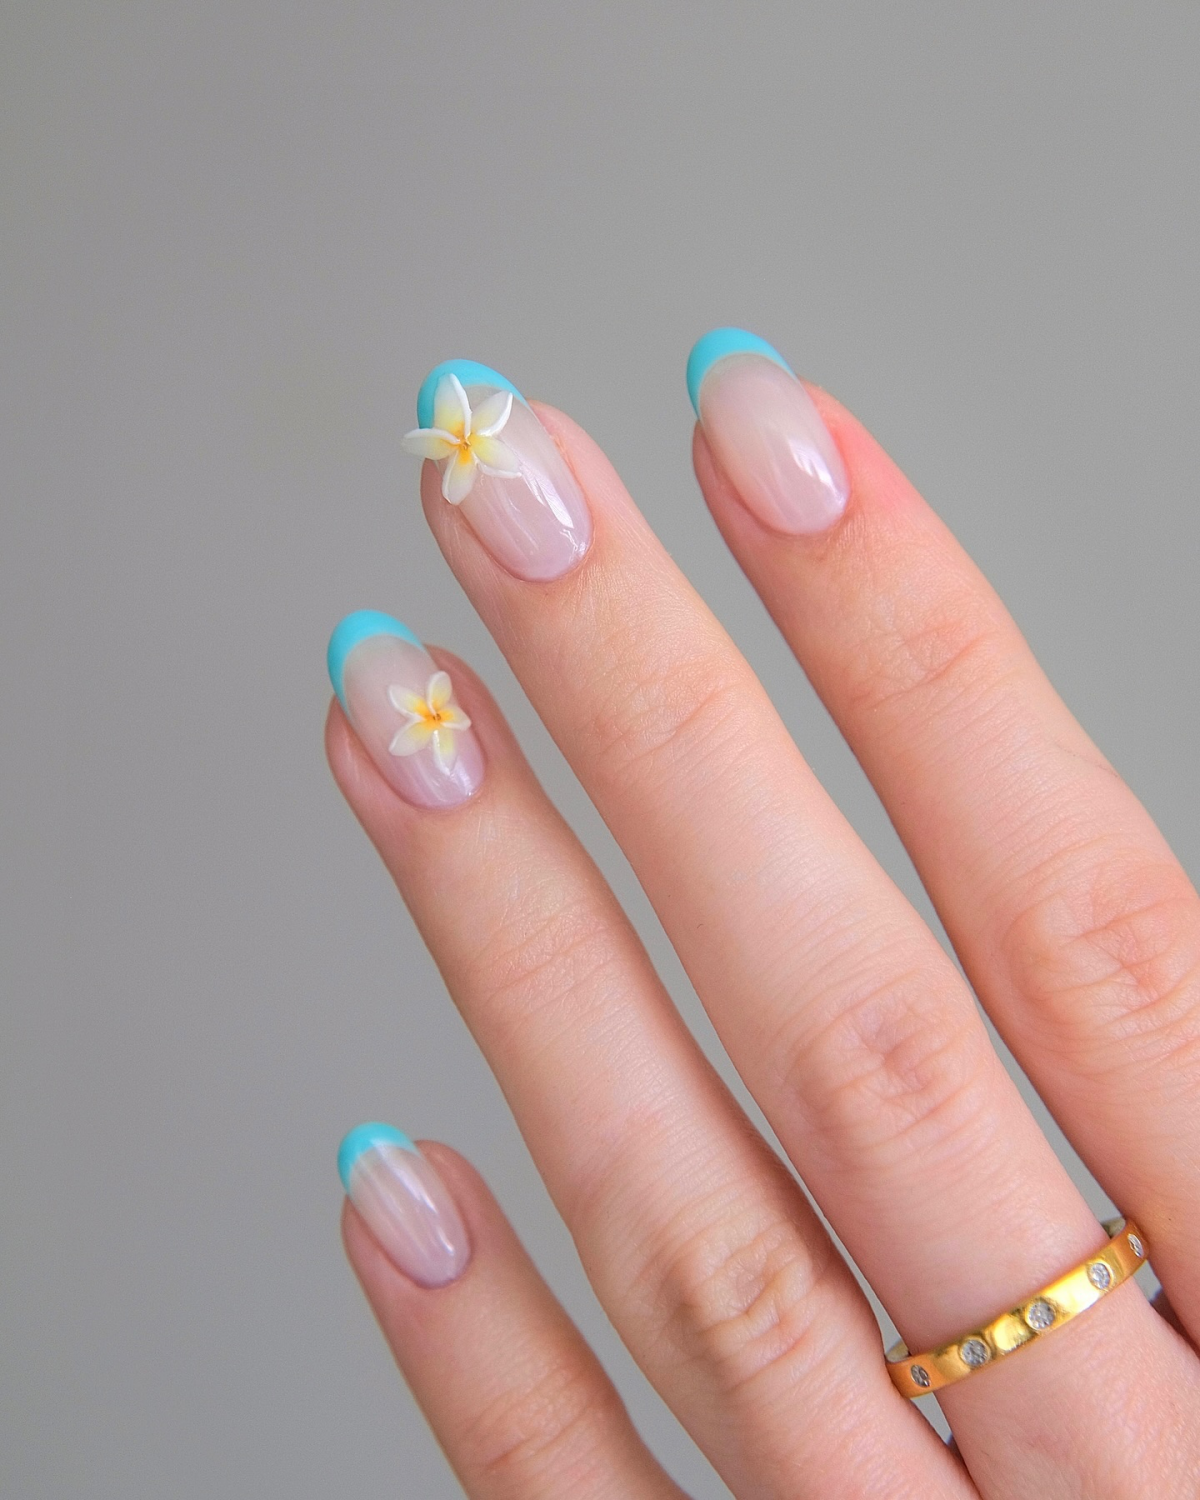
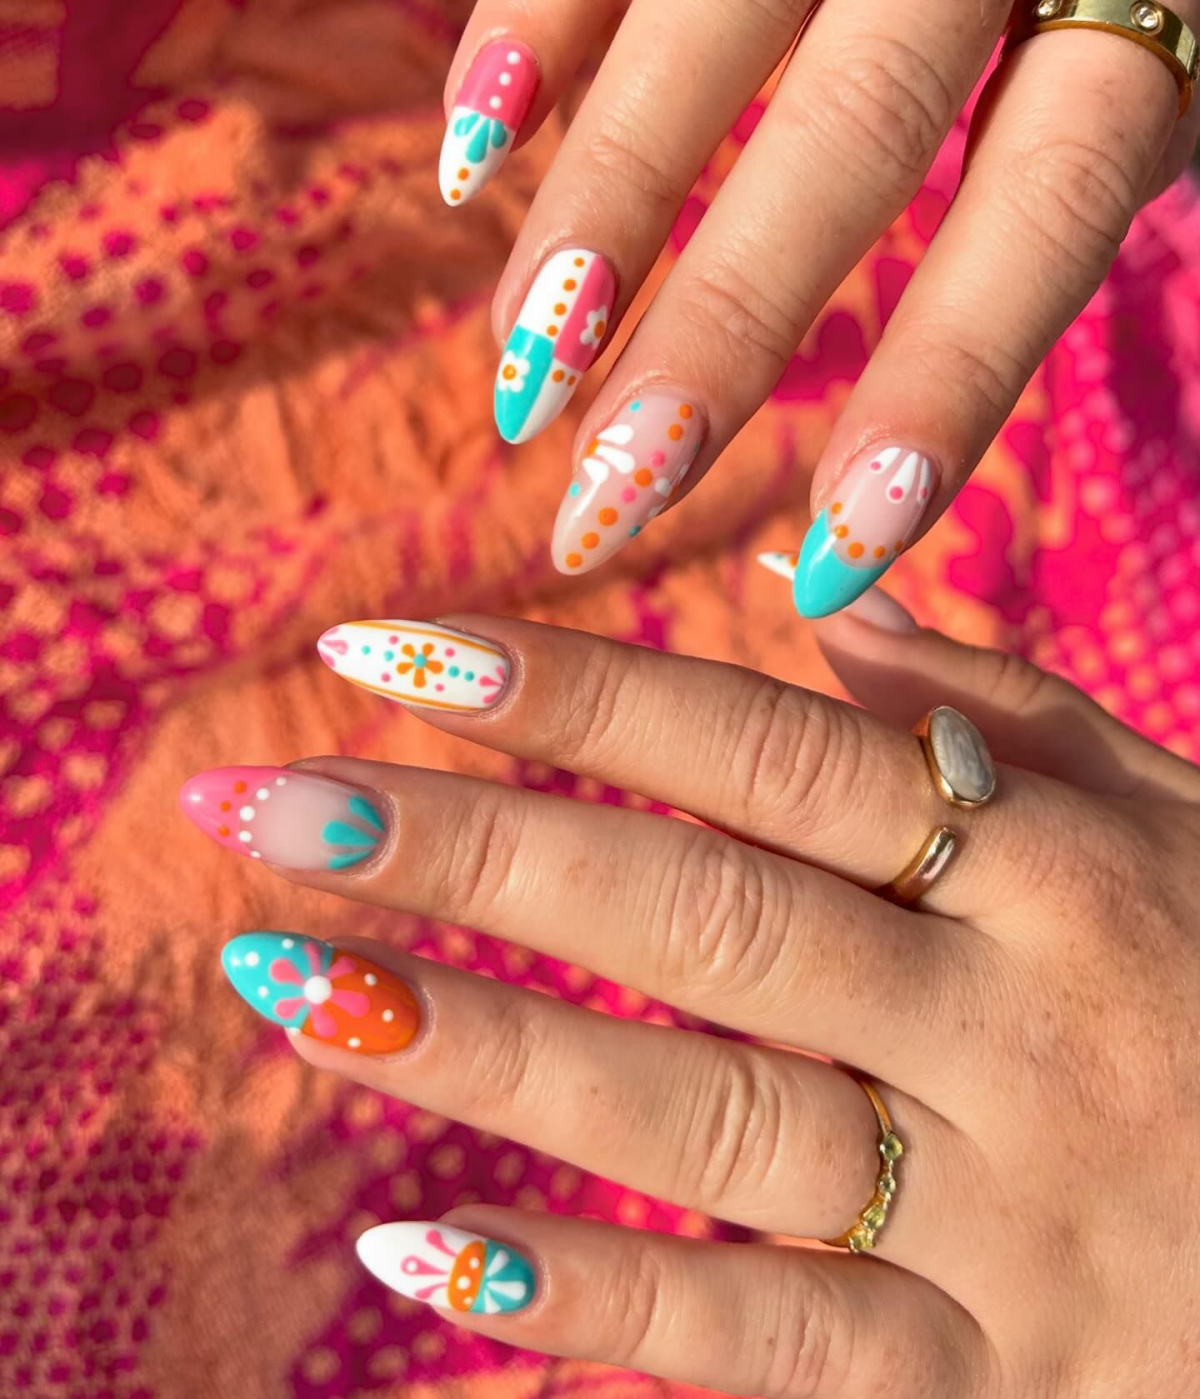
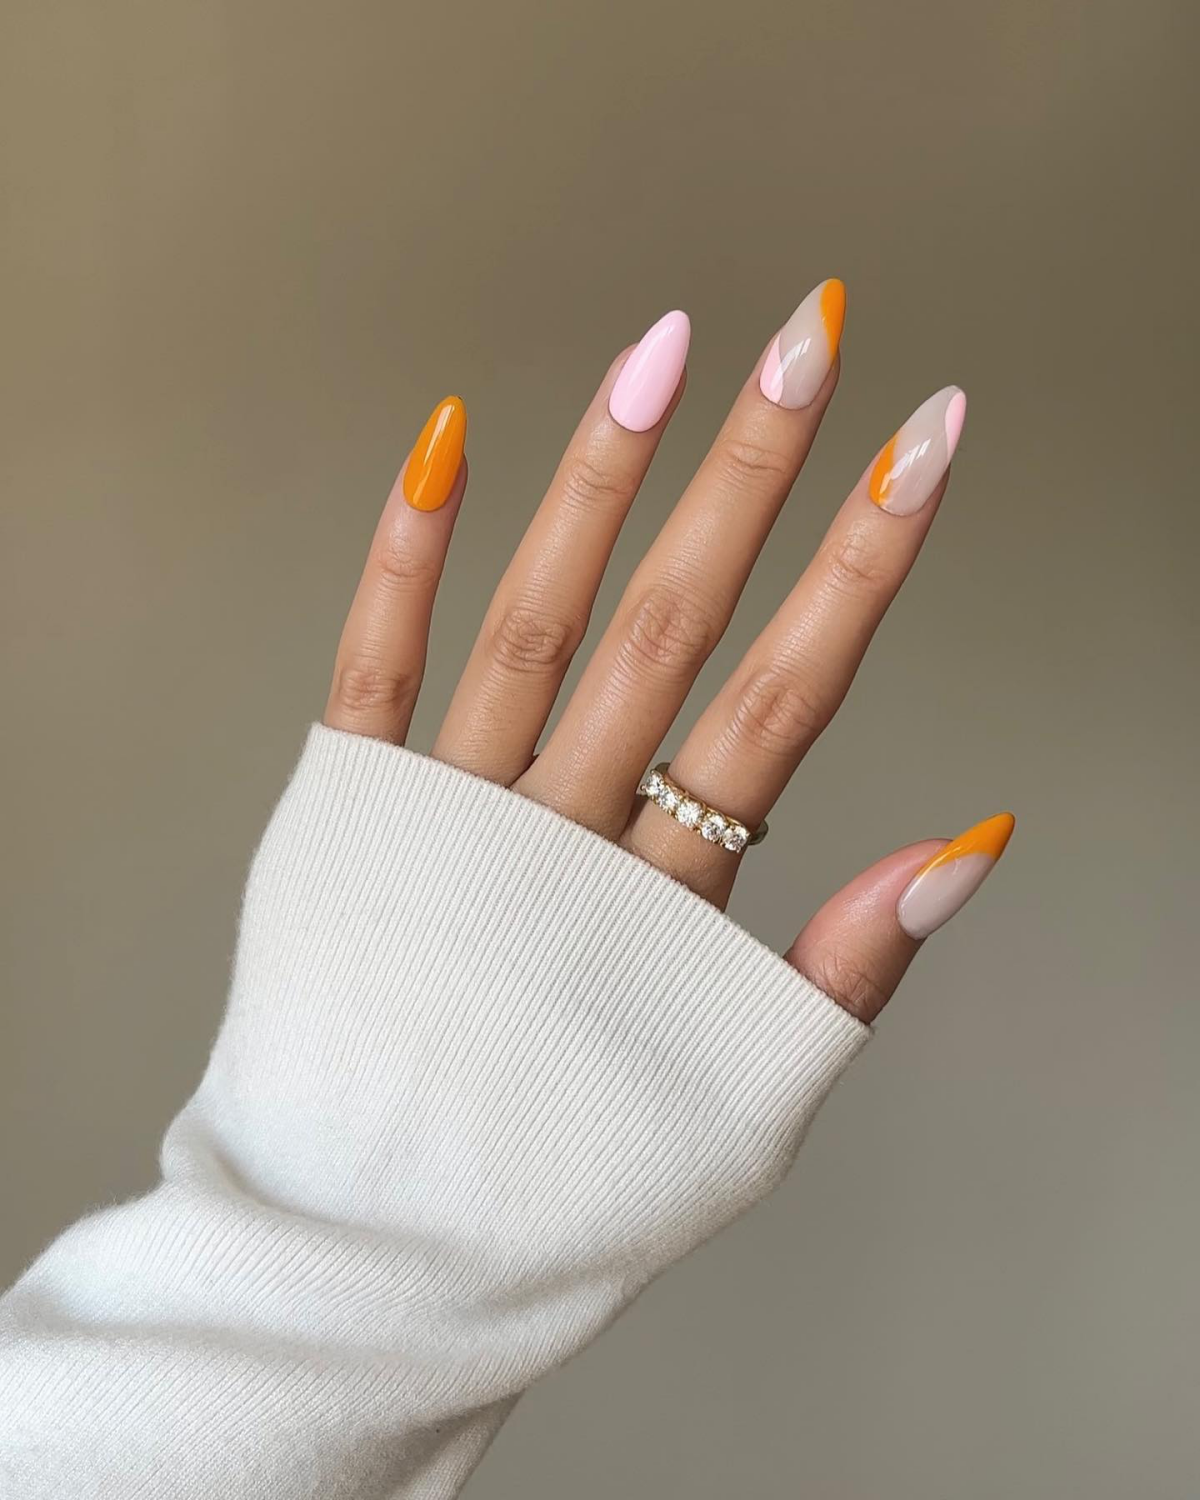
Consider your destination’s aesthetic when choosing a color. A vibrant coral or turquoise pops beautifully against a tropical backdrop. For a chic European city break, a timeless deep red or a sophisticated greige works wonders. For a subtle, sun-kissed look, try a sheer, shimmery nude finish, like the popular ‘glazed donut’ style, which also cleverly hides minor wear and tear.
The essential travel companion: a mini nail emergency kit. Don’t leave home without a small crystal nail file to gently smooth snags (they cause fewer micro-tears than emery boards), a travel-sized cuticle oil like the CND SolarOil pen, and a clear, quick-dry top coat to add shine and protection mid-trip.
According to celebrity nail artist Jin Soon Choi,
Don’t have time for a pre-trip salon visit? Modern press-on nails are your secret weapon. They’ve evolved far beyond the flimsy versions of the past.
Damage-Free: High-quality brands like Static Nails or Olive & June use non-damaging glue that holds strong for up to two weeks but is gentle to remove.
Instant Art: Get intricate, vacation-themed designs instantly without the salon price tag or time commitment.
Ultimate Flexibility: Pack a few different sets to switch up your look from beach day to dinner night.
Chlorine vs. Saltwater: Both can be tough on your manicure, but in different ways. Chlorine is a chemical that can dull your top coat and dry out your cuticles quickly.
Saltwater: It’s a natural abrasive that, combined with sand, can cause micro-scratches and wear down the free edge of your nail. A quick fresh-water rinse for your hands after a dip in either is a simple but effective preventative measure.
Even the toughest manicure can look tired after a week of adventure. A simple trick is to pack the gel top coat that your technician used (many, like those from OPI or CND, are available for purchase). Wiping the nail with an alcohol pad and applying a fresh, thin top coat mid-vacation will instantly restore the gloss and seal the edges, making your manicure look brand new again.
Jessica has spent 14 years in the fashion industry, starting as a stylist assistant and working her way up to Fashion Editor. A graduate of Fashion Institute of Technology, she has styled celebrities, worked backstage at Fashion Week, and contributed to major fashion publications. Jessica believes fashion should be fun, accessible, and expressive.
To provide the best experiences, we use technologies like cookies to store and/or access device information. Consenting to these technologies will allow us to process data such as browsing behavior or unique IDs on this site. Not consenting or withdrawing consent, may adversely affect certain features and functions.
Functional
Always active
The technical storage or access is strictly necessary for the legitimate purpose of enabling the use of a specific service explicitly requested by the subscriber or user, or for the sole purpose of carrying out the transmission of a communication over an electronic communications network.
Preferences
The technical storage or access is necessary for the legitimate purpose of storing preferences that are not requested by the subscriber or user.
Statistics
The technical storage or access that is used exclusively for statistical purposes.The technical storage or access that is used exclusively for anonymous statistical purposes. Without a subpoena, voluntary compliance on the part of your Internet Service Provider, or additional records from a third party, information stored or retrieved for this purpose alone cannot usually be used to identify you.
Marketing
The technical storage or access is required to create user profiles to send advertising, or to track the user on a website or across several websites for similar marketing purposes.