Black Nails Are Brutal: A Pro’s Guide to Getting Them Perfect
I’ve been a nail tech and salon owner for a long, long time, and I’ve seen more trends than I can count. But one thing has never changed: the power of a flawless black manicure. For the person wearing it, it’s a shot of pure confidence. For us techs? It’s the ultimate final exam.
In this article
Honestly, black polish is brutally honest. It hides absolutely nothing. Every tiny flaw in your prep work, every slight waver of your hand, every speck of dust in the air—it all gets put on display under a spotlight. That’s exactly why getting it right feels so good.
When I train new technicians, I make them master black polish. I always tell them, if you can create a glassy, perfect black manicure that lasts for weeks, you can do anything. It forces you to perfect every single fundamental skill. This isn’t about chasing some fleeting trend; it’s about building a rock-solid skill set that makes your work stand out.
So, let’s walk through how the pros really do it. This is the stuff I teach my team, learned over thousands of hours of triumphs and, let’s be real, fixing a lot of mistakes.
First, Let’s Talk Science (Don’t Worry, It’s Easy)
To get black polish to behave, you have to understand what makes it so tricky. Especially with gel, its unique properties can be your best friend or your worst enemy. It all comes down to pigment density. Black polishes are absolutely packed with pigment—usually carbon black or iron oxides—to get that deep, opaque color. This heavy concentration messes with everything, from the way it smooths itself out to how it cures under your lamp.
The Curing Problem You Can’t Ignore
Okay, this is the most critical part: how black gel cures. Gel doesn’t “dry” with air; it hardens through a chemical reaction started by UV or LED light. The super-dense pigment in black gel can literally block the light from getting all the way through. If you paint on a coat that’s even a little too thick, only the top layer will cure properly, leaving a gooey, uncured layer trapped underneath against the nail.
This is a massive safety issue. I saw it happen years ago when a client came to me after getting a quickie manicure somewhere else. Her nails looked okay, but the skin around them was red and itchy. Sure enough, we discovered the black gel underneath was still soft. This doesn’t just mean the manicure will peel off; it can cause contact dermatitis, which is a lifelong allergy to the acrylates in gel. Once you have it, you have it forever.
Heads up! Always, always apply black gel in two (or sometimes three) very thin coats. A professional LED/UV lamp of at least 48 watts is non-negotiable. I have my team cure black for a full 60 seconds per coat, and sometimes even 90 seconds if it’s a really pigmented art gel. Your client’s safety is worth the extra minute.
Creating a Flawless Canvas
Black polish reflects light like a mirror, which means any bumps or ridges on the natural nail will be magnified tenfold. A great application starts way before the color. This is where a structured base comes in. We use products like builder gels or rubber bases because they have a thicker consistency. They can be used to build a perfect arch (or apex) on the nail for strength, and they also self-level to fill in any imperfections. Skipping this is why so many at-home black manicures look lumpy.
So, rubber base or builder gel? For natural nails that just need some strength and flexibility, a rubber base is fantastic. For clients who are really tough on their hands or if you’re adding a tiny bit of length, a harder builder gel is the way to go.
Mastering the Solid Black Manicure: Your Foundation
Before you even think about fancy designs, you have to nail the solid black manicure. Just so you know, this isn’t a quick job. For a perfect, solid black gel mani, I block out 60-75 minutes on my schedule. Art or chrome? Plan for at least 90 minutes. You can’t rush this.
Step 1: Prep Work is Everything
A long-lasting manicure is truly 50% prep. We start by shaping the nail and doing meticulous cuticle work. An e-file is your best friend here. I like using a fine-grit ‘flame’ or ‘ball’ diamond bit to gently clean up non-living tissue from the nail plate. This creates a super clean edge so the polish has nothing to lift on. After that, we scrub the nail plate with a lint-free wipe soaked in 99% isopropyl alcohol to get rid of every trace of oil. A pH bonder and a primer are the final steps—they’re not optional if you want the manicure to last.
Step 2: Build That Perfect Base
Like I mentioned, that structured base is key. I personally love using a clear rubber base. I’ll apply a thin “slip layer” over the whole nail, then grab a small bead of gel, place it near the cuticle, and guide it down the nail. The real pro trick? Flip the client’s hand upside down for a few seconds. Gravity will pull the gel into a perfect, light-reflecting arch. It takes a little practice but the result is chef’s kiss.
Quick tip on budgeting: Building a pro kit costs a bit upfront but pays off. A quality rubber base or builder gel will run you $20-$30. A good pro-level black gel polish is about $12-$20. And please, don’t cheap out on your lamp. A solid 48-watt (or higher) LED/UV lamp is a must-have, and you can find them for anywhere between $50 and $200+.
Step 3: The Art of Thin Coats
Applying the black gel is a delicate dance. That first coat should be whisper-thin. It’s going to look sheer, maybe even a little patchy. Don’t panic! This is what you want. Resist the temptation to glob on more polish. Just cure it for a full 60 seconds. The second thin coat is where the magic happens, giving you that full, rich coverage. And whatever you do, always cap the free edge by running the brush lightly along the very tip of the nail. It’s the best way to prevent chipping.
Step 4: The Finishing Touch
The top coat is what gives you that final wow factor. For a liquid-glass shine, use a high-quality, no-wipe glossy top coat. For that modern, velvety look, a matte top coat is amazing, but be warned: cheap ones can get streaky or turn shiny in a few days. Invest in a good one! After the final cure, a drop of cuticle oil massaged into the skin is the perfect finish.
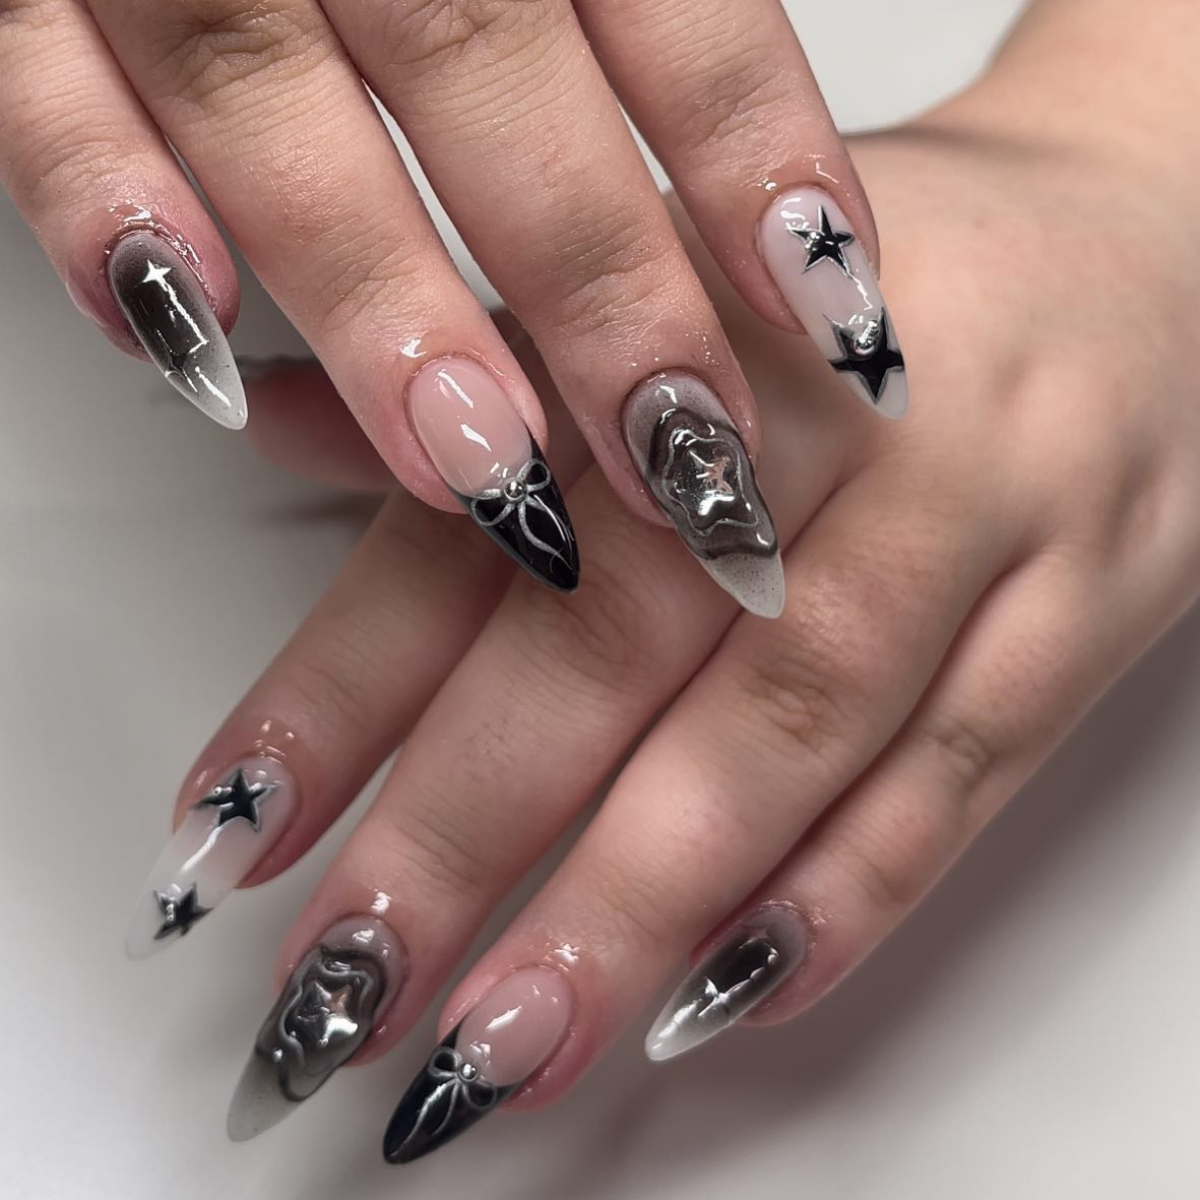
Ready for a Challenge? Let’s Get Creative
Once you’ve got the solid black base down, the fun really begins. Here are a few popular techniques and how to troubleshoot them.
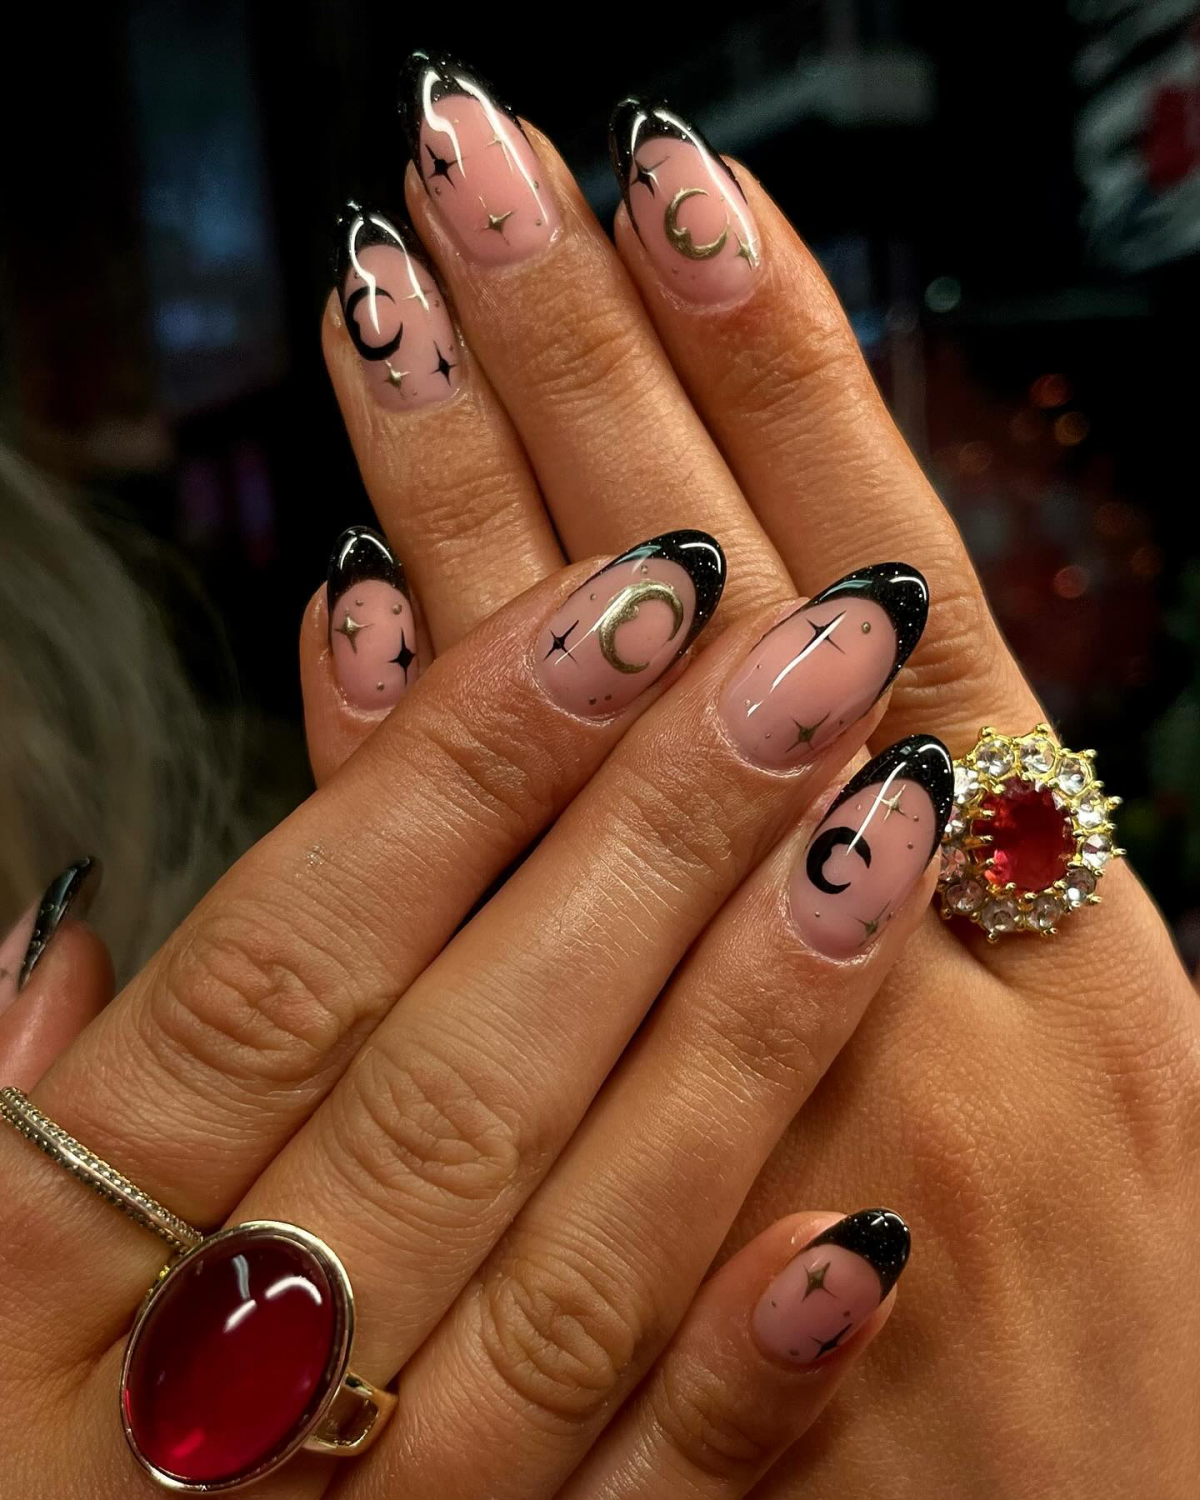
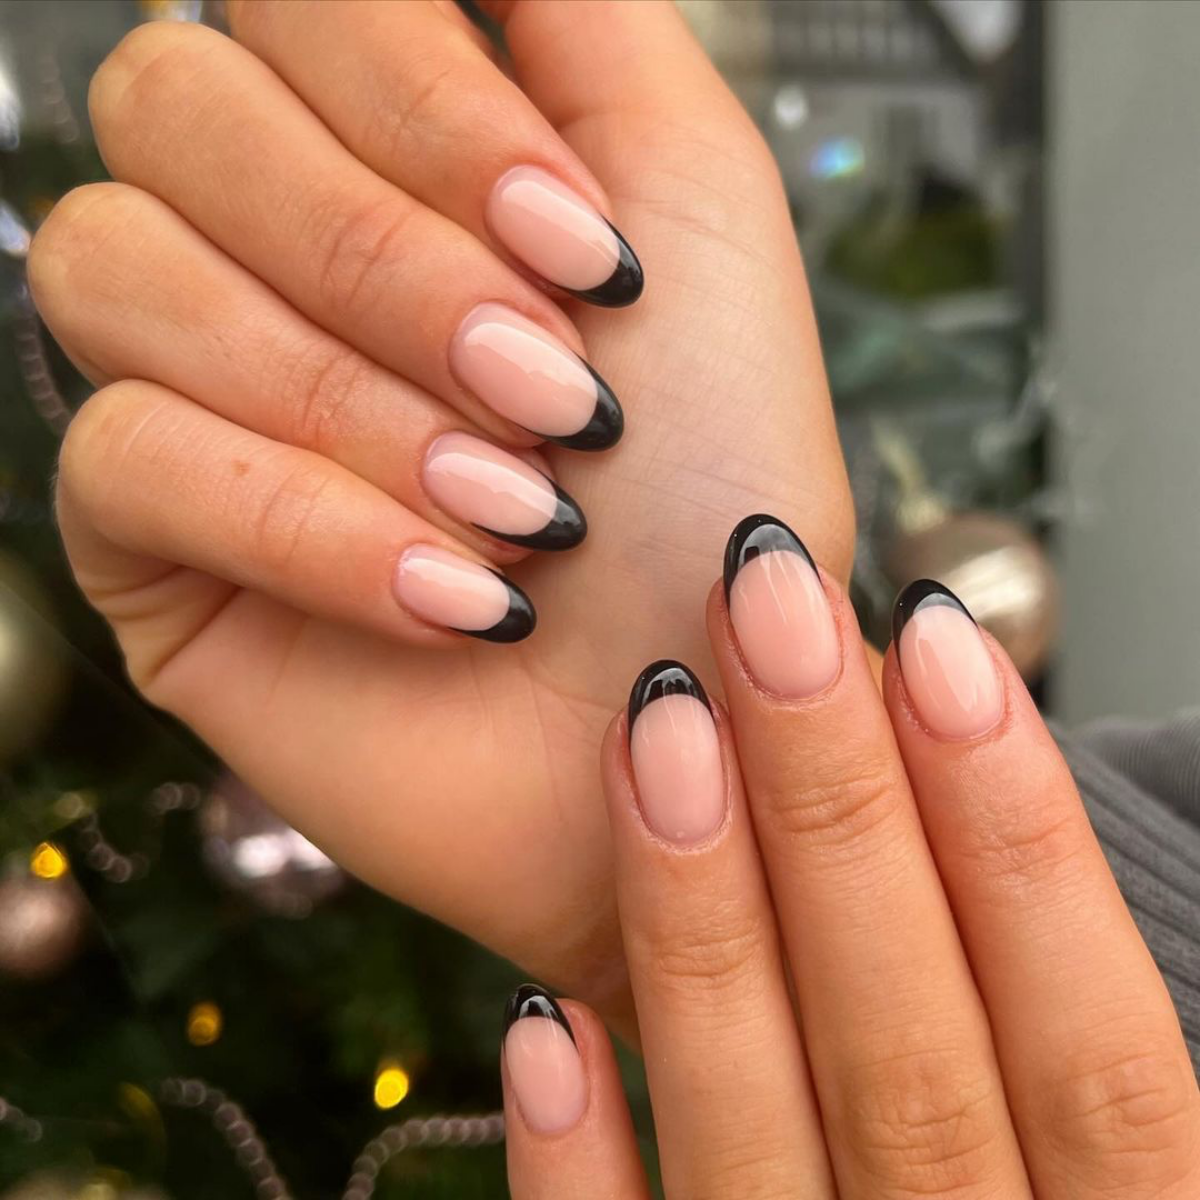
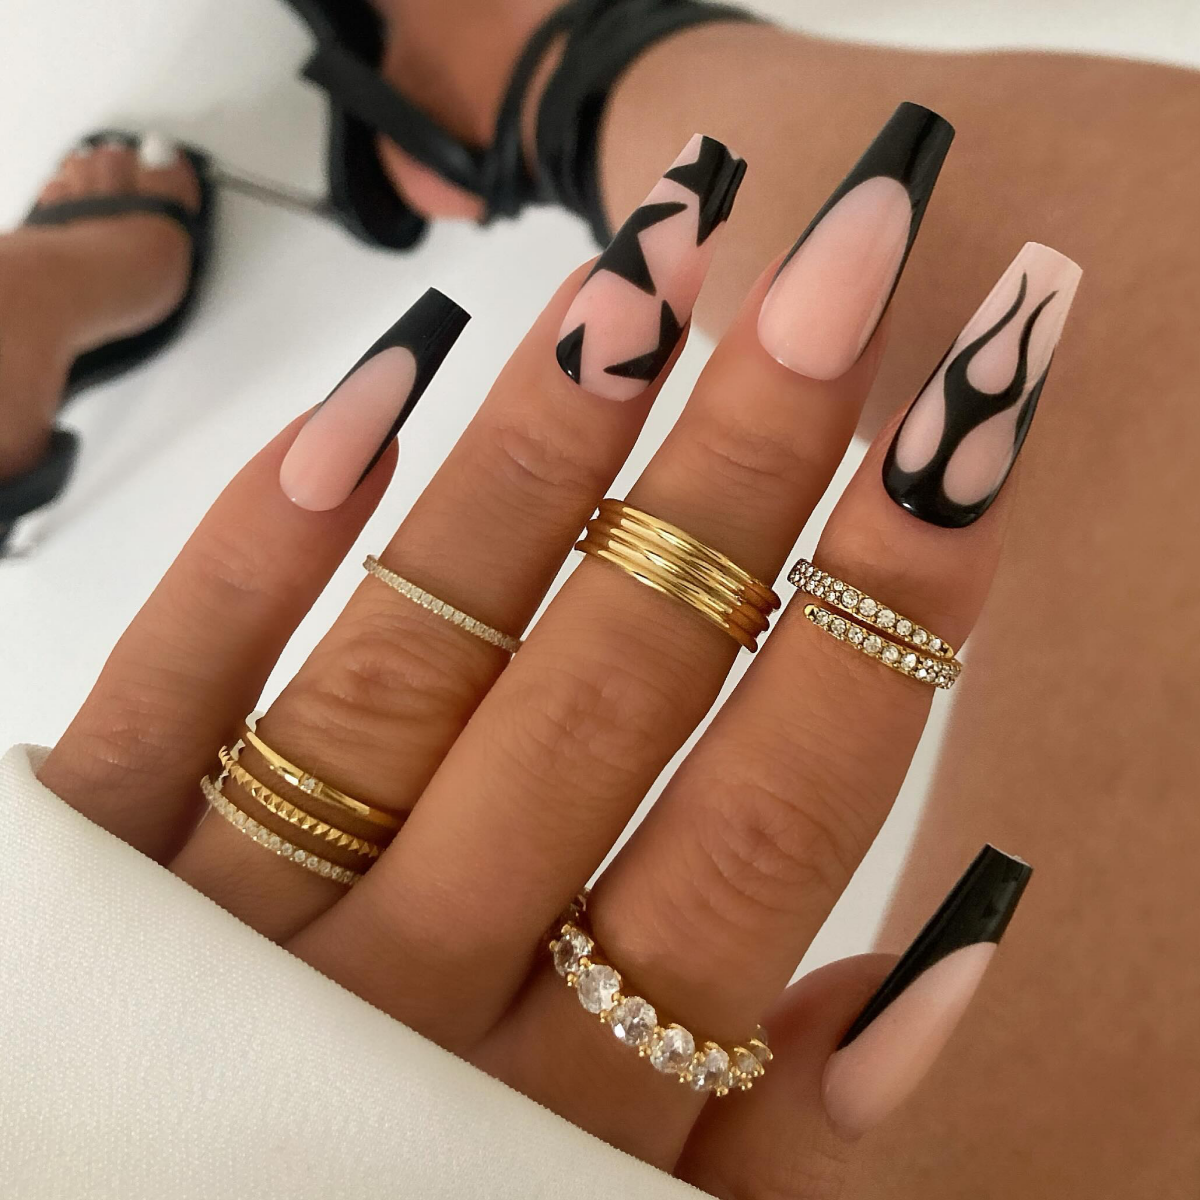
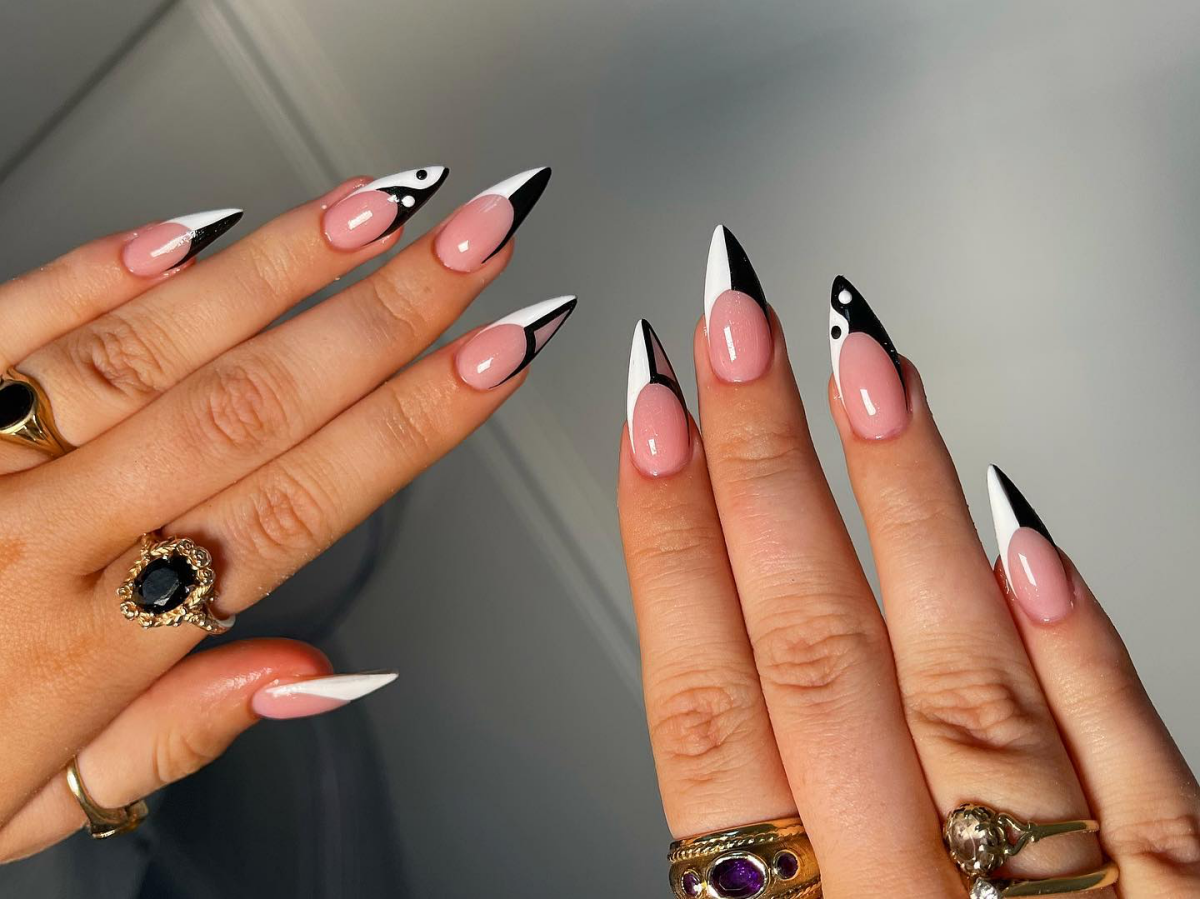
Crisp Line Work (like French Tips & Geometrics)
A black French tip is unforgiving. You’ll need a good liner brush—I keep a few sizes. A shorter 7mm brush is great for control, but for pulling one long, elegant line, an 11mm or 15mm is better. To make the line, anchor your pinky on your other hand to stay stable, and let the brush do the work. Don’t press hard!
Problem: My lines are wobbly and uneven.
Solution: This is super common! It usually means you’re pressing too hard and your gel is too thin. Switch to a thicker “gel paint” (they’re made for art) and practice letting the brush just float over the nail. If you mess up, don’t wipe it! Just flash cure for 10 seconds, then use a clean-up brush with a little alcohol to erase the mistake precisely.
Burnishing Powders (Chrome, Holo, etc.)
Everyone wants that liquid-metal chrome look. The secret is applying the powder to a surface that’s not sticky, but also not too slick. You do this over a no-wipe top coat.
Lesser-known trick: Don’t cure the no-wipe top coat for the full 60 seconds. From my experience, the sweet spot is 30 seconds in a 48w lamp. The surface becomes hard but still receptive. Rub the powder on firmly with a silicone tool or eyeshadow applicator, then—and this is critical—dust off ALL the excess powder with a fluffy brush. To make it last, seal the chrome with a thin layer of base coat, cure it, and then apply your final top coat. This little trick prevents the chrome from flaking off.
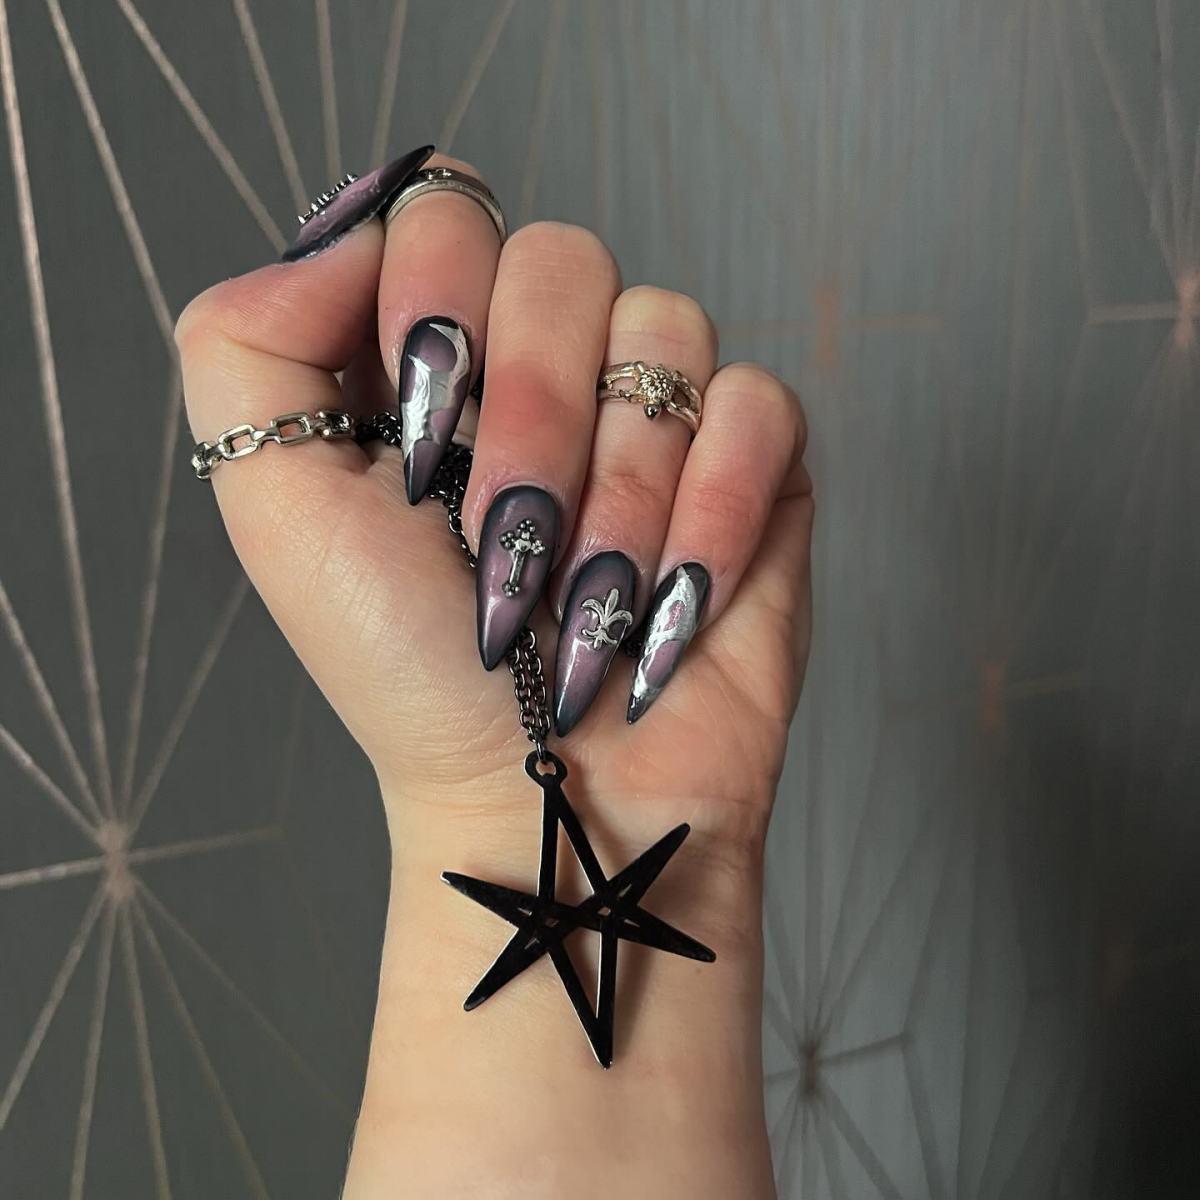
Creating Depth and Floating Effects
For those cool designs that look like they have things floating inside them, you’ll need a clear builder gel and a translucent black gel (sometimes called a “syrup” gel). By the way, you can easily make your own. Just mix one tiny drop of black gel paint into about 5-6 drops of clear builder gel on a palette. Swirl it gently until you get that perfect, smoky look.
The technique is all about layering. You might put down a layer of clear builder, place some silver foil in it, and cure. Then, you’d paint a layer of your translucent black over it. This tints the foil and makes it look like it’s suspended deep inside the nail. So cool.
The Non-Negotiables: Safety, Durability, and Removal
My final word is always about keeping the client safe and their nails healthy. A gorgeous manicure is worthless if it causes damage.
Professional Removal is a Must
The worst nail damage I ever see comes from people picking or peeling off their gel. It rips off layers of the natural nail. The right way is to first file off the top coat and most of the color. For this, a medium-grit ‘5-in-1’ carbide bit on an e-file saves a ton of time. Then, you soak cotton in acetone, wrap it on the nail with foil for 10-15 minutes, and the rest of the gel should become soft enough to be gently pushed off with a wood stick. You should never have to use force.
While it’s fun to experiment, professional-grade gel products, especially black, can cause real issues if you don’t know what you’re doing. The techniques for creating safe, long-lasting, and beautiful nails are learned through proper training. When in doubt, always go to a qualified and experienced nail tech. Your health is way more important than any trend.
Galerie d’inspiration
The One-Coat Black: Myth or Reality? While some brands promise full coverage in a single layer, professional nail techs often prefer two thin, controlled coats. Why? A single thick coat, especially with gel, risks the curing issues mentioned in the article. For a truly opaque and stable result with regular polish, rely on quality formulas. OPI’s ‘Black Onyx’ is a salon staple for its rich, creamy consistency that builds beautifully, while ‘Licorice’ by Essie is famous for its jet-black, streak-free finish.
- Flawless application, even around the cuticles.
- Perfectly corrected smudges without redoing the whole nail.
- An incredibly sharp, professional-looking finish.
The secret weapon? A small, flat or angled art brush (often sold as a concealer or lip brush) dipped in pure acetone. It’s the ultimate eraser for cleaning up edges before the polish fully sets, giving you that ‘just left the salon’ precision every time.
How do I stop black polish from staining my natural nails and skin during removal?
This is a classic problem caused by potent pigments. The non-negotiable first step is always a high-quality base coat—not just for adhesion, but to create a barrier. Look for a ‘stain-blocking’ formula like Orly’s Bonder Base Coat. For removal, saturate a cotton pad with remover, press it onto the nail for 10-15 seconds to dissolve the polish, then swipe firmly from cuticle to tip in one motion. Avoid scrubbing back and forth, as this just smears the pigment into your skin.
More than 90% of a polish’s final look—its gloss, durability, and texture—is determined by the top coat.
With black, this choice is everything. A high-shine, gel-like top coat like Seche Vite creates a ‘liquid obsidian’ effect, making the black look deeper and more luxurious. Conversely, a velvety matte top coat, such as the one from OPI or Ciaté London, transforms the same polish into a chic, modern statement, highlighting the nail’s shape and absorbing light for an edgy, almost rubberized texture.
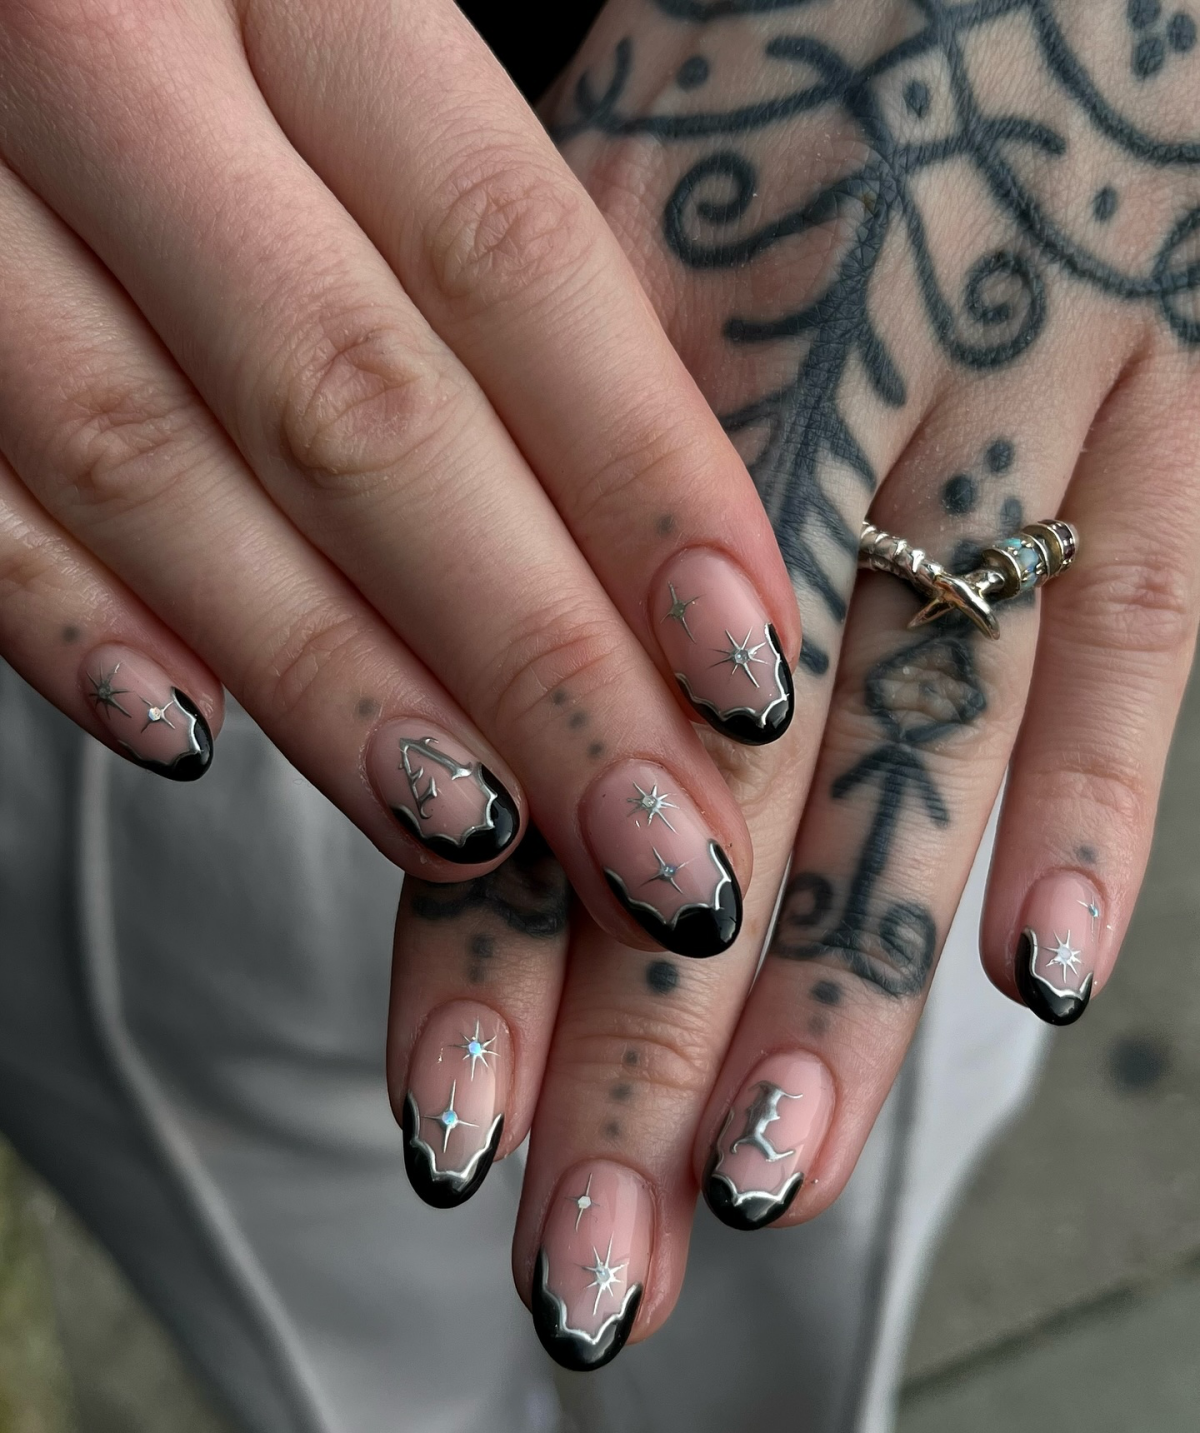
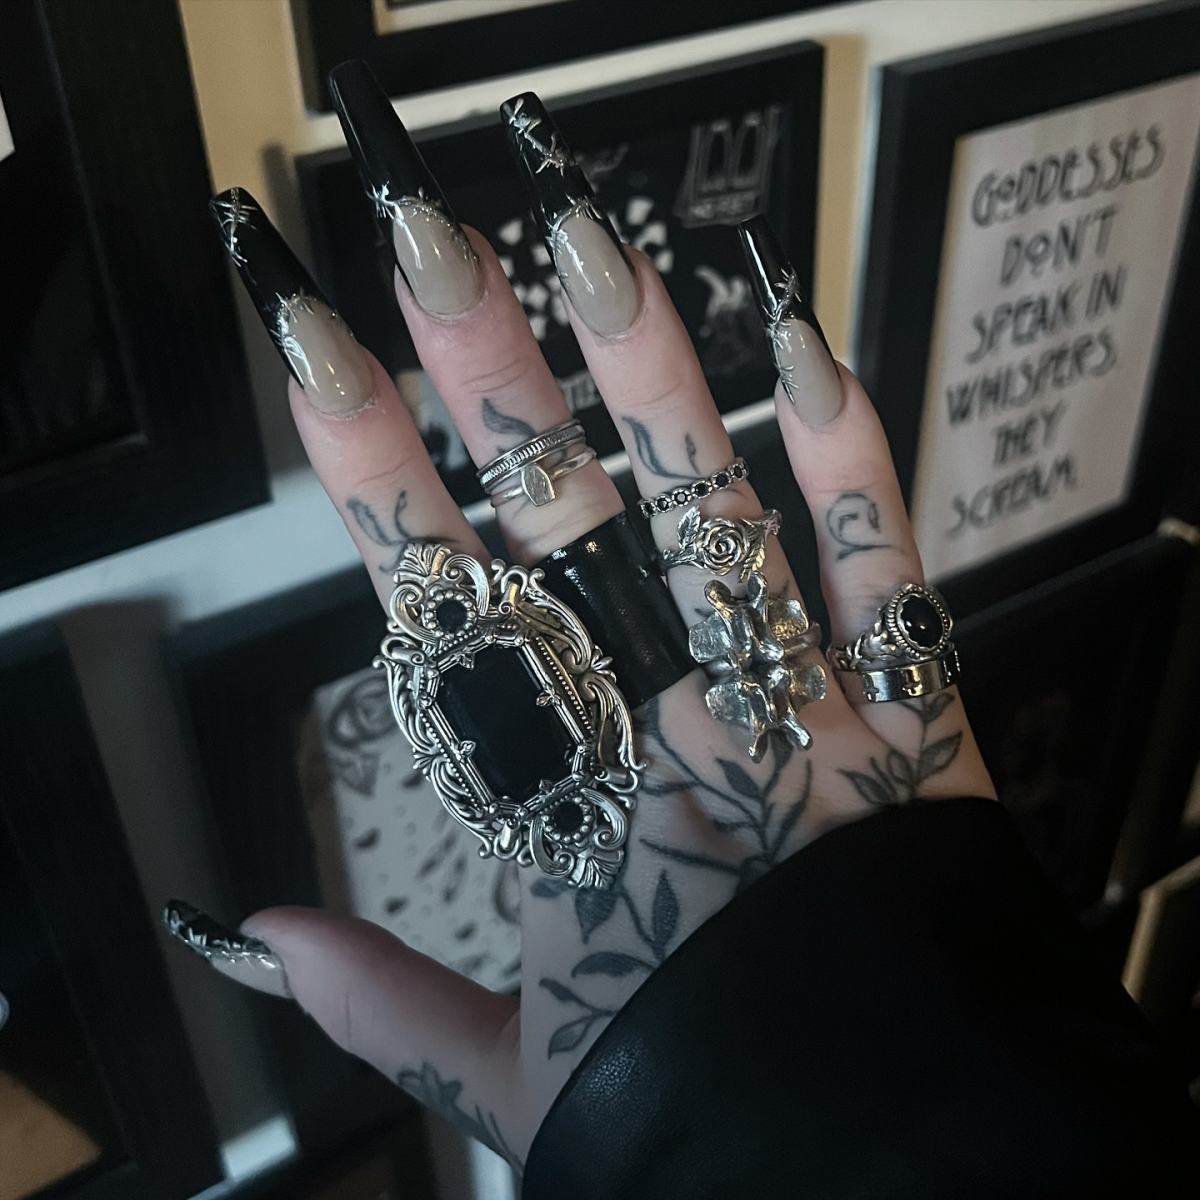
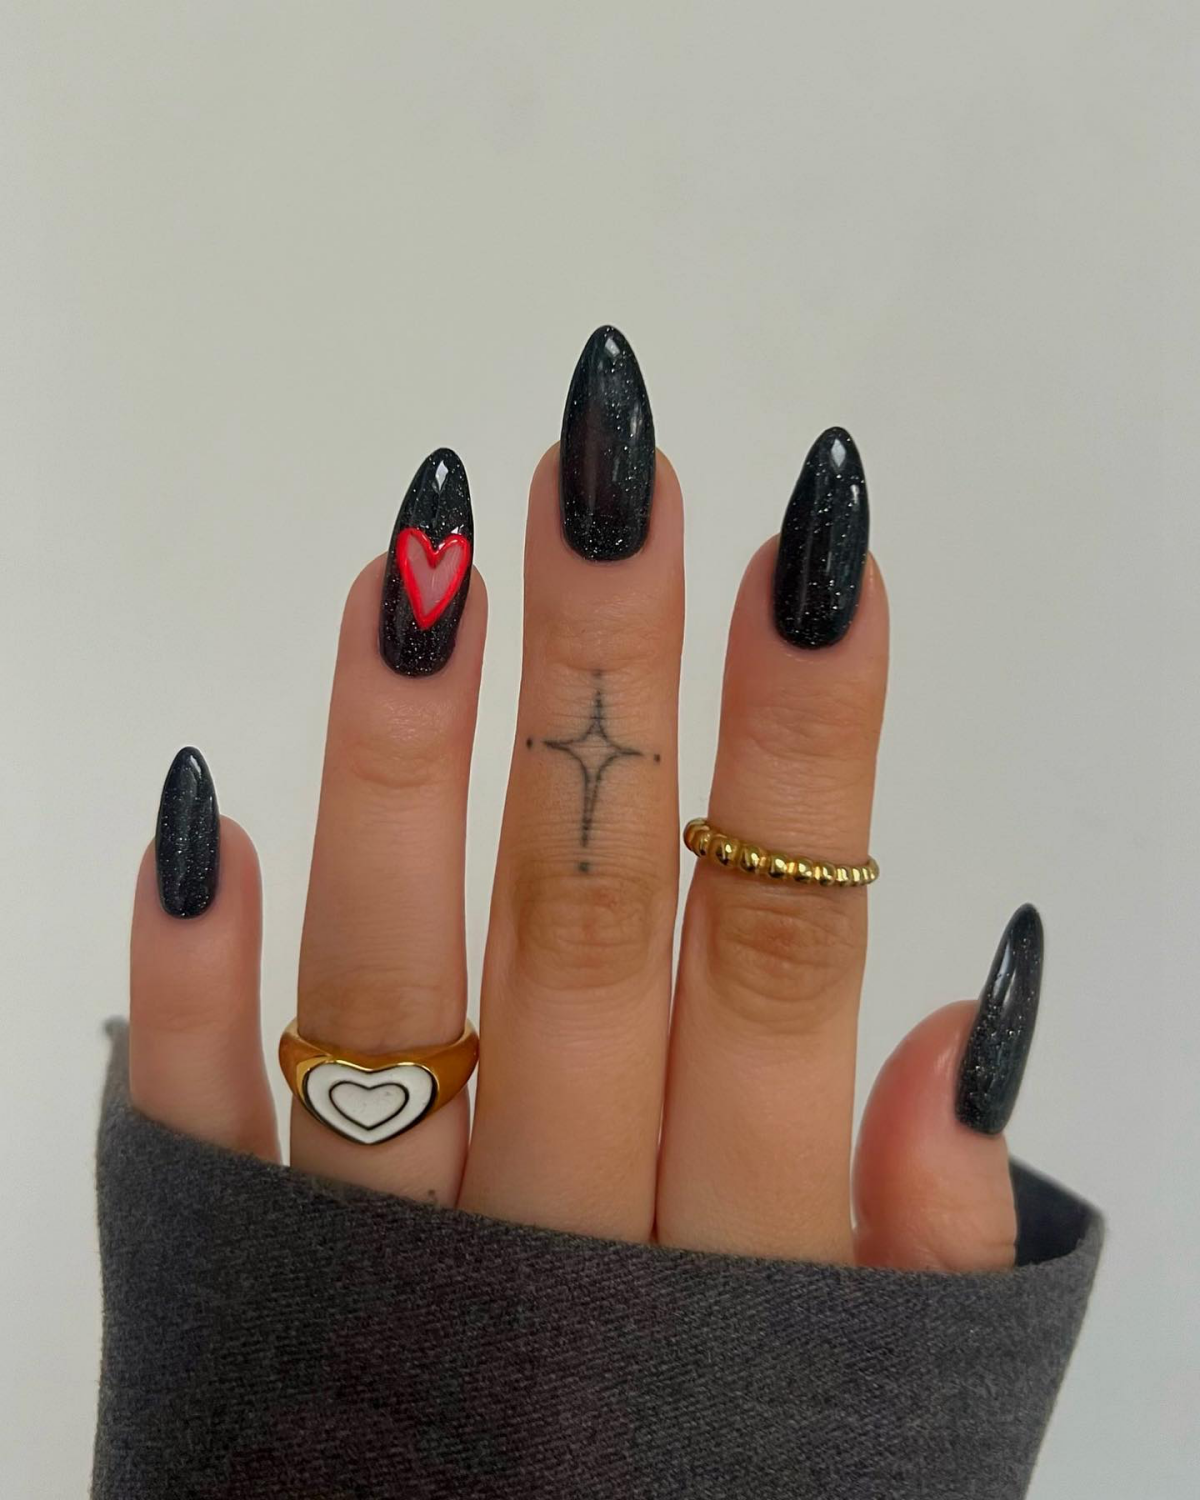
Don’t just wear black; accessorize it. The deep, solid canvas of a black manicure is the perfect backdrop for minimalist metal accents. Think delicate, thin silver or gold rings stacked on multiple fingers. The stark contrast between the dark nail and the gleam of the metal creates a look that is both sophisticated and intentionally bold, drawing attention to your hands in a curated, high-fashion way.
Creamy Black: This is your classic, opaque black. Think of the deep, solid color of a vinyl record. It offers full, rich coverage and is the go-to for a powerful, traditional black manicure. Example: CND Vinylux in ‘Black Pool’.
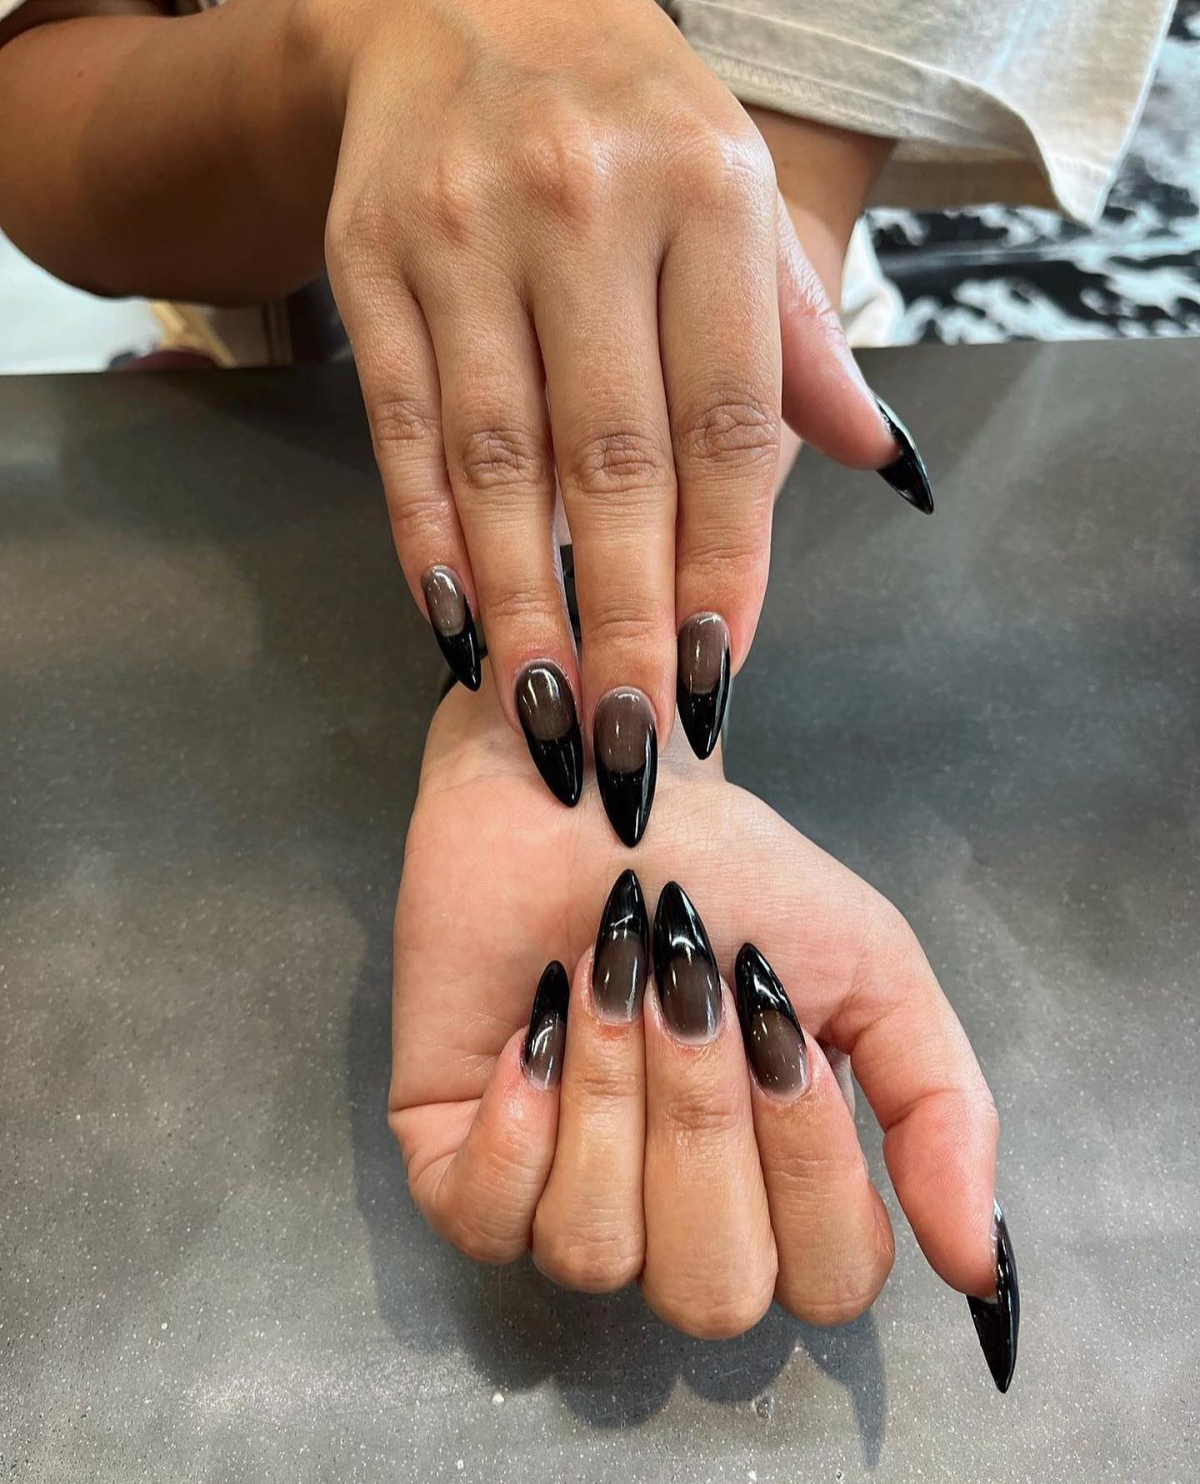
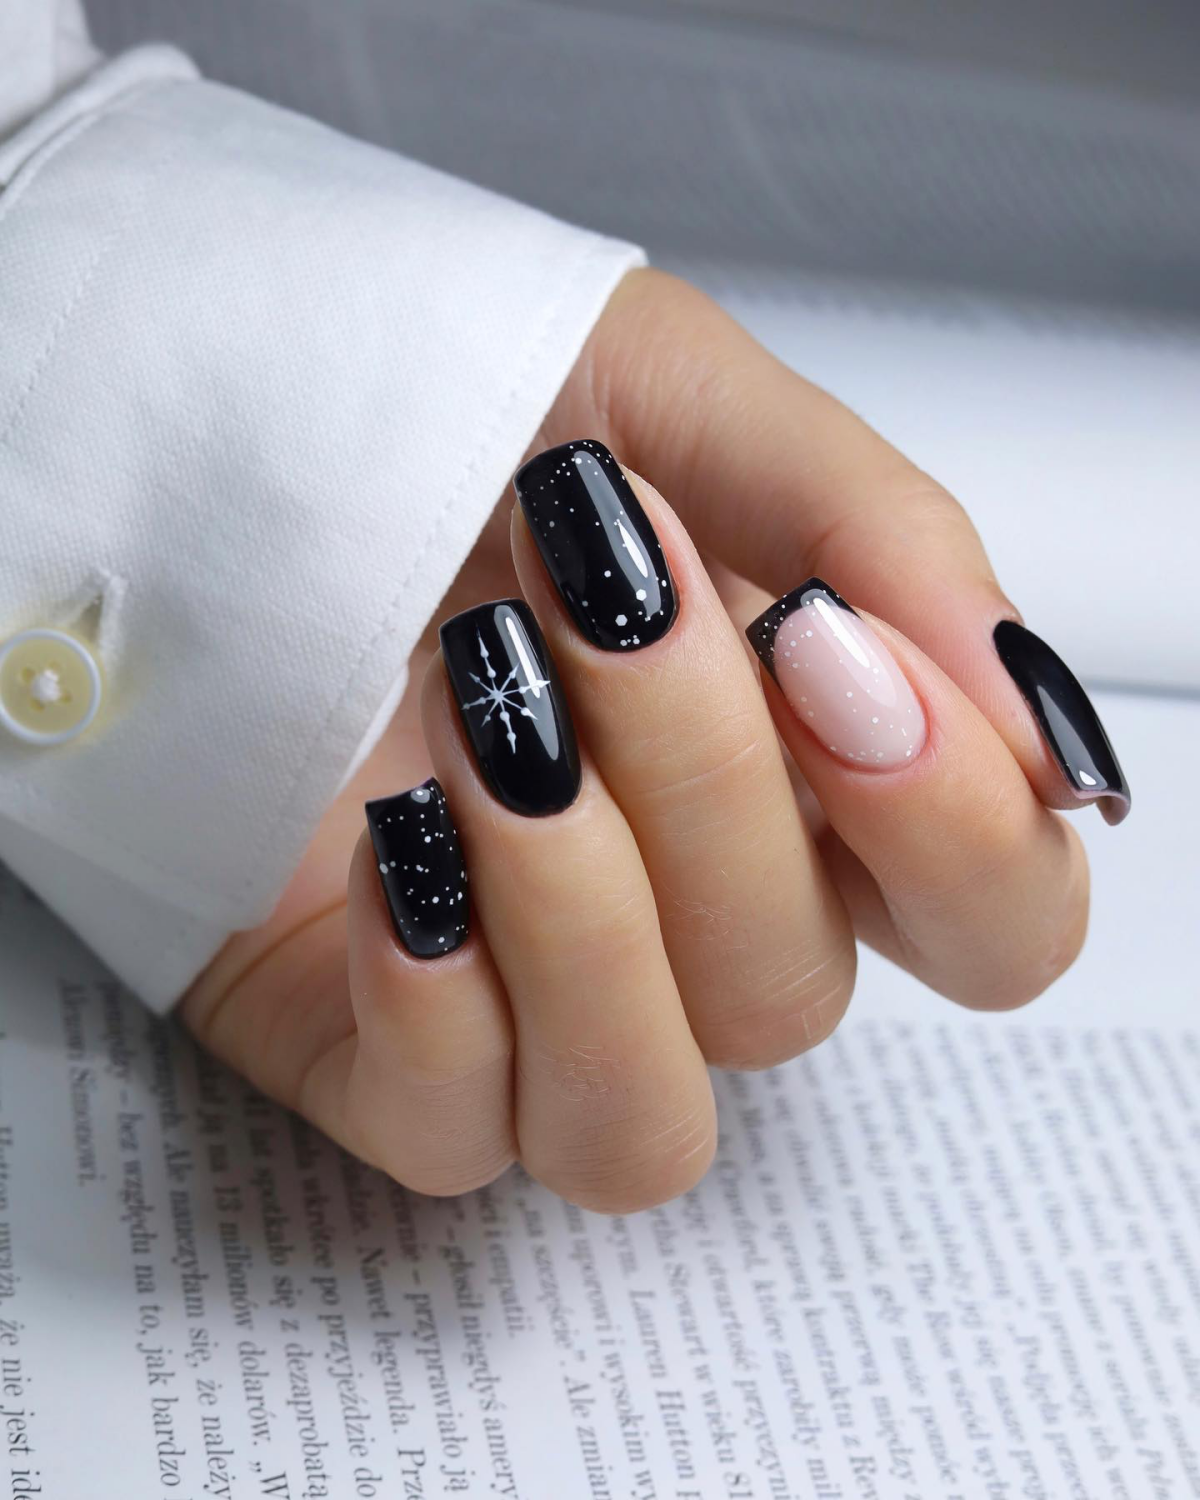
Jelly Black: This formula is more translucent, like a pane of smoky glass. It creates a ‘squishy’ or ‘gummy’ look that has depth. Perfect for layering glitters or achieving the ‘galaxy’ or ‘black quartz’ nail art trends. Example: Cirque Colors ‘Choco-latte’.
For a bold, graphic statement, choose cream. For depth and dimension, jelly is your answer.
Ready to try your first black-based nail art? The ‘dry brush’ technique is foolproof. After your black base is completely dry:
- Take a metallic polish, like a silver or gold.
- Wipe almost all the polish off the brush on the neck of the bottle. You want it nearly dry.
- Lightly and quickly swipe the brush horizontally and vertically across your black nail.
The result is a distressed, grunge-inspired texture that looks complex but takes seconds to create. Finish with a glossy top coat to seal the design.
“I have said that black has it all. White too. Their beauty is absolute. It is the perfect harmony.” – Coco Chanel
The Chipping Problem: A chip on a nude manicure might go unnoticed for days, but on a black nail, it’s a glaring imperfection. To maximize longevity, ‘capping’ the free edge is crucial. After your final color coat and your top coat, run the brush lightly along the very tip of your nail. This creates a seal that dramatically reduces the chance of chips starting from the most vulnerable part of the manicure.


