Holiday Nail Art Secrets: Your Guide to Gorgeous, Long-Lasting Designs
You can always tell when the holiday season is about to kick into high gear at the salon. It’s a certain buzz in the air. The quiet hum of inspiration-seeking turns into excited chatter as clients scroll through photos of glitter, snowflakes, and festive reds. Honestly, it’s my favorite time of year. After years behind the nail desk, I can tell you that a holiday manicure is so much more than just a bit of polish.
In this article
It’s a tiny accessory that brings you joy every time you look at your hands. It’s a conversation starter at a party. For so many of us, it’s a little ritual that officially kicks off the celebrations. But here’s the thing: a gorgeous design that chips after two days of wrapping presents is a total letdown. So, this guide is about getting it right. I’m sharing the real-deal techniques I use every day to create stunning designs that actually last through all the cooking, celebrating, and festive chaos.
First Things First: Why Nail Prep is Everything
Before we even dream of colors and glitter, we have to talk about the foundation. You wouldn’t paint on a dirty canvas, right? The same goes for nails. This is, without a doubt, the most important step for making any manicure last, especially when you’re working with gels.
Proper prep creates the perfect surface for products to grip onto, which prevents that dreaded lifting and chipping. The nail plate is naturally a bit oily, so our job is to gently cleanse it and create just a tiny bit of texture for the base coat to grab. It’s a delicate balance, though. Over-filing will weaken your nails, but under-prepping leaves behind oils that are guaranteed to make your polish lift. When that happens, moisture can get trapped underneath, which is a major no-no for nail health. It’s not just about looks; it’s about safety.
The Pro Prep Routine (The DIY-Friendly Version)
Here’s how the pros create a flawless base. Heads up! You can totally do this at home. To get started, you’ll probably need a few basics: a 240-grit file (gentle on natural nails), a 180-grit buffer, 99% Isopropyl Alcohol, and some lint-free wipes. You can find all of this at a beauty supply store like Sally Beauty or online.
- Gentle Cuticle Care: We never cut the live skin! The goal is to gently push back the cuticle and carefully remove any non-living tissue that’s stuck on the nail plate. A good liquid cuticle remover makes this a breeze. Any little bit of skin left on the nail will 100% cause lifting later.
- Shape It Up: Grab your fine-grit file (that 240-grit is perfect) and shape the free edge of your nail. Pro tip: always file in one direction. That back-and-forth sawing motion actually frays the nail layers and can lead to peeling.
- Lightly Buff the Surface: This is where so many people go wrong. You are NOT trying to sand your nail down. You’re just removing the shine. Using a light-touch buffer (180-grit is great), apply almost zero pressure. You just want to create a dull, uniform finish for the polish to grip onto.
- Cleanse and Dehydrate: This is the final, crucial step. Wipe the nail thoroughly with a lint-free wipe soaked in 99% isopropyl alcohol. It cleans off all the dust and oils. If you know you have oily nail beds, you can follow this with a nail dehydrator product for extra staying power.
Choosing Your Polish: A Quick and Honest Comparison
Okay, with your prep done, what are you going to use? The product you pick determines how long your mani will last, how complex your art can be, and how you’ll take it off later.
For a quick festive look you plan to change in a few days, regular nail lacquer is your friend. It’s affordable and easy to find, but we all know the downside: it chips easily and can take forever to truly dry. It’s not great for detailed art because you have to wait for each layer to dry completely. A quick tip to make it last longer is to reapply your top coat every two days.
Then you have gel polish, which is the gold standard for most holiday designs. It’s my go-to for clients because it’s durable, super shiny, and lasts for two to three weeks. Because it cures (hardens) in an LED lamp in about 60 seconds, it’s perfect for detailed art—you can cure one layer of a design before adding the next. The catch? You need that lamp, and you absolutely must remove it properly. (More on that in a bit!)
Finally, for adding serious strength or creating short extensions, there’s builder gel. It’s thicker than regular gel polish and can be used to build a stronger structure on the nail, which is a lifesaver for those with flat or weak nails. This one definitely requires more skill to get a balanced, natural look, and removal typically involves filing, which is best left to a pro. A simple one-color gel manicure might run you $45-$60, but a full set using builder gel with intricate art can easily be in the $100-$150+ range, depending on the artist and complexity.
Good to know: If you have sensitive skin, ask your tech about HEMA-free gel polishes. HEMA is a common allergen, and many pro-quality brands that are also available to the public, like Kokoist, Light Elegance, and Madam Glam, offer fantastic HEMA-free options.
Let’s Get Creative: Pro Art Techniques
This is the fun part! You don’t need a ton of tools, just a few good ones. I recommend investing in a couple of quality art brushes from a brand like Twinkled T or Mitty, a long liner brush for smooth stripes, and a short detailer brush for all the tiny stuff.
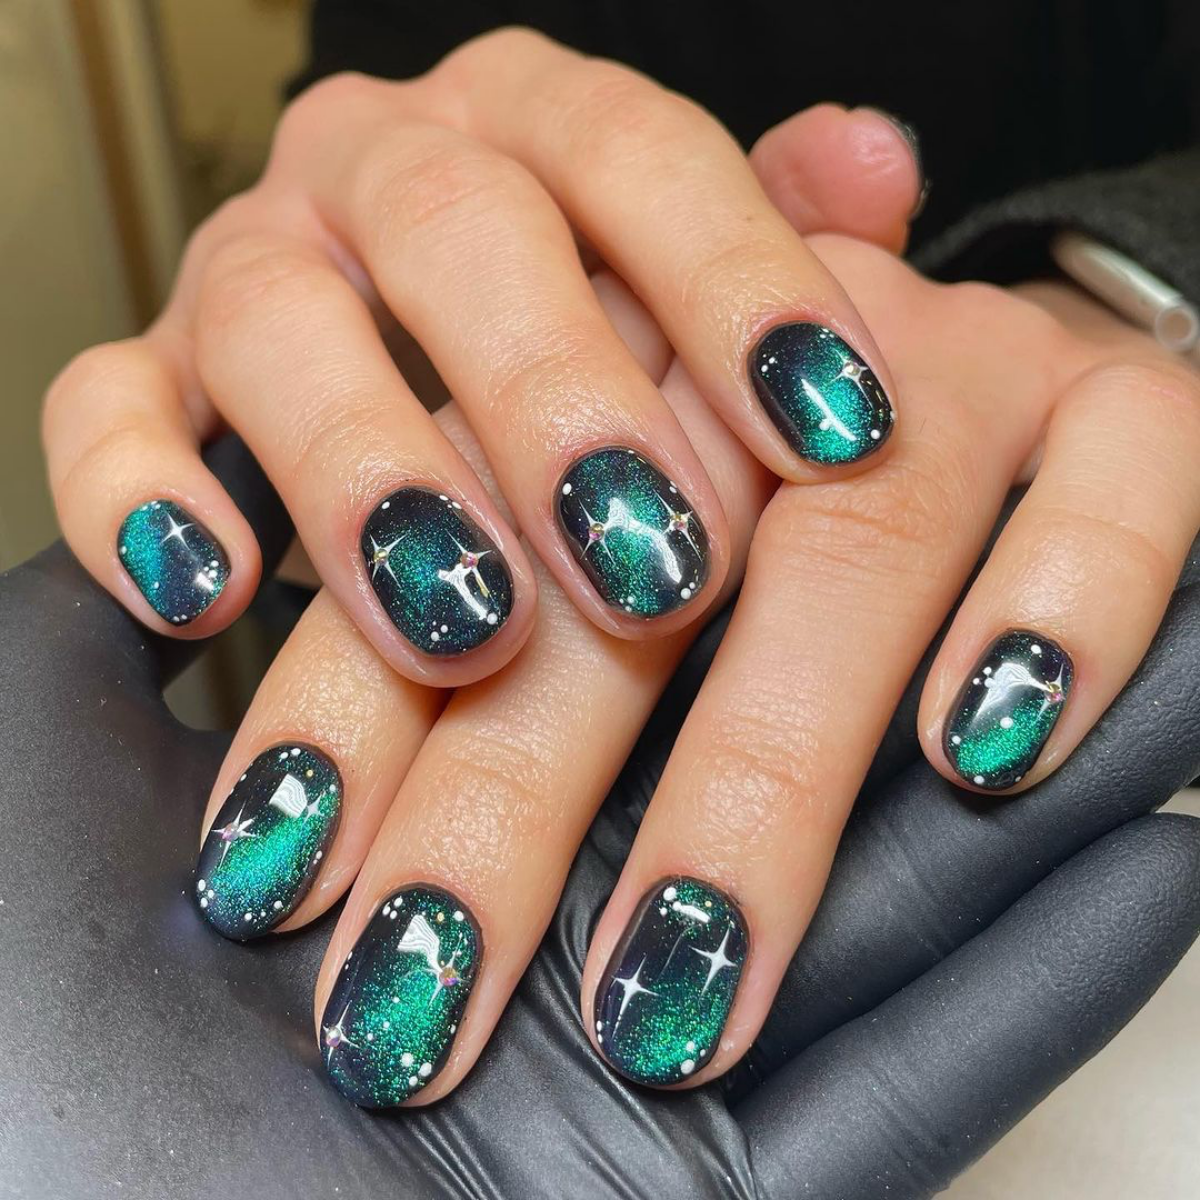
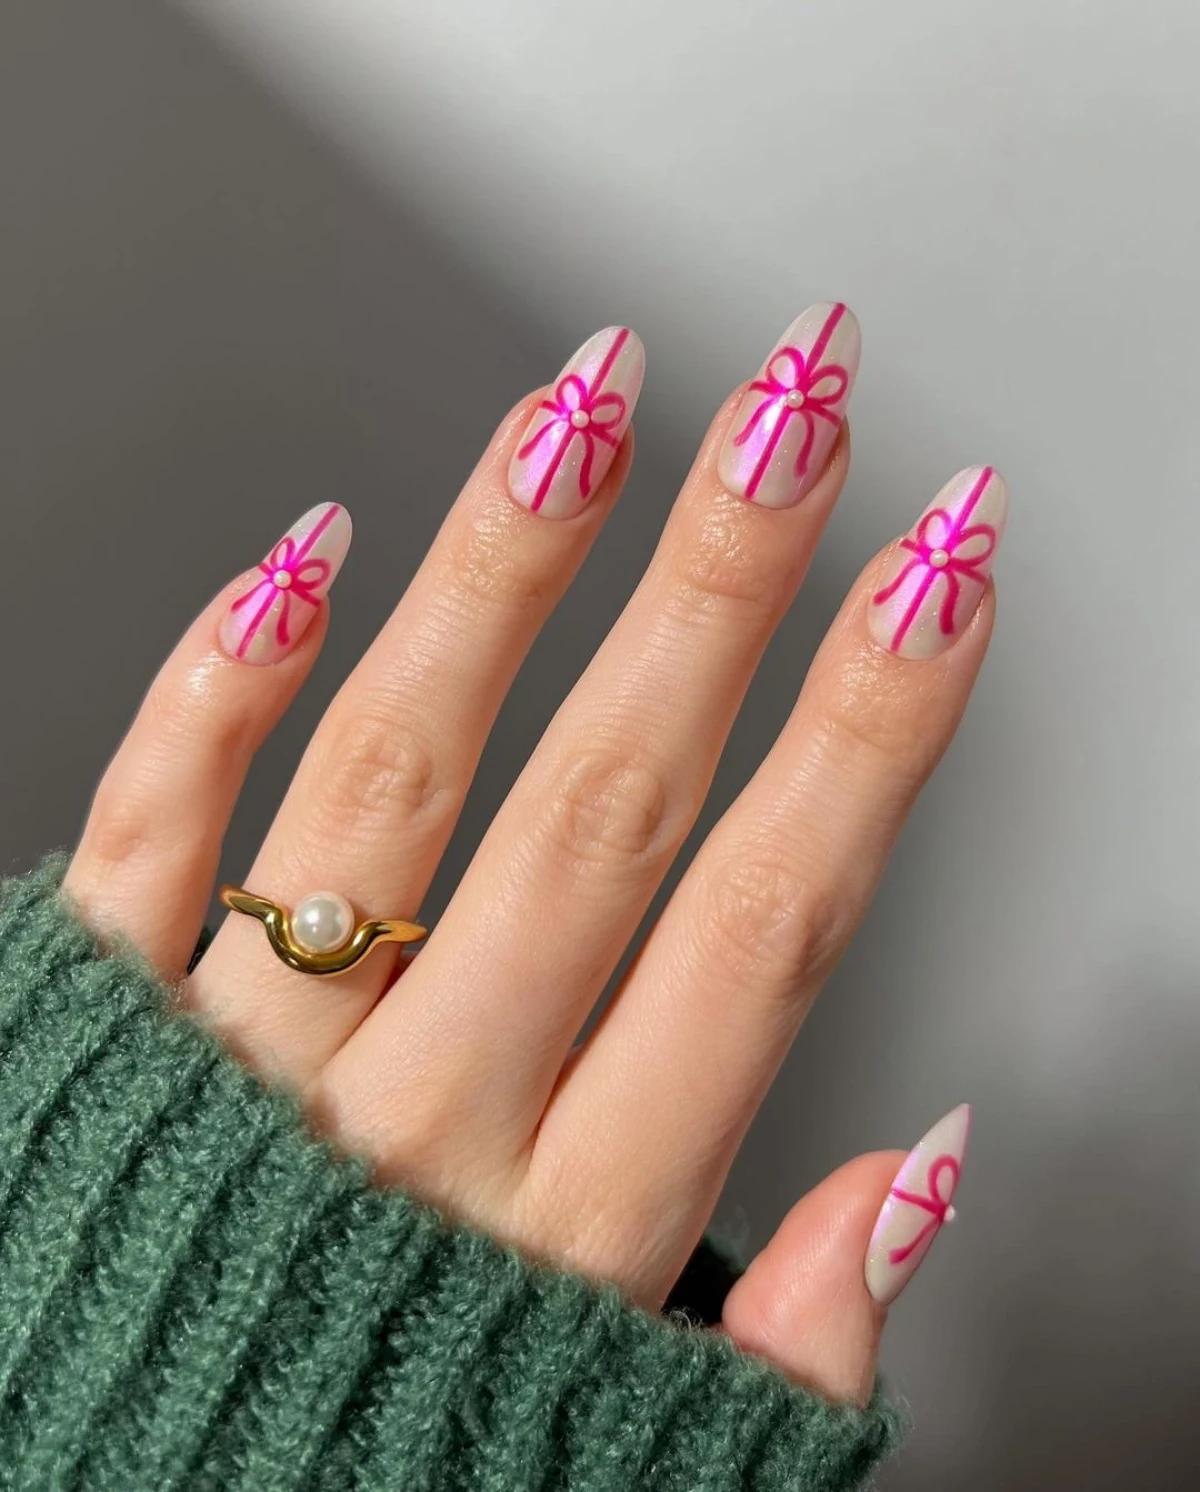
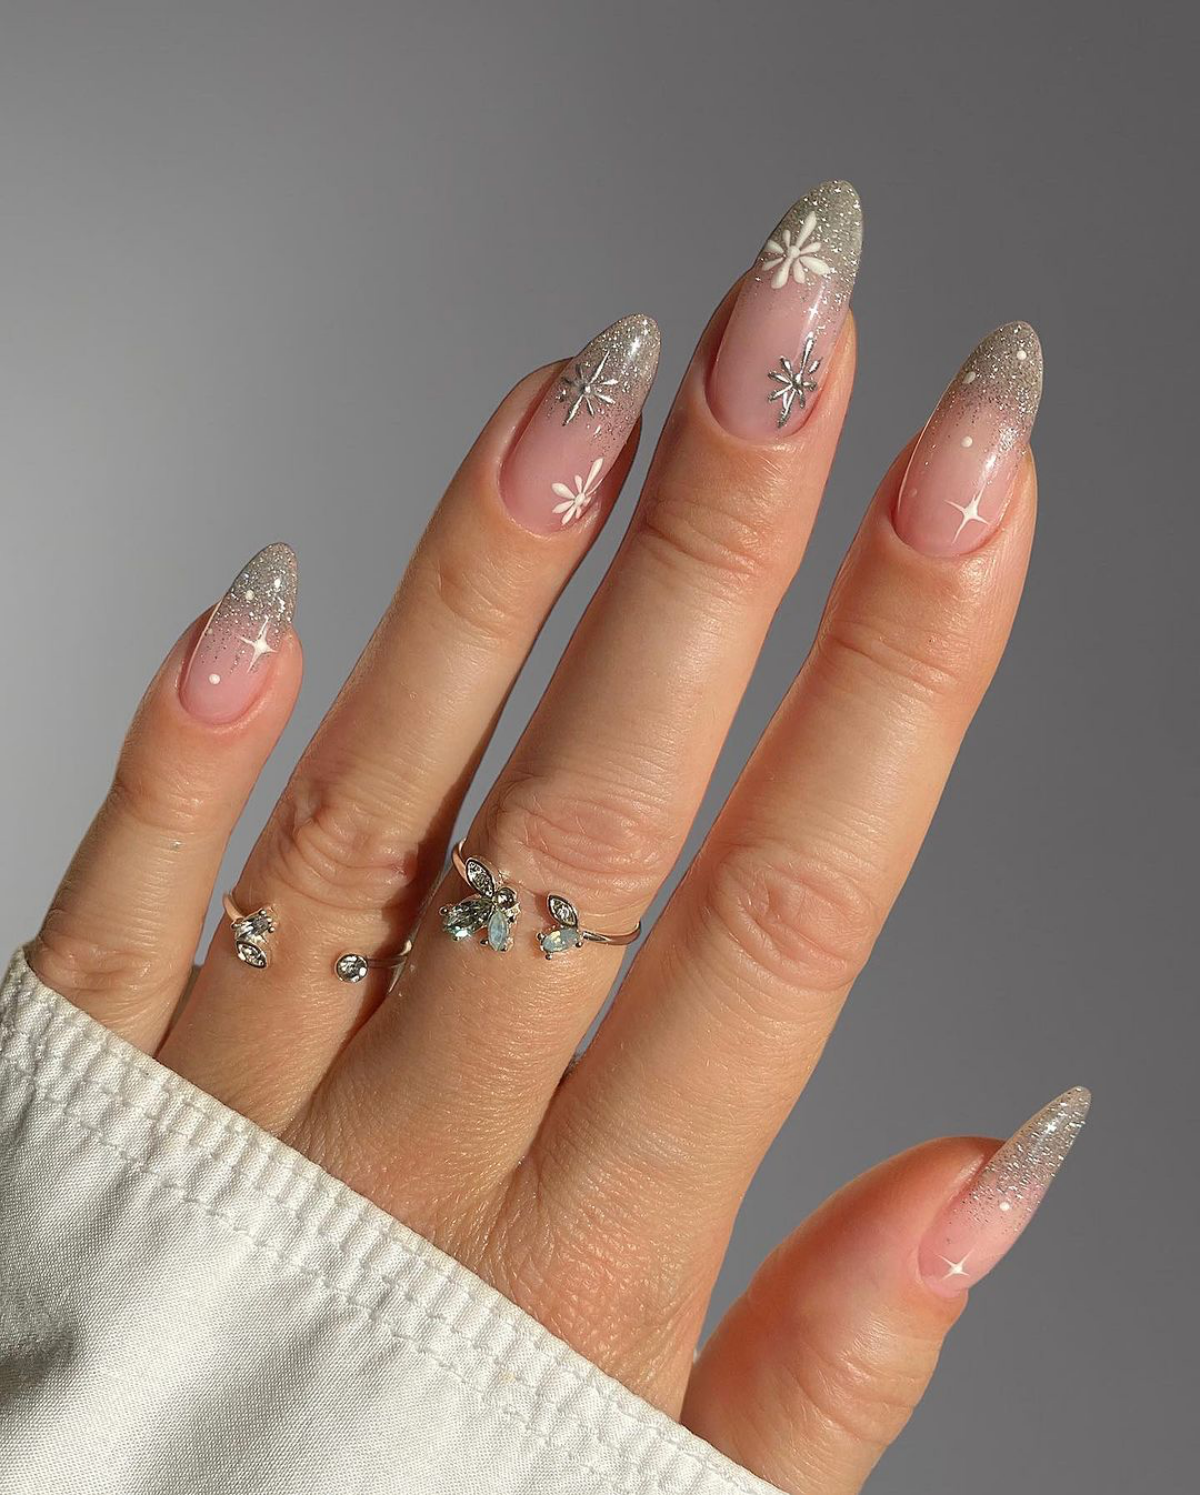
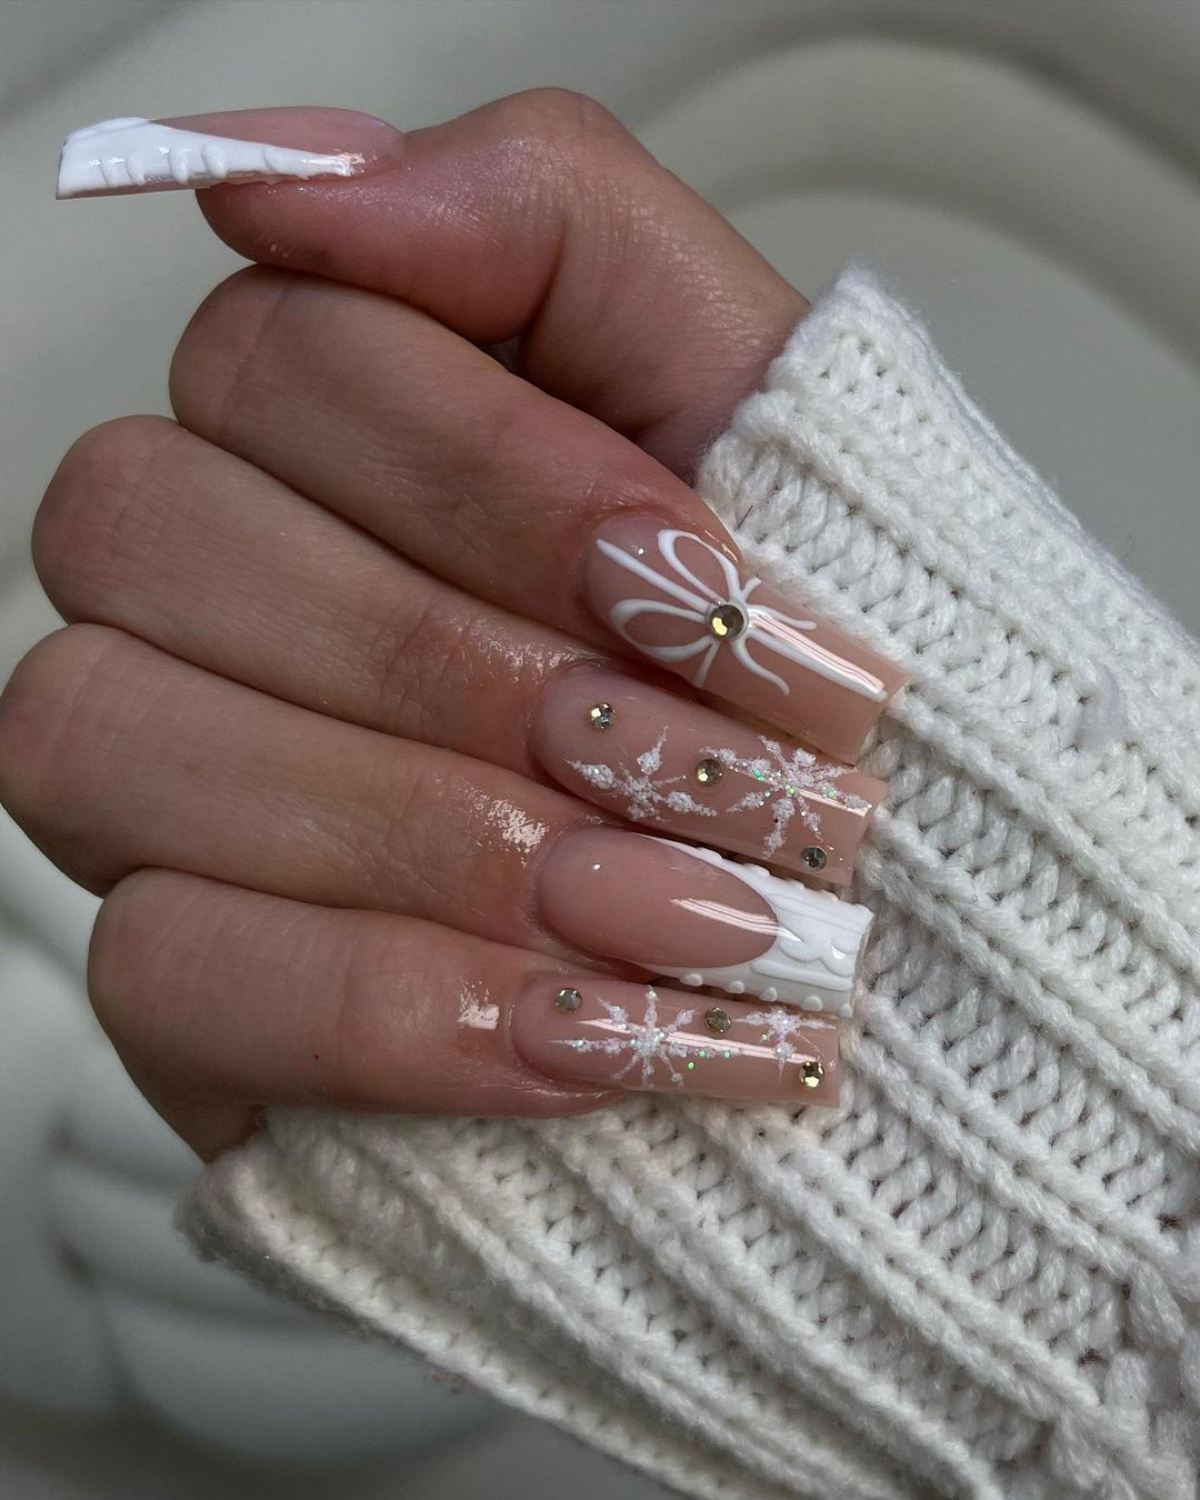
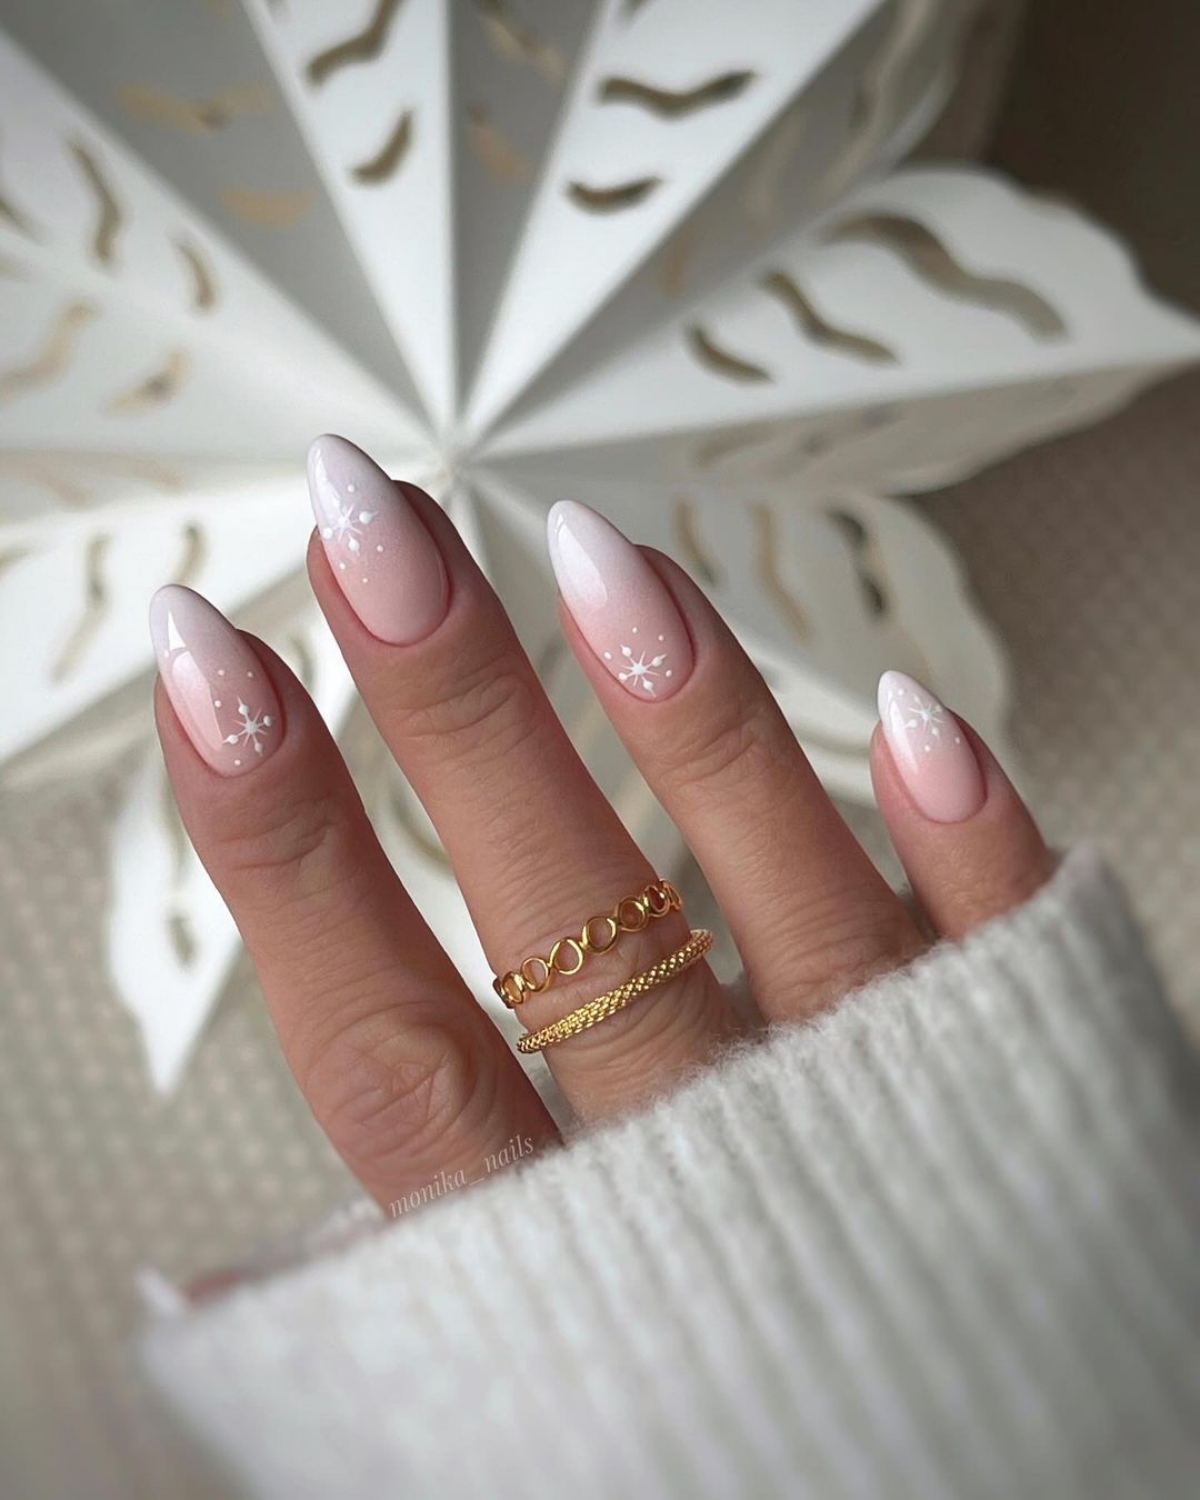
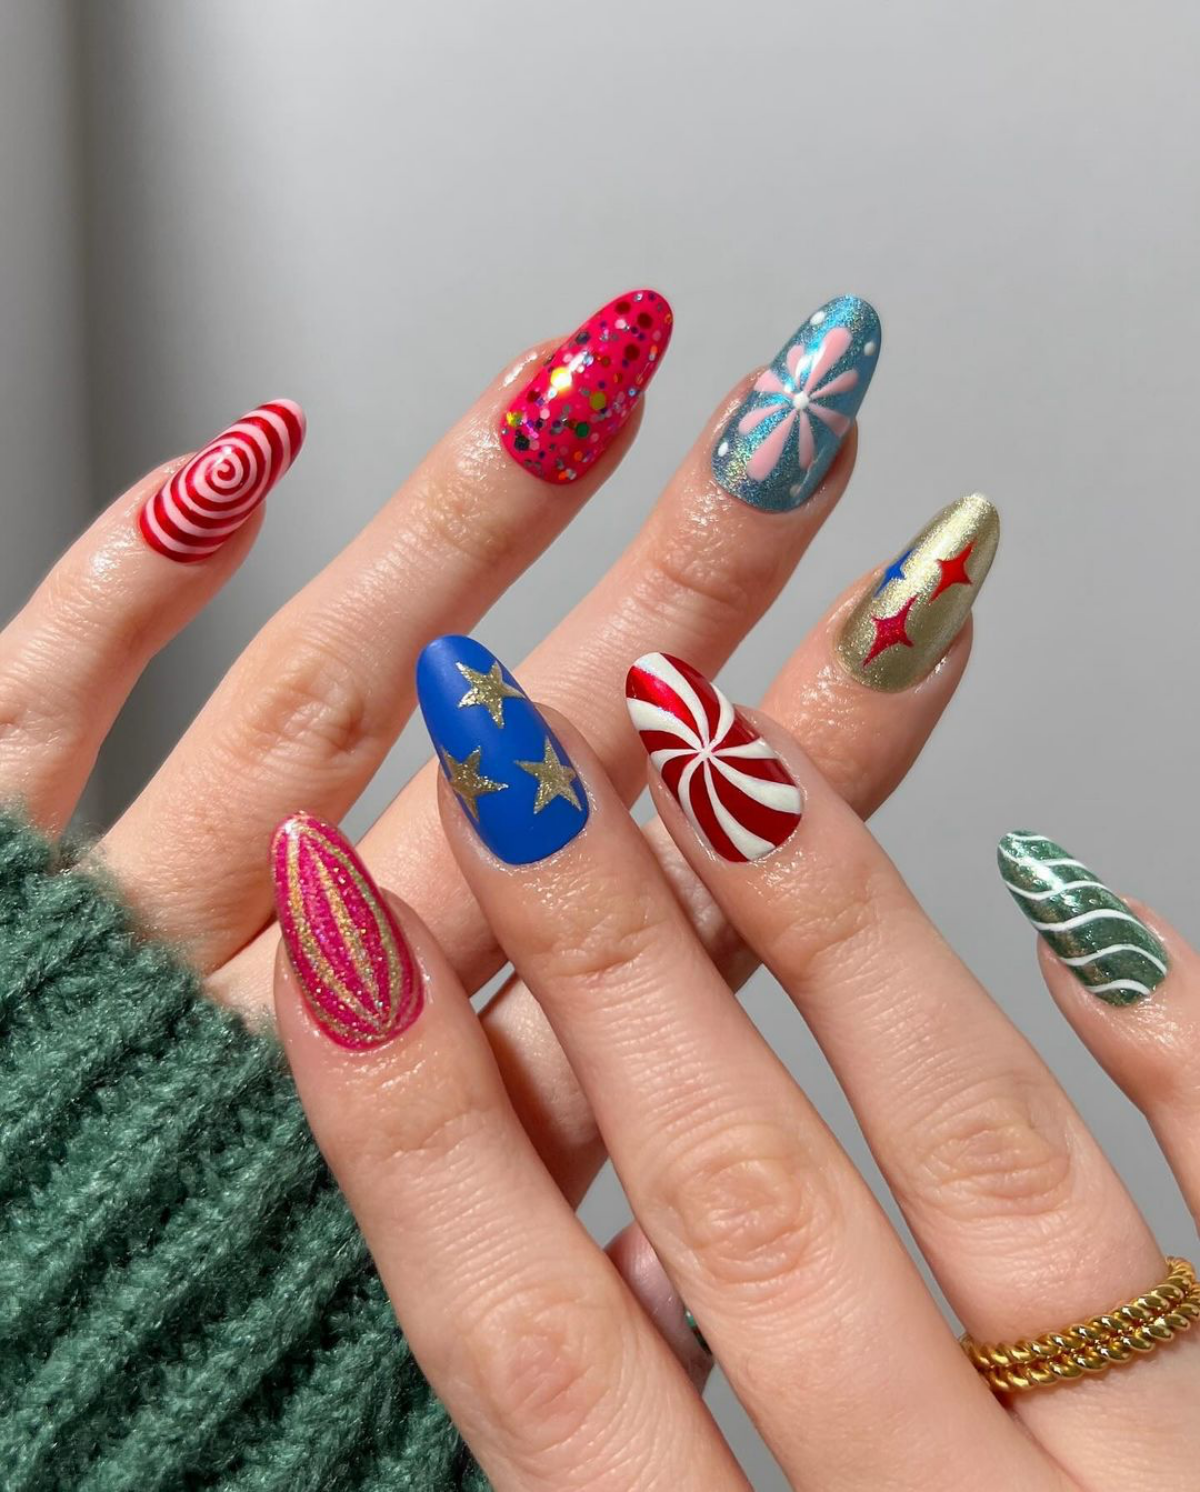
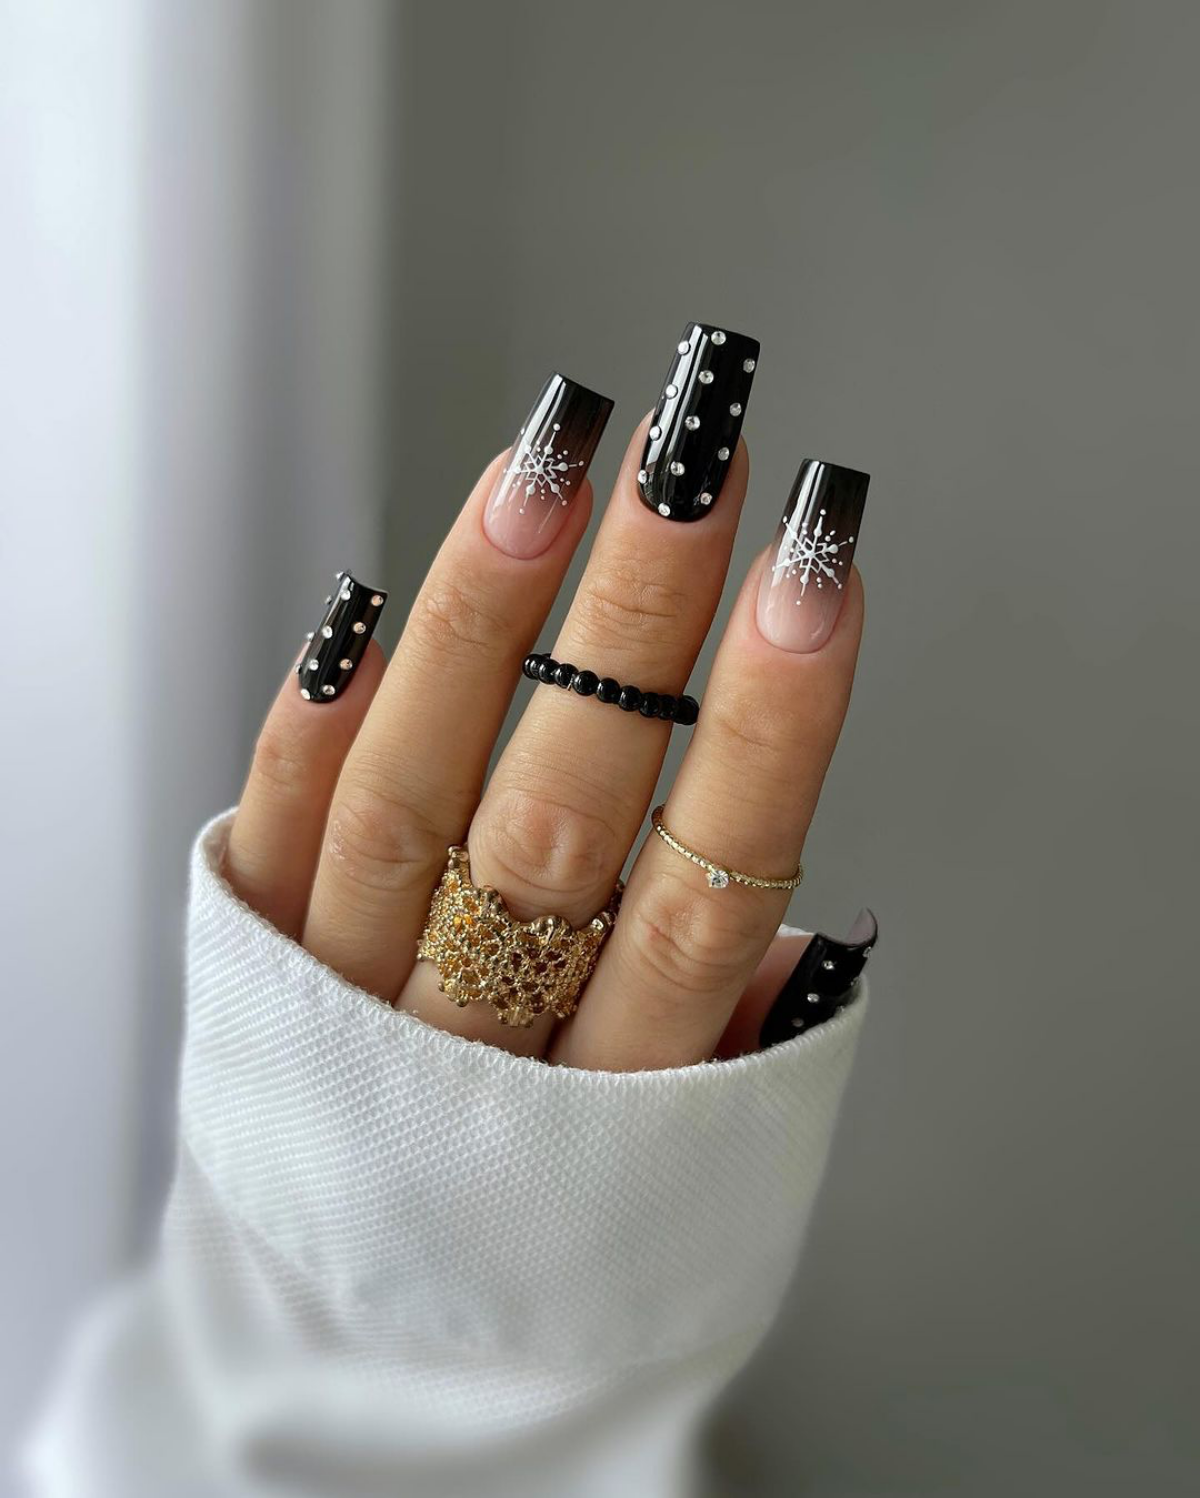
Hand-Painted Snowflakes
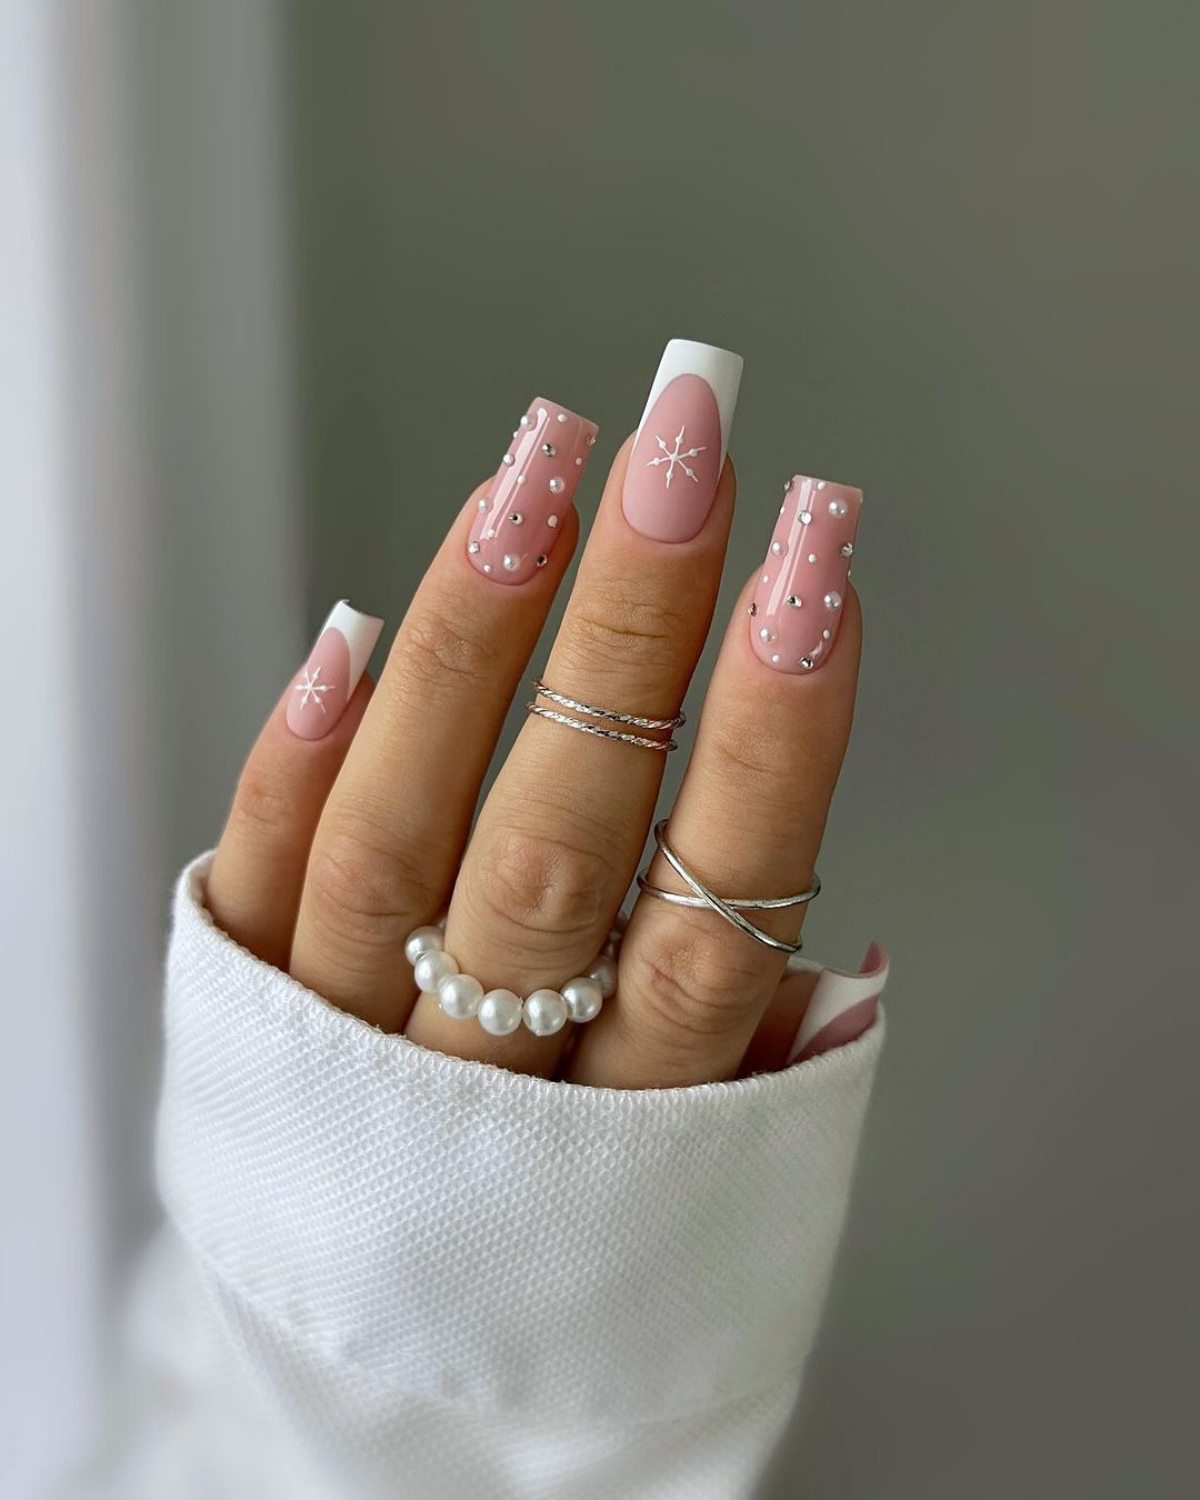
Everyone loves a snowflake nail! To keep it from looking shaky, build it in stages. I use a dotting tool to place a central dot. Then, with a long liner brush and white art gel, I pull six lines out from the center. I’ll “flash cure” that in the lamp for 10 seconds to lock it in place. This prevents any smudging while I add the smaller details. Once you get the hang of it, a detailed snowflake like this takes about 5-7 minutes per nail. A tiny rhinestone in the center adds the perfect sparkle.
Encapsulated Glitter (The Glassy-Smooth Finish)
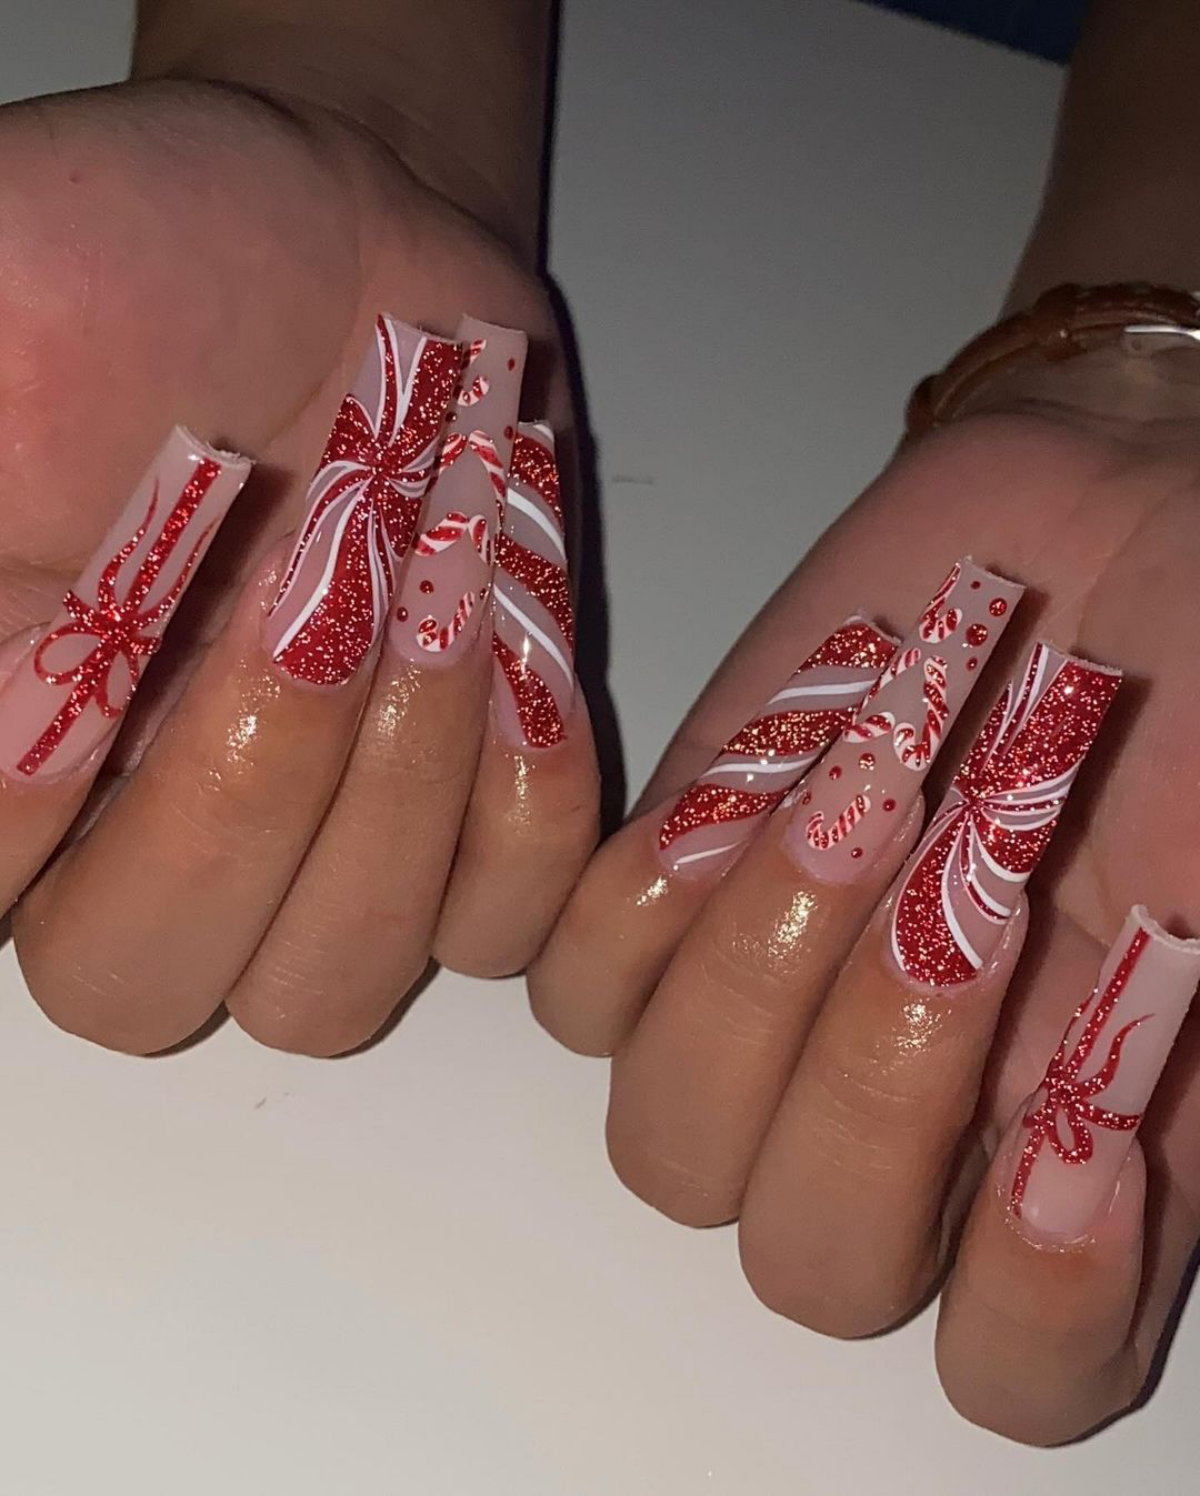
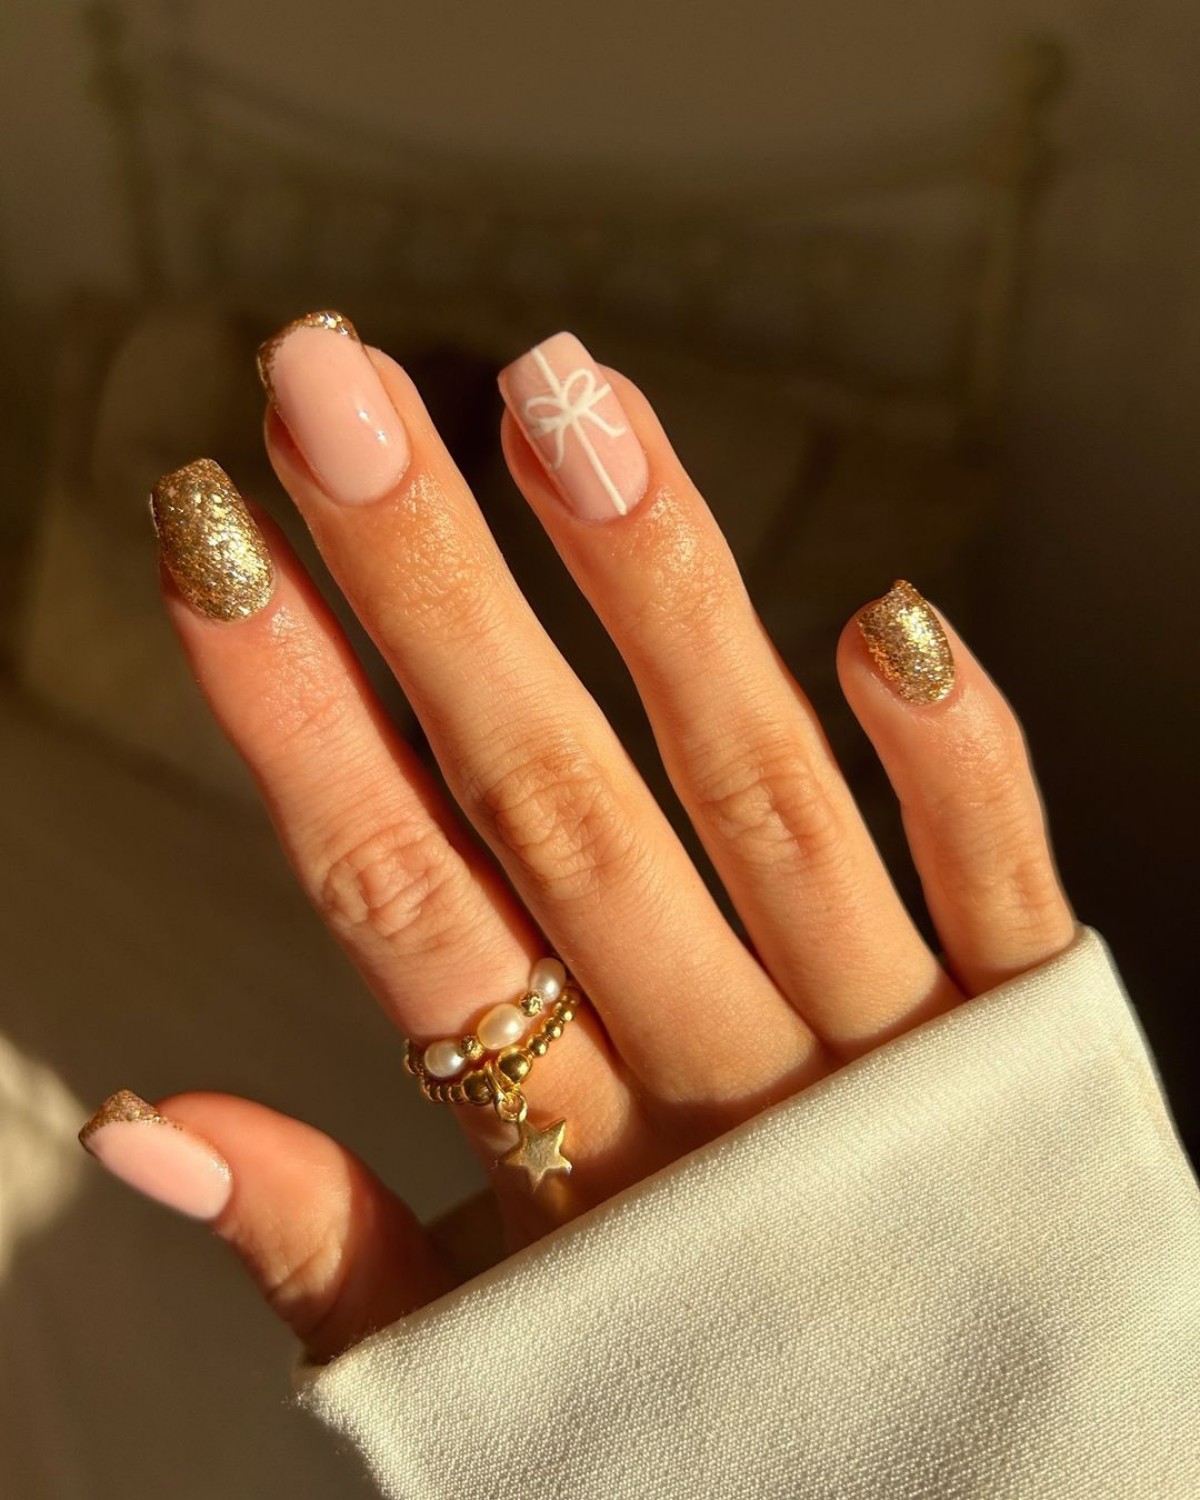
If you want to use chunky glitter, you have to encapsulate it. Just painting it on top will feel rough and flake off. The trick is to sandwich it between layers of clear builder gel. You apply a thin layer of builder gel, place your glitter pieces, cure it, and then cover it all with another layer of builder gel to create a perfectly smooth surface. It’s a process, and that’s why these designs cost more—it’s a structural build, not just a paint job.
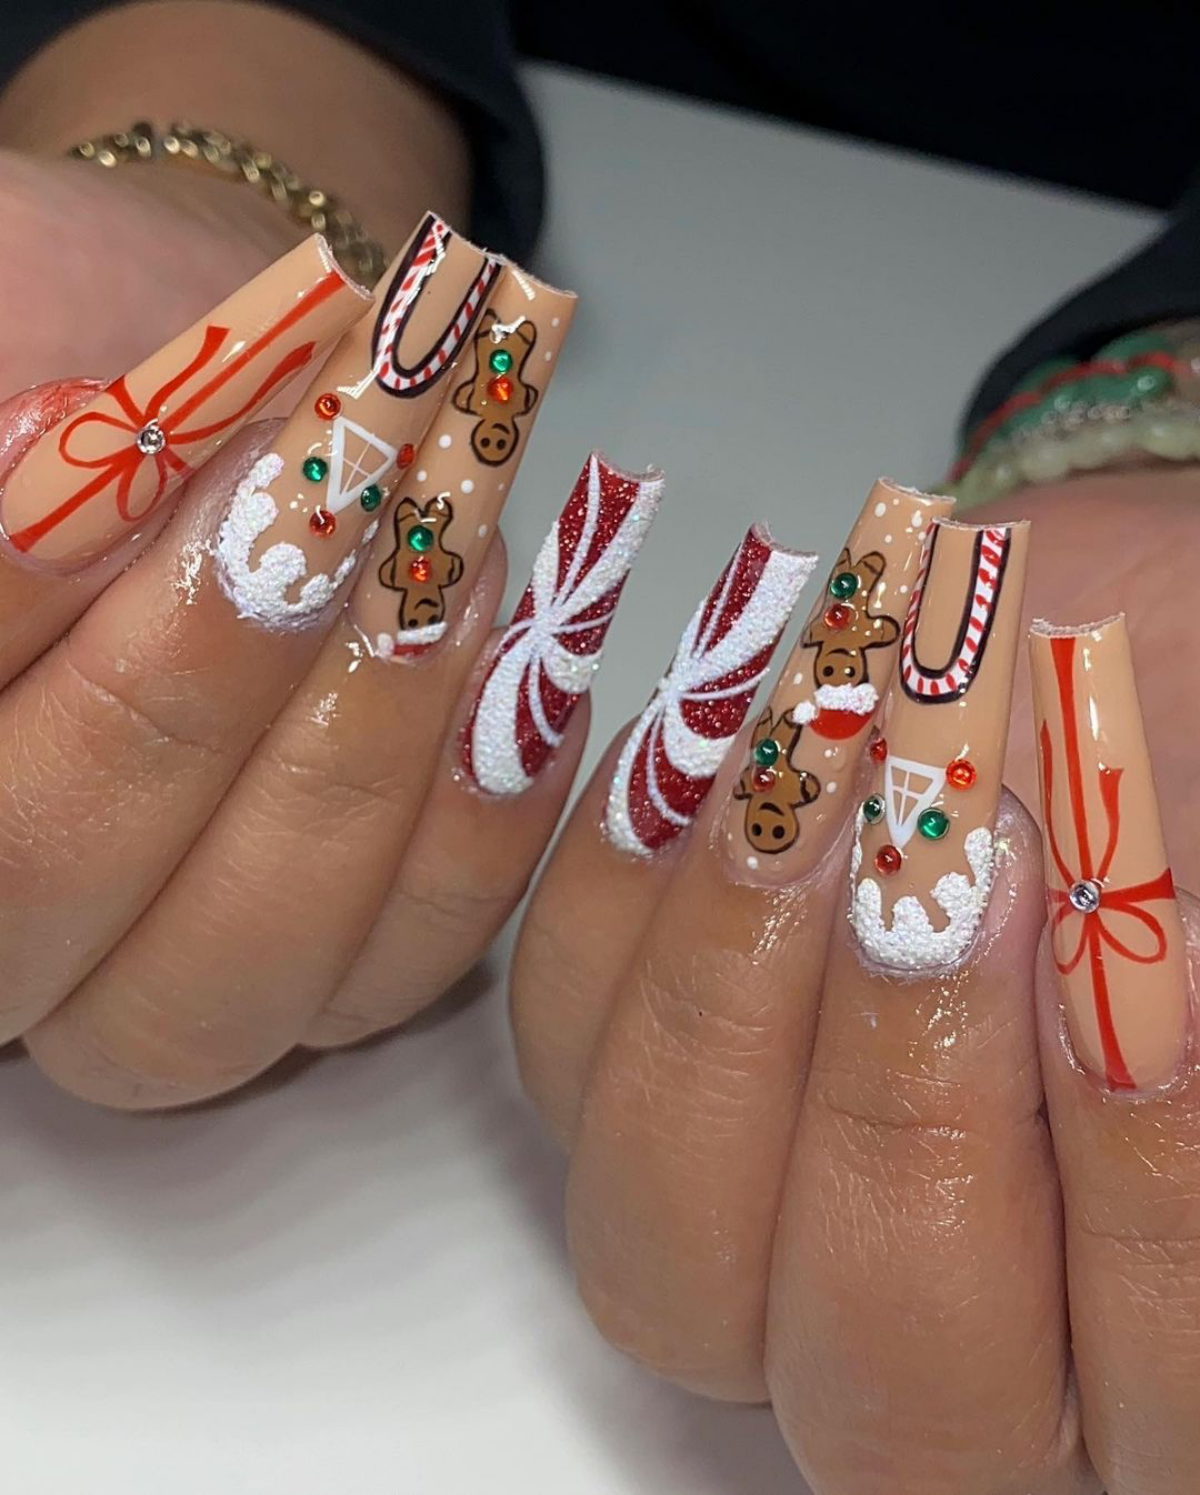
The Whimsical Gingerbread Man
This is a classic that relies on layering. I start with a warm brown base color and often add a matte top coat to give it that cookie texture. Here’s a story for you—my biggest nail fail early in my career was trying to paint the white icing details onto a tacky (uncured) matte top coat. It bled everywhere and looked like a soupy mess! So, lesson learned: CURE every layer completely before you paint on top of it. Use a highly pigmented white art gel and your finest detailer brush for the icing squiggles, and cure that before adding any other colors for the buttons.
Taking It All Off: How to Safely Remove Gel Polish at Home
Okay, this is SO important. I always tell clients to book a professional removal, but I know life gets busy. If you absolutely have to remove your gel at home, please don’t peel or pick it off! You’ll rip off layers of your natural nail and cause serious damage.
Here’s the safe way to do it:
- Gently file the top coat. Using a 180-grit file, lightly buff the shine off your gel polish. You don’t need to file down to the color, just break the seal of the top coat. This allows the acetone to penetrate.
- Soak cotton in acetone. Get some 100% pure acetone (regular nail polish remover won’t be strong enough). Saturate a small piece of a cotton ball, place it directly on your nail.
- Wrap it in foil. Wrap a small square of aluminum foil around your fingertip, securing the cotton ball in place. The foil traps heat and helps the acetone work faster.
- Be patient! Let them soak for a good 10-15 minutes. No peeking!
- Gently scrape. After soaking, the gel should look bubbled and be flaking off easily. Use an orangewood stick or a plastic cuticle pusher to gently scrape the softened gel off. If it’s not coming off easily, re-wrap it and soak for another 5 minutes. Never force it.
- Buff and hydrate. Once all the gel is off, lightly buff your natural nail to smooth the surface. Then, wash your hands and immediately apply a generous amount of cuticle oil.
Quick Wins and Final Pro Tips
Lesser-known trick: In a holiday rush? The fastest way to get festive is with a glitter top coat. You can paint it right over an existing manicure for an instant holiday look that takes literally five minutes. It’s a total lifesaver.
Your nails are jewels, not tools. I say this a dozen times a day. Wear gloves when you’re washing dishes or cleaning. Harsh chemicals are the enemy of a long-lasting manicure. And please, don’t use your nails to open soda cans!
And finally, my most important tip: use cuticle oil daily. It keeps your skin hydrated and the gel product flexible, which actually helps prevent chipping. Look for one where Jojoba oil is a main ingredient—its molecules are small enough to penetrate the nail plate, making it far more effective than others. A little care goes a long way in keeping your festive nails looking fabulous all season long.
Galerie d’inspiration
Over 70% of nail technicians report that ‘improper removal’ is the leading cause of nail damage they see in clients, especially after the holidays.
That stubborn glitter manicure isn’t just a nuisance to take off; it can be a threat to your nail health. Resist the urge to peel or scrape it off! The best method is the foil wrap technique: soak a piece of a cotton ball in pure acetone, place it on the nail, wrap your fingertip tightly in a small square of aluminum foil, and wait 10-15 minutes. The glitter should slide right off with gentle pressure, preserving the integrity of your nail plate for the next design.
The secret to preventing tip wear: Always ‘cap’ the free edge of your nail. After painting each layer of color and especially the top coat, take the very tip of the brush and run it lightly along the exposed edge of your nail. This simple, two-second step creates a seal that dramatically reduces the chances of chipping from daily activities like typing or opening cans.
Want a truly sophisticated holiday look?
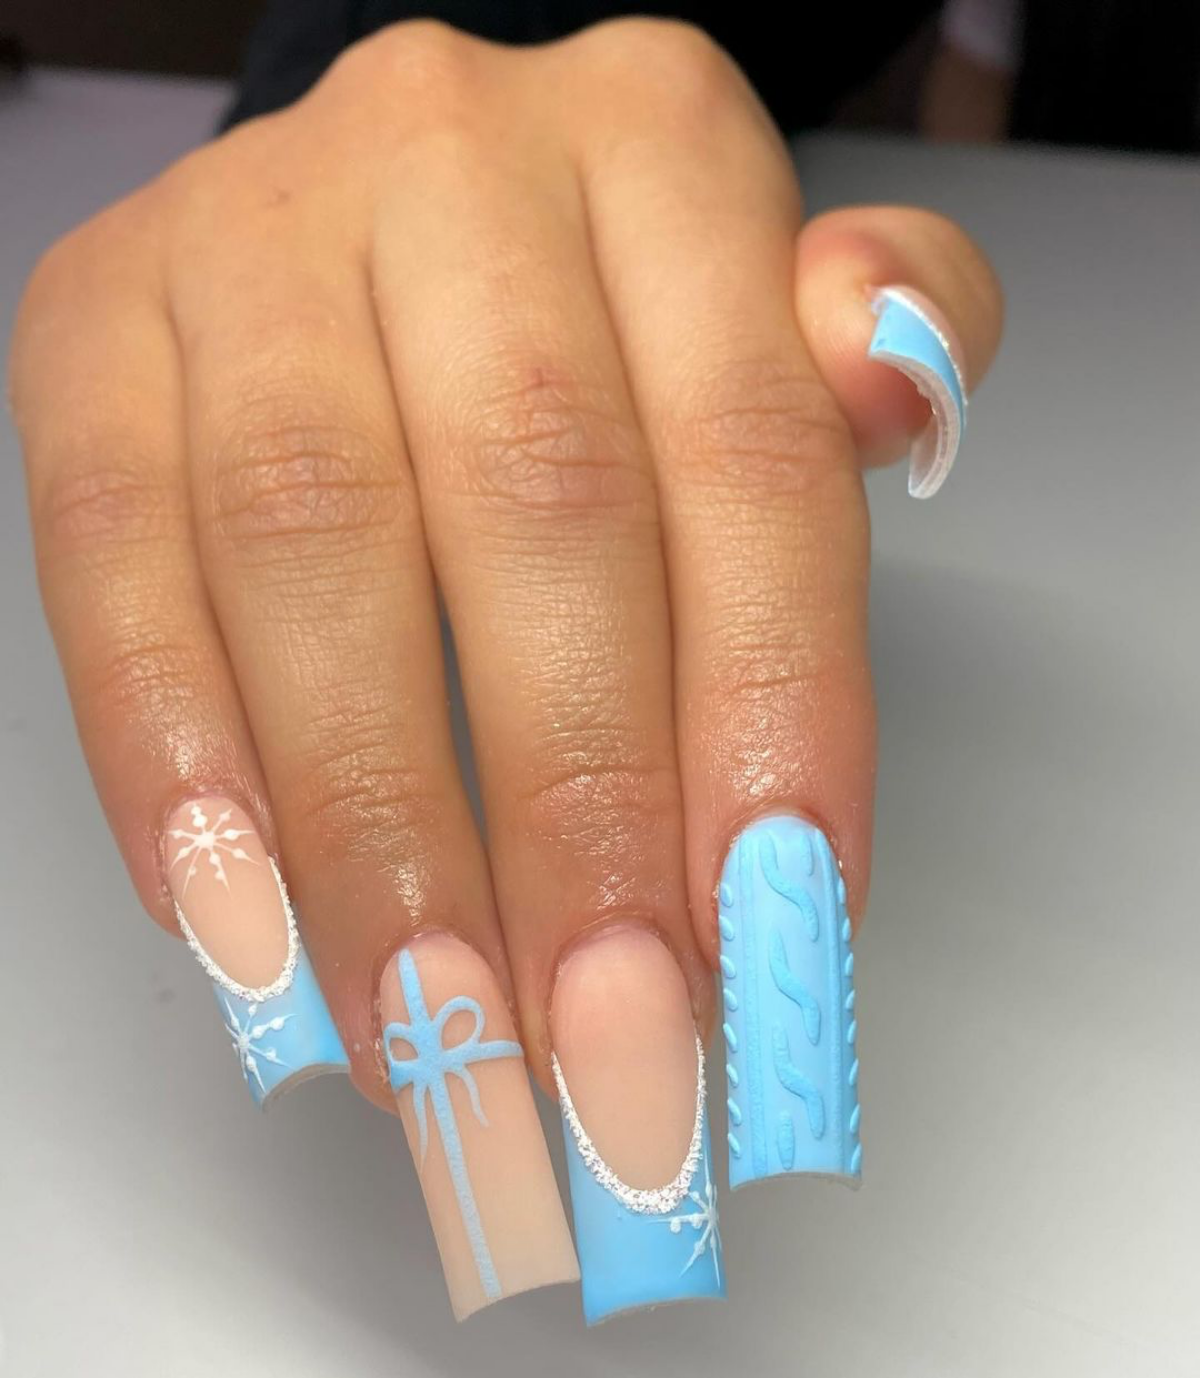
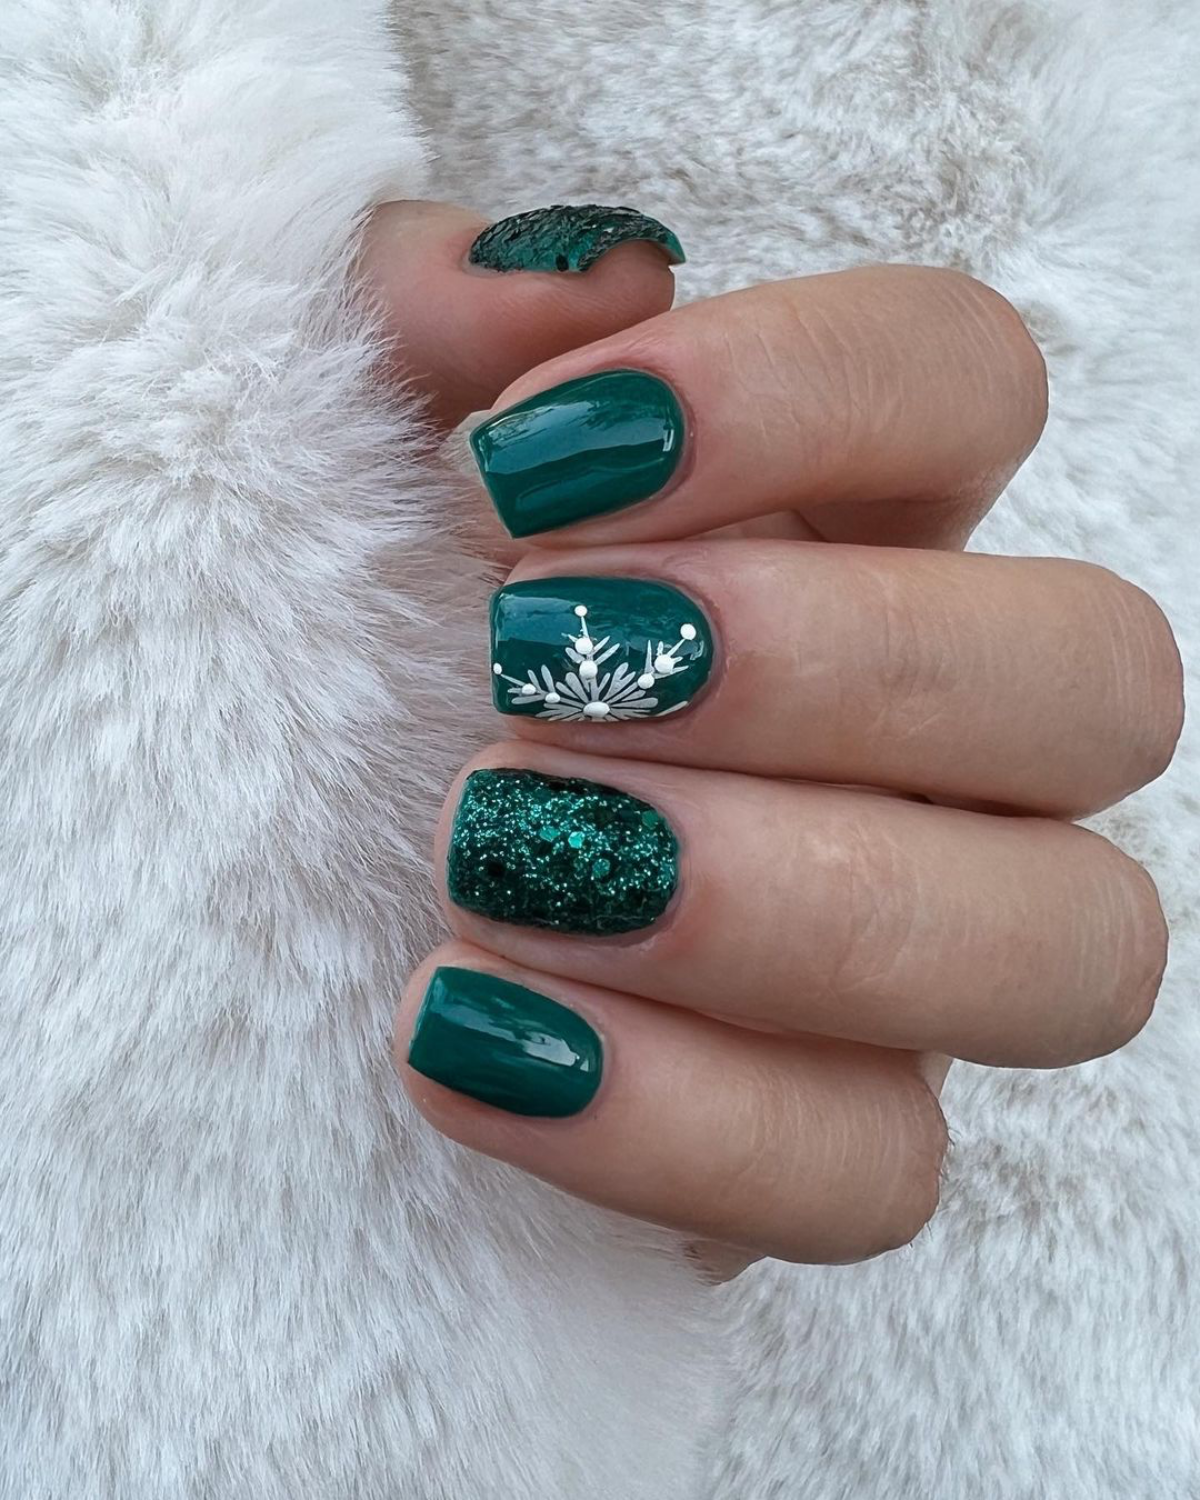
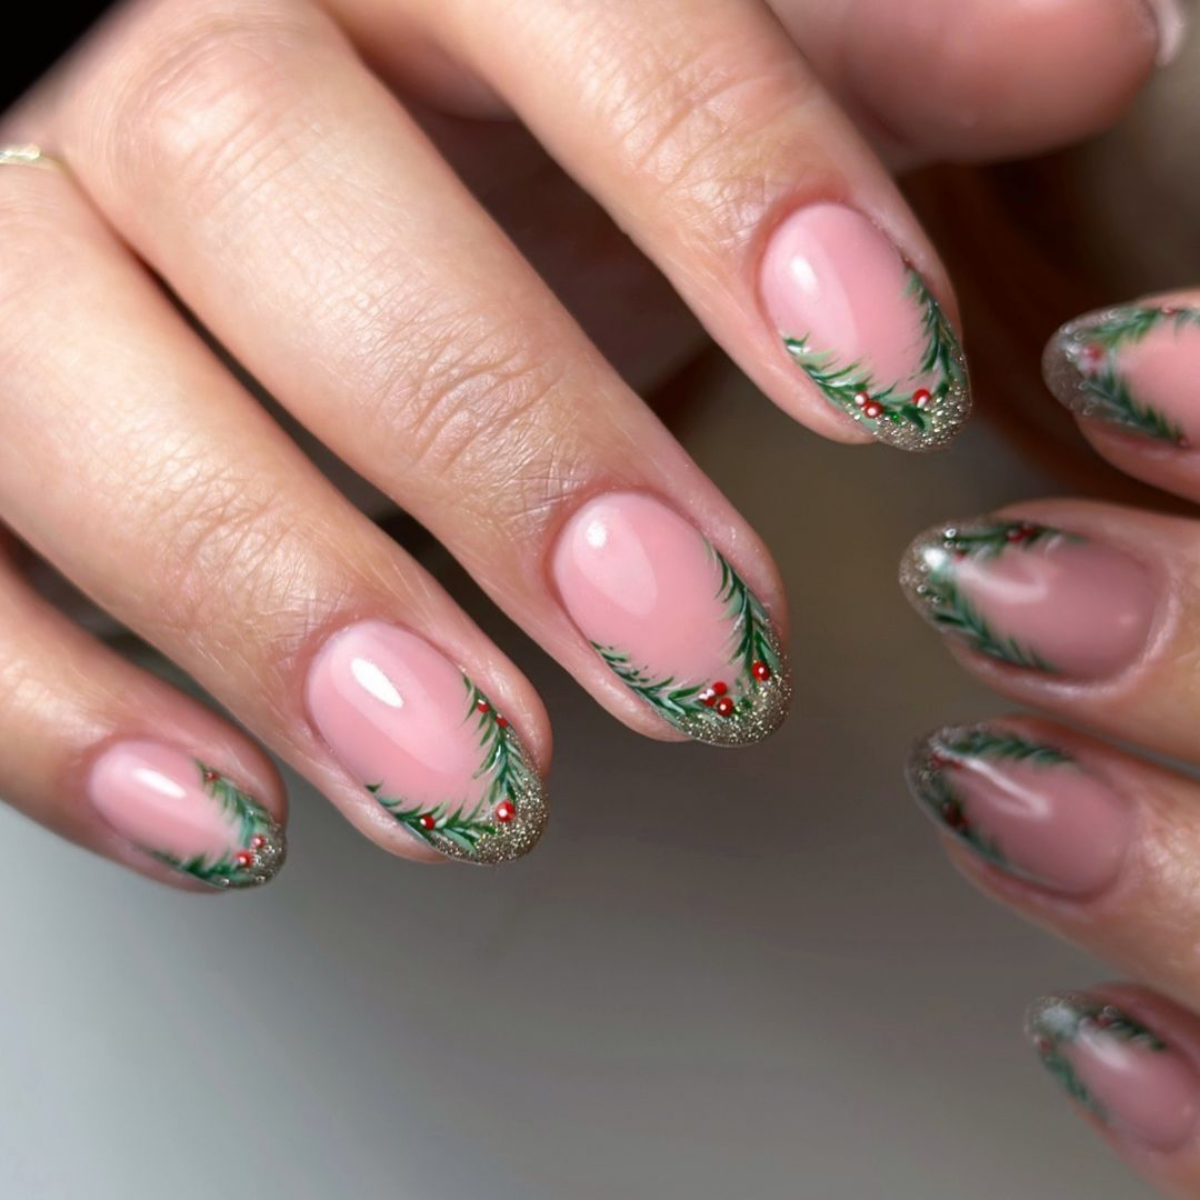
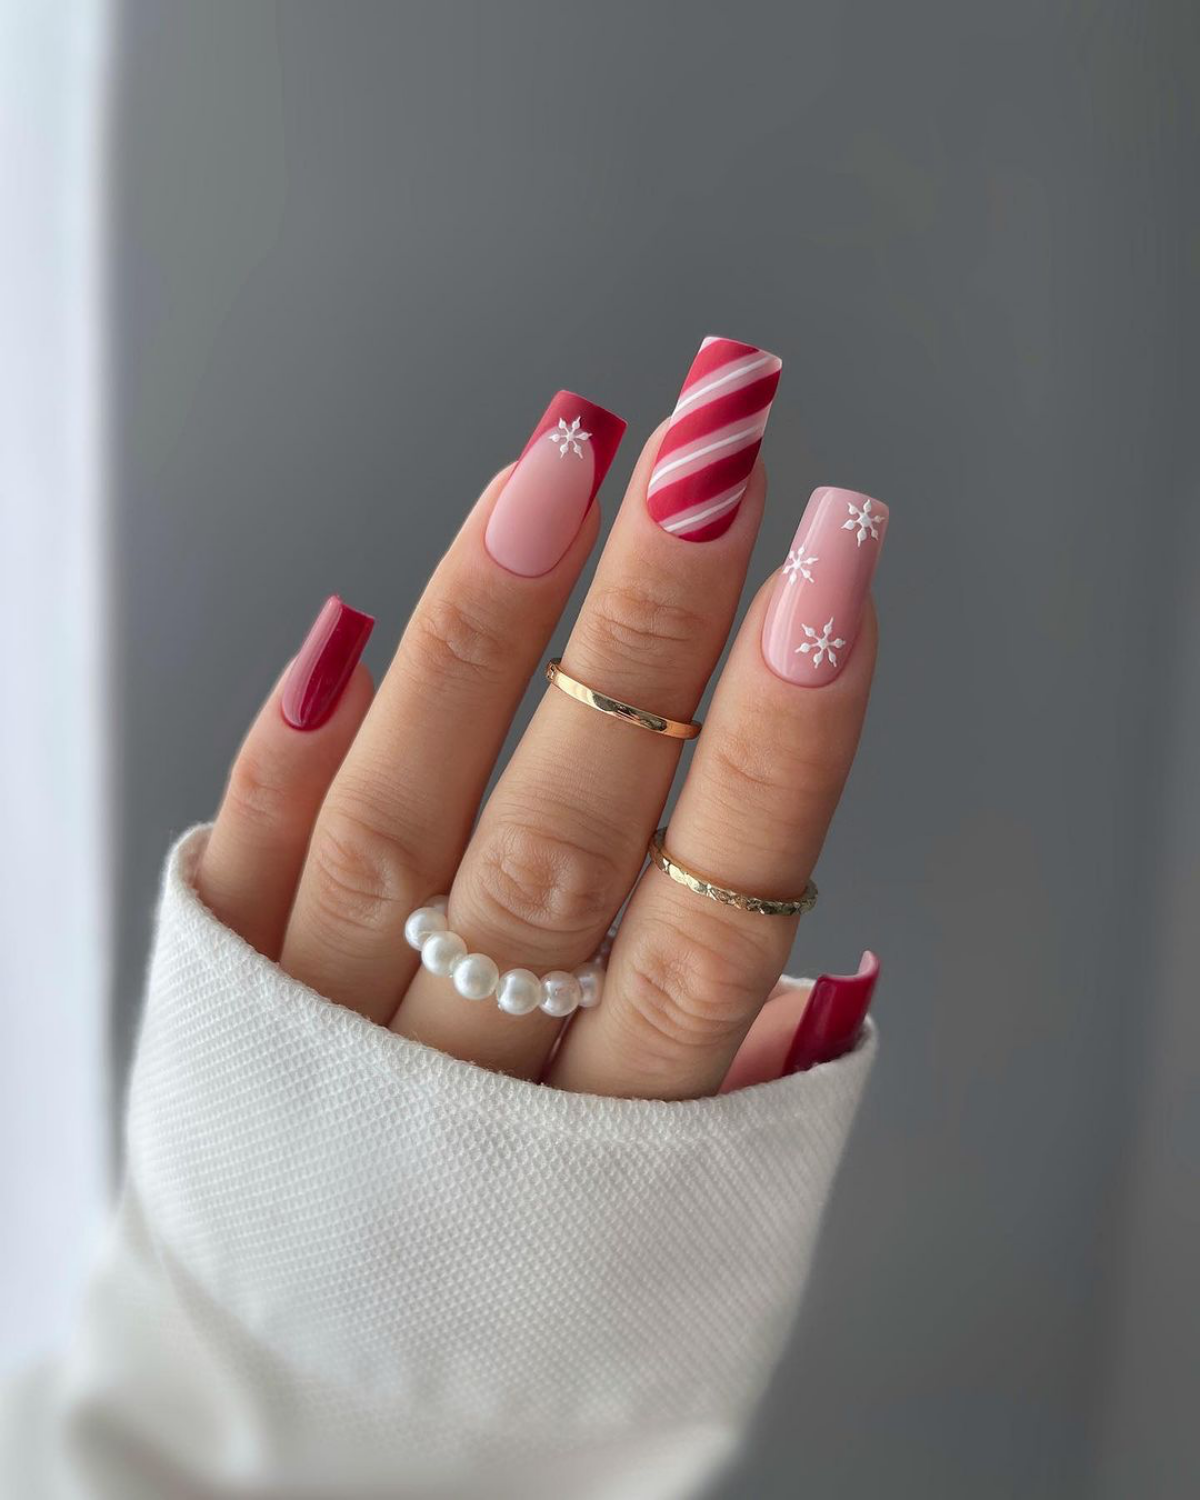
Think beyond the traditional red and green. A palette of deep, midnight blue paired with shimmering silver or champagne gold evokes a clear winter’s night. Consider a rich emerald green with a matte top coat for a velvety, modern feel. Another chic option is ‘winter white’—a creamy, soft off-white—accented with delicate rose gold foil. These combinations feel festive and elevated, perfect for any holiday party.
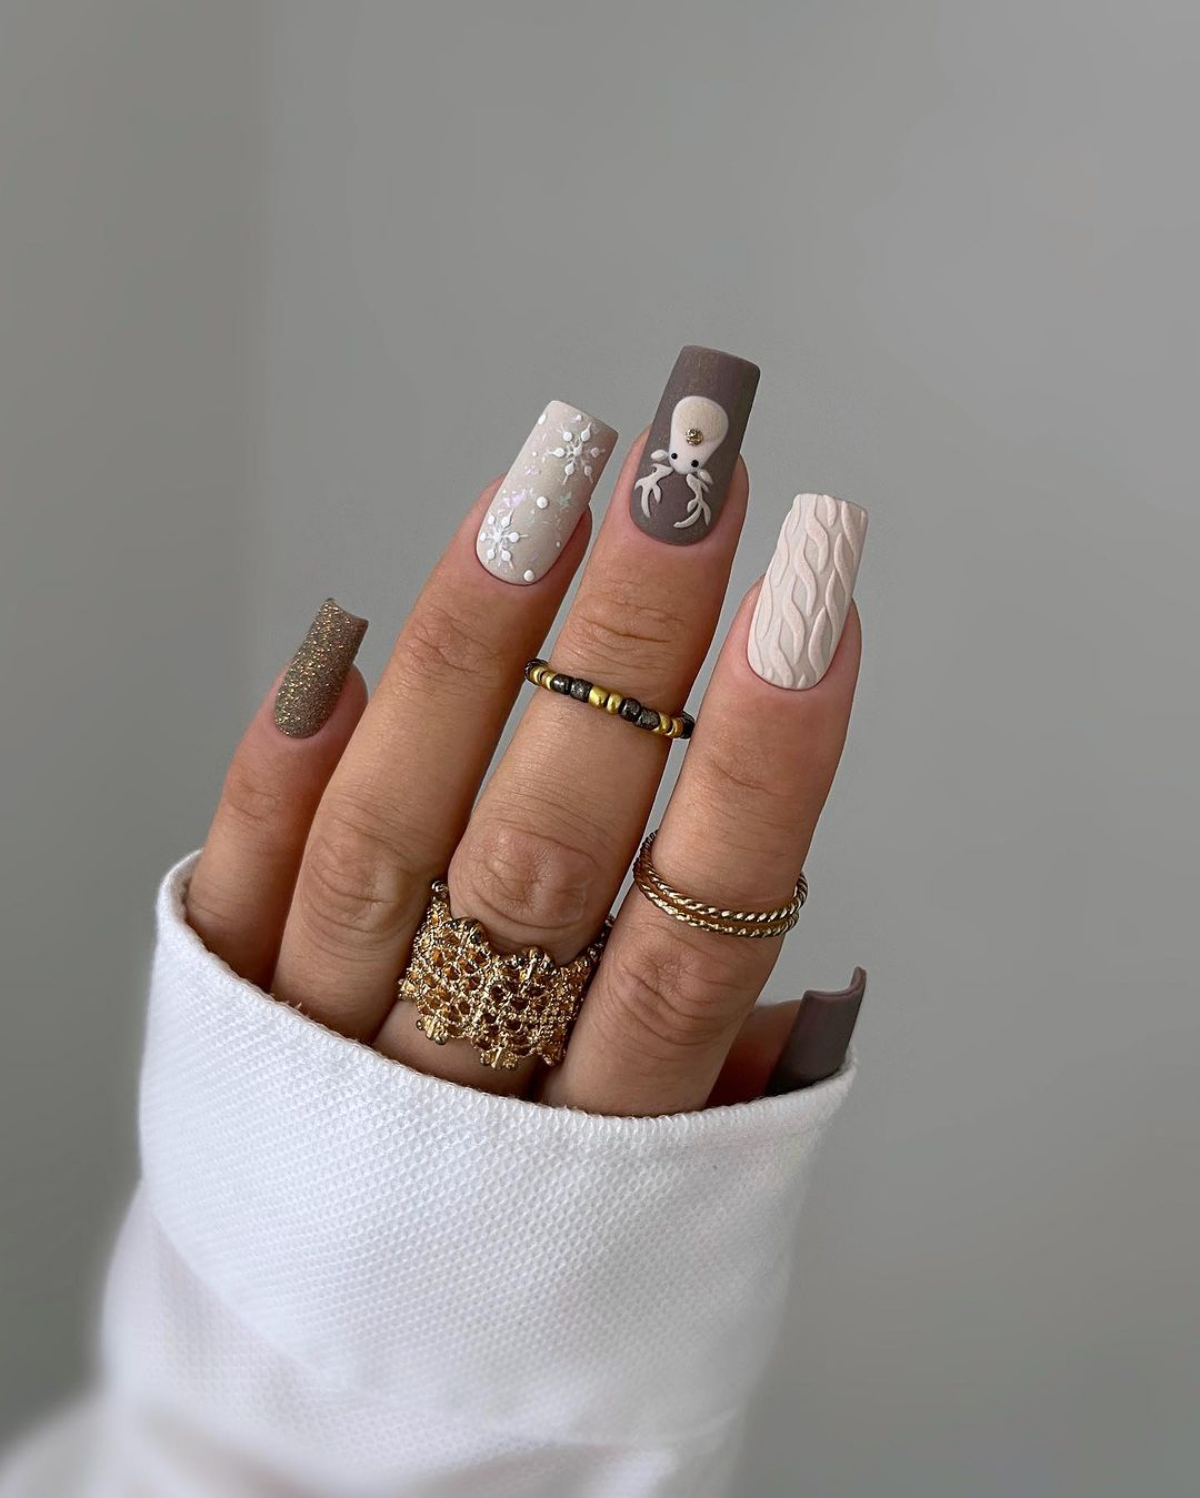
- Adds a cozy, tactile dimension to your manicure.
- Creates a unique, photo-worthy texture.
- Surprisingly durable when sealed correctly.
The secret? The ‘sweater nail’ effect. This is achieved by drawing a cable-knit pattern with a 3D gel or a mix of clear polish and fine acrylic powder. The key is to apply a matte top coat, like Essie’s Matte About You, as the final step. This removes the shine and gives it that authentic, soft-spun wool appearance.
For a quick, high-impact design without the salon time, don’t overlook modern press-on nails. They’re a world away from the flimsy versions of the past.
- For a specific event: Use the included adhesive tabs for a strong hold that lasts a few days and allows for easy, damage-free removal. Perfect for a New Year’s Eve party.
- For longer wear: Use a high-quality brush-on nail glue, like the one from Kiss, to get up to two weeks of wear. Brands like Static Nails or Glamnetic offer reusable, art-quality designs that rival a hand-painted manicure.
Even the most perfectly applied manicure needs a little daily love to go the distance. Think of it as aftercare for your tiny works of art. A daily dose of cuticle oil, like CND’s SolarOil, is non-negotiable. It keeps the skin hydrated and, more importantly, keeps the polish flexible, making it less prone to chipping. And always, always wear gloves when doing dishes or cleaning—harsh detergents are the number one enemy of a lasting manicure.
For a true sugar-plum fairy sparkle, choose a polish with holographic glitter over standard craft glitter. The difference is dazzling.
Glossy Finish: For that classic, wet-look shine that makes colors pop, a quick-dry top coat is your best friend. Seche Vite is a salon icon for a reason—it dries rock-hard in minutes and provides an incredible gel-like cushion and shine.
Velvet Matte Finish: To give a deep color like burgundy or forest green a modern, edgy twist, opt for a matte top coat. OPI’s Matte Top Coat instantly transforms any shiny polish into a sophisticated, non-reflective surface that’s perfect for accent nails or a full set.
For the holidays, try a ‘mixed-media’ look: a full glossy manicure with one matte accent nail.
- Gently file any small snags immediately with a high-grit (240+) file to prevent them from catching and getting worse.
- Keep your top coat handy. If you get a minor chip, dab a tiny amount of the original color into the spot, let it dry, and then re-seal the entire nail with a fresh layer of top coat.
- Apply cuticle oil. It can often minimize the appearance of tiny cracks at the edge of the polish by adding moisture and flexibility.


