The Pro’s Guide to Nailing the Olive Green Manicure Every Time
I’ve been a nail tech for a long time, and I’ve seen color trends explode and then fade away just as quickly. Neons have their summer fling, deep reds own the autumn, but some colors just… stick around. Olive green is one of those. It’s not just a passing fad; it’s become a genuine staple in my salon. It has this incredible way of looking both earthy and chic, and once clients try it, they often become hooked.
In this article
But let’s be honest, olive green can be a tricky color to work with. I’ve dealt with hundreds of different shades, from dusty, muted sages to those deep, moody forest greens. What I’ve learned is that a perfect olive manicure isn’t just about picking a pretty shade. It’s about knowing the polish, using the right techniques, and understanding how to make it last. Some formulas are just plain streaky, and the darker gel versions need extra care. So, I’m going to share everything I’ve picked up over the years. We’re going beyond pretty pictures and diving into what makes this color work.
First, Let’s Talk About the Polish Itself
To really master a color, you have to get what’s going on inside the bottle. This is the difference between fighting with your polish and making it behave. Olive green is a complex, mixed color, which is why it can be so unpredictable.
Why It Can Be Streaky (and What to Do About It)
Olive green isn’t a primary color; it’s usually made by mixing a yellow and a black pigment. Sometimes the pros will add a little blue or brown to get a specific tone. The size and amount of these tiny pigment particles are what determine how the polish applies.
For instance, a polish with a lot of black pigment can create a stunning, deep olive, but it can also be a nightmare to cure properly in a gel lamp. And that yellow pigment? It’s often the culprit behind stained natural nails if you skip the base coat. When I’m testing a new olive green for my salon, I always paint it on a clear swatch stick first to check its opacity. Does it cover in one coat, or will it need three? Streaky formulas usually have an imbalanced pigment-to-base ratio, and the only way to beat them is with very thin, patient coats.
Heads Up: The Big Deal with Curing Dark Gels
This is probably one of the most important safety lessons in the nail world. Gel polish hardens, or cures, when UV or LED light hits it. But dark, opaque colors like a deep olive can actually block the light from getting all the way through the polish. The top might feel rock hard, but the gel underneath, right against your nail, can stay wet.
And under-cured gel is a huge problem. First, your manicure will start peeling and chipping within days. But more importantly, it’s a major health risk. That wet, uncured gel can seep into the skin and trigger a nasty contact allergy, which can be painful and sometimes permanent. I’ve seen it happen to people who went to less-than-careful salons.
To avoid this, I’m a stickler for my curing process. I use a professional 48-watt LED lamp and for super-pigmented colors like dark olive, I always cure for a full 60 seconds. For thumbs, which can sit awkwardly in the lamp, I might even go for 90. The real mantra here is “thin to win.” Two or three whisper-thin coats are infinitely better than one thick one. This ensures the light can penetrate every single layer.
Don’t Let It Stain Your Nails
Those green and yellow pigments are notorious for leaving a yellowish tint on natural nails. Trust me, you don’t want that. A quality base coat is non-negotiable. It creates a barrier that stops the pigment from soaking into your nail plate. I personally love something like Orly Bonder, which you can find online or at a beauty supply store like Sally Beauty for around $8 to $15. It’s a small investment that protects your nails and makes your manicure last longer.
Techniques for a Flawless Finish
A beautiful manicure is all about the prep work. You could have the most expensive polish in the world, but without a good foundation, it’s not going to look great or last long.
The Prep Process is Everything
- Cuticle Care: I gently push back the living tissue (the eponychium) but only ever trim the non-living, flaky bits of cuticle on the nail plate itself. Never cut the live tissue—it’s there to protect you from infection!
- Cleansing the Nail Plate: After shaping, I scrub the nail with a lint-free wipe soaked in 99% isopropyl alcohol. You can get a big bottle at any drugstore for about $5. This gets rid of any oils or dust that would prevent your polish from sticking.
- A Gentle Buff: I use a very fine-grit buffer (240-grit or higher) to just lightly remove the surface shine. You’re not trying to file the nail down; you’re just creating a bit of texture for the base coat to grab onto. It should sound like a soft whisper, not aggressive scratching.
Finding the Best Olive for Your Skin Tone
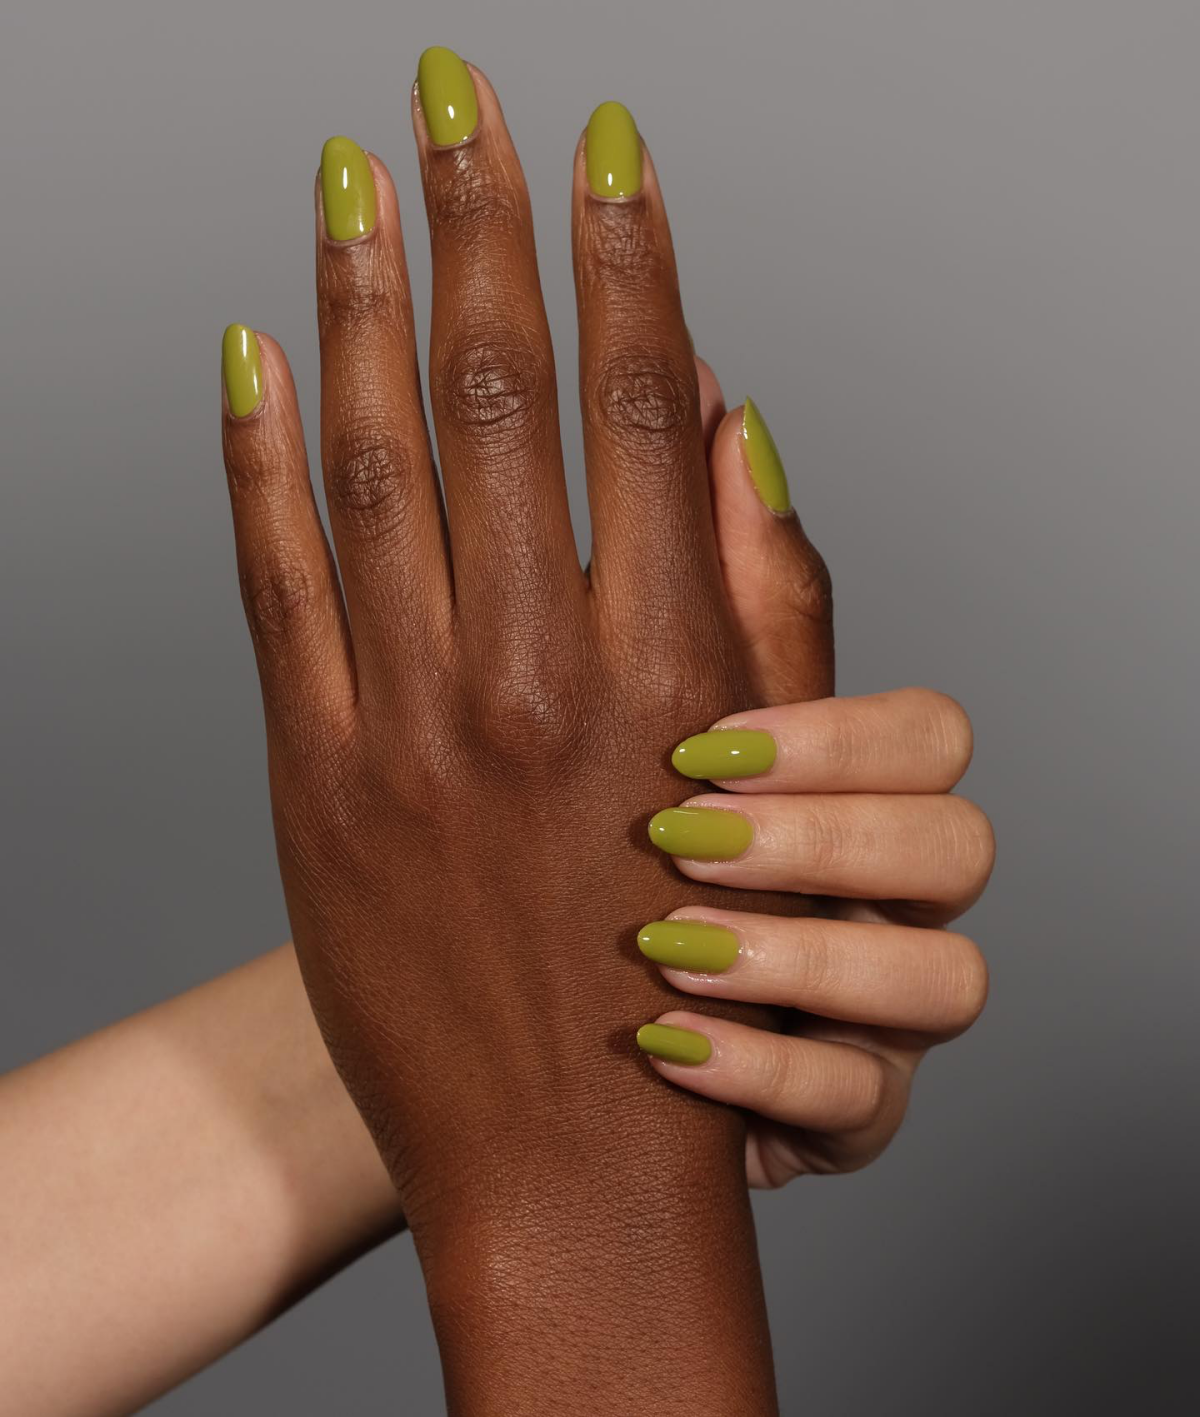
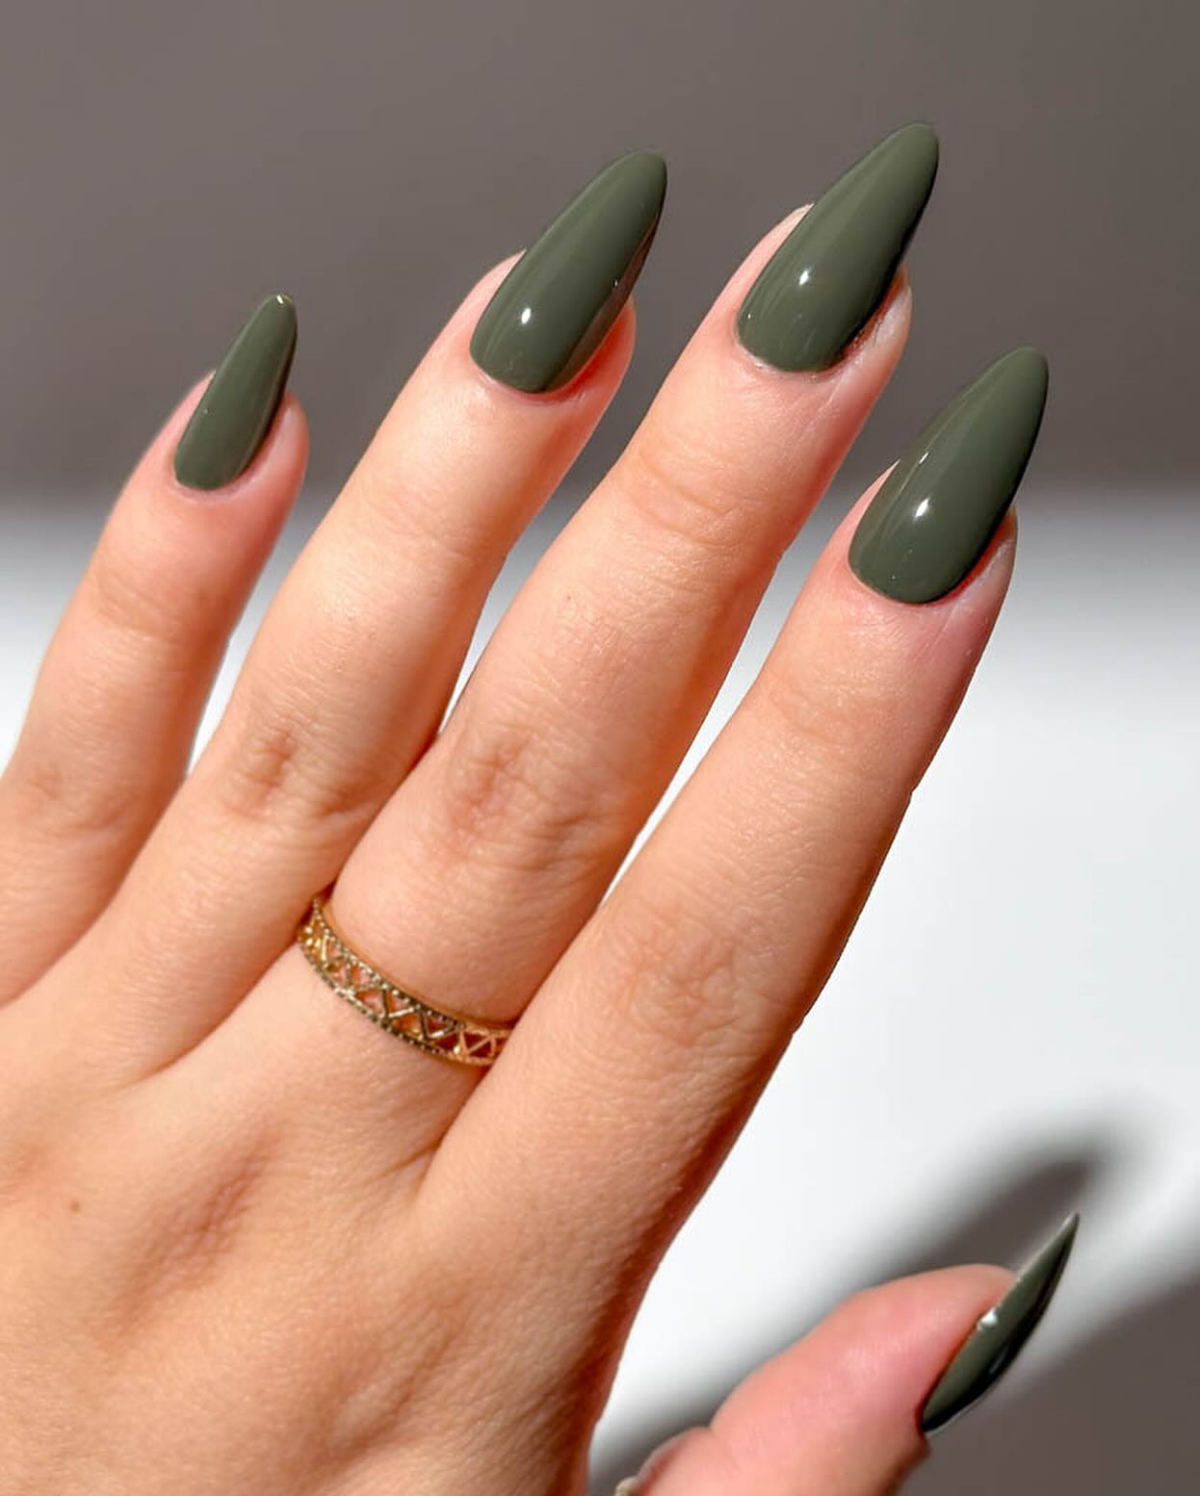
Olive green looks good on almost everyone, but certain shades can really make your skin pop. For clients with warm or olive undertones, I usually suggest olive greens with a strong yellow or brown base—think classic olive or a warm khaki. A great example to look for is OPI’s “Suzi – The First Lady of Nails.”
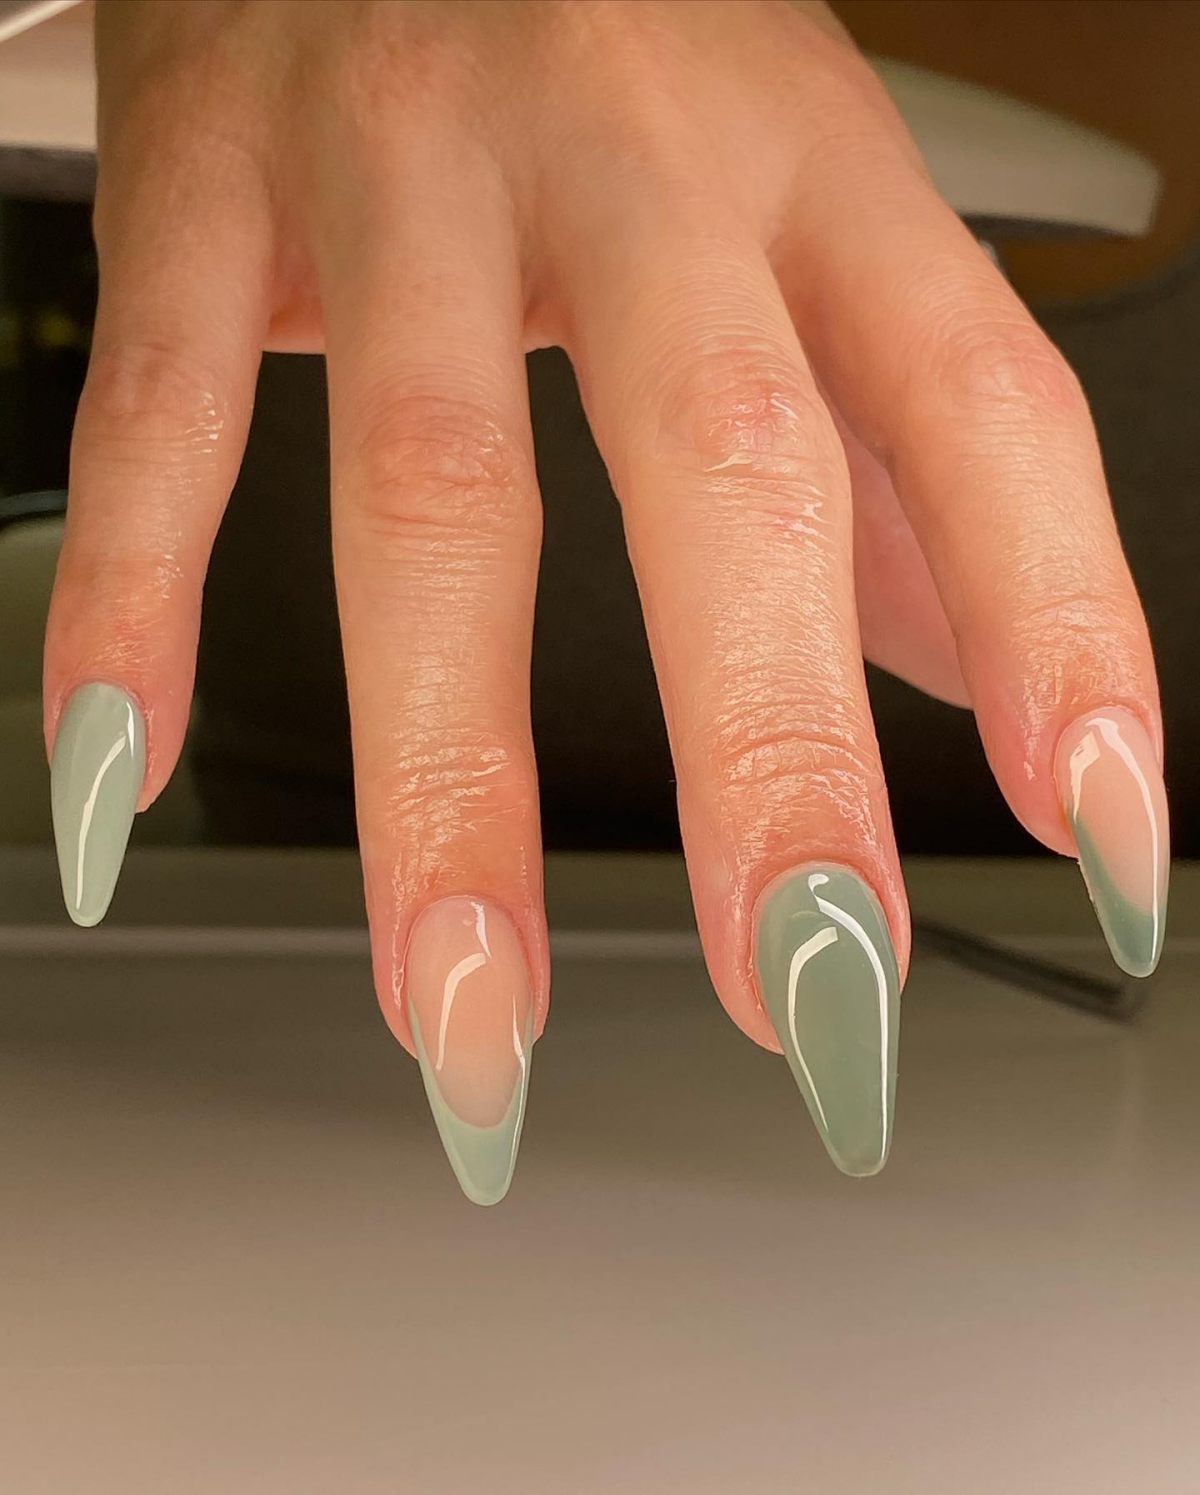
For those with cooler skin tones that have pink or blue undertones, I lean towards olives with more gray or blue in them. A dusty sage or a cool forest green is perfect. A beautiful, widely available option is Essie’s “Win Me Over.” The easiest way to tell? Just hold the bottle up to your skin and see how you feel!
For the DIY Manicurist vs. a Salon Visit
Whether you’re doing it yourself or heading to a pro, it helps to know your options so you can get the most bang for your buck.
Doing Your Nails at Home?
You can absolutely get a fantastic olive green manicure at home! My biggest advice is to invest in the whole process, not just the color. Here’s a quick shopping list to get you started:
- A quality base coat: Like I said, Orly Bonder is great. ($8 – $15)
- Your olive green polish: Brands like Zoya or OPI are excellent and usually cost $10 – $12.
- A quick-dry top coat: Seche Vite is a cult classic for a reason. It’s a lifesaver. ($7 – $12)
- 99% Isopropyl Alcohol: For cleanup and prep. (~$5)
The most important tool you have is patience. Apply thin coats and let them dry. Rushing is what causes smudges and bubbles. Oh, and if you get a tiny chip? Don’t panic. Gently buff the chipped spot, use a toothpick to dab a tiny bit of polish in the chip, let it dry, then swipe a thin layer of top coat over the whole nail.
Choosing the Right Service at the Salon
Deciding between standard polish, gel, or dip can be confusing. Here’s the breakdown I give my clients, including what you can realistically expect to pay.
- Standard Polish: This is your classic manicure. It’s best if you love changing your color frequently, as it lasts about 3-7 days. It’s also the most affordable option, typically running between $20 and $30.
- Gel Polish: This is the most popular choice for durability, hands down. A good gel manicure lasts 2-3 weeks with no chips if it’s applied correctly. It costs a bit more, usually starting around $40 to $55, and requires a professional soak-off for removal.
- Dip Powder: This is an acrylic-based system that is incredibly durable, often lasting 3-4 weeks. Olive green dip powders give amazing coverage. The downside is that it can look a bit thicker on the nail, and complex art is harder to do. It’s usually priced similarly to gel.
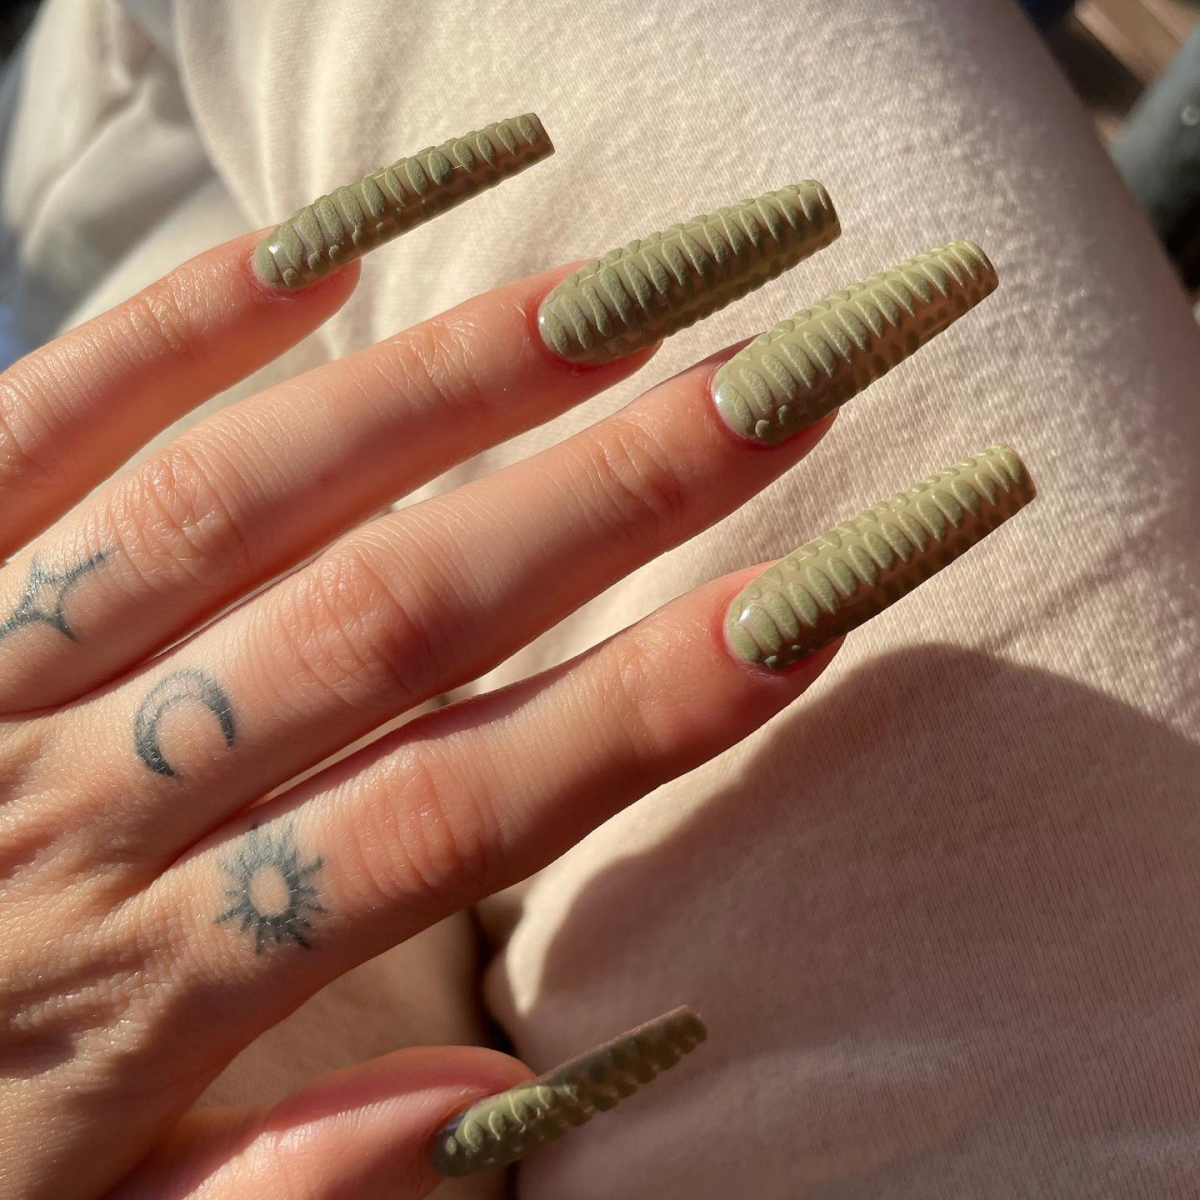
By the way, nail art is almost always an add-on. A simple olive manicure has a base price, but adding something like chrome, foil, or intricate art takes more time and product. Most salons price art in 15-minute increments, so a cool crocodile skin design could add another $15 to $25 to your bill. It’s always a good idea to ask about pricing upfront!
Advanced Tricks and Troubleshooting
Once you’ve got the basics down, you can start having some real fun. These techniques take a little practice, but the results are so worth it.
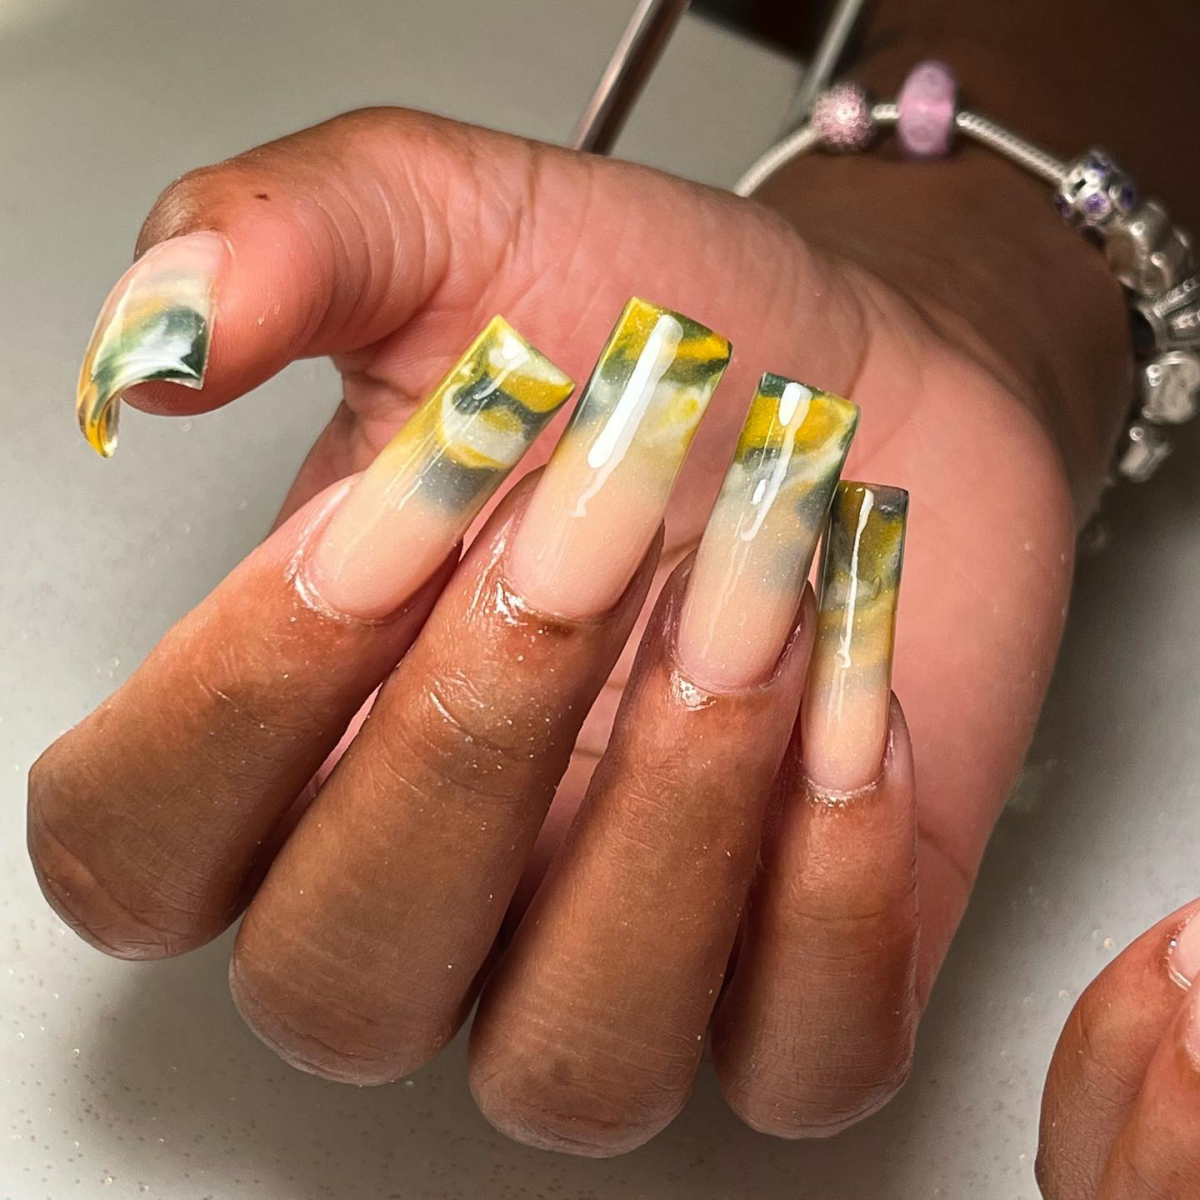
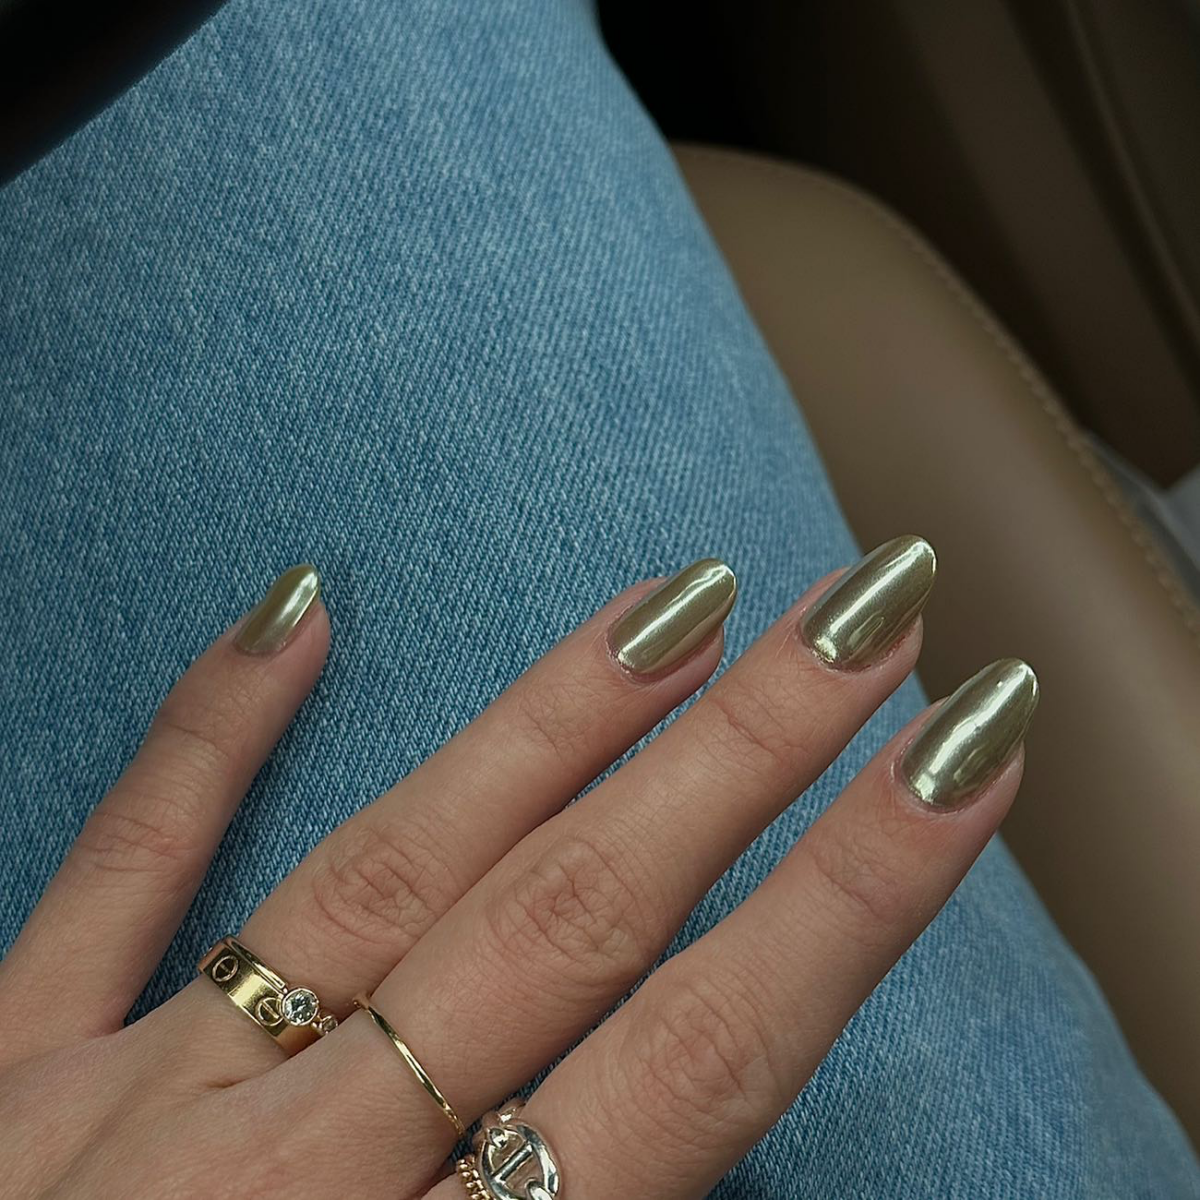
That Perfect, Mirror-Like Chrome Finish
Olive green chrome is absolutely stunning. The secret to that liquid-metal look is using a ‘no-wipe’ gel top coat and a little timing trick.
After you’ve cured your olive gel color, apply a thin layer of a no-wipe top coat. Then—and this is the key—cure it for only half the recommended time. If your lamp says 60 seconds, you cure for 30. This leaves the surface just tacky enough. Vigorously rub the chrome powder onto the nail with a small sponge applicator until it transforms into a mirror. Dust off the excess VERY carefully, and then seal it all in with two more layers of top coat, making sure you cap the free edge of the nail each time.
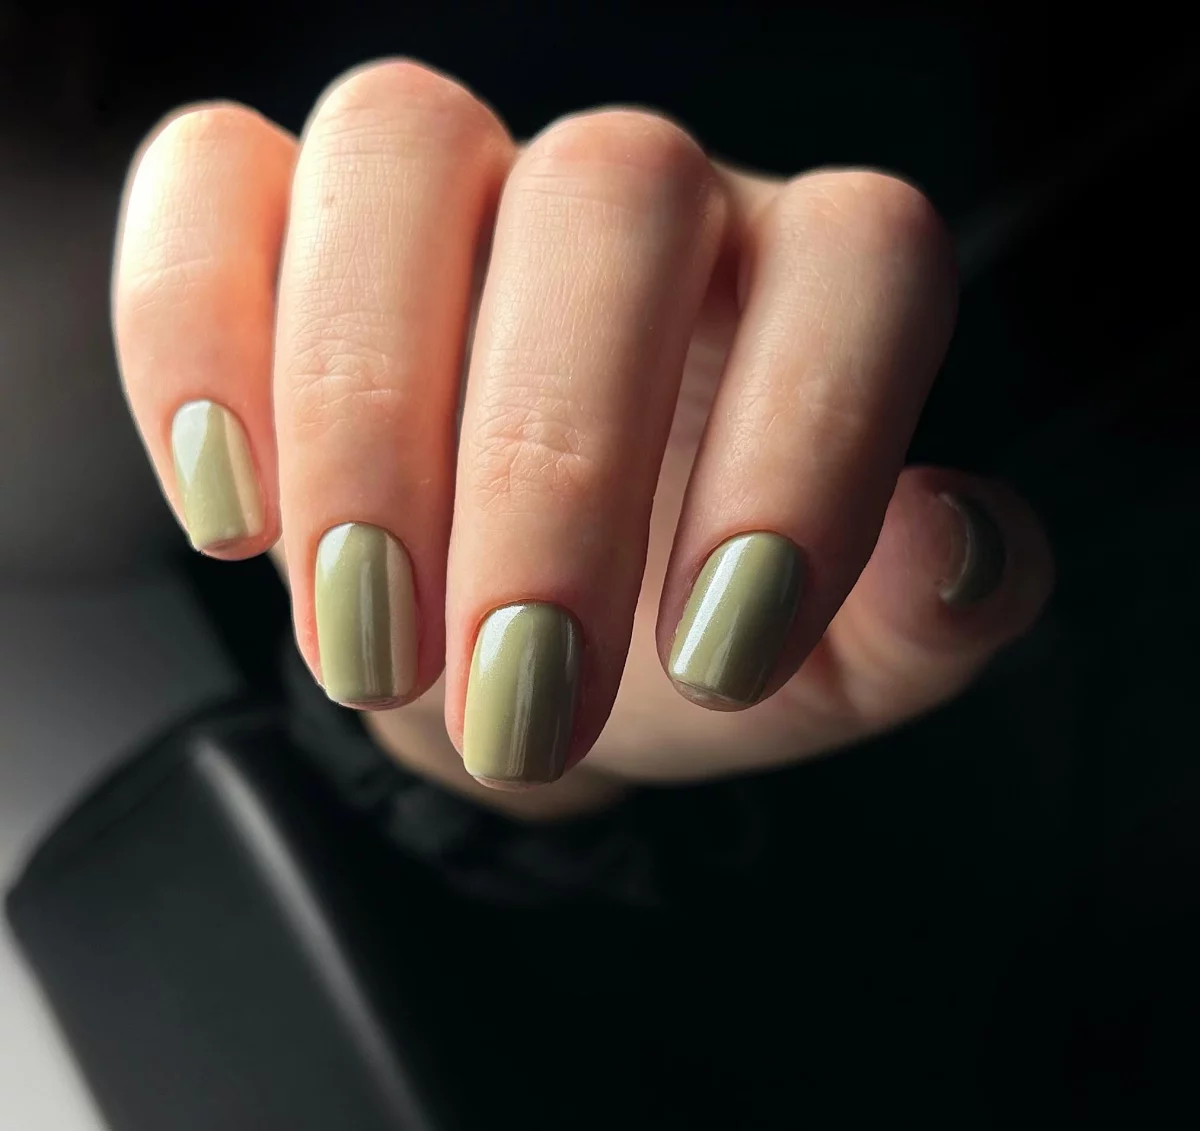
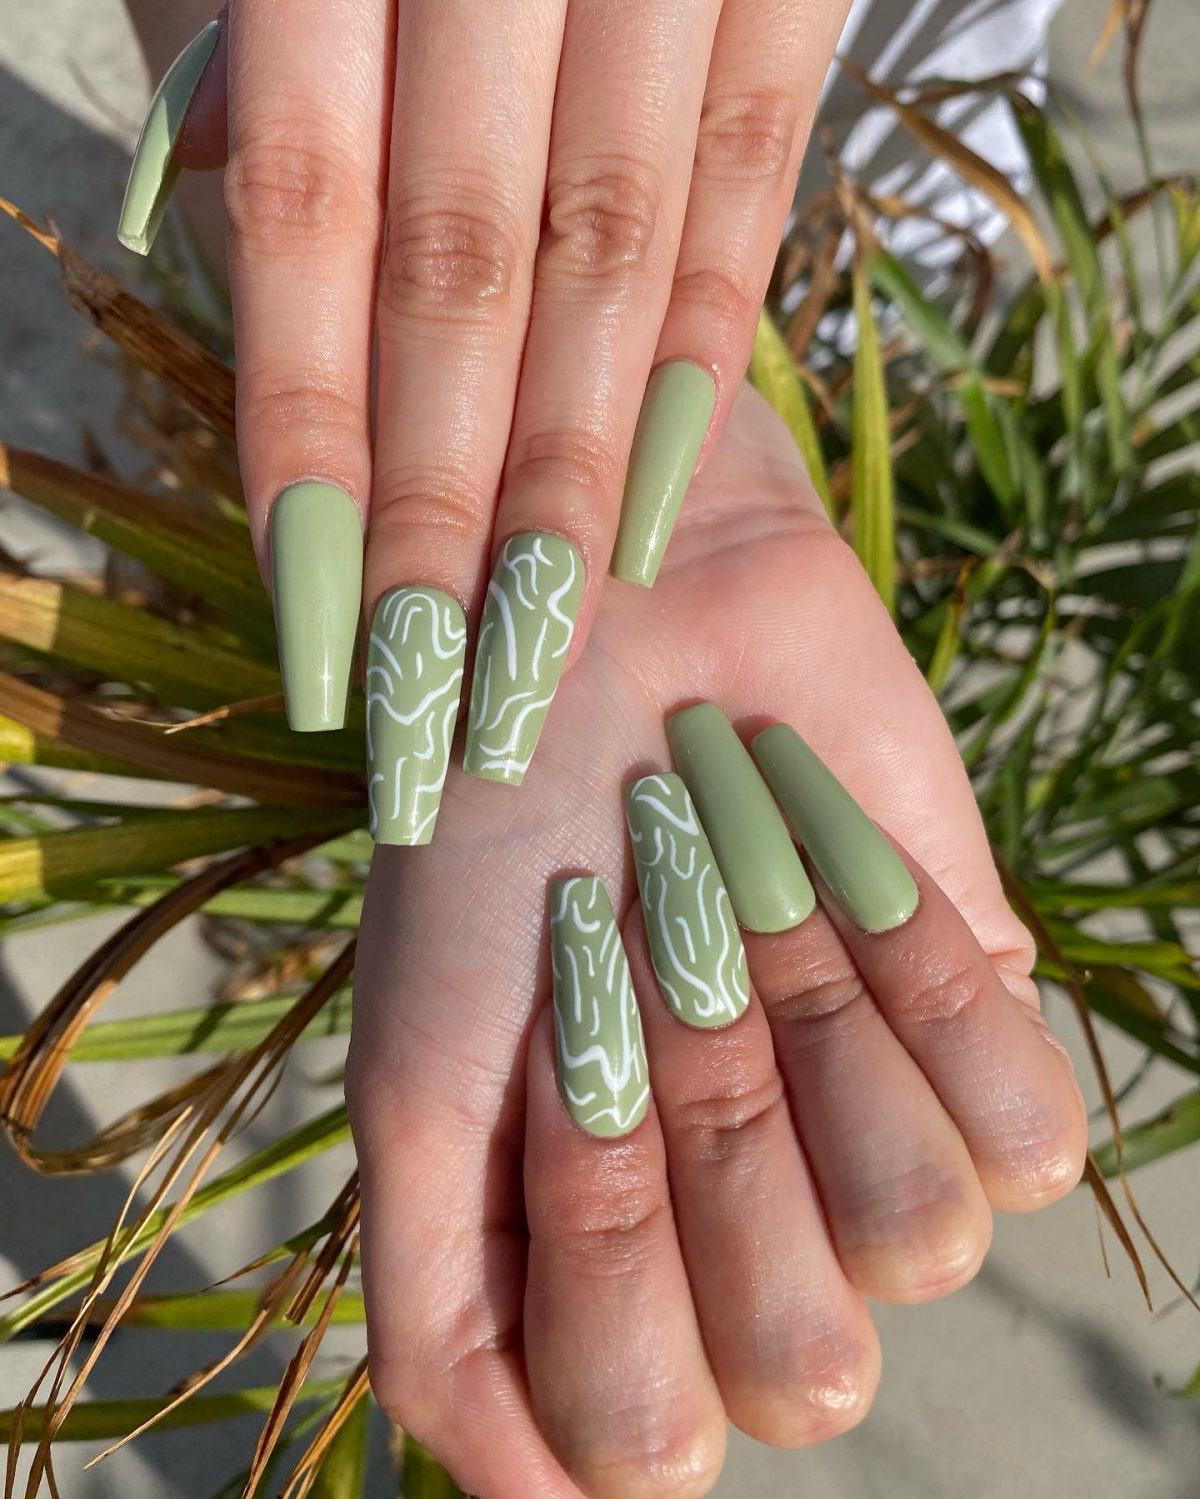
Mastering the Matte Look
A matte finish gives olive green a velvety, super-sophisticated vibe. But matte top coats are less forgiving; they show every lump and bump. So, your color application underneath needs to be perfectly smooth. Good to know: matte nails can sometimes get stained by makeup or even the dye from your jeans. A quick wipe with a bit of isopropyl alcohol on a lint-free wipe will usually clean it right up!
Quick-Fix Guide
- Problem: My gel is wrinkling or bubbling in the lamp!
Solution: Your application was too thick. Sorry, but you have to remove that wrinkled layer and reapply it in a much thinner coat. - Problem: The color looks streaky and patchy.
Solution: Shake the bottle well first! Then, focus on floating the brush over the nail instead of pressing down. It might take three very thin coats to get that perfect, even coverage.
My Final Word: Safety and Respect for Your Nails
At the end of the day, my first job is to keep my clients’ nails healthy. This is the foundation of everything.
The rise of at-home gel kits has, unfortunately, led to a rise in gel allergies. As I mentioned, it’s usually from uncured gel touching the skin. I’m meticulous about keeping products off the skin, but if a little does get on there, I wipe it off with alcohol before curing. For clients with known sensitivities, I use HEMA-free gel formulas. Brands like Madam Glam or Light Elegance, which you can often find online, are great HEMA-free options.
And I cannot stress this enough: do not peel or pick off your gel polish. When you do that, you’re ripping off the top layers of your natural nail. This is what causes weak, bendy, and sensitive nails. Proper removal involves filing off the top coat and soaking your nails in acetone-soaked cotton balls wrapped in foil for 10-15 minutes. The gel should soften and be easy to gently push off.
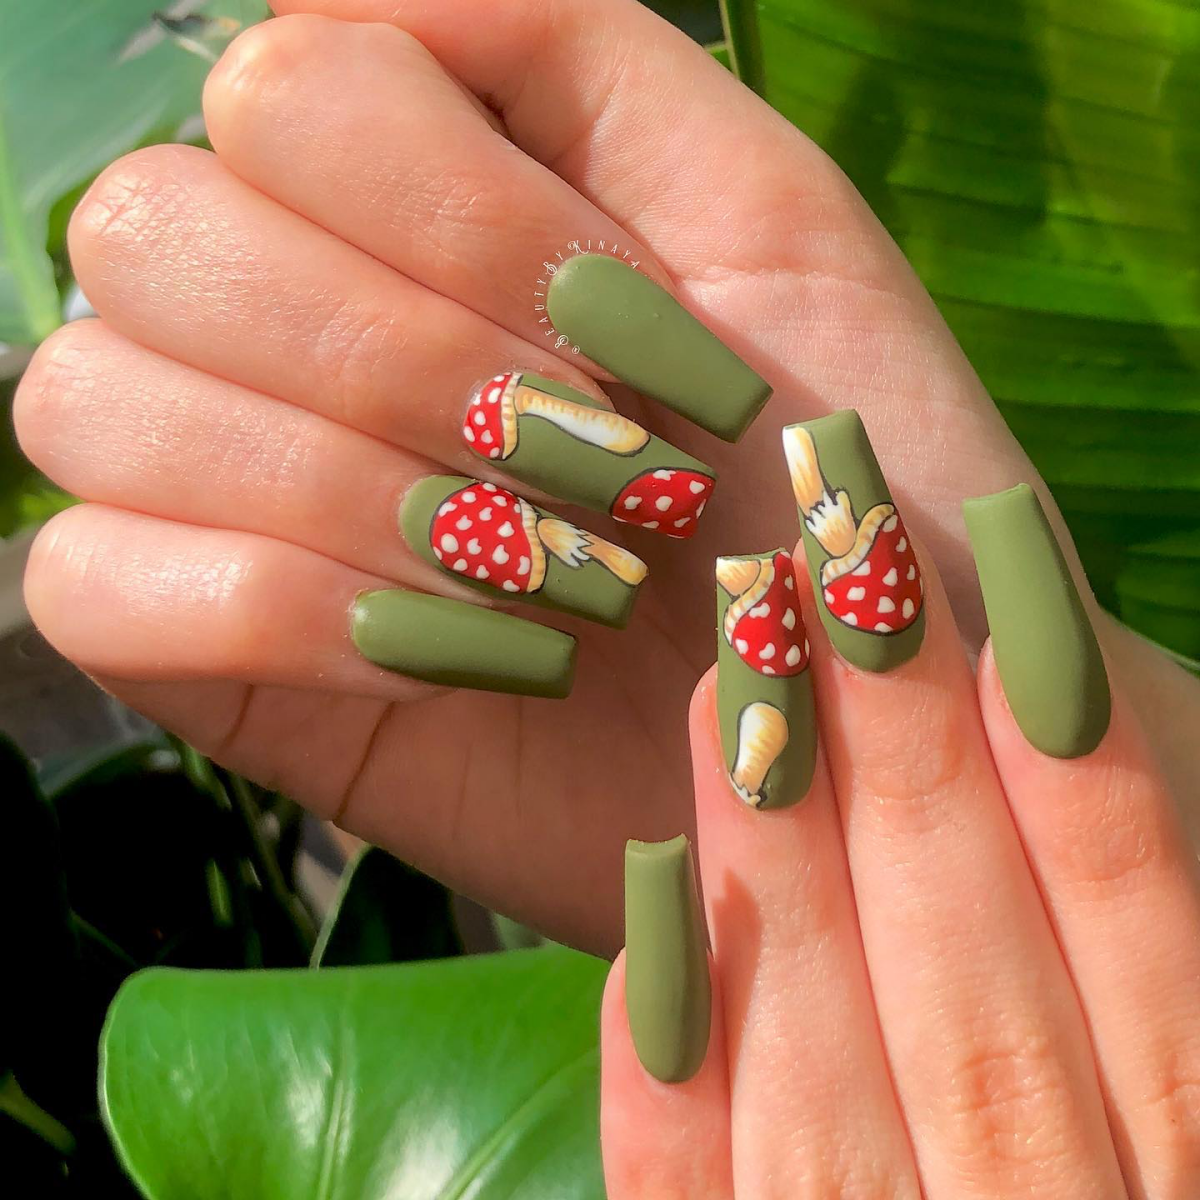
Ultimately, olive green is more than a color—it’s a canvas. It can be whatever you want it to be. I hope this guide helps you wear it with confidence, knowing a little more about the craft and care that goes into making it perfect.
Galerie d’inspiration

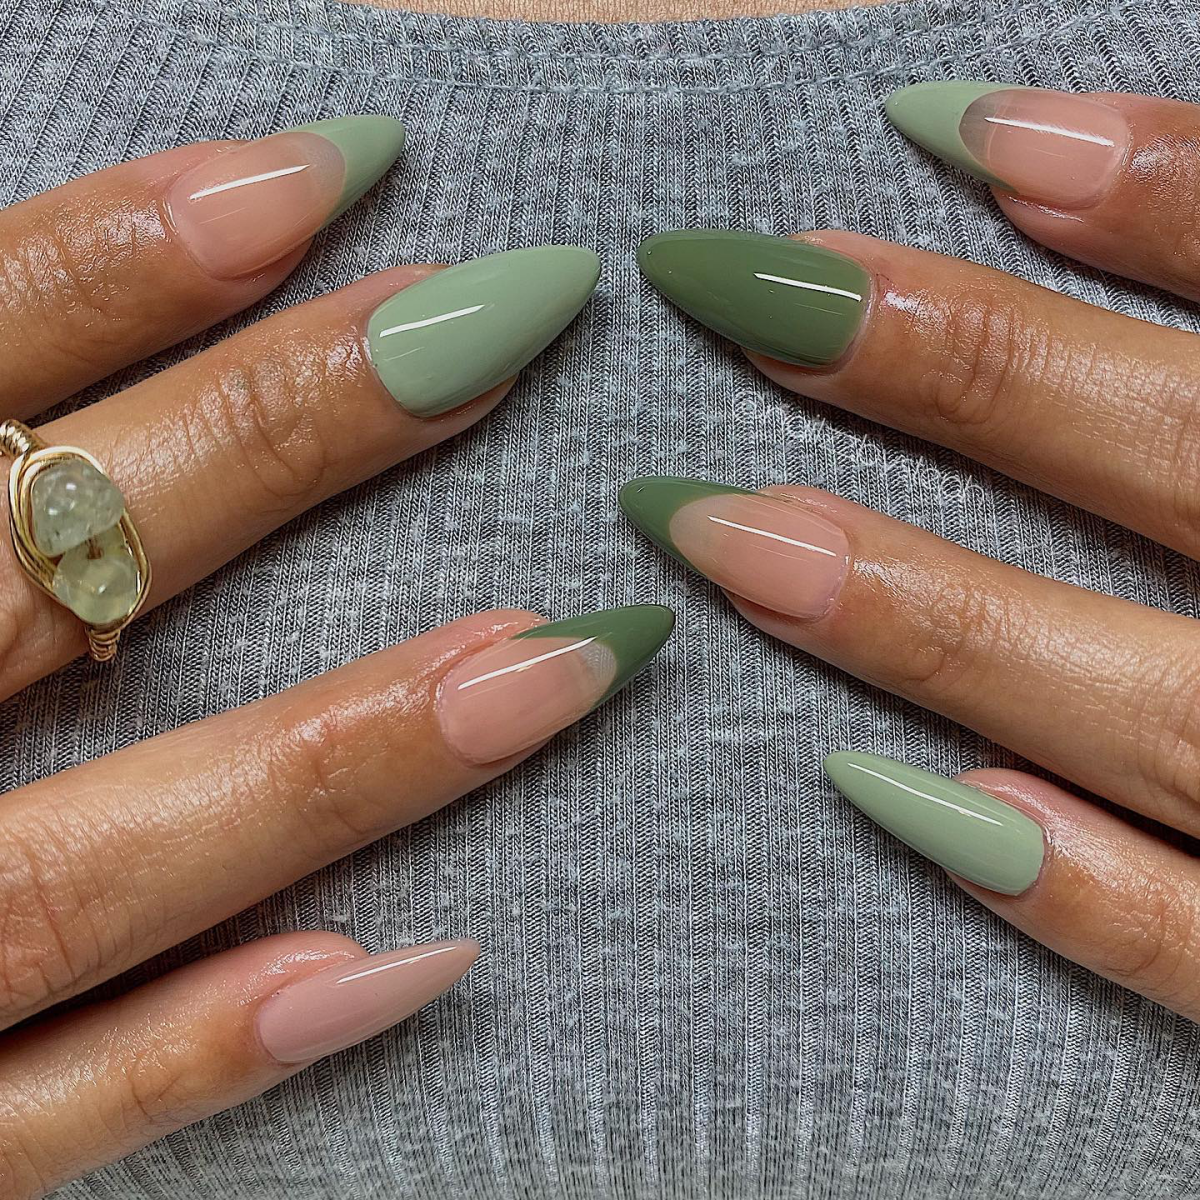
How do I choose the right olive green for my skin tone?
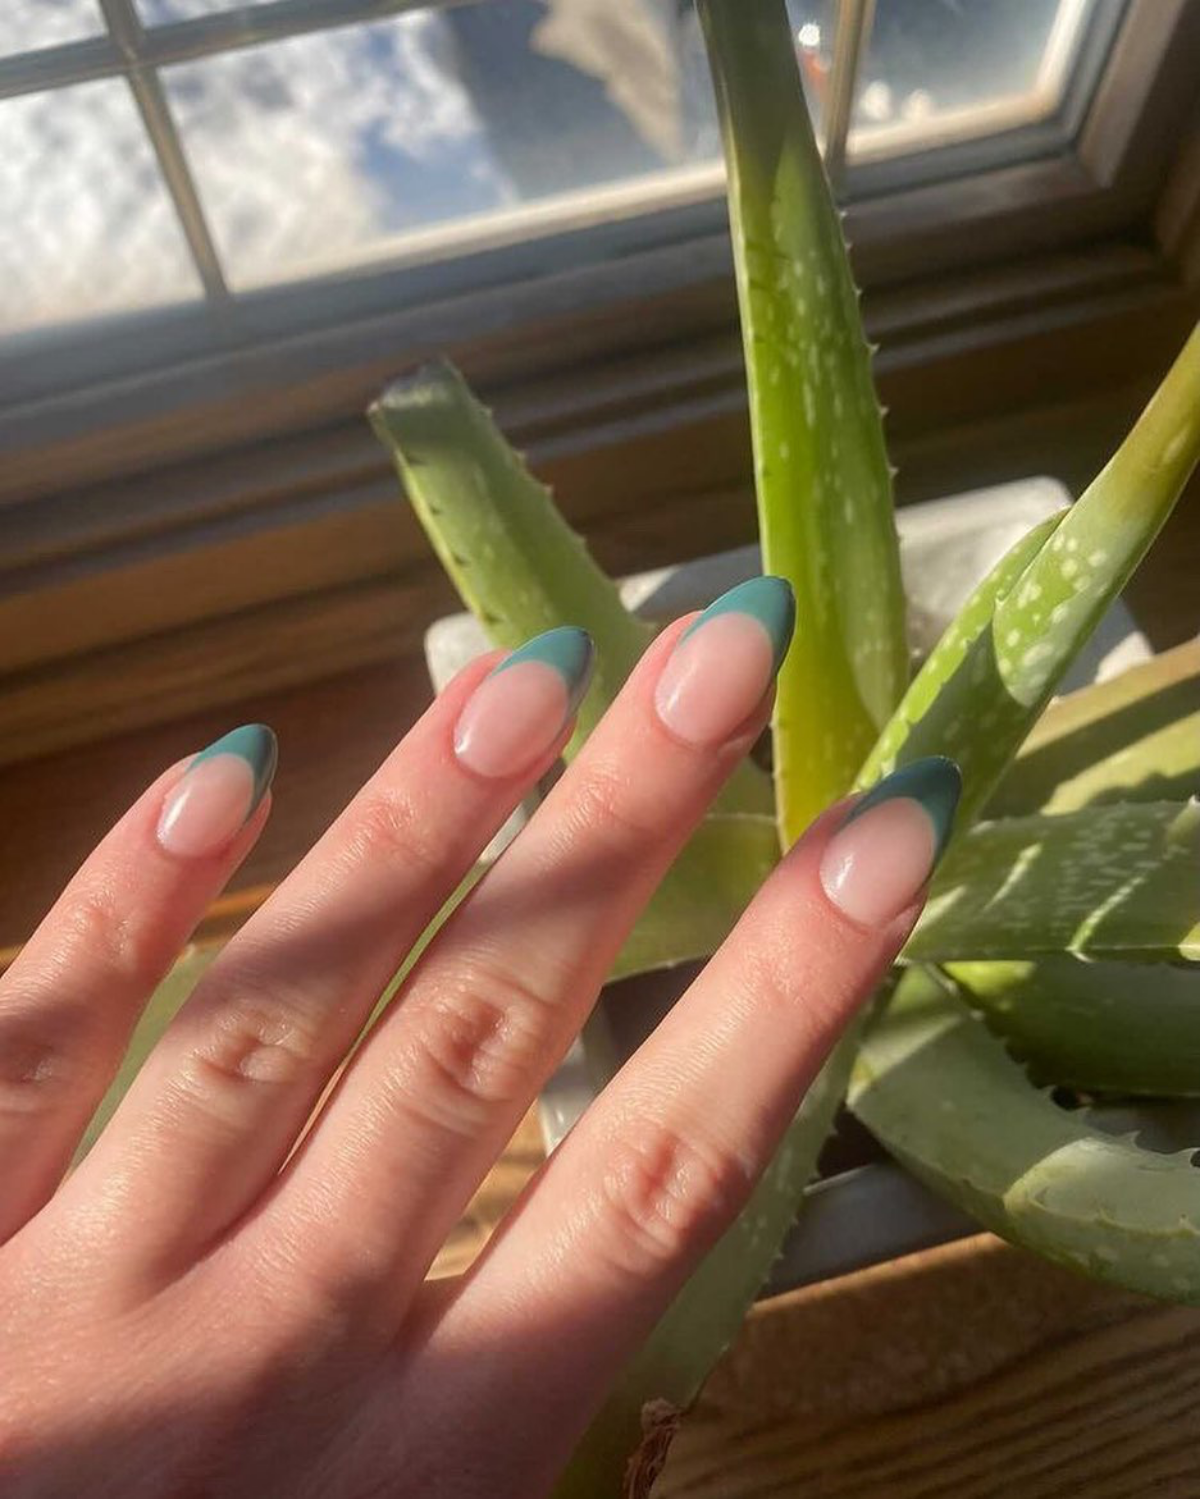
It’s all about the undertone! For fairer skin with cool (pink) undertones, lean towards sages and dusty olives with a hint of grey, like Essie’s
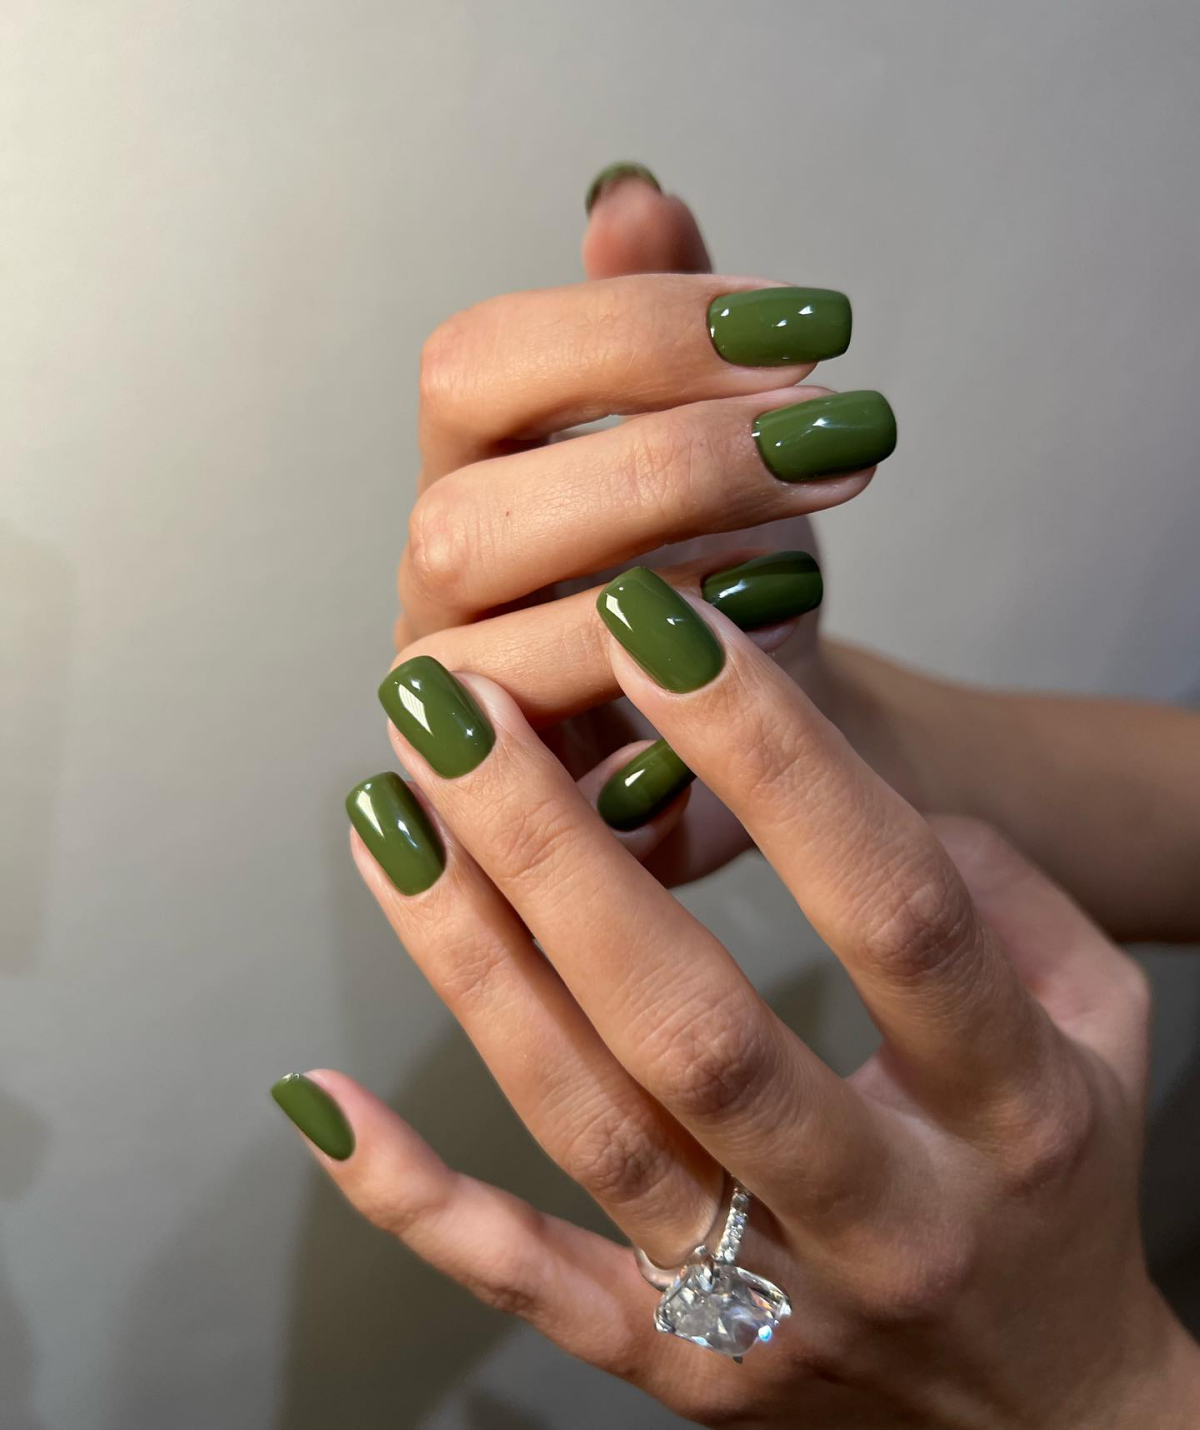
The Matte vs. Glossy Dilemma:
Glossy Top Coat: This is the classic choice. It makes olive green look rich and jewel-like, catching the light and emphasizing the color’s depth. It’s perfect for a chic, polished, and durable finish.
Matte Top Coat: For a modern, editorial vibe, a matte finish is unbeatable. It transforms a standard olive into a soft, velvety, and earthy shade, reminiscent of a suede jacket or a mossy stone. It’s a great way to make an older polish feel new again.
Did you know? The human eye can distinguish more shades of green than any other color.
This is why the world of olive green is so vast and captivating. From a muted, grey-toned sage to a deep, earthy moss, each variation evokes a different feeling. This sensitivity allows us to appreciate the subtle shifts in tone that make one olive polish feel calming and another feel bold and powerful.
The secret to a salon-perfect manicure isn’t just the application; it’s the prep. A quick swipe with an alcohol or pure acetone wipe right before your base coat makes a world of difference. It removes any residual oils or lotions from the nail plate, ensuring your polish adheres perfectly and significantly reducing the risk of premature lifting or chipping.
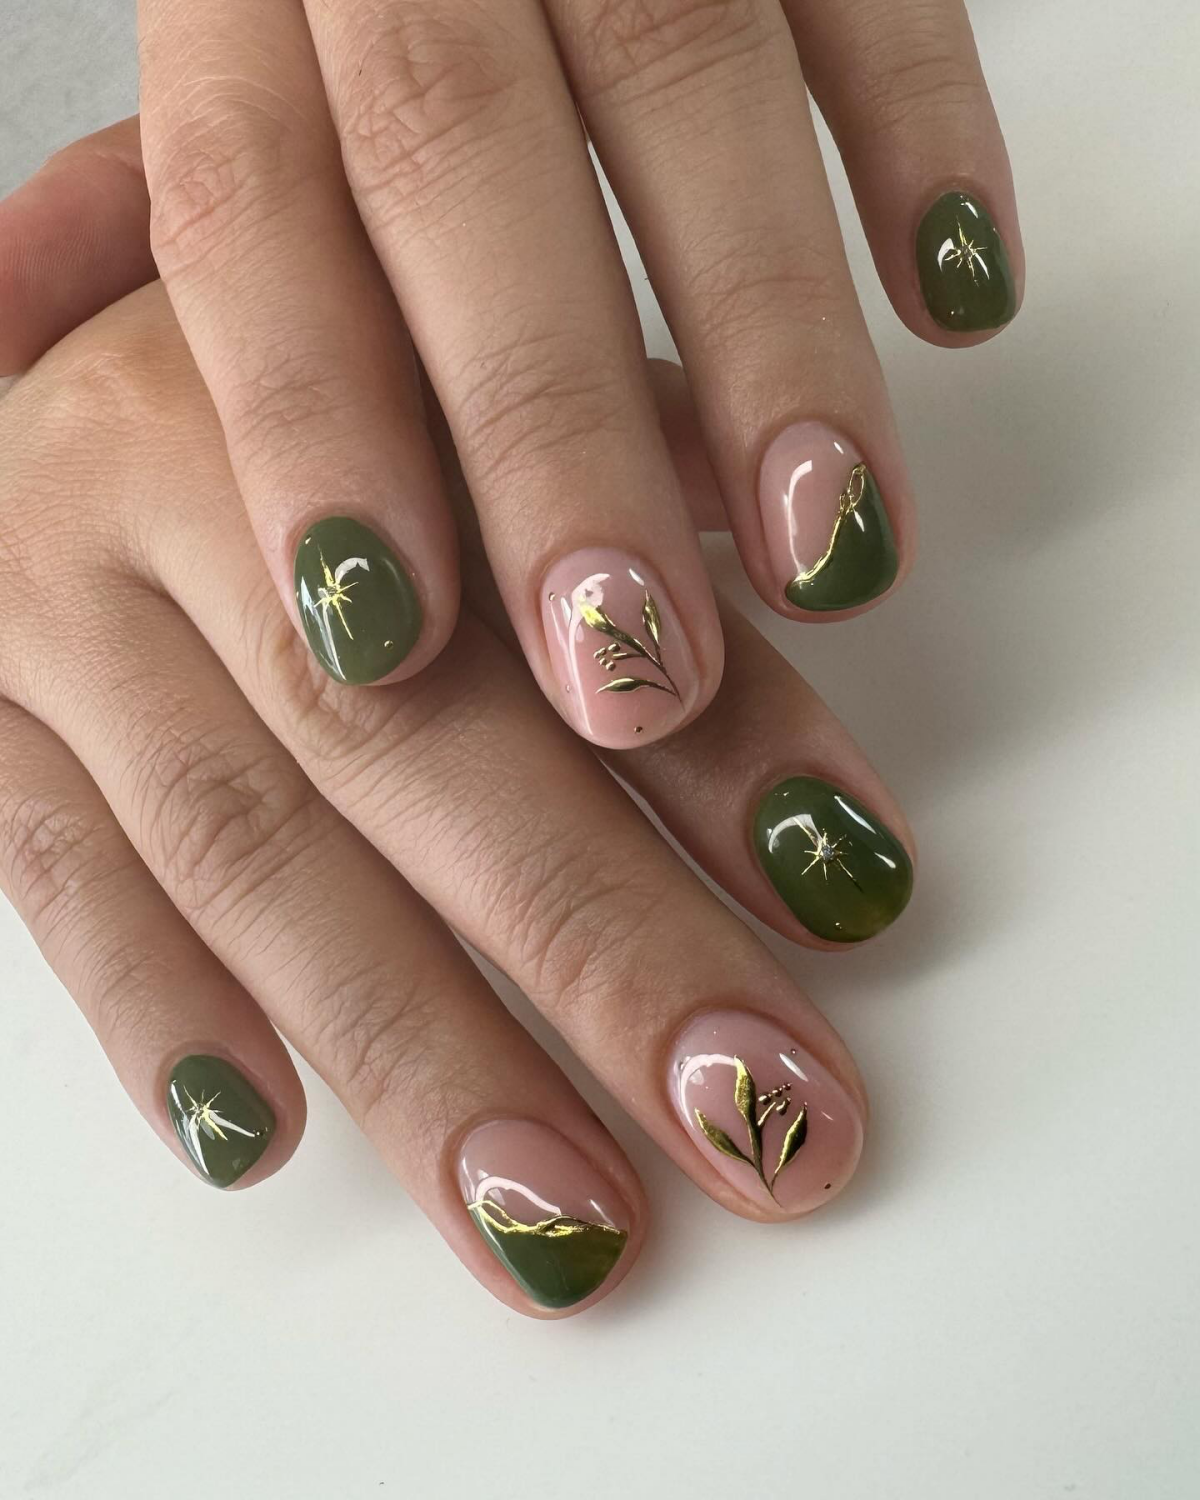
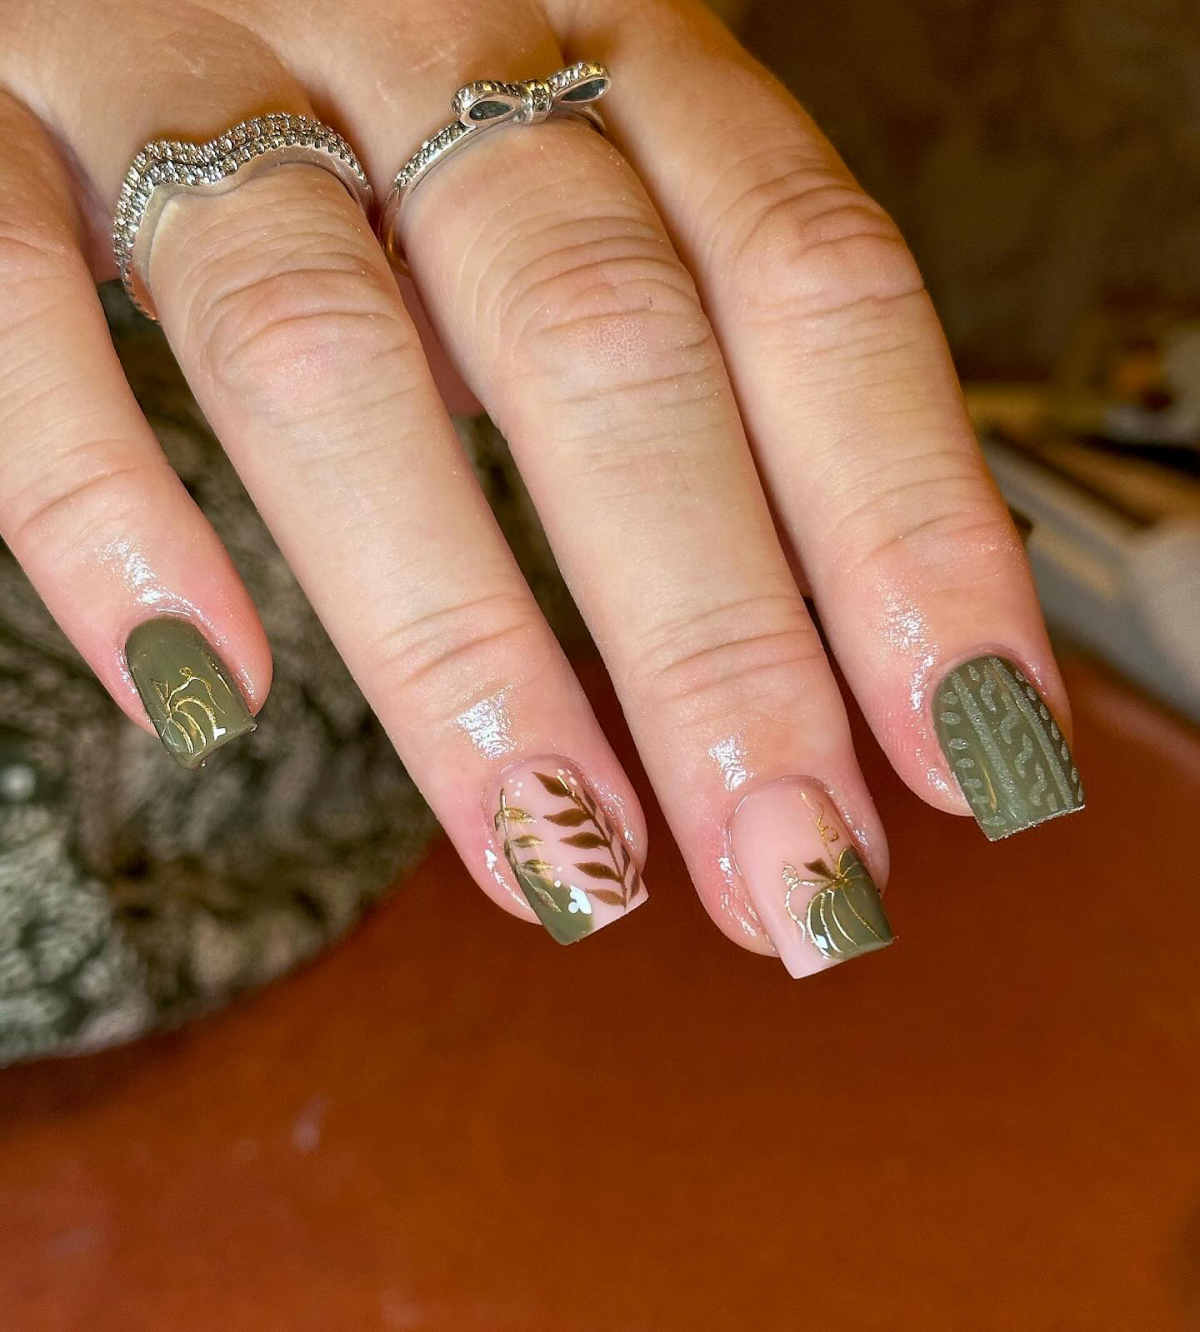
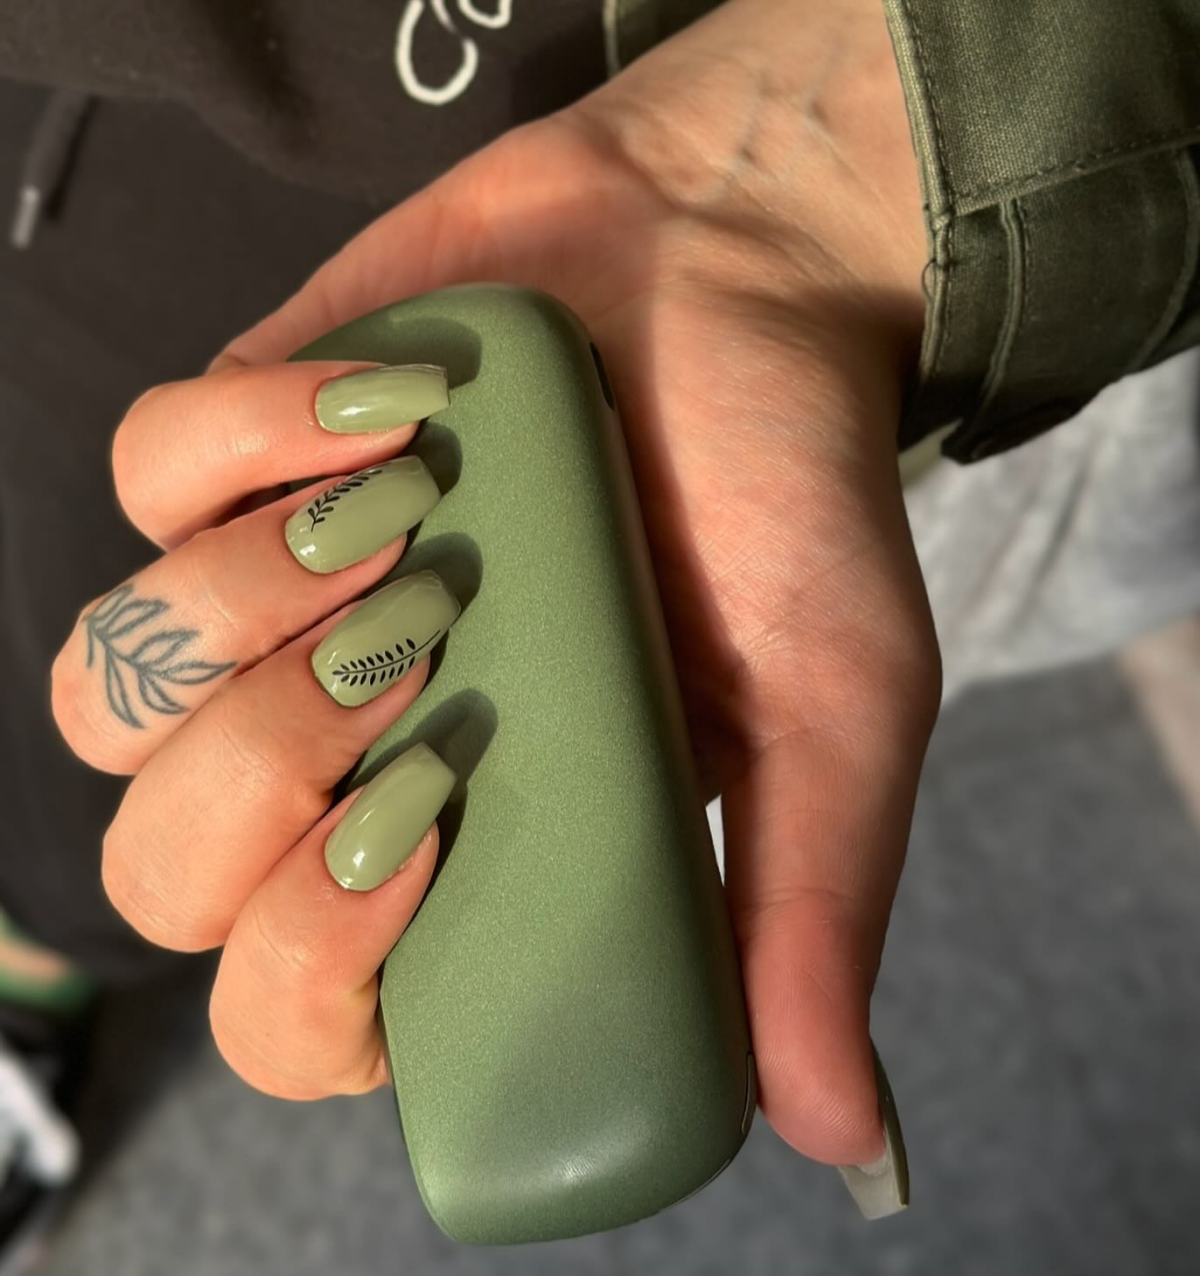
Nail Art for the Minimalist: The Golden Accent
Elevate your olive manicure without complex tools. After applying two coats of your chosen olive polish but before the top coat, add a touch of abstract gold.
- Use tweezers to place a tiny flake of gold leaf near the cuticle or along one side of the nail.
- Alternatively, use a fine-liner brush dipped in a gold polish like OPI’s

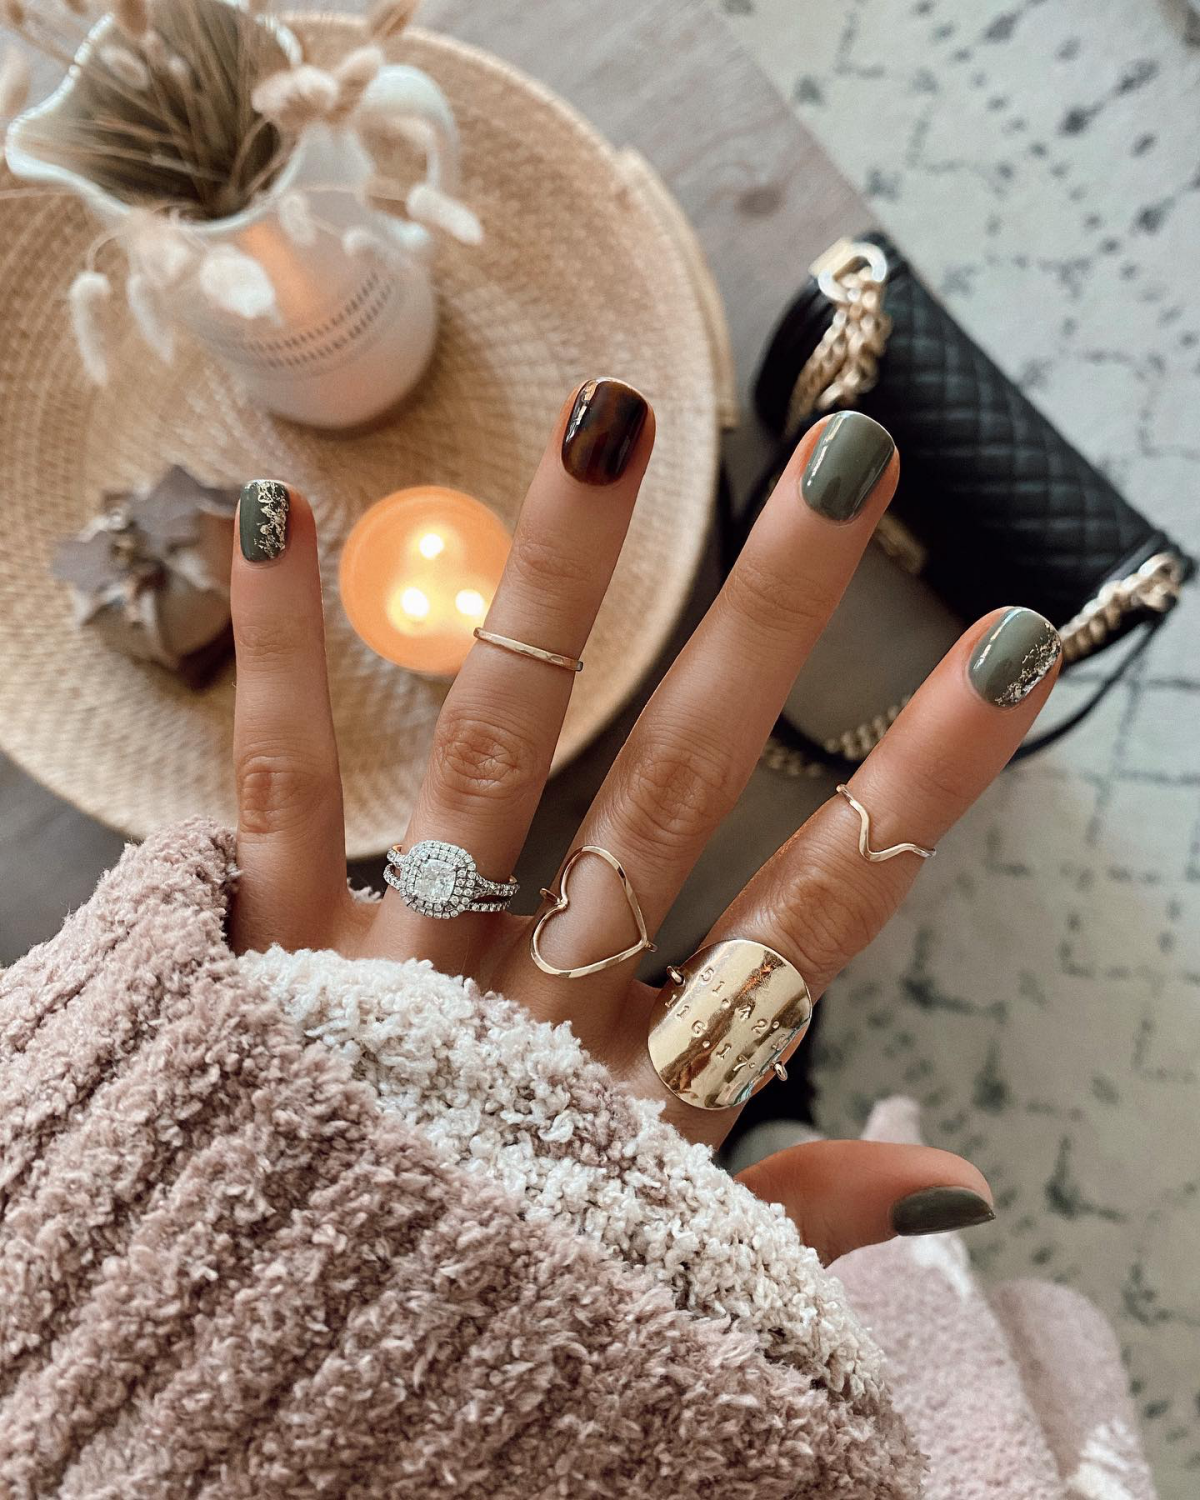
- Complements neutral fashion palettes (think beige, cream, and black).
- Adds a touch of unexpected, earthy sophistication.
- Works seamlessly across all four seasons.
Why is it so versatile? Because olive green acts as a ‘colored neutral.’ It has enough personality to stand out but is muted enough not to clash, making it the perfect everyday accessory.

Searches for ‘green nail theory’ have surged over 200% in the last year, linking the color to feelings of balance, luck, and personal growth.
This trend goes beyond aesthetics. Choosing a color like olive green is becoming a small act of self-care for many, a way to connect with the calming, grounding energy of nature. It’s less about following a trend and more about choosing a color that makes you feel good from the inside out.
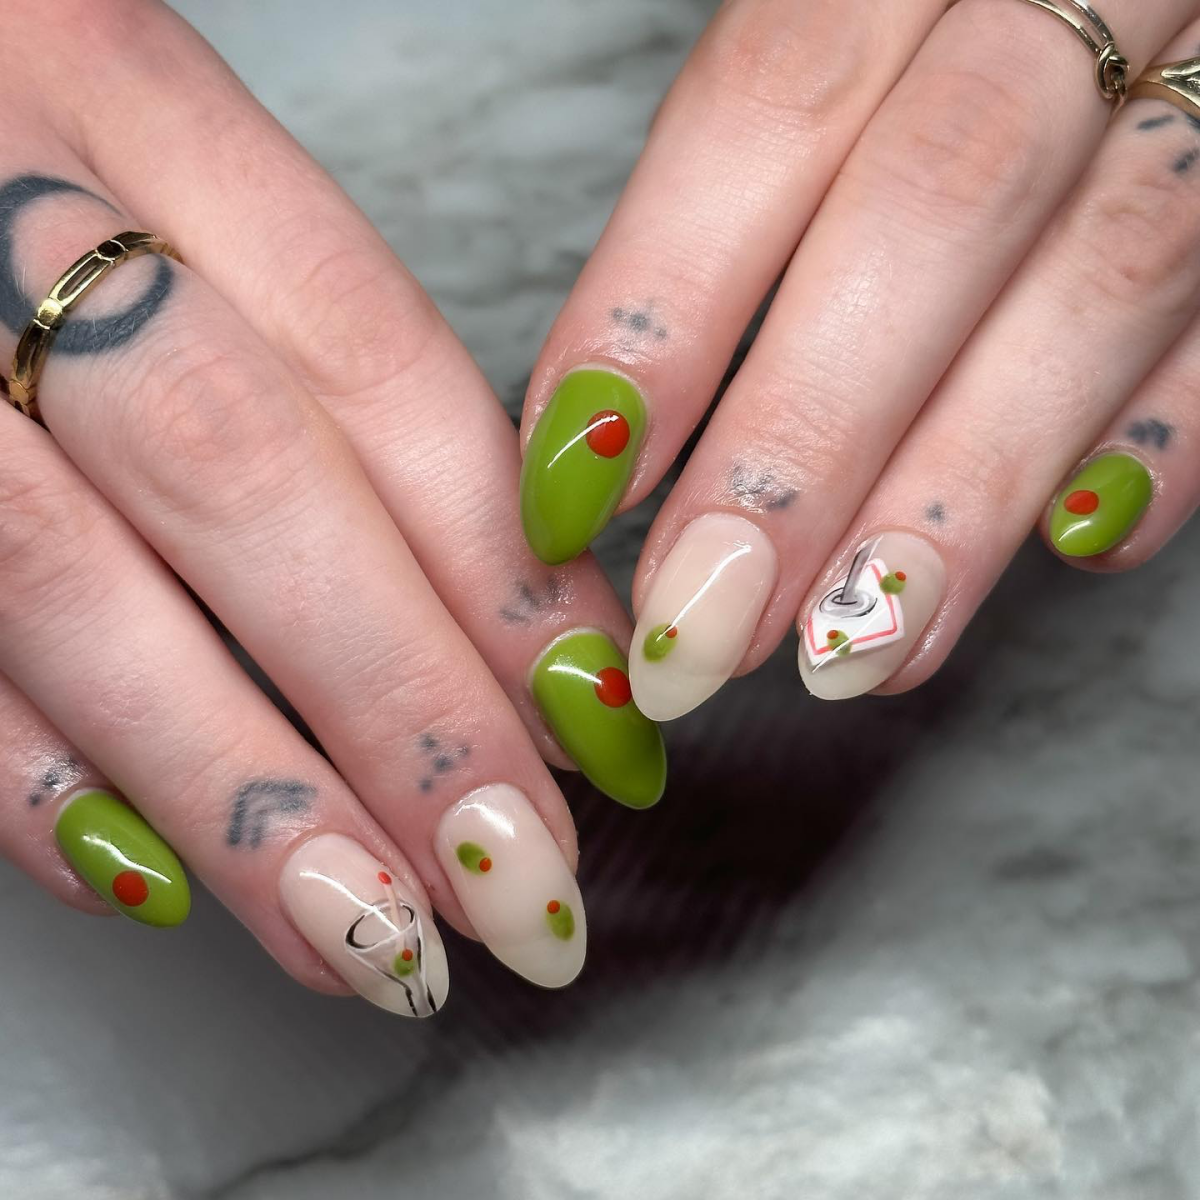
Don’t be afraid to pair olive with a pop of unexpected color. While it looks incredible with gold, try an accent nail in a burnt orange for an autumnal feel, or a soft lilac for a surprising spring combination. The muted, earthy tone of olive green makes it a perfect canvas for brighter, more playful pairings.