The Real Secret to Perfect Gold Chrome Nails (That Actually Last)
I’ve been working with nails for a long time, and I can still remember when chrome powders first hit the scene. Honestly? We were all a little skeptical. The early versions promised a true mirror finish but often delivered a glittery mess that would chip off in a day. It felt like a fun novelty, but not something you could reliably offer to clients.
In this article
But boy, have things changed. That quirky trend has evolved into a seriously refined technique. Today, a flawless gold chrome manicure isn’t just pretty—it’s a sign of a true pro who gets the science behind the shine. It’s less about painting and more about chemistry and controlling light. So, this isn’t going to be just another gallery of inspo pics. We’re going deep into the how and the why, covering the exact steps and hard-won lessons I share with my own apprentices.
So, How Does This Stuff Actually Work?
To get that liquid-metal look, you have to understand what you’re dealing with. Chrome powder isn’t a polish; it’s a super-specific pigment that needs the perfect environment to do its thing. Knowing the “why” makes the “how” so much easier.
First off, cosmetic chrome powder isn’t actual chrome metal—that would be a big no-no for skin contact. Instead, it’s made of impossibly tiny, ultra-flat flakes of treated aluminum and other materials. The quality of the powder makes a HUGE difference. Professional-grade powders, which might cost you $10 to $20 for a small pot that lasts forever, have uniformly sized microscopic flakes. Cheaper craft-store versions often have bigger, irregular particles, which is why they look more like fine glitter than a smooth mirror. You’re paying for that precision.
The mirror effect is all about physics. Think about it: a real mirror is a perfectly smooth surface reflecting light. Your goal is to get millions of those tiny pigment flakes to lie down perfectly flat and parallel to the nail, creating one seamless reflective sheet. Any bump, ridge, or speck of dust will disrupt this alignment and get magnified, which is why prep is everything.
Oh yeah, and that brings us to the most important product in your kit…
The Unsung Hero: No-Wipe Top Coat
This is the make-or-break element. A standard gel top coat cures with a sticky “inhibition layer” on top. If you try to rub chrome powder on that, it’ll just mix into the goo and turn into a lumpy, sparkly disaster. A “no-wipe” top coat is formulated to cure completely hard and slick, with zero stickiness. This creates the glassy, non-porous canvas the powder needs to be buffed—or burnished—onto. Without a good one, a true chrome finish is simply not happening.
Your Pro Shopping List for Chrome Success
Getting the right tools isn’t about breaking the bank, but about control and consistency. My go-to kit has been refined over thousands of applications. First, you need a reliable LED lamp, at least 48 watts. A solid one costs between $40 and $100 and is a worthy investment because an under-cured top coat is the #1 point of failure. Next, a high-quality no-wipe gel top coat from a professional supply brand is non-negotiable; expect to spend $15 to $25. It should cure rock-hard, not feel rubbery.
You’ll also want a true black gel polish to make the gold pop, a pot of that cosmetic-grade gold chrome powder, and a soft, fluffy brush (like a makeup brush) for dusting off excess. And here’s a pro tip: ditch the little foam eyeshadow applicators. They absorb powder and can fall apart, leaving tiny bits on the nail. Instead, grab a small, firm silicone nail art tool for about $5. It doesn’t absorb a thing and gives you the perfect pressure for burnishing.
Heads up on safety! That chrome powder is an ultra-fine dust. While it’s non-toxic, you don’t want to be breathing it in all day. A simple dust mask or a small dust extractor at your station is a smart move. And always, ALWAYS wear nitrile gloves to avoid developing skin allergies from uncured gel and to keep finger oils off the nail surface.
The Step-by-Step Method for a Flawless Finish
Alright, let’s get to it. This is my exact process. Pay close attention to the details, because that’s where the magic happens. From start to finish, adding chrome to a gel manicure usually takes an extra 20-30 minutes.
Step 1: Prep Like You Mean It
A mirror finish can only exist on a perfect surface. Any flaw will be magnified tenfold. Shape the nail, manage the cuticles, and gently buff the surface with a fine-grit buffer (220-grit or higher) just to remove the shine. Then, cleanse the nail plate with 99% isopropyl alcohol to remove all dust and oils.
Step 2: Build Your Canvas
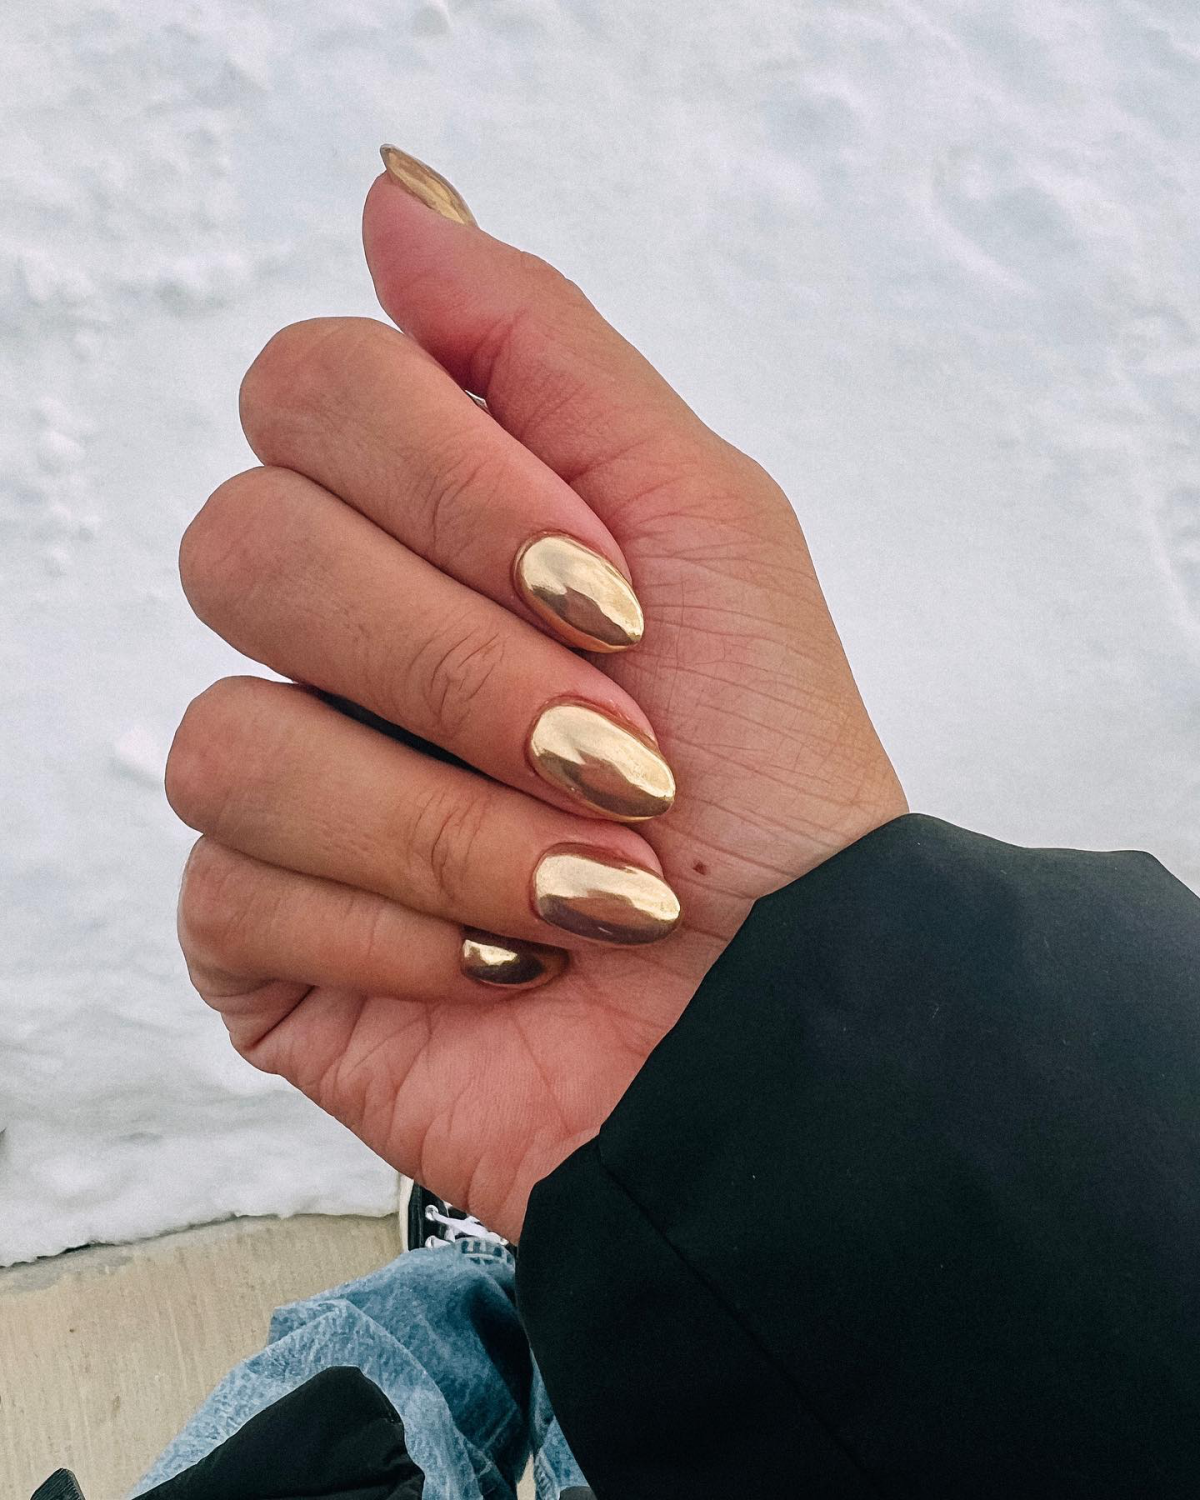
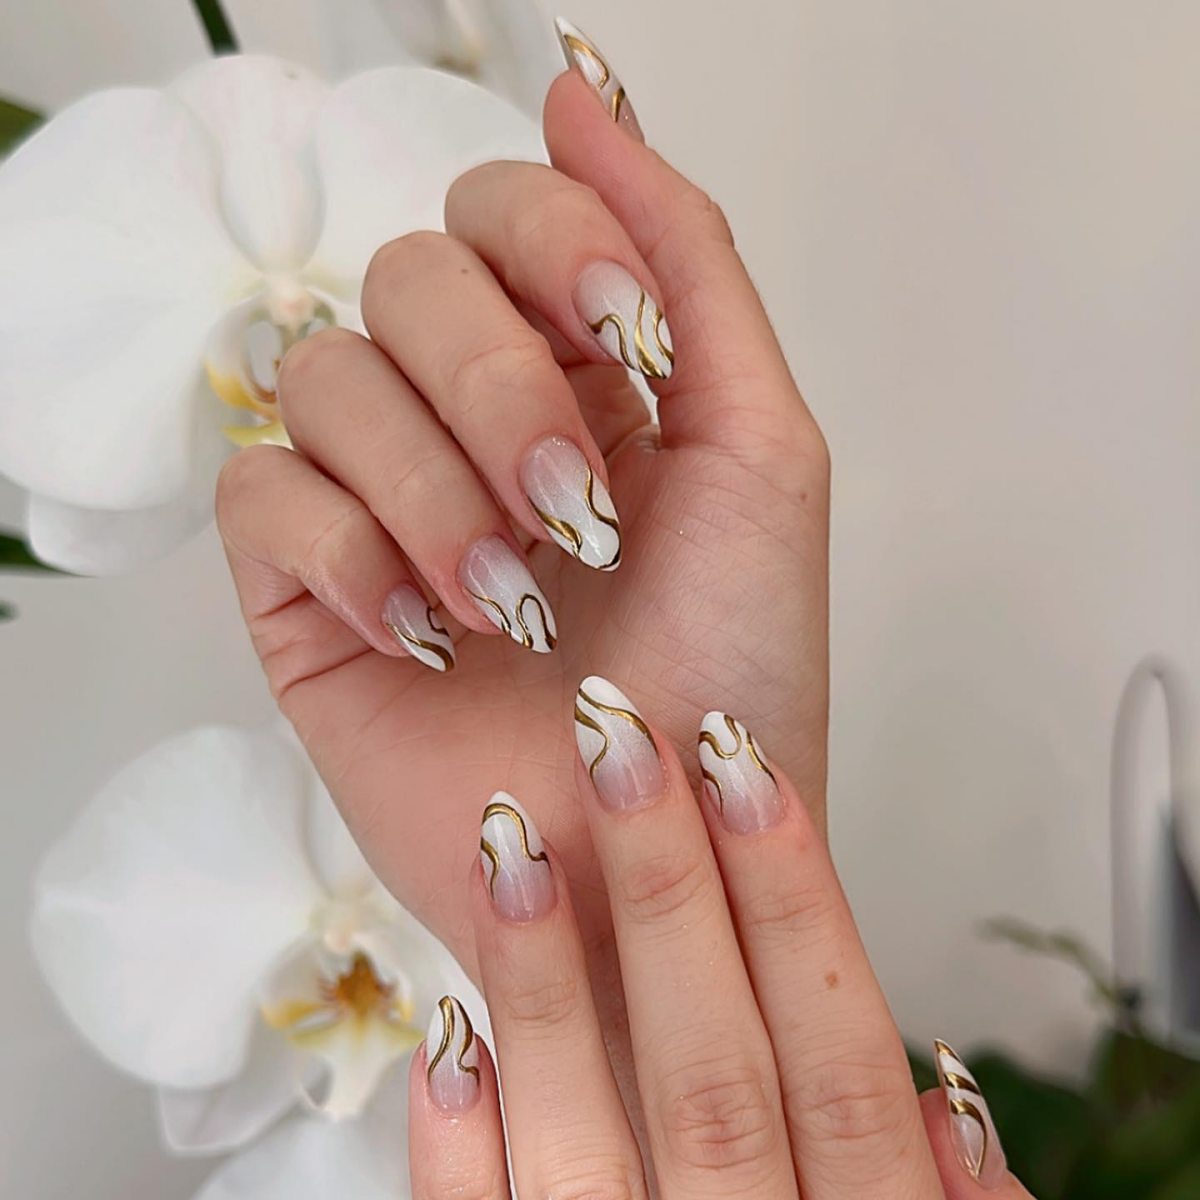
Apply a thin layer of gel base coat and cure it. Then, apply two thin coats of black gel polish, curing each one fully. Thin coats are key to avoiding wrinkles. By the way, while black gives the most dramatic gold, don’t be afraid to experiment! Gold chrome over a sheer pink gives a subtle “glazed” look, and over white, it looks like liquid pearl.
Step 3: The All-Important Top Coat Cure
This is where most people go wrong. Apply your no-wipe top coat smoothly. Now, for the secret: DO NOT cure it for the full time listed on the bottle. You are flash-curing it just enough to create the right surface. Over-cure, and the powder won’t stick. Under-cure, and it will look grainy.
Quick tip: To find your magic number, paint three test tips. Cure one for 20 seconds, one for 30, and one for 40 in your lamp. The one the powder burnishes onto most smoothly is your winner. For my 48-watt lamp, 30 seconds is the sweet spot. Write your time down!
Step 4: Burnish, Don’t Just Rub
As soon as the nail comes out of the lamp, grab your silicone tool, pick up a TINY amount of powder (seriously, less is more), and start burnishing it onto the warm nail with firm, steady pressure. You’ll feel the texture change from powdery to glassy. That’s how you know it’s working. Continue until the entire nail is a seamless mirror.
Step 5: The Two-Step Seal for a 2+ Week Wear
Chrome is delicate, so a cheap seal will chip in a day. First, gently dust off ALL excess powder with your fluffy brush. Then, I literally take a lint-free wipe with alcohol and pinch-clean just the free edge of the nail. This makes a huge difference. Now for the seal: apply a layer of gel base coat over the chrome and cure it. This acts as a protective buffer. Finally, apply your durable gel top coat over that, making sure to cap the free edge thoroughly, and give it a full cure. This dual-layer seal is the key to longevity.
Troubleshooting Common Chrome Fails
Even with the best technique, issues pop up. Here’s how to fix the most common ones.
Problem: My finish looks glittery, not like a mirror.
Solution: This almost always means your no-wipe top coat was under-cured, you didn’t use enough pressure, or your powder is low-quality. Try curing 5-10 seconds longer and really press down when you burnish. If that doesn’t work, it’s time to upgrade your powder.
Problem: It’s chipping right off the tips!
Solution: A poorly sealed free edge is the culprit 99% of the time. You have to be meticulous here. Do the alcohol pinch-clean on the free edge I mentioned, and use that two-step sealing method (base coat, then top coat), making sure you swipe the brush across the raw edge both times.
Problem: It looked perfect… until I put the top coat on. Now it’s dull or streaky.
Solution: Ah, the final heartbreak. This happens when the solvents in your top coat are reacting with the delicate chrome layer and causing it to dissolve a bit. This is often an issue with certain top coat formulas or, more likely, you forgot that crucial first sealing layer of base coat. That base coat layer is a non-negotiable buffer that protects the chrome from the stronger top coat.
I learned this the hard way, trust me. I once over-cured a full set for the full 60 seconds, and the powder just slid right off every single nail. I had to buff the top coat off every finger and start that step all over again. You only make that mistake once!
Galerie d’inspiration
Powder vs. Pen: Which Chrome is for You?
Chrome Powder: The professional’s choice for that flawless, liquid-metal mirror finish. It requires a no-wipe gel top coat and a careful burnishing technique but offers the most intense, seamless reflection. Ideal for full-coverage looks.
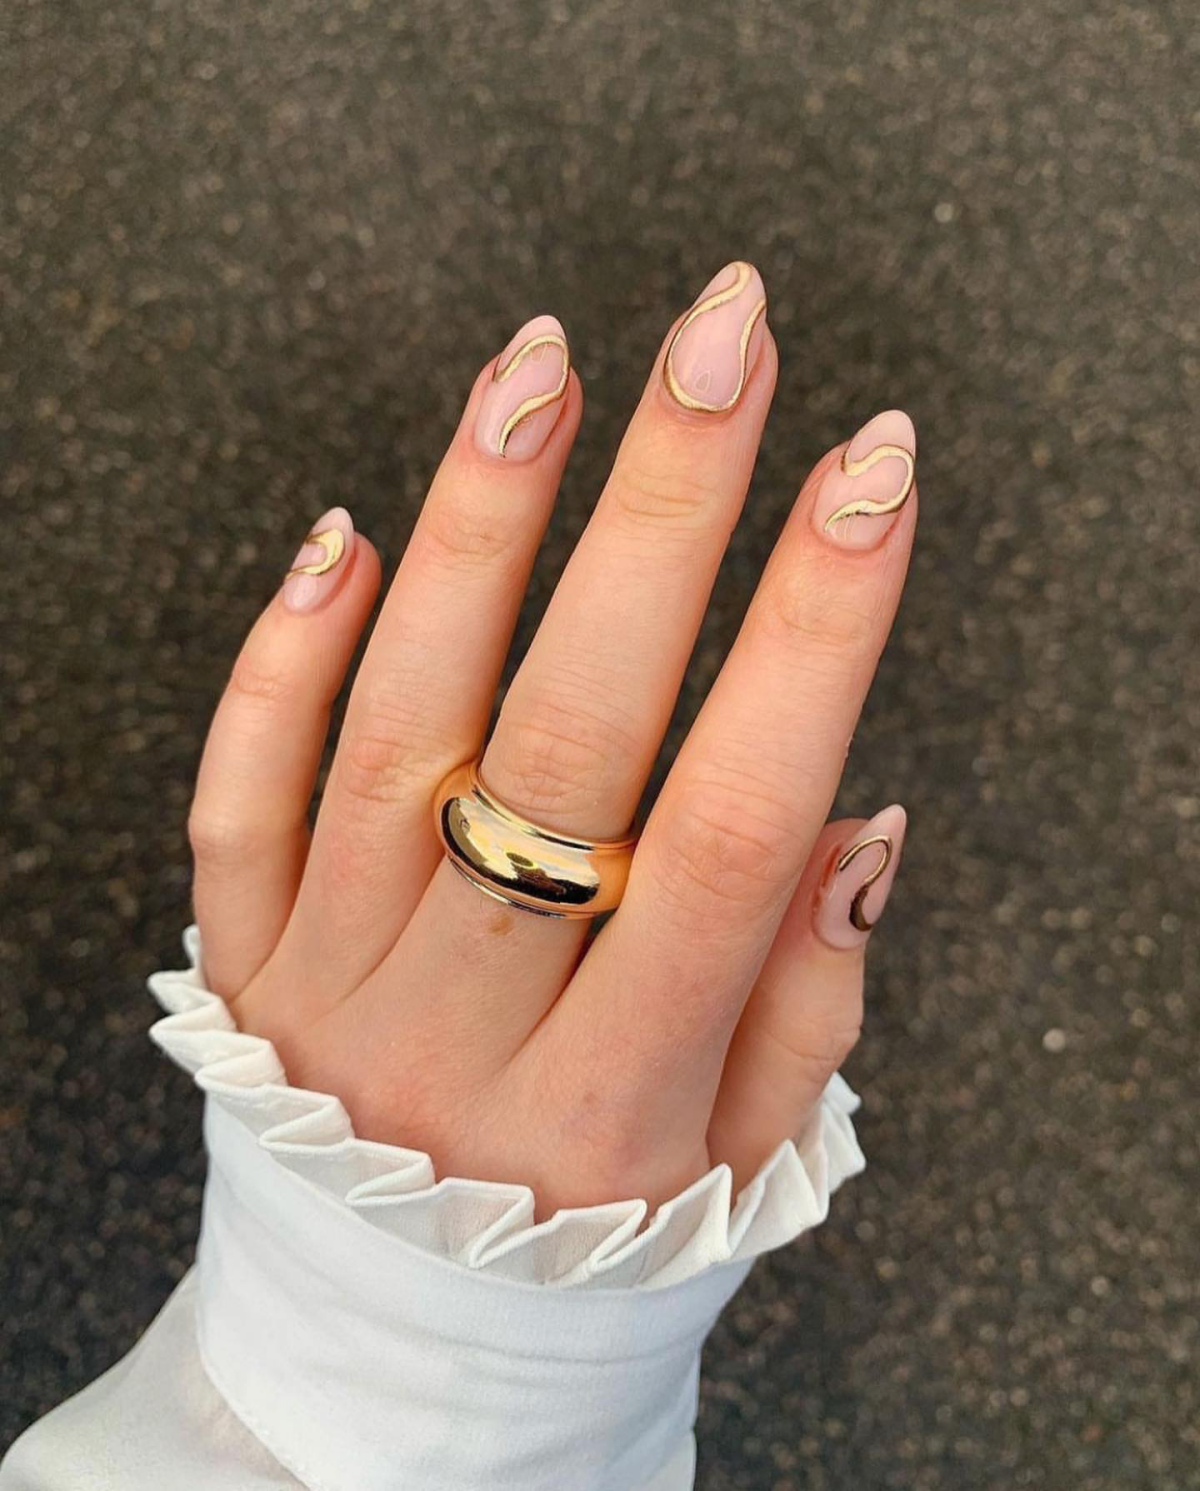
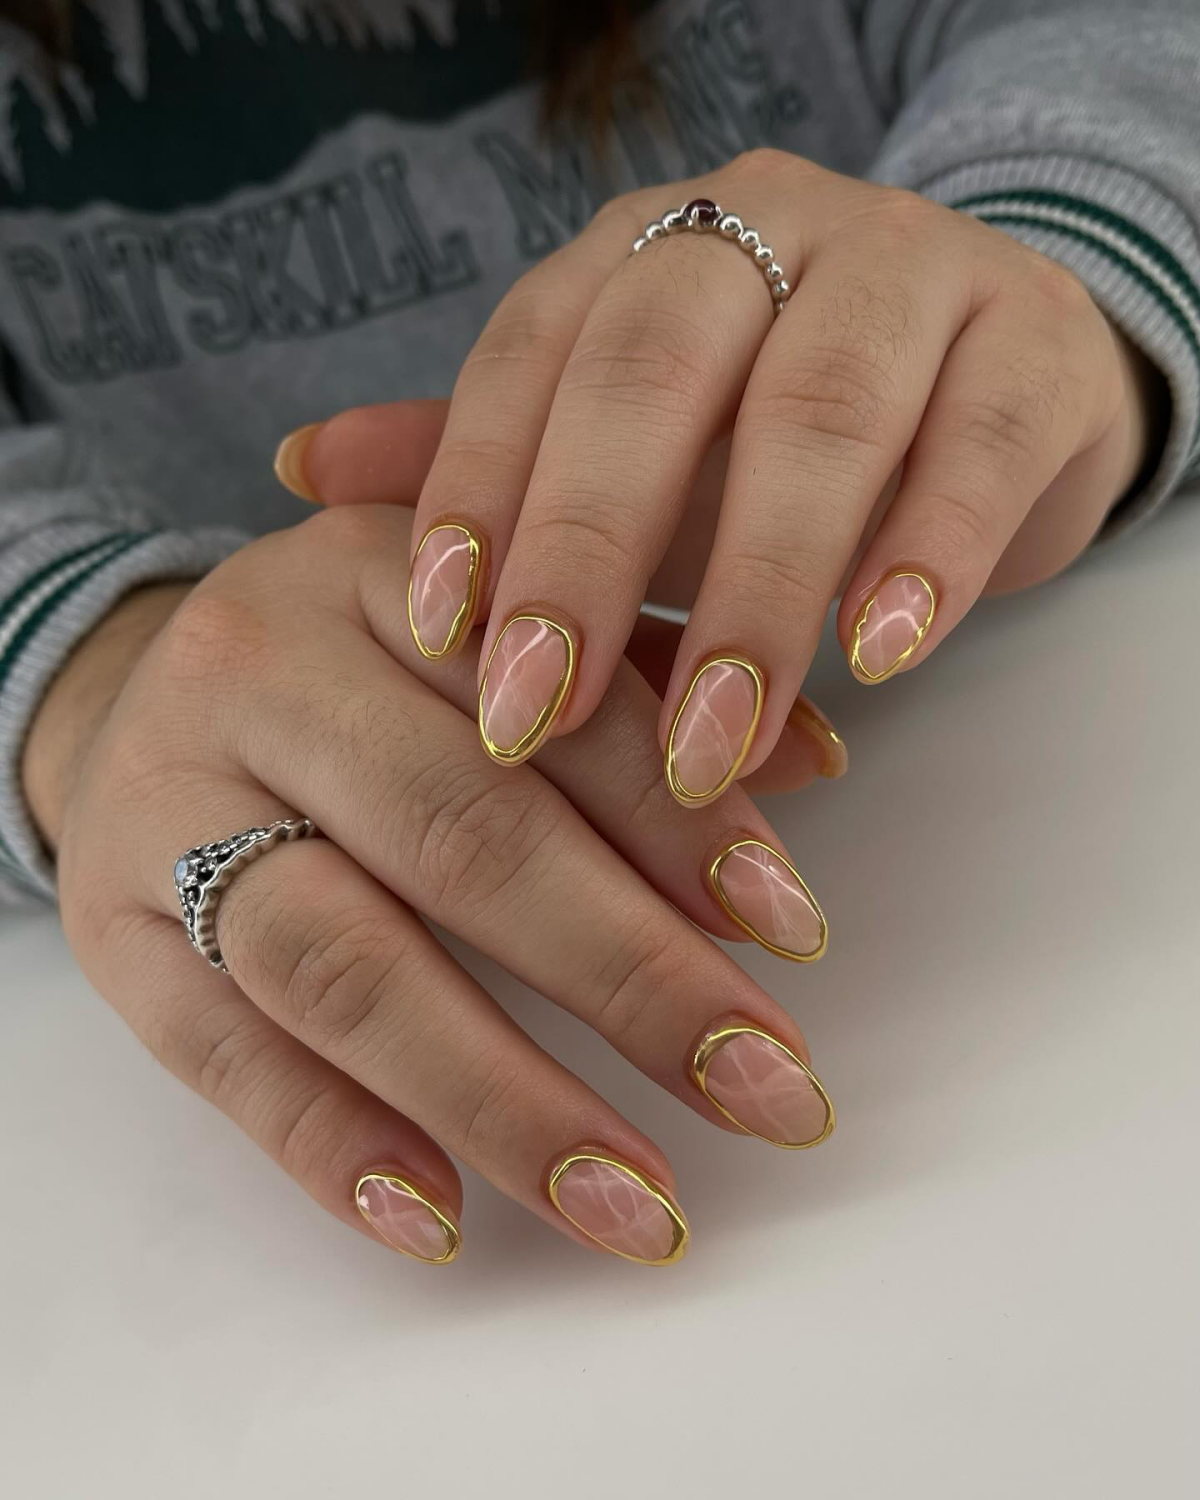
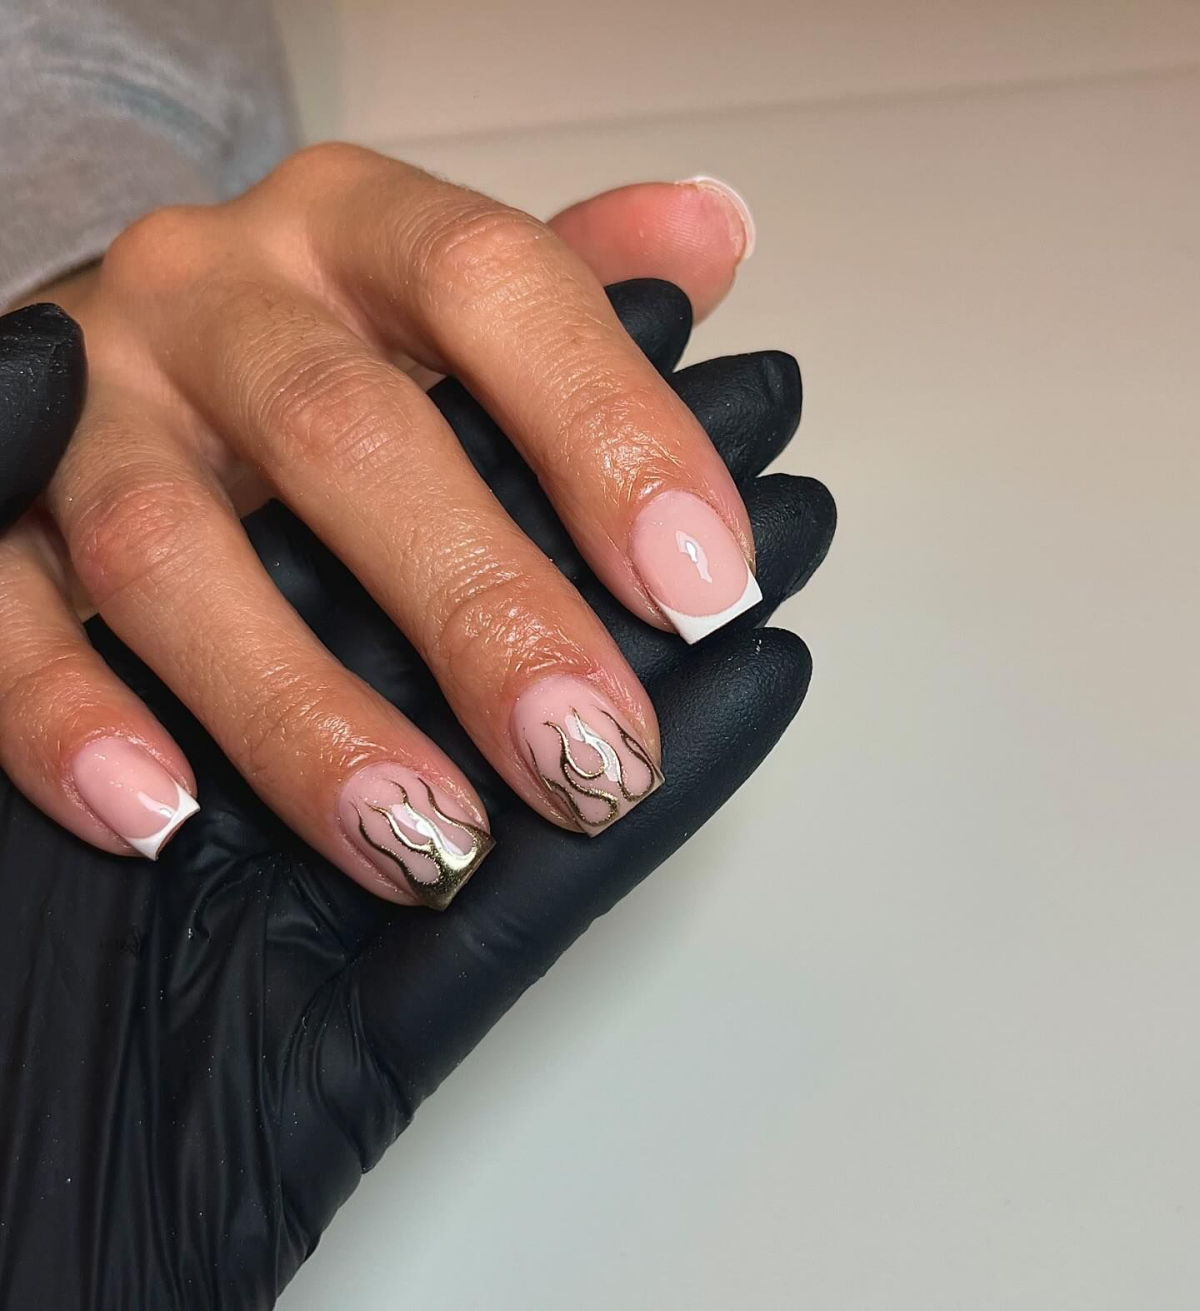
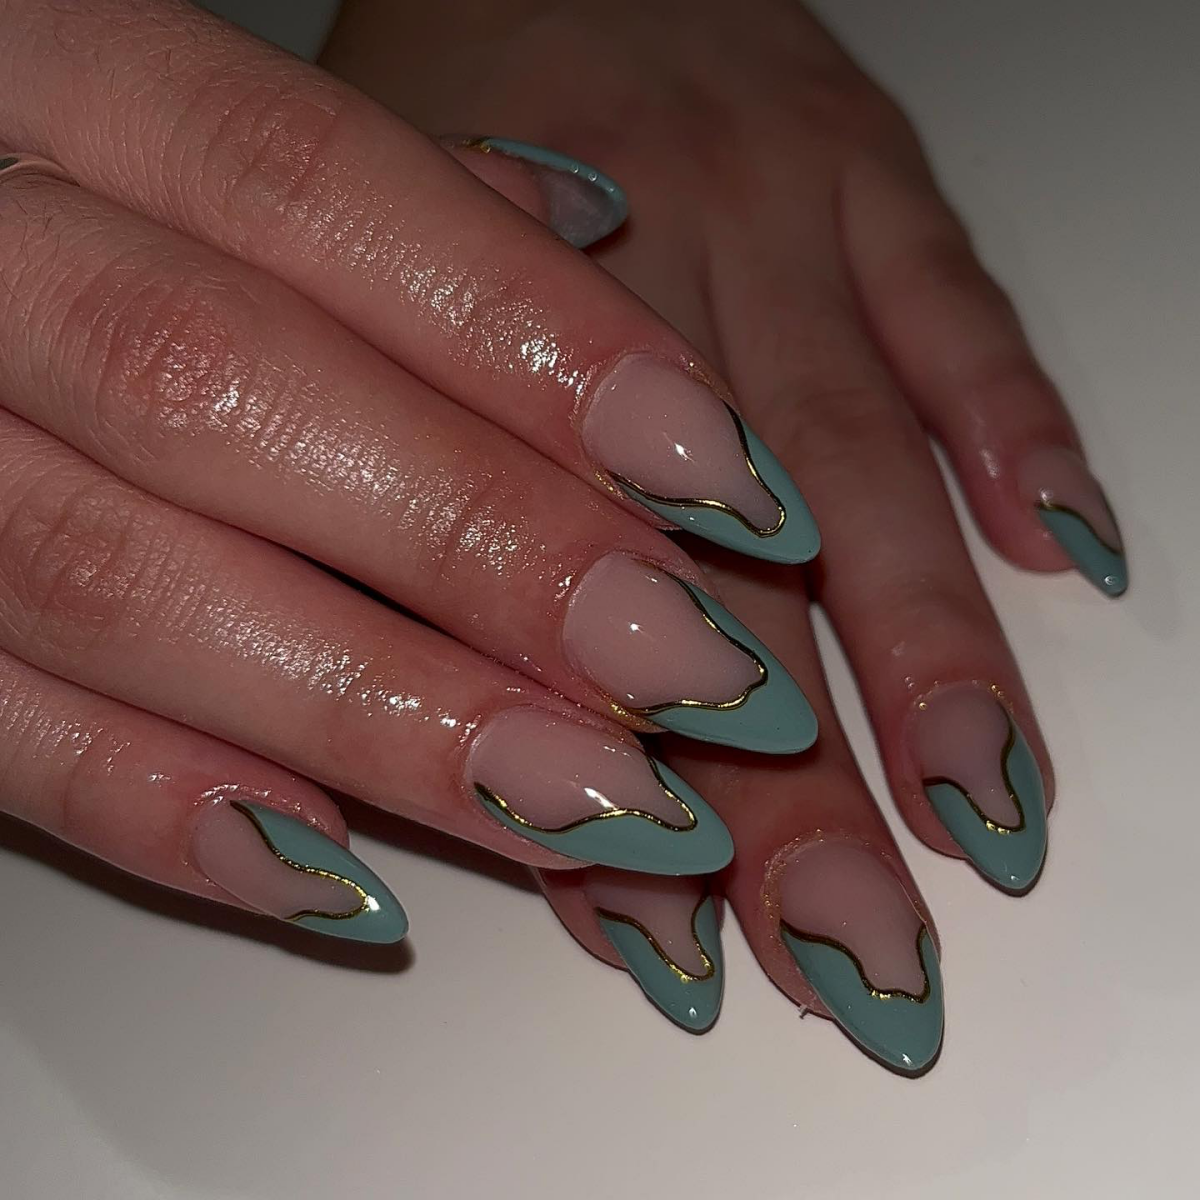
Chrome Pen: A fantastic option for DIY enthusiasts or quick accents. These liquid-filled markers, like those from OPI, deposit a chrome-effect ink directly onto a cured top coat. The finish is slightly less ‘mirror-like’ but perfect for fine lines, details, and French tips without the mess of loose powder.
Over 70% of top nail artists on Instagram reported an increase in client requests for ‘metallic accents’ over the past year, with gold chrome leading the trend.
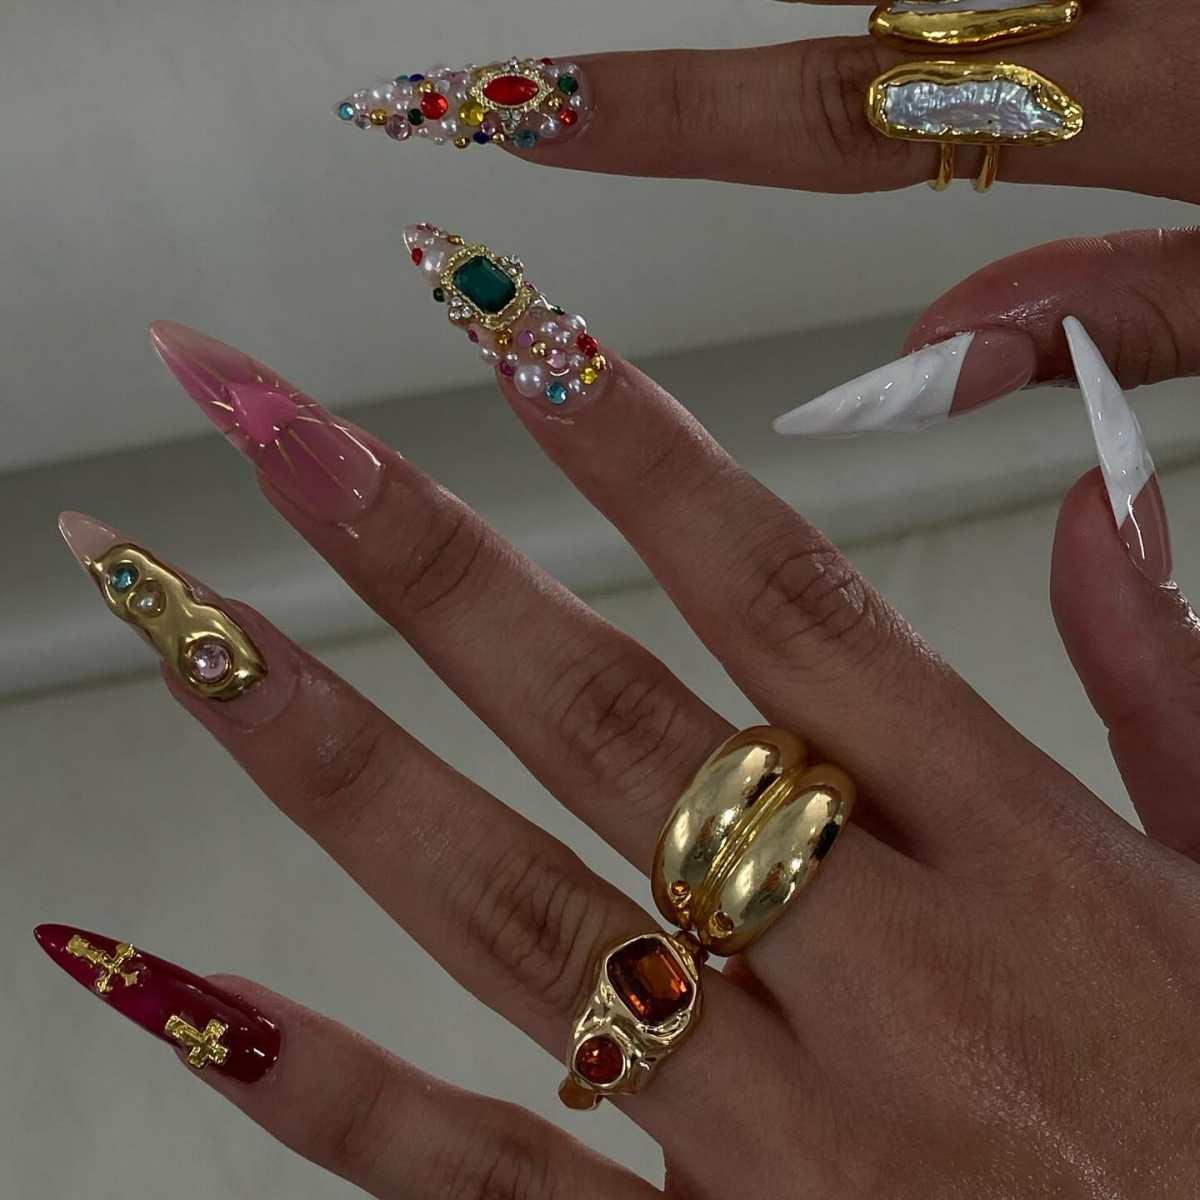
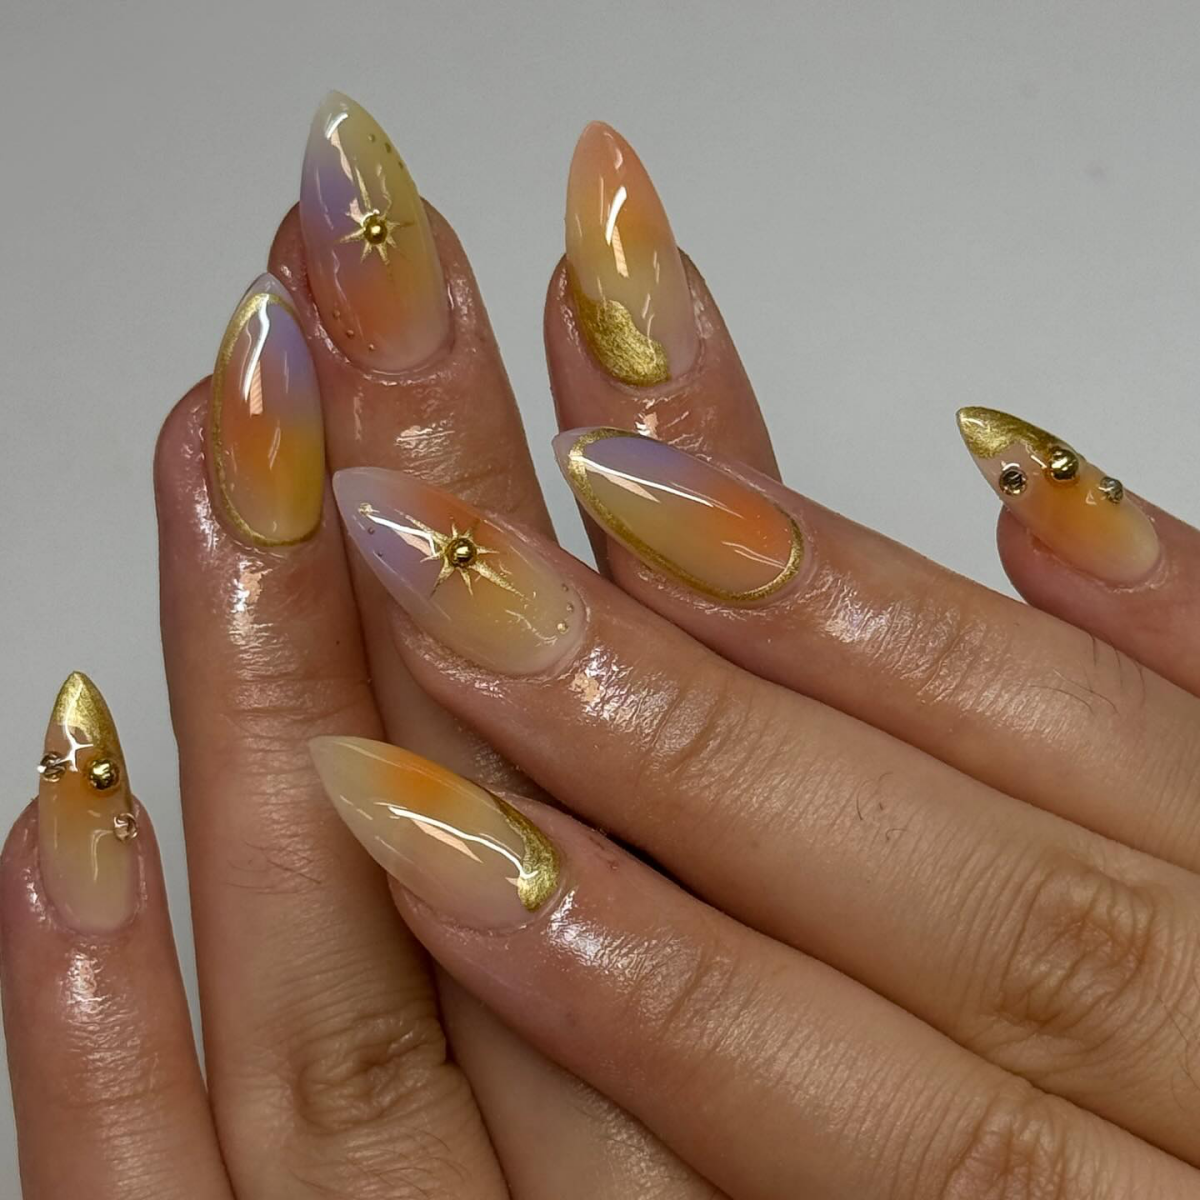
This isn’t just a fleeting style; it’s a fundamental shift towards incorporating jewelry-like effects directly into the manicure. The demand is for nails that don’t just have color, but also texture and light-play, turning them into a genuine accessory.
Help! My chrome looks patchy and dull. What went wrong?
This common frustration usually comes down to timing and temperature. The no-wipe top coat needs to be cured *just right*. If you burnish the powder while the top coat is still too hot from the lamp, the chrome can look grainy. If you wait too long and it cools completely, it won’t adhere properly. The sweet spot is about 5-10 seconds after it comes out of the lamp—warm, but not hot. Experiment with your lamp and top coat (a 30-second cure is a good starting point) to find your perfect window.
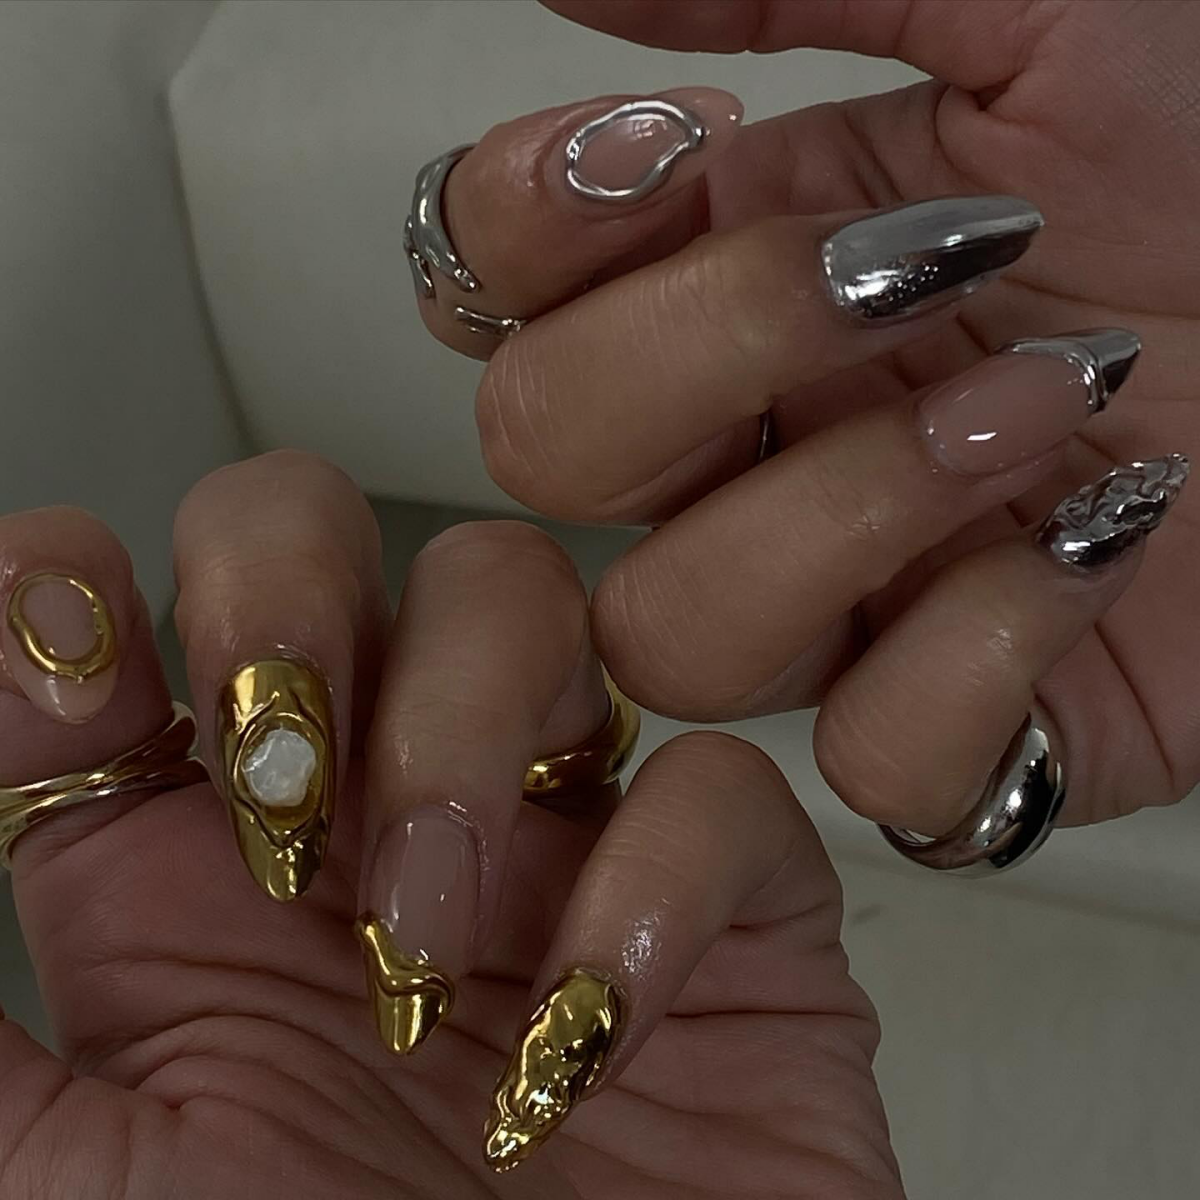
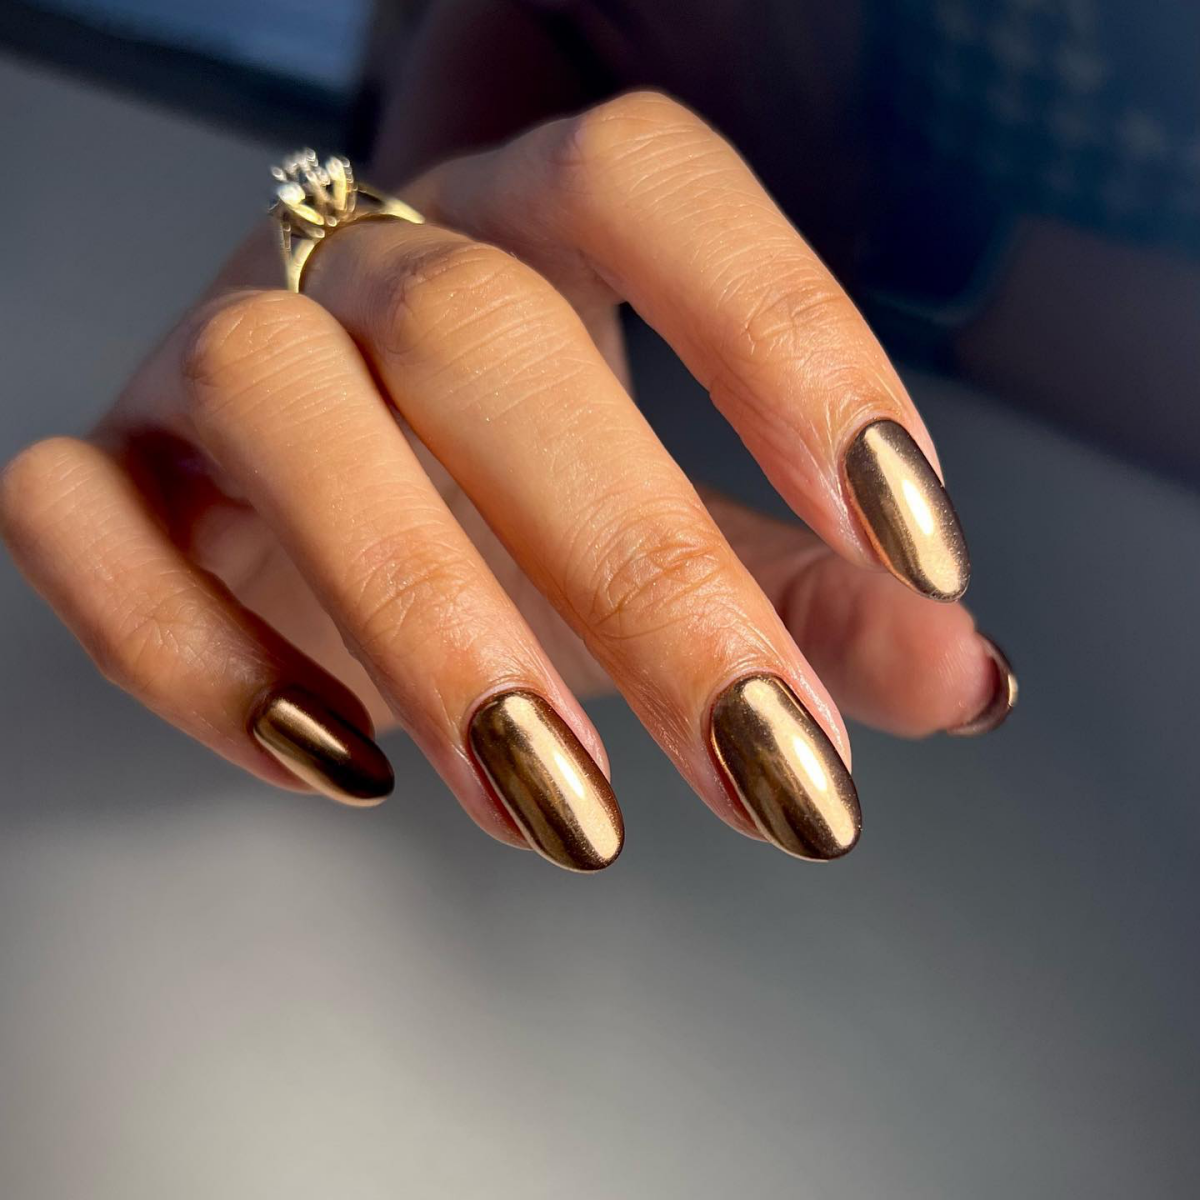
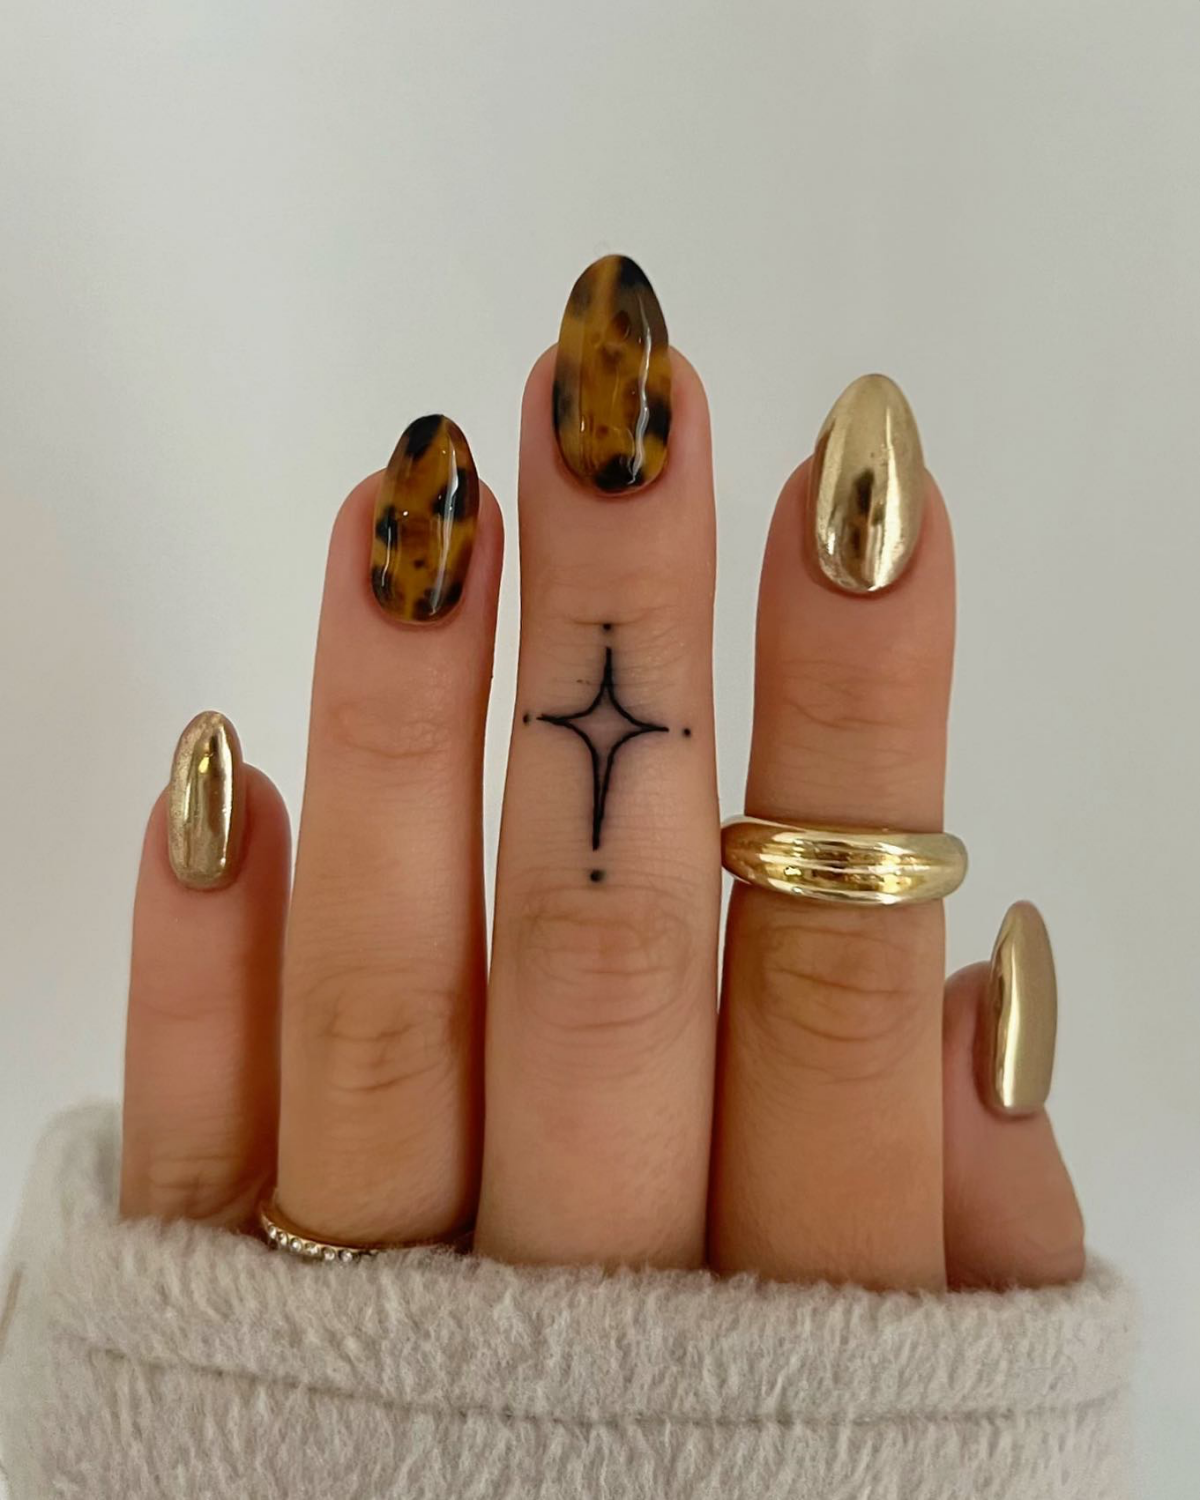
- A deeper, more antique gold finish.
- A brighter, true 24k-style shine.
- A subtle, warm rose-gold hue.
The secret? It’s all in the base color. For a rich, antique look, apply your chrome over a cured black gel polish. For the brightest, most reflective gold, use a warm, opaque nude. And for that trendy rose-gold tint, a simple sheer pink base like OPI’s Bubble Bath is all you need before your chrome application.
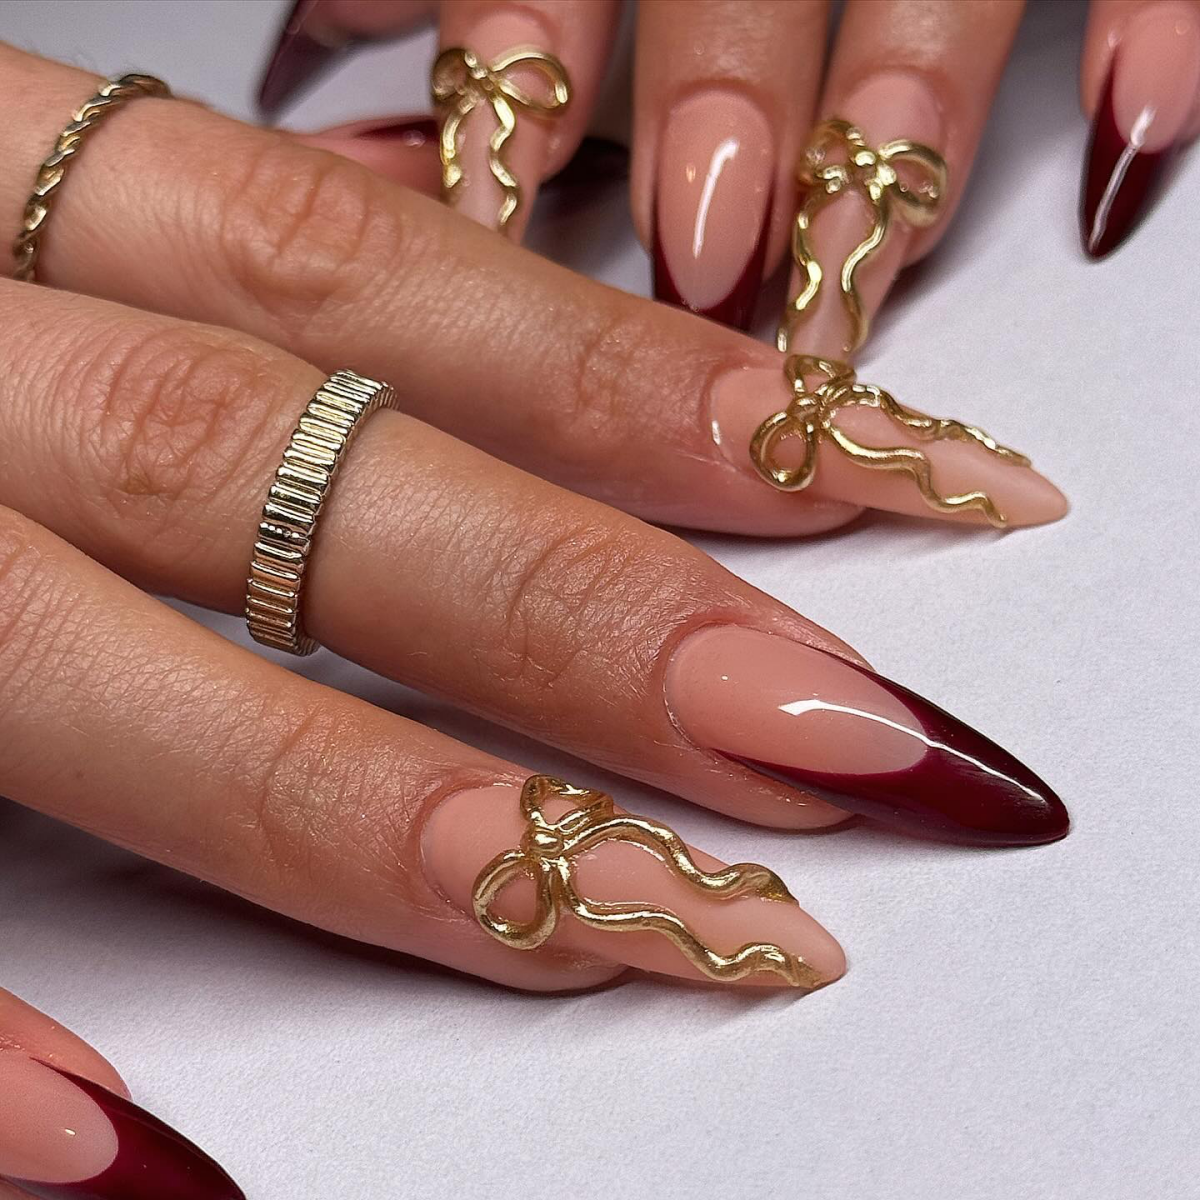
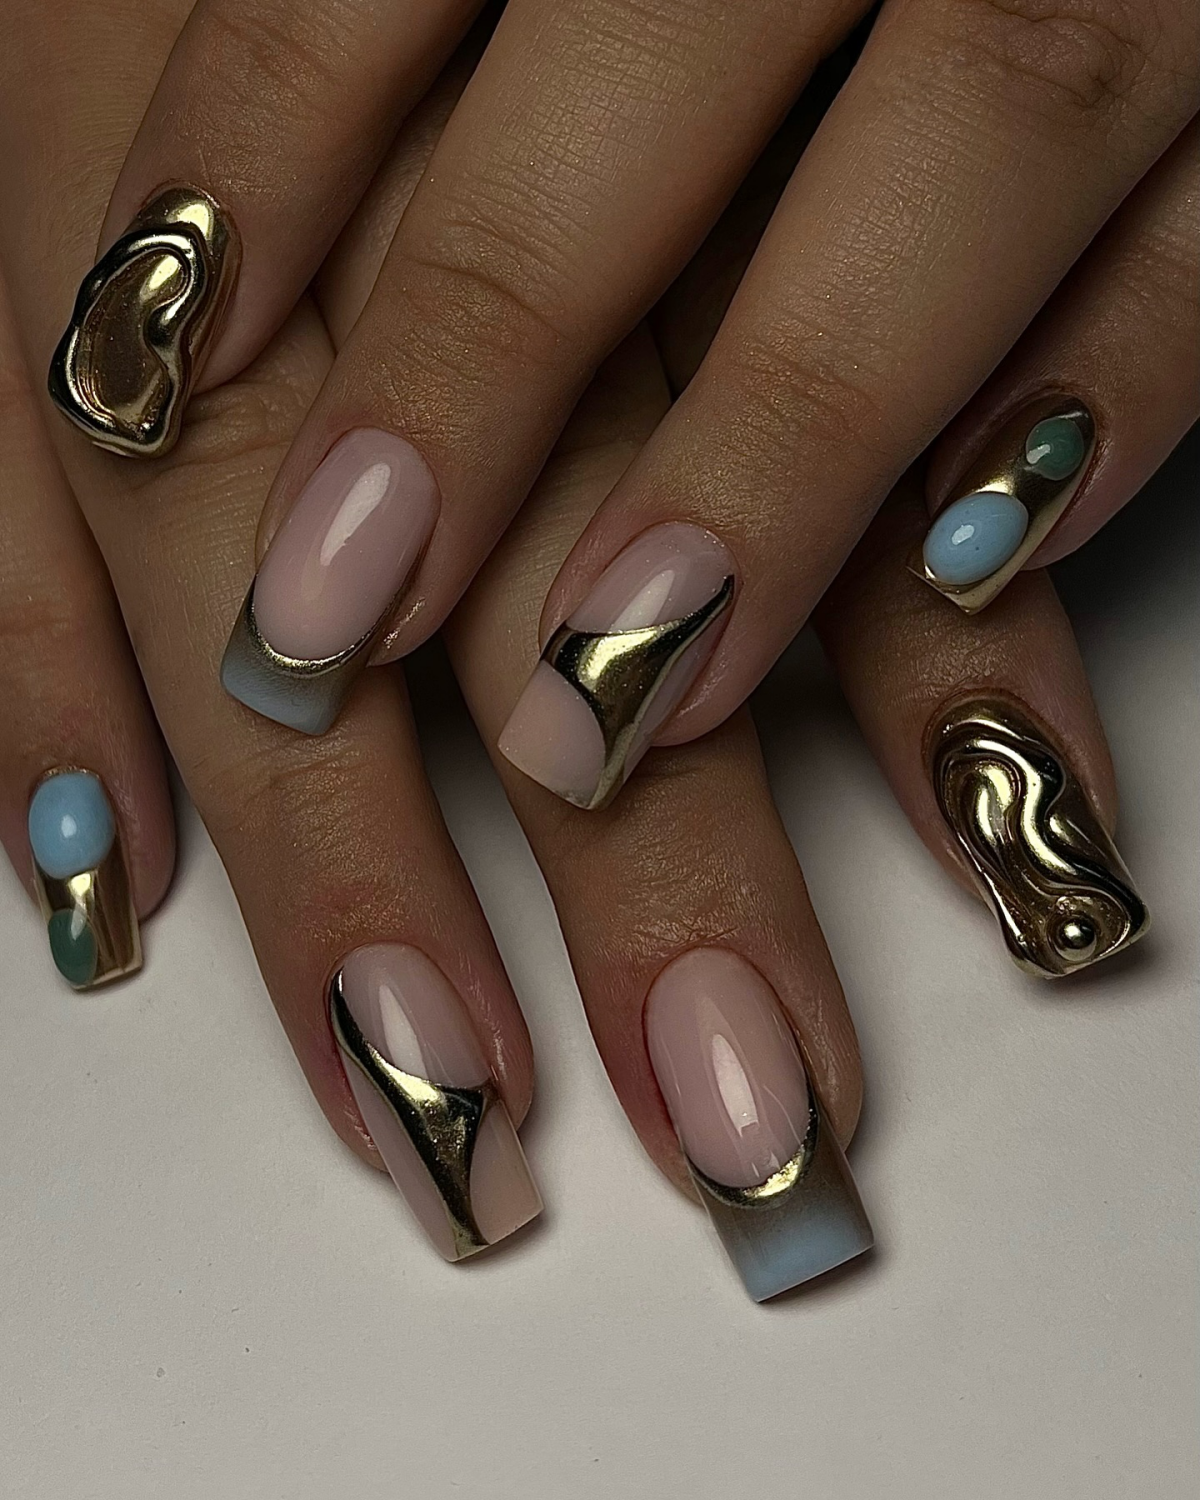
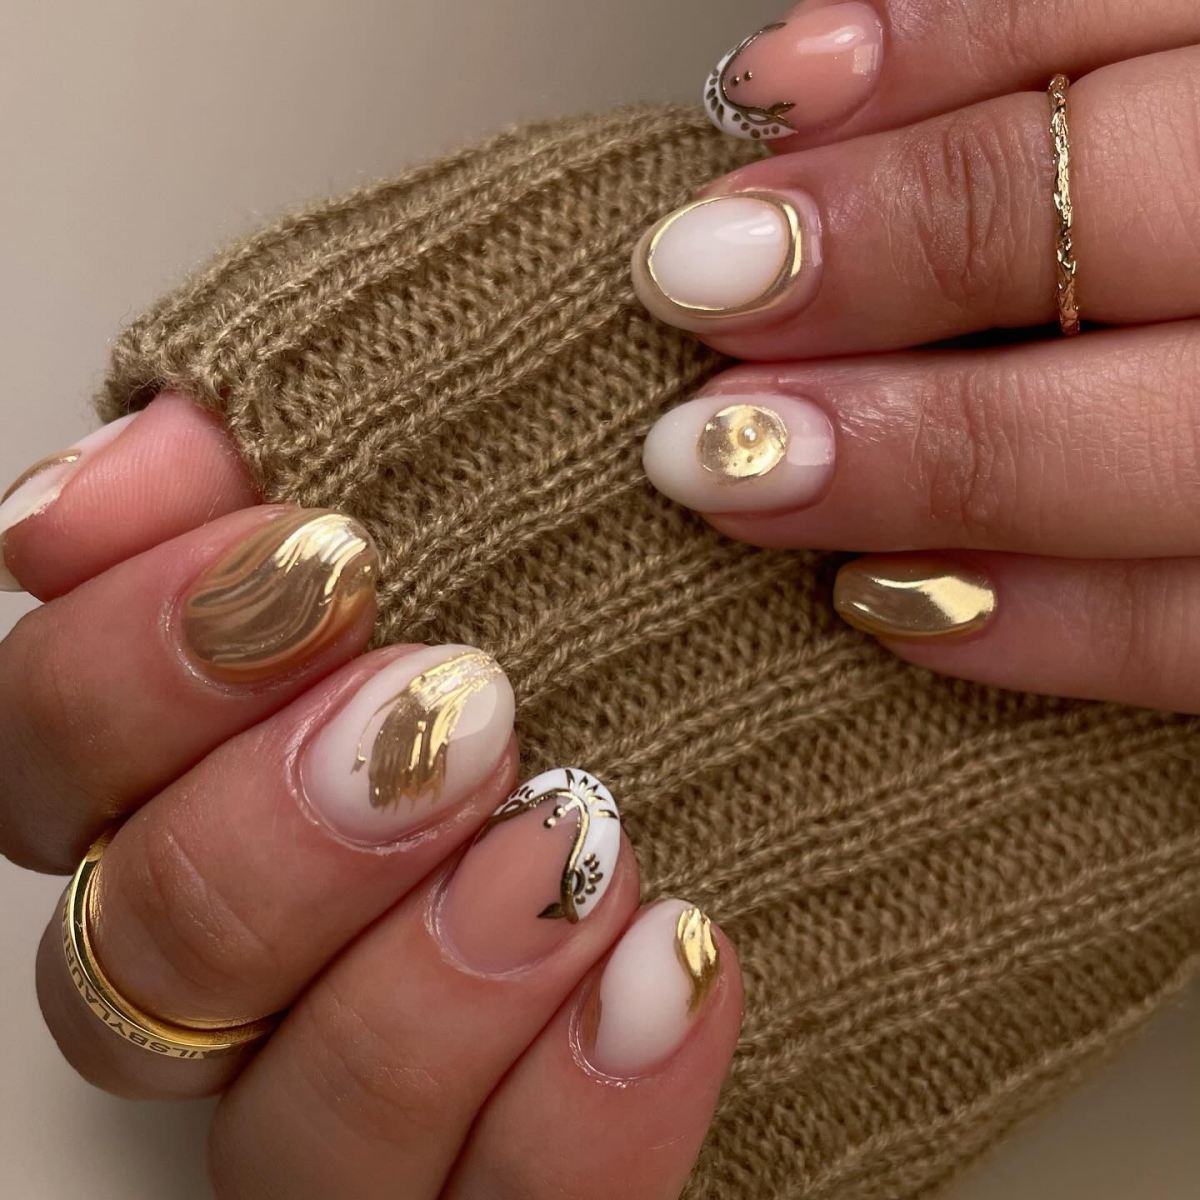
Don’t just think of gold chrome as a stand-alone finish. It’s the perfect partner for other textures. Try pairing a high-shine gold accent nail with matte, deep green or burgundy nails for a sophisticated autumn look. For something more avant-garde, combine it with a ‘velvet’ magnetic polish or encapsulate it under 3D gel art for a ‘liquid gold trapped in glass’ effect.
“The key to a long-lasting chrome manicure isn’t the chrome itself, but how you seal it.” – Jin Soon Choi, Celebrity Nail Artist

When your chrome is perfect, the last thing you want is for it to chip. The pro secret is ‘double sealing’. After applying your final top coat over the chrome, take a moment to ‘cap the free edge’ by running the brush along the very tip of the nail. Cure it. Then, apply a second, slightly thicker layer of the same top coat over the entire nail and cap the edge again. This creates a durable shield that dramatically reduces chipping.
The One Tool You Might Be Missing
While many tutorials show chrome powder being applied with a disposable eyeshadow applicator, professionals know the real MVP is a small, pointed silicone tool. These non-porous applicators, like the ones from Daily Charme, don’t absorb and waste powder. More importantly, their firm-yet-flexible tip allows you to burnish the chrome into the cuticle line and sidewalls with precision, ensuring a truly seamless, edge-to-edge mirror finish that’s impossible to achieve with a spongy applicator.
Thinking of trying a more affordable powder? While pro brands like Aprés Nail or Kokoist guarantee quality, some budget-friendly options deliver surprisingly good results. Look for brands like PrettyDiva or Born Pretty on Amazon, but be a smart shopper. Always filter reviews to see customer photos. You’re looking for true mirror-like reflections in the pictures, not just fine glitter. This is the best way to verify the powder’s particle quality before you buy.
- The chrome powder is flaking off at the edges after a day.
- You notice tiny specks or bumps under the chrome layer.
- The surface looks more glittery than metallic.
These are classic signs of improper prep. Before your base coat, ensure the nail is completely free of oils and dust by wiping it with 99% isopropyl alcohol. Any speck of dust or leftover filing debris will create a bump, and any natural oil will prevent the gel layers from adhering properly, leading to premature flaking of your beautiful chrome finish.
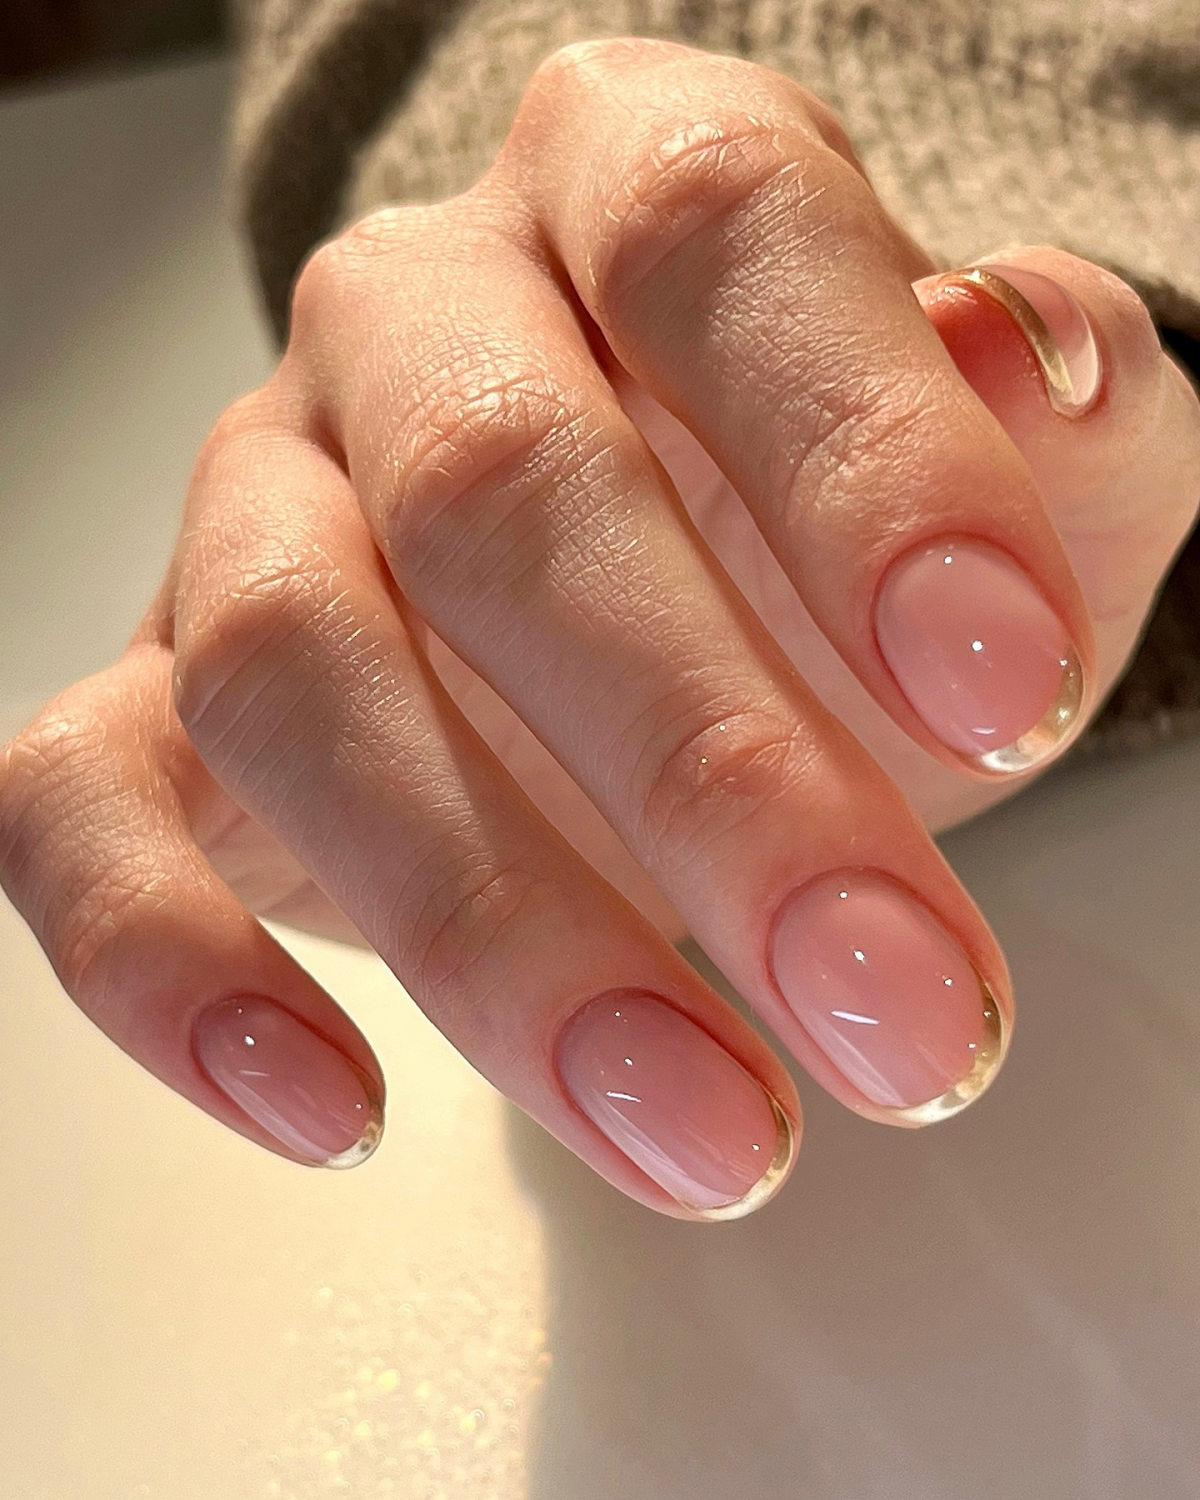
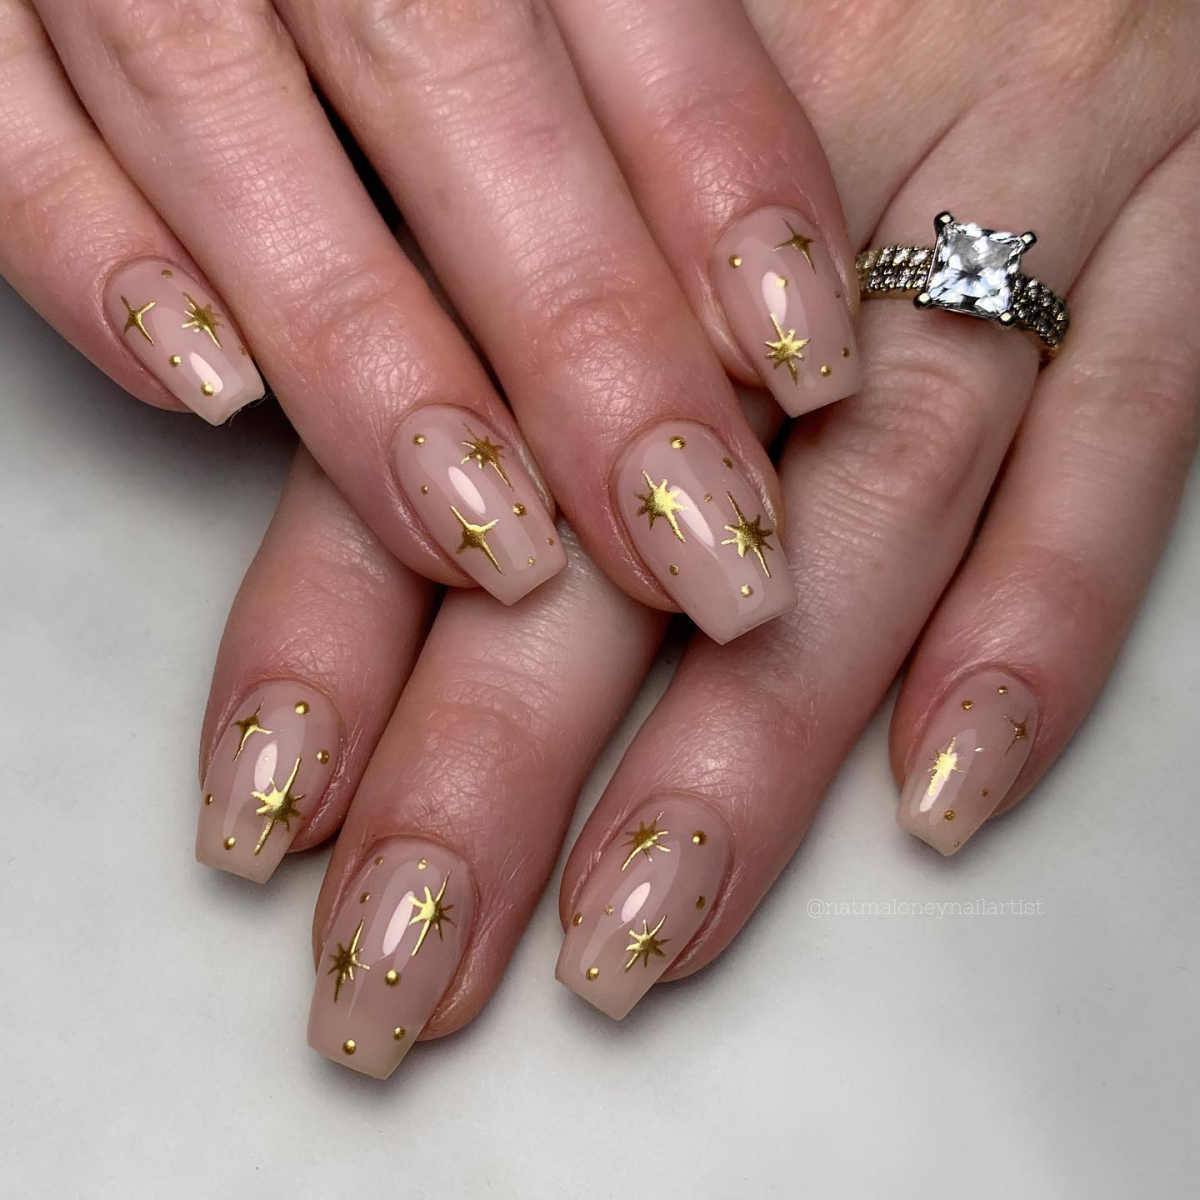
The ‘glazed donut’ look, popularized by Hailey Bieber, is essentially a gentler cousin to full-impact chrome. To get that subtle, pearlescent gold sheen, the process is identical but the product is different. Instead of a gold chrome powder, ask for a ‘white pearl’ chrome powder (like OPI’s Tin Man Can) applied over a sheer milky white or pale pink base. It gives a luminous, healthy-looking glow rather than a metallic punch.


