The Real Secret to Flawless Glitter Nails That Actually Last
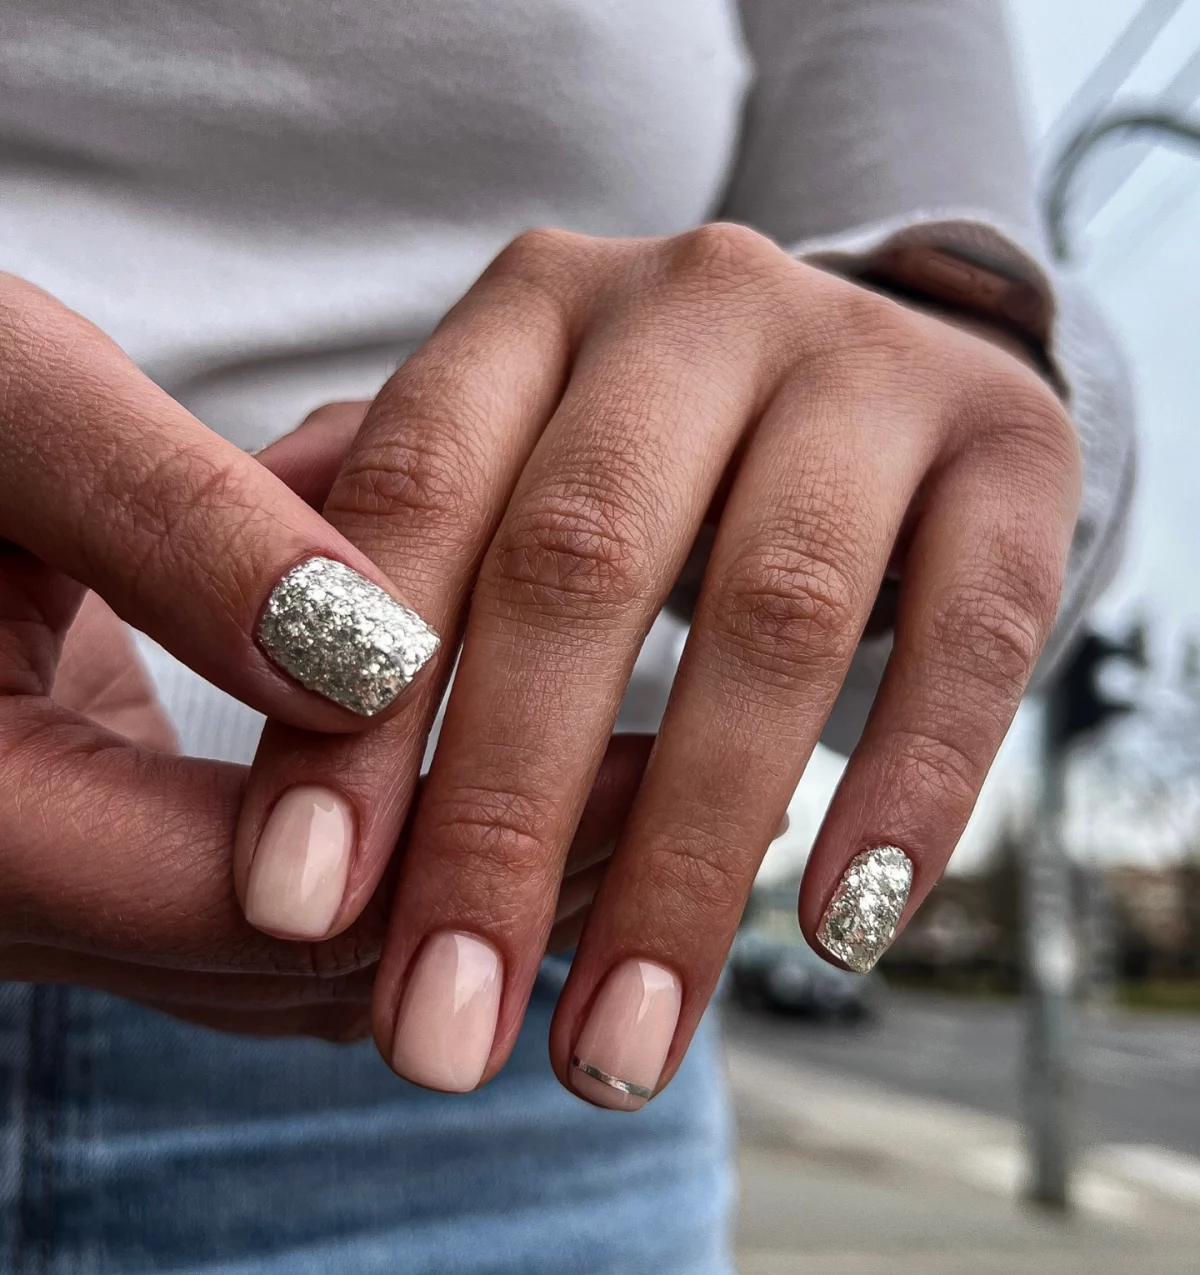
I’ve been obsessed with nails for a long, long time. And in all my years behind the salon desk, one thing has never, ever gone out of style: silver glitter. It’s the little black dress of nail art—always classic, always a good idea. I’ll never forget a high-stakes job I had for a client who needed the most elegant, diamond-bright silver nails for a huge event. The pressure was real. They had to be absolutely perfect and, more importantly, they had to last.
In this article
- First Things First: Not All Glitter is Created Equal
- How Are You Applying It? Let’s Talk Options
- The Foundation: Pro-Level Nail Prep is Everything
- My Favorite Pro Method: The Burnishing Technique
- Troubleshooting: When Glitter Goes Wrong
- The Removal: How to Not Wreck Your Nails
- DIY vs. The Salon: The Real Cost
- Galerie d’inspiration
That experience really drove home a truth I now share with everyone: a stunning, durable glitter manicure isn’t magic. It all comes down to technique, using the right stuff, and respecting the health of the nail. It’s a true craft.
So many people think you just splash on some sparkle and call it a day. But honestly, there’s a huge gap between a clumpy, quick-chipping DIY job and a smooth, rock-solid professional set. My goal here is to bridge that gap and share the insider secrets I’ve picked up along the way. We’re going to cover everything from the different types of sparkle to the game-changing prep work that makes it all stick. Let’s get into it.
First Things First: Not All Glitter is Created Equal
Before you even think about application, you have to understand your materials. Using the wrong glitter is a recipe for disaster. I’m talking a dull finish, a murky mess, or even skin irritation. This is a non-negotiable for both safety and quality.
The Big Difference: Cosmetic vs. Craft Glitter
This is the most important distinction, so listen up! Craft glitter is for scrapbooking, NOT for your body. It’s often made from metal or glass with sharp, square edges that can cause tiny scratches. Plus, the dyes used can be toxic and will bleed the second they touch nail polish or acetone. I once had a client bring in a gorgeous pot of craft glitter. To show her why we couldn’t use it, I mixed a tiny bit into some clear gel—within minutes, it turned into a cloudy, gray sludge. A total nightmare.
Cosmetic-grade glitter, on the other hand, is designed for skin. It’s made from a special, non-toxic plastic and cut into round shapes to be safe. The colors are solvent-resistant, meaning they stay brilliant and won’t melt into your gel or polish.
Good to know: You can find cosmetic-grade glitter at beauty supply stores like Sally Beauty, or from pro-focused online brands like Daily Charme or Kiara Sky. Even searching for “cosmetic grade loose glitter” on Etsy will give you tons of amazing options. A little pot usually costs between $4 and $8 and will last you forever.
Choosing Your Sparkle: A Quick Guide
Silver glitter isn’t just one thing. The size and type completely change the final look:
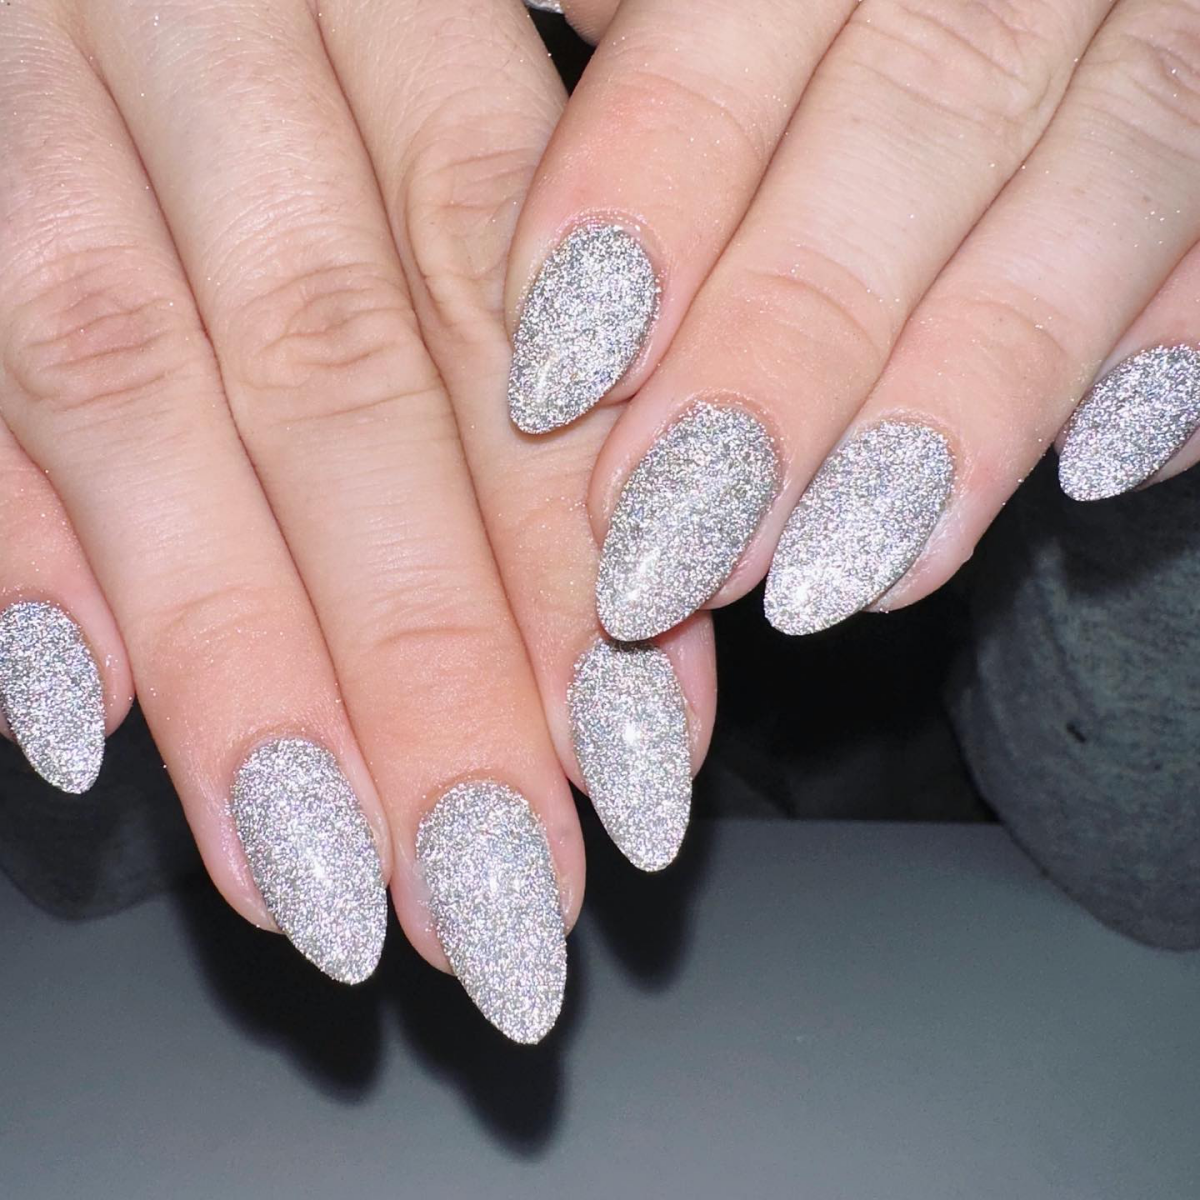
- Fine Dust: This is an ultra-fine powder that creates an insane, almost liquid-metal look when you rub it onto the nail. It gives you full, smooth coverage with zero texture. Think chrome, but with sparkle.
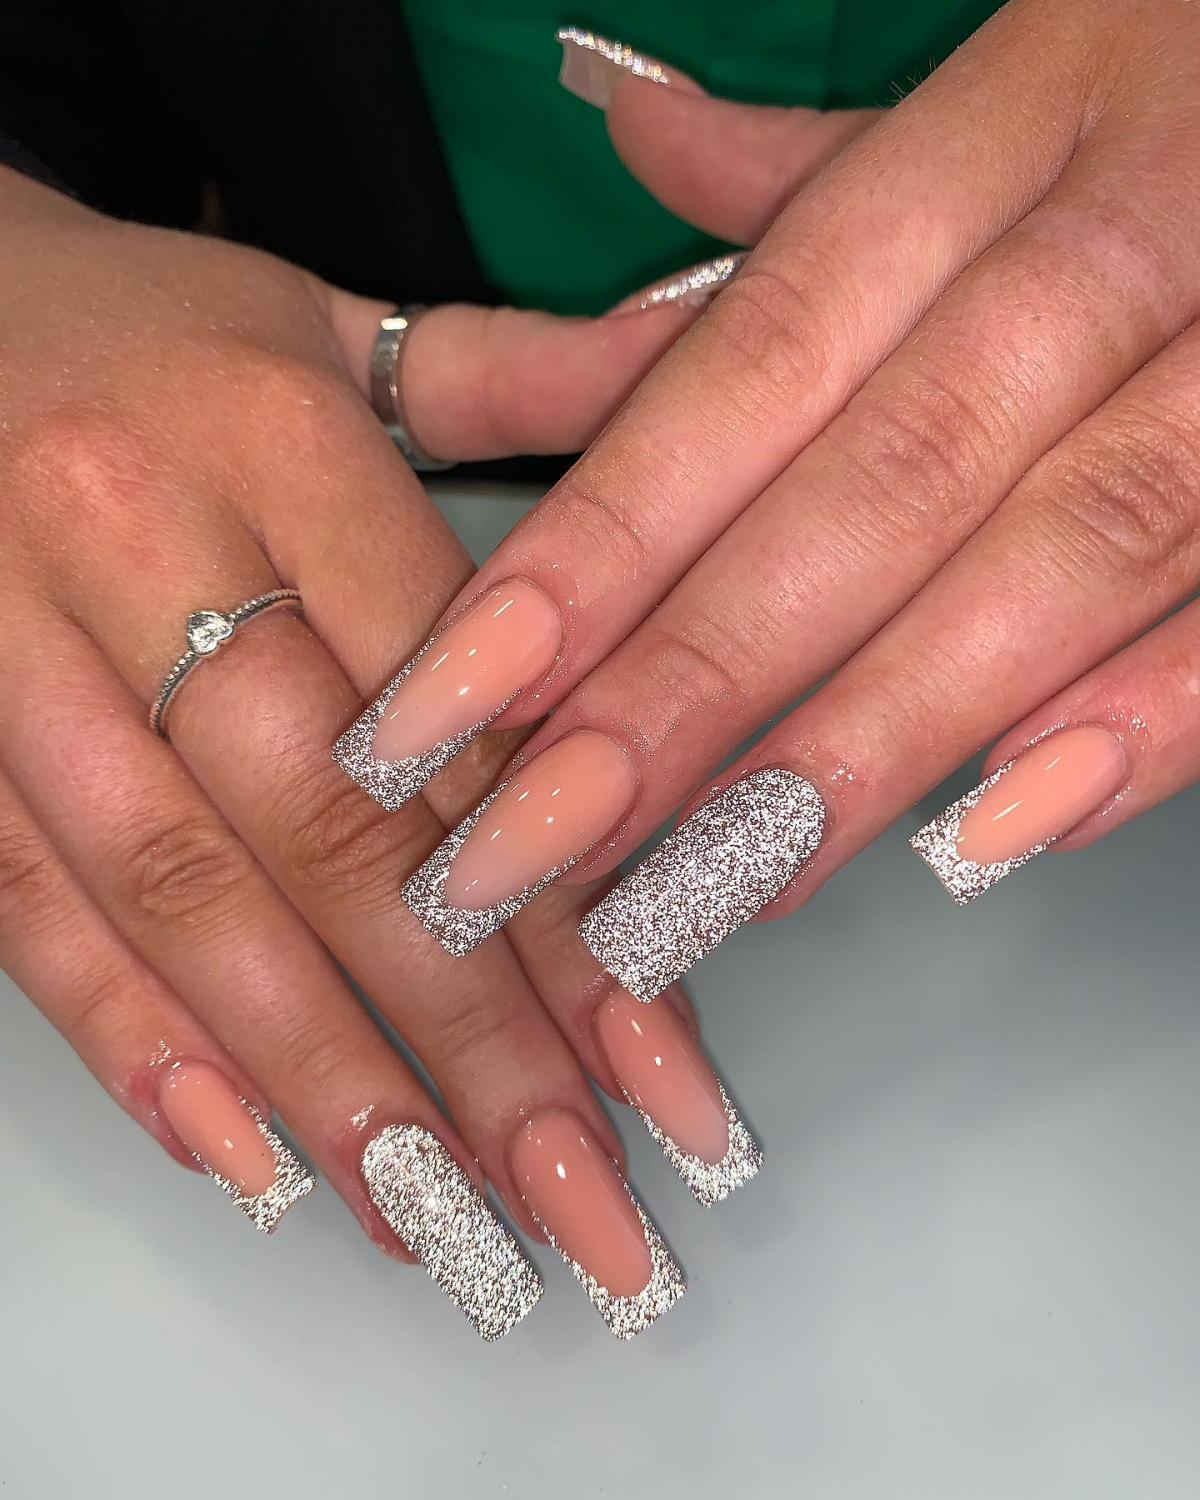
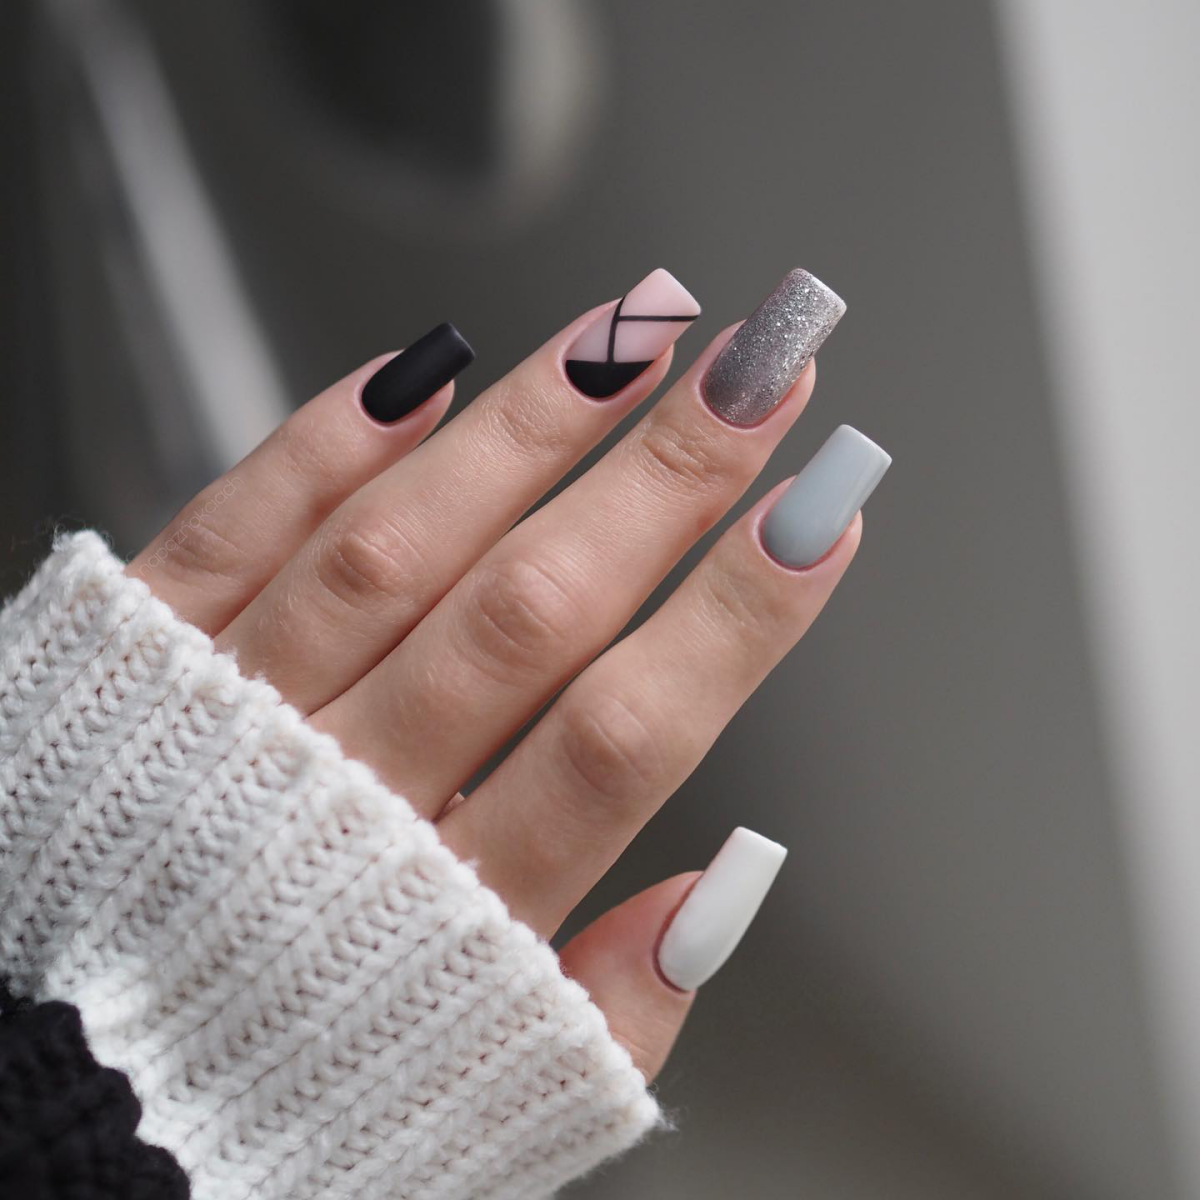
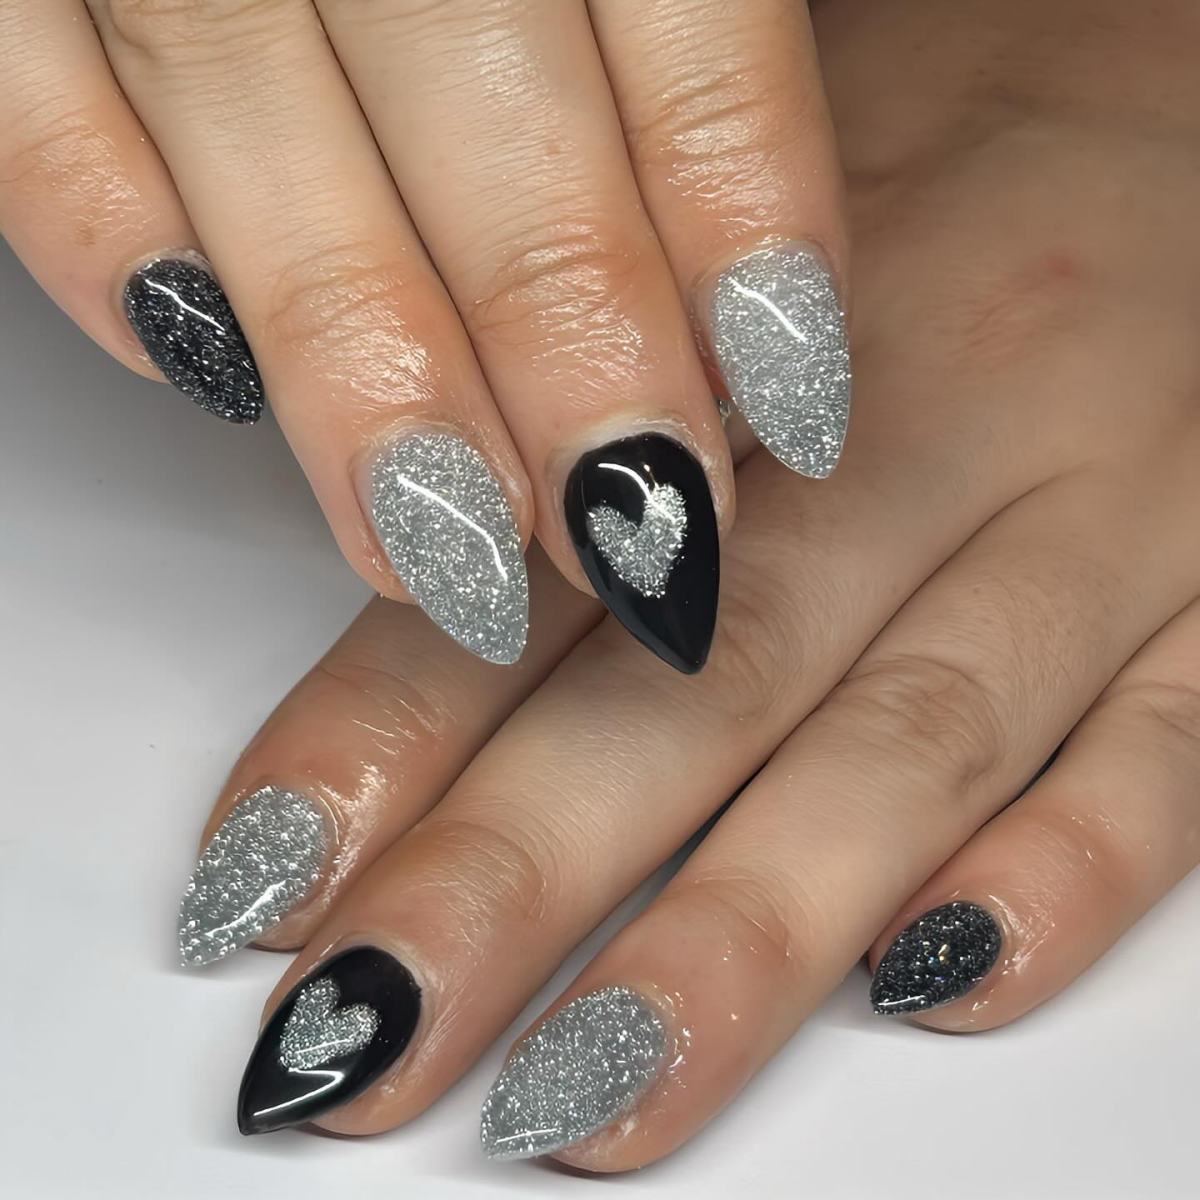
- Standard Glitter: This is your classic, sparkly look where you can see the individual hexagonal flakes. It’s perfect for a traditional, multi-faceted shine.
- Chunky Glitter: These are larger pieces, often mixed with finer glitters for a cool, multi-dimensional effect. They look amazing but require a bit more skill to make sure the nail surface ends up smooth.
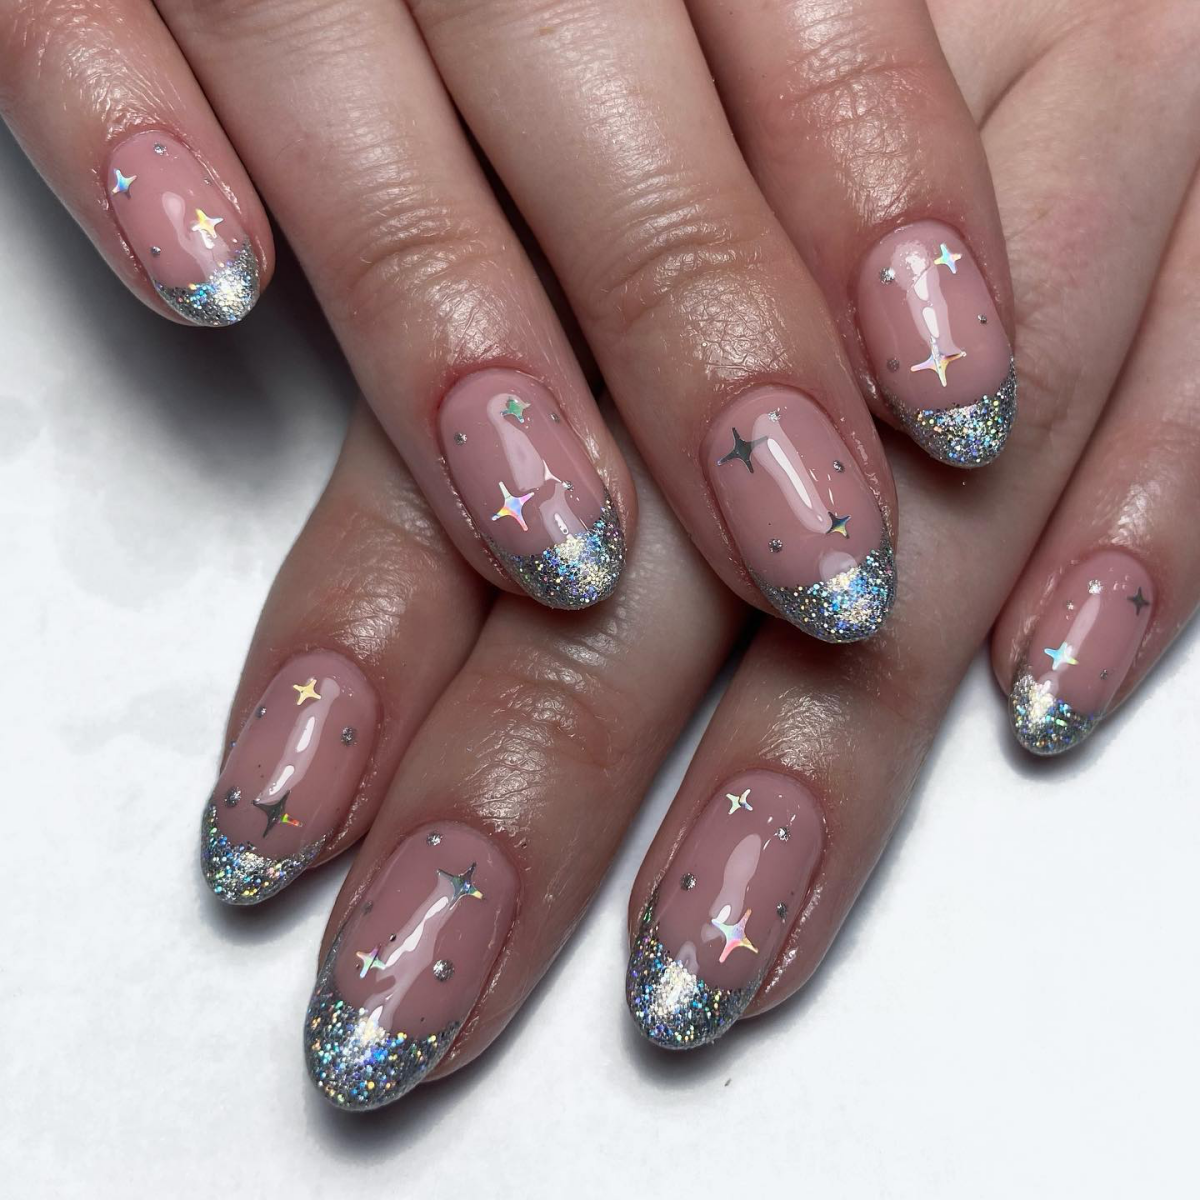
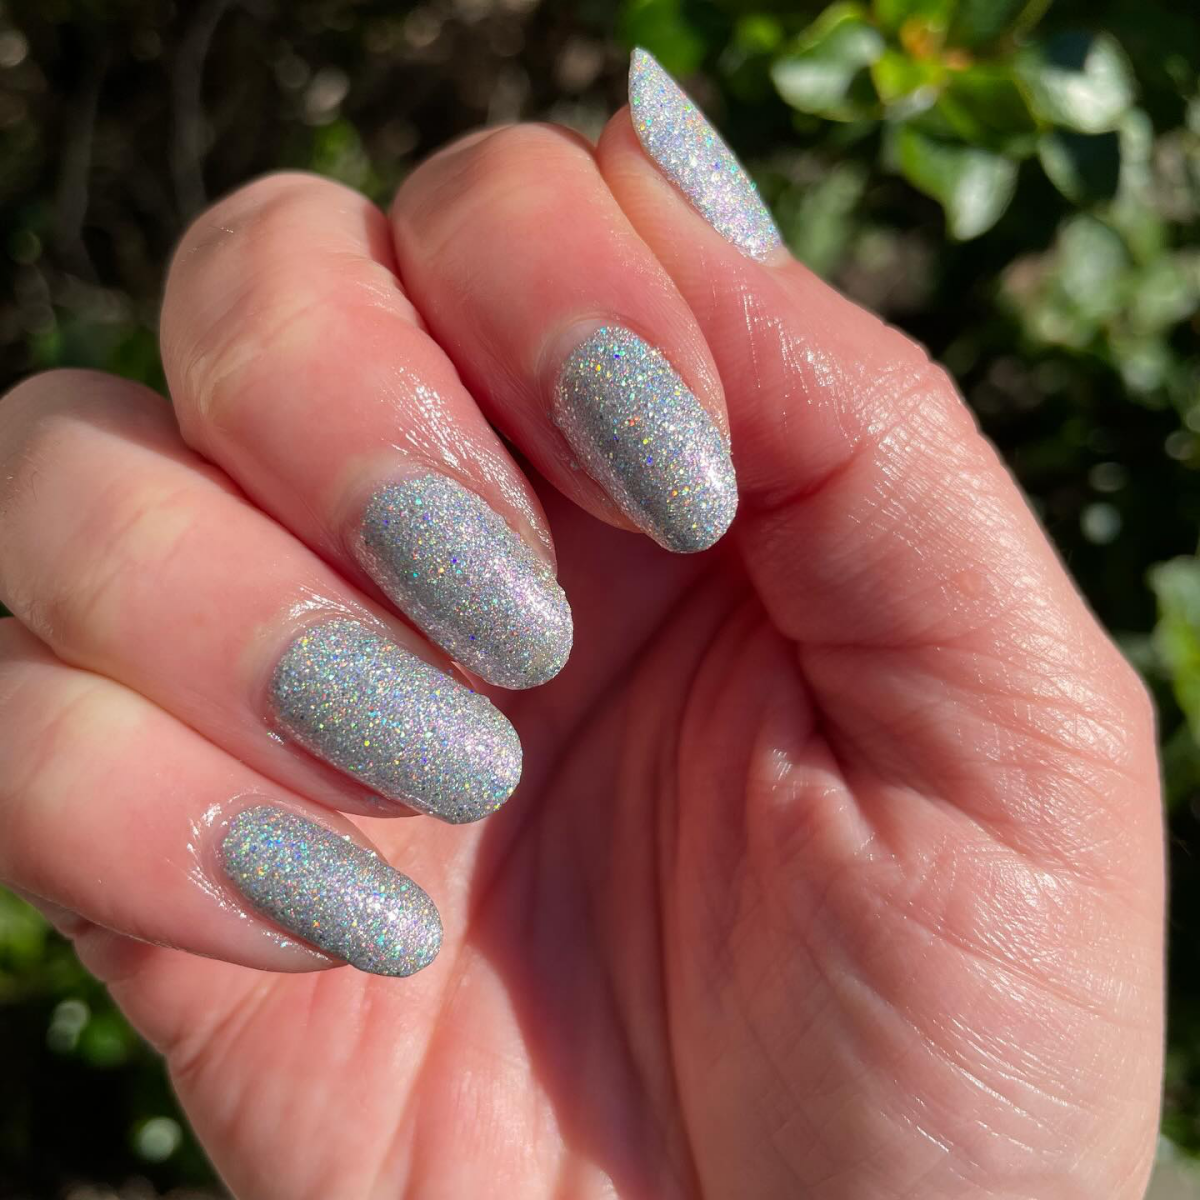
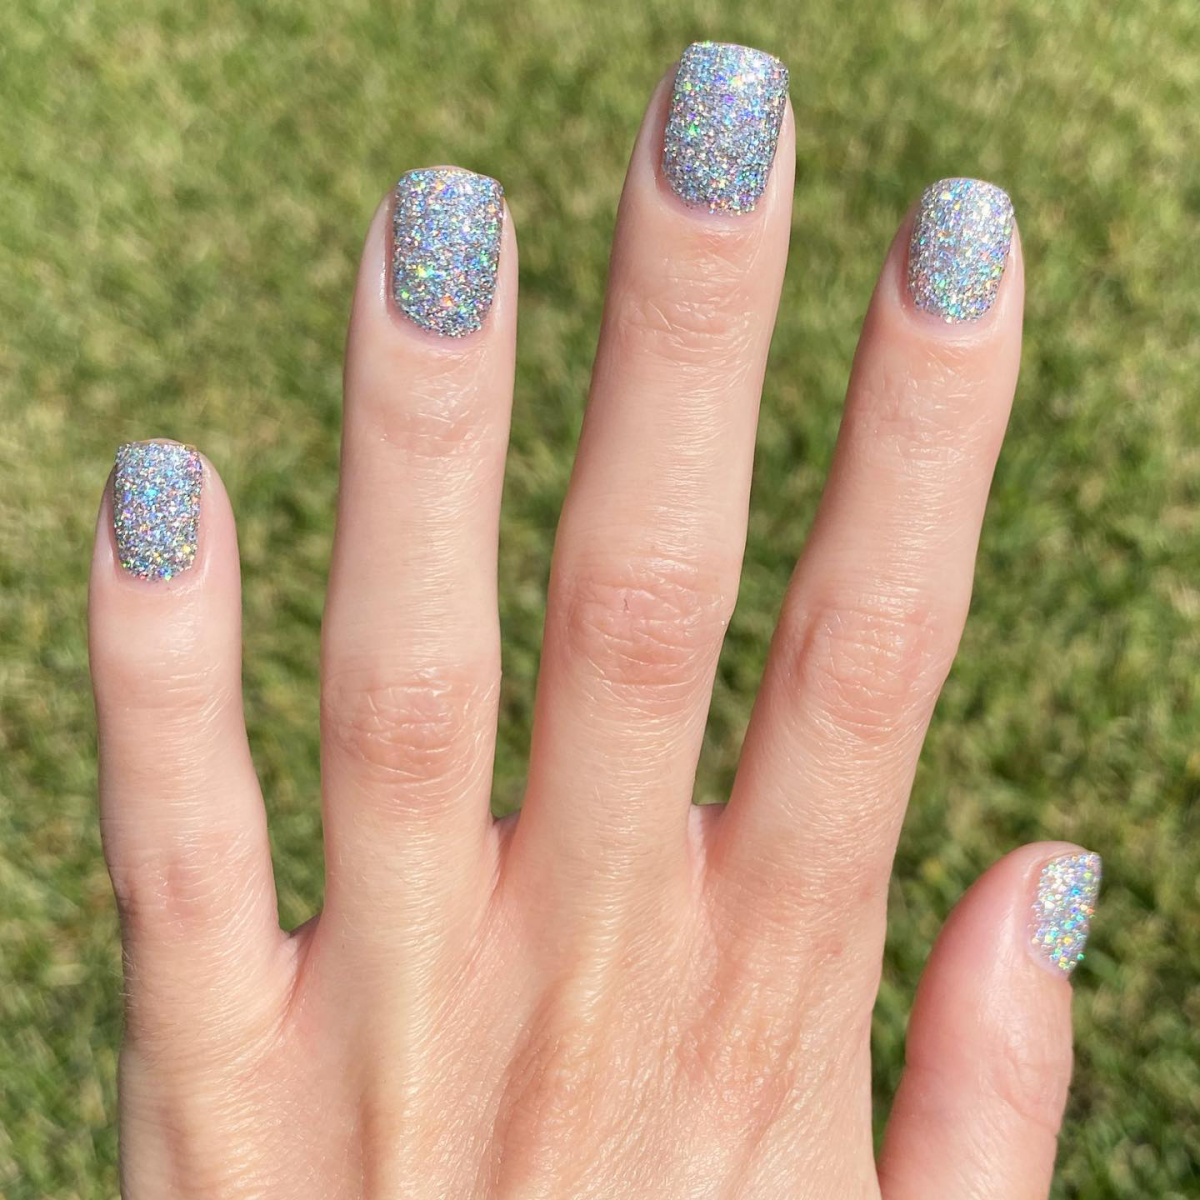
- Holographic Silver: My personal favorite! This isn’t just silver; it reflects a full rainbow when it catches the light. You get flashes of blue, pink, and gold. It’s a total showstopper.
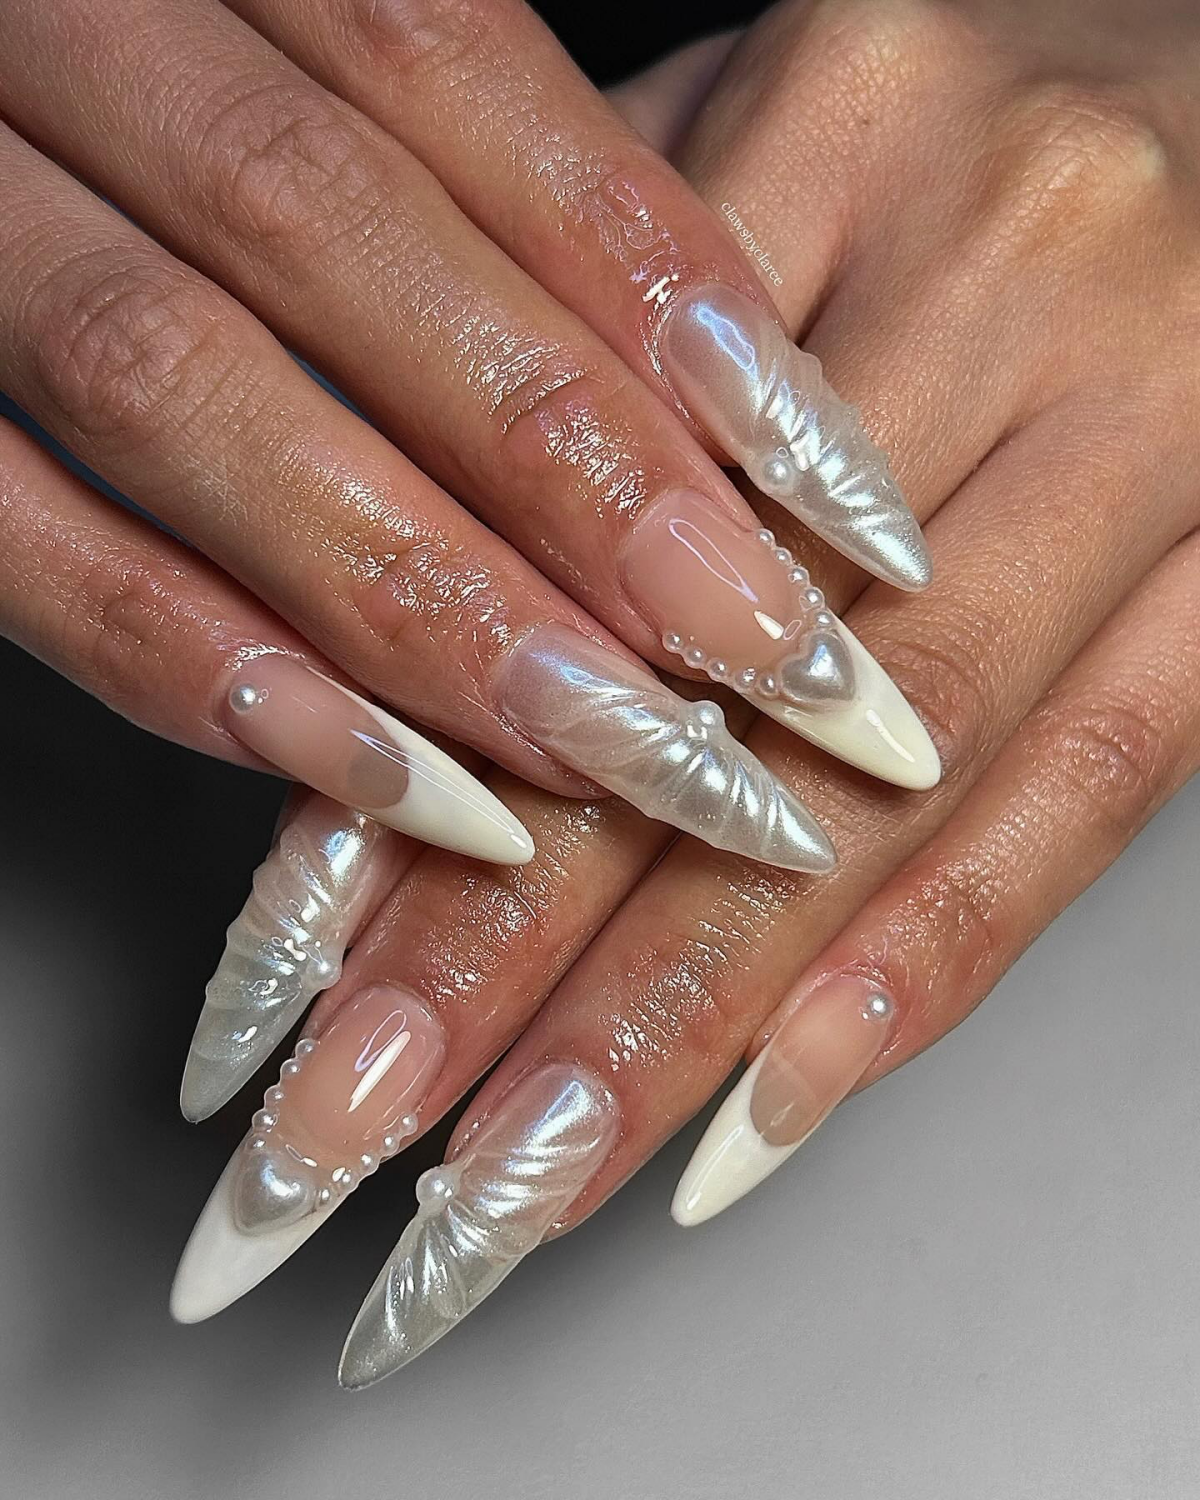
- Iridescent Silver: This one is a bit more subtle and dreamy. It has a pearly quality that shifts between two or three soft colors, like silver-to-blue or silver-to-pink, depending on the light.
How Are You Applying It? Let’s Talk Options
You’ve got a few ways to get that glitter onto the nail. Let’s break down the pros and cons.
First up is glitter polish, which is just glitter suspended in regular or gel polish. It’s the easiest for beginners but often lacks punch. You might need three or four coats for full coverage, which can get thick and chunky fast, making it prone to chipping.
Lesser-known trick: If you’re using glitter polish, don’t brush it on! Instead, paint a bit onto a cheap makeup sponge and then dab the sponge onto your nail. The sponge soaks up the excess clear polish and deposits a much denser layer of glitter. Try it on one nail—the difference is wild.
Then there’s loose glitter, which is the pro’s choice. It gives you total control over how dense the sparkle is. It’s more work, sure, but the payoff is a million times better. You can create a super-saturated look that’s just impossible with a polish.
So, which one is for you? To be frank, if you want that durable, dazzling, straight-from-the-salon look, loose glitter is the way to go. It takes more practice, but the coverage and durability are on another level. Glitter polish is great for a quick fix or if you’re just starting out and want to keep things simple.
The Foundation: Pro-Level Nail Prep is Everything
A glitter manicure is only as strong as the nail prep underneath. I can spot a manicure that failed due to bad prep from a mile away. Any oil, moisture, or leftover dead skin on the nail will cause lifting. Skipping these steps is like building a house on sand. It’s just not going to last.
Here’s the rundown for prep that guarantees a long-lasting set:
- Sanitize & Clean: Start with clean hands. Then, wipe down the nails with a lint-free pad soaked in 99% isopropyl alcohol. This gets rid of any surface oils and bacteria.
- Deal with Cuticles: Gently push back the skin at the base of your nail. The goal is to remove the non-living tissue stuck to the nail plate, not to cut the living skin (that’s your barrier against infection!).
- Shape It Up: Use a 180-grit file to shape the free edge. Quick tip: always file in one direction. A back-and-forth sawing motion actually tears the nail fibers and can lead to peeling.
- Buff the Surface: Gently buff the entire nail surface with a soft buffer. You’re not trying to thin the nail, just remove the shine. You want a dull, matte surface so the base coat has something to grip onto.
- Final Cleanse: This is the most important step! Scrub the nail plate again with 99% alcohol to remove every last bit of dust and oil. After this, don’t touch your nails with your fingertips!
My Favorite Pro Method: The Burnishing Technique
This is how you get that seamless, foiled look with ultra-fine glitter. It’s absolutely stunning for an accent nail.
After your prep, apply a thin layer of gel base coat and cure it under your LED lamp (usually 30-60 seconds). Then, apply a thin layer of your chosen gel color and cure it. Most gel polishes leave behind a sticky film after curing—this is called the inhibition layer, and it’s the perfect glue for your glitter. No need to buy a special “tacky gel” or anything!
Now for the fun part. Dip a silicone tool or even a gloved fingertip into your fine silver glitter and start rubbing it firmly onto the sticky nail. Use small, circular motions. You’ll literally feel the surface go from gritty to glass-smooth as the glitter flattens out. That pressure is the key.
Dust off all the excess glitter with a soft, fluffy brush. And I mean ALL of it. Then, you need to encapsulate it. Apply a layer of clear builder gel or a good-quality top coat, making sure to swipe the brush along the very tip of the nail to seal the edge. Cure it, and then apply one more layer of top coat for that perfectly smooth, high-gloss finish. Done.
Troubleshooting: When Glitter Goes Wrong
Even with the best intentions, things can go sideways. Here are a few common problems and how to fix them.
- Problem: “My nails feel rough and gritty!”
This almost always means you didn’t encapsulate the glitter properly, especially with chunky glitters. The fix is to apply a slightly thicker clear gel over the top to fill in all the gaps around the glitter particles before your final top coat. - Problem: “My glitter is peeling off in a big sheet.”
Ah, the classic sign of a prep issue. If this happens, it means oil was left on the nail, and the base coat never stood a chance. Unfortunately, you have to remove it and start over, paying extra close attention to that final cleansing step. - Problem: “My glitter looks dull under the top coat.”
This can happen for a couple of reasons. You might be using a low-quality top coat that doesn’t have a high-shine finish, or you might have accidentally wiped the nail with alcohol before the final top coat was fully cured. Always use a quality, non-yellowing top coat to get that super-glossy, ‘wet look’ finish.
The Removal: How to Not Wreck Your Nails
Okay, real talk. How you take your glitter nails off is just as important as how you put them on. Prying or peeling off gel is the #1 way people damage their nails, leaving them thin and weak. Please don’t do it!
Here’s the safe way. Heads up, you need to be patient! Set aside a solid 30-40 minutes for this process. Don’t rush it.
- Break the Seal: Use a 100 or 180-grit file to gently file off the entire shiny top coat. You have to break through this layer, or the acetone won’t be able to work.
- Soak in Acetone: Saturate a piece of a cotton ball in 100% pure acetone (regular polish remover won’t cut it) and place it on your nail.
- Wrap it in Foil: Tightly wrap a small square of aluminum foil around your fingertip to hold the cotton in place. The foil traps heat, which helps the acetone work faster.
- Wait. Seriously. Give it a good 15-20 minutes. Don’t peek!
- Gently Scrape: After waiting, the gel should look soft and flaky. Use a wooden orange stick to gently push off the softened glitter. If anything is stuck, don’t force it! Just re-wrap it for another 5-10 minutes.
- Nourish: Once all the product is off, your nails will be thirsty. Gently buff them smooth, wash your hands, and then go to town with a good cuticle oil and hand cream.
DIY vs. The Salon: The Real Cost
Wondering if you should go pro or build your own kit? A professional gel glitter manicure can run you anywhere from $50 to $80+, depending on your location and the complexity of the design. You’re paying for the artist’s time, skill, and the guarantee of a safe, long-lasting result.
If you want to build a solid at-home gel kit, here’s a realistic breakdown:
- LED Lamp: A decent one will cost between $25 and $40 online. Don’t cheap out on this!
- Gel Base & Top Coat Set: Expect to pay $15 to $25 for a quality duo.
- Cosmetic-Grade Loose Glitter: Around $4 to $8 for a pot that will last ages.
- The Essentials: Files, buffers, alcohol, and cuticle pushers might run you another $15.
So, you’re looking at an initial investment of around $60 to $90 for a DIY setup that will last you for many, many manicures. If you love doing your nails, it can definitely be worth it. But remember, a pro has hundreds of hours of training in chemistry and sanitation. If you’re dealing with extensions or have concerns about allergies, seeing a licensed technician is always the safest bet.

Galerie d’inspiration
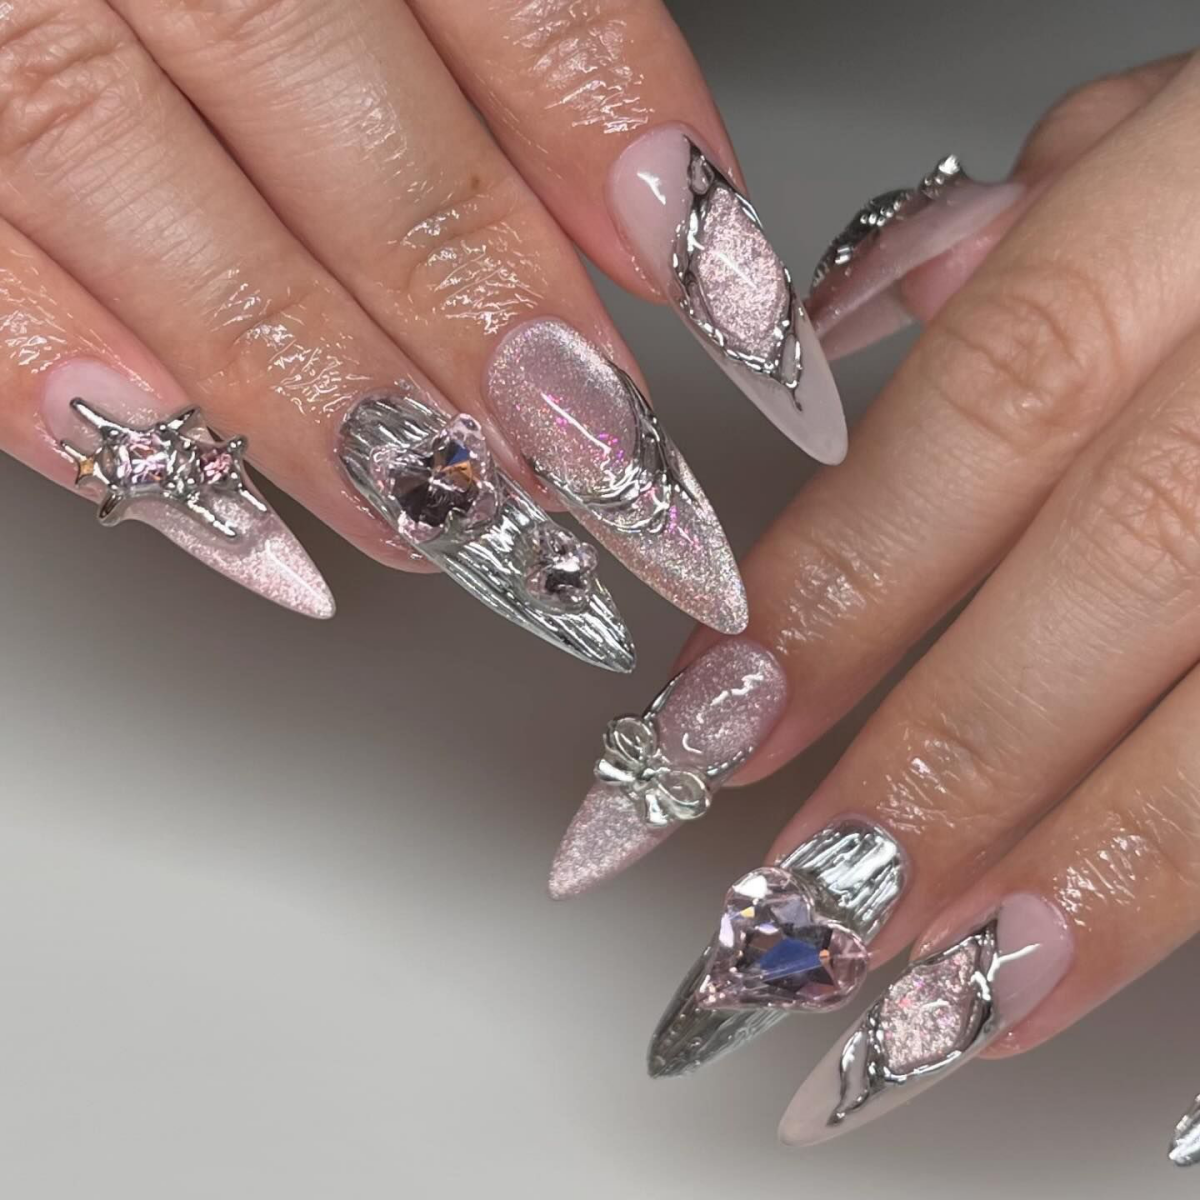
The secret to a glass-smooth finish: To avoid that gritty, rough texture that snags on everything, professionals ‘burnish’ the glitter. After applying your glitter over a tacky gel or polish layer, take a clean, soft silicone tool or a disposable eyeshadow applicator and gently rub the glitter into the surface. This presses the flakes flat, creating a perfectly smooth base before you apply your top coat. The result is a seamless, encapsulated sparkle that looks and feels luxurious.
Most cosmetic glitters are made from PET (Polyethylene terephthalate) film, precision-cut into shapes as small as 50 microns.
What does this mean for your manicure? This ultra-thin, flexible plastic is what allows the glitter to lay flat on the curve of your nail. Unlike chunky craft glitter, these micro-particles are designed to be encapsulated smoothly by a top coat, reflecting light from multiple angles to create that dazzling, multi-dimensional shine we crave.
Struggling with the notoriously difficult removal process?
Don’t ever scrape or peel! You’ll damage your natural nail plate. The foolproof method is to use foils. Soak a small piece of a cotton ball in pure acetone, place it directly on the nail, and wrap your fingertip tightly in a small square of aluminum foil. Let it sit for 10-15 minutes. The foil traps heat, speeding up the process. When you unwrap it, the glitter polish will have lifted and can be gently wiped away with the cotton. Always follow up with a nourishing cuticle oil like CND SolarOil to rehydrate.
While silver is a timeless classic, the world of sparkle is vast. For a modern twist, explore holographic glitters that flash a rainbow of colors, or opt for iridescent flakes that shift color depending on the light. Fine-milled chrome powders, like those from What’s Up Nails, can be buffed over a no-wipe gel top coat to create a liquid metal effect that’s less sparkly and more high-shine futuristic.
- Creates incredible depth and dimension.
- Tones down an overwhelmingly bright glitter.
- Offers a unique, custom ‘gummy’ look.
The secret? It’s the “jelly sandwich” technique. Start with a layer of your chosen glitter polish. Once dry, apply a coat of a translucent, sheer-colored ‘jelly’ polish (brands like Cirque Colors and Zoya are famous for theirs). Finish with another layer of the glitter, and seal with a top coat. You’ll get a multi-layered effect that looks like candy.
Quick-Dry Top Coat: Great for speed, a product like Seche Vite will dry your manicure fast. However, it can shrink as it dries, sometimes pulling away from the edges and failing to fully smooth out chunkier glitters.
Plumping/Gel-Effect Top Coat: A thicker formula, such as the OPI Plumping Top Coat or Essie’s Gel-Setter, is a game-changer for glitter. It’s designed to fill in gaps and encapsulate texture, creating a thick, glossy barrier that makes the surface perfectly smooth and enhances the sparkle.
For glitter, a plumping top coat is almost always the superior choice for a professional, long-lasting finish.
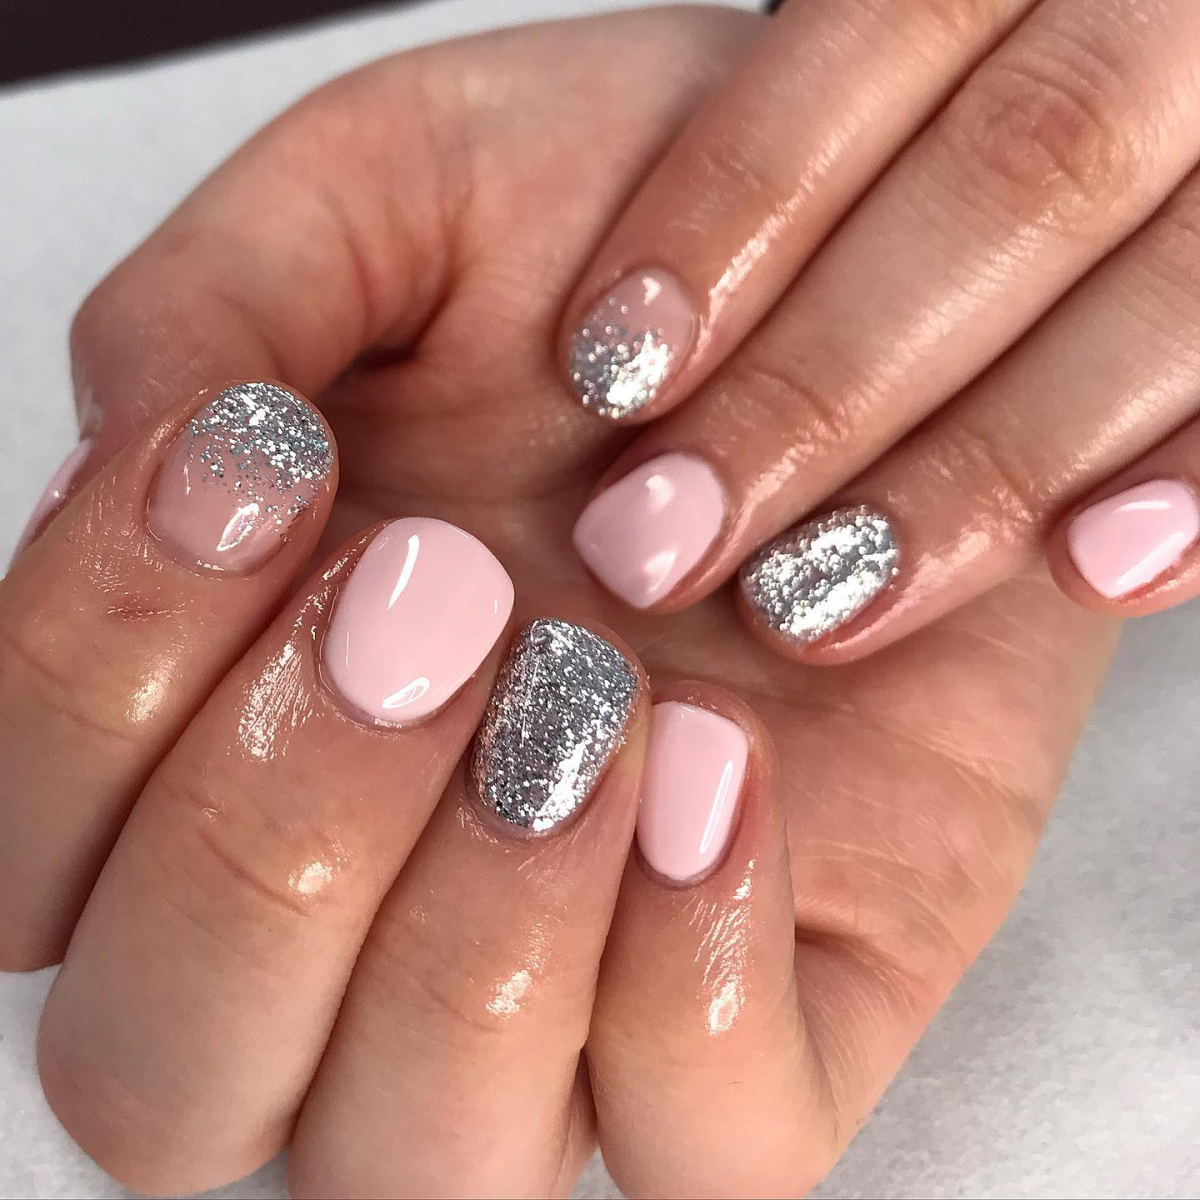
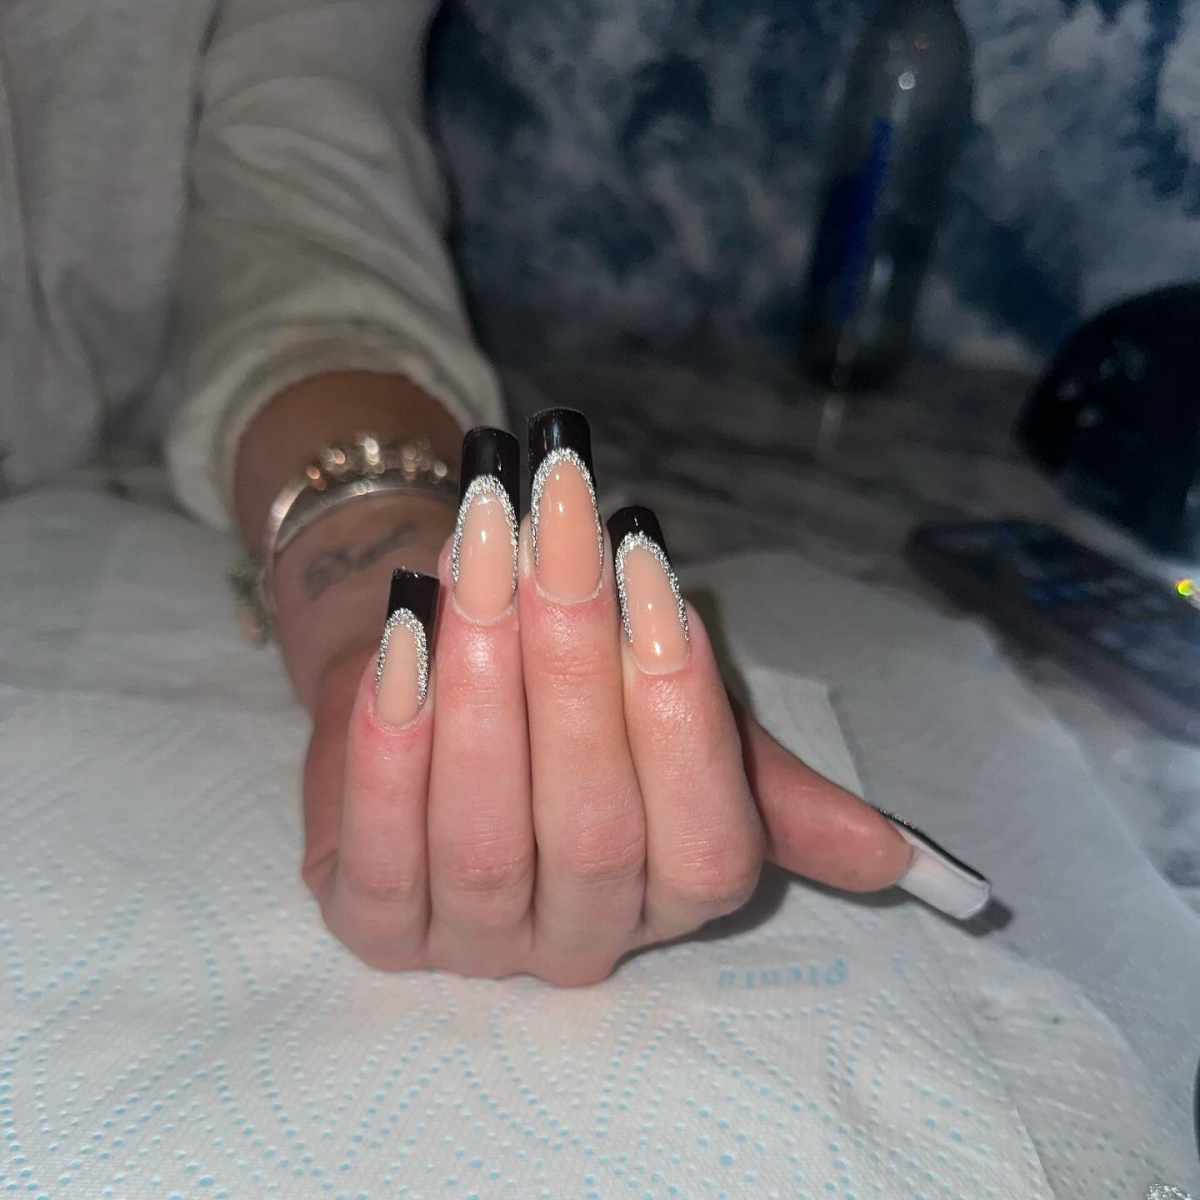
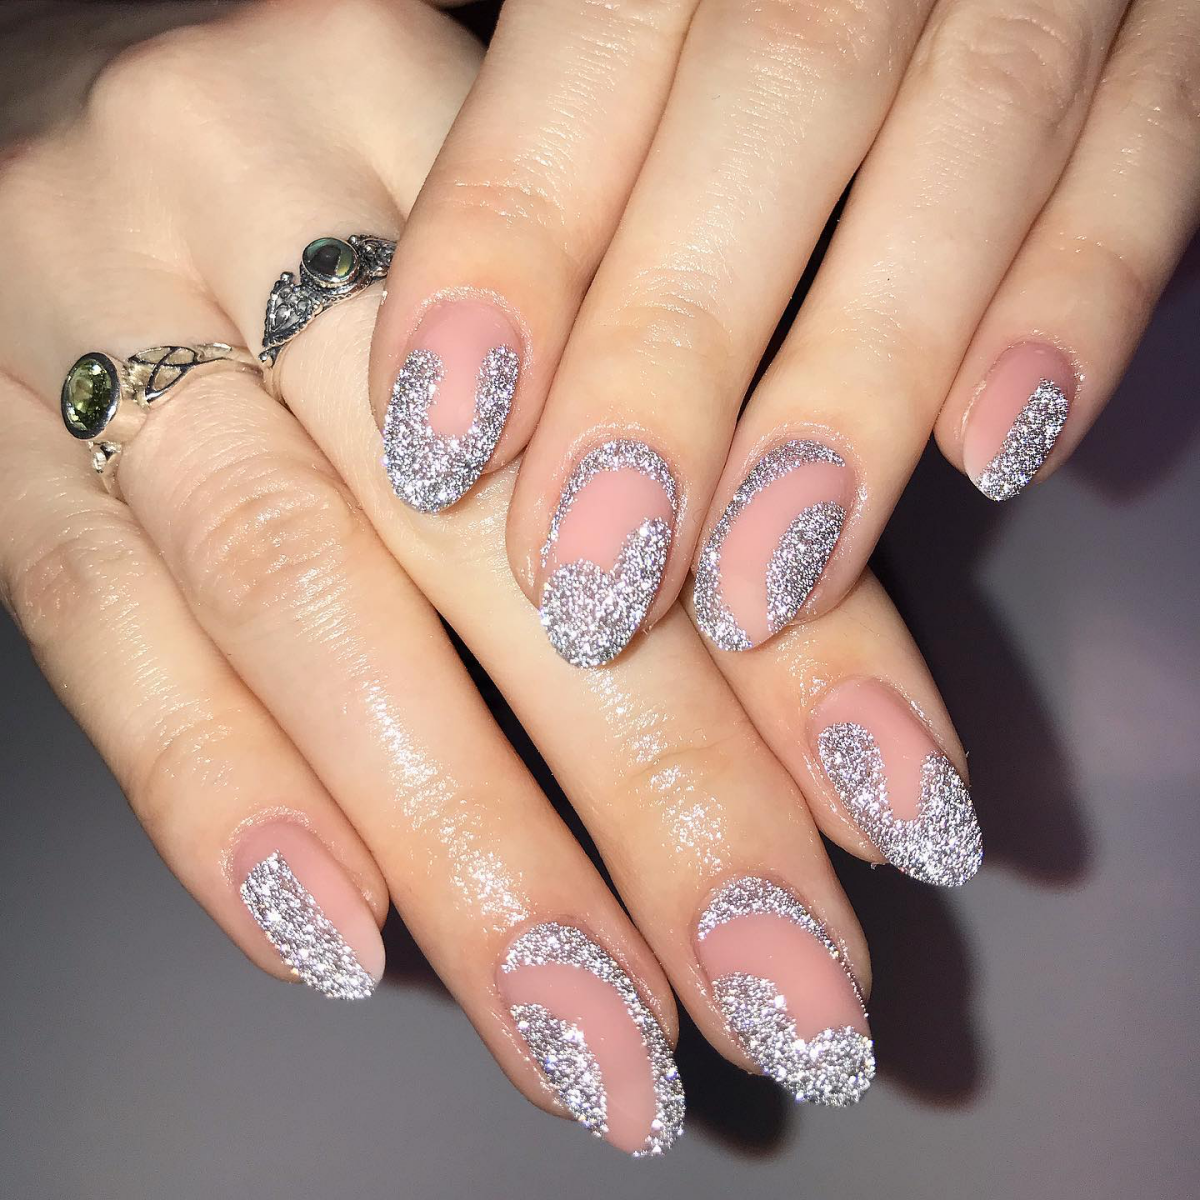
The ‘glitter fade’ or ombré is one of the most requested nail art designs because of its high-impact look and relative simplicity.


