Your Guide to Nailing Bright & Neon Colors (Without a Meltdown)
I’ve been a nail tech for well over a decade, and in that time, I’ve seen just about every trend you can imagine. We’ve gone from barely-there nudes to wild, sculptural art and back again. But honestly? Nothing gets a client more excited than a fresh set of bright, screamingly vibrant nails. There’s just an energy to them that’s impossible to ignore.
In this article
- Why Are Brights So Tricky? A Little Science Helps
- The Secret Weapon: Your Base Color
- Prep & Application: This is Where the Magic Happens
- Uh Oh… A Quick Troubleshooting Guide
- Let’s Get Creative: Easy Designs for Brights
- Your Brights Starter Kit: What to Actually Buy
- Making It Last: Aftercare Secrets
- Galerie d’inspiration
But let’s be real. Those electric blues, hot pinks, and highlighter yellows are a completely different beast. They demand respect. They are, to put it mildly, not very forgiving. A tiny smudge with a sheer nude might slide by, but that same little slip-up with a neon green? It’s going to broadcast your mistake to the entire room.
This is more than just slapping some color on a nail. It’s about knowing your materials, from how they’re made to how they react to light. I’ve spent countless hours training new techs, working with product experts, and, yes, fixing a whole lot of manicures that went sideways. The tips I’m sharing here come straight from my work table, from solving these exact problems for real people. So we’re going to dive deep—past the pretty pictures and into the stuff that really matters.
Why Are Brights So Tricky? A Little Science Helps
To really get a handle on bright colors, you’ve got to understand what you’re working with. When I first started, I figured pink was just… pink. I learned very quickly that the way a color is formulated changes everything about how you should apply it.
First off, there’s a difference between a pigment and a dye. Most standard polishes use pigments, which are basically tiny, solid particles floating in the polish. But for the super-bright neons, companies often use fluorescent dyes. These dyes do something pretty cool: they absorb invisible UV light and shoot it back out as super-bright visible light. That’s what creates that intense, almost-glowing effect. The catch? Dyes can be less stable than pigments and are notorious for fading in the sun. This is exactly why a client’s neon yellow manicure looks a bit sad and dull after their week-long beach vacation.
Good to know: A high-quality, UV-blocking top coat is non-negotiable for neons. I’m a fan of brands that specifically market their top coats as non-yellowing and UV-protective. It’s a small detail that makes a huge difference in how long the color stays vibrant.
Another thing is opacity. How well a polish covers the nail depends on how much pigment is packed in there. Brights, especially yellows and oranges, can sometimes be sheer or streaky. To fix this, a brand might load it up with pigment. But this creates a new headache with gel polish. A super-pigmented gel can actually block the UV/LED light from getting through to the bottom layer. This is the single biggest cause of under-cured gel, which leads to lifting, peeling, and even nasty skin allergies. And that, right there, is the reason every pro will tell you to apply THIN coats.
The Secret Weapon: Your Base Color
Here’s a trick that changes the game completely. The color underneath your bright polish has a massive impact on the final look. Think about painting a room—you wouldn’t slap a bright yellow on a dark gray wall and hope for the best, right? You’d prime it with white first.

It’s the exact same idea with nails. Applying a pure, opaque white base coat is like giving yourself a perfectly blank canvas. It reflects the maximum amount of light back through the color, making your neons and citrus shades look unbelievably rich and intense. People always ask if this has to be a special “base” product. Nope! It’s just one or two thin coats of a regular opaque white gel polish, like a crisp, true white—not a milky or sheer one. A good bottle will run you about $15 to $20, and it’s worth every penny for the pop it gives your colors.
Prep & Application: This is Where the Magic Happens
A flawless bright manicure is 90% prep work. I swear by it. These colors highlight every single flaw, so your canvas has to be perfect.
Pro-Level Prep:
At the salon, I use an e-file with a fine-grit bit to gently clean up any non-living tissue on the nail plate. It creates a super clean line for the polish to sit against and prevents lifting.
DIY-Friendly Prep:
But you don’t need an e-file to get great results at home! The key is still removing that stubborn cuticle from the nail plate. Grab a good cuticle remover liquid (Sally Hansen’s is a classic and easy to find for under $10). Apply it, let it sit for a minute, and then GENTLY push back with an orange wood stick or a glass cuticle pusher. The goal is to reveal a clean nail plate, not to damage your skin. After shaping, scrub the nail with a lint-free wipe and 99% isopropyl alcohol. This removes all the oils that cause polish to pull away and create bald spots.
Gel vs. Lacquer: A Tale of Two Techniques
Applying brights isn’t a one-size-fits-all deal. How you handle gel is totally different from how you handle traditional lacquer.
With gel polish, it’s all about control. The biggest mistake is applying it too thick. Instead of pressing down, you want to “float” the color. Get a small bead of gel on your brush, place it near the cuticle, and lightly guide it over the nail, letting it level itself out. Always, always, always apply two or three paper-thin coats instead of one thick one. This ensures a full cure, which is usually 30-60 seconds in a quality 48-watt lamp.
With regular lacquer, you’re racing the clock as it air-dries. The classic three-stroke method is your best friend here. One stroke down the middle, then one down each side. This minimizes brush marks. And for the love of all that is holy, be patient between coats. Wait at least 2-5 minutes. If you can lightly tap the nail without leaving a fingerprint, you’re ready for the next layer.
Uh Oh… A Quick Troubleshooting Guide
Okay, let’s talk about when things go wrong, because with brights, they sometimes do. Here are a few common meltdowns and how to fix them:
- The Problem: My neon gel wrinkled up in the lamp!
The Fix: Your coat was way too thick and the top cured before the bottom. You have to remove that nail and start over. Next time, use paper-thin coats. A lesser-known trick is to “flash cure” for just 5-10 seconds after each nail. This freezes the polish in place and prevents shrinking or wrinkling before you do the full cure on the whole hand. - The Problem: My yellow/orange polish is super streaky.
The Fix: You’re probably pressing the brush too hard. And definitely use that opaque white base coat we talked about! It does half the work for you, requiring fewer coats of the tricky color. - The Problem: My beautiful bright red stained my natural nails!
The Fix: Staining happens, especially with potent reds and blues. The best defense is a good base coat (for lacquer) or base gel. If they’re already stained after removal, don’t try to buff it off—you’ll just thin your natural nail. The stain is harmless and will grow out. I once had a client who was horrified by her stained nails, but after a week, it had faded significantly on its own.

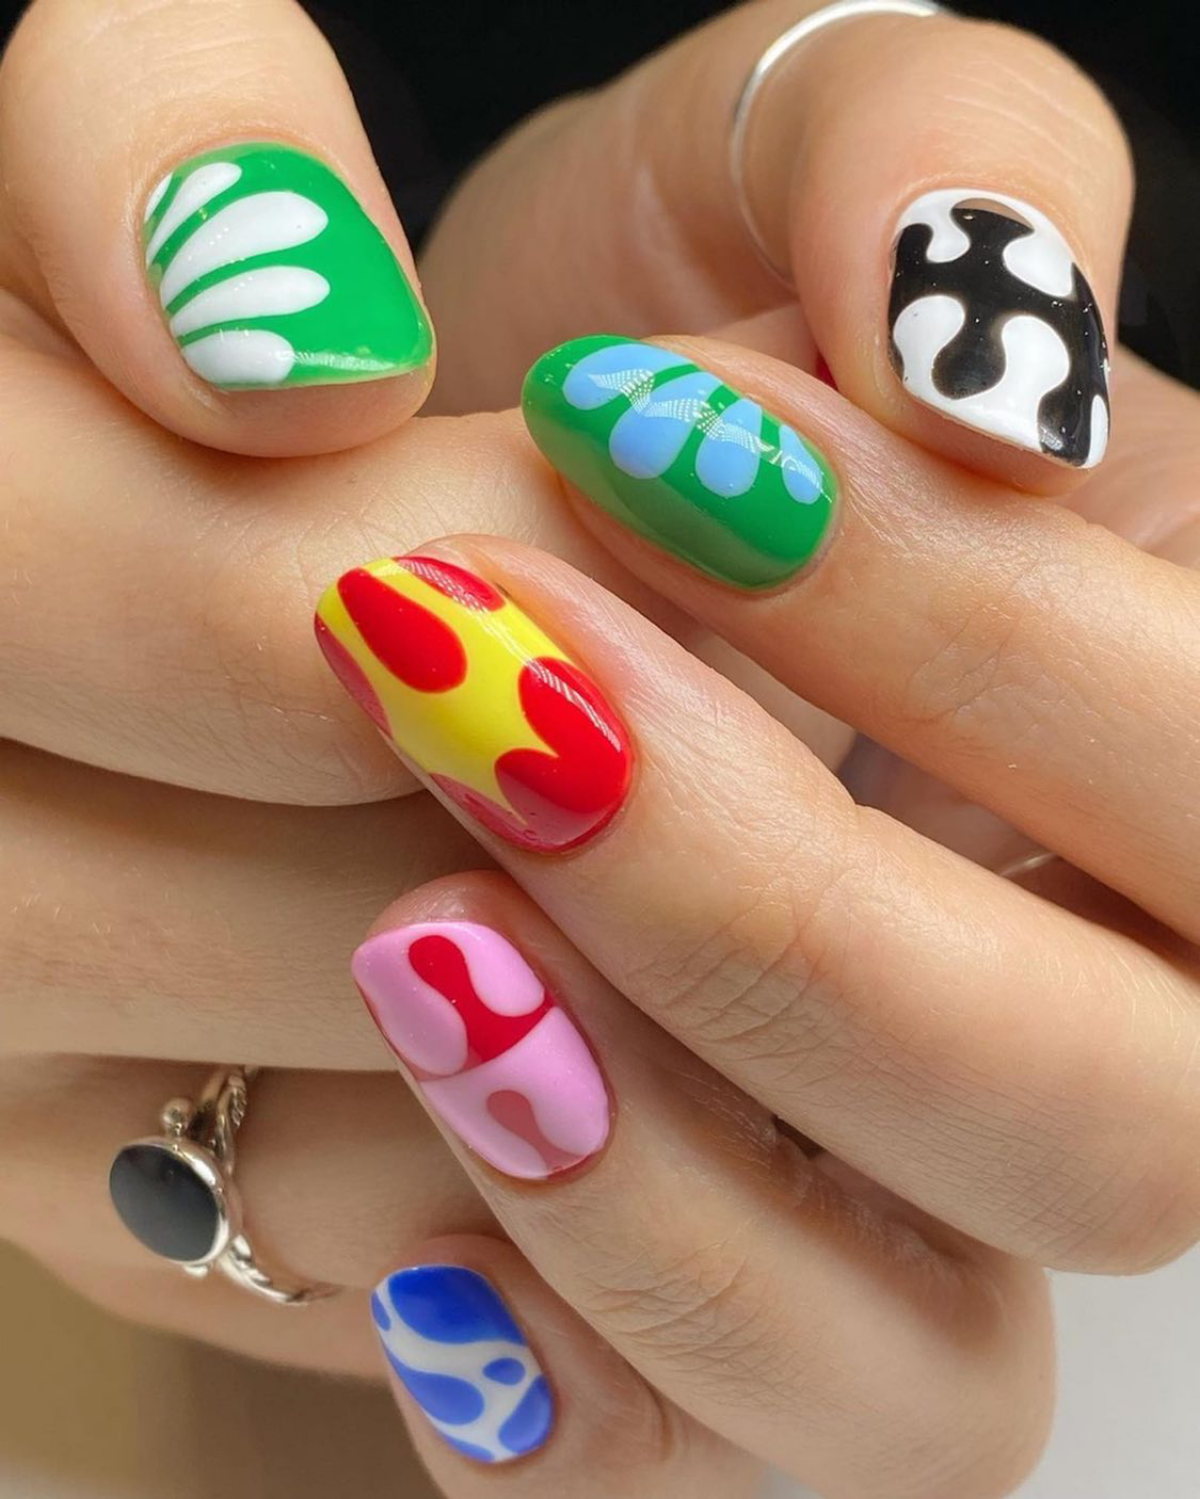
Let’s Get Creative: Easy Designs for Brights
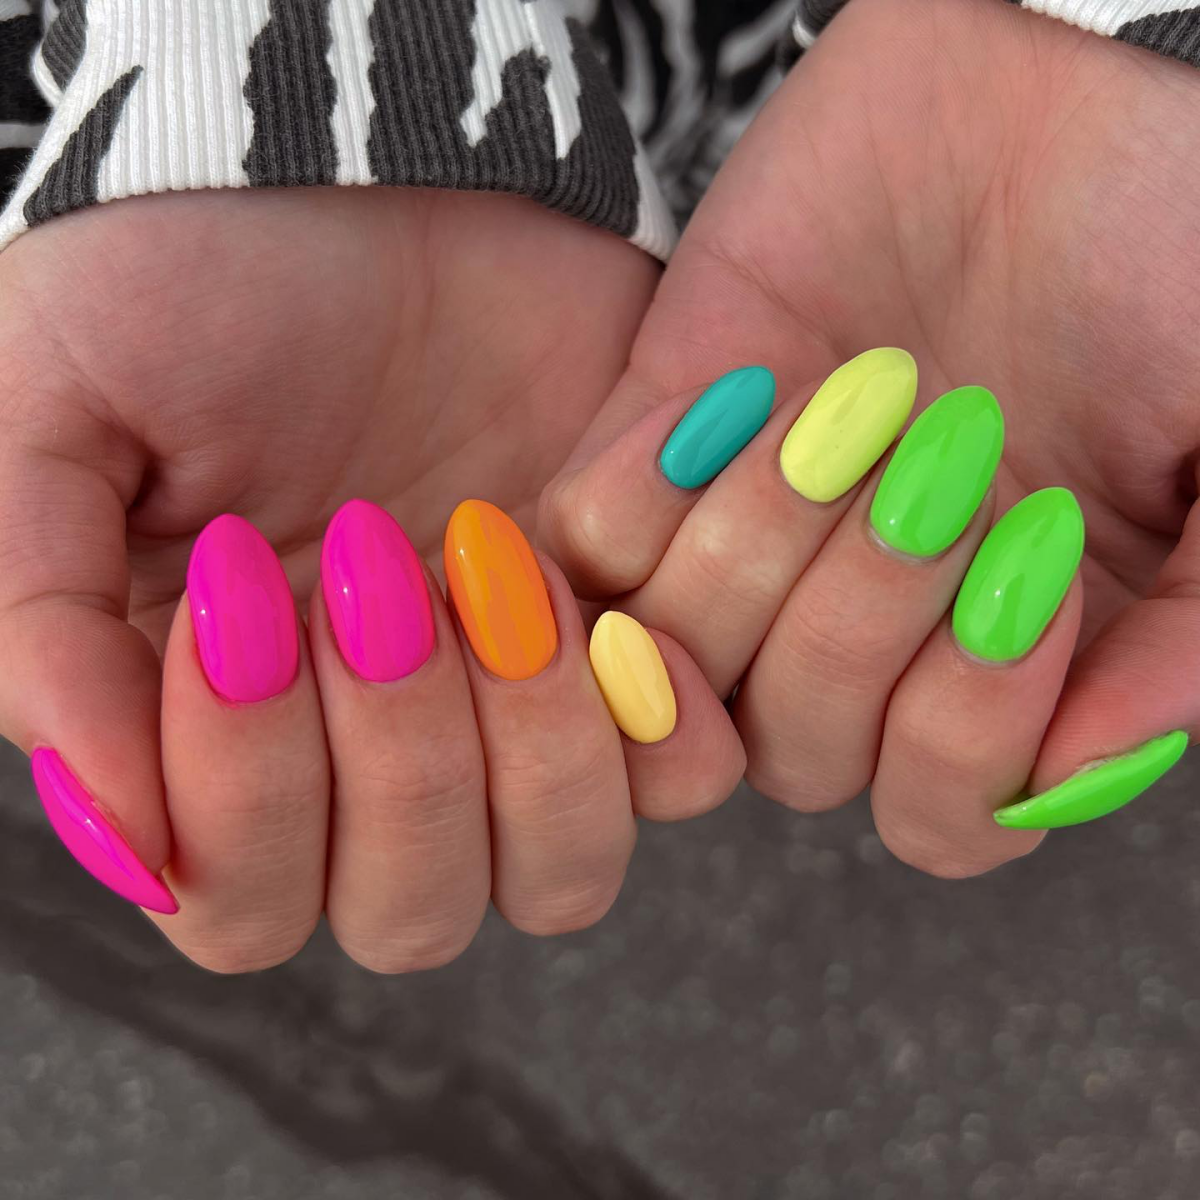
Once you’ve got solid colors down, it’s time to play. A simple color wheel is a great tool. Opposites (like orange/blue) create bold contrast, while neighbors (like yellow/green) create a more harmonious vibe.
While pros might do complex encapsulated glitter designs, you can create something amazing with a lot less effort.
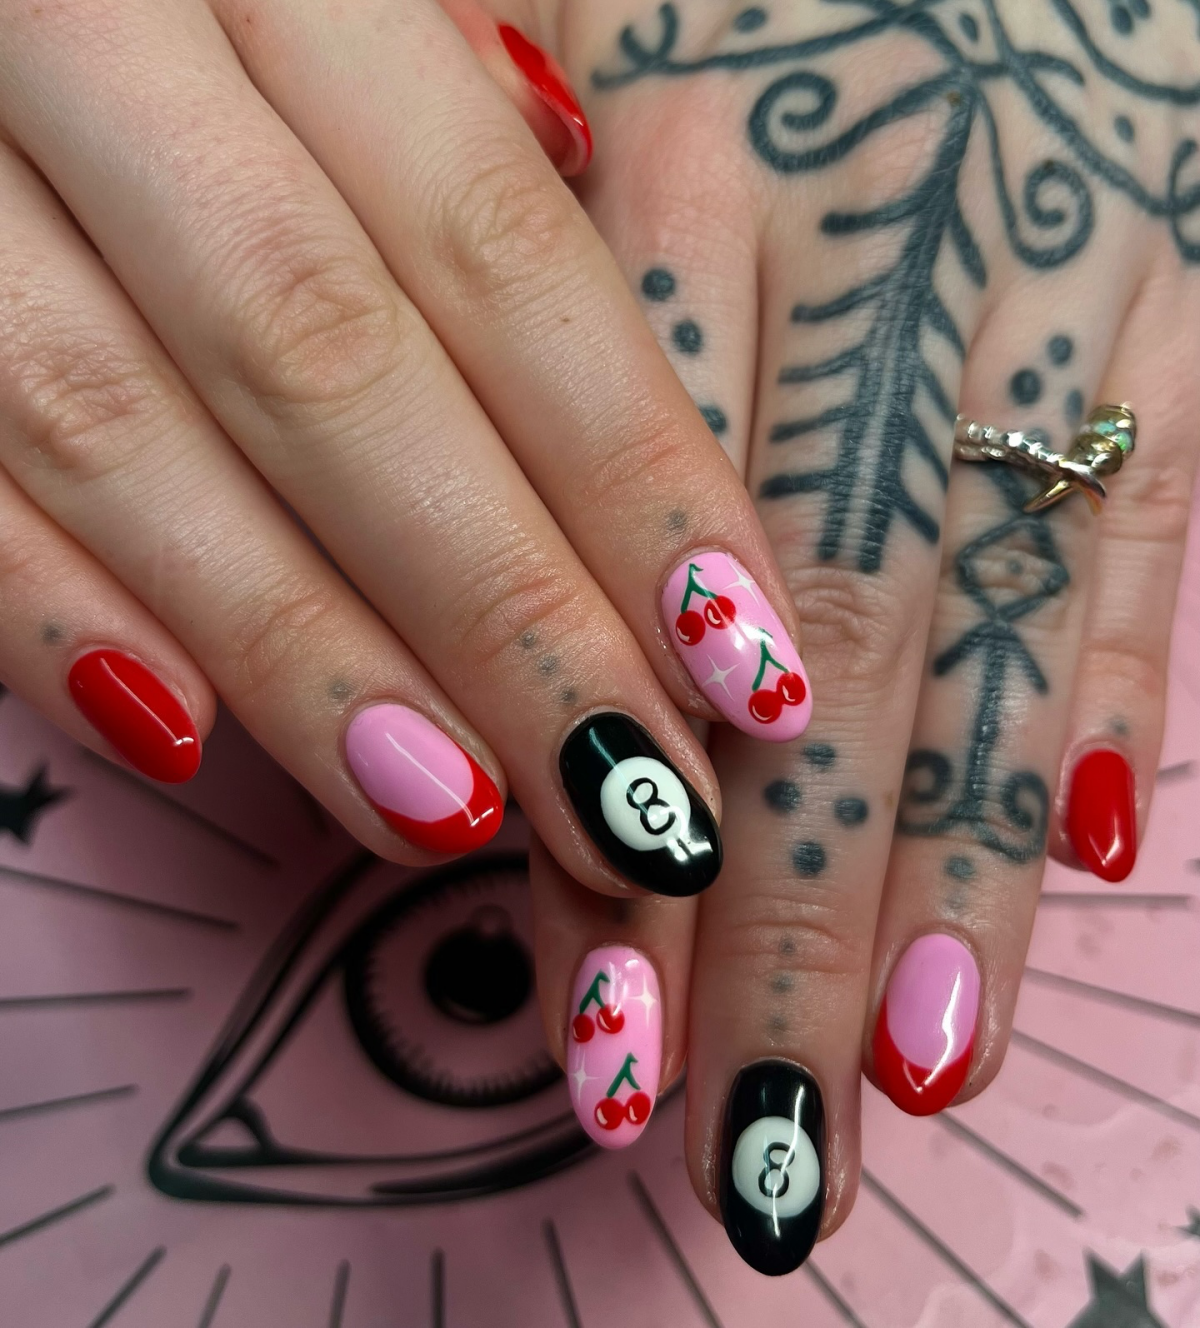
Beginner-Friendly Idea: The Polka Dot Pop
- Apply your bright base color and cure/dry it completely.
- Pick a high-contrast color (white on hot pink, or black on lime green looks awesome).
- Put a small puddle of the dot color on a piece of foil.
- Use a dotting tool (or the end of a bobby pin!) to dip into the color and place dots on the nail. You can do a simple pattern or just a random scattering.
- Let it dry, then apply your top coat. So easy, but it looks so intentional and fun!
Your Brights Starter Kit: What to Actually Buy
Navigating the world of nail products can be overwhelming. Here’s a quick list of what’s actually worth your money if you’re getting serious about brights.
- A Quality Lamp: This is not the place to skimp. Look for a 48-watt, dual-wavelength LED/UV lamp. A reliable brand like SUNUV will cost you between $40 and $70 on Amazon and is a solid investment for proper curing.
- Reputable, HEMA-Free Gel: Cheap, mystery gels from online marketplaces are the #1 cause of allergic reactions. Invest in a professional or pro-sumer brand known for safety. Some great HEMA-free options are out there. A single bottle might be $18-$25, but it won’t land you with red, itchy fingers.
- The Essentials: Don’t forget an opaque white gel ($15-$20), a non-yellowing UV top coat ($15-$20), and a big bottle of 99% isopropyl alcohol (around $10 at a pharmacy or online).
Making It Last: Aftercare Secrets
Your job isn’t over when the top coat is on. Here’s how you keep those brights looking fresh.
- Cuticle Oil, Every Day: This is the most important rule. Hydrated nails are flexible nails. I recommend a jojoba-based oil.
- Wear Gloves: For dishes, cleaning, gardening… protect your investment!
- Beware of Stains: I always warn my clients about this. The biggest culprits for discoloring a fresh manicure are hair dye, the dye from new dark-wash jeans, and spices like turmeric. I have a funny (now!) memory of a client who came back a week after getting a gorgeous neon yellow set… with one index finger stained a murky orange. The culprit? A big batch of homemade curry.
- A Note on Sunscreen: Oh yeah, this is a big one! Some chemical sunscreens, especially those containing avobenzone, can have a weird reaction with gel top coats and cause them to yellow. If you notice this happening, switch to a mineral-based sunscreen (with zinc oxide or titanium dioxide) on your hands.
Working with bright colors is genuinely one of the most fun parts of doing nails. It’s pure expression. But getting it right comes down to respecting the material, understanding a little bit of the science, and focusing on precision. When you combine that knowledge with a bit of practice, you can create bold, beautiful nails that are not only stunning but also safe and made to last.
Galerie d’inspiration

The secret to an electric pop: Start with a stark white base. Applying one or two thin coats of an opaque white polish, like OPI’s Alpine Snow or Essie’s Blanc, creates a perfect canvas. This step neutralizes your natural nail color and prevents it from dulling the neon, ensuring the fluorescent pigment shines at its maximum intensity. It’s the single most effective trick for making that lime green truly scream.
Nearly 85% of the information we process is through our sense of sight, and color is a primary component of that visual data.
This is why a flash of neon on your fingertips can feel so impactful. It’s not just a color; it’s a powerful visual signal that can instantly lift your mood or project a sense of confidence and fun. This phenomenon, often called ‘dopamine dressing,’ applies just as much to your nails as it does to your wardrobe.
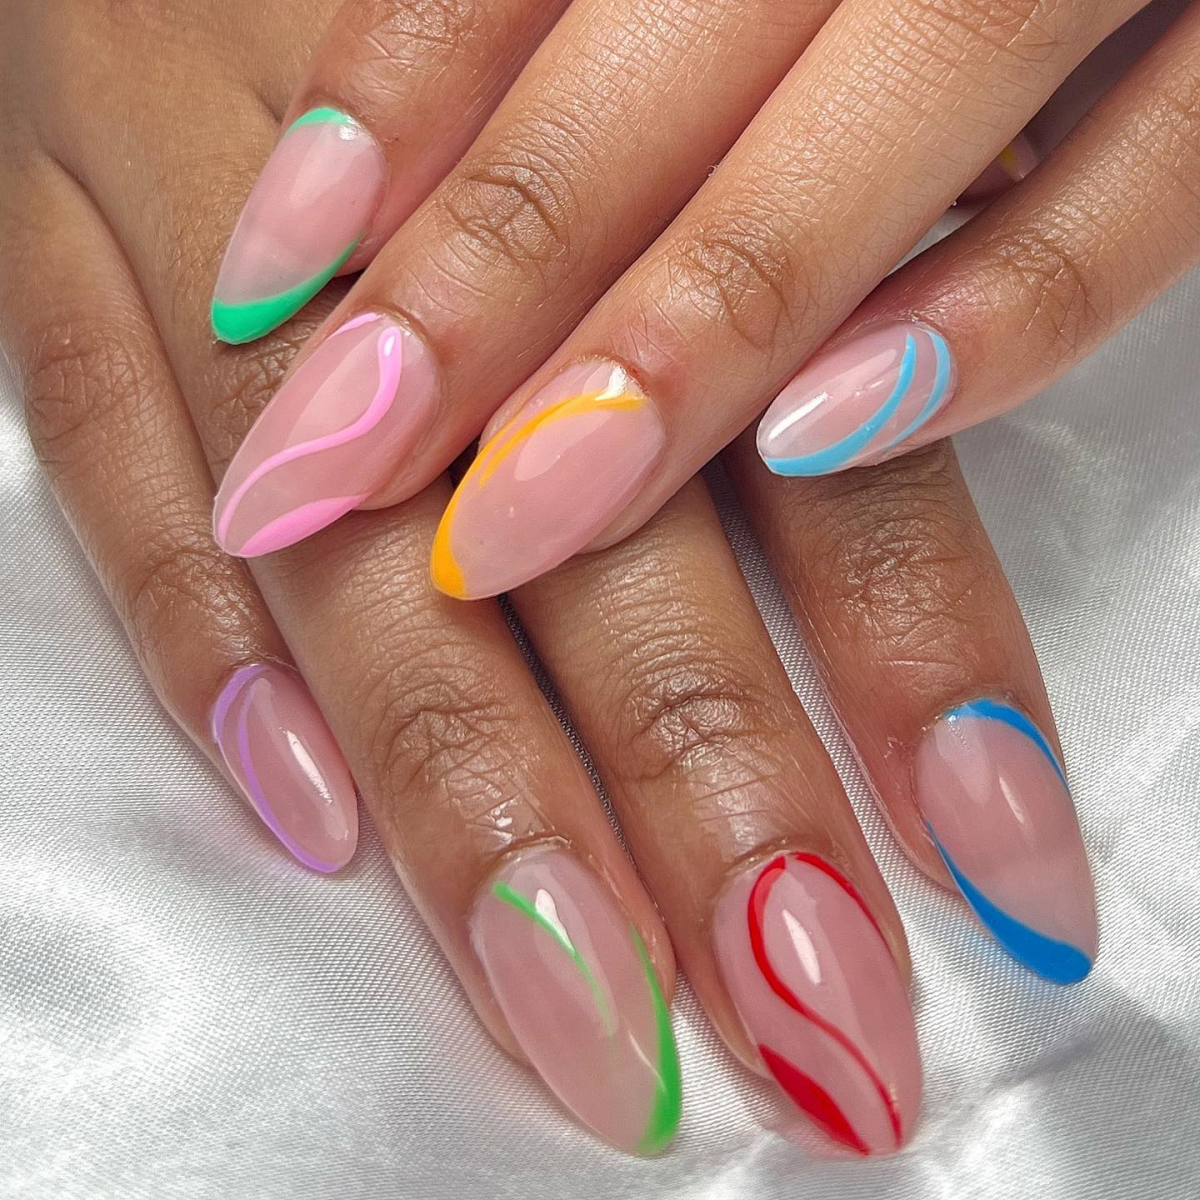
Ever wonder how nail artists get those impossibly clean cuticle lines, even with the boldest of colors?
The magic isn’t in a super-steady hand, but in the cleanup. The non-negotiable tool is a small, flat or angled brush (an old eyeliner or lip brush works perfectly) dipped in pure acetone. After applying your color but before the top coat, carefully trace around your cuticle line with the acetone-dampened brush. It erases any smudges and creates that sharp, professional-looking finish. Brands like Twinkled T and Maniology even sell brushes specifically designed for this purpose.
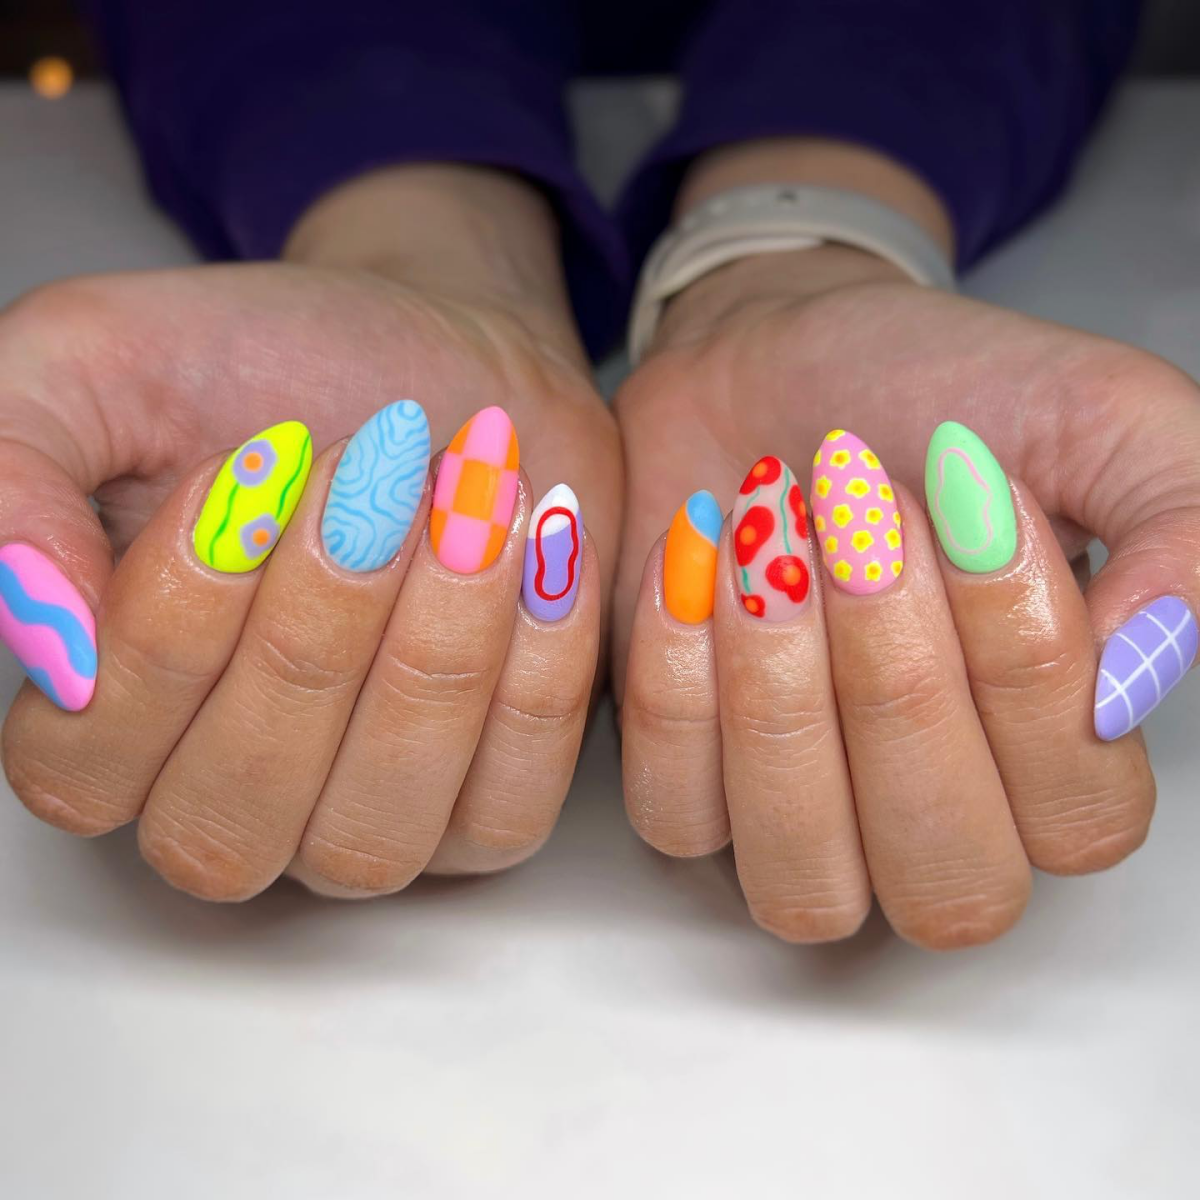
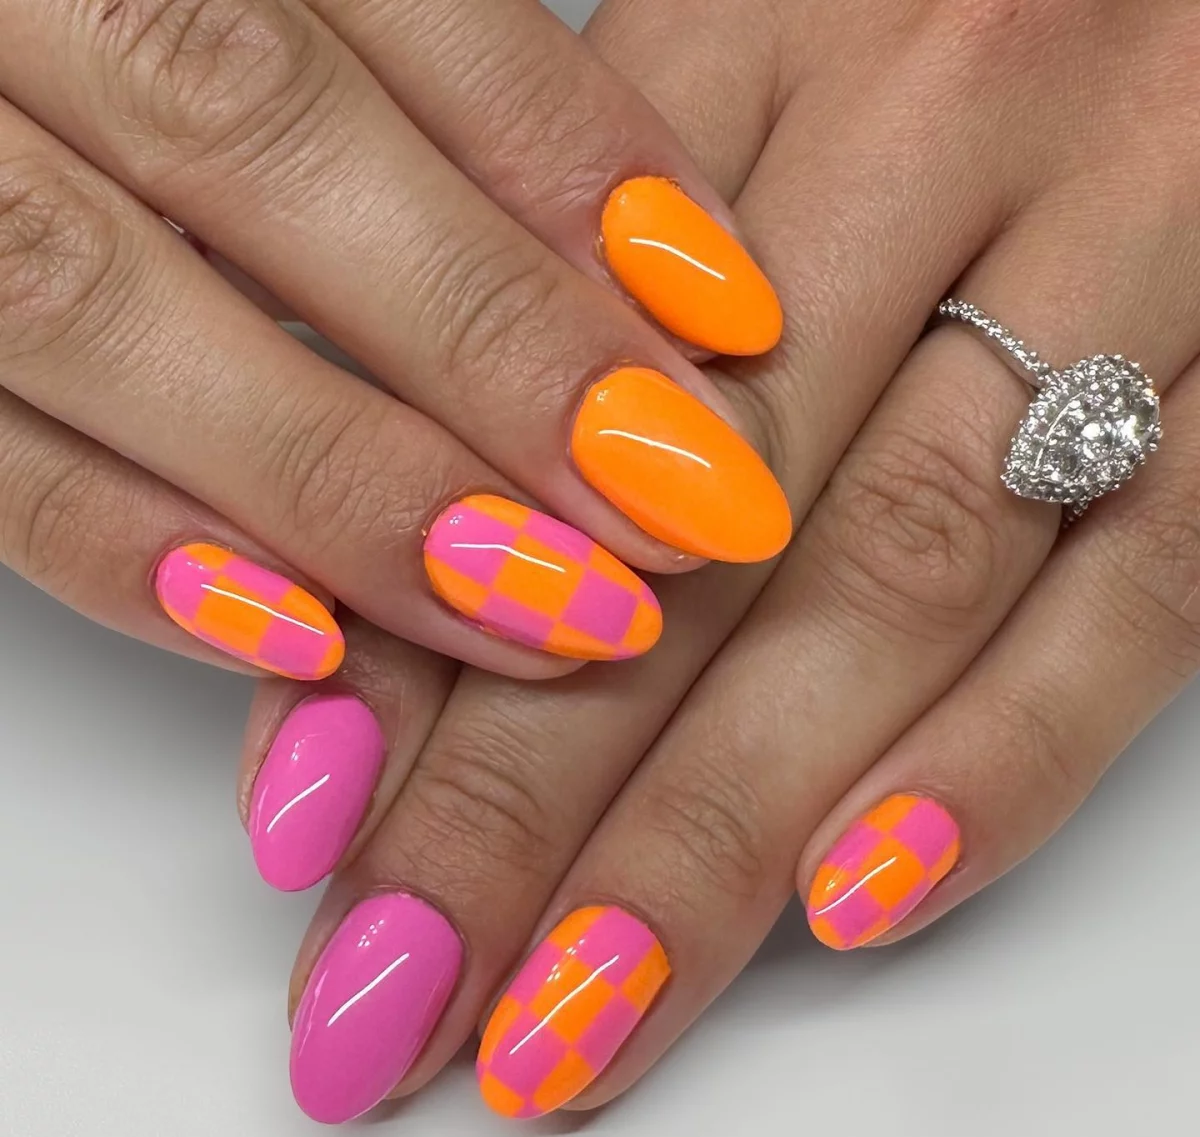
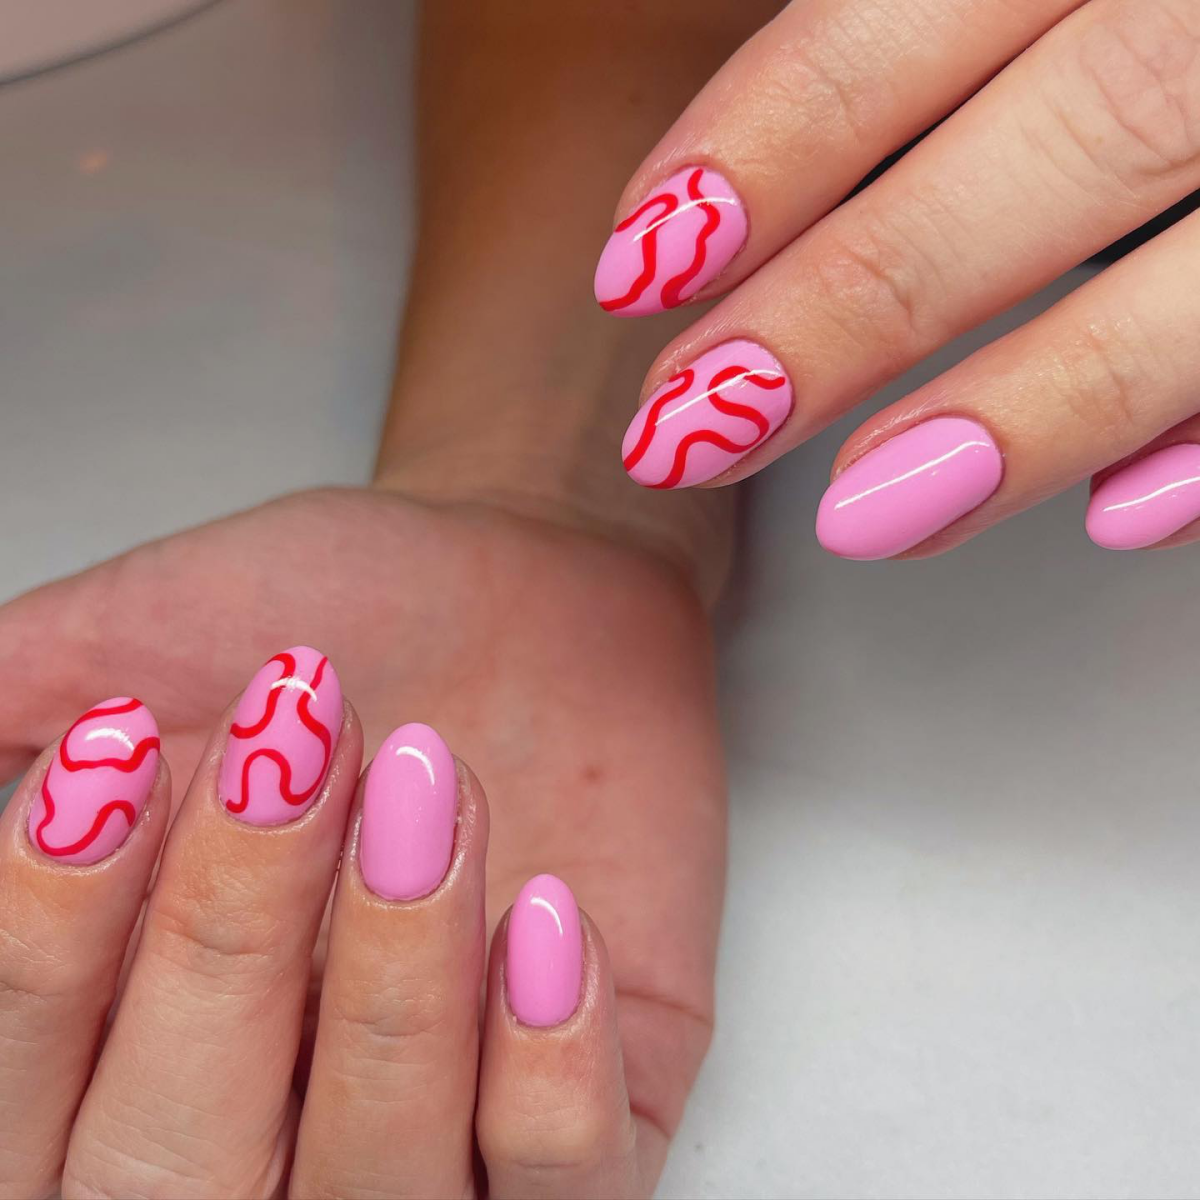
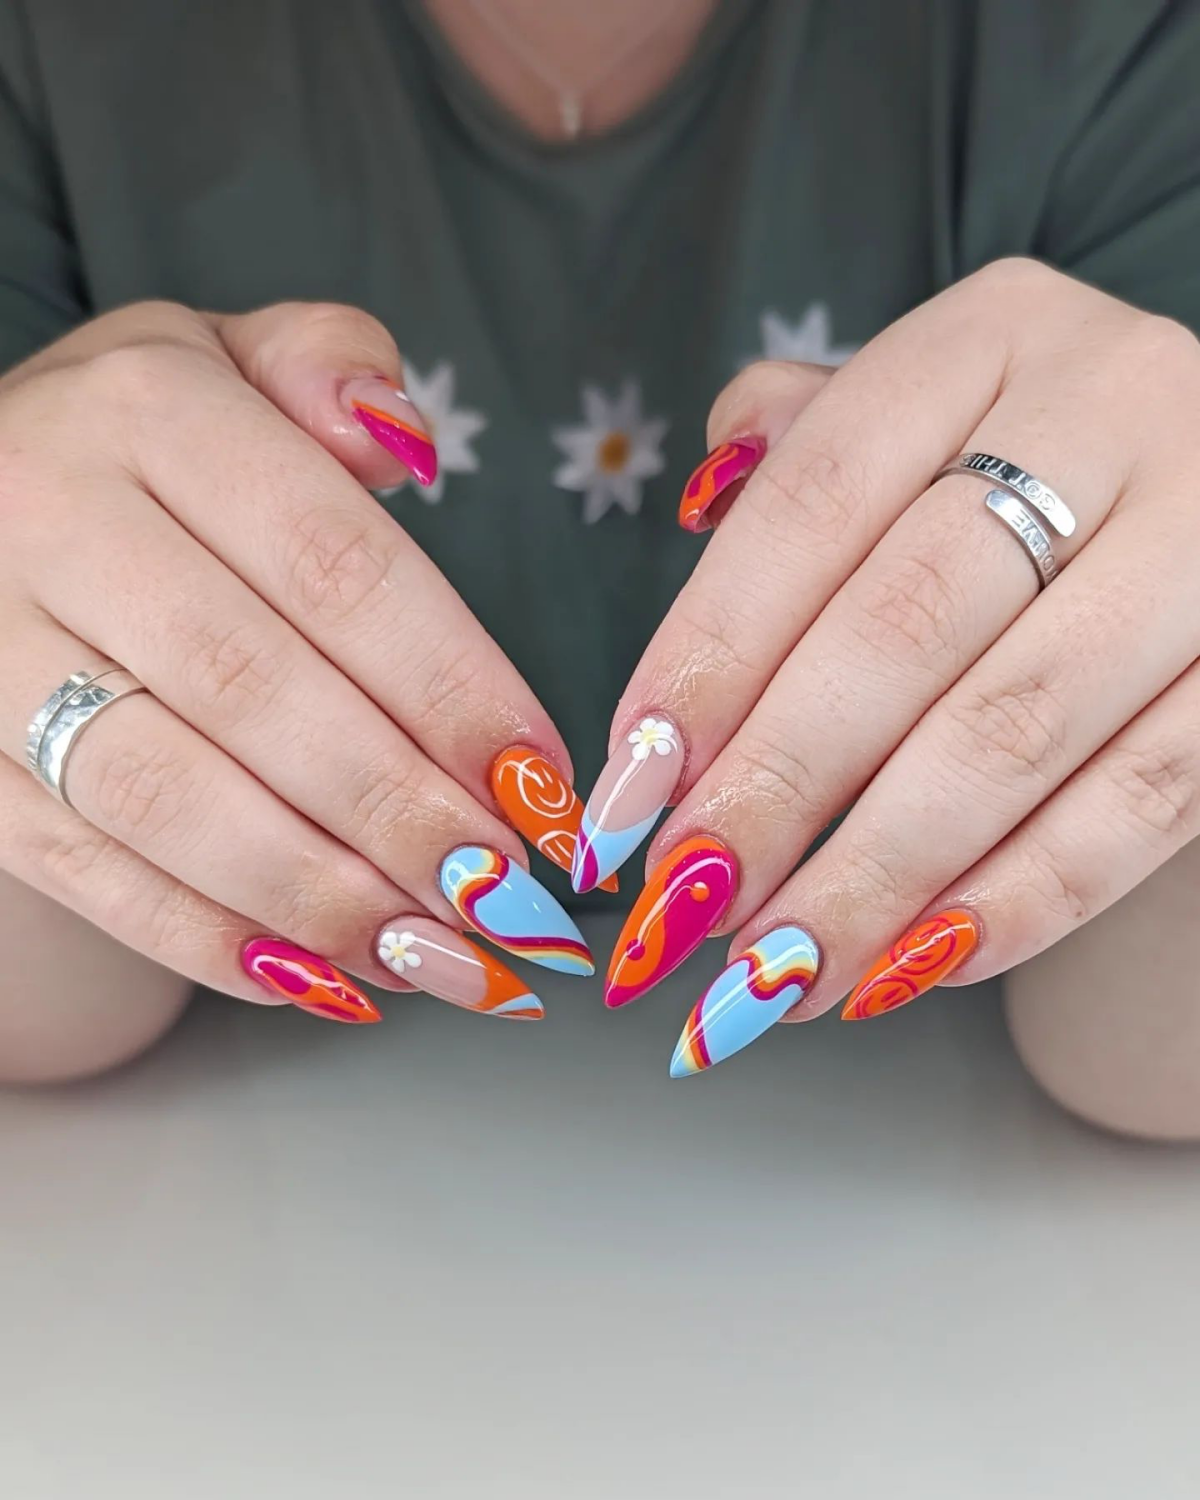
- Create a harmonious, fiery look by pairing colors that sit next to each other on the color wheel, like a hot pink with a vibrant orange.
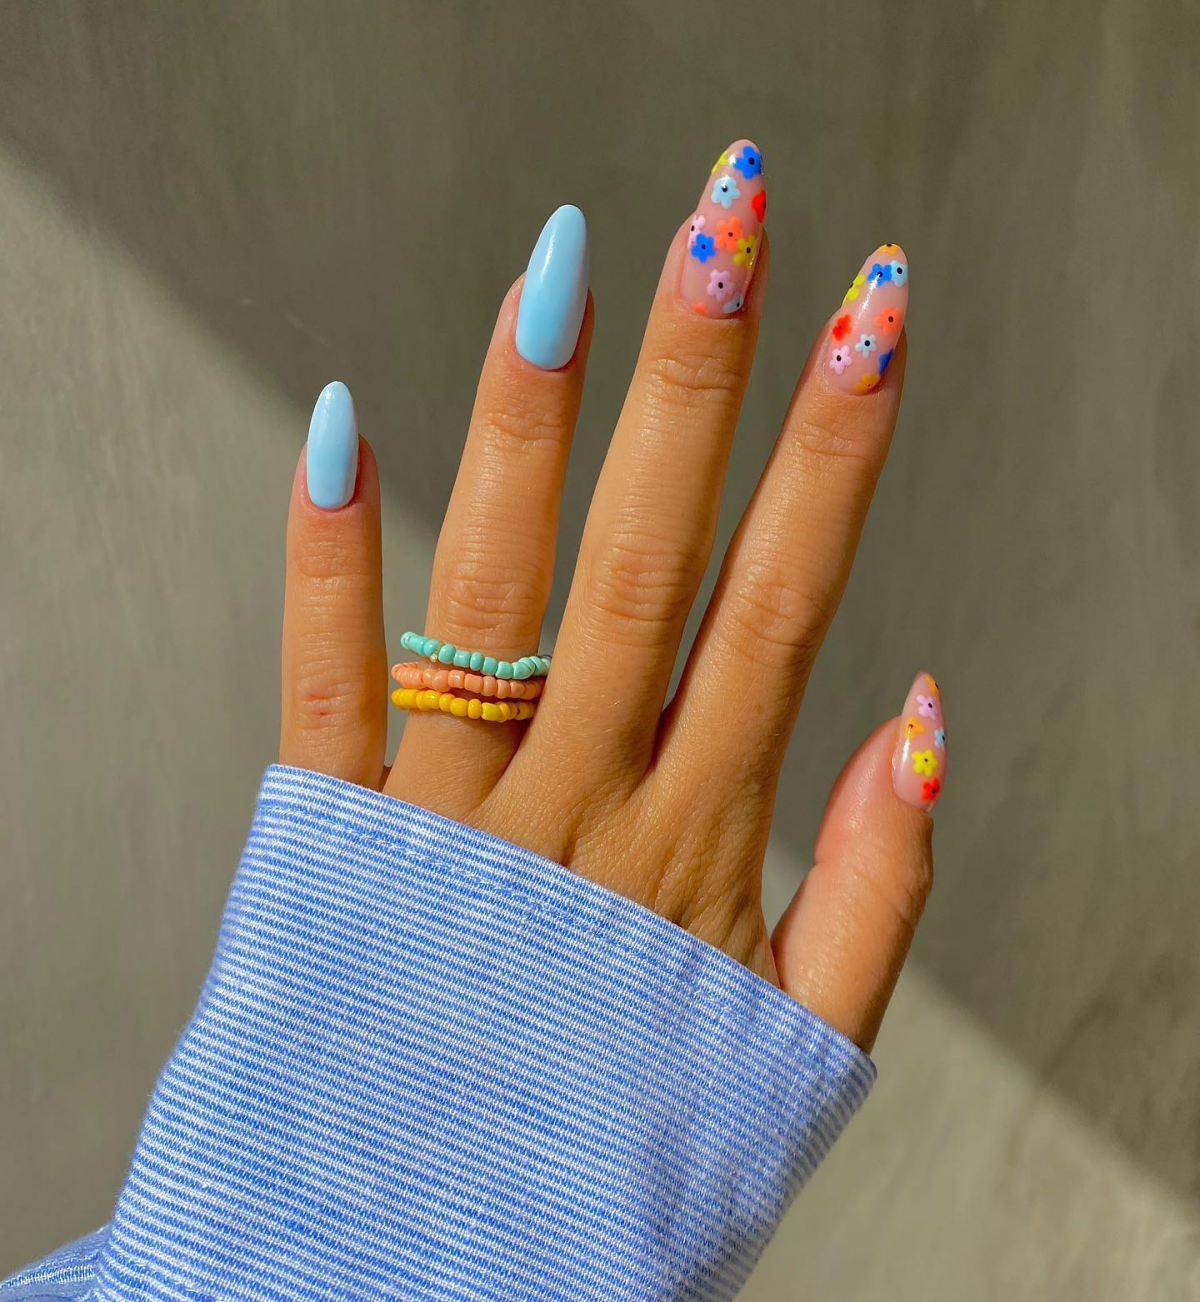
- Go for a high-impact, statement look by choosing colors on opposite sides, such as electric blue and tangerine orange.
The key is intention. Instead of a random mix, a considered color story—whether it’s analogous or complementary—feels purposeful and chic.
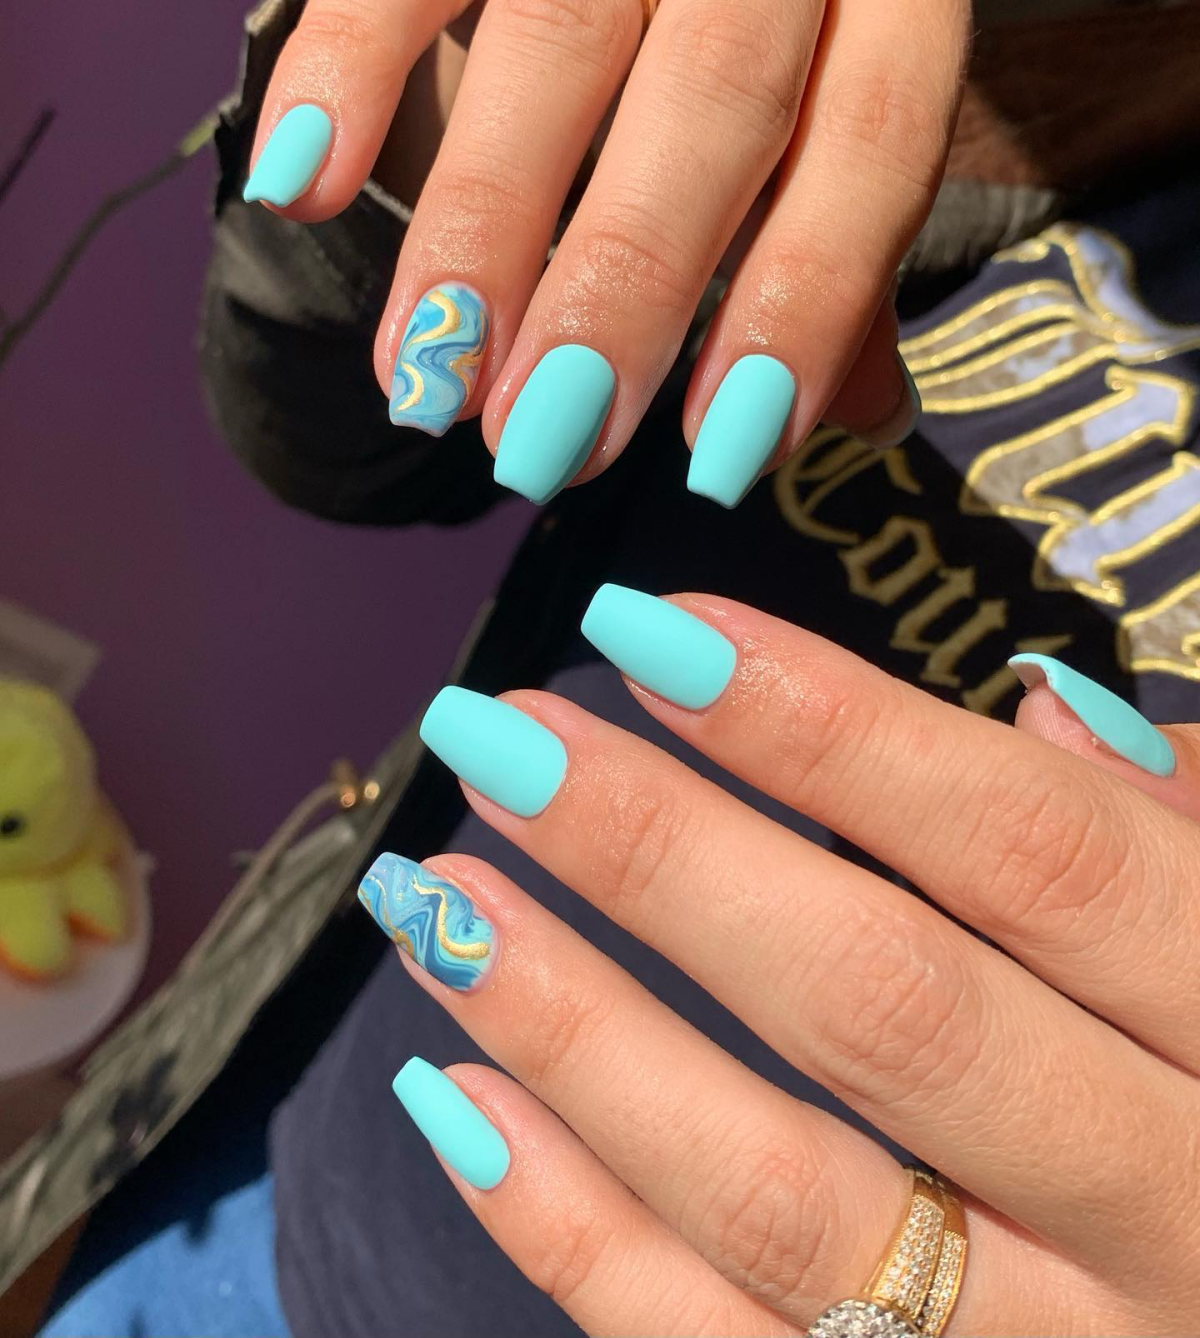
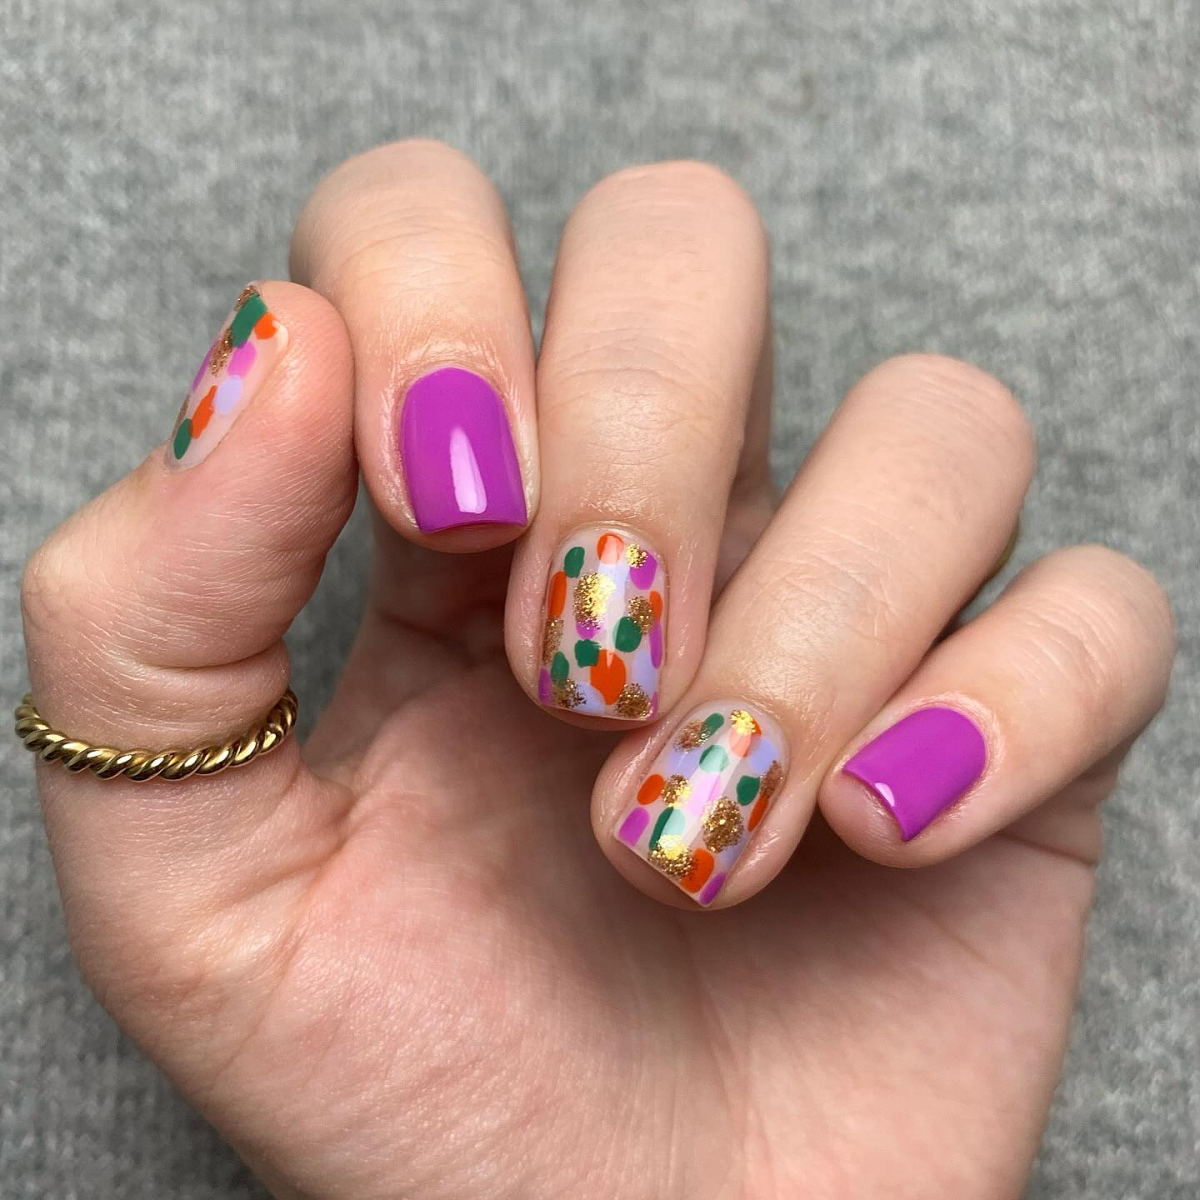
Opaque Neon: This is the classic, high-coverage formula that delivers that solid, highlighter-bright effect. It demands precise application but offers the most intense color payoff.
Jelly Polish: For a more playful and forgiving option, try a bright ‘jelly’ finish. These polishes are translucent, creating a squishy, candy-like look. They are perfect for layering (a ‘jelly sandwich’ with glitter) and are much easier to apply without noticeable streaks. Look to indie brands like Cirque Colors or Holo Taco for stunning jelly options.
Don’t fear fading! A dedicated UV-protective top coat is your best defense.


